To create a workshop based around GarageBand, we as the teachers need to know our way around the DAW first. We need to learn the basics of the app at least to then give our knowledge to the people in the session. This might consist of; choosing instruments, recording, programming drum beats, adding effects, quantizing and more. Here are some resources that I will use to learn more about the software so I can then put this into practice in a later session when making a plan for the workshop. I used videos and Apple Support’s website for my research:
https://support.apple.com/en-gb/guide/garageband-iphone/welcome/ios
Important Techniques To Understand
Choosing/Adding Instruments And Changing Sounds
You are indicated to choose an instrument the first time you open the app and create a new save. Upon choosing your first instrument, the app creates a file for your song and takes you onto that instrument’s screen. There are many different options for instruments, from guitars, drums, piano, bass, world instruments and more. To add another instrument, click the arrangement view, and press the plus button at the left-bottom of the screen. This takes you to the same instrument picker you had the first time you opened the app. Carry on adding instruments this way until you are happy with the instrumentation. With the instrument screens, you can also pick different sounds within them, for example, you can pick acoustic drum kits, analogue-sounding drum machines, 808 kits, percussion and more by tapping on the button at the bottom of the screen that says ‘Modern 808’; this is the standard kit that the drum sequencer starts with. With the piano section, you can also pick organs, synthesisers and arpeggiators by tapping on the box that says ‘Grand Piano’ and choosing your sound from the multitude of presets.
Beat Sequencer
The beat sequencer is essentially a drum machine software. You can find it by scrolling to drums on the instrument selector and choosing ‘beat sequencer’. It allows you to create your own drum beat using a bar of 1/16 notes that loops. There are a number of drum sounds to choose from, like kick, snare, hats, toms, crash and ride, but also claps, tambourines, cowbells and other percussion elements. To change the sound of your kit, click the button on the bottom left corner. You can also add differing sections to your drum beats, so after the first bar plays, instead of looping it again, it goes to a second section. You can change the length of notes you want to use (going up to 1/32) and can swing your beat too. Changing the volume and velocity of each drum is possible, too.
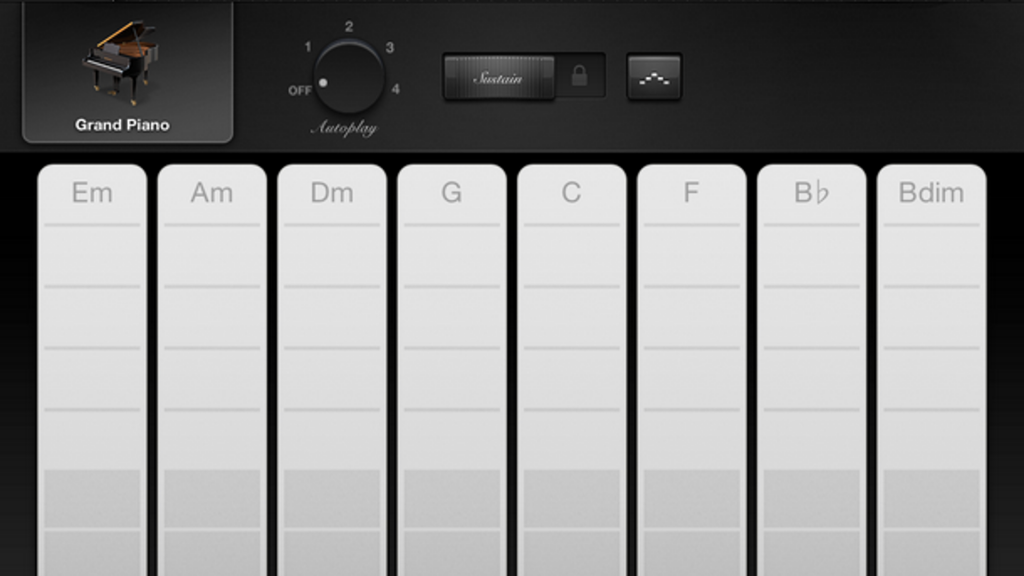
Using Smart Instruments
Smart instruments are a great way to produce music easily on GarageBand without knowing scales and chord shapes, as the whole screen had chords, inversions and chords in different octaves in any key you pick. For the workshop, we will probably stay in the C major key a this is the standard key that GarageBand loads the smart instruments in, and it is all-around the easiest key to understand on piano because of the absence of sharps and flats. However, we will avoid the 7th chord. With the smart instrument’s screen, you can swipe up and down the chord to make large sounding chords, or tap on certain tiles to play just triads, with the slightly darker tiles being bass notes.
Recording
Recording on GarageBand is very simple; you don’t need to arm instruments for recording, nor do you need to set inputs and outputs if you are using just the app and no outboard gear or hardware. To record, simply tap the red circle, and tap the square button once you have finished recording your section. To ensure the recording starts at the beginning of your song, tap the back-to-start button. Underneath the recording section is a bar counter; this is so you can record a certain amount of bars before you stop the recording.
Arrangement View/Looping/Quantizing
Seeing all of your tracks in one place is important as it allows you to see what and where things are playing on one screen. To go into arrangement view, tap the button on the top left of your screen with the lines and dots, made to look like regions. To loop a section, double tap on the region in arrangement view and tap ‘loop’. Apple’s website tells users how to use certain features within GarageBand, including quantization:
Tap Track Settings, then tap Quantisation. Quantisation values appear in three categories: Straight, Triplet and Swing.
Tap one of the categories, then choose the note value you want to quantise the regions to.
Use the track controls in GarageBand for iPhone, n.d.
Recording Vocals
Recording vocals is slightly different to using the other instruments as before you were working with MIDI, and now you are working with actual sound. Therefore, before you start any voice recording, find a quiet room that is fairly soundproof so you can get a high-quality recording from the iPad’s microphone. To record vocals, choose the ‘Audio Recorder’ from your instrument picker. From here, you can use the studio settings or the ‘fun’ settings; the fun section giving your vocals a bit more silliness and experimental features. The studio setting has different presets for different genres of music, for example, you could add heavy autotune, sound like a choir, at lots of reverb and more. You also have the option to change the input and output settings here, so if your vocals are not being picked up, you can raise the input level. If your vocals are too quiet in the mix, you can raise the output level. The recording element is the same as recording in MIDI.