Being ergonomic And Improving Workflow In A Home Studio
-Sell equipment you don’t use anymore. Alternatively, you could have a storage box for the equipment you don’t use often so it is not clogging up the desk all the time. If you feel that there are things you use a lot but don’t quite have the space for them, build your workspace upwards; use racks and stack things on top of each other. Have certain things like a keyboard or launchpad close to you as you will be using these the most. You could even have the launchpad on a laptop stand to make it easier to use and reach.
-You will find that a home studio uses lots of wires which go behind the desk. Make sure you sort these out and know where each one is going; give them labels and group wires that lead to the same hardware using Velcro wire ties. Have designated hooks or boxes for different wires that don’t get used all the time so they don’t get mixed up. Test the wires regularly and if you find broken ones, throw them out! They will get muddled up with working ones if they go back into storage and using broken electrical equipment can be dangerous for both you and your hardware.
-Rooms in houses often don’t have great acoustics, especially if you are wanting to record things like piano, vocals or drums as there can be unwanted echoes from sound waves that bounce off the walls in the room. To avoid this you could install bass traps in your room. These are foam pads which can absorb these sound waves, meaning fewer echoes! having a rug or a carpeted floor would help for the same reason. ‘Clouds’ are often used in higher-end studios as they are not vital, however, they reduce the height of the room, getting rid of sound reflections from the ceiling.
-Make sure the monitor speakers are angled correctly, and make sure you have two so you can have stereo music and panning on your tracks is more noticeable. If the speakers are angled away from you, the sound quality won’t be as good and this causes problems when it comes to mixing and mastering. To help this, get a comfortable swivel chair which you are prepared to sit in for hours, and match the height of the chair to the speaker’s height so your ears are as close to the speakers as possible.
-You must have a monitor in a modern studio, as this is where most of the production will take place. Having a good resolution monitor, fast computer, a lot of storage and a DAW allows you to create music much easier. Having two monitors is also helpful as you can have two screens up at once, and switch between the two. For example, you could have your main DAW on monitor one, and your plugins on monitor two. A laptop can be used instead of a second monitor, and these are necessary as they are portable.
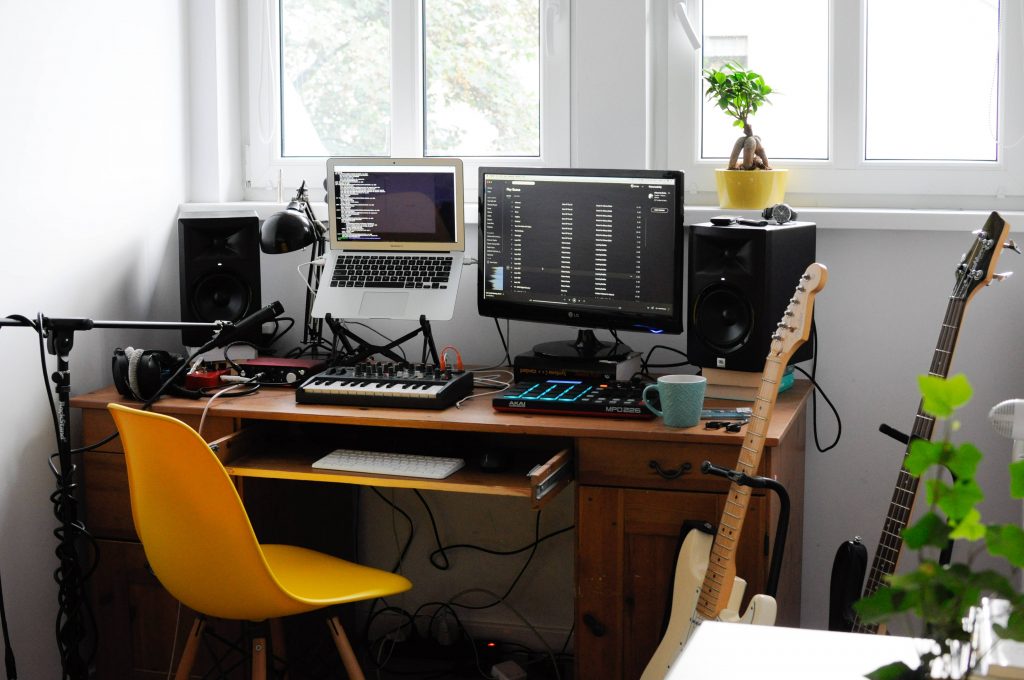
My Ideal Home Studio
An essential in a home studio would obviously be an audio interface, especially if you are wanting to record. An audio interface allows you to input sound into your computer or laptop in a digital form that it will understand and process, so then you can use your DAW to edit it. It is almost like the middle man of a small recording setup as, without it, you could not get good quality audio recordings onto your computer or laptop. I have an audio interface (Focusrite Scarlett) at home which I use to record guitar and drums, and sometimes acoustic things with a condenser microphone.
To go with the audio interface, a set of good quality drum mics would be good as then I can professionally record all of the parts of a drum kit separately. Recording different parts separately means that you can put different effects on different drums and EQ the whole drum kit differently. You can also pan the drums in a way that they would be heard in real life. Using drum mics is better than using a normal microphone as the mics that are close to the drums are dynamic microphones, and are specialised for a certain frequency. Overhead microphones are condenser ones, and these pick up the whole drum kit, but mostly the cymbals. I already have a set of Shure drum microphones, however, they are not always set up because I don’t have enough space for them all the time.
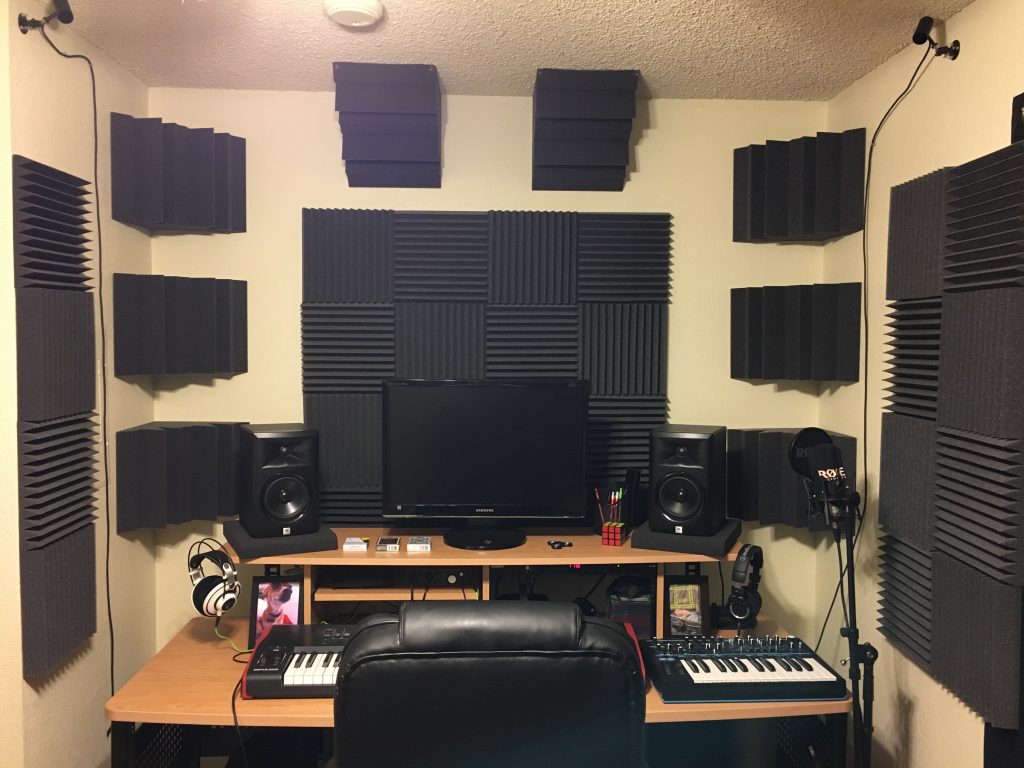
As I will be recording drums a lot of the time, I would want some form of effective soundproofing like a carpeted floor and bass traps/foam pads on the walls. This will make sure that the acoustics are much better and there is less of an echo when recording with mics. Here is a good example of bass traps and foam pads placement to disguise the echoes the most effectively:
I think I would prefer a launchpad over a midi keyboard as I think they are much more experimental and more engaging in both its looks and what it can produce. As well as programming drums into it, you can also do the same with pitched instruments, making it easy and entertaining to create unusual melodies and chords with it.
Monitor speakers are important in a studio set up so you can listen back to your production in high quality. Headphones are also important for direct monitoring when you are recording and being able to listen back on your work in different ways. For example, it might sound amazing through your headphones but when you listen again through the monitor speakers you might discover that it doesn’t sound quite right; the sub-bass might not be as prominent and you might find the treble is too high. Then, you can go into your DAW and fix this so it sounds good through both things.
With all of these, I would like to create songs that involve actual recording, which is why I chose an audio interface so I can record guitar and drums into my DAW. However, I am also interested in producing electronic music and using midi instruments, so a launchpad would be great. Launchpads can input both pitched sounds and percussion, making it easier to produce both beats and melodies/chord progressions.
Patch Bays, Analog Effect Racks and Modular Synthesisers
A patch bay is a piece of equipment that is basically the middle man of your home studio. Usually seen in professional recording studios more than home studios, it’s very helpful as, with the help of a D-Snake, it means there is only one cable travelling from the live room’s snake to the control room’s patch bay, and then you connect all of the microphones to the recording interface. Basically, it takes sound outputs and inputs them into different hardware’s.
Effect racks are less popular now because of software plug-ins that can replicate these analog effects into digital ones, however, many people still use them. For example, the sound might come out of the patch bay and go into an analog effects rack using a patch cable. If you want to put another effect on top of this one, you send another signal through the pre-existing effect using another patch cable to the desired one. Analog racks have dials on them, allowing you to change how that specific effect sounds.
Modular synthesisers are similar to effect racks as they work in comparable ways. Both have input and output sockets that use patch cables and are used to modulate a sound, however, modular synthesisers have many more input and output sockets that allow you to change the sound in general, but also its parameters. The idea behind using a modular synth is being able to produce a sound that is totally unique and can’t ever be created again. This is because there are so many different sounds that can be made; one slight touch of a dial or moving a patch cable to another module would change this sound completely. Fundamentally, modules can be stacked onto each other to change a parameter of a sound; one module can control another, and so on. No effect rack would be able to do what a modular synthesiser can do as the technology behind them is much more complex. Musician and YouTuber Andrew Huang has made many songs using modular synthesizers, and he explains in this video what they are really well:
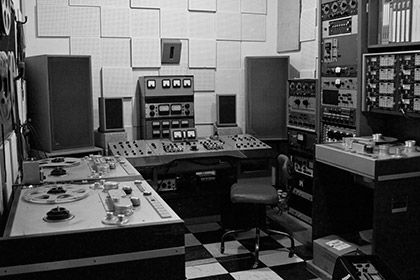
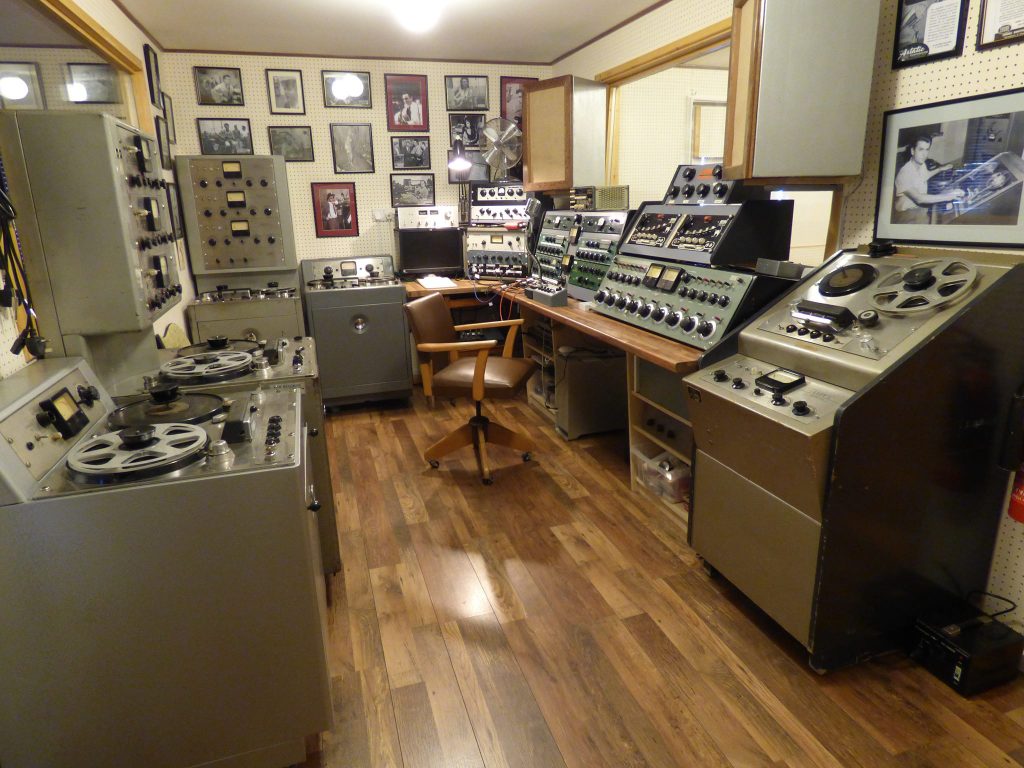
Recording Studios In The 50s/60s
In the 50s and 60s, studio sessions consisted of recording the whole song and all its parts together until they get a perfect take. The song would be recorded into a tape and then deleted if that take wasn’t good enough. Doing this was the most efficient way to make a record at the time. Home studios didn’t exist and renting out studios were very expensive! Many people had to work in the studio, adding to the expense; there used to be engineers who would only handle the hardware and modulators. The engineers would be considered scientists as nobody else knew how to use this technology, and many of them actually wore lab coats because of this! In these decades, as computers weren’t invented, mixing and adding tape modulations would be done through huge pieces of hardware instead of using software plugins like today. People argue that the kit from the 60s can never be emulated by a computer but it’s a no brainer that it is much easier to use and is obviously portable. These are some examples of a control room from these decades:
After a take is agreed with between the artist/group and producer, it is taken off the tape and turned into a record. After the grooves have been pressed into the record, it is sprayed with a very thin layer of aluminium to guarantee it does not fill the grooves and is coated with nickel. Then, it is separated from the other materials that were initially used to copy the grooves onto the final record. Each disk has to be checked for faults by breing played and if there is any sort of crackle, the record stops playing and is checked by examiners to see if it can be fixed. After this, it is finally coated in plastic to protect the metals and grooves and is ready to be sold.