Idea Generation
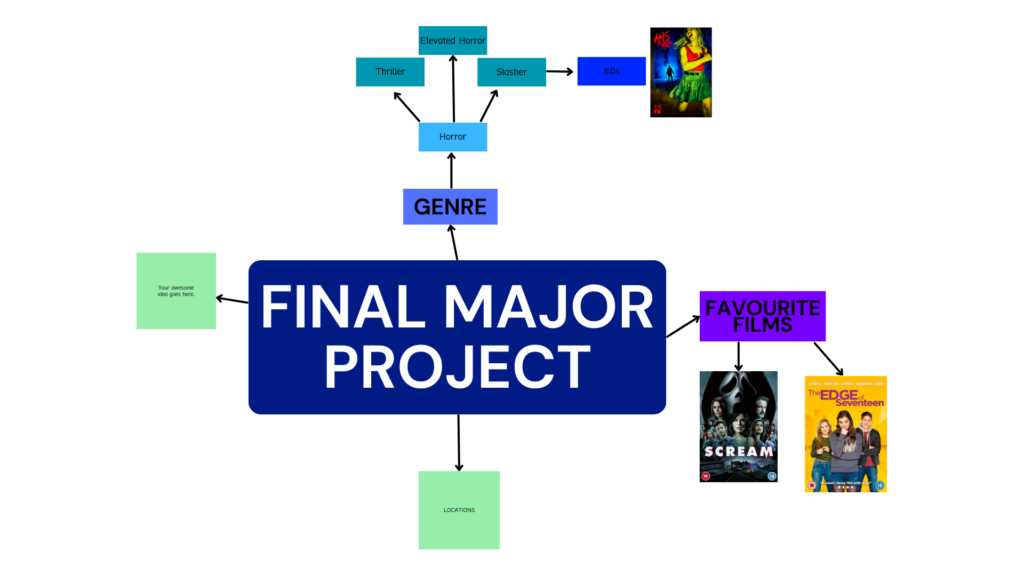
I had various ideas running through my head, so i decided to brainstorm them by creating a mind map to help me figure out which idea i wanted choose for my final fmp idea. I had the idea of continuing to post on my vlog youtube channel from the last project. The strengths of this idea that, it will help me reflect more on project 3 and help me improve my communication skills. On the other hand, i had issues with uploading and editing due to filming on my phone, so i don’t want to risk the chance of them issues happening again.
Presentation


Presentation Feedback
Strengths:
“Good use of information”
“Spoken clearly”
“executing and idea he’s good at knowing information about”
“good research and explanation”
“good collaborations with others”
Points of development:
“What practical skills will you use?”
Proposal
Research
For my project, i have decided to make a a short film within the genre of horror/slasher, set in the 80s.
A short film is a platform to showcase talent, as a lot of actors have started their acting careers by appearing in short films. Short films are mainly set within the horror genre as they have the ability to create suspense, fear and unease, within a short amount of time.
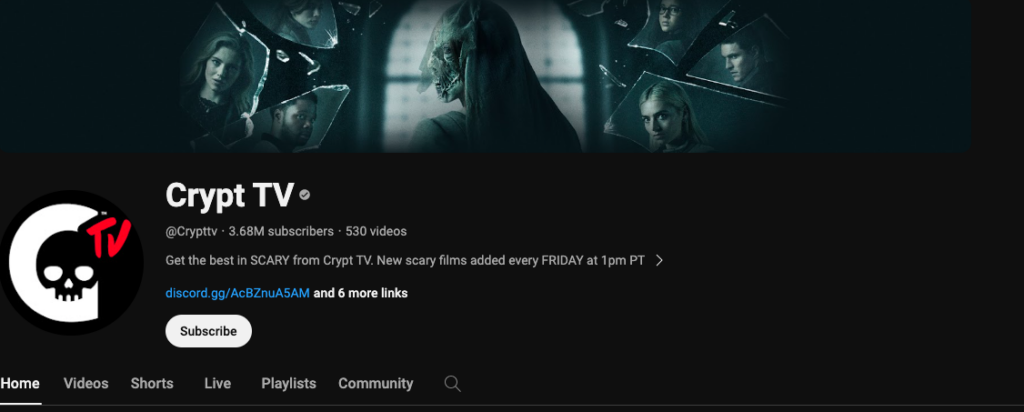
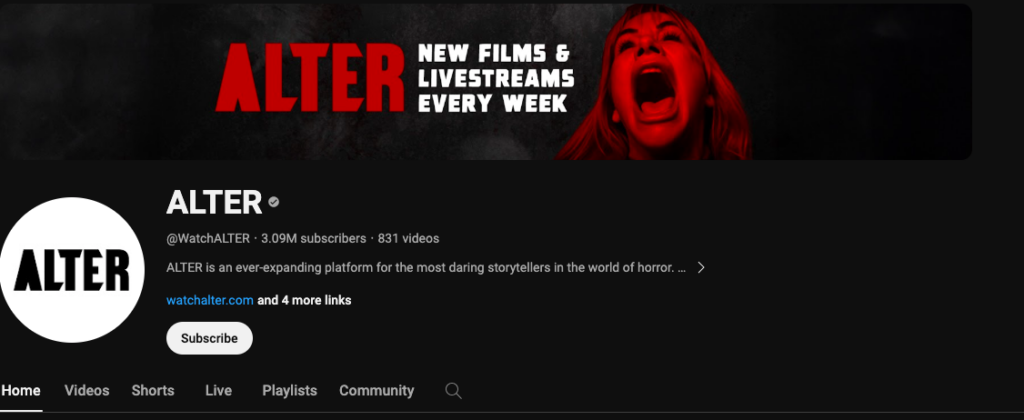
I watch quite a lot of short horror films in my spare time, and they have given me inspiration in many ways. Short Film channels like “ALTER” and “Crypt TV”, use different methods to portray horror within their short films.

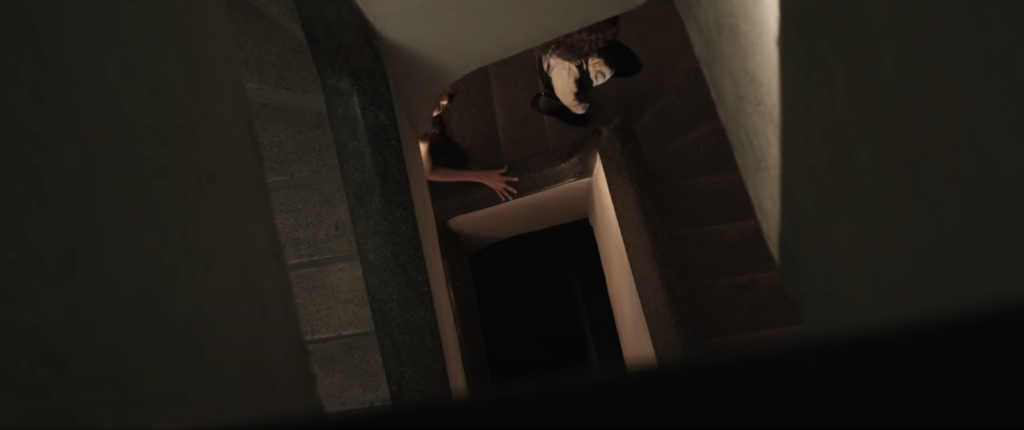
They create suspense and thriller, by using different techniques like using different tones and colour corrections whilst editing, to create a more spooky, horror effect to the production. I think this is effective as colour grading has a big participation in creating the horror effect that a horror production should have.
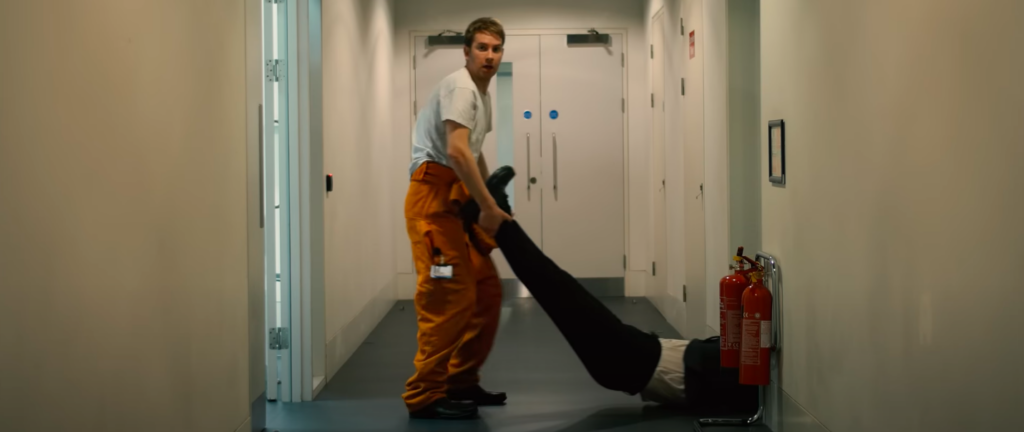
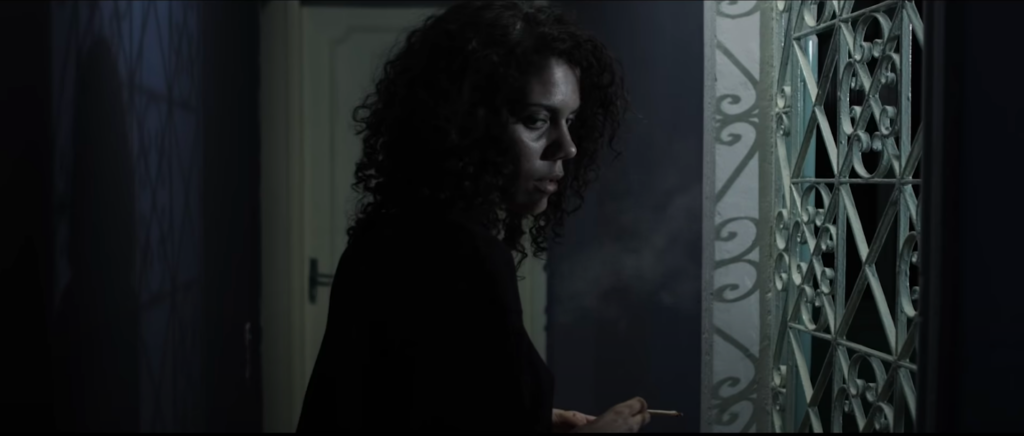
This is shown to be very different to other colour grading within different genres of film. For example, the difference between a comedy short film and a horror short film within colour. Comedy movies are created to be bright, full of life and exciting whereas horror movies are created to be dull, dark and to give suspense in every scene. For comedy it is used this way as it gives the effect of comedic excitement, so viewers are pulled in. Whereas horror, it is used like that to give the effect of suspicion, so the viewers are fearful but still wanting to keep their eyes on their screens.
I think i will use this technique as i think it will effectively the audience exactly what type of film they are watching.
I am going to use this technique depending on quality and lighting turns out from the cameras and only in scenes that i feel like that needs to be given the sinister effect it needs.
Horror films mainly revolve around a threat, supernatural or endangerment for the main characters throughout the whole film. Horror films usually explore themes like survival, loss, revenge, redemption etc.
As i am producing a 80s slasher, the themes that i will be exploring within this film will mainly be survival, loss and redemption.
Film Production Research
Knowing limitations within film production can actually help turn ideas into films. It is therefore important to pinpoint the dramatic needs of the character and working that into the characters.
Angles:
Adjusting the height and angle of the tripod and the camera, allowing for very different perspectives.
Types of shots:
Wide Shot – Wide shots are used as establishing shots, giving the viewer more information by revealing as much as possible in the frame giving the audience an instant sense of intellect about the location and time the scene is set in. They create a sense of scale and help orient the viewer.
Medium Shot – Medium shots frequently frame one or two individuals from the waist up to slightly above the head. This approach provides viewers with an impartial perspective, drawing their attention to specific elements you wish to highlight.
Close Up – Close Ups are to draw the audience’s attention. It is also used to give a particular significance to a gesture or reveal a pertinent piece of information.
Point Of View – Point Of View shots (POV), are used to create a subjective viewpoint, showing the audience exactly what a character is seeing.
Single Shot – A single shot is a shot of just one character, used in a scene in which only one character appears.
Tracking Shots – Tracking Shots are when the camera moves, allowing it to travel over a chosen distance and it creates the illusion that the camera is gliding. This shot is normally used when a character has motion.
Extreme Close Up – Extreme Close Ups can be used to draw attention to much smaller details, such as an eye or a mouth movement that may not be obvious in other shots.
Soundtrack:
Whatever the style the music is, films generally contain a central theme or melody. The musical themes are sometimes broken down further so that each of the main characters has their own accompanying theme. It is also crucial to make sure that it makes the genre and the theme of the film.
Producers:
Producers usually share their duties with the director, like script development/breakdown , scheduling and ensuring equipment is booked and locations are ready for filming.
Directing:
Directing involved in every step of the entire production, especially collaborating with other creative individuals. Working with actors can be a difficult undertaking and it really lies in the ability to cast the right cast that fits for the characters and the genre of the film. Communication with actors is key for a director and important for them to communicate as naturally and clearly as they can. Directors also have the duty of making sure actors have time to learn their lines and develop a performance by holding read-through sessions and rehearsals to help actors get into character ready for when filming starts.
Equipment:
Camera – The choice of camera significantly impacts the visual appeal and aesthetic presentation of a short film.
Most common cameras for short film makers:
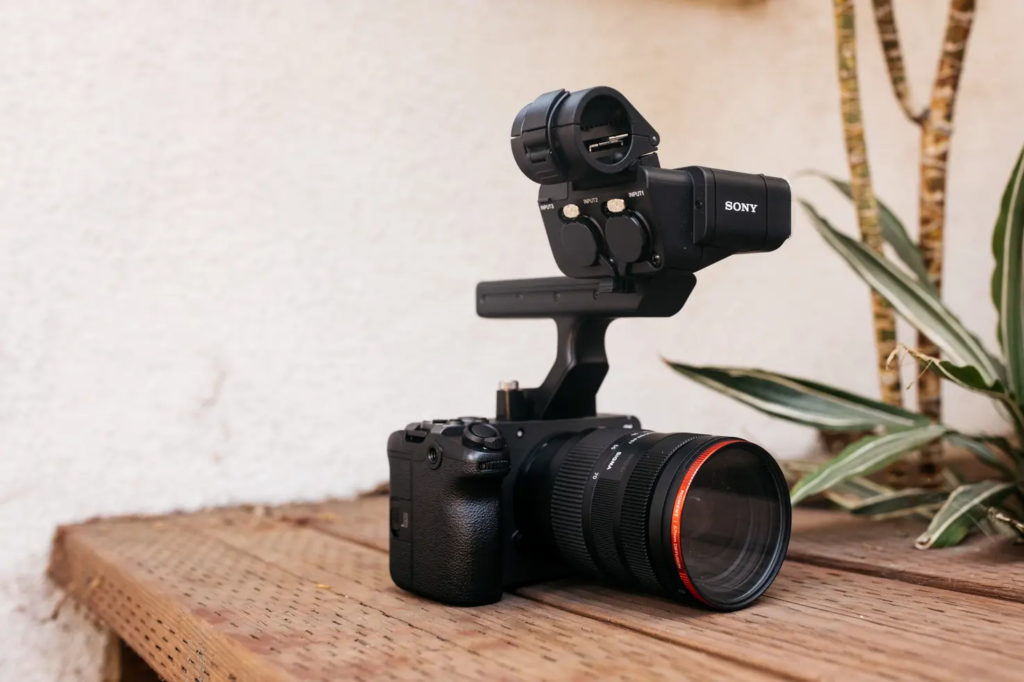
Sony FX3

Sony FX3, can record 4k resolution video up to 60 frames per second, making it ideal for capturing fast-paced action shots, with the ability to record up to 120fps. For audio, the camera features two XLR inputs with 48V phantom power, providing with professional audio quality.
Blackmagic Camera

This camera offers a super 35 size sensor with up to 6144 x 3456 resolution and 13 stops of dynamic range, making it ideal for capturing stunning Hollywood-level images in both HD and Ultra HD. The camera also features advanced colour science that allows you to capture true-to-life colours. The built-in ND filters allow you to adjust the light entering the camera and capture scenes with more creative freedom.
Sony A7 IV
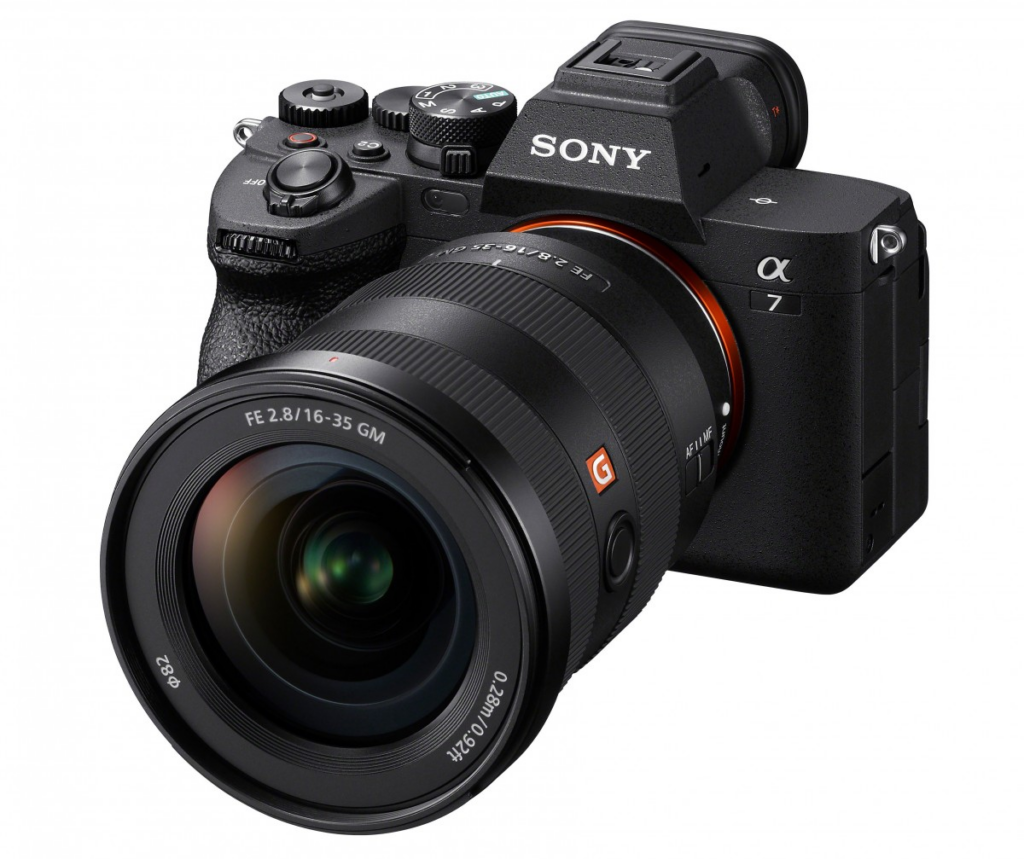
The A7 IV has 4k recording and 120fps slow motion options. Equipped with various shooting aids like Eye AF, Real-time Tracking, and an advanced hybrid autofocus system so good its unreal.
Canon EOS R7
The canon EOS R7 equips a full-frame sensor that provides high-quality 4k video capture. This allows to capture visuals with a level of detail and clarity that is hard to find in other cameras in its price range. It has a robust autofocus system that makes it easy to compose your shots quickly and accurately. This camera has dual control dials and a menu that you can customize.
Harvard Reference:
Moment. (2023). Top Cameras for Beginner Filmmakers | Sony, Canon, Blackmagic, & More. [online] Available at: https://www.shopmoment.com/reviews/top-cameras-for-beginner-filmmakers-sony-canon-blackmagic-more [Accessed 14 Mar. 2024].
Microphones:
Boom
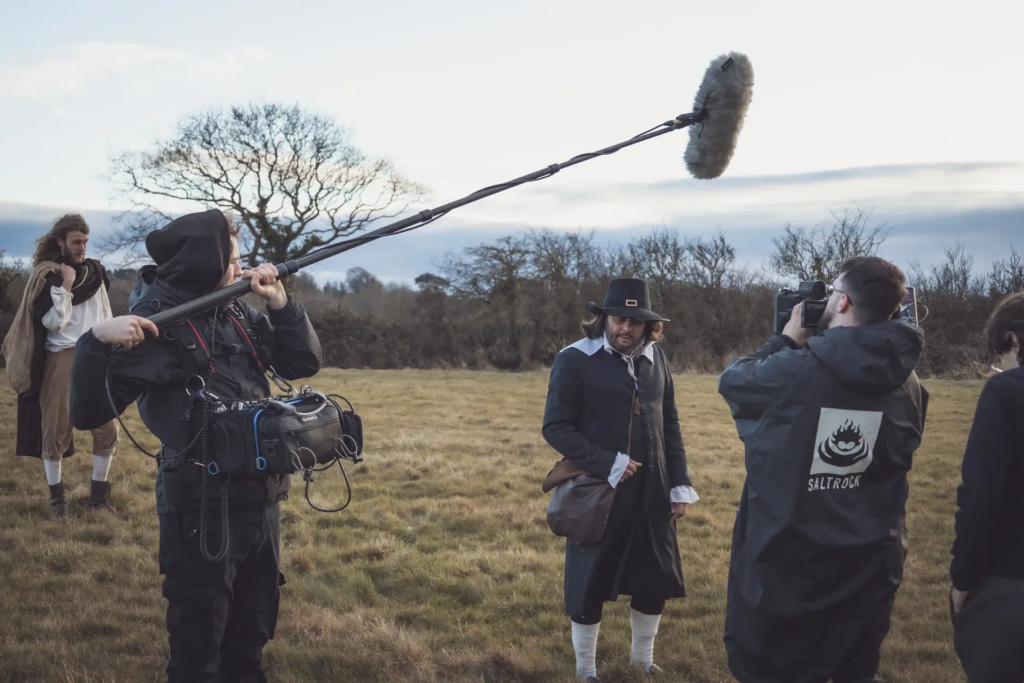
A Boom is a microphone attached to an extendable pole. A Boom mic has a greater amount of control when recording dialogue rather than the extraneous sounds.
On Body

On Body Mics are small microphones known as clip on microphones can be attached to the clothing of the actors. These mics have the advantage of being small and concealable, but the disadvantage of picking up additional sounds, such as the rustle of an actors outfit due to movement.
Shotgun Microphone

A shotgun microphone captures sound from a targeted direction while reducing noise from surrounding directions.
Tripod:
Offers stability and enables steady filming, crucial for static shots, panning, tilting, and ensuring frame consistency. Tripods are available in varied sizes and weight limits to adapt various camera arrangements.
Lighting:
Effective lighting is essential for creating the ambiance, atmosphere and highlighting equipment. This involves using a range of light sources including tungsten, LED and HMI lights, along with light-shaping tools such as reflectors, diffusers, and flags to manipulate and manage the lighting environment.
Lighting has different fundamental techniques.
Three-Point Lighting
Three-point lighting is a technique that uses three light sources to illuminate the subject and create a well-balanced and visually appealing scene. Three types of lights that are used in this set up:
Key Light – The key light is positioned to one side of the camera and slightly above the subject’s eye level, aiming at the significant contrasts and shadows.
Fill Light – The fill light is often used to soften and reduce the shadows created by the key light, preventing them from being too harsh or distracting. It is placed on the opposite side of the key light, at a lower intensity. The light gently illuminates shadowed areas to provide a more balanced exposure across the subject’s face or the scene.
Back Light – The back light is positioned behind the subject, usually opposite the key light, and is aimed towards the subject. This is to outline the subject, separating them from the background and adding depth to the image.
Flat Lighting
Flat lighting includes creating a soft, even light and modestly casts shadows, resulting in a uniform and flattering illumination. Softness is Key, the essence of flat lighting is in its softness, which minimizes shadows. The bigger the light source, the softer the light. It’s useful in genres where detail and clarity are paramount, and the subject’s natural features should be presented in a straightforward, flattering manner.
Loop Lighting
Loop lighting is a popular lighting technique in portrait photography, known for its versatility and flattering effects. A small shadow of the nose that loops down towards the corner of the mouth, creating a natural, dimensional look. This is effective for a wide range of subjects, providing a dimensional look that is neither too dramatic nor too flat.
Rembrandt Lighting
Rembrandt Lighting is a technique that creates a dramatic and moody effect, characterised by a small triangle of light opposite the light source. It is ideal for creating evocative and dramatic portraits, emphasising depth, texture, and the three-dimensional form of the subject.
Directors
A director is a management professional who holds a role in an organization, responsible for overseeing specific aspects of the business operations. The position typically involves a high of authority and responsibility, as directors are charged with ensuring that their designated areas align with the overall goals and objectives of the organization.
Steven Spieldberg
The most famous movie director in the United States is Steven Spielberg. Spielberg is widely regarded as one of the founding pioneers of the New Hollywood era, a movement that transformed the film industry in the late 1960s and 1970s by introducing new themes, innovative storytelling techniques, and a focus on director-driven projects.
Steven has played a significant role in the business side of the film industry. He is a co-founder of several influential production companies, including Amblin Entertainment. Amblin has been responsible for producing many beloved films, such as “E.T. the Extra-Terrestrial”, “Back To The Future”, and “Jurassic Park”.


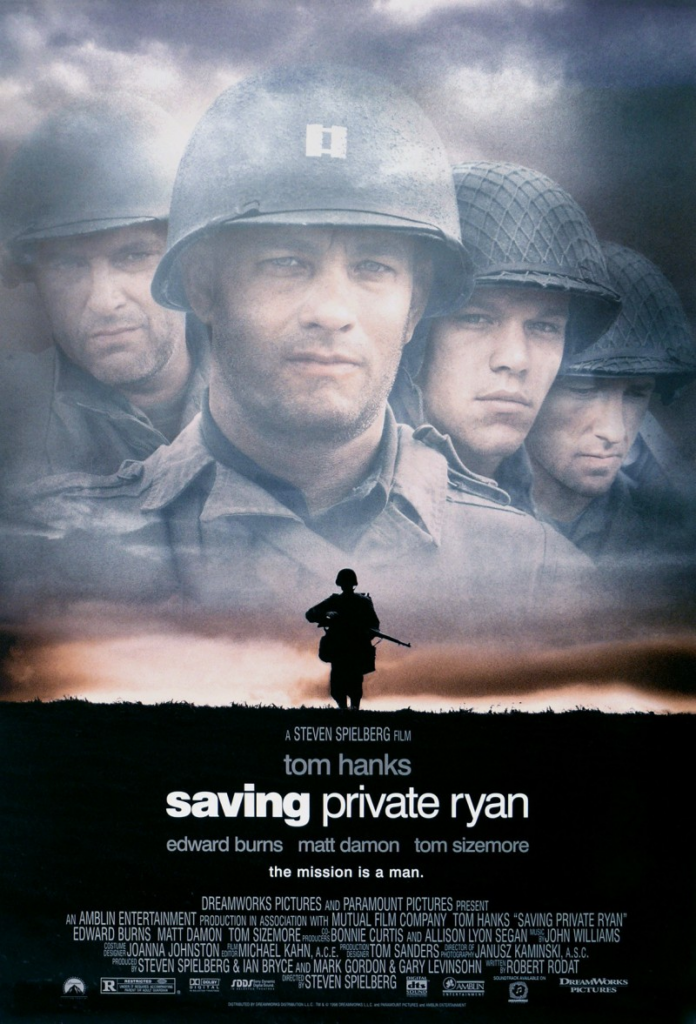
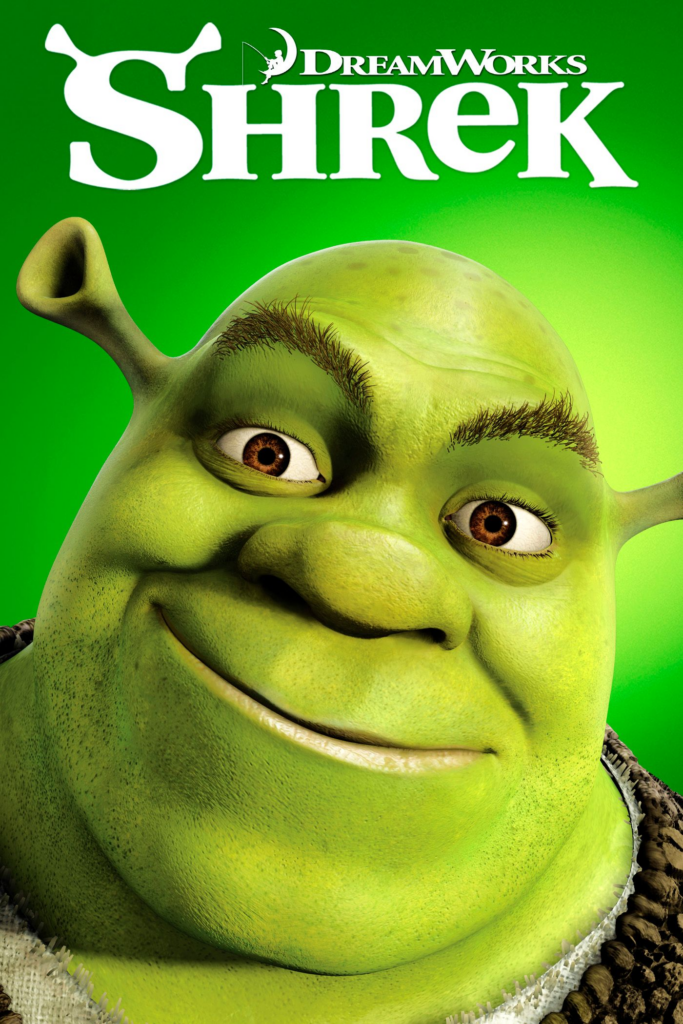
He also co-founded DreamWorks Pictures in 1994, alongside Jeffery Katzenberg and David Geffen. DreamWorks quickly became major player in the industry, producing acclaimed films like “Saving Private Ryan”, “Gladiator” and “Shrek”.
Wes Craven
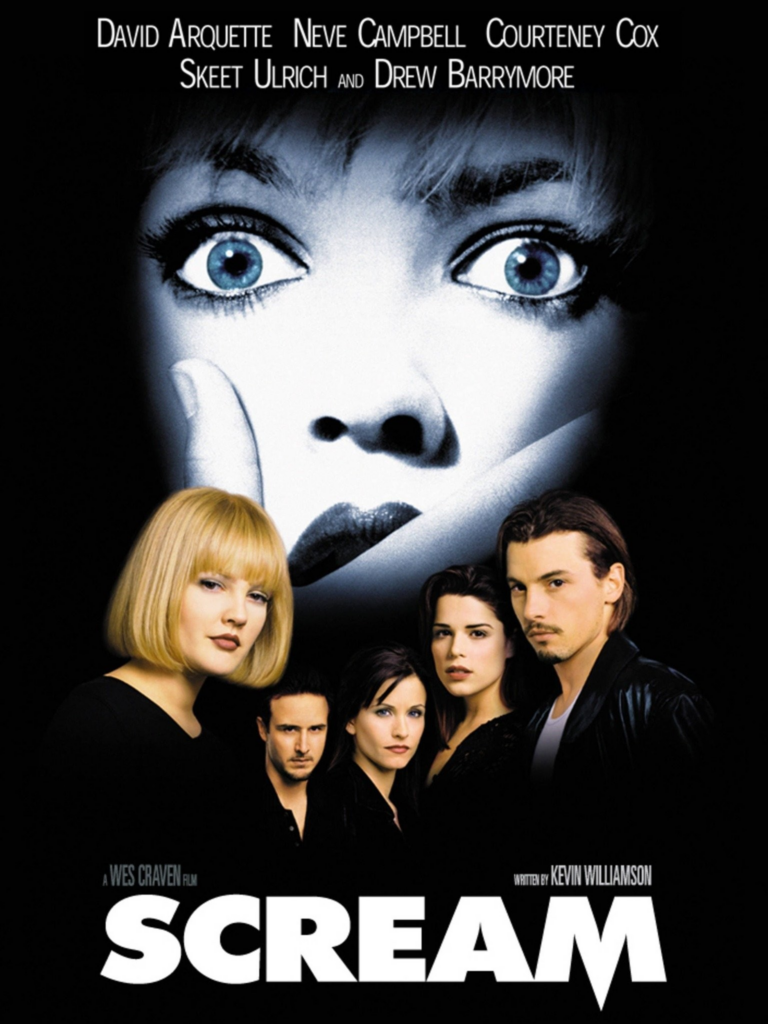
A director that inspires me is Wes Craven, who is the director of the “Scream” Franchise movies 1-4. Wes Craven was an American film director, screenwriter, producer, editor, and actor, renowned for his significant, contributions to the horror genre Over the course of his prolific career, he left an unforgettable mark on the film industry, not only through his distinctive directional style but also through his work.
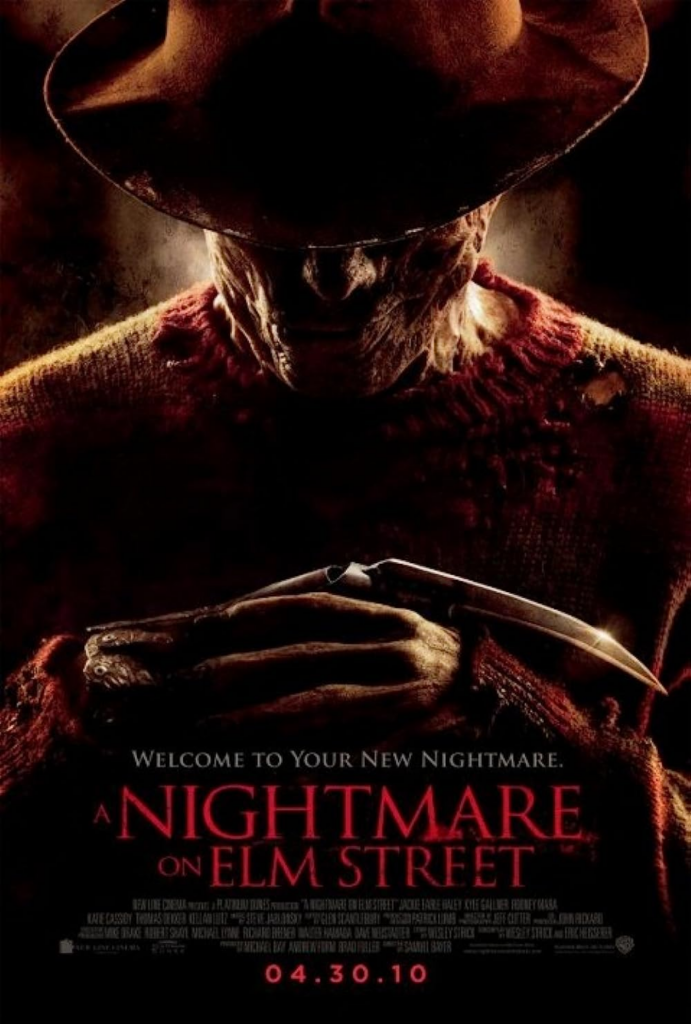
Craven is best known for creating some of the most iconic and influential horror films in cinema history. He was the mastermind behind the “A nightmare on Elm Street” series, introducing audiences to the terrifying character Freddy Krueger. Additionally, he directed “Scream” series, which revived the slasher genre in the 1990s with its self-referential style and sharp commentary on horror film conventions.
Inspiration
The inspiration i am taking for this film is from the whole movie franchise “Scream” and American Horror Story: 1984.

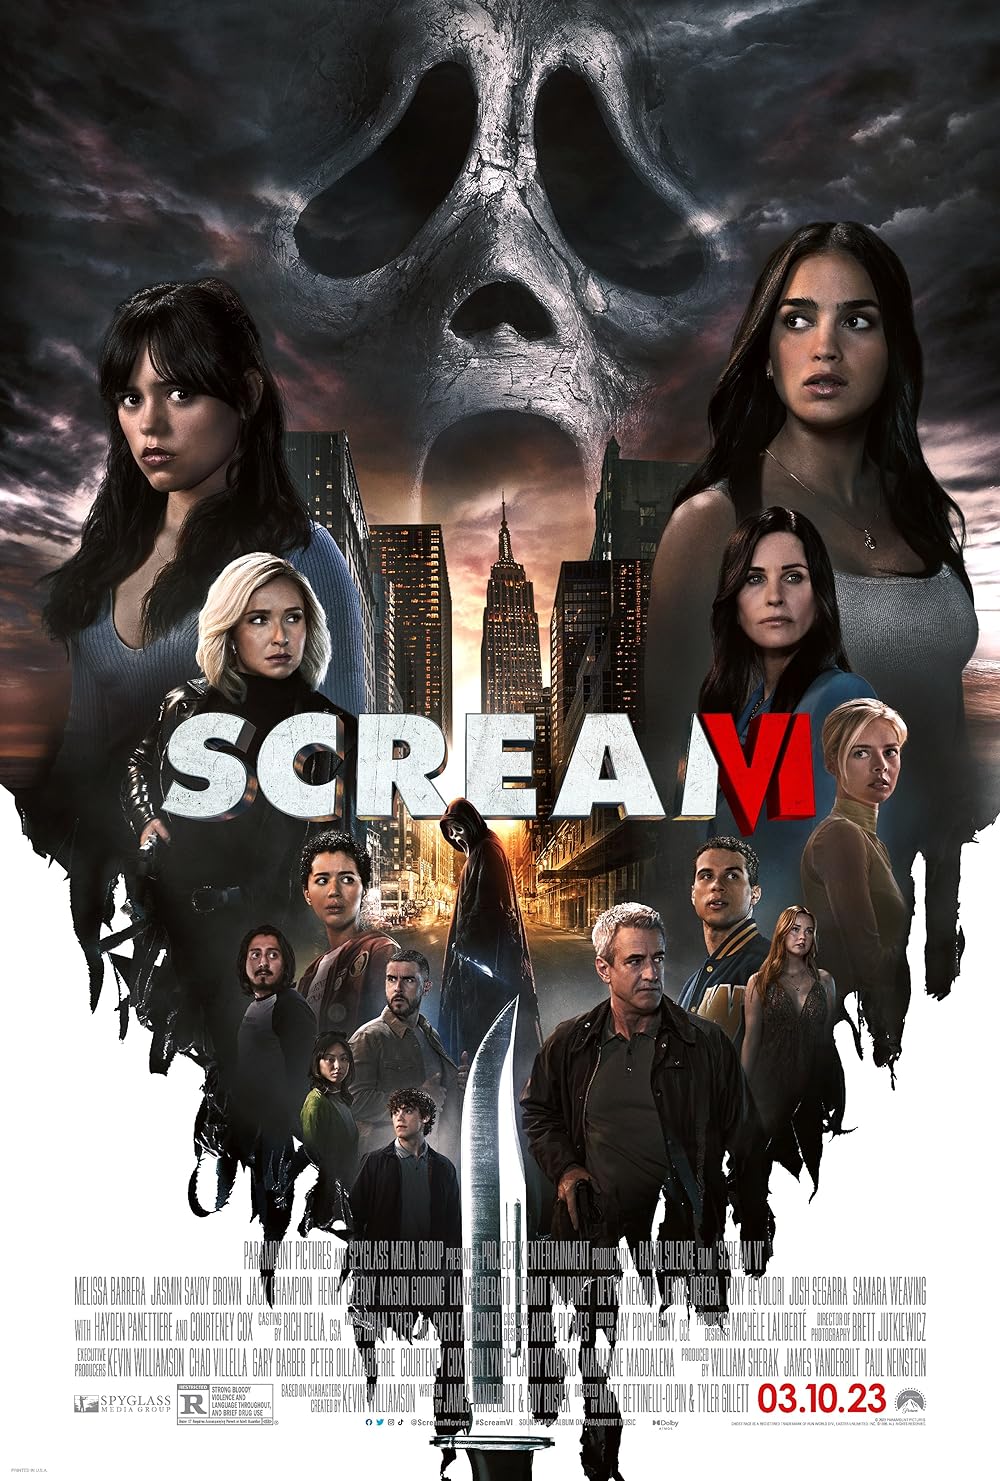
Scream is a well written franchise renowned for its inventive and creative kill scenes. I am taking inspiration from the kill scenes used in these films as i would like to experiment with fake blood and see how realistically i can recreate them. The creativity and detail in these scenes have always fascinated me, and i am eager to explore the techniques involved in making them appear authentic on screen. Several particular scenes have caught my attention, such as the mouth stab and eye stabs.
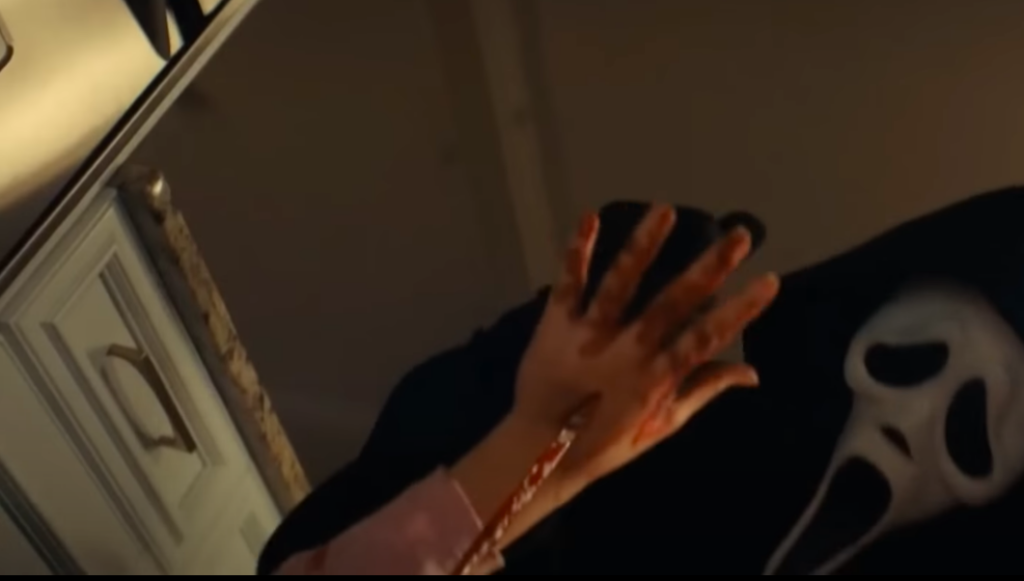
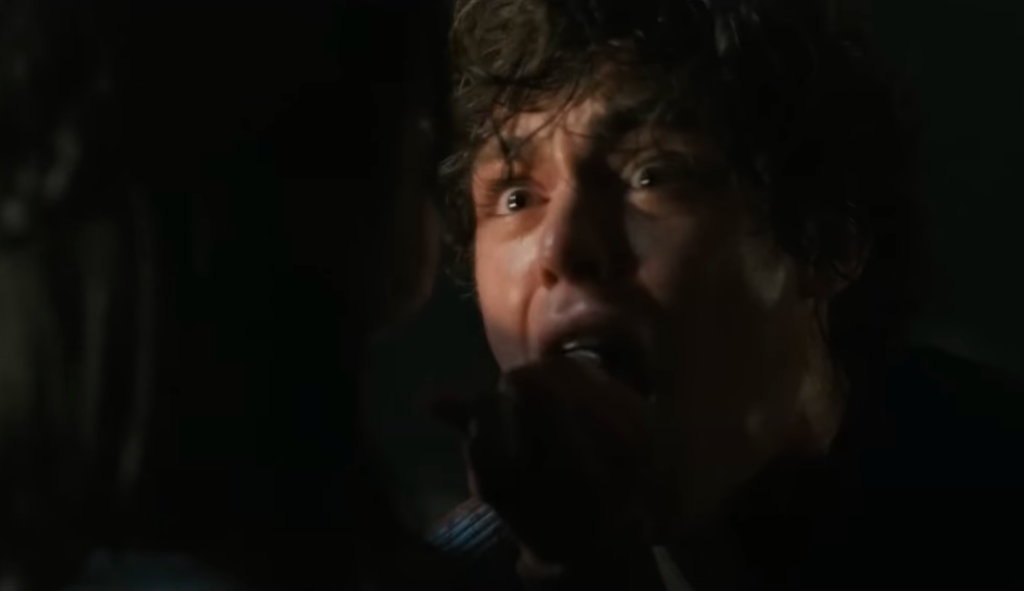
These specific scenes stand out to me because of their intense visual impact and the challenge they present in terms of special effects and makeup. By working on replicating these dramatic moments, i hope to enhance my skills in practical effects and bring a high level of realism to my film.
I had an idea of starting the movie with a kill scene, similar to the openings of the first Scream movie and Scream 5. Both of these scenes share certain aspects and shots that i plan to combine into one, incorporating my own characters and settings. This approach will set a gripping tone for my film right from the beginning.
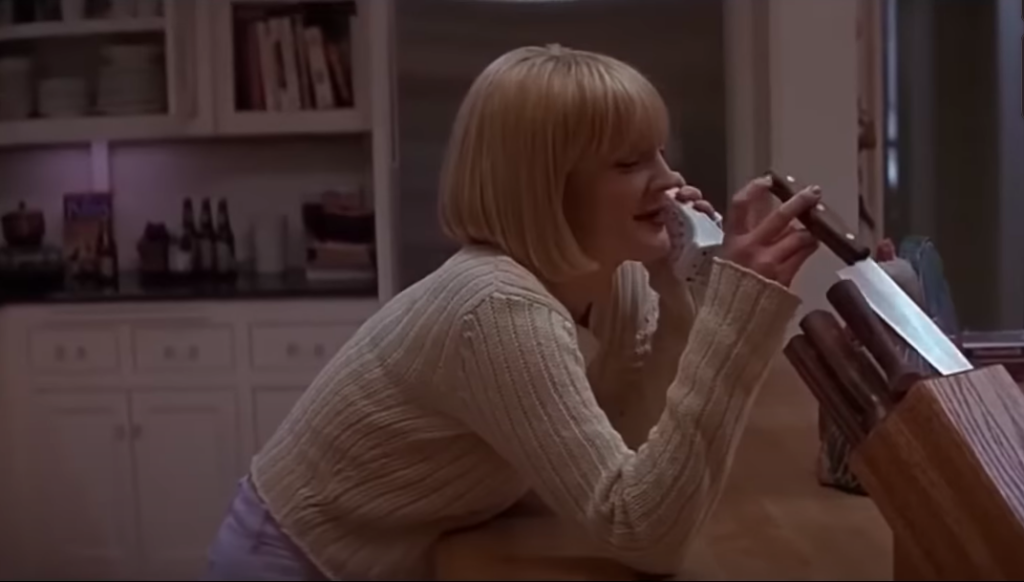
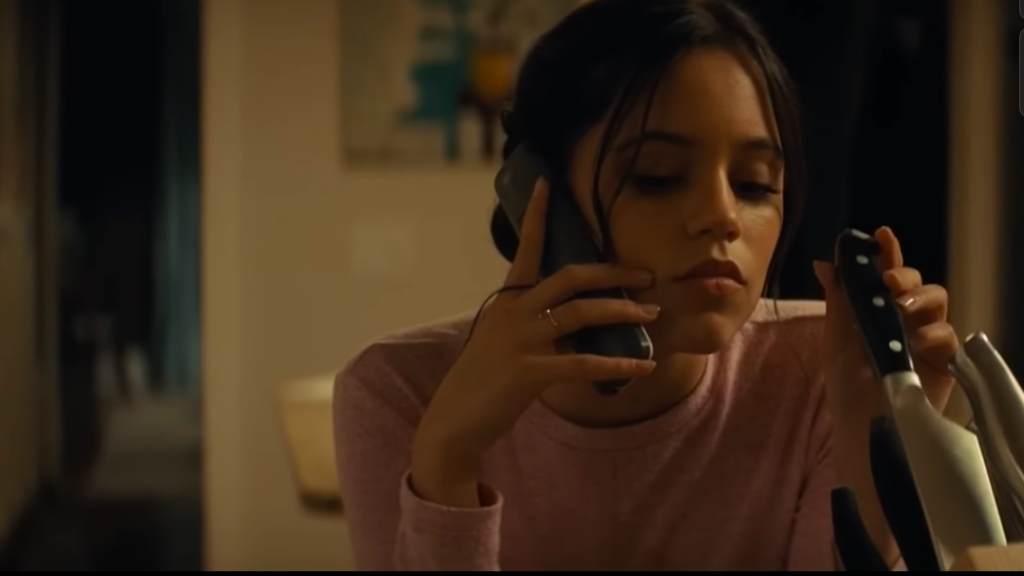
Harvard Referencing
MoviesDestination. “Scream (2022) / Opening Scene / Tara Attacked by Ghostface.” YouTube, 14 July 2022, www.youtube.com/watch?v=EOQ6el9AC9I. Accessed 21 Aug. 2023.
I am also taking inspiration from “American Horror Story:1984”, which is set in the 1980s and centres around massacres and killers. This series has a distinct aesthetic that beautifully captures the era, and i find the outfits particularly inspiring. The bright colours and classic 80s vibe of the costumes add a unique visual appeal that i want to incorporate into my own work.


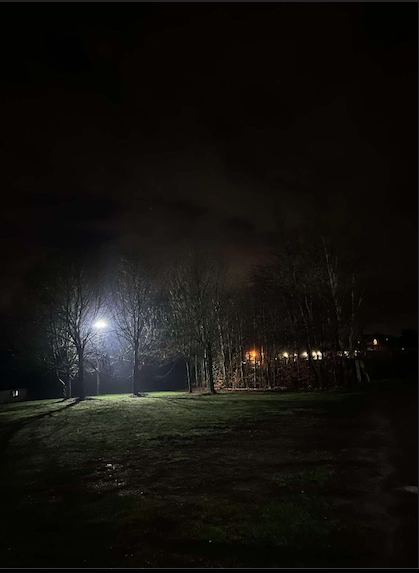
Additionally, the series excels in creating a dark, atmospheric tone that enhances the horror elements of the story. The settings, often portrayed as dark woods during the night, contribute significantly to the overall eerie and suspenseful mood. This particular aspect connects with me, and i am planning to set my project in a similar environment. By choosing a dark wooded area at night, i aim to evoke the same level of horror and tension. This setting the perfect backdrop to amplify the frightful impact of my scenes, ensuring that they deliver the chilling effect essential for a successful horror narrative.


Pre-production
Script
Risk Assessment
Cast
Callum Jefferson as “Brad”
Hannah Grace as “Stacey”
Levi as “Heather”
Bethany Farman as “Jessica”
Aaron Emery as “Chris”
Phoebe Grimes as “Jamie/Killer”
Codie Regan as “Samantha”
Sam Lawrence as “Stranger”
Camera & light Crew
Kenzie Duncan and Shumona Motin
Location Planning
I am planning on filming in a woods down the road from where i live as i think it is easier for the cast to meet up with me and it is much easier for me to get the equipment on set with the help of the crew.
equipment
Panasonic 151 Kit (Mic & Tripod included)
Fake Arm & Fake Foot
2 lights (tripods included)
an SD card
Fake Blood
Fake Blood Capsules
80s styled Outfits
Fake Cigarettes
80s styled BoomBox
Fake Knifes
Fake Axe
Collaborations
I will be collaborating with the actors and camera crew and also with a few students on the Media Makeup course at our very own Bradford College. I will also be collaborating with one of my good friends Kelsey Collinson,
Story Board
Mood Boards
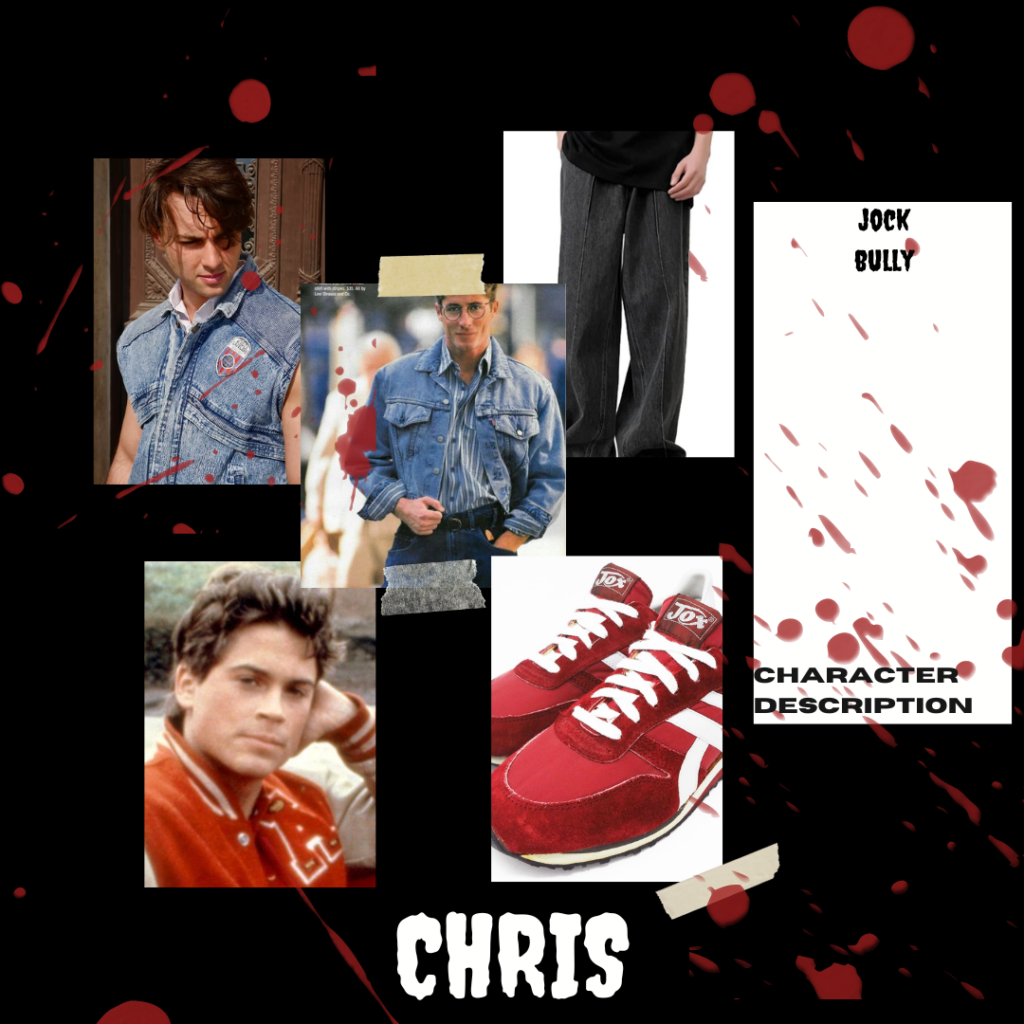
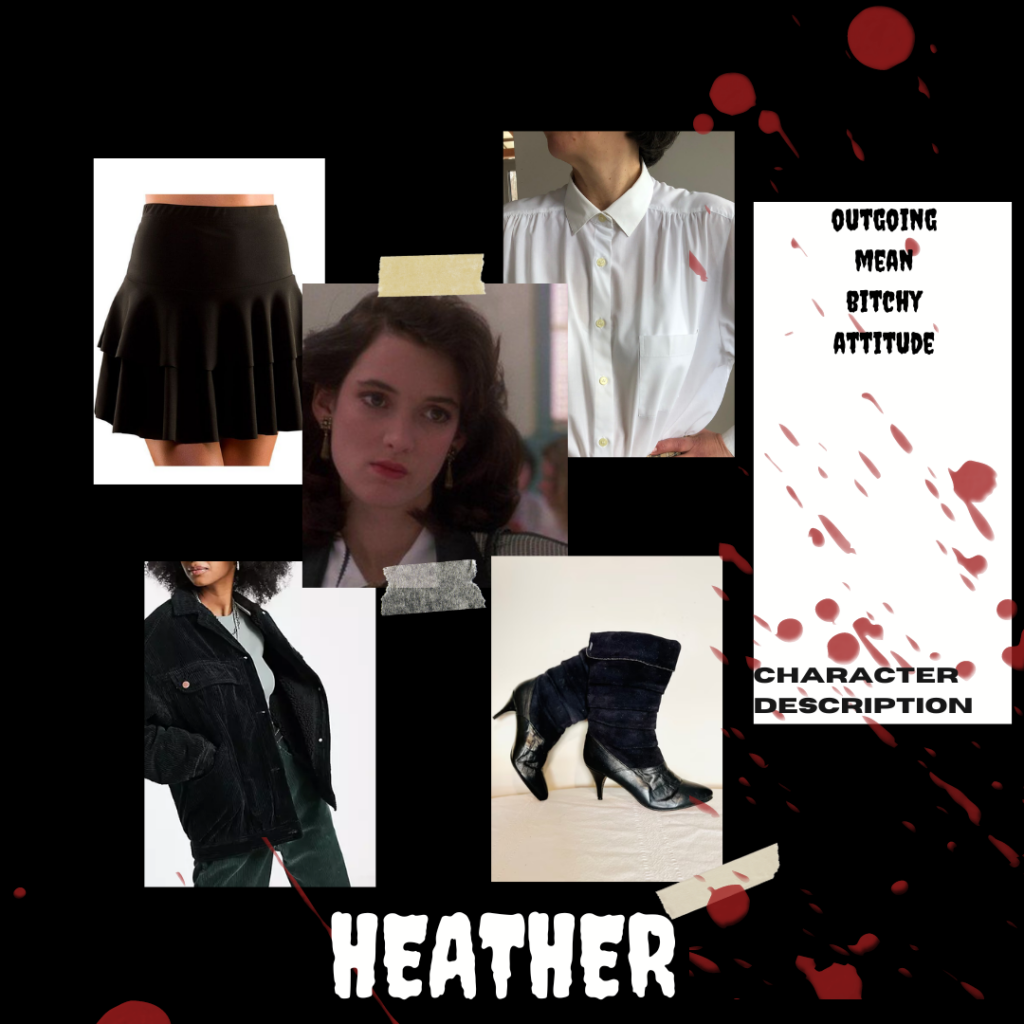
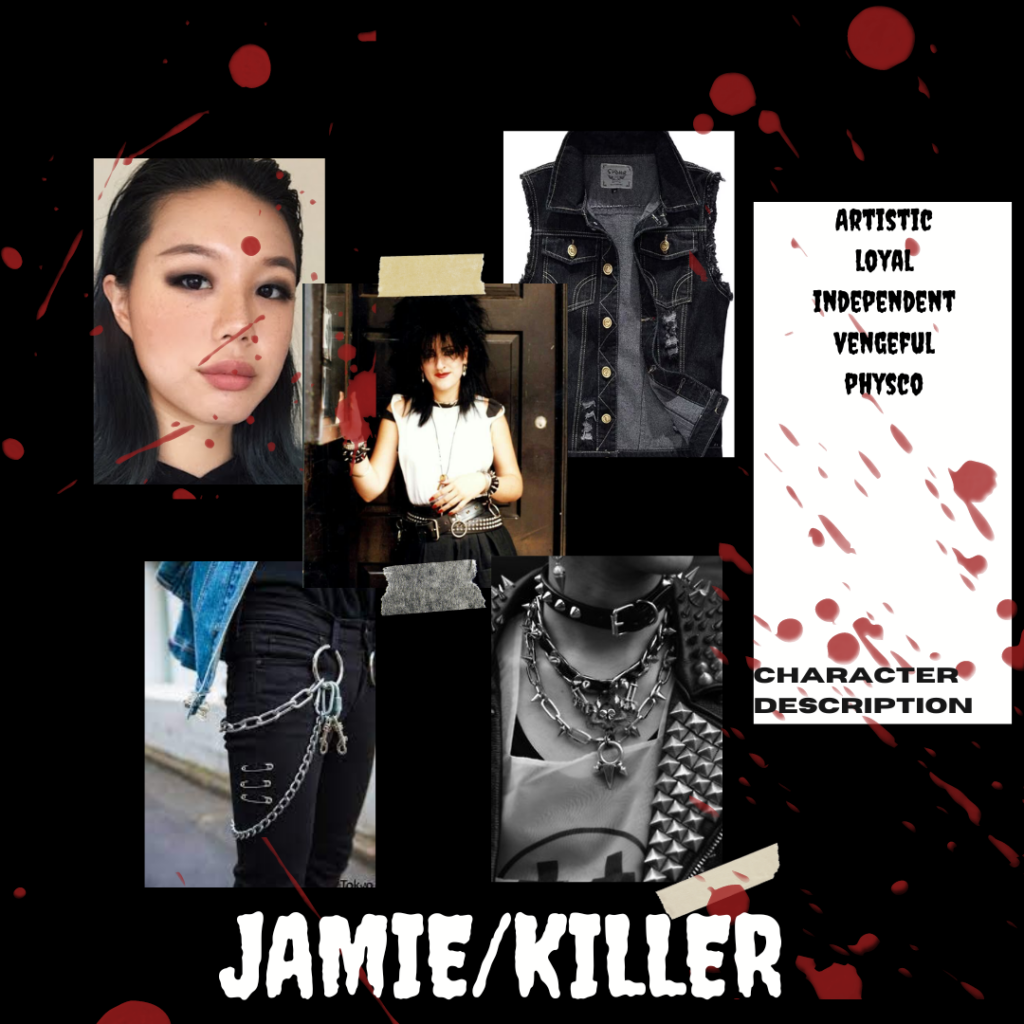
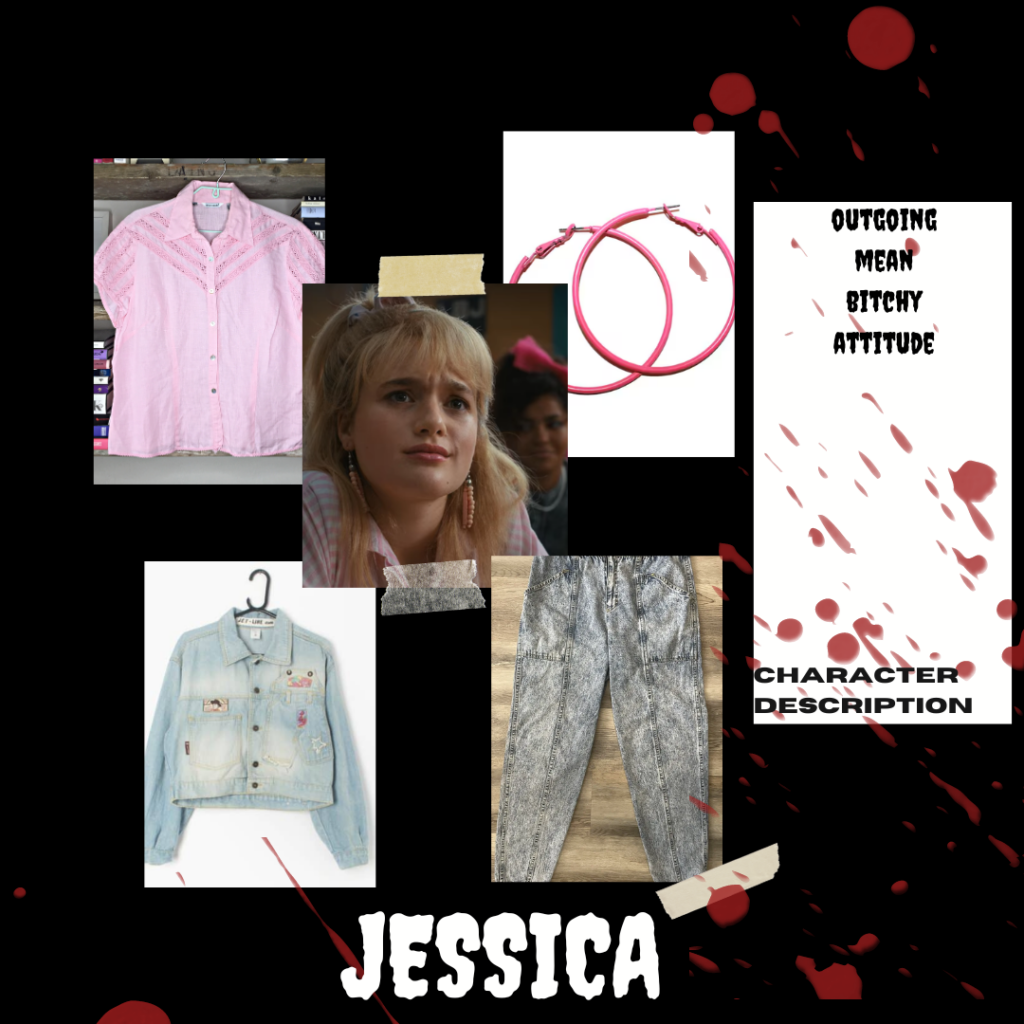
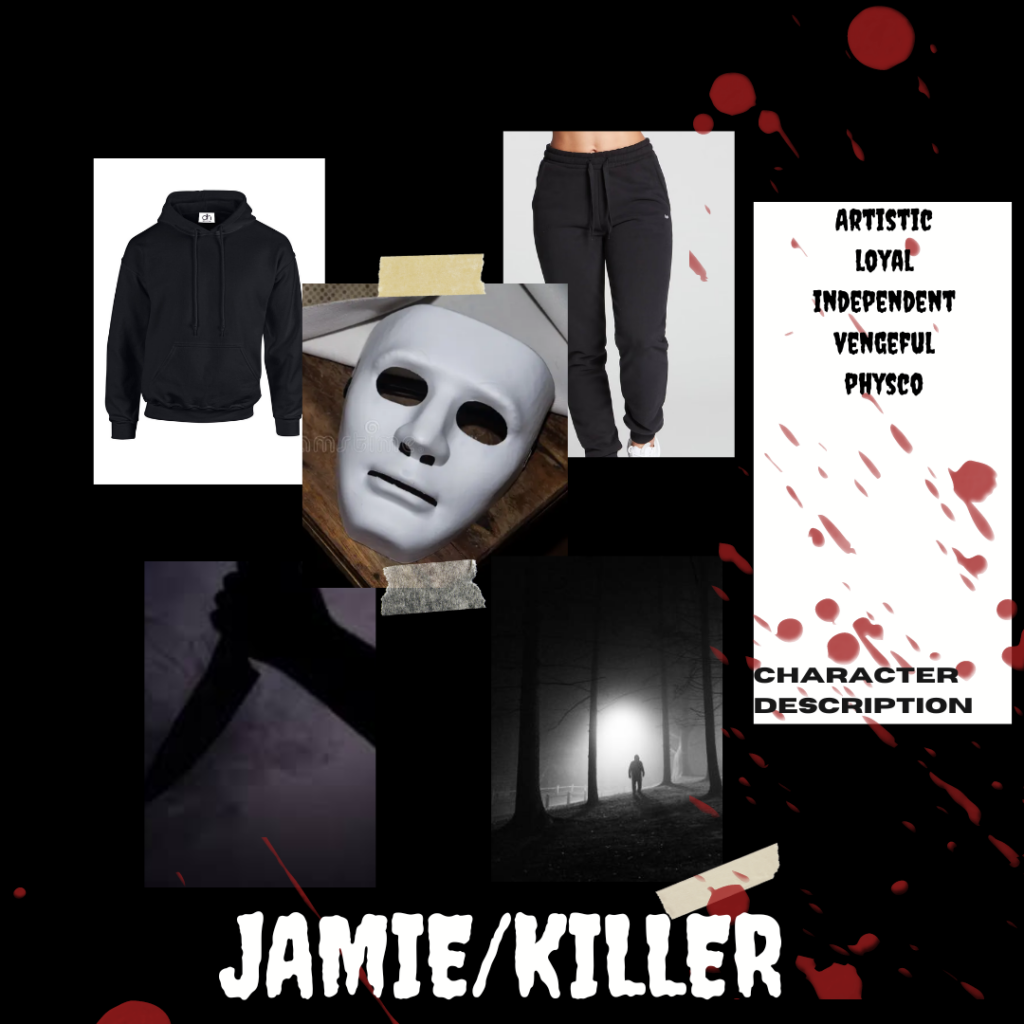
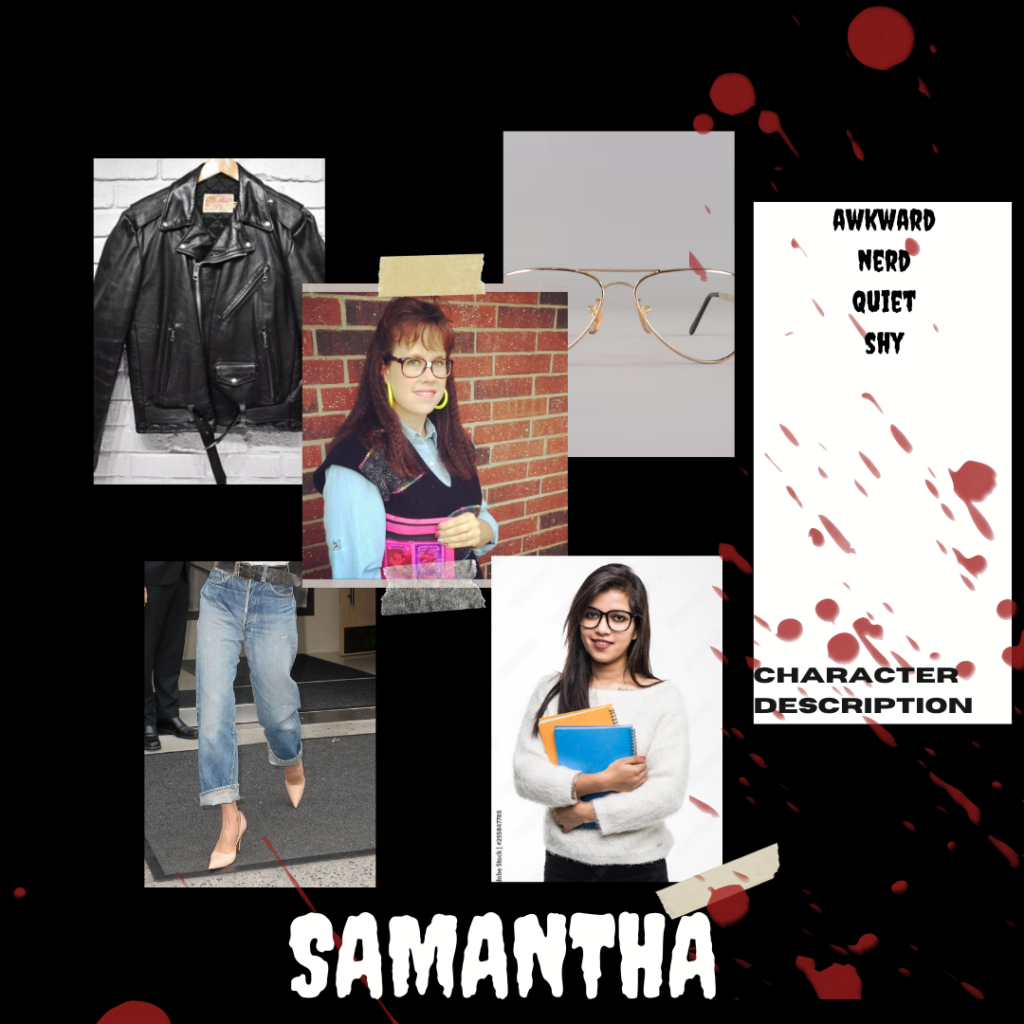
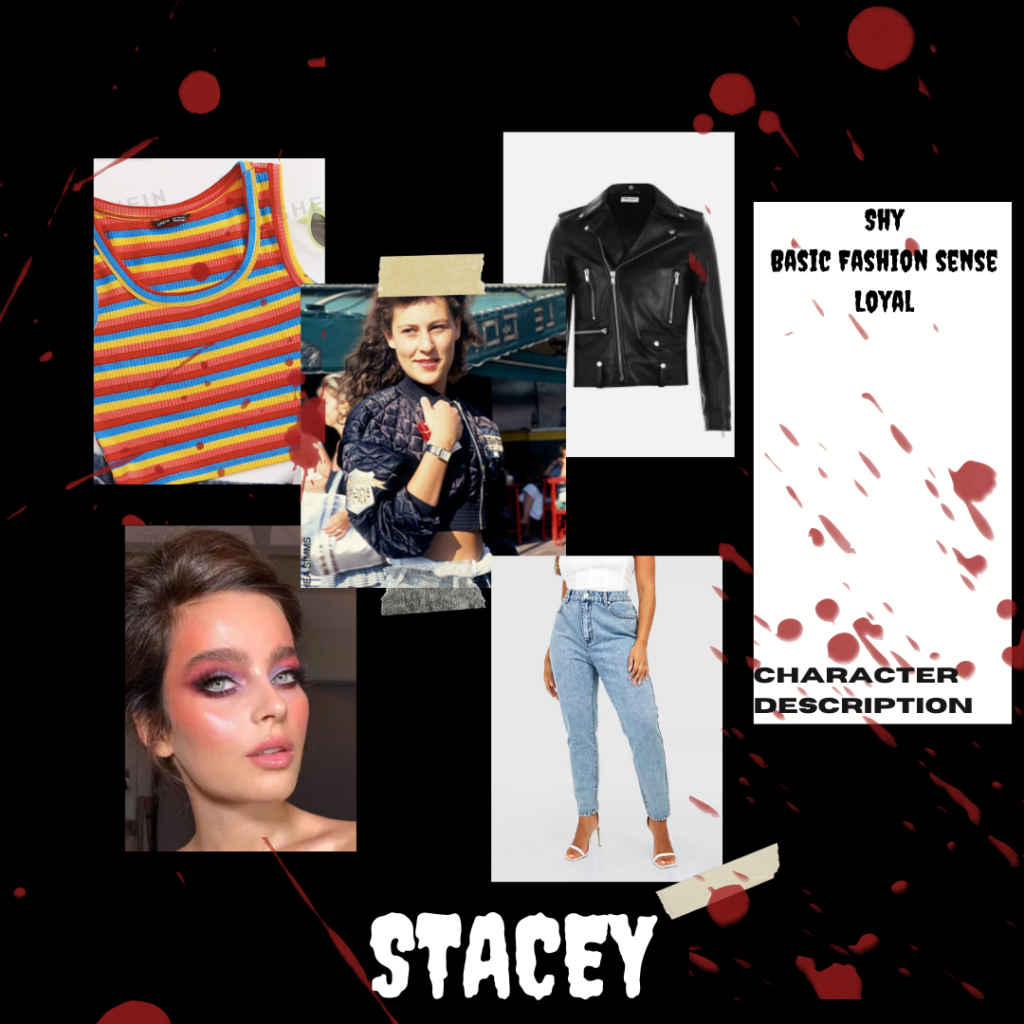
Before production, i made character moods, so i and the actors can get more of an idea of their character and how they would portray them.
Planning
A week before filming, I created an on-set timetable to organise the schedule for myself as the director, the camera crew, and of course the cast. This detailed timetable outlines the specific times and days we will be on set, ensuring everyone is on the same page and that the production runs smoothly.
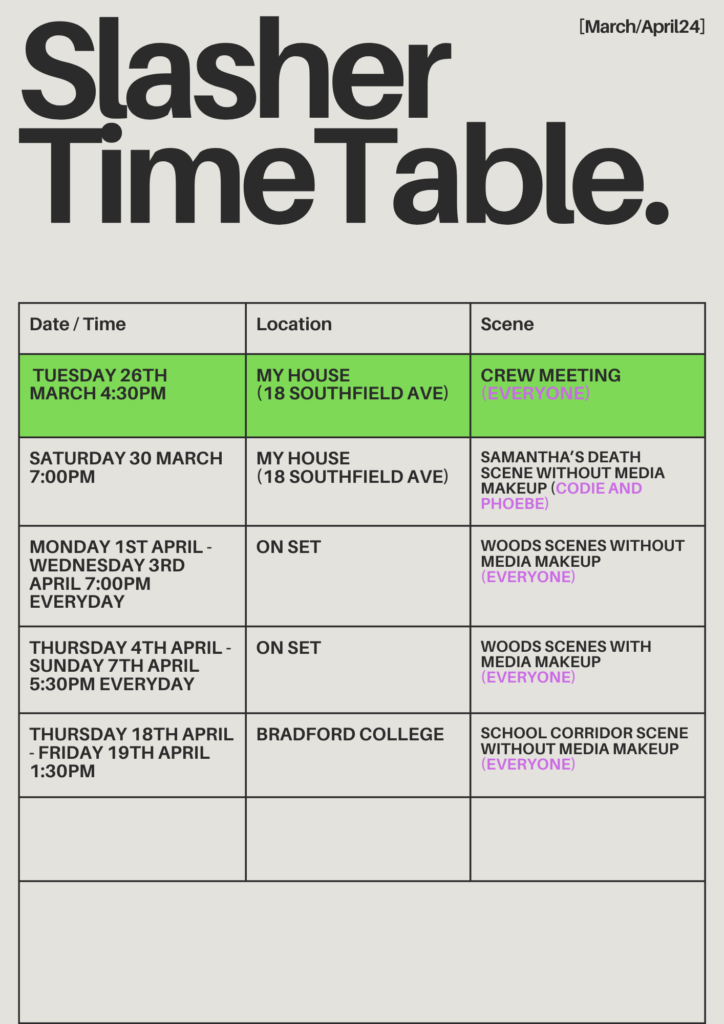
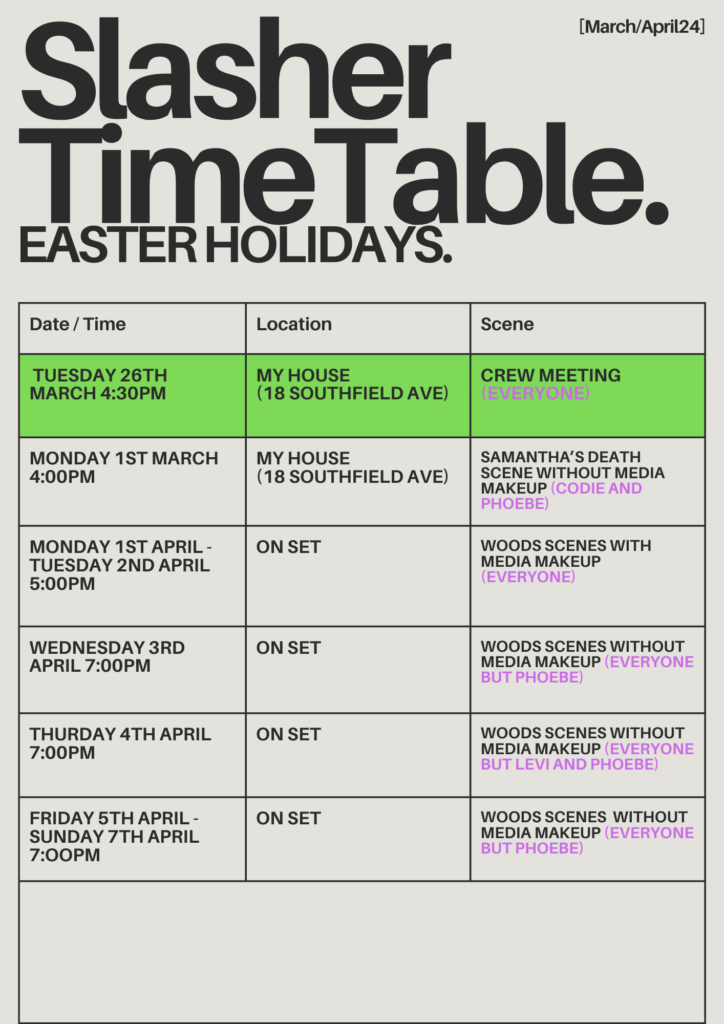
In preparation for this, I am planning a meeting day where all the actors and crew will gather at my house. During this meeting, I will provide a detailed overview of the film’s vibe, discussing the atmosphere and focused elements we aim to capture. This briefing will help everyone understand the artistic direction and tone we are aiming for. Additionally, i will distribute the schedule and explain the planning for each shoot day, addressing any questions or concerns to ensure clarity among the crew.
Production
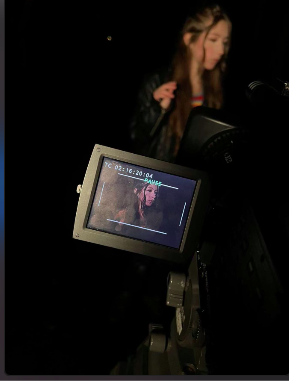
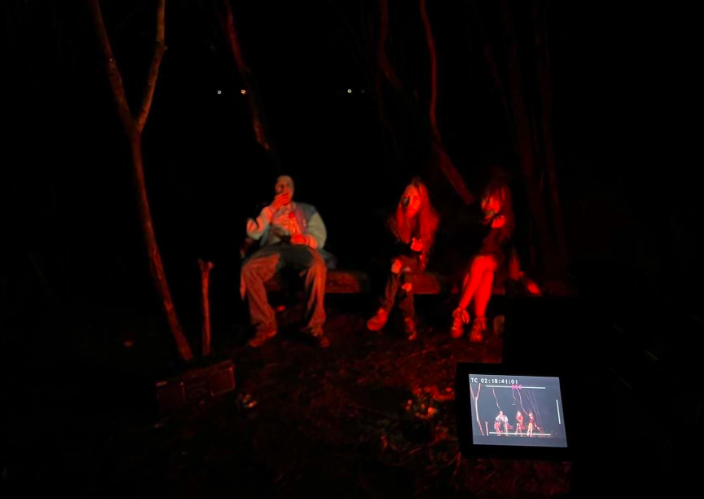
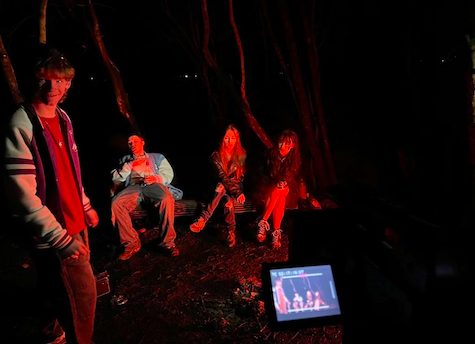
On the first day of filming, i scheduled everyone to meet me at my house for 7:00pm as it had started to get dark around 7:30pm. My plan was to film each scene in the order outlined in the script. However, one of the main actors canceled on me at the last minute so i had to adjust by shooting scenes that didn’t involve that character.
The actor playing as the killer only showed up on set once, which led to almost every day of filming being cancelled. Every time i planned to shoot, someone would cancel on the day, despite me giving them three days notice in advance.
I had planned to film most of the movie before the end of easter break from college. However, in typical Leon Whiting fashion, i found my self still filming a month later. Despite, maintaining my professionalism and pointing out that my project deadline was rapidly, approaching, i emphasised that if people hadn’t cancelled every day, we would have finished long ago. This statement didn’t sit well with two of the actors, who started an argument and subsequently dropped out of the film. This added more stress as i now had to find actors for three roles and reshoot everything within two weeks.
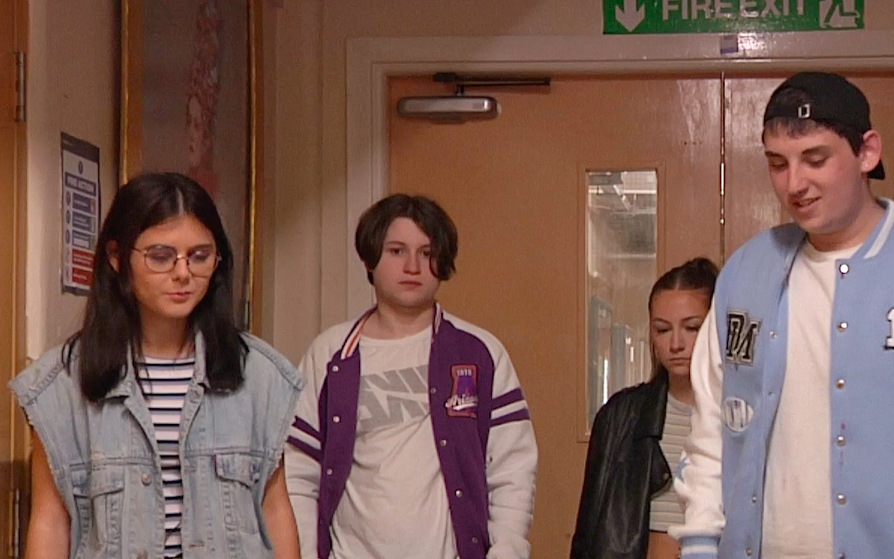
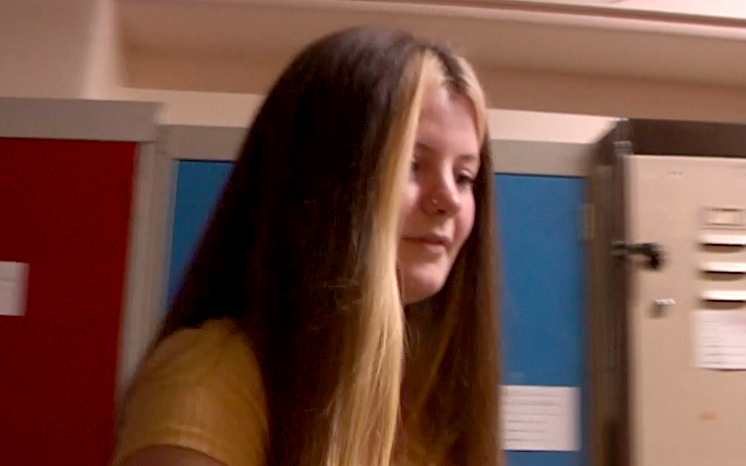
Fortunately, my best friend Chloe agreed to play the killer, any my friend Madi, a performing arts student, took on the role “Jessica”. However, i still an actor for the role of “Brad” as my brother had decided to withdraw from the production. So, i decided to take on the role of “Brad” myself.
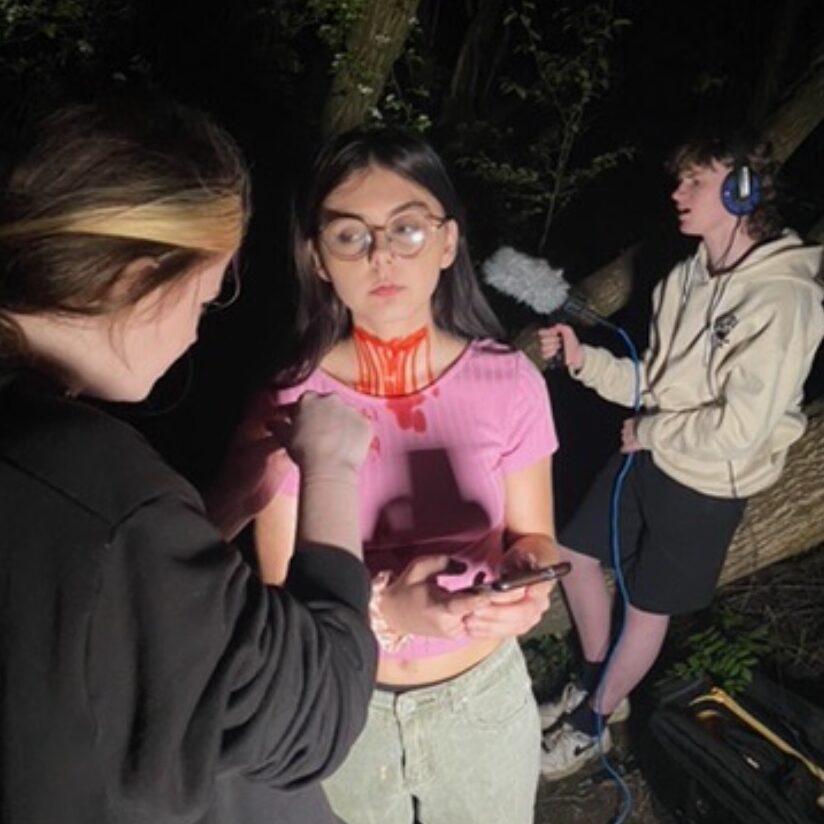
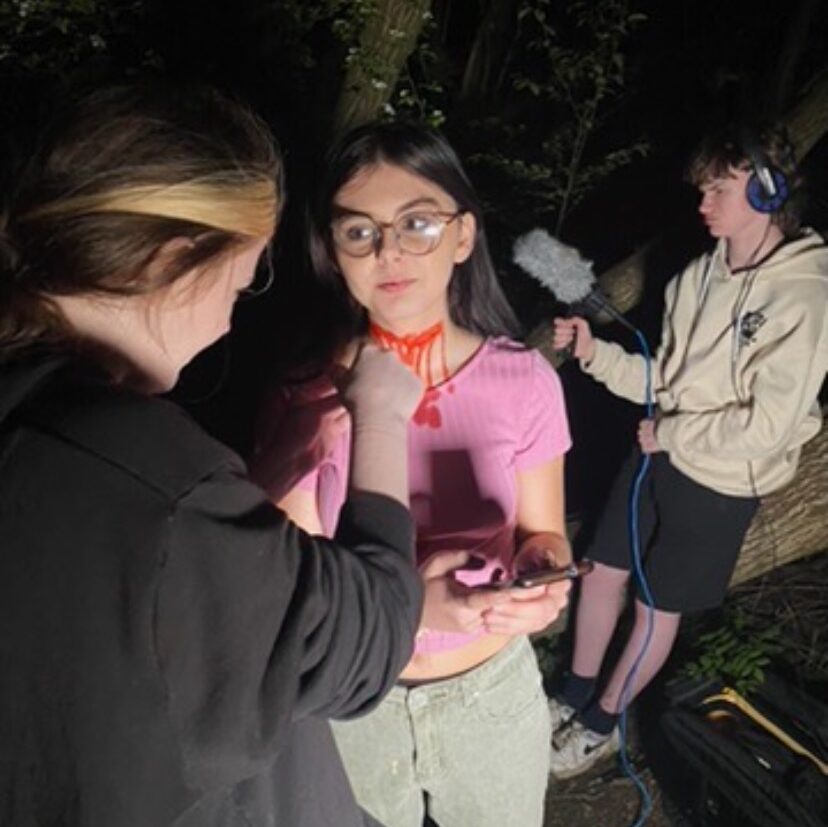
Media Makeup had cancelled on me from the beginning of filming so i had to do the makeup myself with the help of Chloe.
After recasting, filming progressed quickly as we managed to complete scenes faster than before, and everyone arrived on set promptly each day. I finally felt less stressed-until we had only two scenes left to film, i lost my SD card with all the footage. My stress levels skyrocketed, thinking everything was lost. At college, i transferred all the footage from my laptop to a Mac using an SD card i borrowed. However, when it was time to reshoot a scene, the SD card didn’t work in the camera, and the actors were already waiting to head to the set. I had to improvise and use Chloe’s Iphone 14 instead.
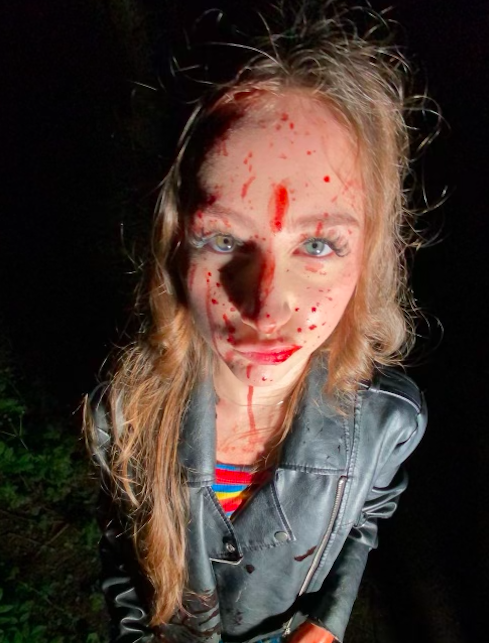
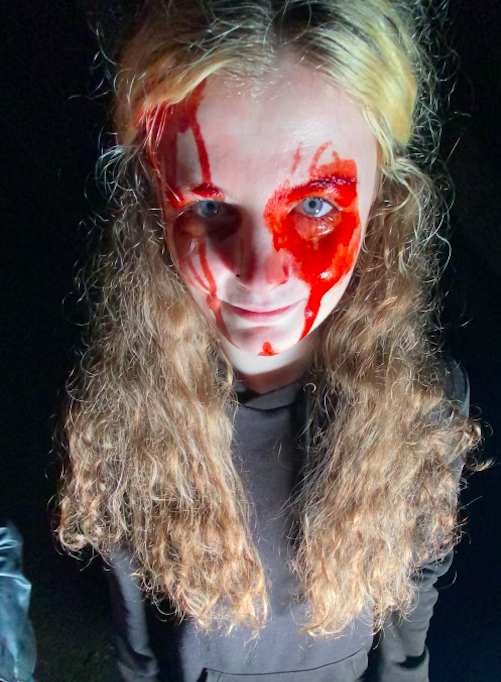
For the final scene, I had to fully immerse myself in the makeup process due to the extensive blood and gore involved. Surprisingly, i wasn’t too stressed about using the Iphone; it was actually easier than lugging around a big, heavy camera for each shot. Once we wrapped up this scene, i felt a sense of relief that filming was finally over. All that remained was the editing, which still stressed me out since i had less than two weeks until the deadline.
Editing
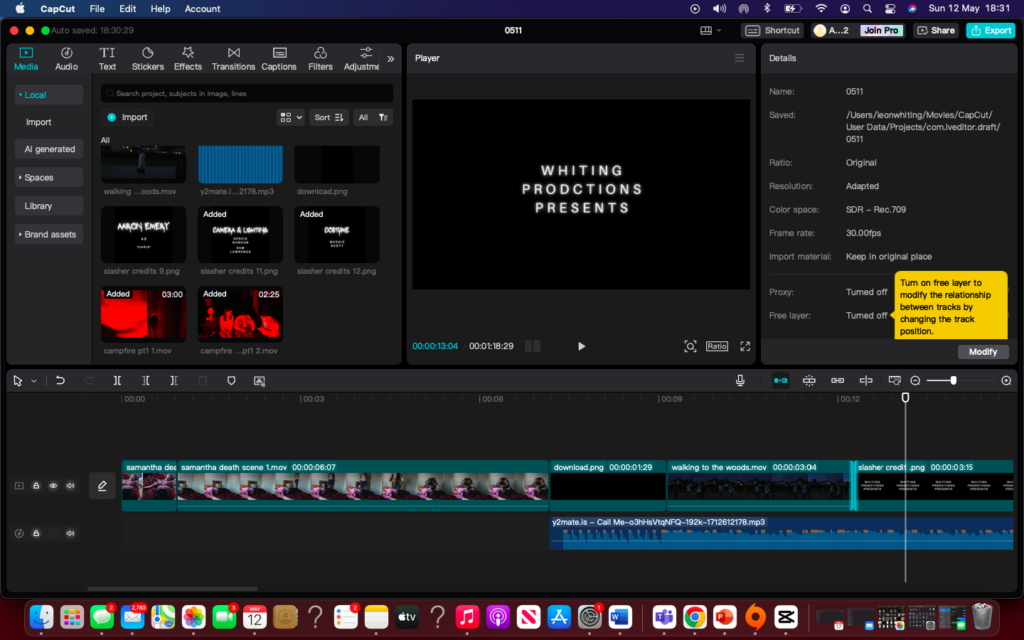
I began editing the footage while filming, using CapCut on my Mac at home. I thought this was a smart approach because it allowed me to get better sense of how the movie was shaping up as we progressed.
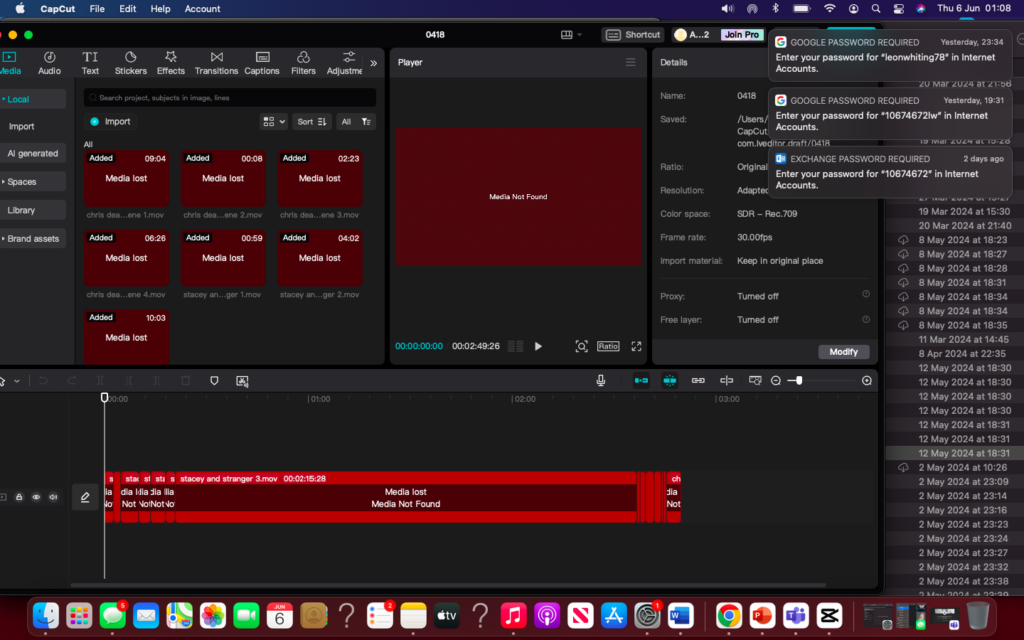
This plan was working smoothly until my Mac deleted all the edited footage from the CapCut file due to low iCloud storage. To resolve this, i decided to delete some unnecessary items to free up storage space, restore the footage, and try again.
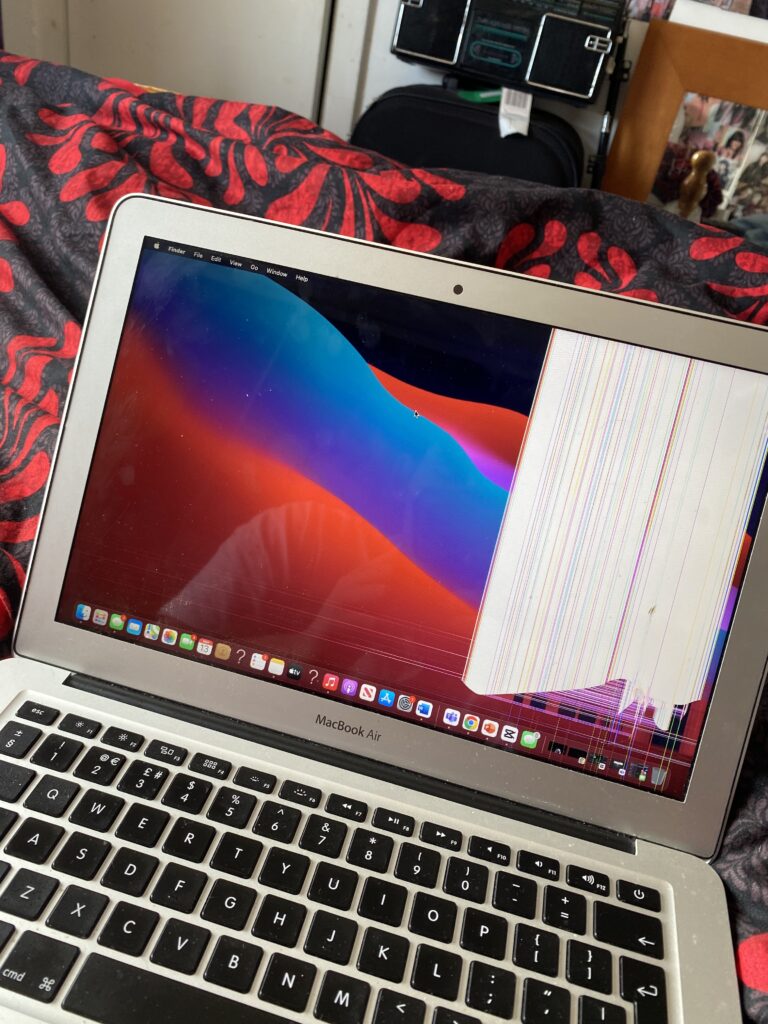
Then, an accident occurred; my sister accidentally dropped something on my laptop, smashing half of the screen and leaving a white mark covering that portion.
I then decided to switch to editing on a Mac at college using Premiere Pro. I arranged each clip to align with the movie’s storyline, adding sound effects from Pixabay and YouTube to make actions like slaps and knife stabs sound realistic. Additionally, i applied auto colour correction to every clip to achieve a natural look.
One thing i realised while editing was that half of the footage was missing because i had lost the original SD card. I thought i had everything, but some crucial shots needed to complete the storyline were missing. To address this, i decided to edit the remaining footage on my phone using CapCut at home and then cut the film where the missing shots should be, leaving it at a cliffhanger.
I was not happy about this at all, as it was not how i envisioned the movie turning out. I am quite disappointed with the outcome of the production.
I had used the online software named “Canva” to create the credit graphics.
Promotion
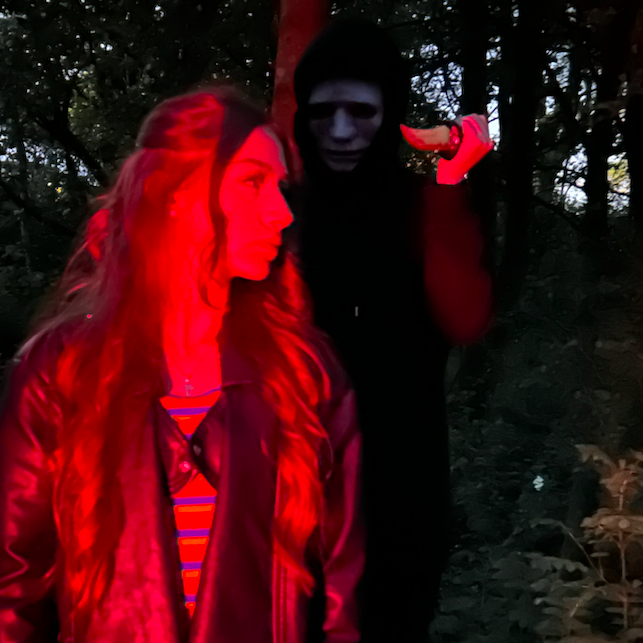
For promotion, i had made a few posters. I had taken photos of Hannah looking behind her back, with chloe with the mask over her face stood behind her holding a knife.
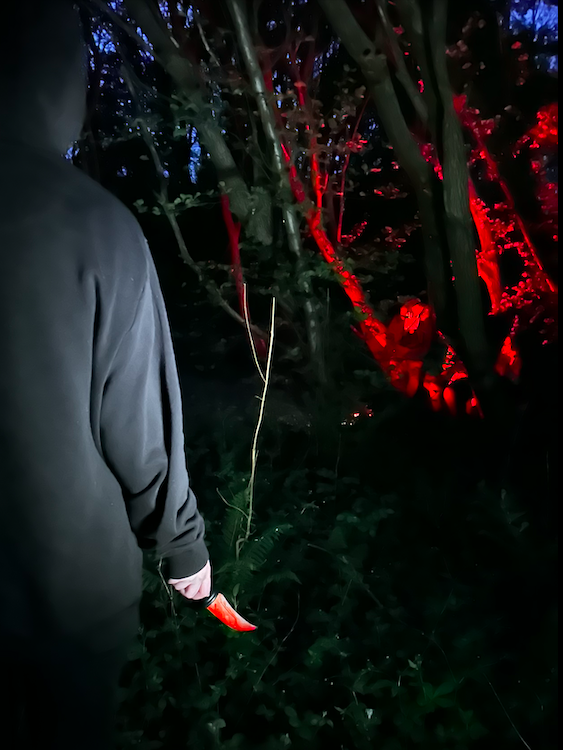
I also had another idea of the killer holding the knife lurking in the woods watching over the group at the campfire.
I edited these using Canva, i had put a VHS player glitch overlay over the killer lurking poster to give it the vibe of a broken 80s VHS player. And for the other poster including Hannah and Chloe, i had used a yellow light leak overlay and recoloured it to purple and blended it in on the side of the photo to give it the broken camera effect, and i think the colour purple mixes well with the red light reflecting on Hannah’s face.
Final Movie
Final Evaluation & Reflection
This project overall was very stressful and overwhelming.
The idea of doing an 80s slasher short film for this project came to me way before i even needed to start thinking of an idea for it. I had this idea brewing up in my brain ever since making the last FMP project “ESME”. The inspiration for this film centered around the movie “Scream” as it is also an 80s slasher movie and i had taken a lot of inspiration from the kill scenes used for the characters in this movie.
task 1
The idea of the movie didn’t take too much planning as i already had the thought brewing in my head. I came up with the idea of an 80’s Slasher as one of my favourite horror films is ‘Scream’ which is also a slasher movie set in the 80s. I thought it would be challenging for me to portray but i wanted to challenge my self as this type of movie material is more full on and constant contribution than my other to movies were, and i wanted to push myself and my skills.
Presenting my idea of the project to the class was very nerve wrecking as i don’t have confidence in being centre of attention where a big amount of people are watching and listening to me speak.
task 2
Whilst researching, i took into liberty of finding out more information about directors that are behind slashers, by using Wes Craven, the director of the ‘Scream’ franchise as an inspiration. I had also looked more into equipment use for creating a short horror film, like cameras and mics and props etc. This was useful to me as it helped me understand more about which equipment is effective in the industry of filmmaking and what isn’t. I took inspiration from the scream franchise as a whole, as the brutal death scenes used in these movies took my interest and i wanted to see if i could effectively, remake these scenes in my movie in my own way.
Planning was quite easy as i had wrote the script on my own and i had all the actors on board with their roles. I found the planning easier than the whole project as i had everything i needed so quickly, i was ready to start filming as early as i thought.
task 3
Production was running smoothly, first day on set i had everyone there that needed to be there and we filmed a fair amount of scenes and shots in one night. It was until the next day of filming where things started to go south, as the main character cancelled on filming that day, which was fine as i kept my professionalism up and worked around filming that day by filming scenes that character was not in. Then another day someone else cancelled, and then another on another day and then another and it started to become almost everyday. This was stressing me out as i wanted to get everything done so i would have time to edit and get all my course work done on time. I had only planned to be filming for 2 maybe 3 weeks but i found myself still filming a month later. Some of the actors had to cancel on the role completely due to personal reasons, which i was being open minded to and finding someone else to take their role instead. It became a problem when i had pointed it out to the crew that we would’ve had production completed if people weren’t cancelling and a few actors didn’t like the fact that i had said this which led to them dropping out of the production completely, leaving me to struggle on finding new actors.
I had solved this problem by finding new actors, surprisingly really quickly on such a short notice. This just meant that i now had to re film everything i had already filmed due to new actors under such a small period of time as the deadline was getting closer and closer.
As soon as i was working with the new actors, everything was going smoothly, everyone was coming on set everyday on time and we were filming all of the scenes that i had planned for that day. I felt a sense of relief as everything was going good and filming was finally done i felt more confident with the film, that was until it came to editing it.
When it came to editing i was feeling a lot less stressed about the production until my laptop broke, so then i had decided to get all the footage from my SD card and transfer it to a Mac at college but i had lost my SD card. I had then borrowed another one from college and transferred all the footage from my laptop onto it so i could put it on the mac and edit it in college. Then i realised during editing it was that half of the footage was missing because i didn’t have the original SD card with all of the footage on it so i had to cut the movie short and leave it as a cliffhanger.
I was not thrilled about this as it was becoming one bad thing after another and i was so close to giving up. I think this project has helped me reflect on managing my actors and collaborators a lot more effectively by working with people that i trust and that i know won’t let me down. I think i need to work more on keeping my cool and not letting myself get too stressed out about it when something goes wrong.
In the foreseeable future, if given this opportunity again, i will improve on communication and management with the cast and crew and to make sure that i plan a script without a wide range of characters and a wide range of locations as this will help prevent actors cancelling and dropping out of the production and also prevent stress for me.
Peer Assessment
What was good about the film?
Shumona: “The use of props and the editing techniques”
What could have been improved?
Shumona: “The acting and you could have used more than one camera. Scheduling could have been better with actors and actors could have been more organised”
How would you rate the quality?
Shumona: ‘8/10 because it wasn’t fully completed’
Viva Voce
I confirm that the attached assessment is all my own work and does not include any work completed by anyone other than myself and sources have been appropriately referenced.