for our final major project we’ve been tasked with coming up with the theme ourselves.
FMP Unit 6 – Jack Robinson
Novel
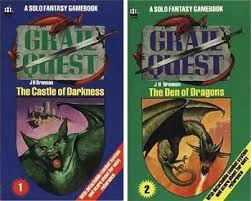
For this new project we’re focusing on books, specifically fictional novels, so I thought I’d focus on a novel I loved when I was younger called grail quest. Written by the late J.H Brennan Grail quest is an adventure novel with a twist, it’s an interactive game book. J.H Brennan is known for his different game books such as sagas of the demonspawn, Horror classic gamebooks and grail quest. While Grail quest is a gamebook it still succeeds at telling a story as any other novel would.
Now I don’t know at all what I want the final product to look like however one thing I want it to focus on is the way the book operates, giving you different routes and experiences on how you read depending on how you play. I think that idea can result in some interesting editing results.
Research
The first photographer I’m researching is a photographer that goes by Slinkachu. Stuart Pantoll or as he’s known as online, Slinkachu is a miniature photographer, using small little figurines from train sets in placement of real people. Once he has finished with his photoshoot he then leaves the scene there as a public art display, giving his fans to see it in person and people to just stumble upon it. By doing this he aims to make the people living in the areas he visits to be more aware of their surroundings, to notice the small details. The stories he tells through his photos try to show how melancholy it can be to live in a big city, being shown not just through the scenes but also through the titles.
I have two main reasons for choosing to research Slinkachu, reason one being I’m already familiar with his work. I was introduced to Slinkachu back in high school and became interested in the whole miniature scene photography but it was something I never really had the chance to experiment with since I was too focused on landscapes. The second reason being he’s able to tell stories through his photos, show a narrative and that’s something I wildly respect and hope to do with my own photography, I’m very ambitious about story telling so being able to do that through one photo is just incredible and inspiring to me and something I hope to be able to do with this project.
A key method I’m wanting to experiment with is compositing, the process of taking multiple images and combining them and editing them to make them seem like one complete picture. I have experimented with this loosely in a previous project however this time around I want to get more ambitious with this method as it really interests me, I feel it can be used to tell some great stories using just one image which for the novel project I think it seems quite appropriate.
{images}
A lot of compositing examples I’ve seen are very ambitious, being closer to paintings than photos, however I want to take a more subdued approach for multiple reasons
One being how inexperienced I am with this method, as I said earlier I’ve used it once before on a much smaller scale so I think it’s wise to take baby steps so to speak
Two being time constraints, with how long we have for this project and all the testing and experimenting not to mention theory work I’ll have to do it’s just not smart to take such an ambitious approach.
Cyanotype Experimentation
Cyanotypes are a form of prints, kind of the reverse of darkroom photography, with dark room photography the printing process it’s completely in the dark you can’t let any light in. With Cyanotypes it uses UV light so letting light in is a big part of the process, I think that’s interesting since dark rooms are very much associated with photography but Cyanotypes are still a big part of photography history.
One photographer that uses cyanotype prints is Bonnie O App
Shoot plan 1
I know that I want to use figures for my shoot, but the question is what kind, I have 2 options for myself either I use Lego figures or Full scale action figures. Now there are benefits and draw backs for both options.
Some of the benefits of using Lego figures is that I already have experience with using them as the main focus of a shoot. I have a lot to hand so using different looks to tell a story as I want for my shoot will be far easier. However one major drawback is possibility, Lego figures are very limited on articulation which can be key to showing emotion in just a picture using body language, when you’re very limited on movement that’s also very limited. However there have been people who have come up with methods to get around this so finding ways shouldn’t be too much of a hurdle to overcome.
As for the full scaled action figures I have they have one key positive and that’s their range of articulation, when you can’t use words or really face expressions to convey emotion body language is always the way to display how someone may be feeling and the figures I own have plenty of articulation to display such things. However in my mind a key draw back is the type of figures I have, I own transformers which for practice and testing methods are perfect for shoots however I worry they’ll feel really out of place whereas the Lego figures will probably look better in the final result.
So what I need to do is do shoots with both, testing the different criteria I need for the end result, compare which fulfils those criteria the best and to me more importantly what looks better for the end result.
Based on weather conditions and the area I will have available to me I will attempt to complete this shoot either Tuesday 26th of November or Saturday 30th of November.
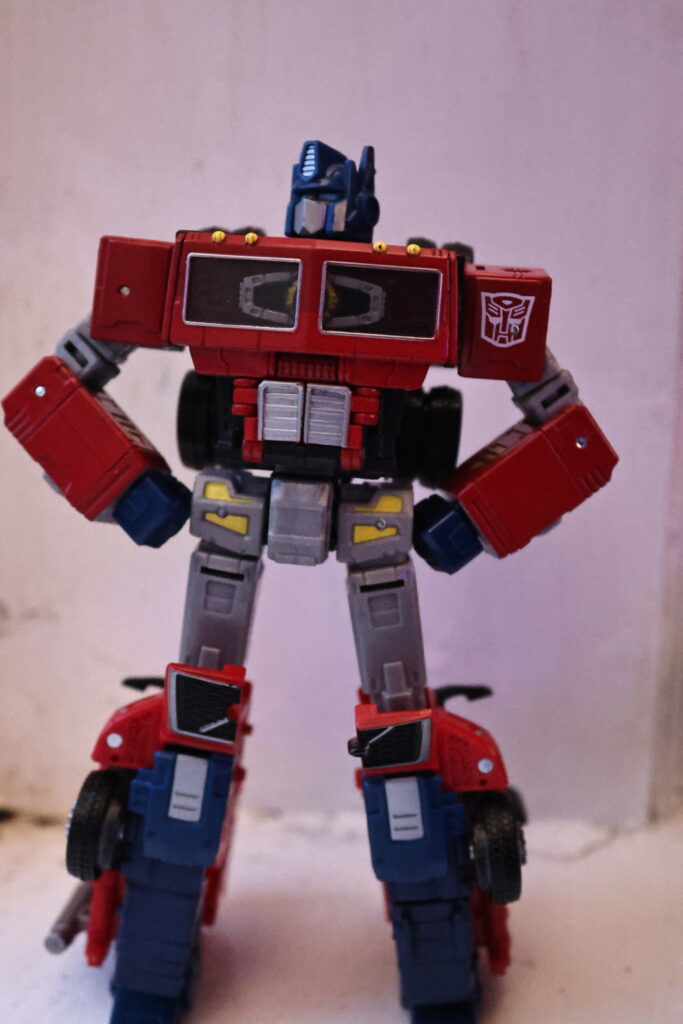
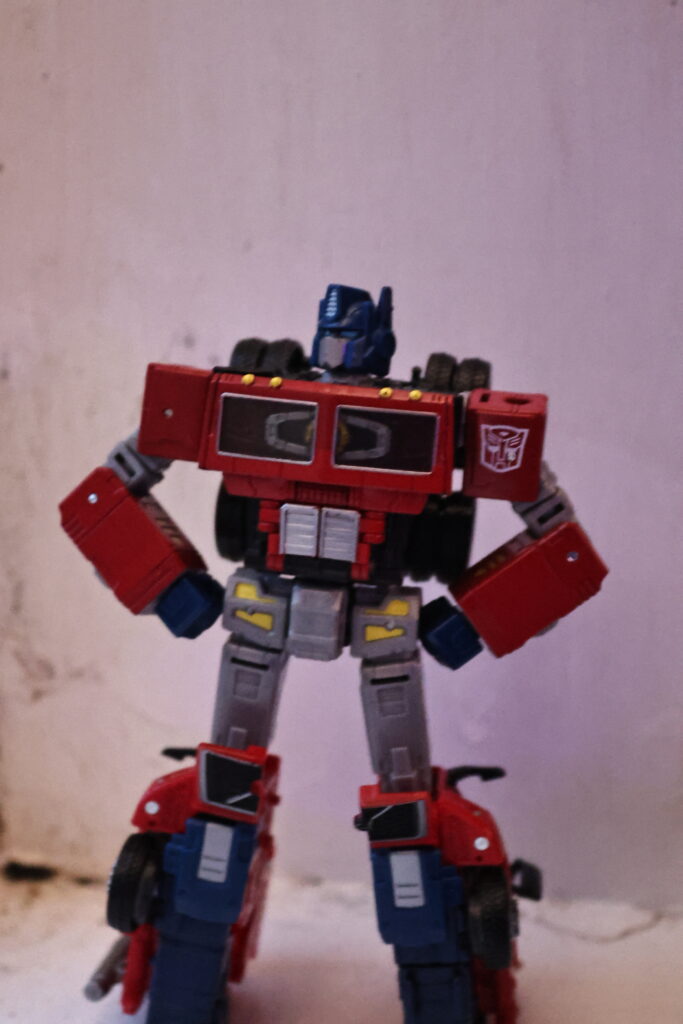
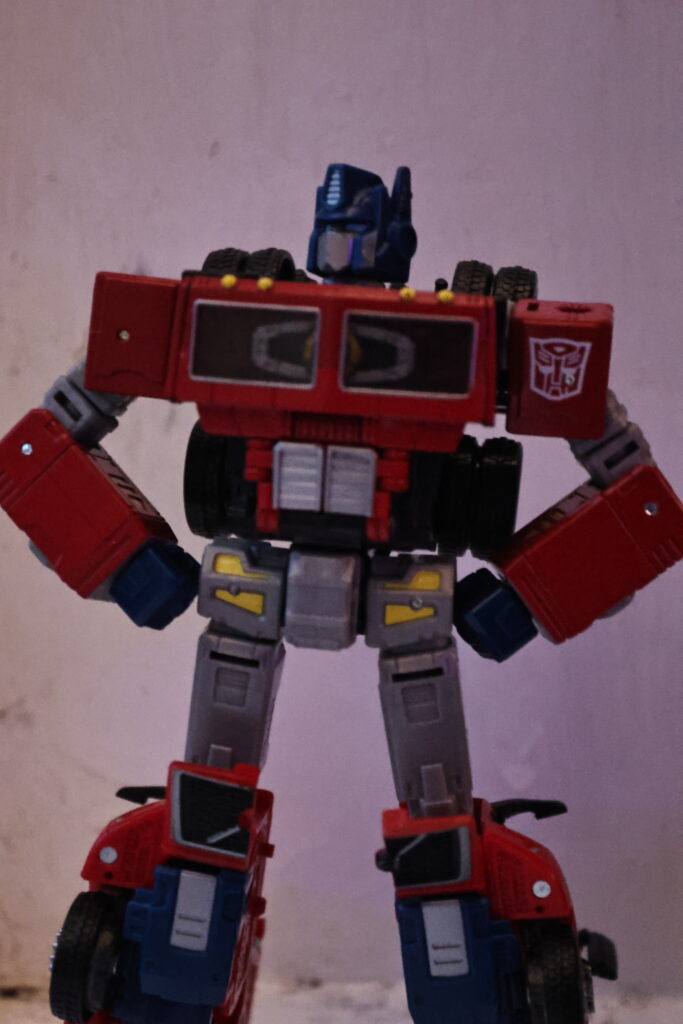
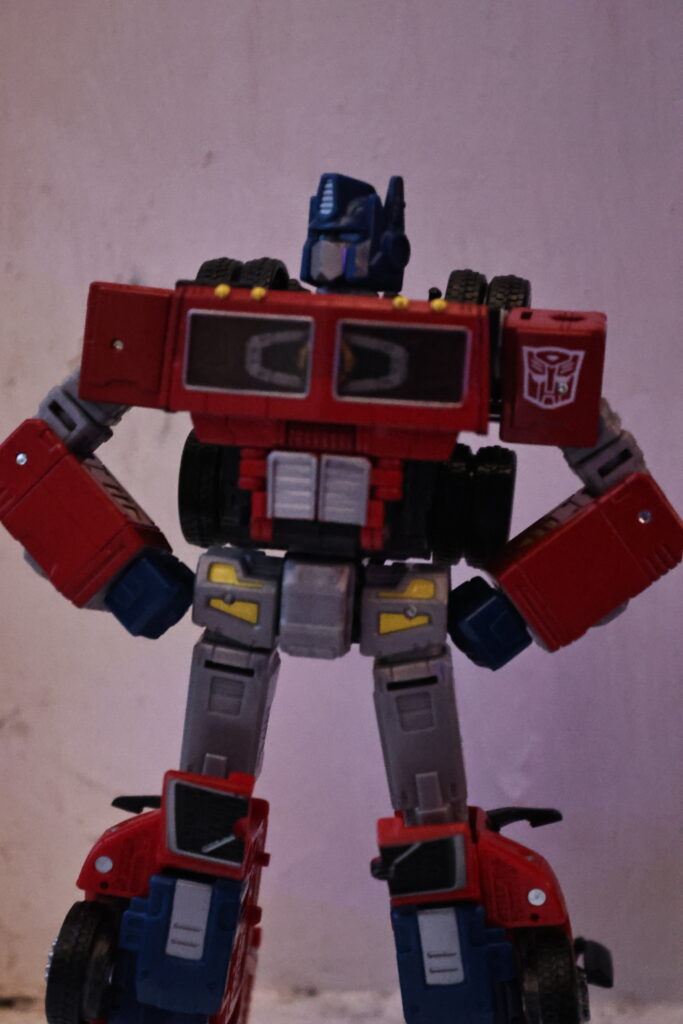
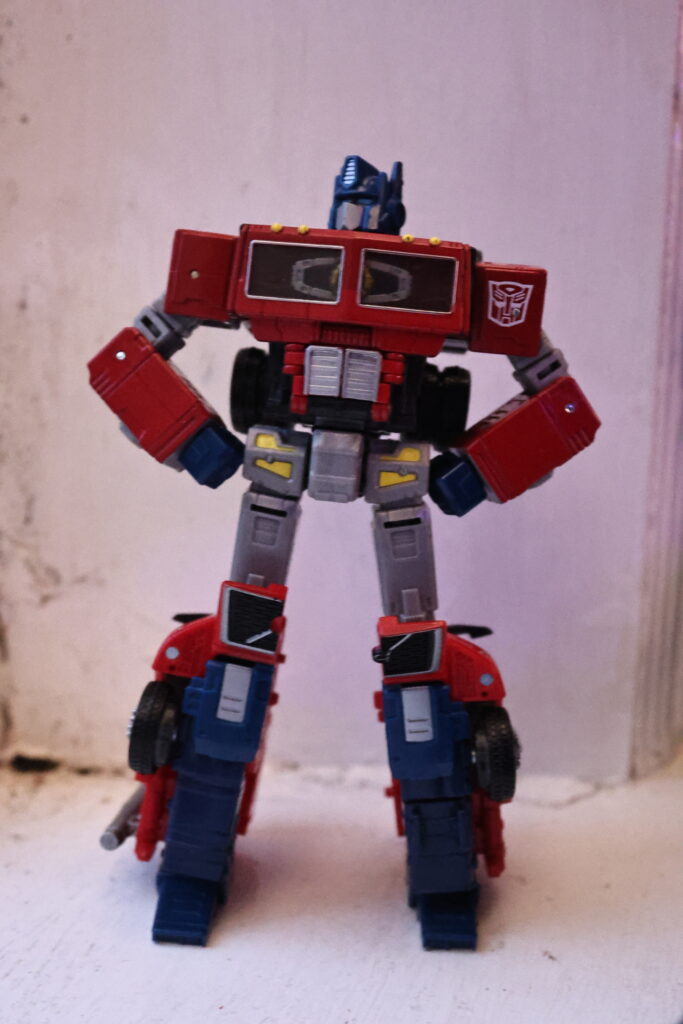
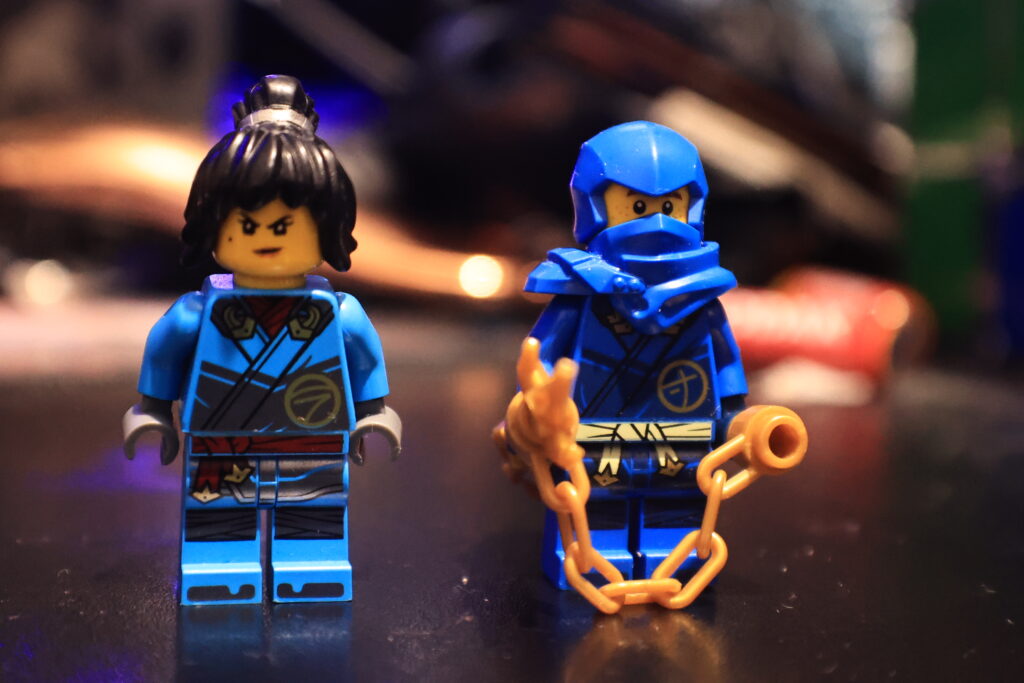
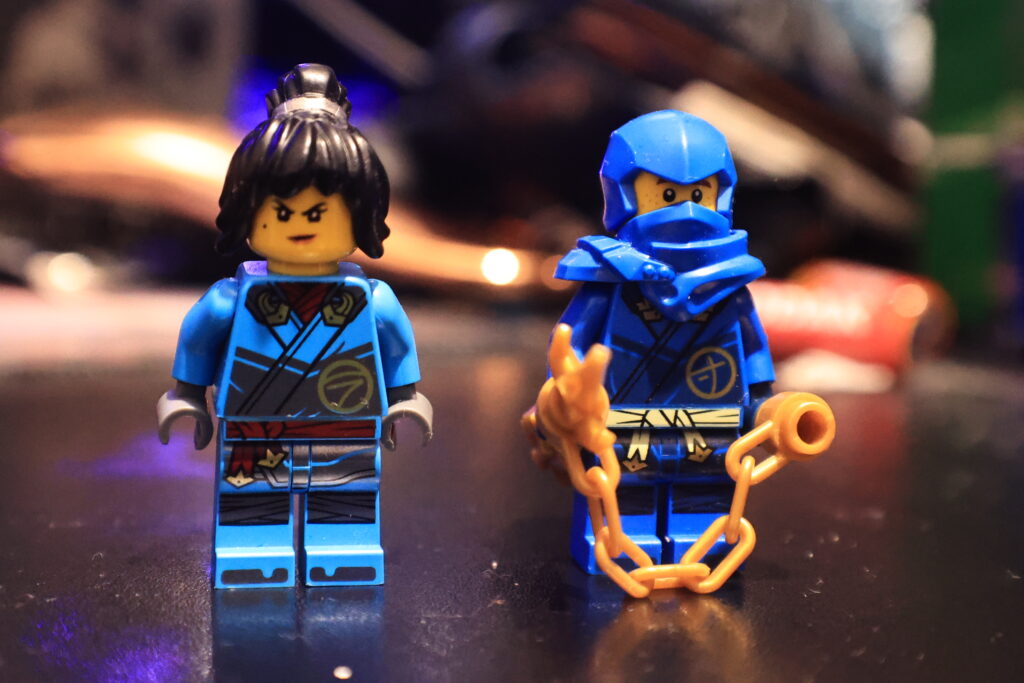
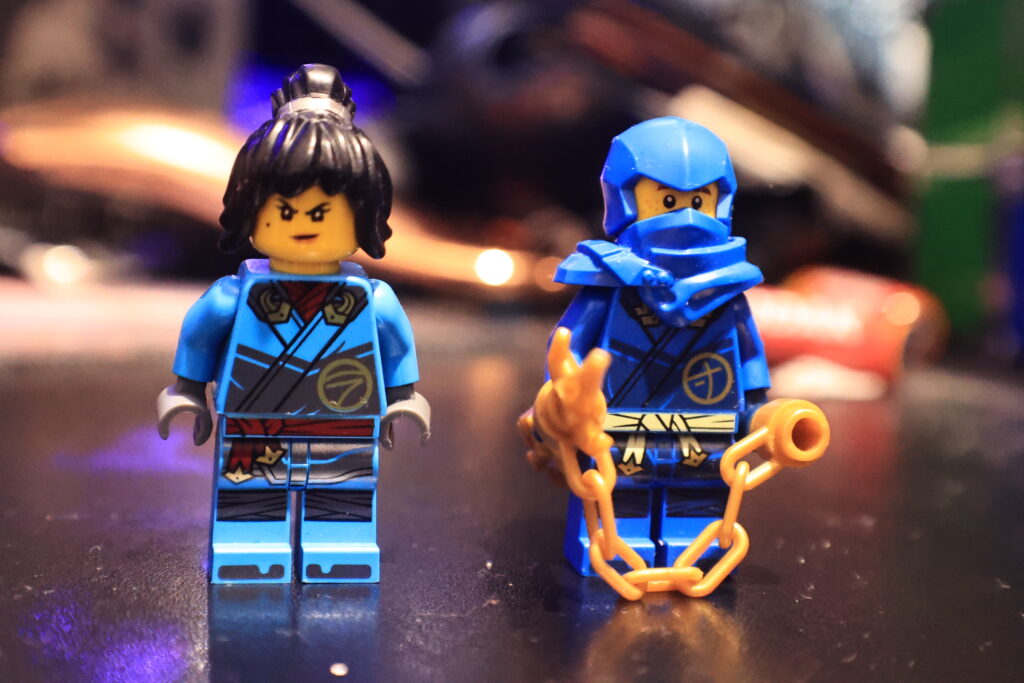
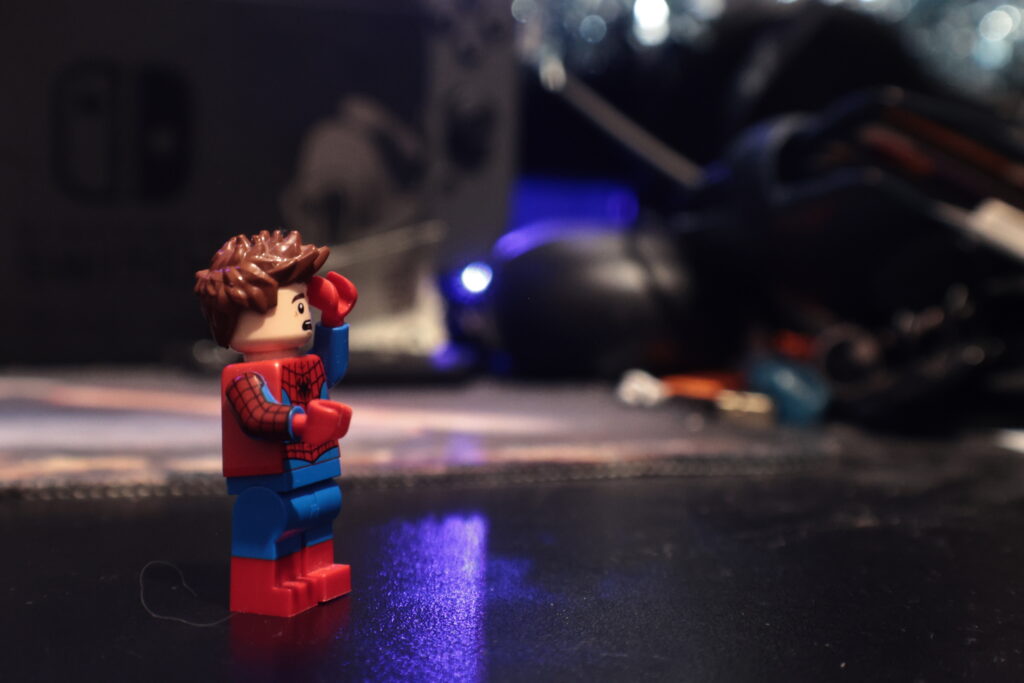
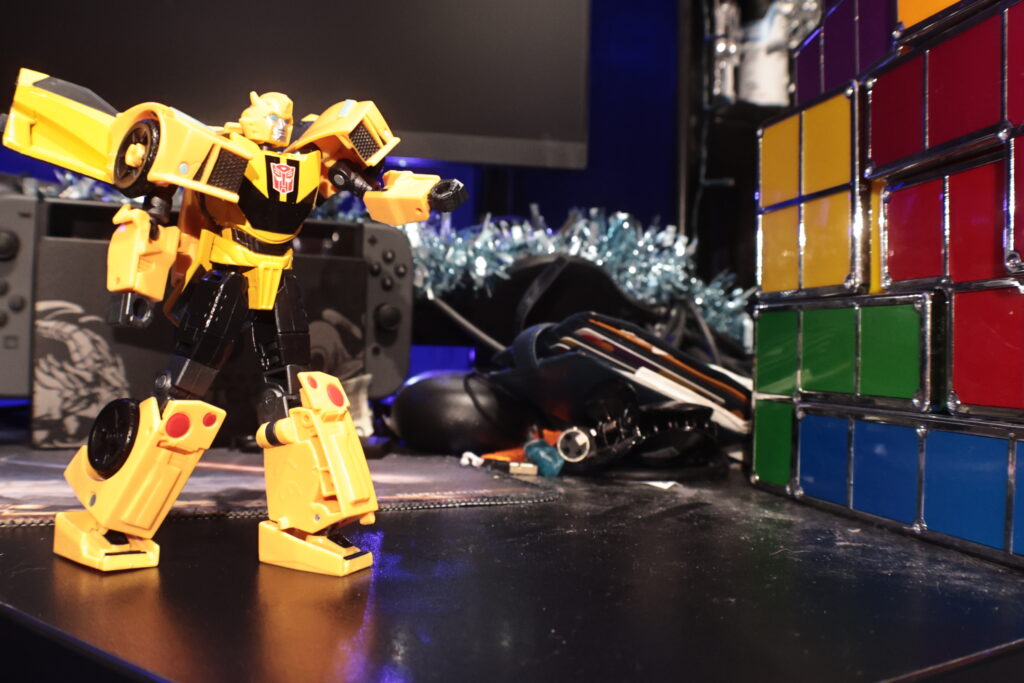
Unfortunately due to poor weather conditions I was unable to take this figures outside so I instead just focused on framing. I think using Lego figures will be more advantageous to what I’m wanting to accomplish since them being smaller and more customizable will lead to more creativity and general working space.
Proposal
Last project I wanted to ignore my previous projects since they weren’t to a quality I was happy with. This time I want to embrace the more creative aspect of how I used to do things, focusing more on what I’ll enjoy making and playing to my strengths, while still keeping the ambition and progression from last project. I want this project to be a nice balance of the progression I made last project but with the creativity of previous projects while still keeping it dialled back as not to end up with lack Lustre pieces like I have before. I really can’t understate how much last project opened my eyes and gave me a fresh outlook on how I do things, something that I’m hoping will only be exemplified in this project. Like with last project on this one I’m hoping to capture more so the feeling rather than showing exactly what it is, leaving for room to interpreter my work.
For my project I’m focusing on the book series Gralequest, an adventure game novel I grew up reading. I want to focus on trying to capture the feeling of reading those books and the experience choosing your own routes can feel. The way I’m going to try and accomplish this goal is by using methods I’m already familiar with, this allows me to spend less time perfecting the methods and doing practice shoots. One key method I’m using is figure photography, specifically minifigure photography using toy figurines in place of people allowing me more control over small details and allows me to work on my own time and just generally accomplish things that would not be possible with people, at least not without lots of time recourses and editing. Figure photography also ties back into my specialist practice of macro photography, similar with my last project focussing on the reality warping aspects of macro photography however unlike the last project I’m not reversing it, this time I shall be taking things that are small and making them seem life sized in order to tell the story I want to. The other method I’m wanting to use is one I’m not as experienced with, but I’ve used before, that being compositing. I used a form of compositing during the future project, but I want to explore it more here as compositing has always intrigued me and something I want to try myself, being a perfect way to make limited resources work better. There are a few editing ideas I have in mind like making the multiple different figures different colours in editing to resemble the different paths but that’s still just a concept. Overall, I hope my project will give a feeling of what it’s like to experience the story told by the Grailquest books and show a story of my own.
For the evaluation process of this project I think the best and most logical method would be comparing my original plan and concepts to what I’m doing to see if I’m staying on track. Once the project is done I think the evaluation process I will do is seeing my skills I started out with before the project and seeing what skills I have at. The end and again seeing what my original plan was and seeing how well I was able to accomplish it. My hope is that at the end of this project I can look back and feel that I was able to accomplish everything I set out to do.
Shoot plan 2
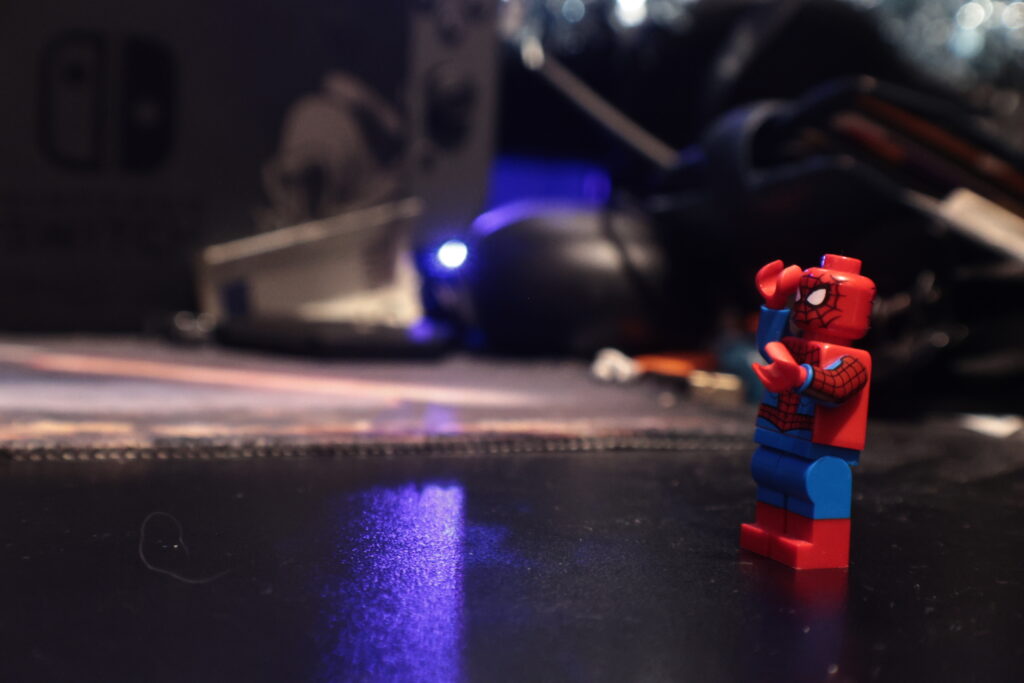
To practice my composite skills I’m going to do a home based shoot using one figure set on my desk. The plan is to take 2 photos with the figure on the left and right and then to edit together the two shoots to make it look like one picture. I aim to have 2 different edits done, one where the right hand figure will be a different colour just for fun and testing purposes and a second edit where the colours just remain the same
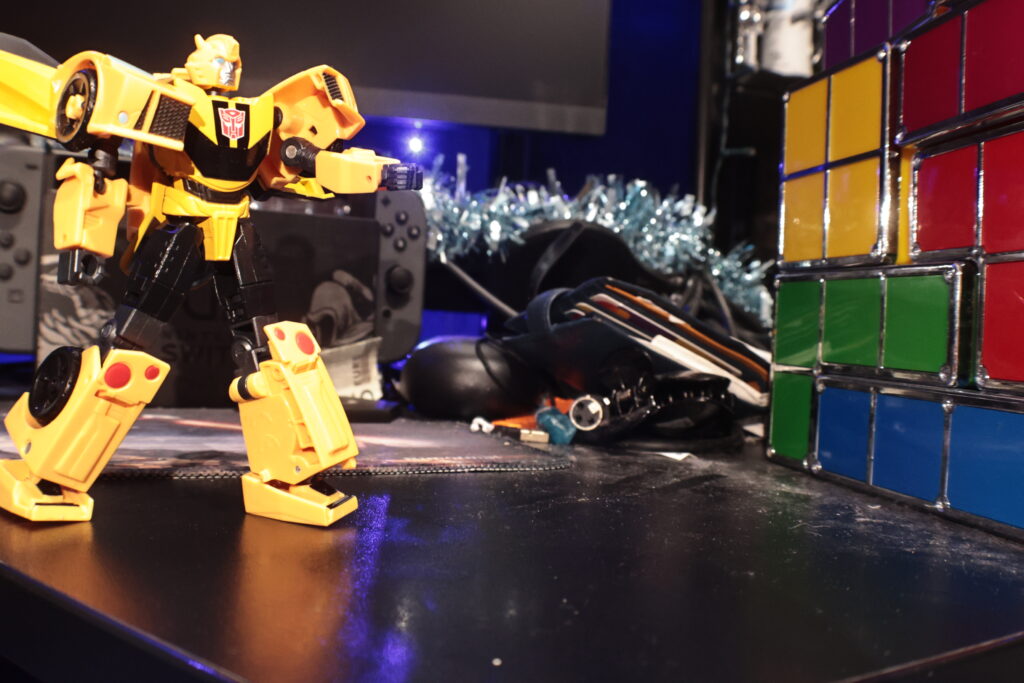
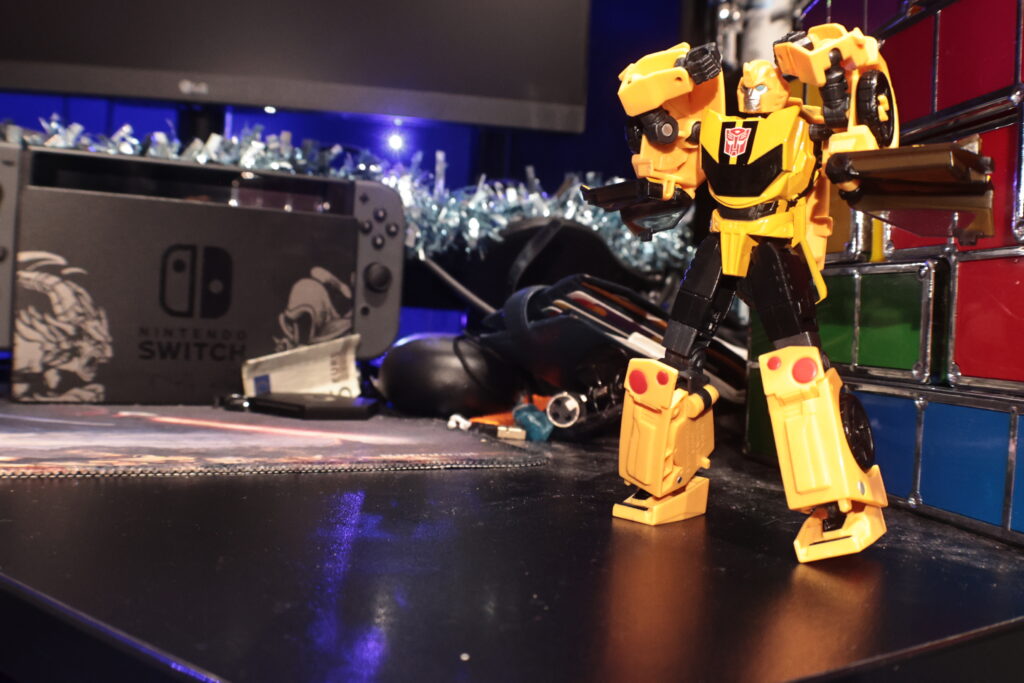
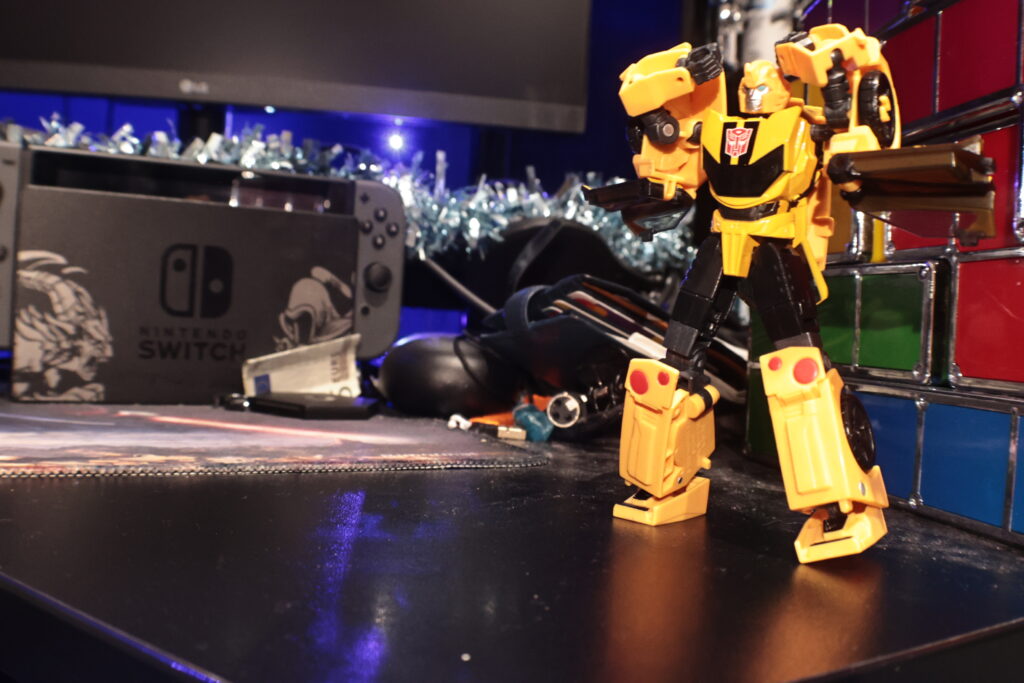
Above is the result of the shoot, taking the same figure and placing it in different positions looking as if its reacting to someone else in front of it, ensuring the background was consistent.
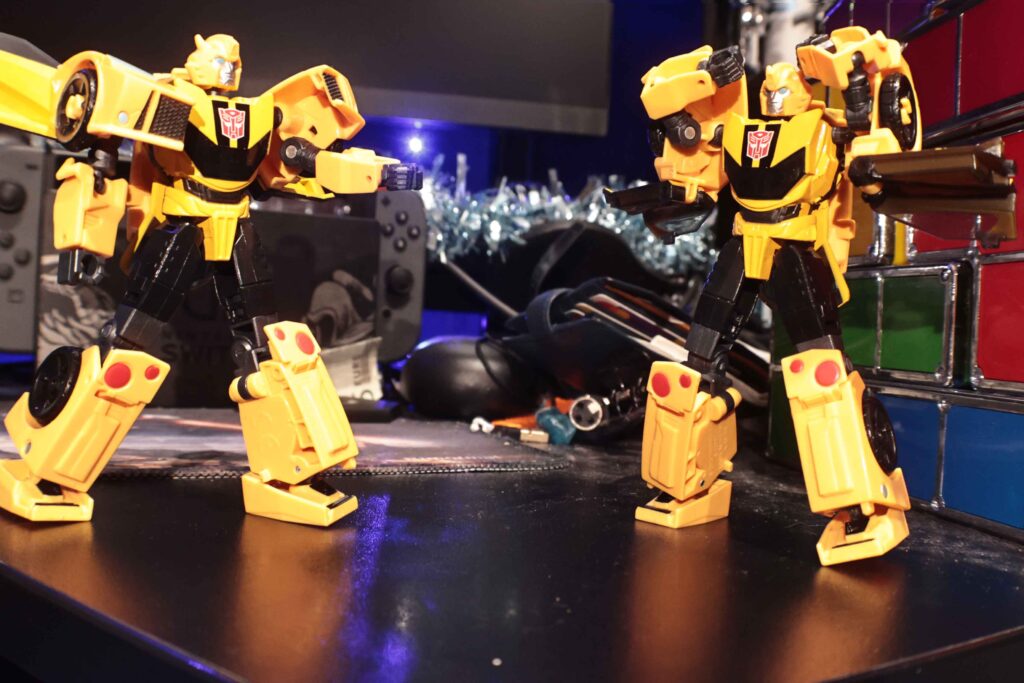
I must say I’m very happy with how this edit went, while I was unable to change the colours on the left figure the composite effect is very well done, looking seamless and like there’s no edit done in the first place, now I have to see how this works with smaller subjects.
Shoot 3
After testing the method with bigger subjects I want to see how editing smaller subjects together will be. Now this leads me to one worry, using smaller subjects means I will be closer, being closer means the background will be more visible meaning combining the images could prove more difficult as details in the background will be more noticeably different between sections so I shall try to ensure the consistency between backgrounds.
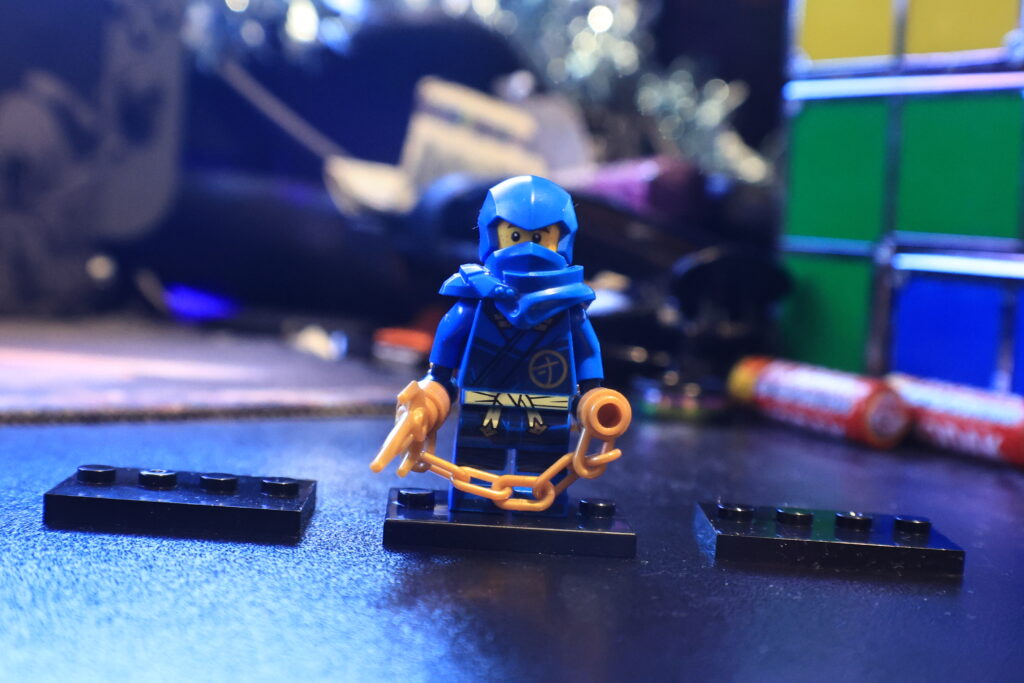
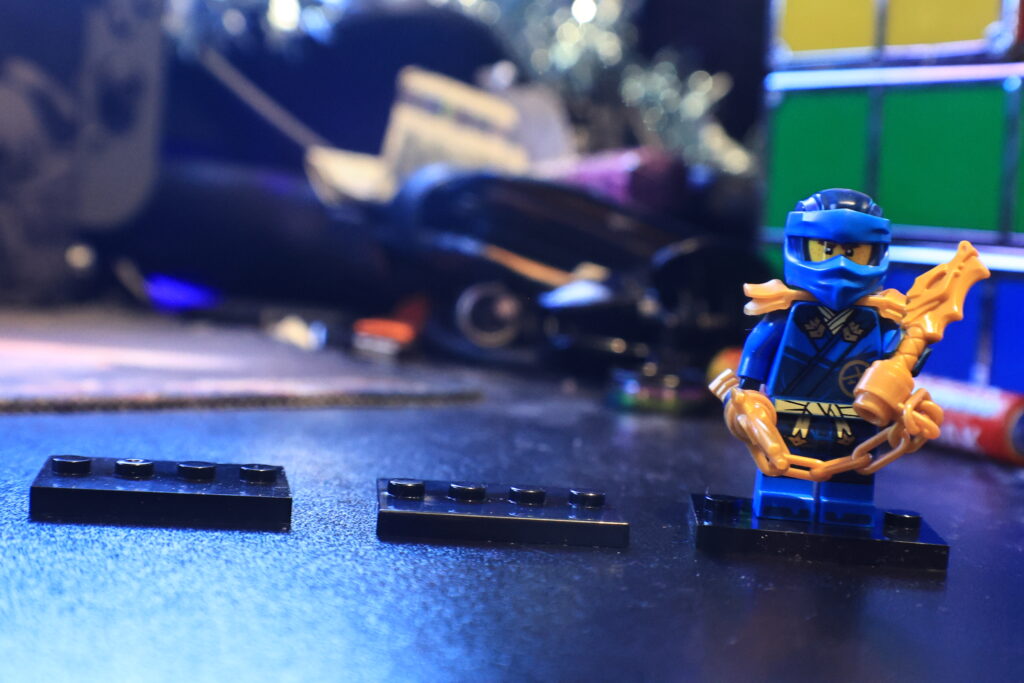
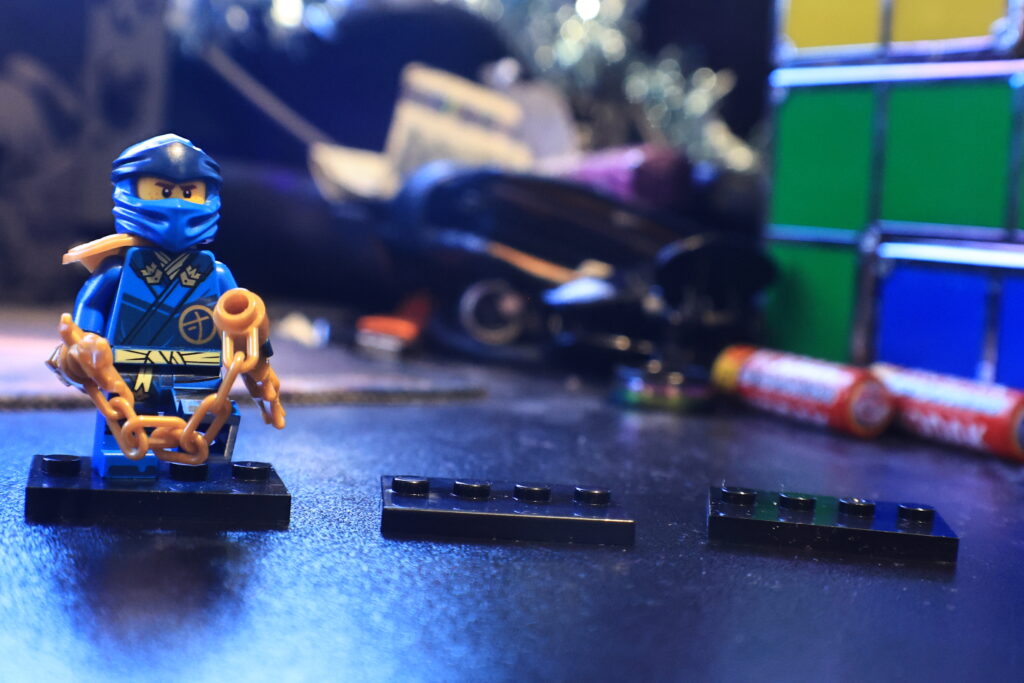
Using My camera stand to ensure framing remains consistent I also used some small Lego base plates to show where each figure will be in correlation with the others so even while it’s not there I can still see where It will be in the edit.
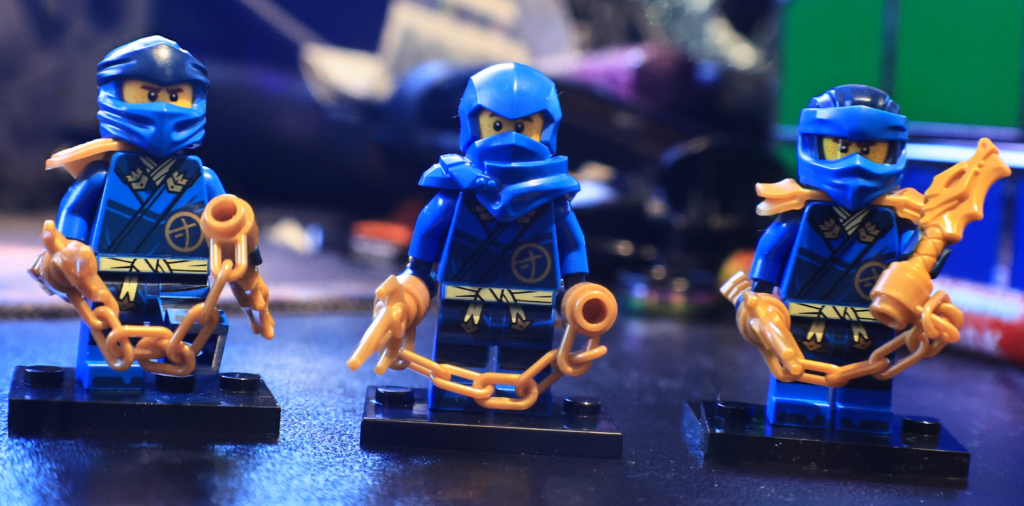
I must say I am incredibly proud of this, the background remains consistent all throughout and as a result the figures look like they’re all from the same image. The lighting across each figure is consistent and even though the changes between the figure is small across the images I think it really works to differentiate it to feel unique. Next I want to focus on posing and creating interesting scenes as that will be important for my final piece.
Shoots 4, 5 and 6
I’ve been tasked with doing 3 different shoots evolving the way I’m doing one method each time, so I’m going to take this opportunity to practice posing with the minifigures I’m wanting to use
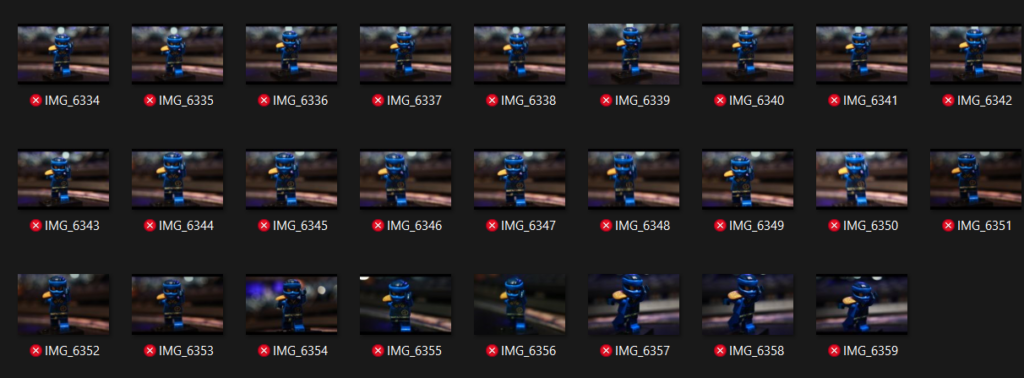
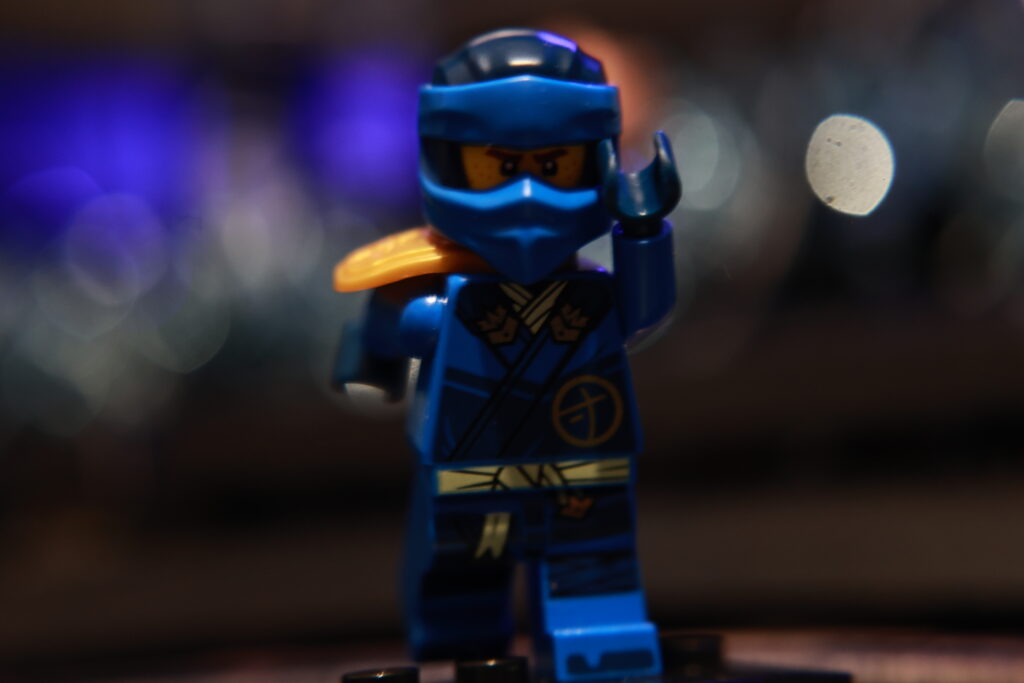
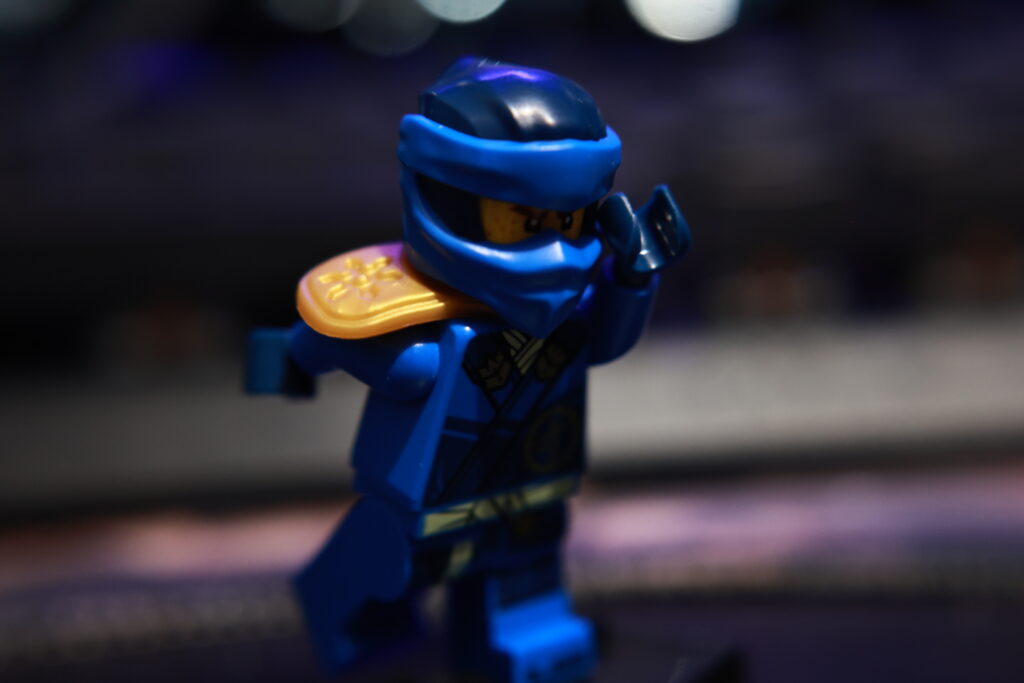
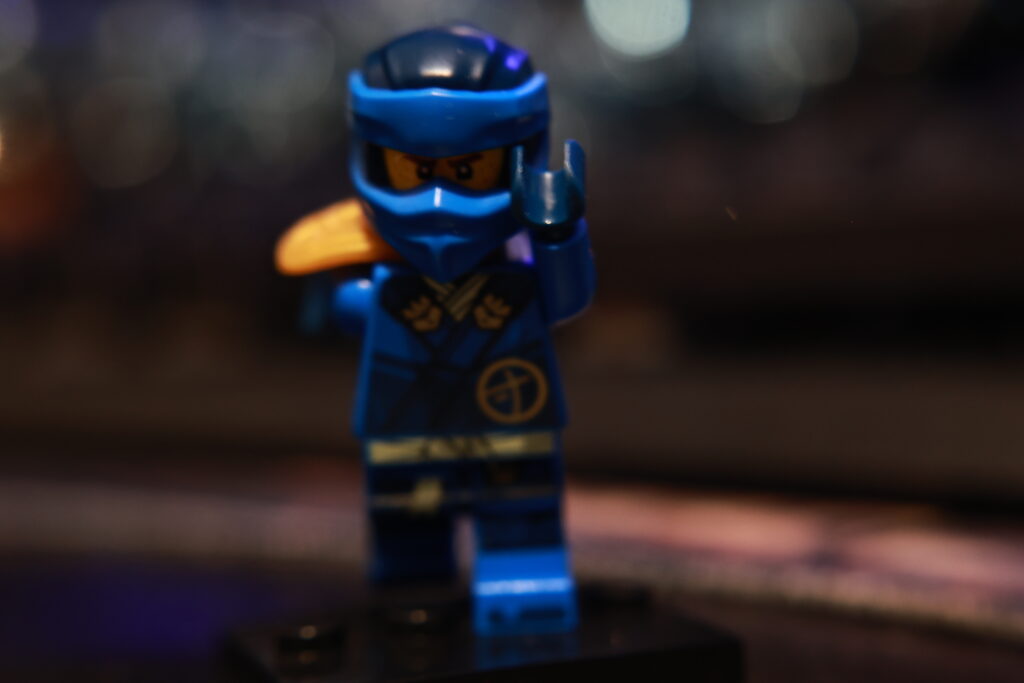
For the first of the three shoots I wanted to practice the close up posing of the minifigure I’m wanting to use, unfortunately the shoot was extremely blurry in most shots and it was very underexposed.
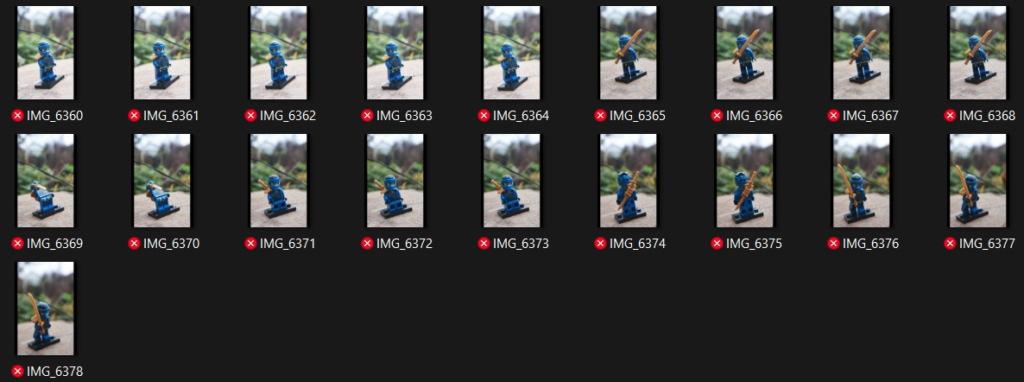
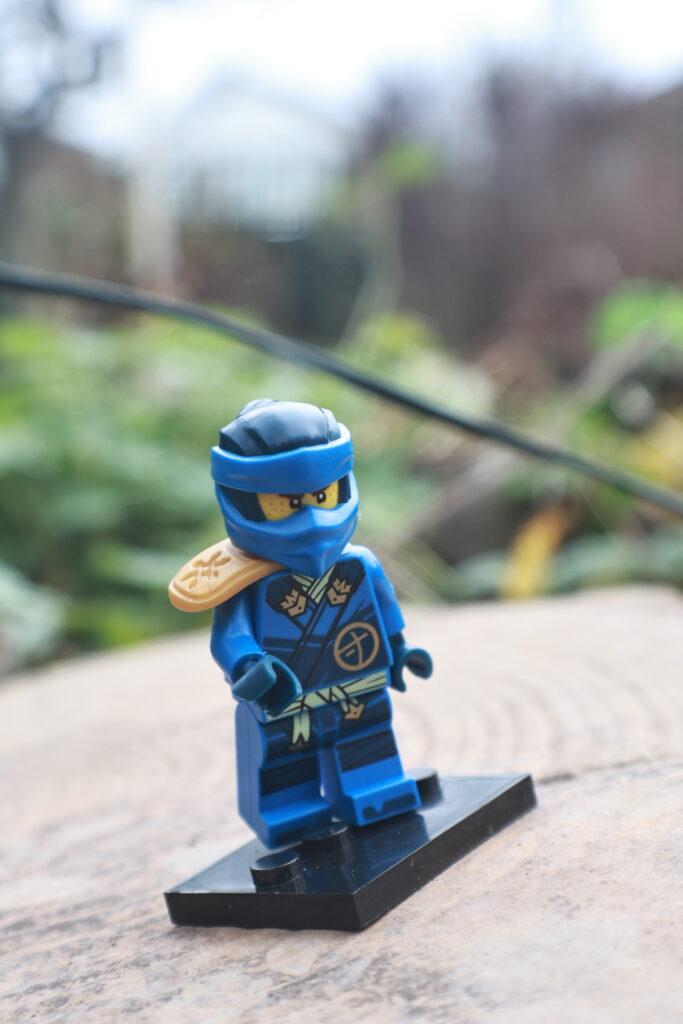
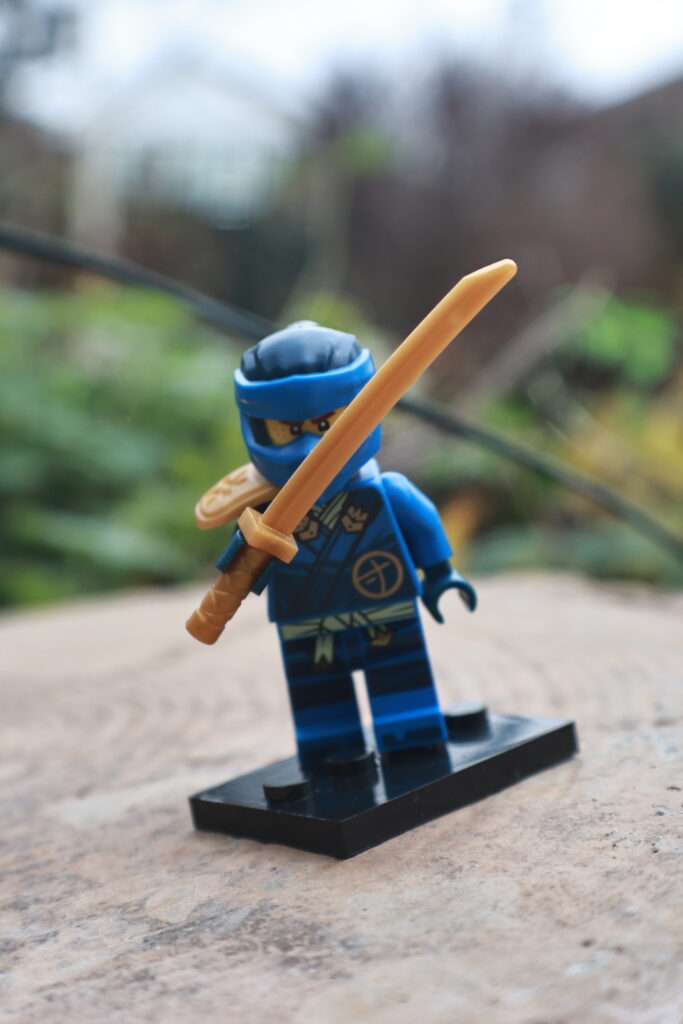
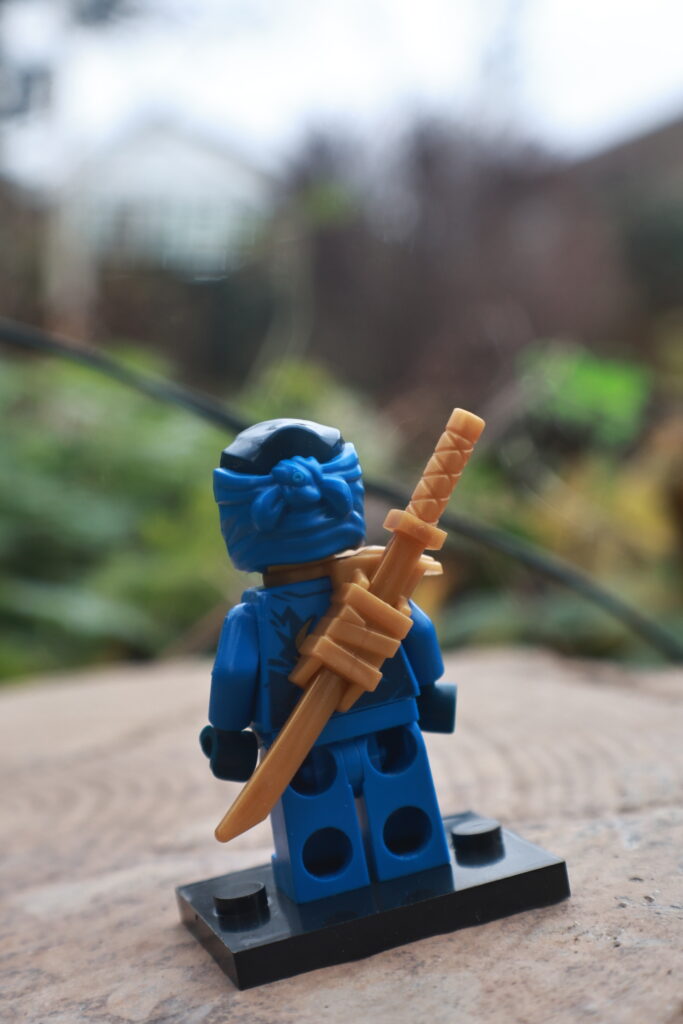
For the second shoot I changed 3 aspects, One I changed the location to in my back garden to make for a more interesting backdrop. Two I changed the shooting position from landscape to portrait just to see how taking a closer focus on the figure would look. Three I added more poses to further experiment how it looks. These shots came out better but slightly overexposed causing the colours to look more drab and lifeless. However I think keeping the shoots in landscape is better.

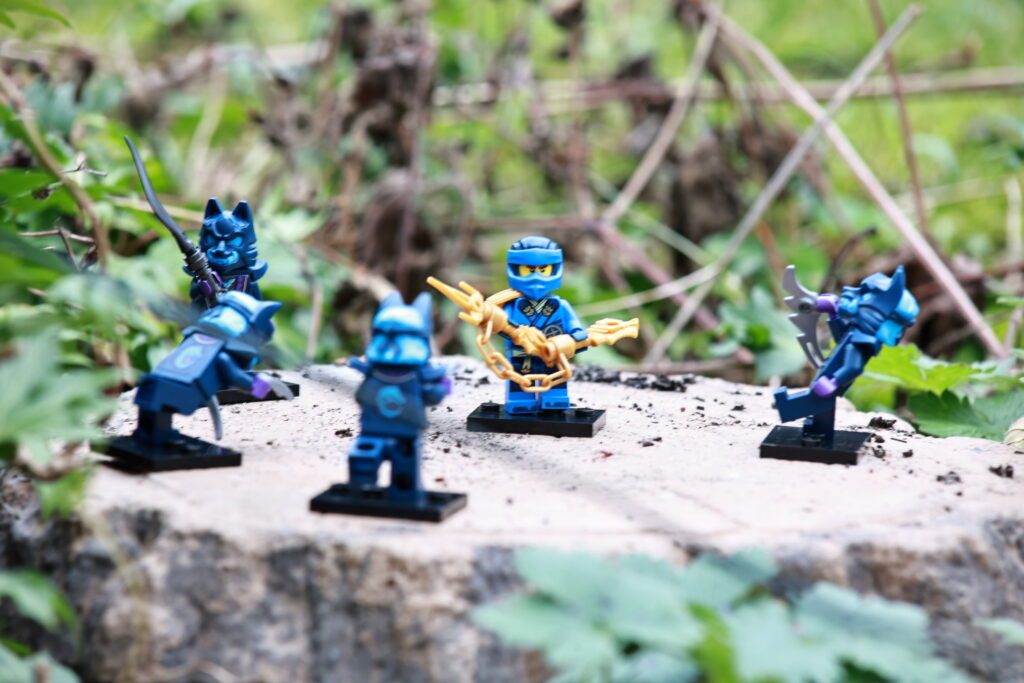
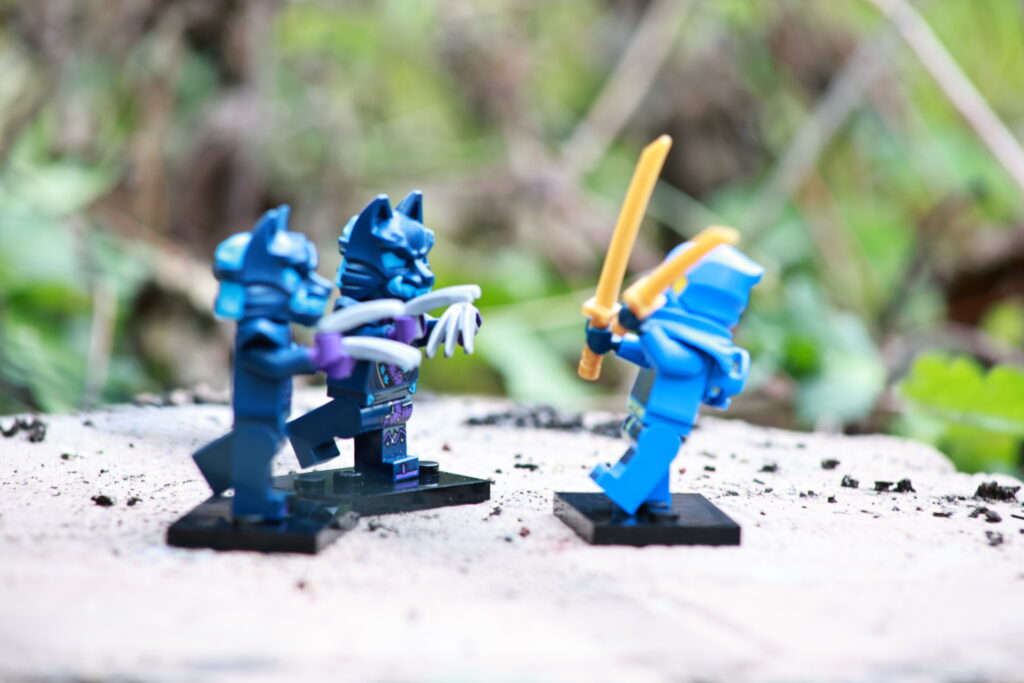
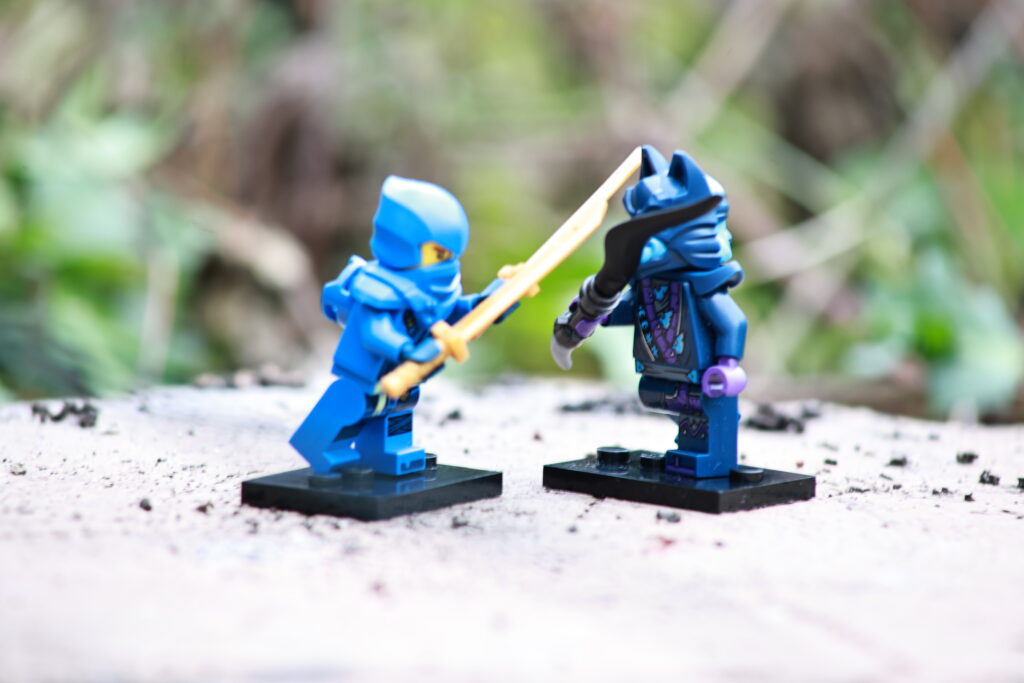
For the final shoot I reverted back to Landscape to accommodate for the other two changed I made, One being that I’ve added more figures to further experiment with creating scenes. Two being I’m using a long distance lens designed for long distance shooting as simply I wanted to see if it was more efficient to shoot with. Unfortunately given the way I was shooting caused the camera be further down making the screen harder to see, meaning despite not changing the exposure it was far brighter and images were harder to focus on. Meaning it’s much smarter to stick to my standard 35mm lens.
Final piece
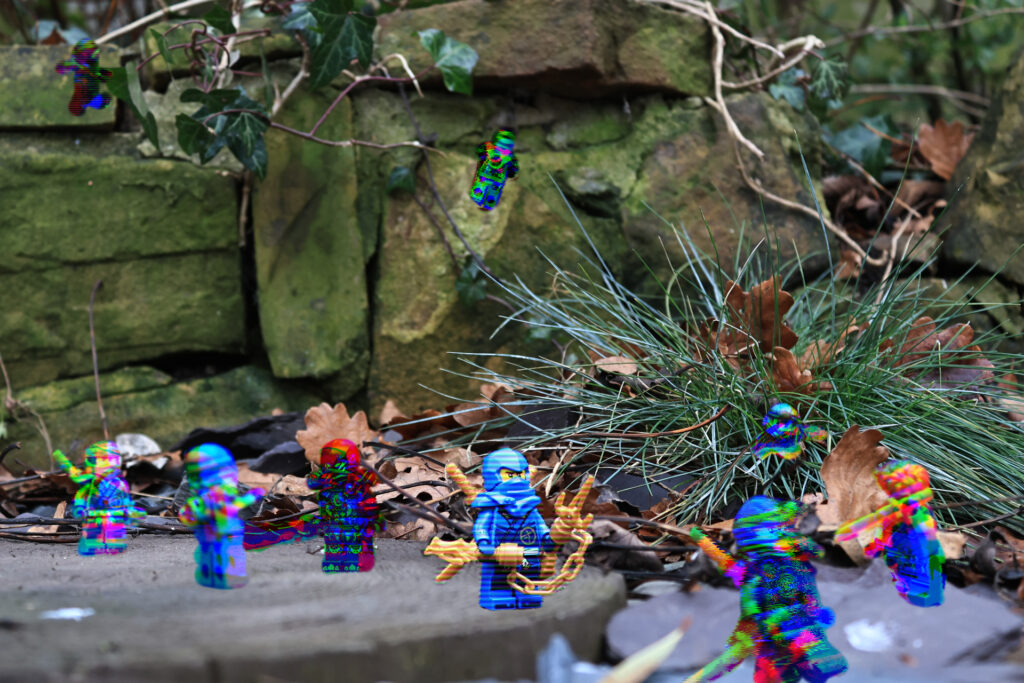
From a technical stand point I’m very proud of this, I’ve managed to merge about 10 pictures together to make one cohesive image. However something feels off about it, some figures don’t blend well into the background and I feel the effects I put on the figures makes it harder to read what’s going on, it feels busy but nothing warrants the business.
On paper I did exactly what I set out to do and yet I don’t feel like I’ve accomplished it. If I were to do this again I think I’d instead use a custom figure instead of one from a pre-existing franchise and instead of having each design look drastically different I would have subtle but still noticeable changes between each figure, much like I did with previous shoots.
Still I am proud of how this turned out and has greatly improved my skills of editing and has taught me a lot about using miniatures in photography and what I should do to evolve this concept if I were to use it again.
Fear
There’s one specific kind of fear that I want to focus on and that’s claustrophobia an that’s for two reason.
Reason One is I think it can work really well with macro and editing walls to bend around
Reason two is that I have personal experience with claustrophobia so I know how to replicate the feeling

For this mood board I wanted to gather images that show the feeling and some triggers of claustrophobia , rather than getting direct images that just show what claustrophobia is
(insert spider diagram)
Lighting
Grey scale
Black lights
Colour gels
Low key
High key
Physical lighting
Elongated shadows
Edited lighting
Gradient lighting
Spot lighting
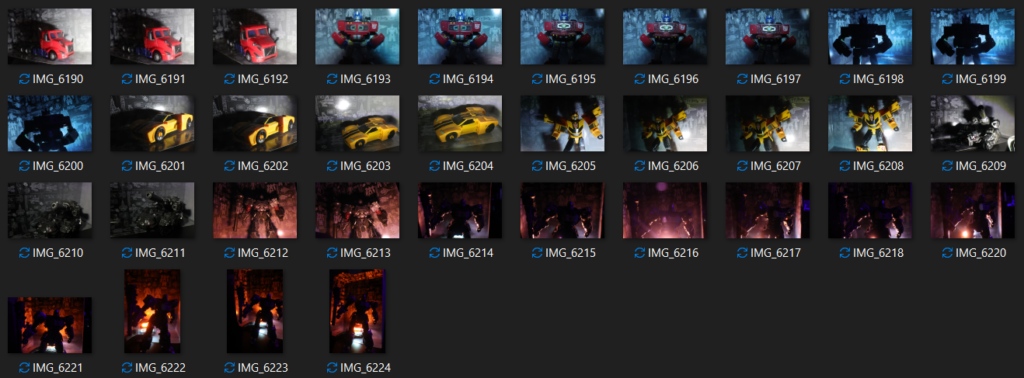
This is the contact sheet for my photos for lighting shots.
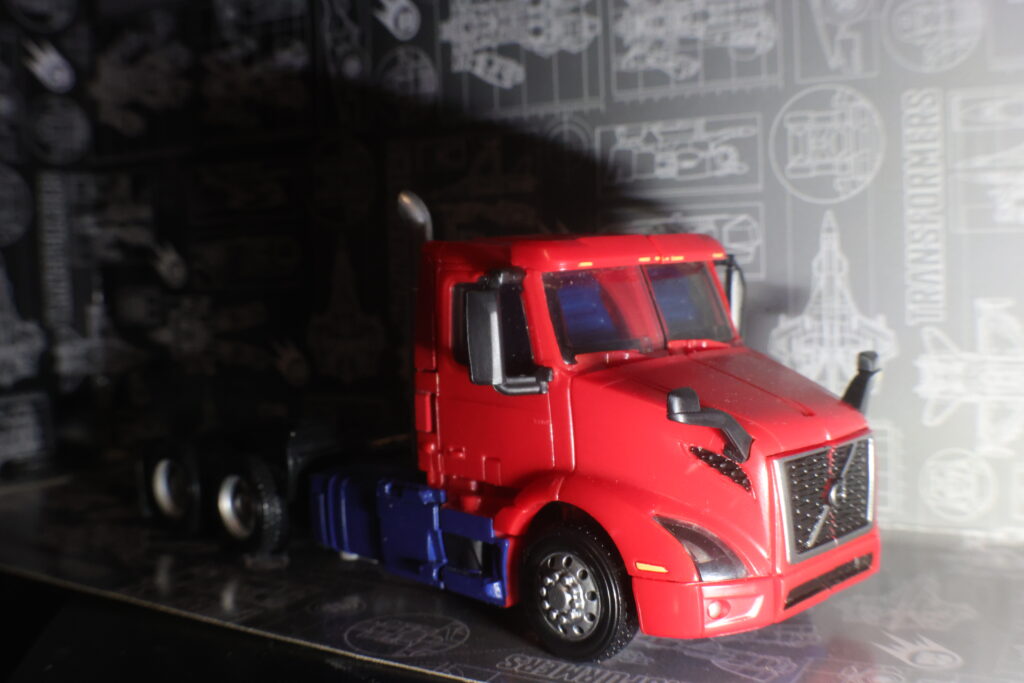
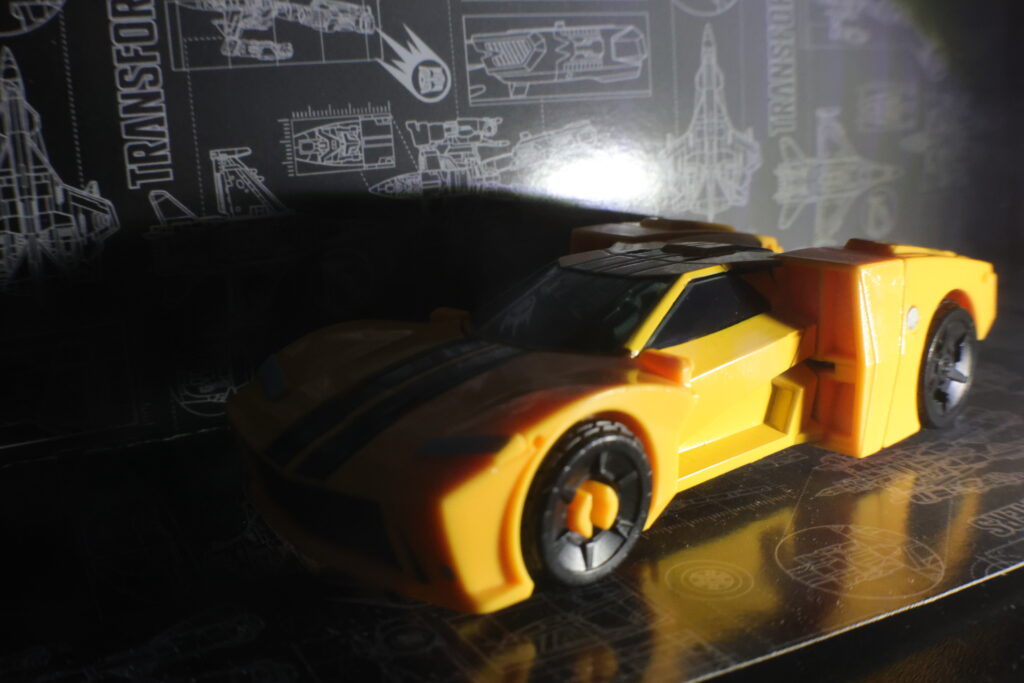
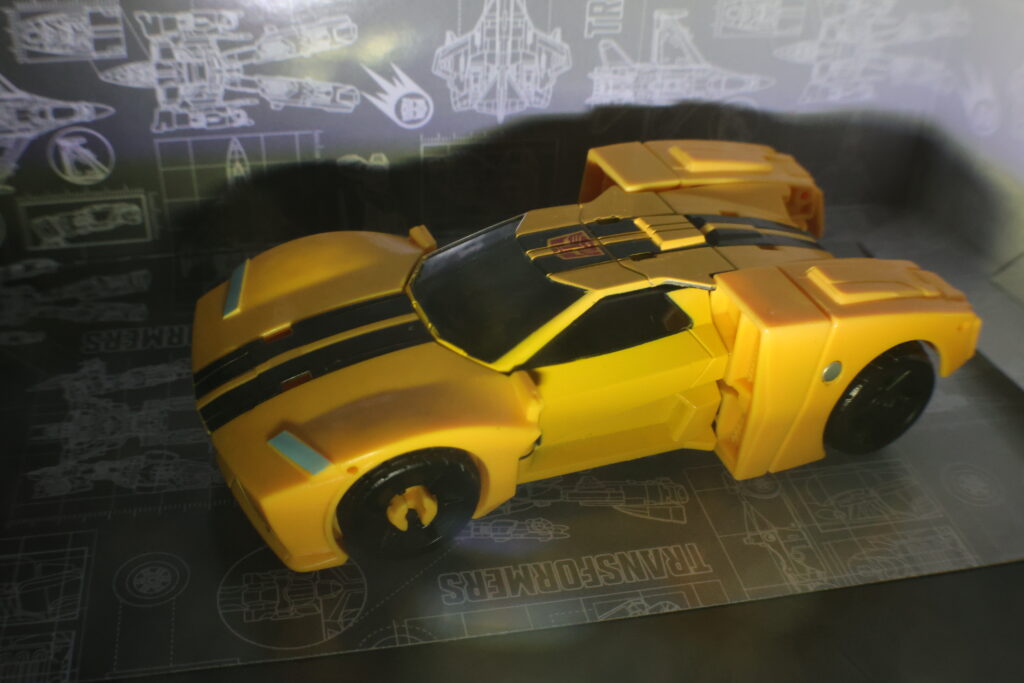
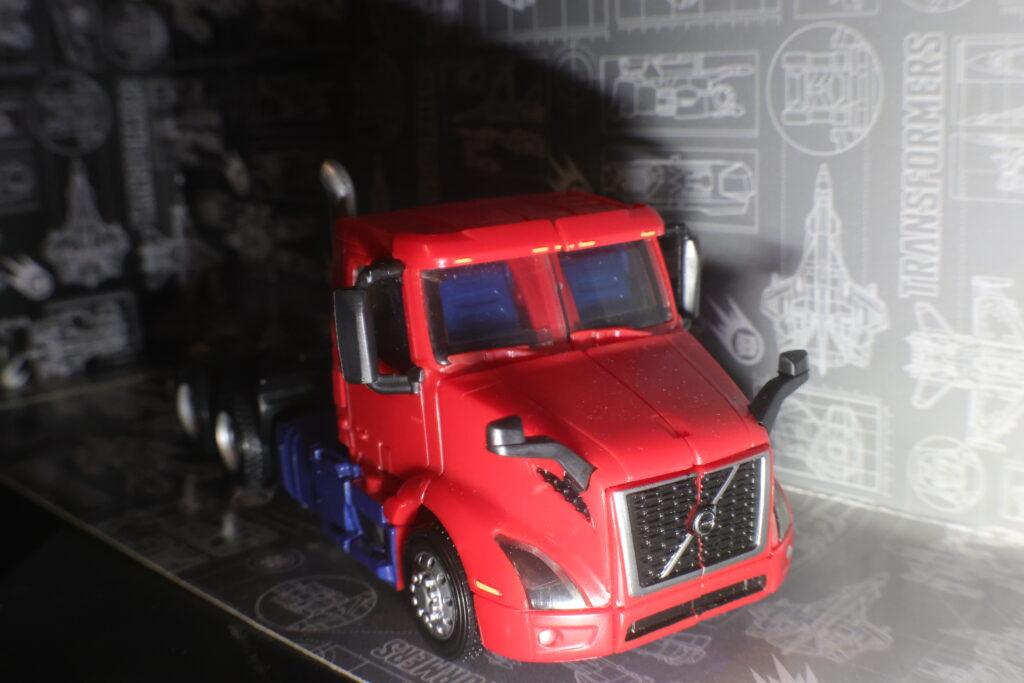
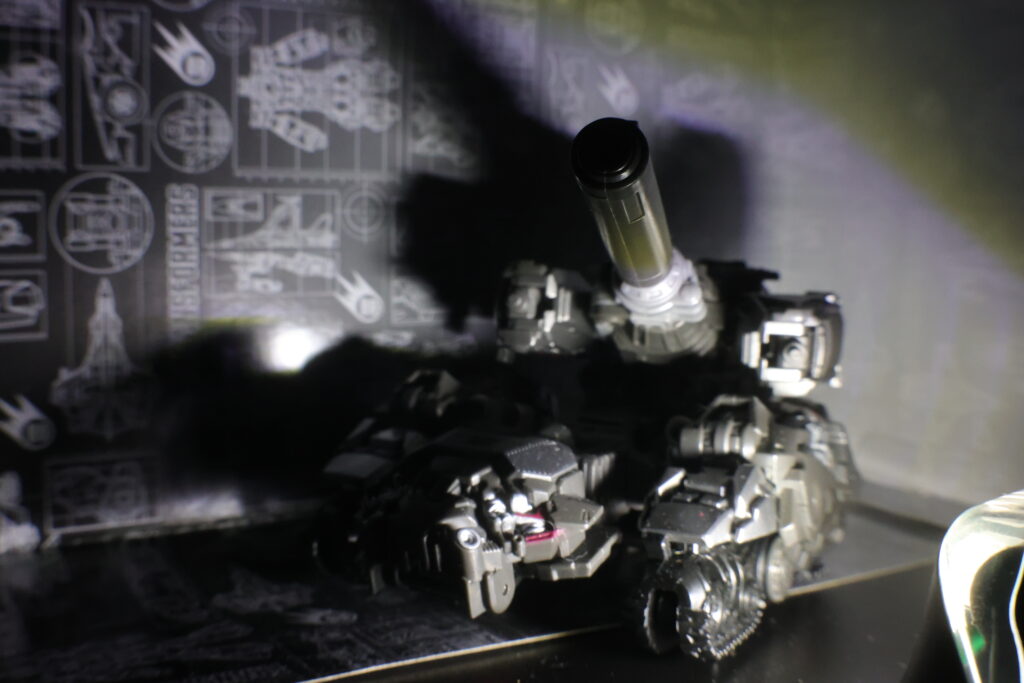
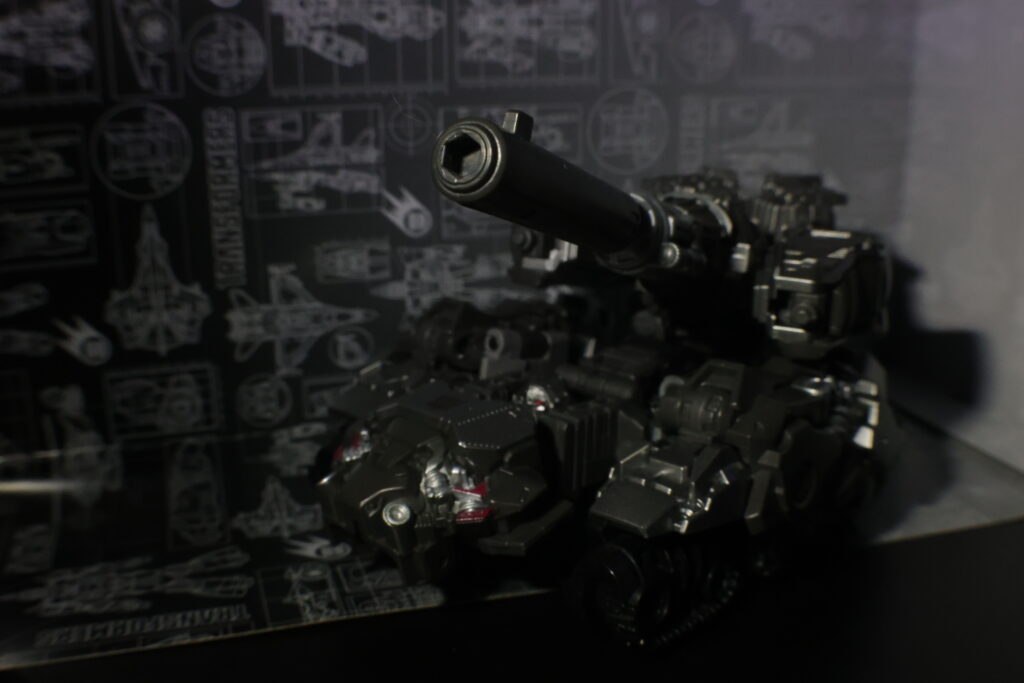
These photos above are examples of head on lighting, unedited and basic coloured lighting.
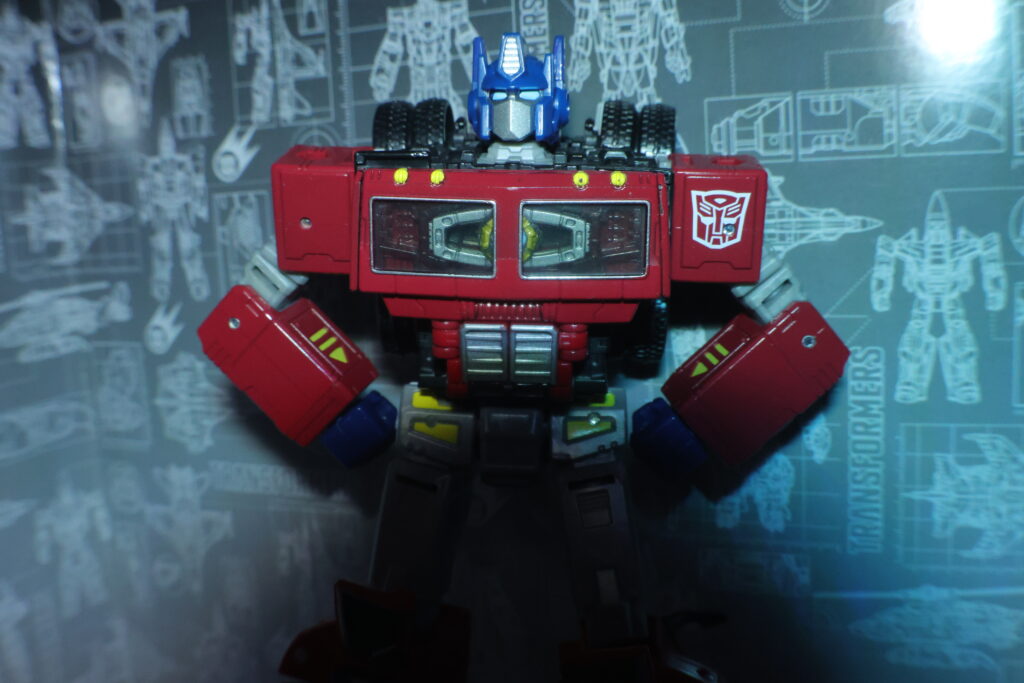
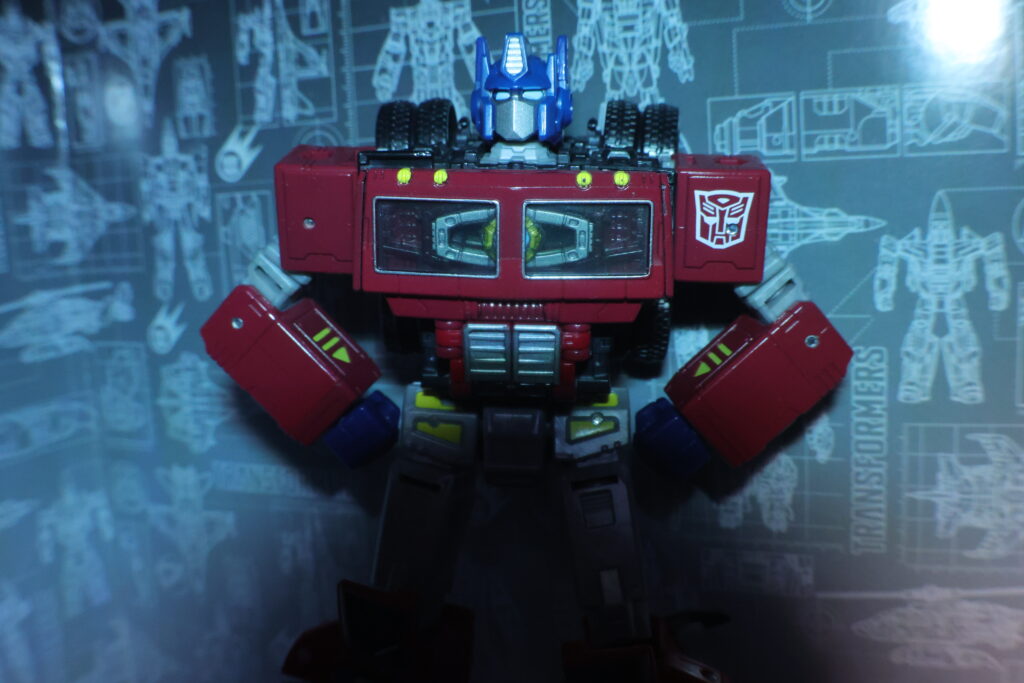
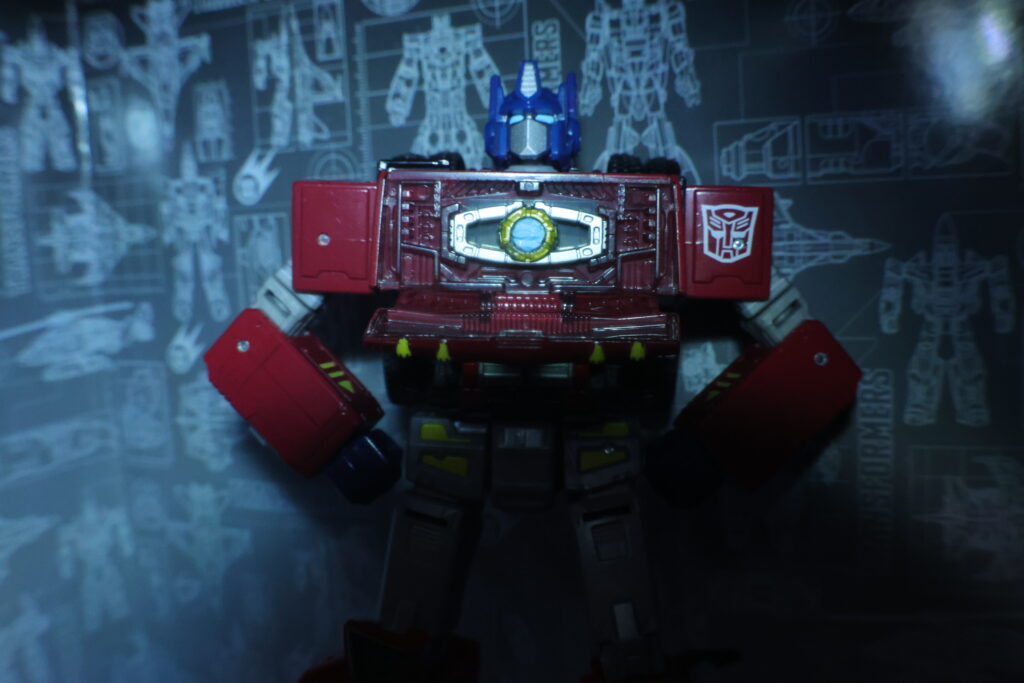
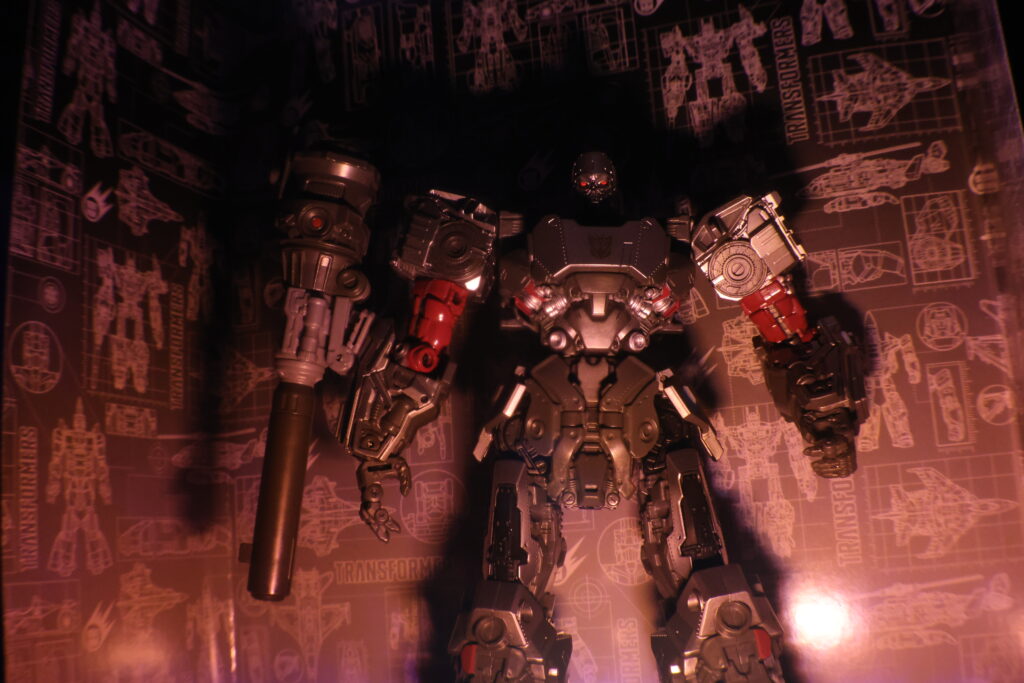
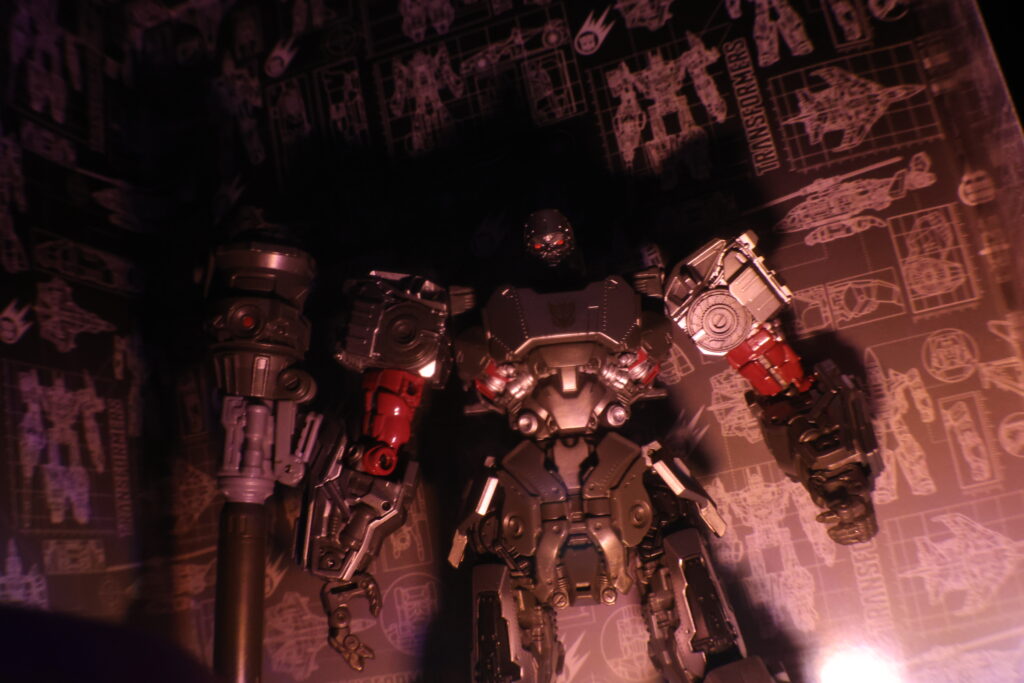
These photos are examples of gel lighting colours. I improvised the lighting rig with coloured markers on ripped up packets over a little camping headlamp.
Proposal
During the last few units I’ve always gone overambitious with my plans, as a result I’ve grown my skillset in fields I wasn’t all that familiar with. For example when I first joined this course I had a basic at best knowledge of editing skills, due to the things I planned to do and different workshops along the course I have a greater understanding of Photoshop and those skills are translateable to near enough any photo editing software. Another example would be studio work, before joining the course I had exclusively worked outside with nature so being in a studio able to control every detail I wanted was new to me and for the first half of the course I did avoid using the studio and sticking to what I knew. But as the course went on I started to take advantage of the recourses around me, experimenting with using studio equipment. One big takeaway from the last few units was that I need to start using the recourses around me to their fullest not just trying to make the best of what I personally own.
For this project I want to convey the feeling of claustrophobia. When we were given the brief I immediately started thinking of fears, more specifically phobias. I personally have many phobias arachnophobia Cynophobia mild Algaphobia but there was one that I thought would look the best, Claustrophobia.
Now I used to have claustrophobia when I was very young, it’s one of my first memories, the walls closing in the fear that comes with it. However it’s one of those phobias that’s really only in your head and I thought trying to convey that through photography would be really interesting because although I don’t have it anymore I do very much remember what it was like.
Now starting off I didn’t know how exactly I wanted to portray this in specifics, but I know the layout I want for the final image. One base image of an ordinary room and then one other image of someone looking distressed overlayed on top of the base one with warping around the second image to convey the feeling of the walls warping and shrinking around you.
Another key reason I’ve chosen claustrophobia is because it can link with my chosen specialist practice that being macro photography. I think that I’m going to aim for maybe the opposite though, taking something usually big and making it small but still having that size changing property that macro photography is so known for.
Now I think the best way to set up the shoot is using a desk, having a more confined space for someone to be huddled in and giving more of a reason as to why they’re feeling claustrophobic. I can then use the place where my model will be as a central point to warp the area around it.
I’m also wanting to use colour gel lighting on the layer with the person in it, to invoke a more Panicked and intense feeling but having regular lighting on the base image to show that in reality nothings actually there
For the evaluation process of this project I think the best and most logical method would be comparing my original plan and concepts to what I’m doing to see if I’m staying on track. Once the project is done I think the evaluation process I will do is seeing my skills I started out with before the project and seeing what skills I have at. The end and again seeing what my original plan was and seeing how well I was able to accomplish it. My hope is that at the end of this project I can look back and feel that I was able to accomplish everything I set out to do.
Research
The problem with my idea is that there aren’t many photographers that focus on the feeling of claustrophobia, so I’m going to look into photographers that focus on 3 different key aspects inspiring my shoot, coloured lighting, macro photography preferably involving people and horror aspects.

This shot is a good example of what I’m planning to do wit both the lighting colour of the lighting for the shoot. The sort of distorted look to the photo is also something I’m interested in replicating, it gives an unfocused feel to the picture that I think could work very well.
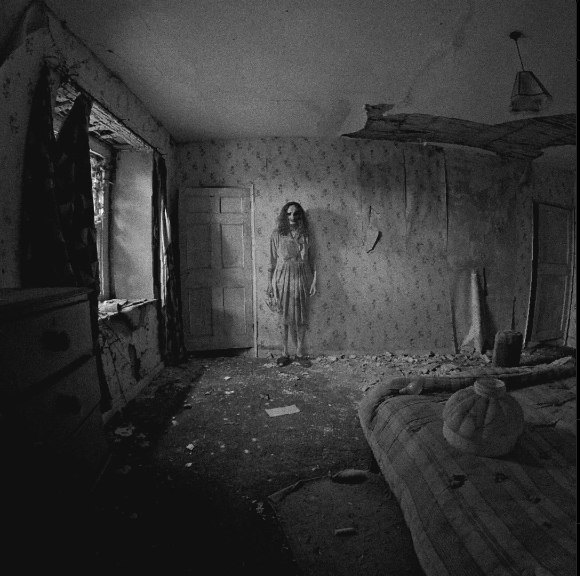
This picture by Adam Martyn Ewings shows how I want the vibe and horror aspect of the piece to feel. Adam Martyn Ewings is a horror movie camera and electrical department worker who also uploads horror images to his various social media pages, some of them being dedicated to people. Now the thing about this shot that’s inspiring me is despite the state of the house there isn’t anything abnormal about it except for the person, that’s what I want to aim for a normal environment with the person being the focus on how they change the environment.

Now the macro aspect I’m going for is the warping of perspectives that comes with macro photography, the way that taking something small and making it bigger than it is like with this image, making two small pebbles seem like two islands next to each other, that’s the kind of effect i’m going for but in inverse, making the big things seem smaller than they are thus warping perspective.
Presentation
Read more: FearDifferent shoots
Over this project I have been doing different shoots to expand my abilities and knowledge of both directing people and also experimenting with lighting like I had done previously
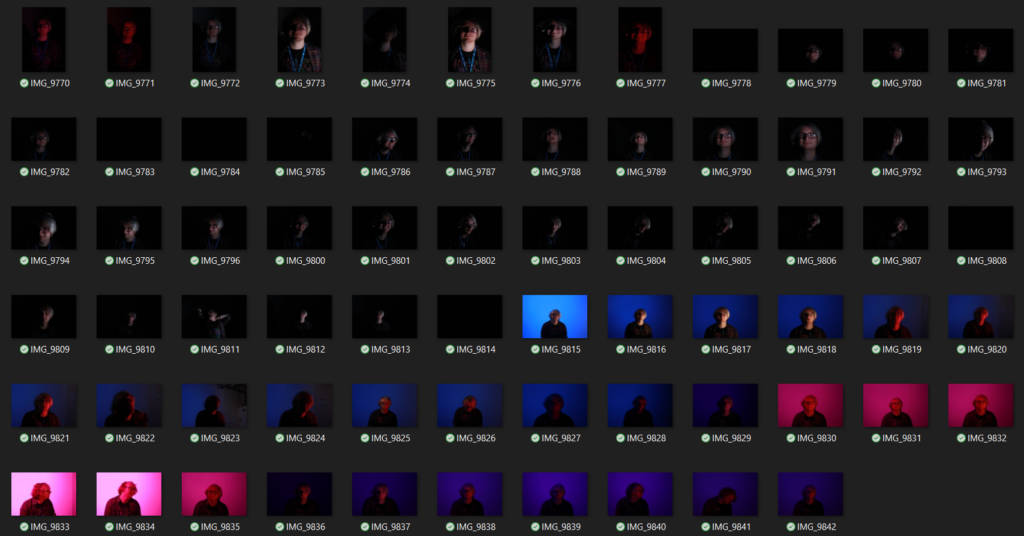
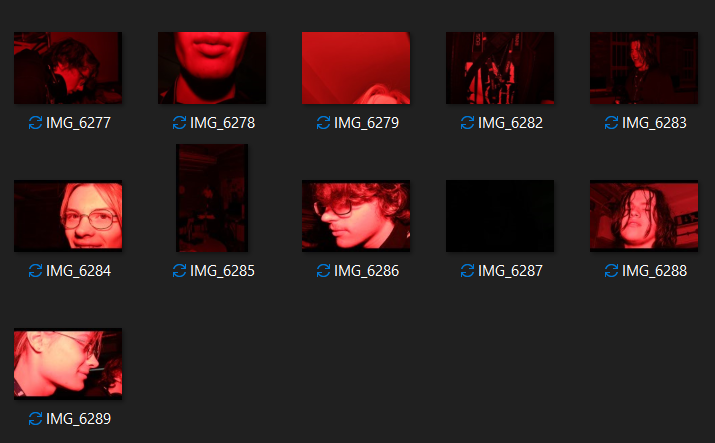
The two shoots above were done with one key goal in mind, figuring out what lightings worked best and how to properly incorporate it in the photos I was taking. I worked with studio lighting and flash lighting with colour gels over top. I concluded from the two flash lighting would be the best method to use.


These next two photoshoots were all about directing people, being able to convey what I want from the models I’m working with which is something I’m not too familiar with.
Final piece

I went through multiple different edits in this process, I was getting what I wanted but it always felt there was something off about what I was doing, I couldn’t get exactly what I wanted from the edit
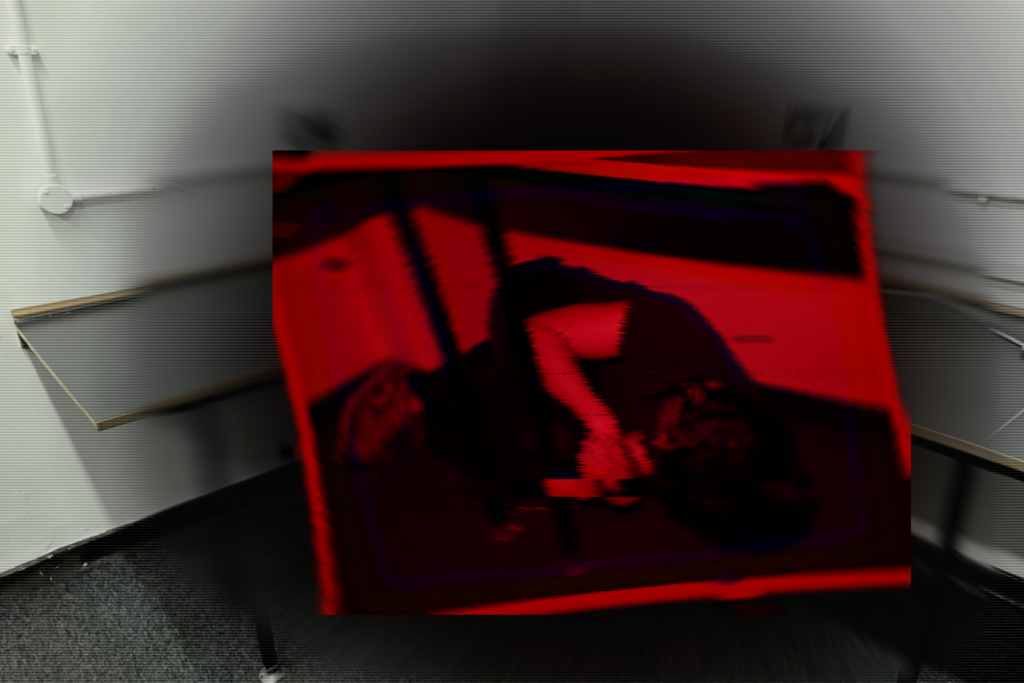
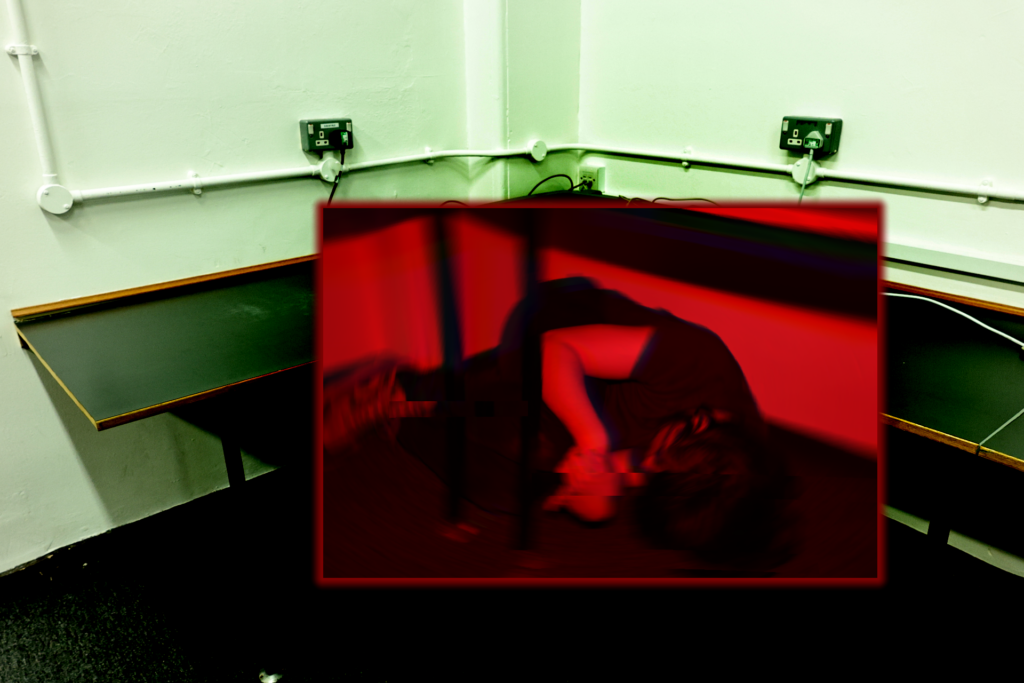
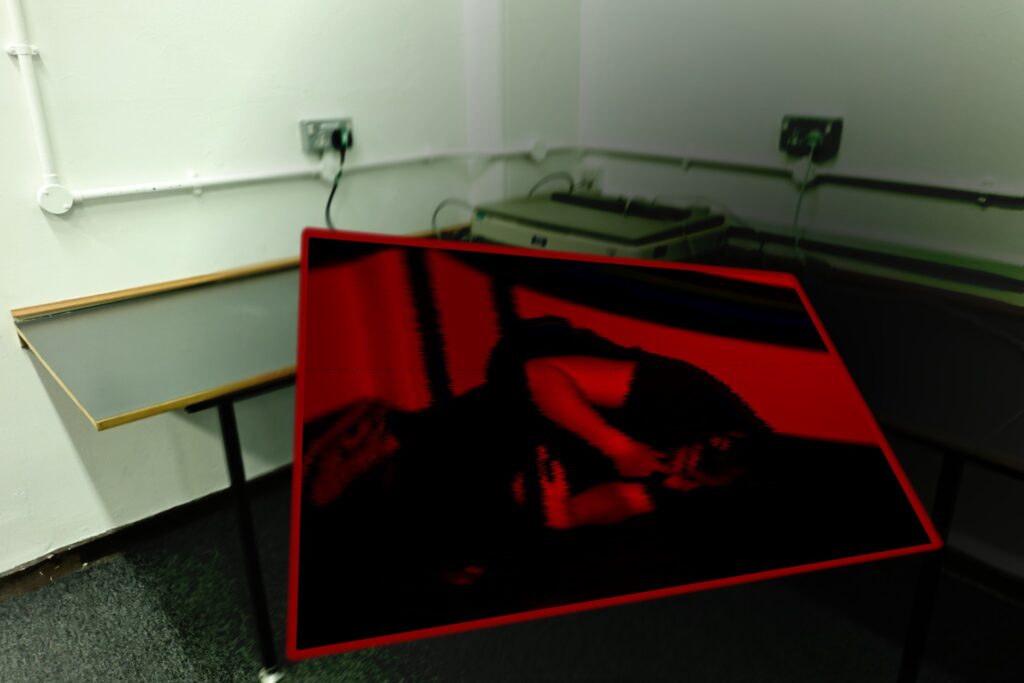
While I am proud of these edits something felt off about it, the effect that felt most important to me just wasn’t there and that is the warping between the two images to make them feel more like a single image.
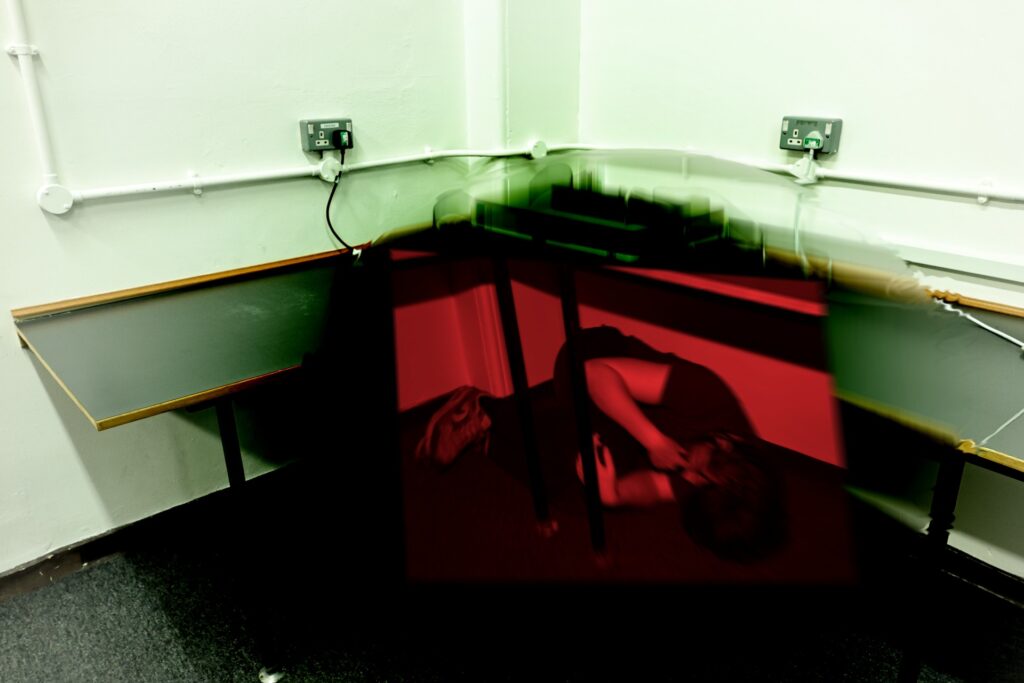
I then finally got this edit and it felt right for what I wanted, it was hitting all the right points that I wanted to get and the distortion between the two layers feels the best out of all the attempts I had made and the fact that the effects keep the edges of the bottom image intact just completes the “in your head” effect I was going for.
Evaluation
This project has been interesting for me, there’s been a lot of experimenting and new methods for me, stepping out of my comfort zone of what I do while working. Admittedly I was worried about leaving my comfort zone and focusing on new styles and focusing heavier on editing, however this fear soon became confidence.
When we were originally given the brief we had to brainstorm different fears, however as I had said in my presentation I had already figured out what I wanted to focus on. However I didn’t come to that conclusion immediately, when given the brief I was thinking about the different ways to interpret fear in an image, typically when showcasing fear in a visual medium you have the advantage of multiple frames as it’s usually in a video format however in this you only have one. So that lead me to think is it better to make something scary or is it better to portray the way fear feel. I concluded the best way to go about it would be representing the way the fear felt.
The way I wanted to represent the way fear felt was through a phobia and the phobia I had in mind was claustrophobia. I had two key reasons for wanting to do claustrophobia specifically, reason one was how in my mind it could link to my specialist practice of macro photography. macro photography is about warping your perspective to make small things bigger, however in my case I warped perspective to do the opposite. The other reason is more personal, I once had claustrophobia myself when I was much younger and that inspired me to take those experiences that I still very much remember and show how it felt to have it and also sort of dramatize it to make it more visually interesting.
During the research phase I had a little bit of a struggle because I was stuck thinking I could only research photographers that matched up with my exact ideas it’s always been my pitfall. However this project I wasn’t held to those constraints I wasn’t limited by my own misinformation and doing research to help inspire and guide me towards the final product I wanted, so this project has definitely raised my confidence for the part of every project I feel the weakest in.
Another aspect that I usually find difficult that this project helped me see in a better light was the proposal document, I’ve always struggled with getting my ideas formalised and structed in a coherent way that also reads well. But something about this project just made it clearer and I think that’s going to be a trend you’ll see in this evaluation that things that are usually a chore or hard for me to do became easier and felt right this time around, a trend I hope continues into other projects.
In most projects I have the feeling that I know exactly what I’m doing so head straight for the final product instead of stopping and trying out new things that can enhance the final product and make it better. This project I’ve learnt from my mistakes, I’ve done a ton of practice shoots testing out photo methods and some editing methods I would come to use in my final project and I’m really glad I did because it’s made me more skilled in these areas unsurprisingly as well as making shooting the final project a lot easier
Thanks to all the practice shoots the final shoot was a lot easier than every previous final shoot I’ve done thanks to all the practice I had a much easier time working on this final shoot, having a stronger understanding of lighting and directing people. I’m fairly happy with how the shoot turned out, it wasn’t in the exact location I wanted however I worked with what I had and got the end result I needed.
I’m proud of my final edit, it took me a long time and many revisions to get to the final result. At the start I was using my own editing software due to limitations of my laptop, despite that the edits I was making weren’t bad but it wasn’t exactly what I wanted. So thanks to the advice of one of my tutors I made the correct decision to switch to photoshop and finally got the result I wanted.
This project overall has been a great experience for me, a good opportunity to learn new skills and get over my own self imposed obstacles. Comparing where I am now and where I started is like night and day, I’ve com so far in my process and I must say I’m very proud of where I am now and am very excited to see where my new found skillset and confidence will take me.
Summer project
My specialist practice, the thing I want to focus on macro photography. I’ve always had a soft spot for photography to do with nature, the ability to capture the world around us how we may see it and share that with others. Macro photography in my mind takes that idea further, being able to capture those small details that only a few may notice and share that with the world, showing beauties and details only few get to see.
Macro photographers are typically freelance workers, being picked up by Scientific journals and magazines or advertising agencies. With this you just have to try your best to make a name for yourself, making yourself stand apart from everyone else and cater towards what your audience will want.
Another freelance career option I’ve seen a lot is having online accounts like flikr or Imager to sell their photos independently however that seems less effective given the fact people can just save your pictures from the very websites you’re selling on.
One photographer I’ve found is called Alexy Kljatov a photographer well known for his macro photography of snow flakes. getting up close to something so small and seeing all the small details that makes every tiny thing unique is to me the essence of what makes macro photography so special.
https://alexey-kljatov.pixels.com/art
For me the best way to replicate the look and more importantly the feel of the snowflake pictures, the ones I feel are the most unique of Alexys photos, was to photo eyes. Eyes I feel are good equivalent to snowflakes since they both have unique details and patterns that can only be revealed up close.
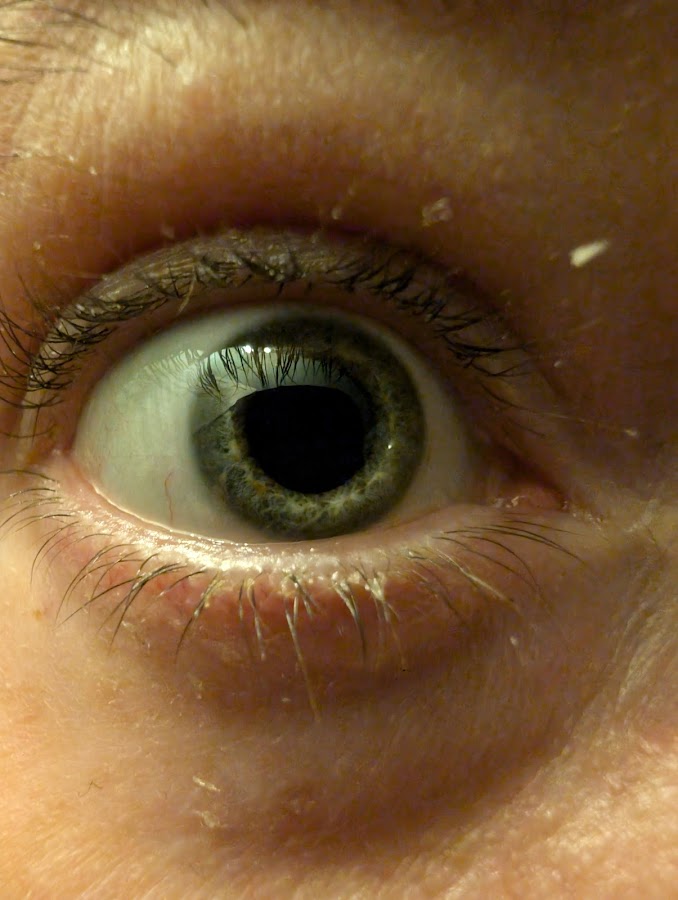
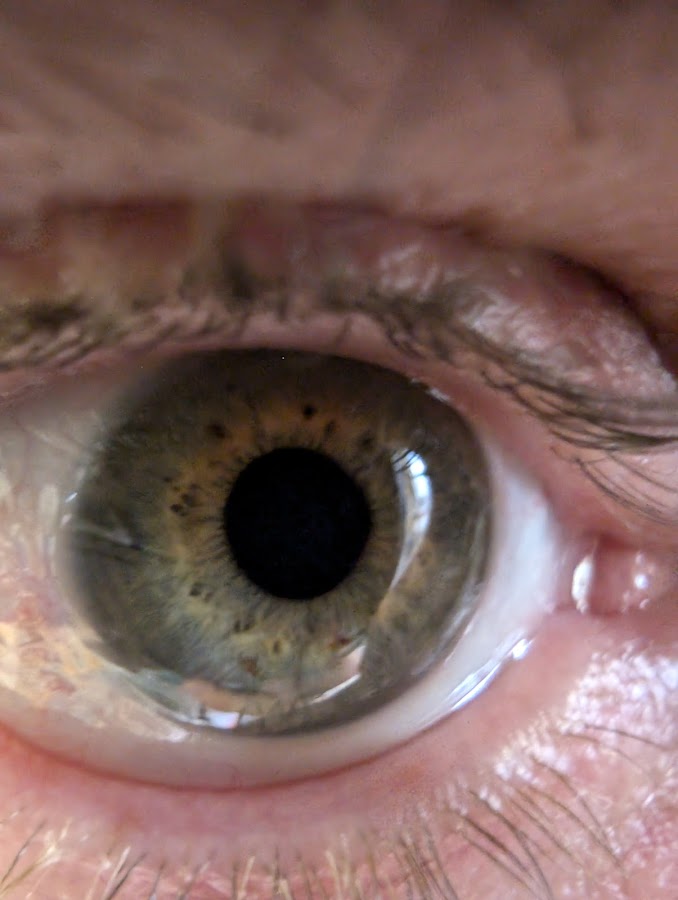
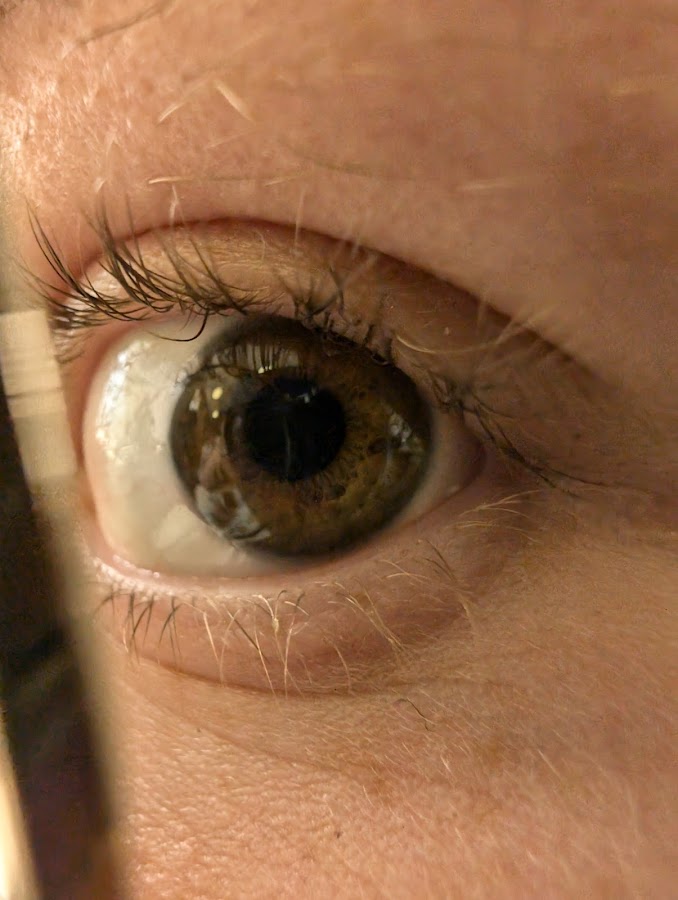
There’s also another photographer that captures what I feel makes macro photography so special and beautiful and that is Jamie Price. Jamie Price focuses on insects and plants, showing the things we find small and insignificant and showing their full potential as how they actually look, showing the patterns and hidden beauty we can’t see. That to me is a major part of why I love macro photography, the chance to give a new found life and appreciation for things that are often over looked.
https://www.jamiepricephotography.com/macro-art
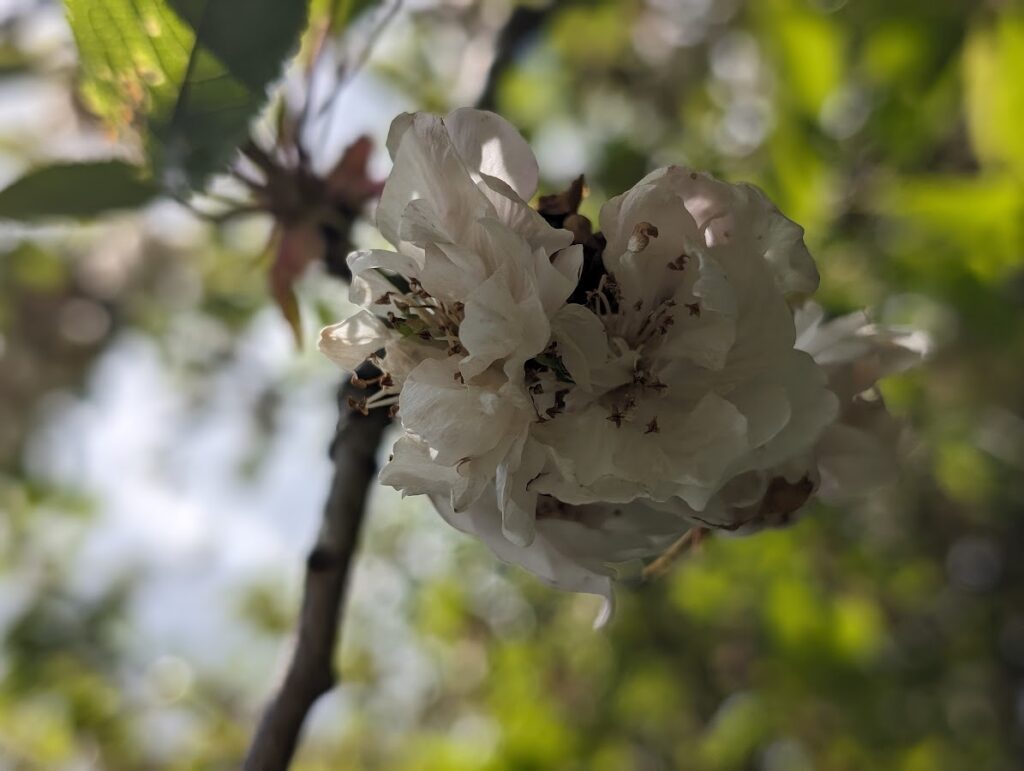
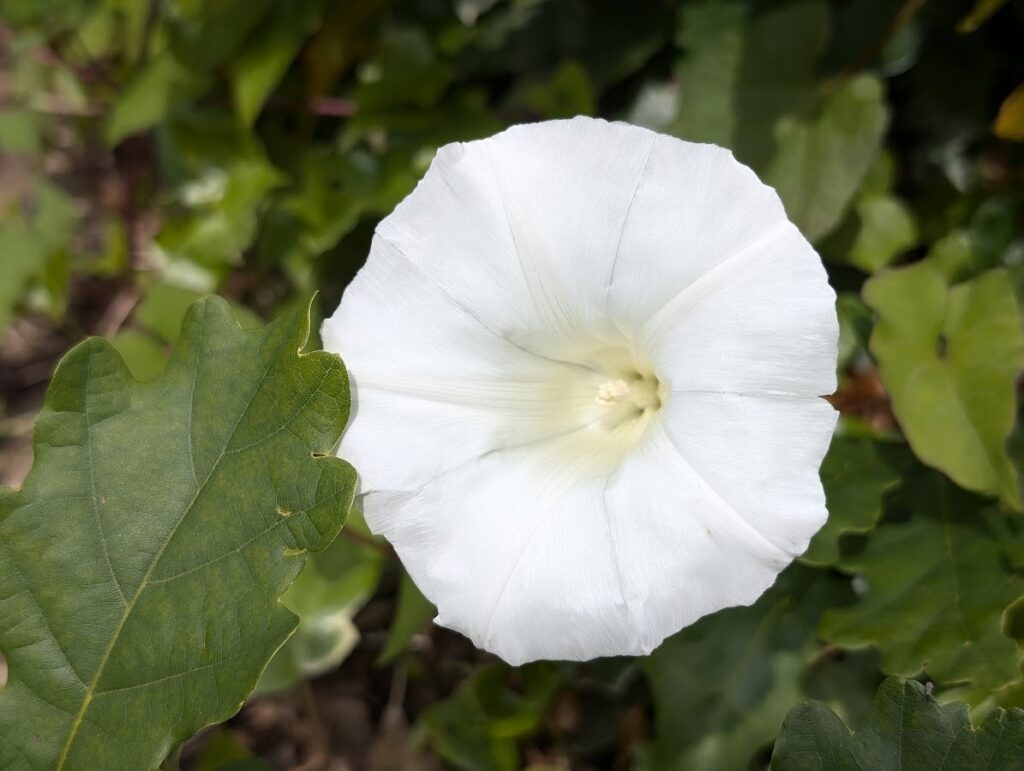
With being inspired by Jamies work I was called to the nature photography, the flowers and plants specifically, seen as how that’s an area I’m familiar with and what gave me a love for macro photography and photography in general. I wanted to capture the feeling of those macro shots without the exact equipment.
The third photographer I’ve found is called Adam Gor, a biologist who became interested in photography at the age of six. Adam takes a wide range of different kinds of photos, from landscapes but also macro. focusing on either insects or different items with examples of different coins but also different crystals and rocks, and the crystals really appeal to me. Crystals are fascinating as they can have unique colours and reflections and shapes so they’re perfect for macro photography.
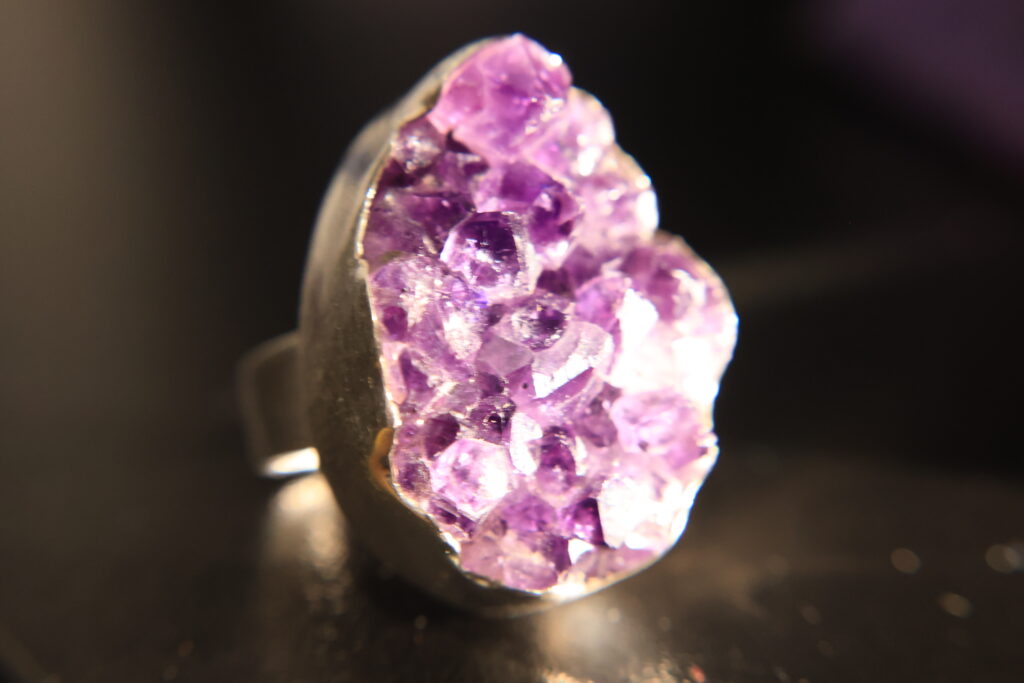
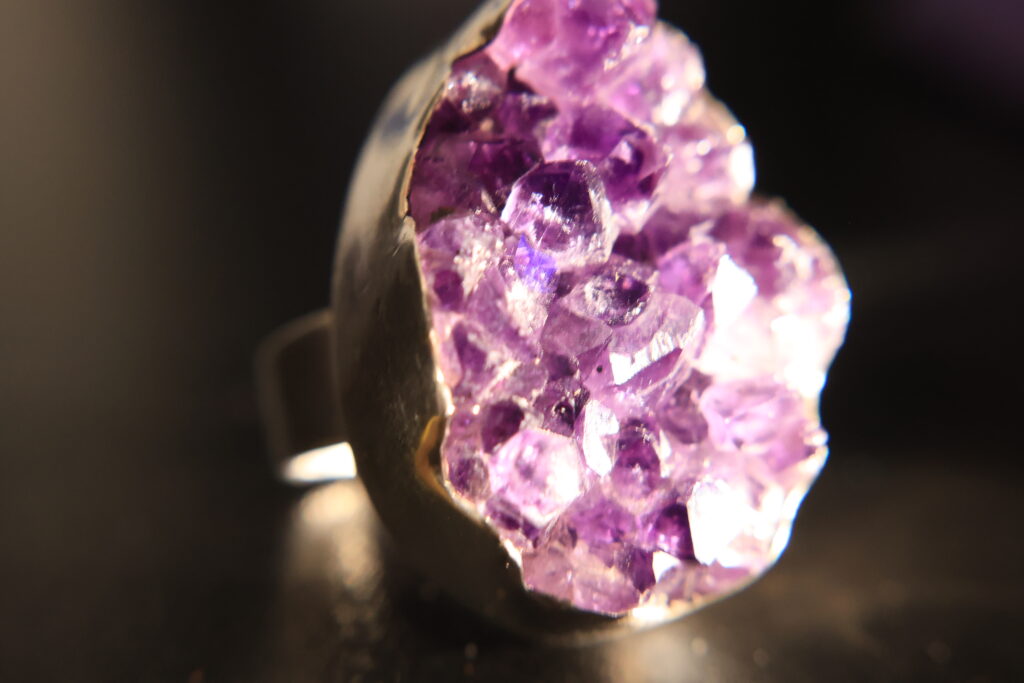
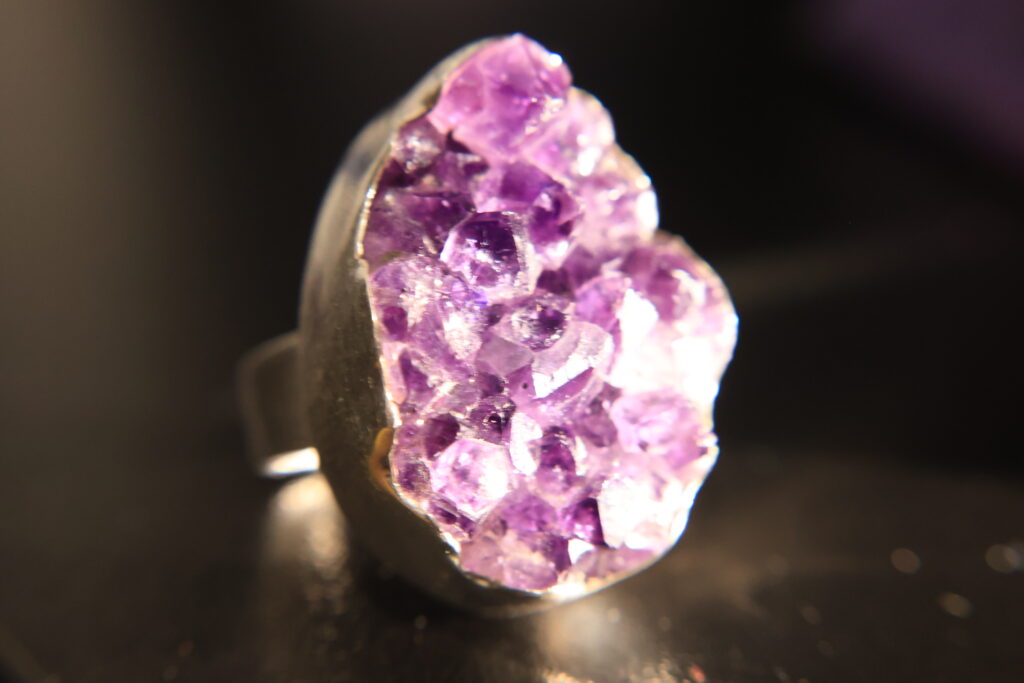
These photos of an amethyst ring are inspired by his work with geodes and other minerals. I find the small intricate spikes and shards so interesting and the way it catches the light is very interesting. I would very much like to look into doing more work with crystals in the future.
I went to the art exhibition in Manchester and was able to find two pieces relevant to my specialist interest.
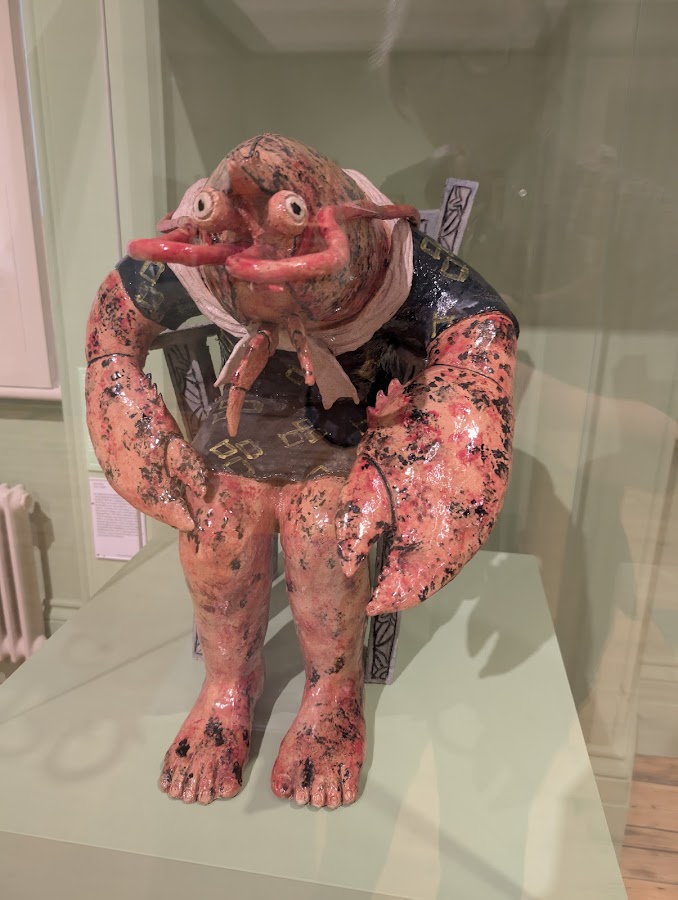
The lobster piece I think can relate to macro in an abstract sort of way, it takes the smaller details and enlarges it to human details. While it’s a mixture of a person and a lobster and not exactly a statue macro of a lobster it still has a similar effect.
I also went to the art gallery in Leeds which is filled with incredible pieces of work but the thing that caught my eye the most wasn’t actually inside the building
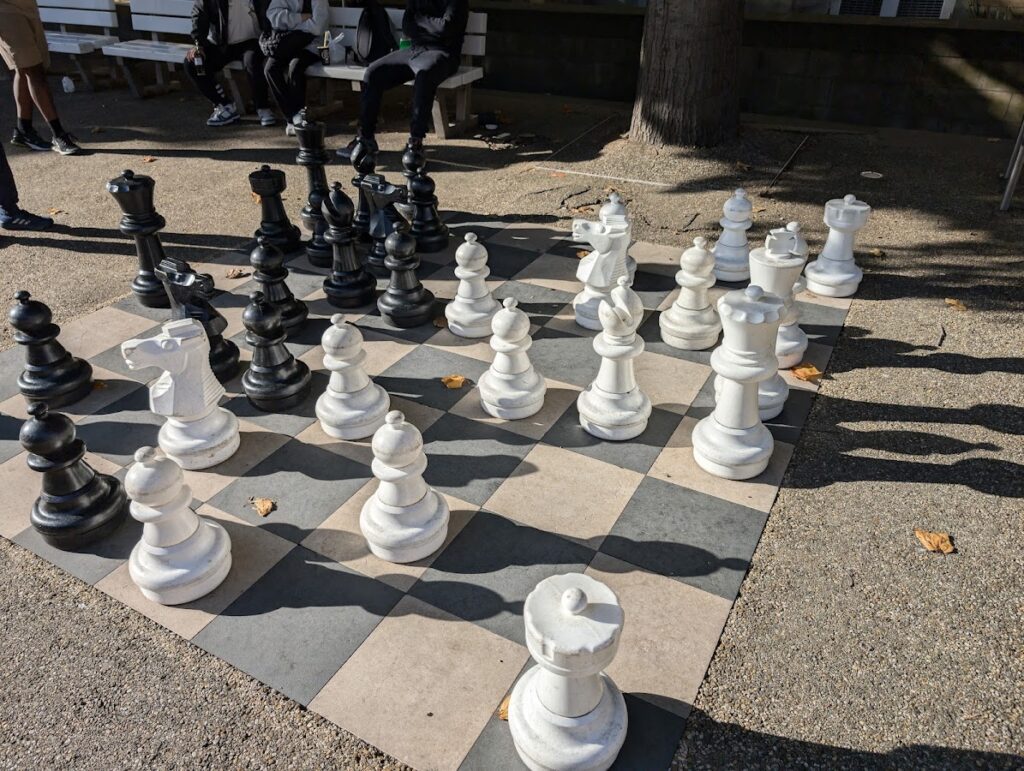
It was the giant chess set outside. Now to me this large game of chess represents what macro is to me, taking things that are usually so small and possibly inconsequential and very easy to overlook and making them bigger than they actually are, showing people all the small intricate details that maybe only the creator of said piece can see.
To me photography is less about just capturing what’s in front of you but what you see in front of you, being able to show other people the way you see our world, the colours others may not see. The shapes others may not see and the beauty that people can overlook or not notice. Taking those small yet incredible things we see every day and sharing them with everyone and to me macro photography does just that.
Hello
Unit 3 – Future project
Final Major project.
Our Final Major project, or FMP as I’ll be referring to it, is all about the future. After some brainstorming I want to focus on the future of media, specifically the evolution of movie and television from the days of practical effects and monochrome to the modern day of CGI and technicolour and how that technology could continue to progress.
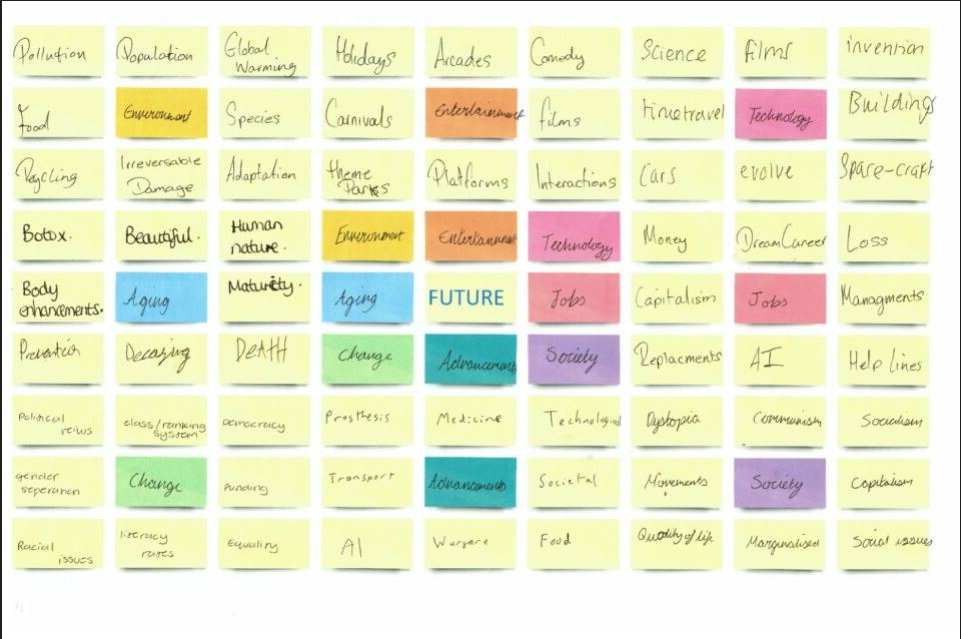
One specific method I want to use is an unused one from a previous project, that being light painting. I myself own a pair of LED pois, a sort of soft plastic balls with colour changing LEDs inside attached to a string to be spun around. I imagine with the colour changing capabilities of them and the patterns that could be made would result in something at least pretty.
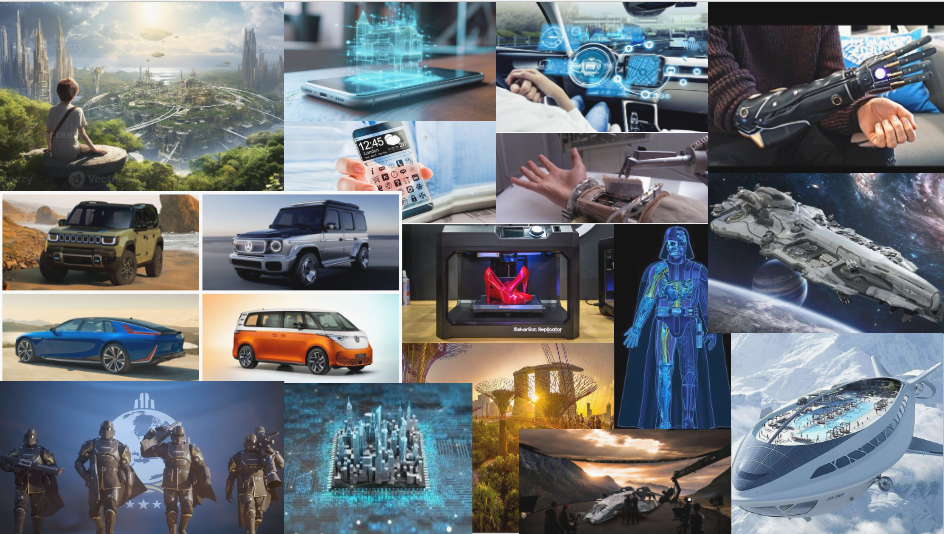
So I need to find photographers that work with black and white to colour as well as light painting.
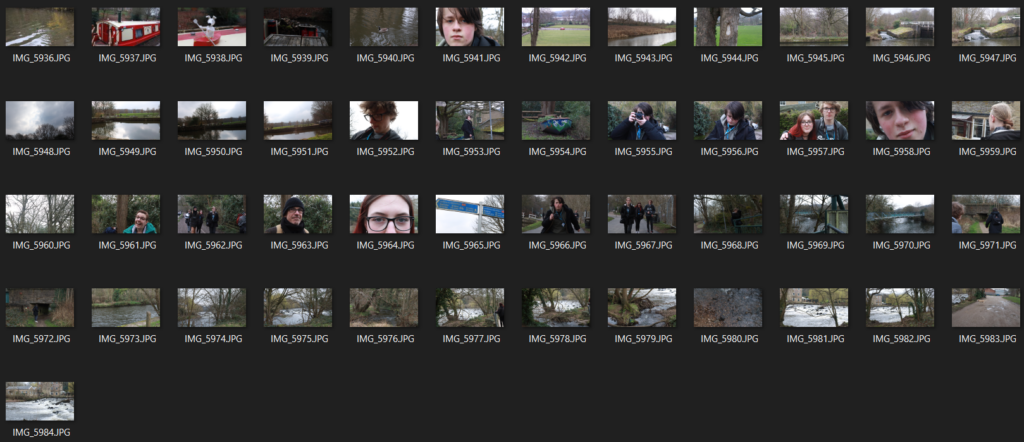
This is a photoshoot from the saltire trip
Research
One photographer I’ve found is Jan Leonardo who works with light painting, one of the things I’m wanting to use in my project. His use of colour and shape is amazing, with work ranging from abstract to nature, people and even working with brands, but the light painting stays constant and amazing throughout his work.
The second photographer I want to talk about is a man called Eric Staller, another light photographer but different than Jan Leonardo since Eric mostly uses fire instead of using LEDs and also only did light painting in his early work in the 1970s. But I absolutely love the shapes he makes using the fire.
New plan
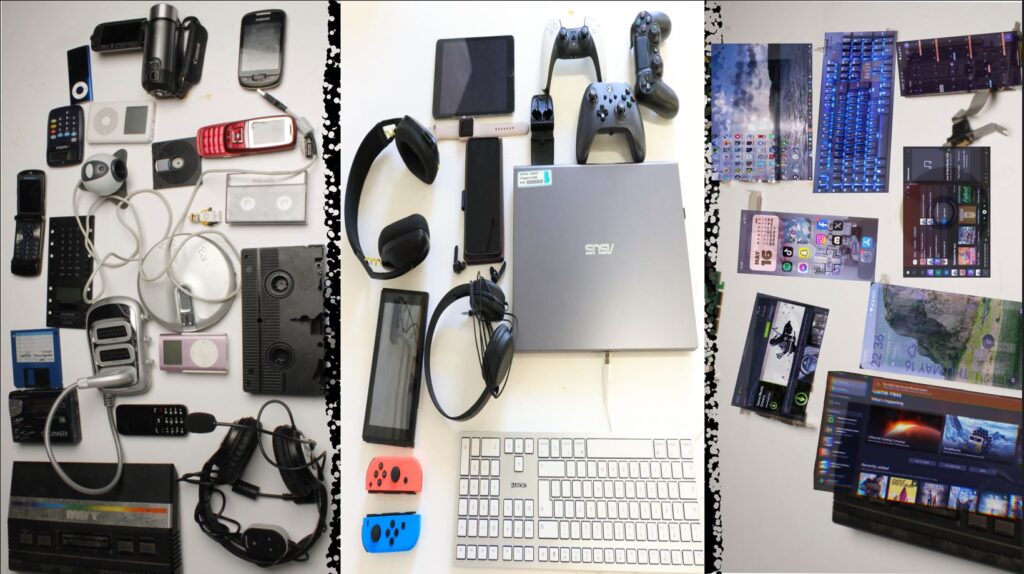
So I’ve fallen into the same trap I usually do which is getting overambitious with my ideas, having to not only organise the people I’ll need for the shoot but also for making the look of film sets from the different eras it’s too much for me to do especially with the time remaining, so I’m keeping the same theming of past-future but with technology. It’s also more in land with the brand of ACCU with components and electronics. I’m still keeping the light painting component to act as a “time vortex” so it’s like a look through the tech of the past on the left, modern in the centre and what possible future technology over on the right.
In preparation for my new plan I’ve had to research on the style I’m wanting to do and I’ve found the perfect photographer by the name of Jim Gordons. Jim does a lot of different photography but the specific genre I’m looking for is his collection work. Jim gathers mass amounts of item ranging from technology to locks to even food products in some instances, aligning them all to fit together and even though its just items on a background it still has a way to be captivating and interesting.
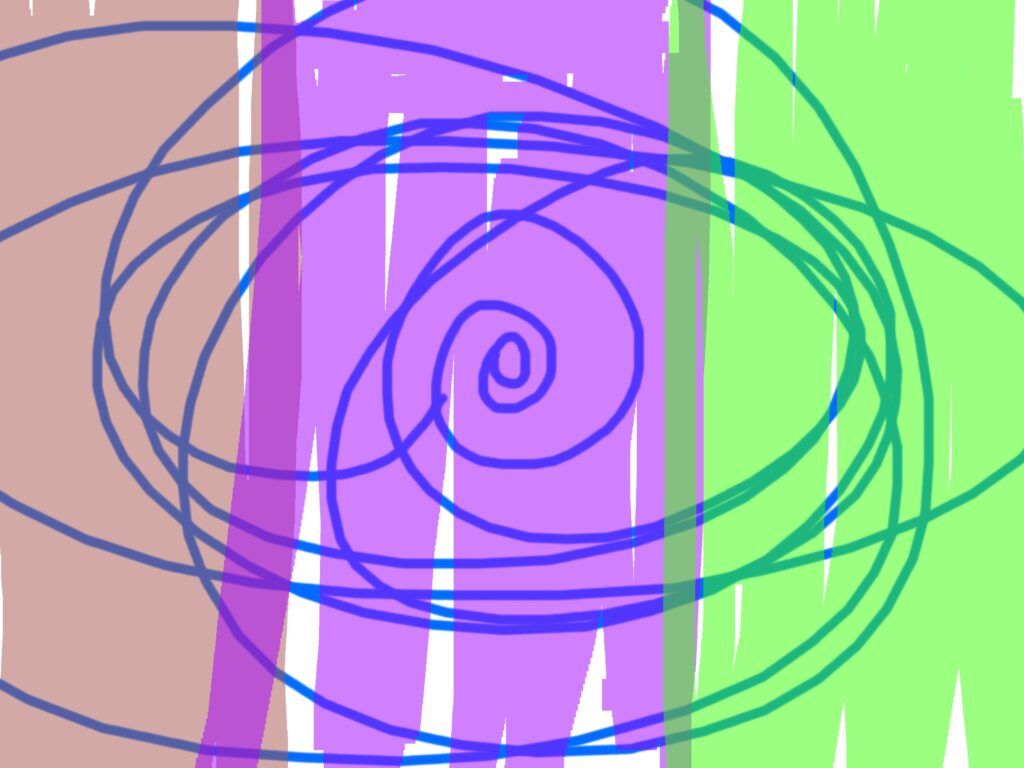
So above is a very rough concept of what I want it to look like, the blue swirl represents the light paint, the left highlight represents old tech, purple represents modern and green represents future tech, now you can see they overlap and that is on purpose, and that’s because I want to incorporate the Hockney joiners technique from my previous project, but only on the edges of sections. The entire shoot will be studio based.
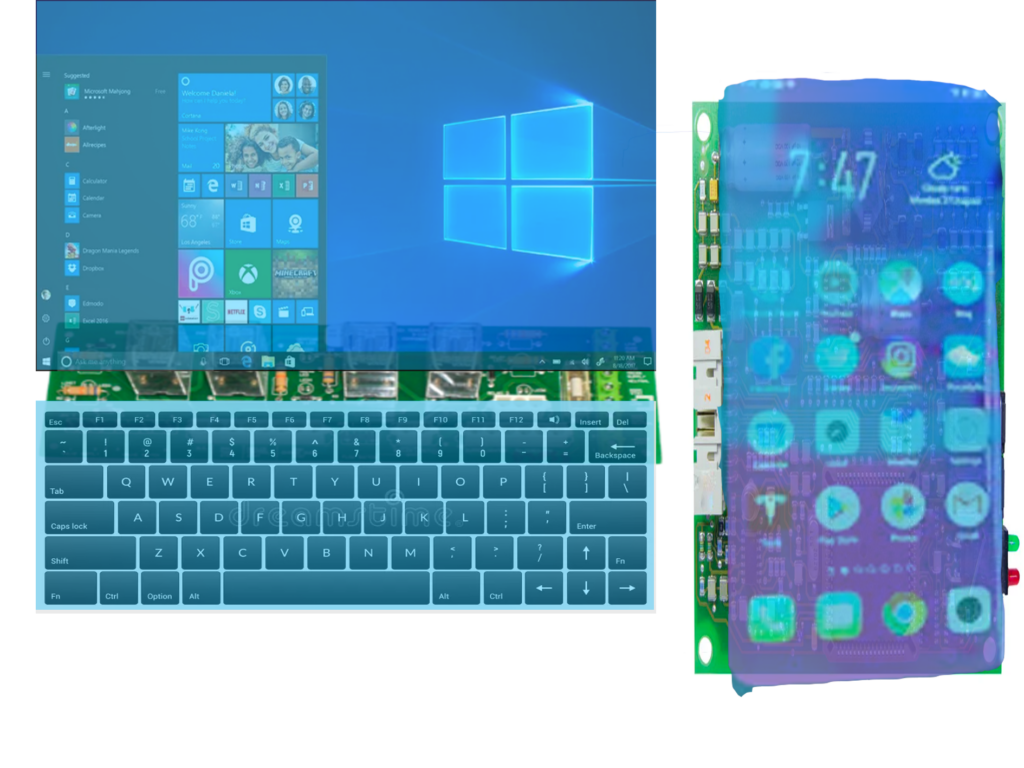
Above are mockup concepts of what I’ll be using to represent future technology, using broken circuit boards and screen shots of phone and desktop displays and other such applications to use as the screens. I’ll be reducing the opacity of the screenshots to 85% and using a light blue almost teal colour at 50% opacity as when you think hologram you typically think of blue but I dont want it too dark so you can still see and make sense of whats on there.

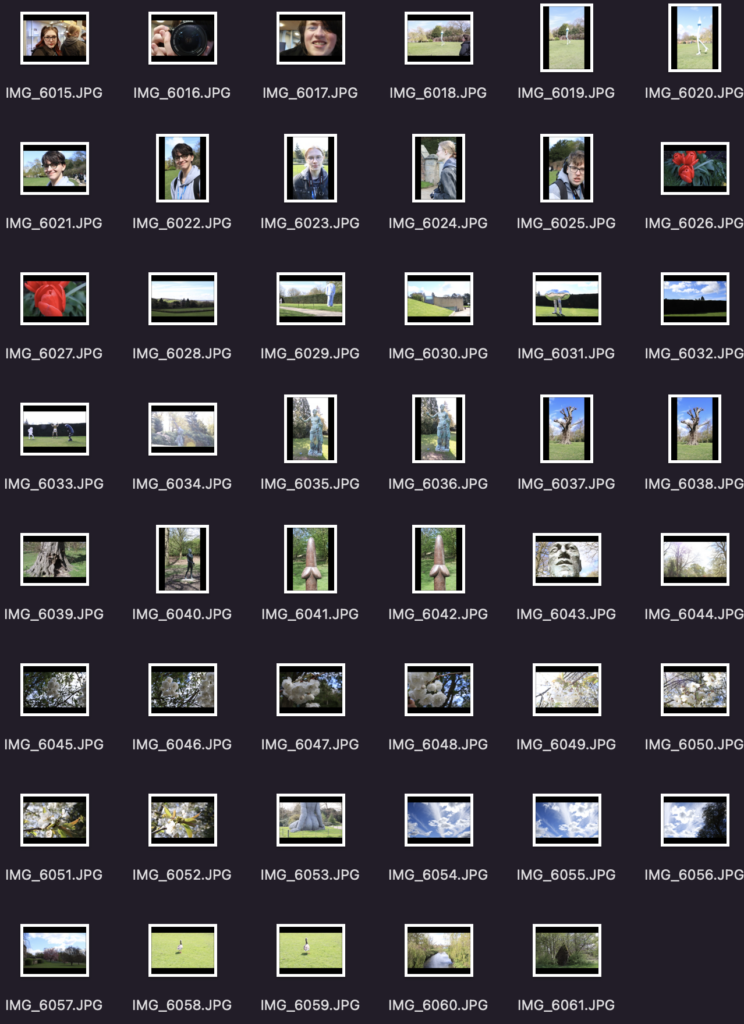
Above is a contact sheet for some testing photos for some of the tech I’m wanting to use, to try and test the practical applying of the hologram styling on actual photos.
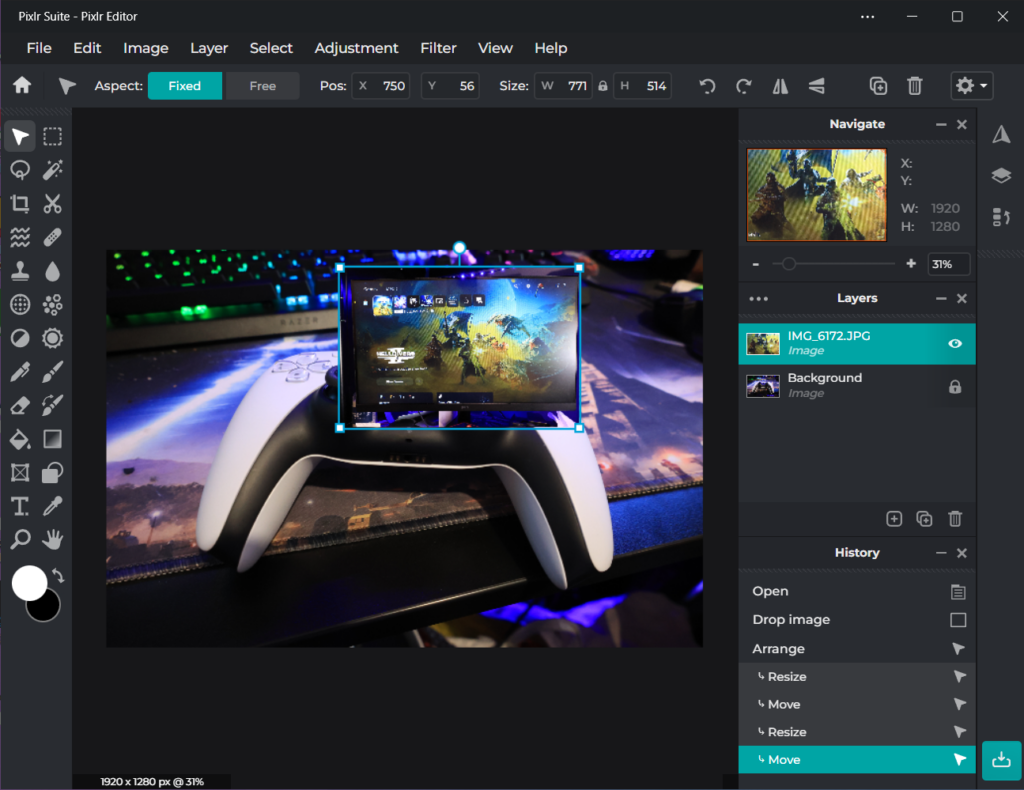
Here I took one of the photos of my ps5 controller that I felt had the best angle for for a “holographic screen” I then layered an image of my PS5 home screen from my monitor over the controller to then begin editing it t0 look like a holographic screen.
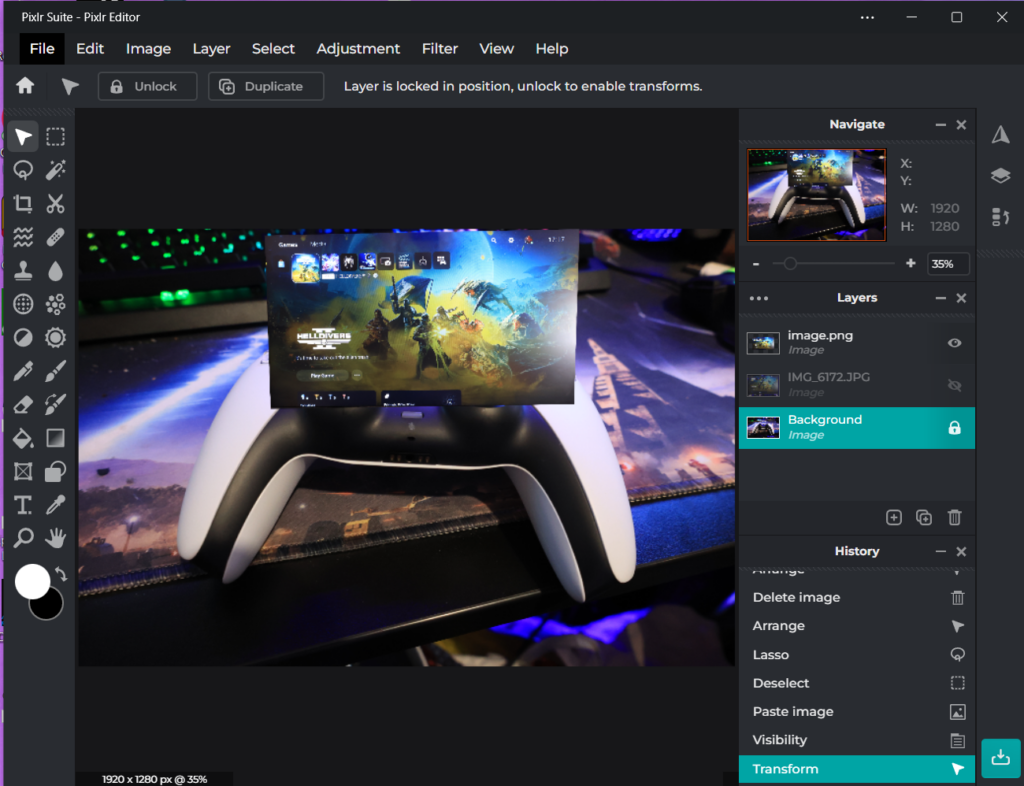
I cut out just the screen display to remove the monitor and surroundings.
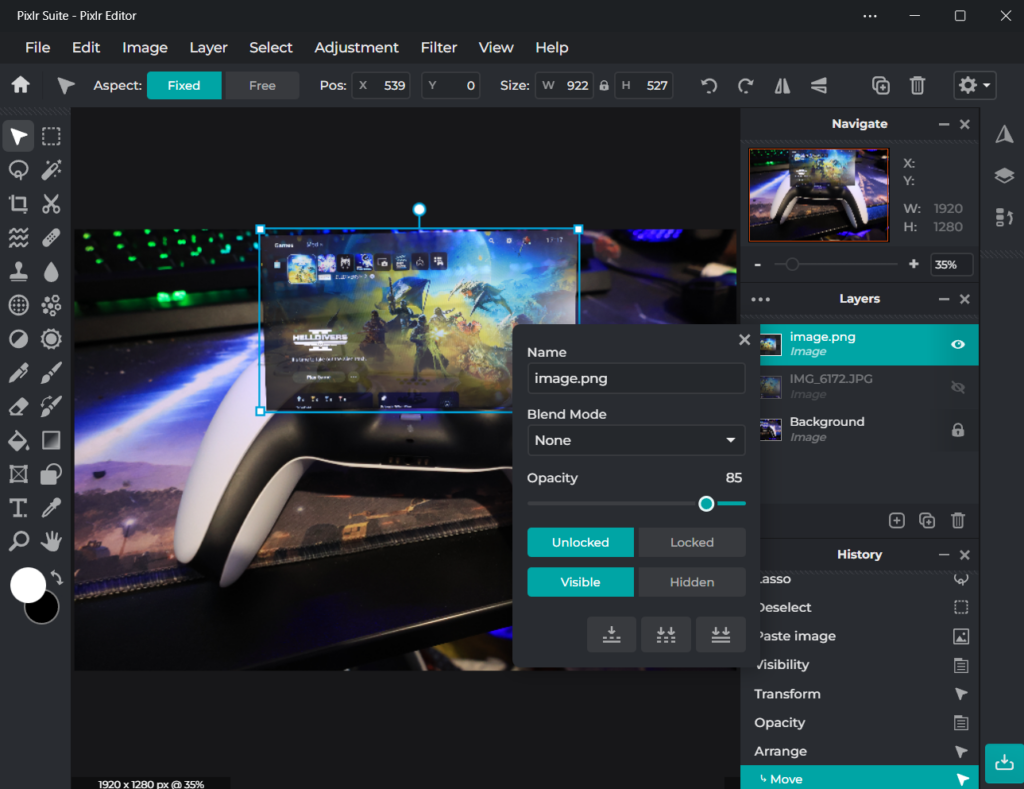
I then lowered the opacity of the screen layer to resemble the look of the typical sci-fi hologram where it’s slightly transparent.
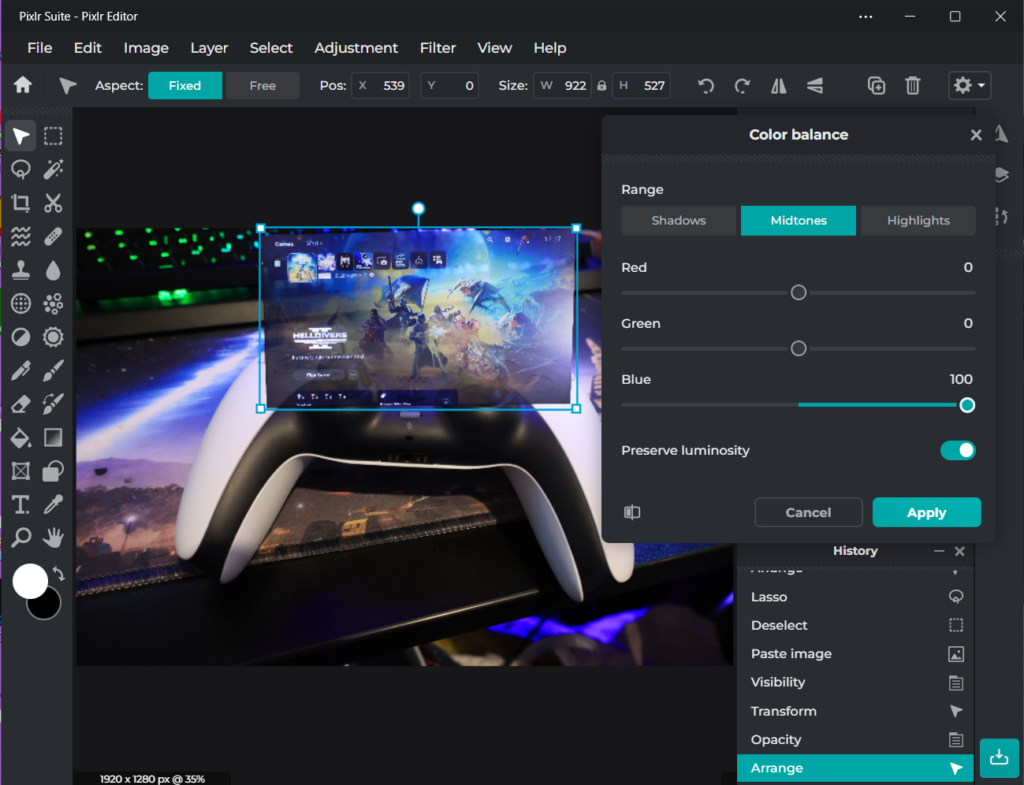
I finally changed the colour balance to be more blue, as it’s a more cohesive process than completely painting over it in blue and it gives a more clear image final result.
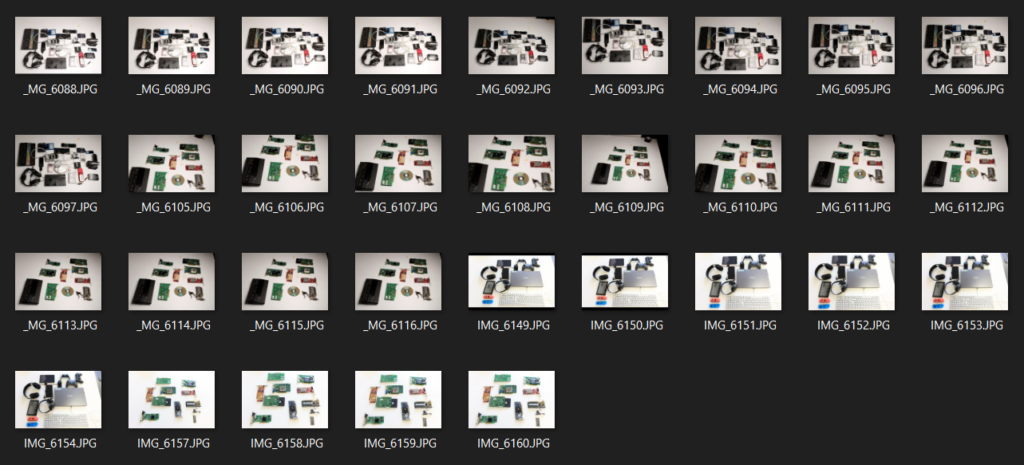
Featured above is the contact sheet for my photoshoot

Evaluation
Now at the end of my project it’s time to reflect on the entire process. To go back to the beginning with the planning and research process, I know that my planning process is a little all over the place. My research informed parts of the project ,that unfortunately never made it to the end, that were more different methods but not the main focus of the photo. Instead I researched the light painting portion of my original plan, seeing the methods of shooting with poi lighting as that was the equipment I had to hand. I ended the research and planning phase with a way to make something interesting with the future concept, the way things were filmed from past, present and what the future could hold, I was wanting to experiment with distortion and uncanny looks to replicate the AI that has become popular in the industry. However I hit a road block that I’ve encountered before that being overambitious with my ideas and not knowing how to properly make those ideas a reality, in this instance I didn’t know how to make locations that would look like film sets. I brainstormed new ideas and remembered one of the core points of the original brief being the company Accu who we were making the pieces for. Accu being a company involved in technology I thought what might I have at my disposal both in and out of college. I came to the conclusion that focusing on tech of the past present and then concepts for the future would result in an interesting end product as well as thematically fitting for our clients. There was then another issue presented in that I didn’t know how to present the items, so I got to researching to formulate more concrete ideas and managed to find Jim Golden who’s collection pieces where exactly what I was looking for. During this project I’ve really improved upon all my skills, I’ve become a lot better with planning but also subsequently with changing original plans to make my projects more realistic to do rather than committing to an impossible idea. I’ve become better with researching, both online and with experimenting with what I want to do practically. My skills with studio work has become a lot better as with previous projects I didn’t really take advantage of the studio and subsequently wasn’t too familiar with it as my peers, however I feel confident with studio work now. If I were to do this project again I’d try and focus on the clients more from the beginning as they are the main focus, ad well as experimenting with editing more than just with for main segments of the piece, for example being more familiar with the tools and what effects they can produce to make my images more visually appealing.
Research
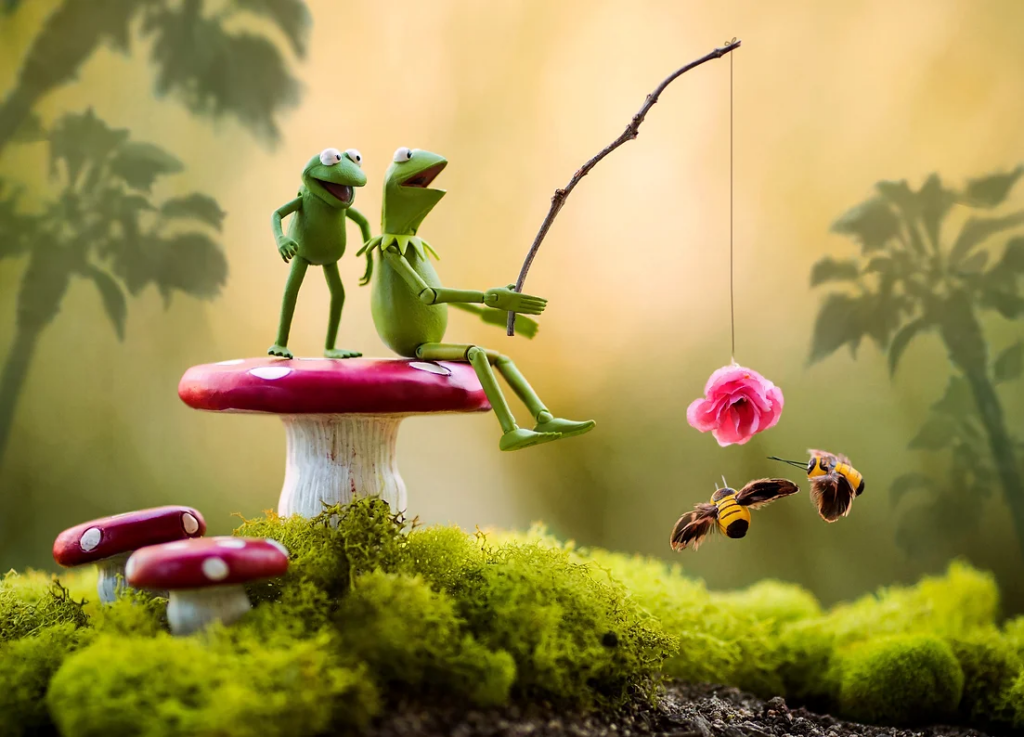
The first photographer I’m researching is called Mitchel Wu. Based in Los Angeles he works with toys and figures in miniature photography to create scenes and stories. He aims to bring emotion where non is present and give an “unparalleled experience” for his clients. He’s done work for Disney, Hasbro, Mattel, Crunchyroll, Warner Bros and several other companies. He’s also a public speaker. He seems to create his own sets to make the toys seem bigger than they actually are.
Re-worked research
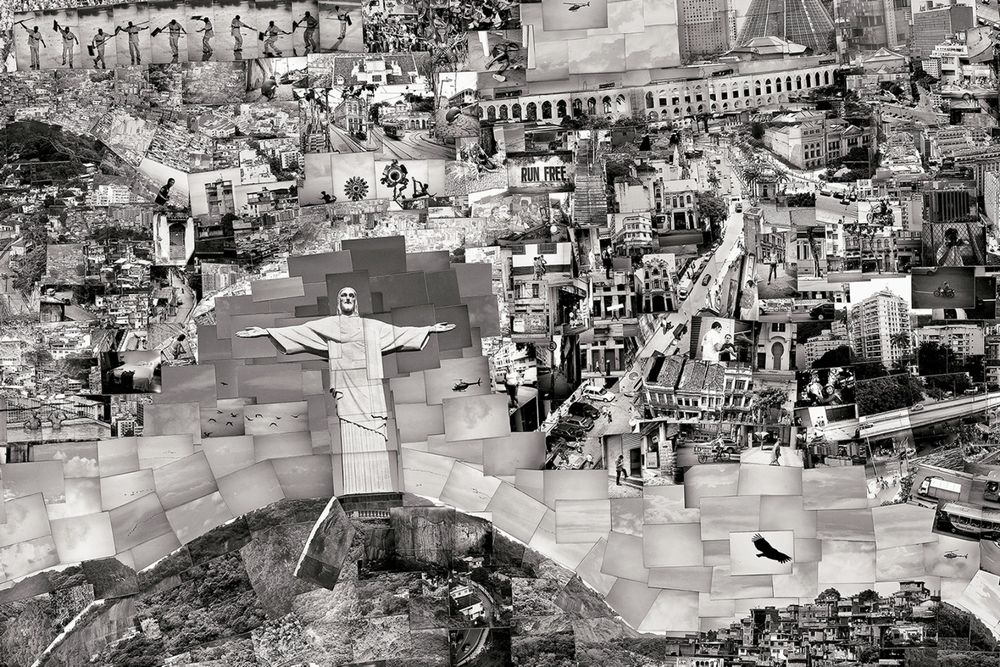
after reworking my idea I have found a new photographer to research, his name is sohei-nishino, a photographer that creates dioramas of different images, typically creating maps of locations creating a sort of birds eye view of a location. Now I’m wanting to do a similar thing of layering the different images I have to create a shape.
Preparing for photoshoots.
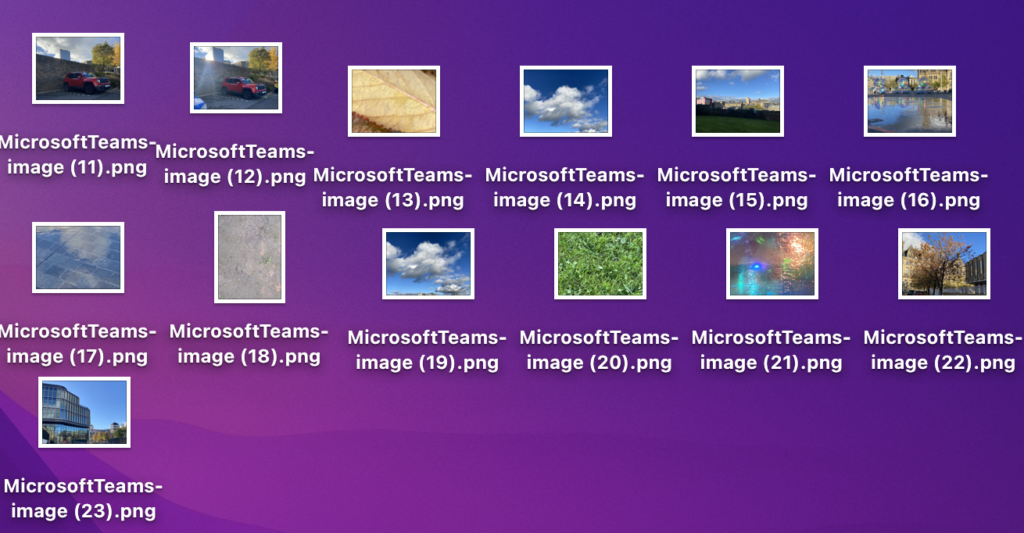
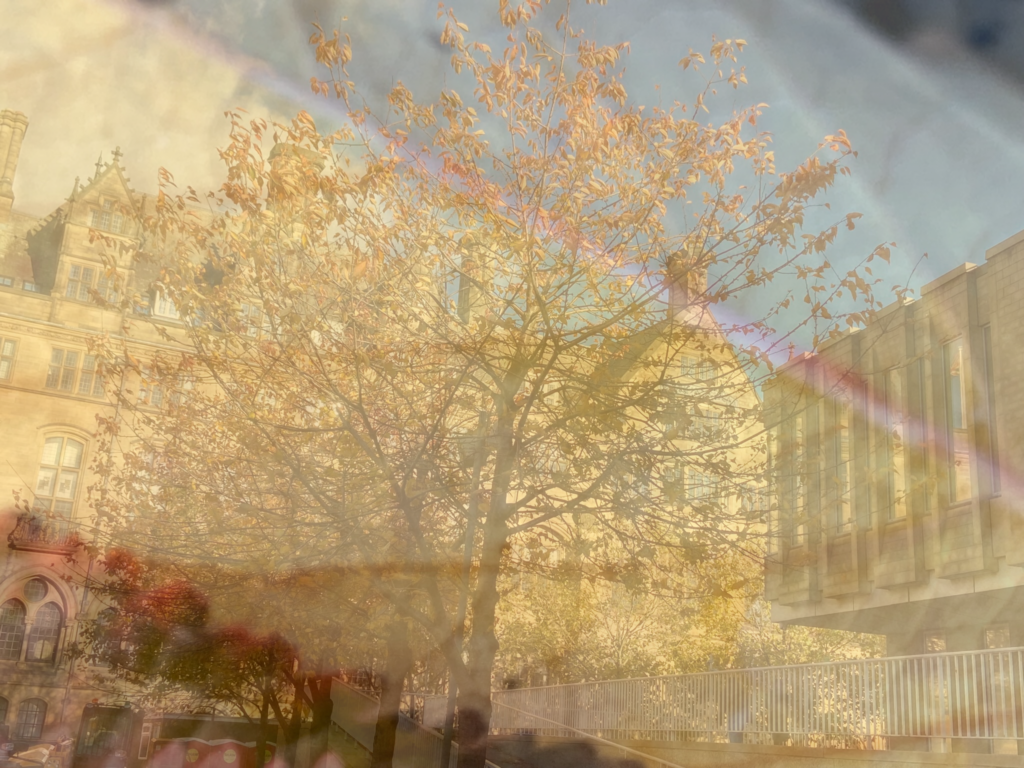
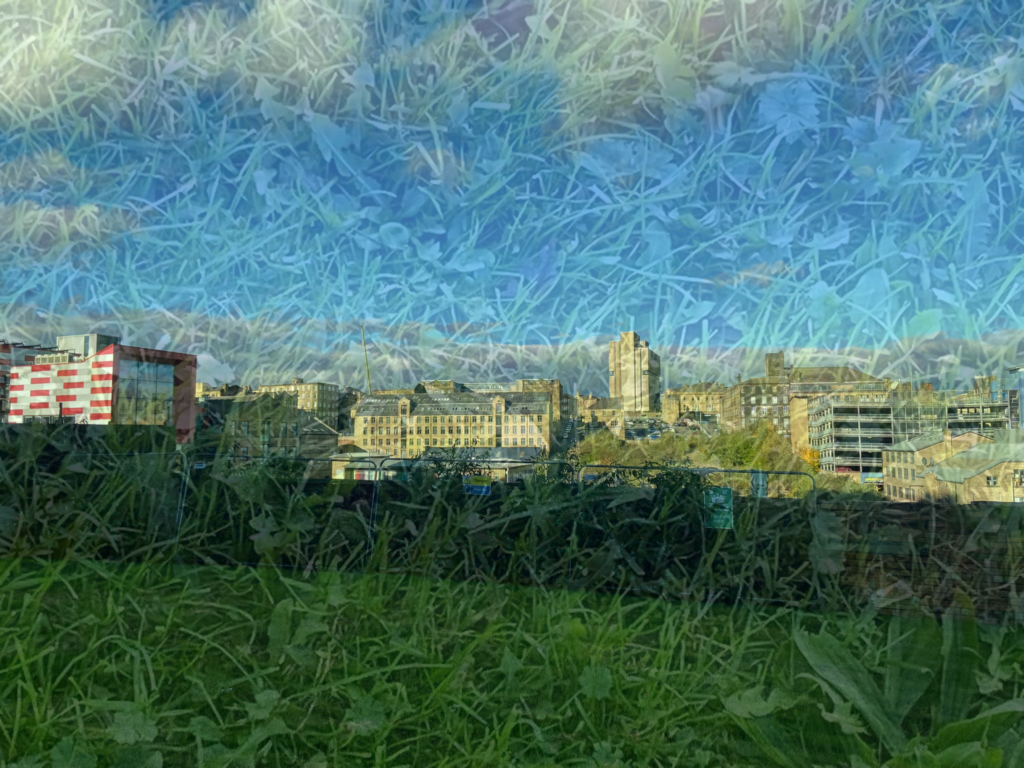
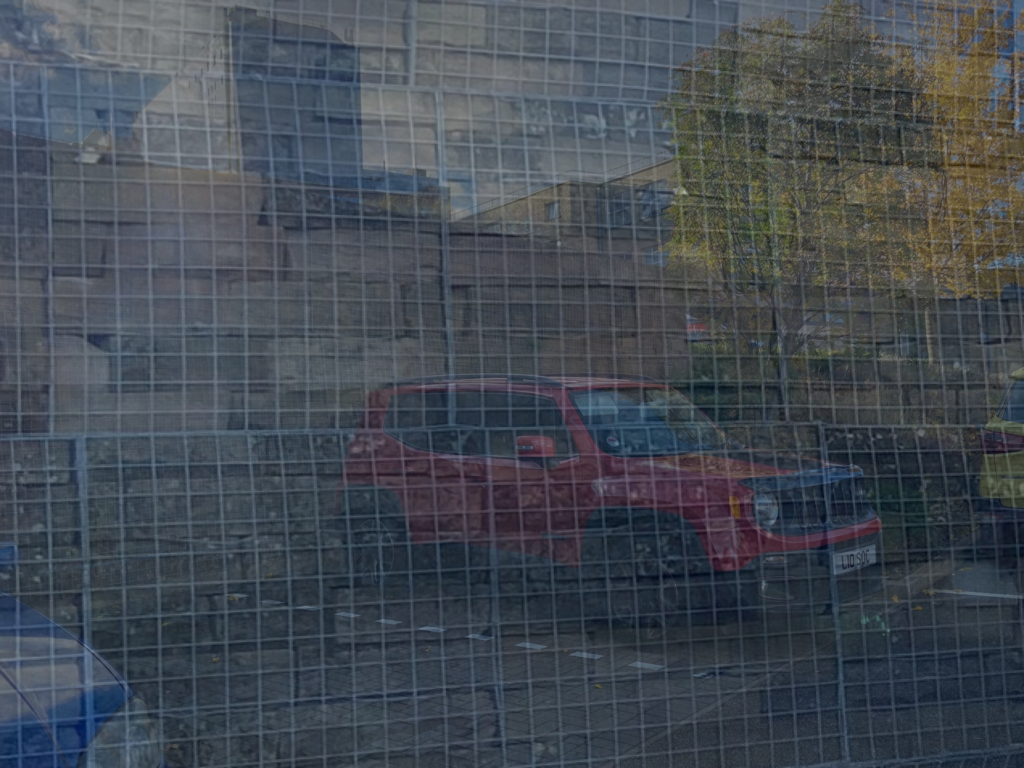
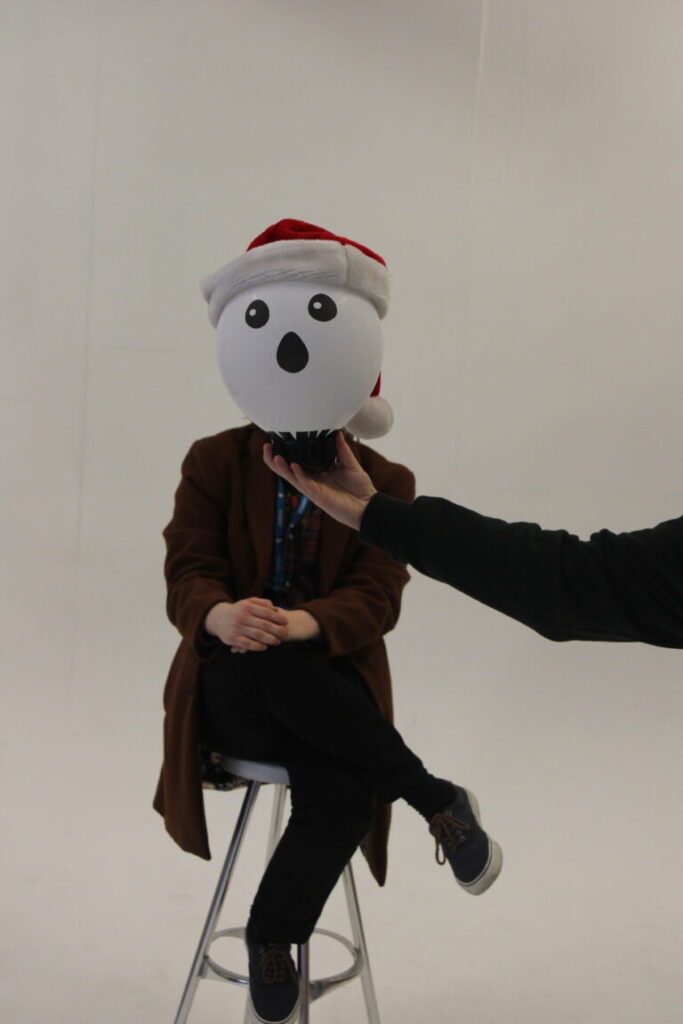
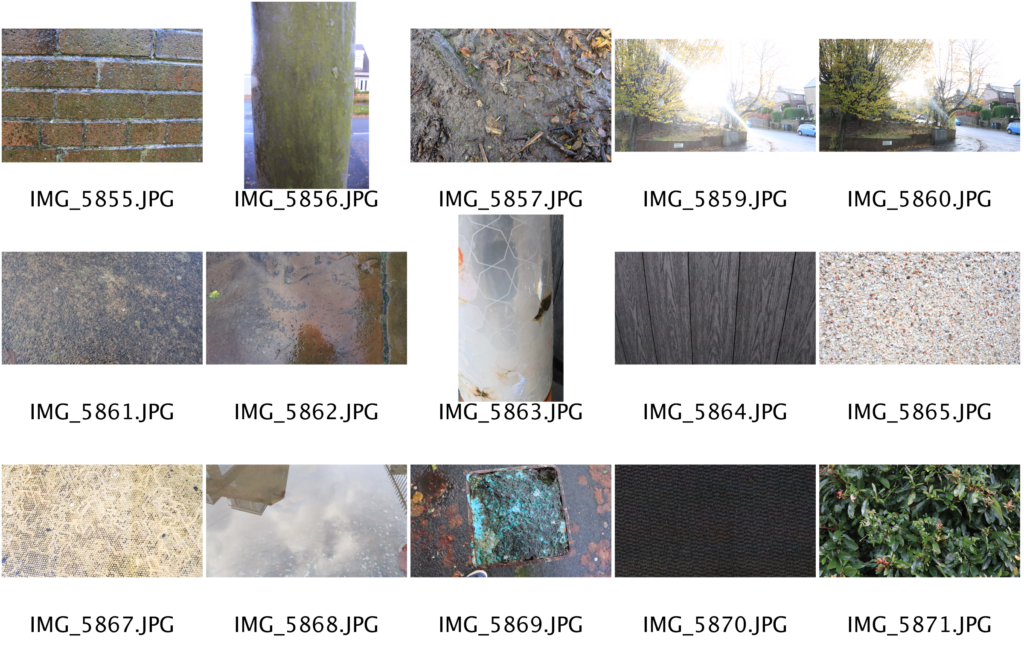
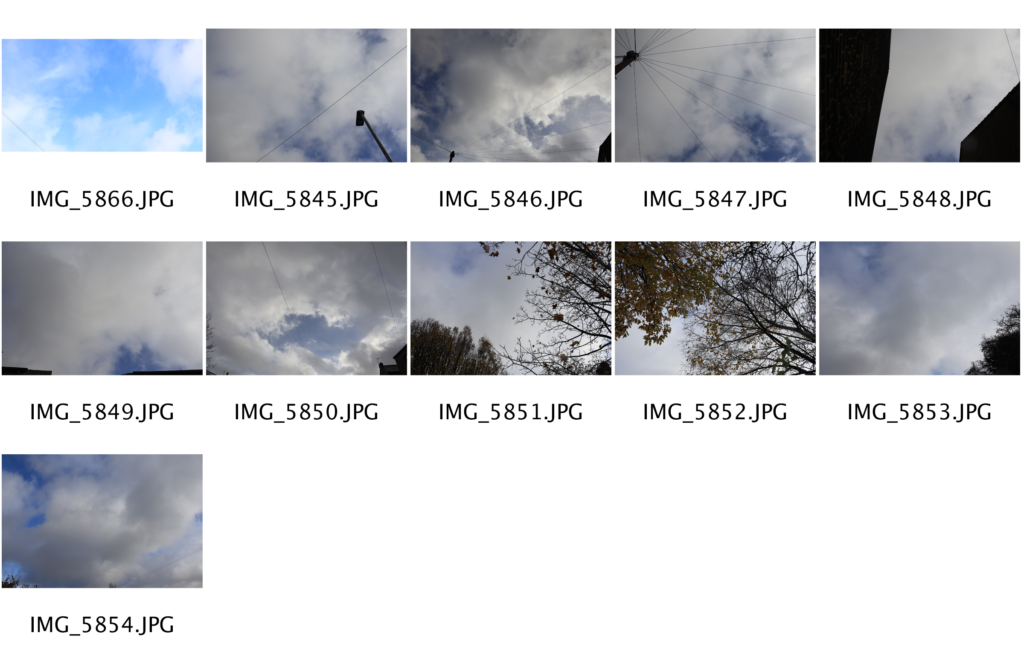
These photoshoots were for textures I was going to use to overlay as practice for my final shoot however unfortunately I never did.
Hockney joiner.
For my Hockney joiner piece I will be using a painting at my home, I think that the design can result in a very interesting final result.
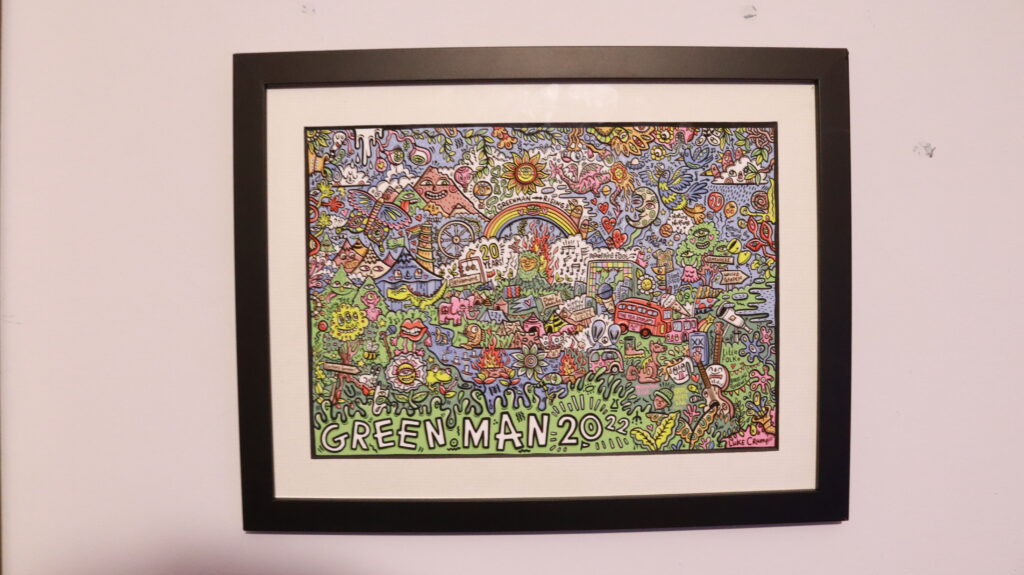
This image is my focus, the intricate designs being overlapped seems like an interesting concept, I’m hoping my vision can become a reality

Honestly I am really happy with how this turned out, it still has the look and outline of the original but still has that jumbled and distorted look of the Hockney joiner genre of image.
Locations of interest
Glanmsuk
Ilkley-Cow and calf
henham park
lulworth castle(?)
To make the shoot easier on my part and honestly look better I will be using an atlas and taking photos of the locations with an item of significance with the location

Above is a failed photoshoot, I got the proper location however I unfortunately did not use a tri-pod so the images ended up blurry and unusable.

Above is the successful photoshoot, I corrected my mistake and actually used the tripod as I should’ve causing the end result to be some good quality photos I can use
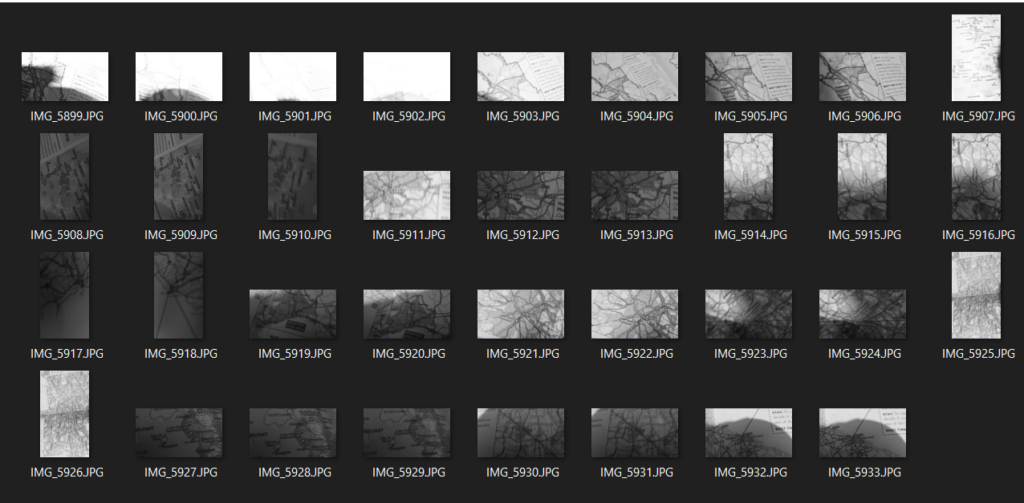
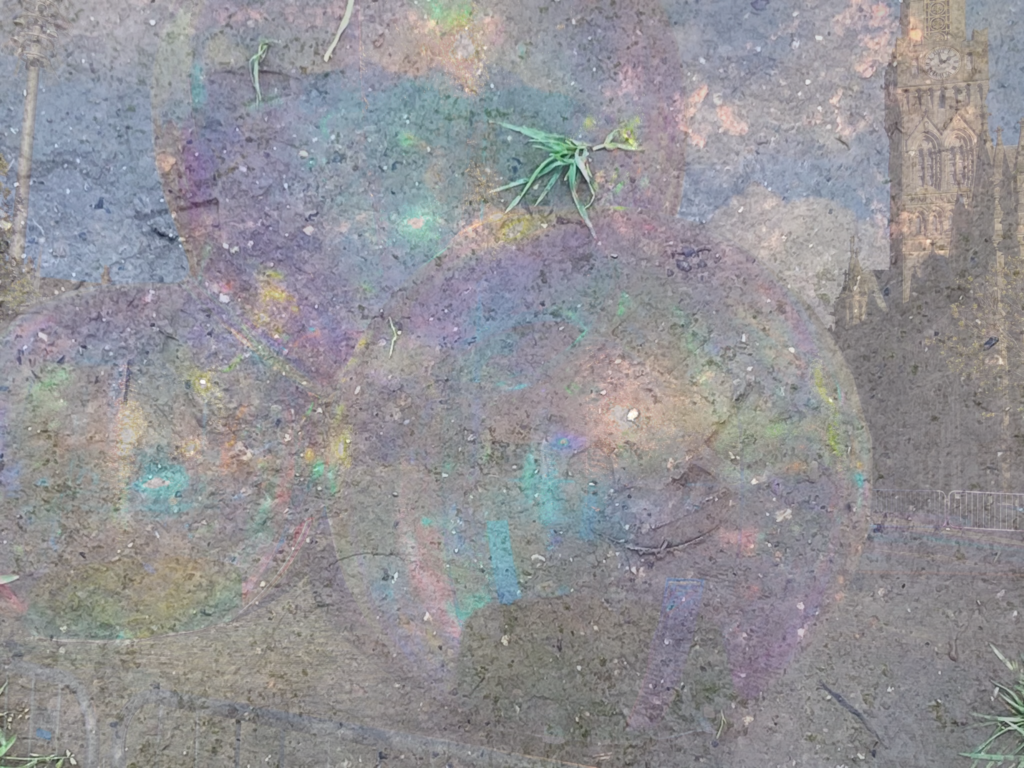
Above is a photoshoot of an atlas that I did. I chose to do it in monochrome to fit with sohe’s work given that is also primarily black and white. my intention with these images is to layer and warp them onto one of the road images from my previous shoot. I would’ve really liked for these photos to come out better however with my camera screen broken I am at a disadvantage
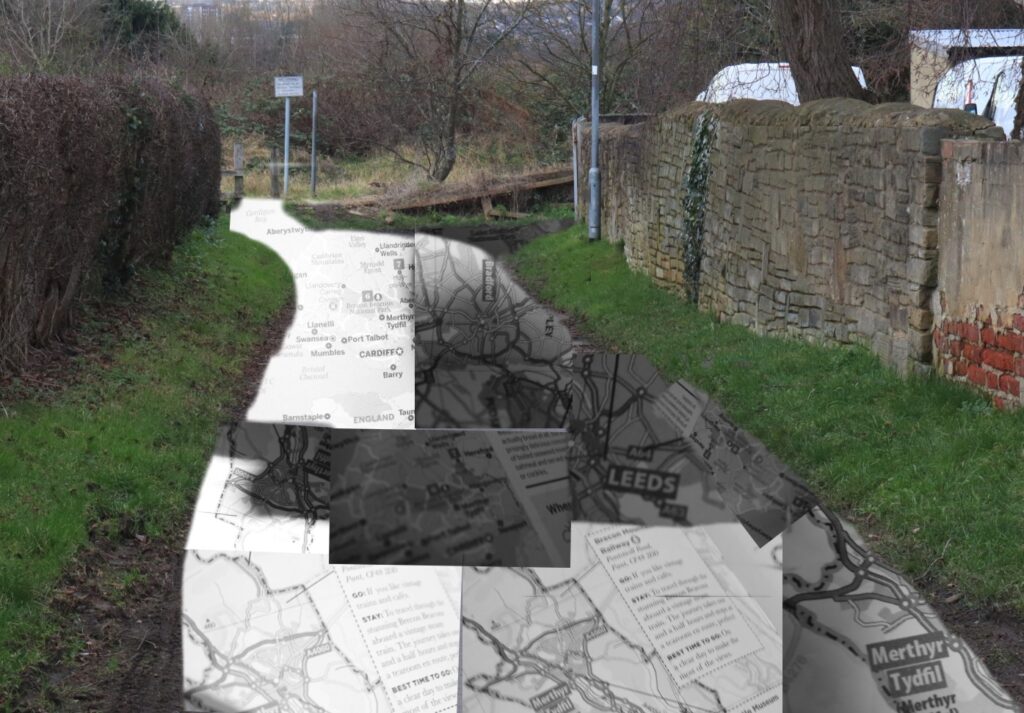
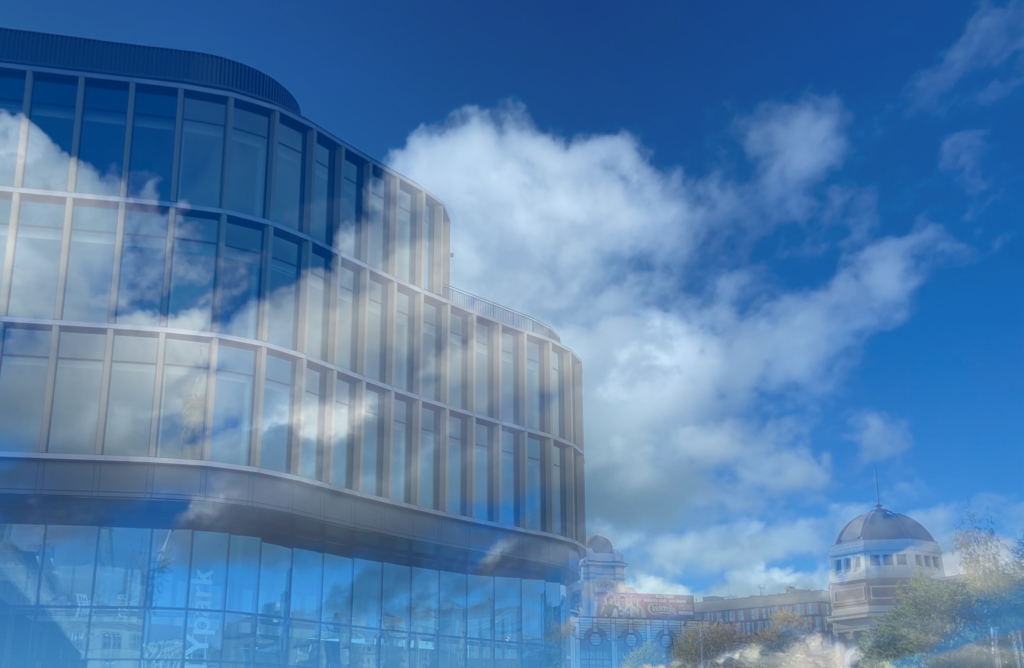
This is my final piece. I’m mostly happy with it, especially the base image but I just wish I had more verity with the map pictures but given my limited recourses and broken camera I’d say I did fairly well. If I were to do this again I’d make sure I was working with a fully operational camera for one, but I’d use a proper macro lens for a better zoom quality as well as using just a map or a bigger atlas, as well as expand outside of the UK.
FMP-Evaluation task 4
Complete Video
Throughout my project I would document my progress with my project onto my digital space and comparing my progress back to my original proposal. I could’ve been more thorough with my evaluation as my project went on, it would’ve allowed me to have a more thorough project.
With the evaluation I did do while working on my project helped me make some decisions on the final outcome of the video, for example what content remained in the final video like the RWBY section, I saw how the examples from my research worked and upon comparing I felt like that section wouldn’t have fit, as well as looking at my initial target audience. Although I do feel like my evaluation process throughout my project could’ve been more consistant.
Despite having issues with the production process I feel I have met my aims. I have made a video that I feel is both entertaining and inf0rmative, able to give people a different perspective. Also able to replicate the videos that have inspired me but putting my own style and take onto them.
My work in comparison to my research is like an amalgamation of the different parts I researched, taking the specific parts I researched and used the methods and styles I had researched to make my own video.
Based upon my original idea and presentation the end result is different in ways than what was proposed. I feel my original proposal wasn’t as focused as the end result, I focused on actual examples and my idea felt more refined and specific in the final result.
I feel that my video appeals to my target audience, with my target audience being based upon the target audience for my research examples I feel that since I was able to successfully replicate they style of their videos It will appeal to the same target audience.
The skills I’ve learnt over this course I feel are reflected in this project, with my audio recording skills from the podcast task, knowing which microphone to use and how to best record and edit the audio in a similar way to how I edited my podcast. As well as video shooting, getting framing and lighting correct and ensuring there’s no noise on screen. I feel that this project I’ve worked on is a good encapsulation of my skills I had before the course and the skills I was able to learn on the course and I am proud of how it turned out.
I think that if I where to do this again I’d storyboard the video, so that I’d have a loose plan of how the Finalised project would look and to be able to plan if there was anything that needed removing or adding, as well as being able to see if any more clips or images needed adding.
If I were to rate my commitment and engagement for this project I’d say it was at an 8/10. My reasoning is that this project was Important to me, I gave it as much energy and focus as I could but given things out of my control and my own focus levels there where still points where my amount of work and energy being put in wasn’t 100% and there were points in the project where I’d become disinterested.
I feel that I’ve shown a near professional level for my video editing. While there where things that could be improved upon, given the fact I had to learn a new editing software, I was able to produce a good final outcome, overcoming issues with my editing software finding out how it worked and by the end of the project being well on the way to mastering it. The final edit I’ve put out I feel is close to matching some other video essays of the same style that are on YouTube.
I believe that I have been successful in completing the task I set out to do. I feel that I concurred adversaries and issues that were posed to me along the way and was able to produce a comedic style video essay like I set out to do. I’m happy with the script I wrote, I feel it encapsulated the points I wanted to make and the way I wanted to make them. I feel my performance in getting to this final stage could’ve been better and more professional however I do feel that the way I have completed my task has sufficed for the end goal I have accomplished.
I confirm that the attached assessment is all my own work and does not include any work completed by anyone other than myself and sources have been appropriately referenced.