To begin planning for this look, I had to make a lot of accessories and extra detailing on parts of my costume. One thing I had to do was create a tie. Originally I wanted to make a plain light brown tie to go with the colour scheme of the rest of the costume shown on my final design, however through rethinking the Avant Garde aspect of my “Gluttony” look I decided to add different desserts to the tie to convey the definition of “overindulgence”.
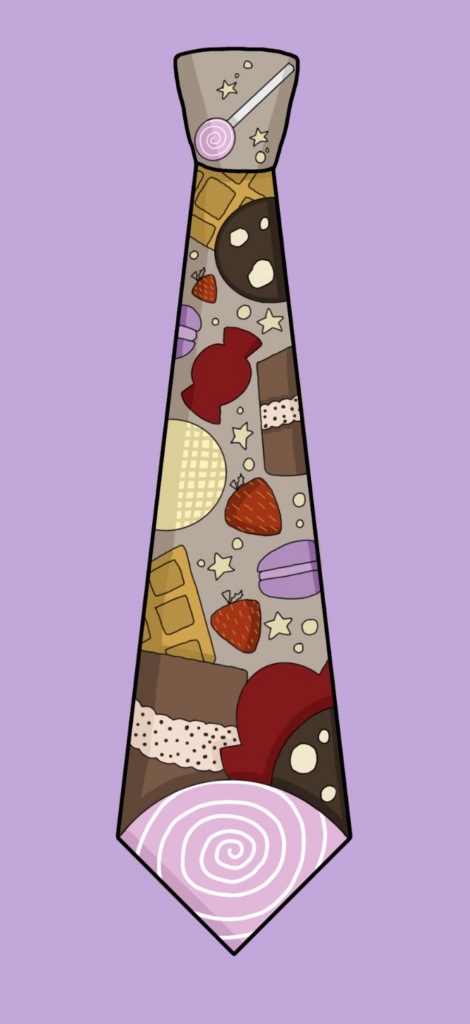
The desserts would be painted on with acrylic thinned down acrylic paint.
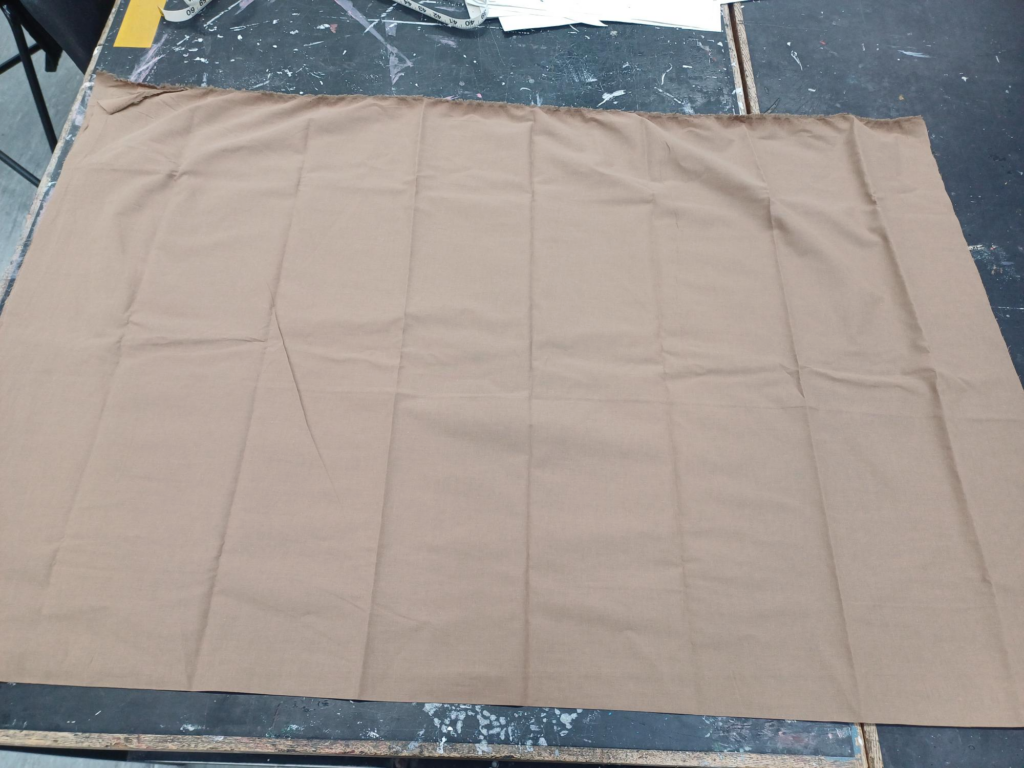
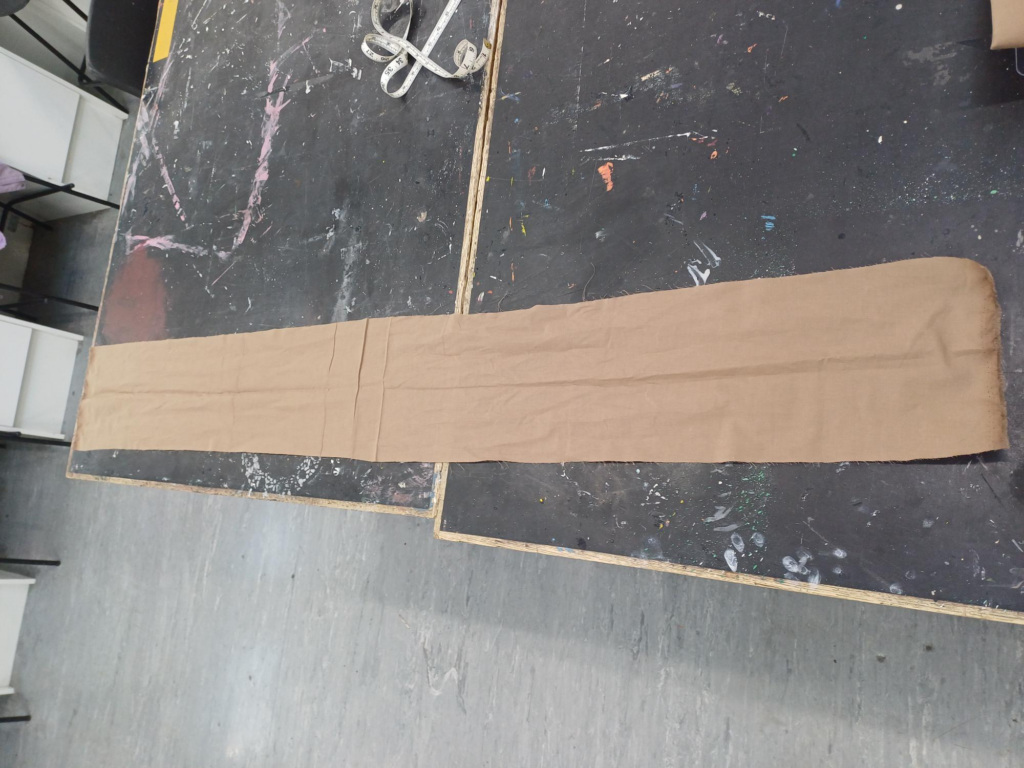
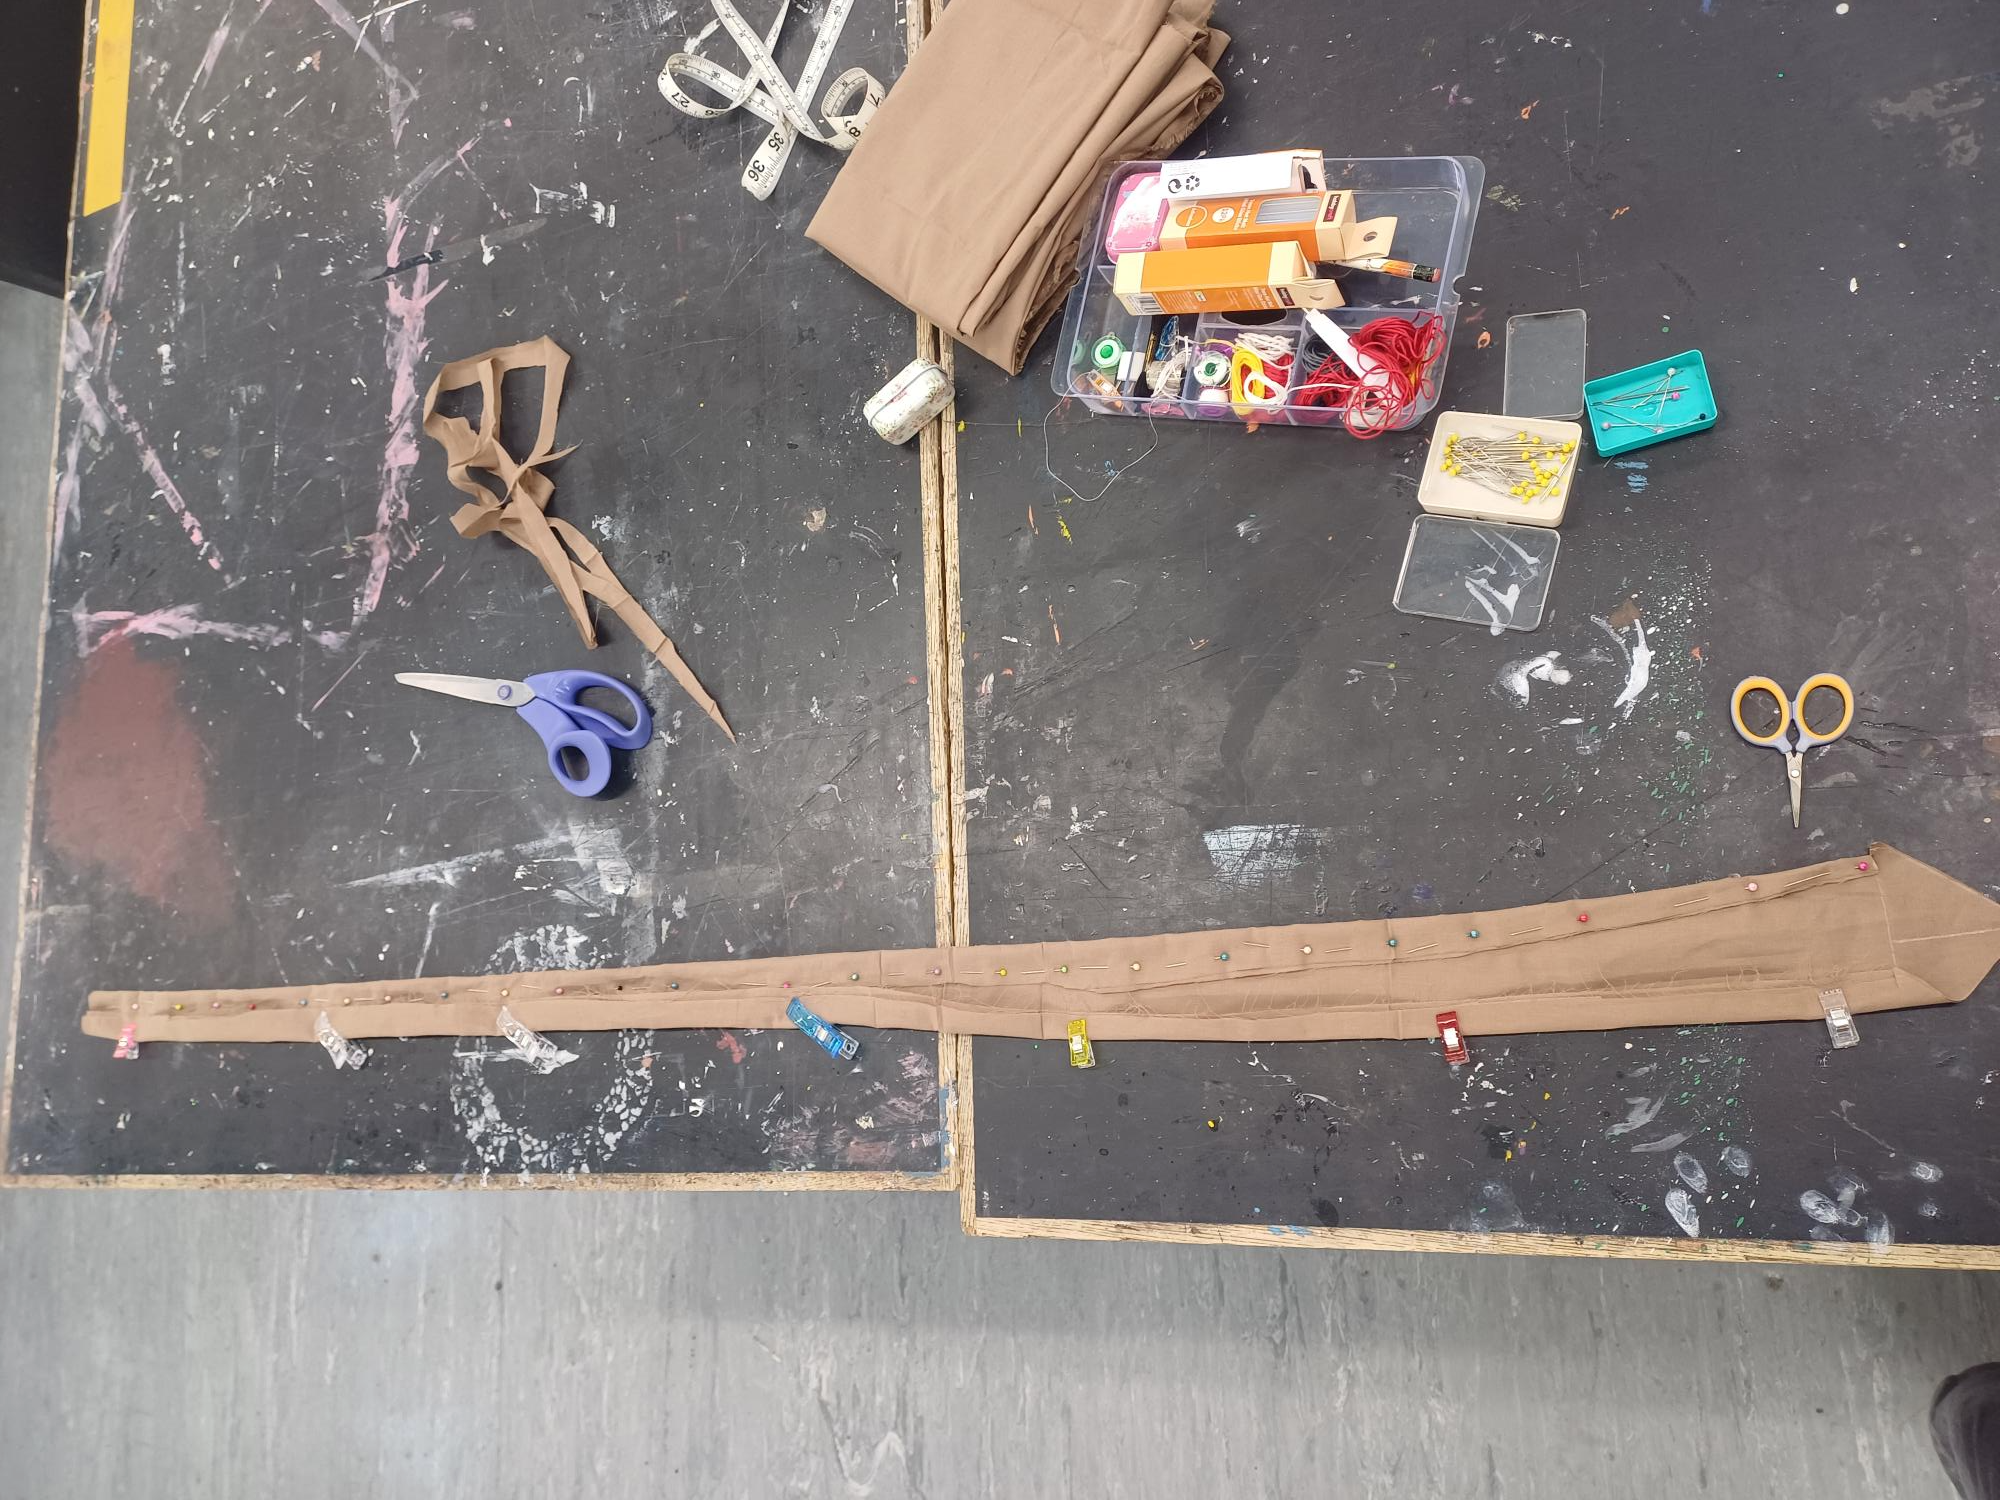
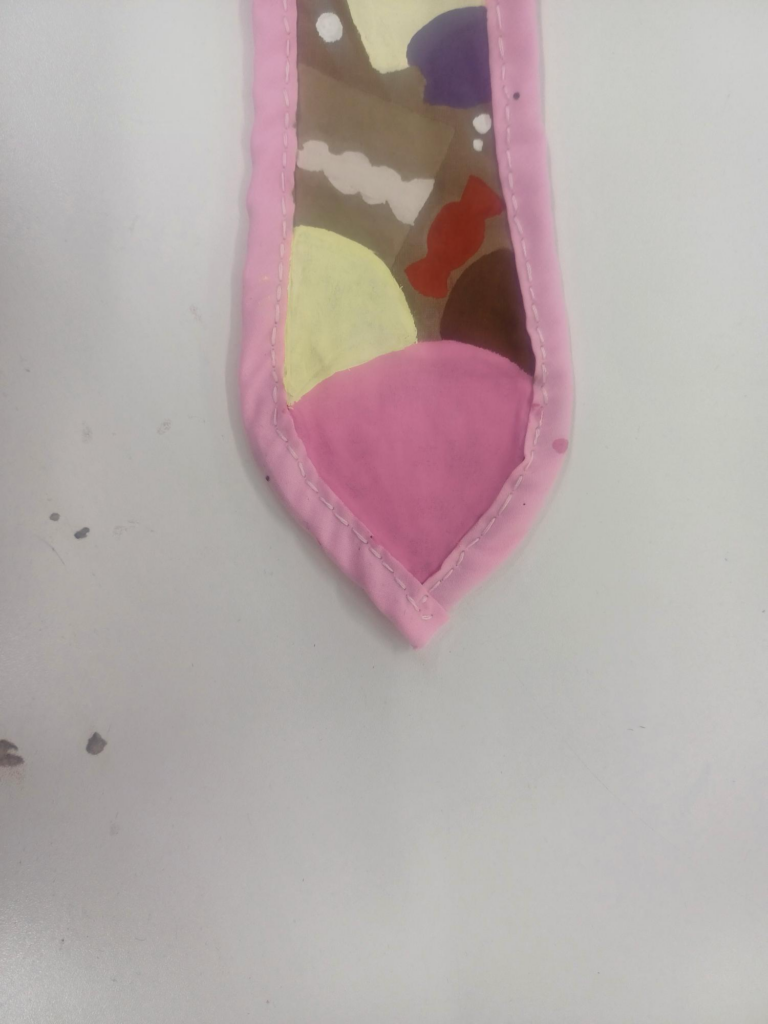
To start the tie, I cut a rectangle with length of 51 inches of my light brown fabric and 4 inches width.
Next, I measured 4 inches from the centre of the end of the fabric to create a square where the ends of the tie will meet,
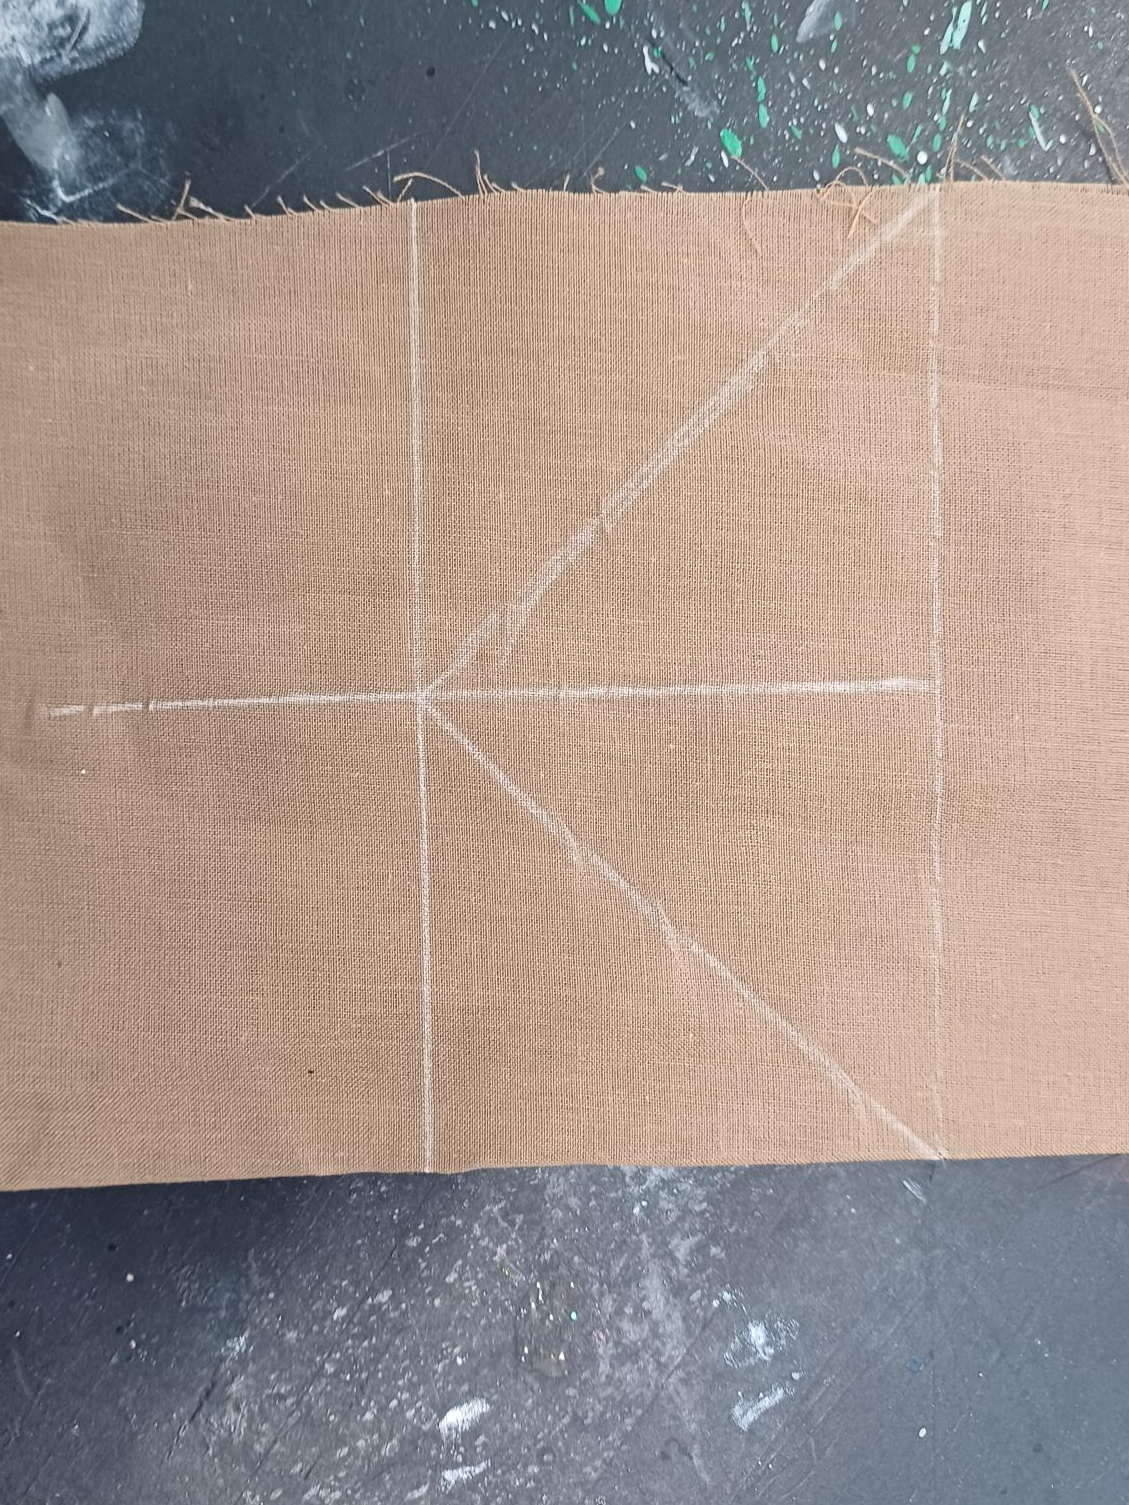
I then cut the end of the tie.
To prevent the end of the tie fraying, I folded the ends in and pinned them down so that I could sew them down
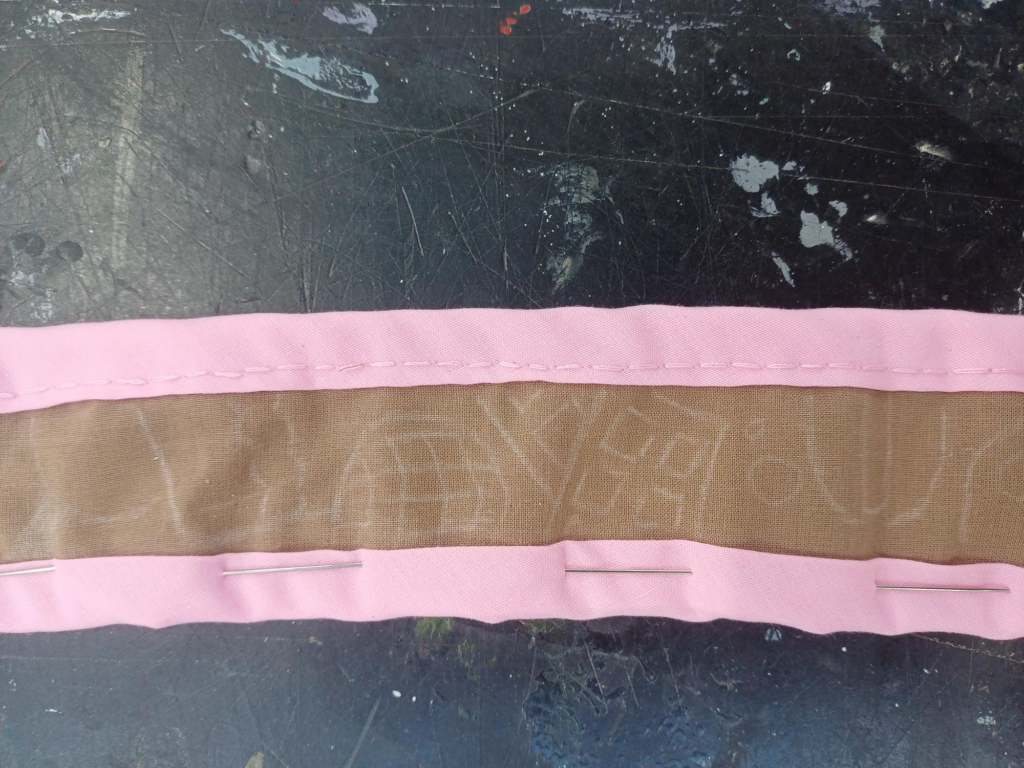
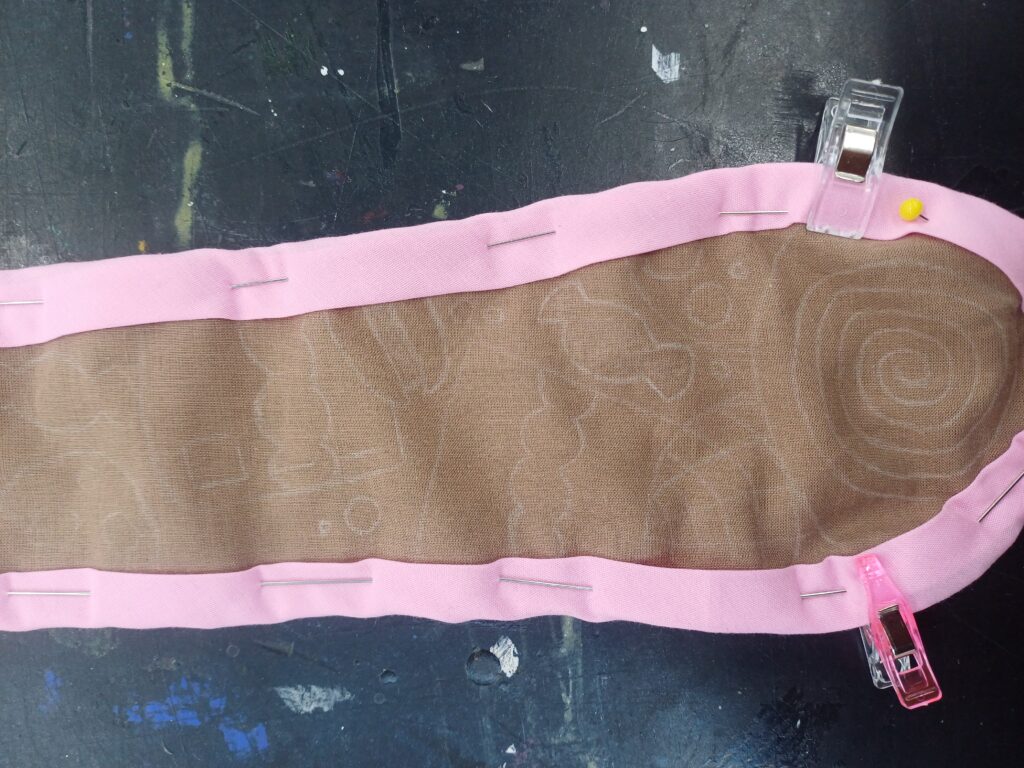
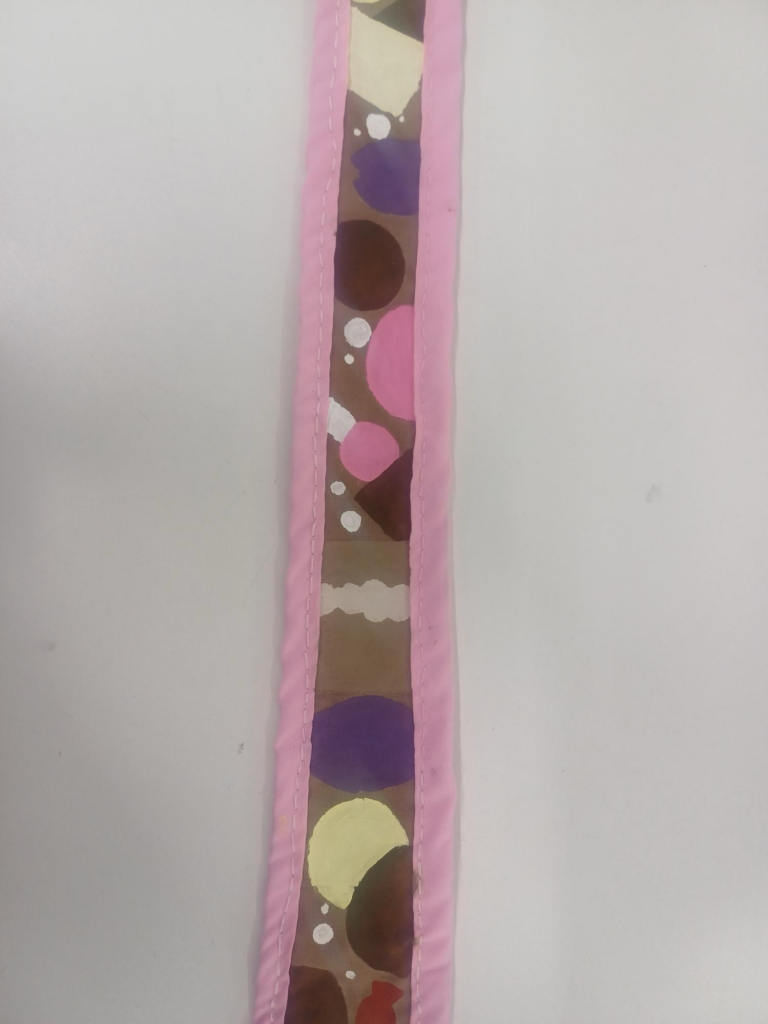
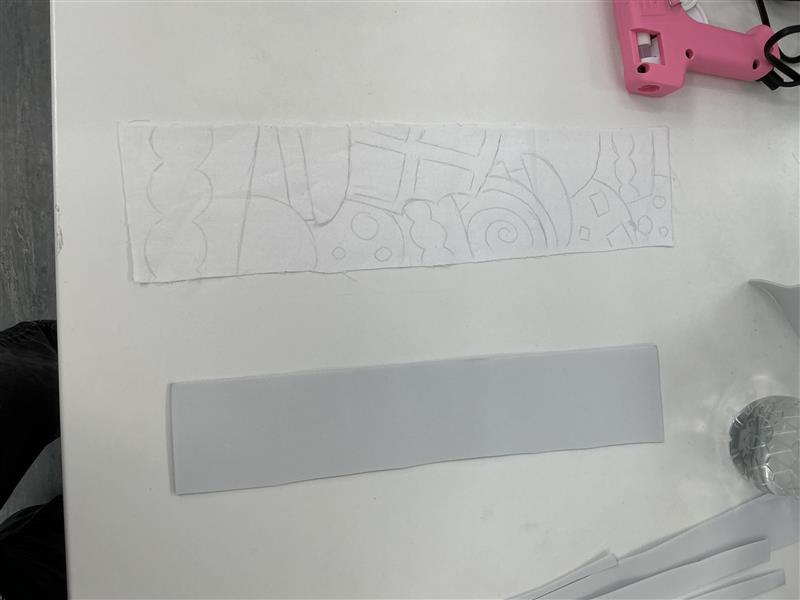
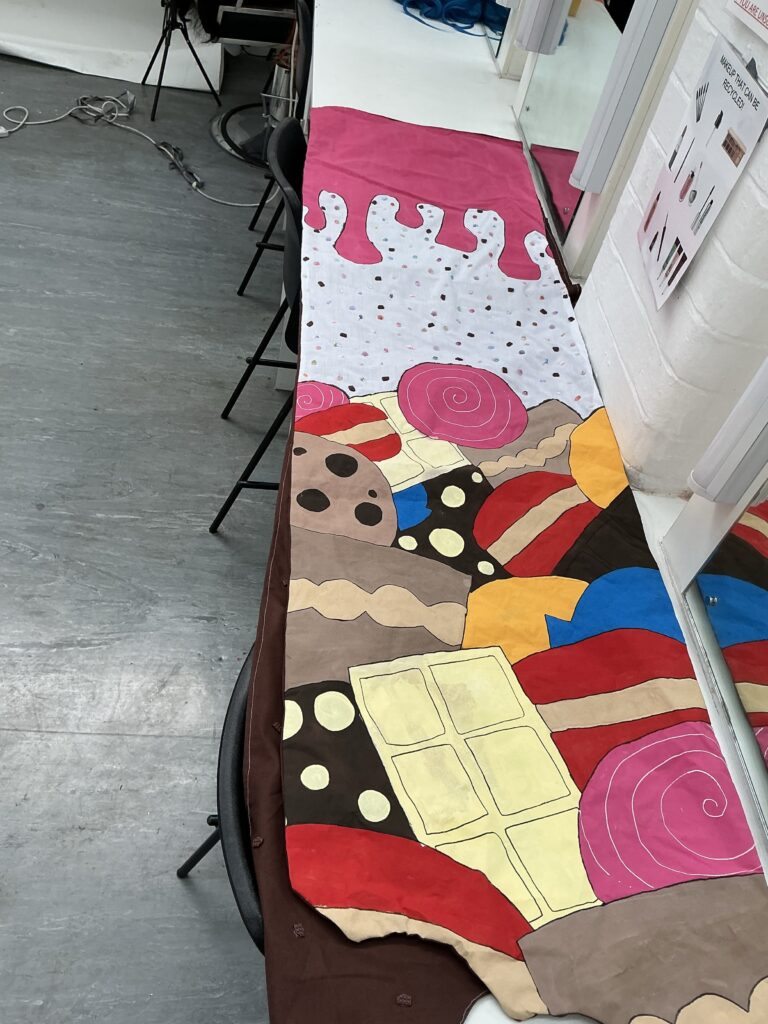
Once the edges and a pink fabric border were sewn onto the tie, I used a white dressmakers pencil to mark out where I wanted each dessert to be. Here are some examples of my drawings:
I then used acrylic paint to add the desserts, I didn’t want the paint to be this thick but I learnt that the colour simply wouldn’t show up even when layered or would bleed too much. Looking back, fabric paint would have been more ideal but I think that I still got the right effect I wanted even with acrylic.
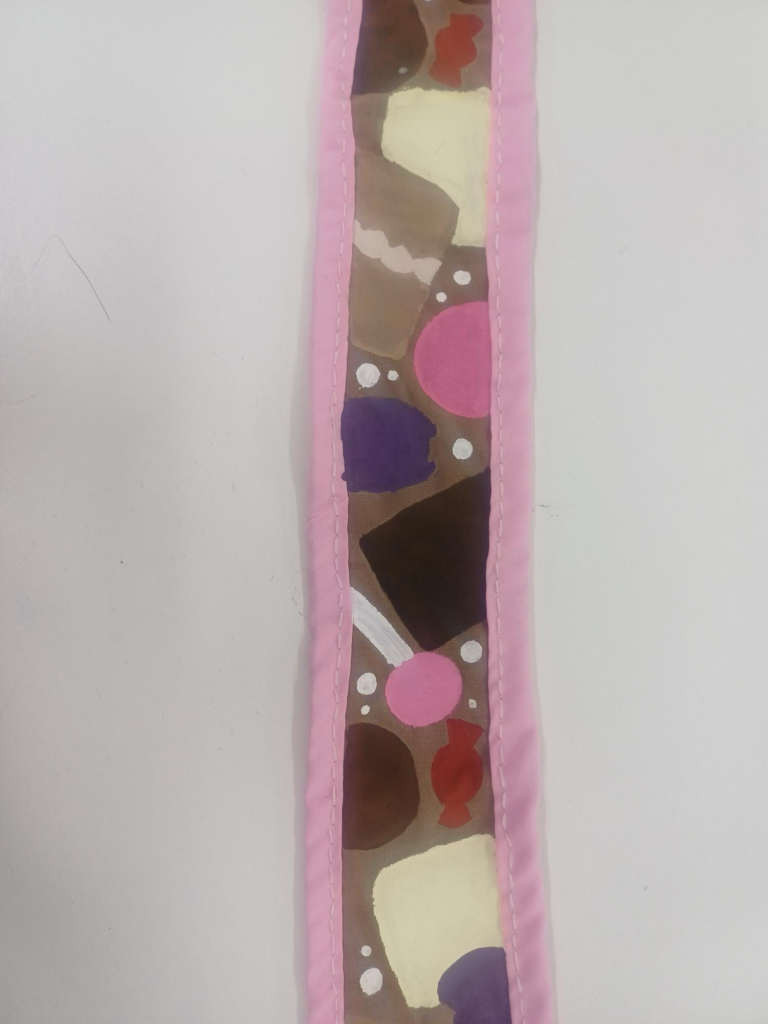
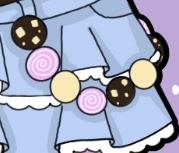
This is my dessert design without any line art (outlines):
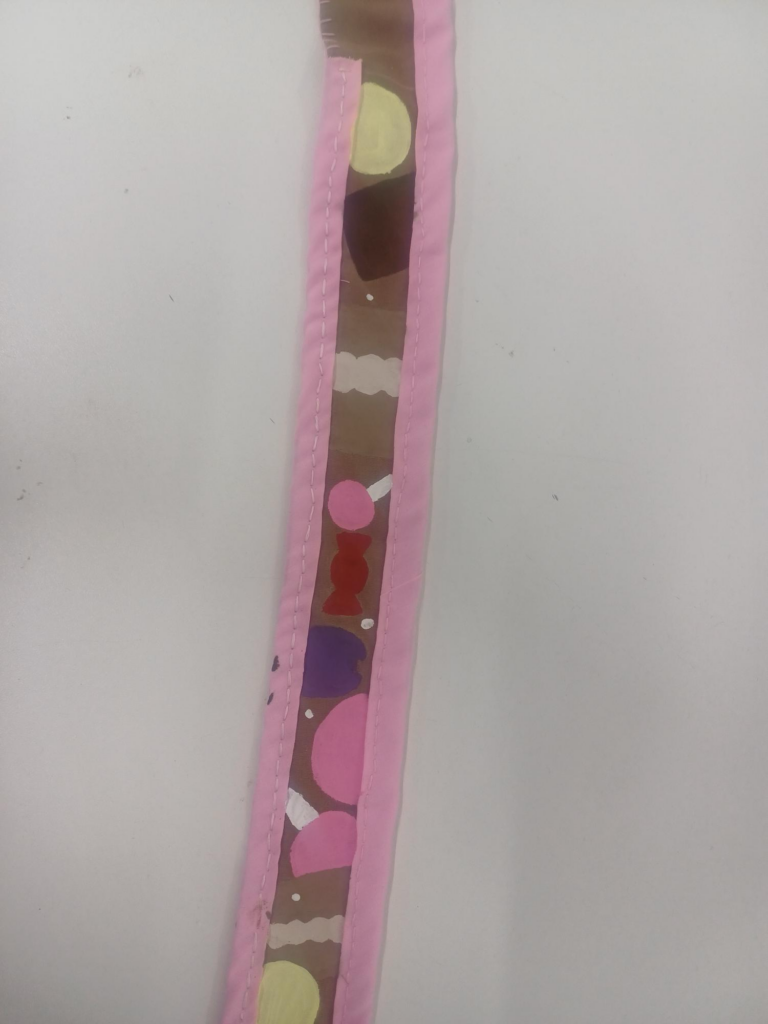
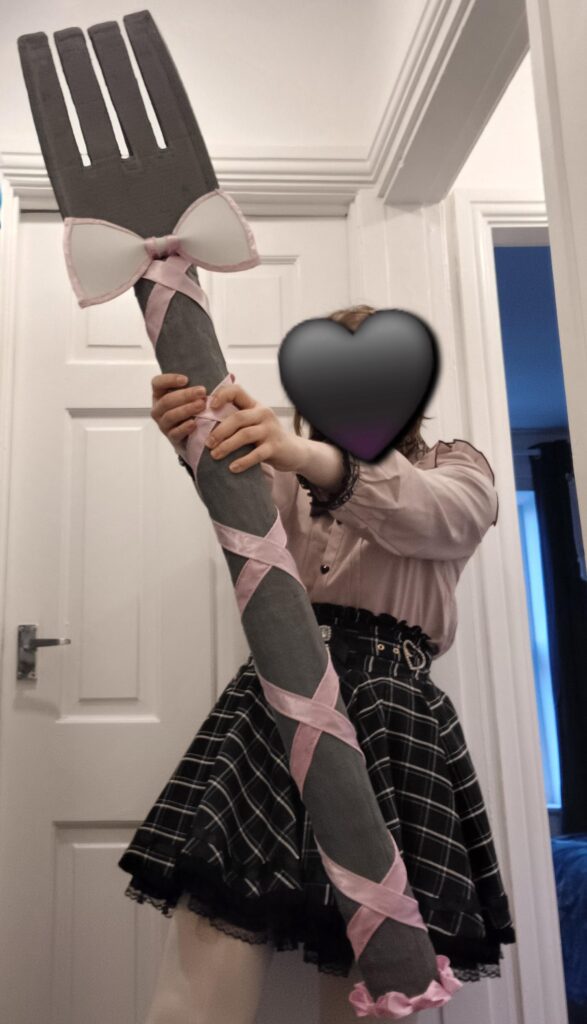
To finish the tie, I used a black paint pen to add outlines and details to the desserts. Here is my finished tie design and what the tie will look like when it is being worn:

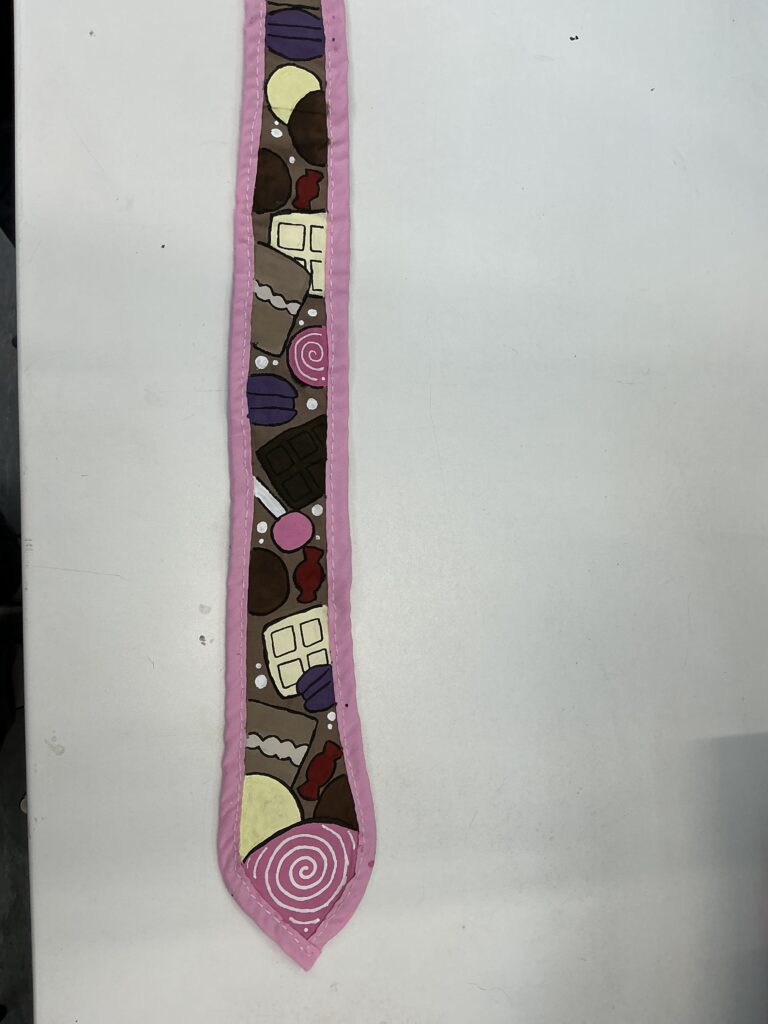
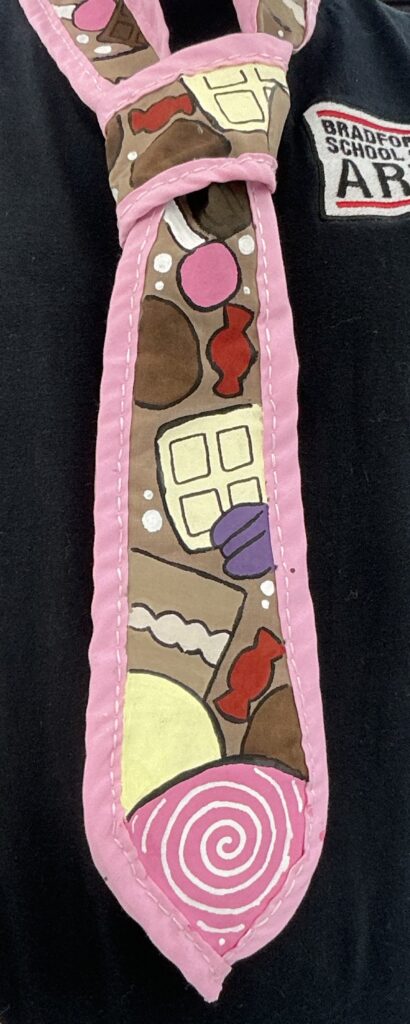
Overall, I was very pleased with how the tie ended up. I think that it adds a charming and Avant Garde touch to my look so I am glad I decided to add the desserts rather than keeping the tie a plain light brown.
Problem Solving:
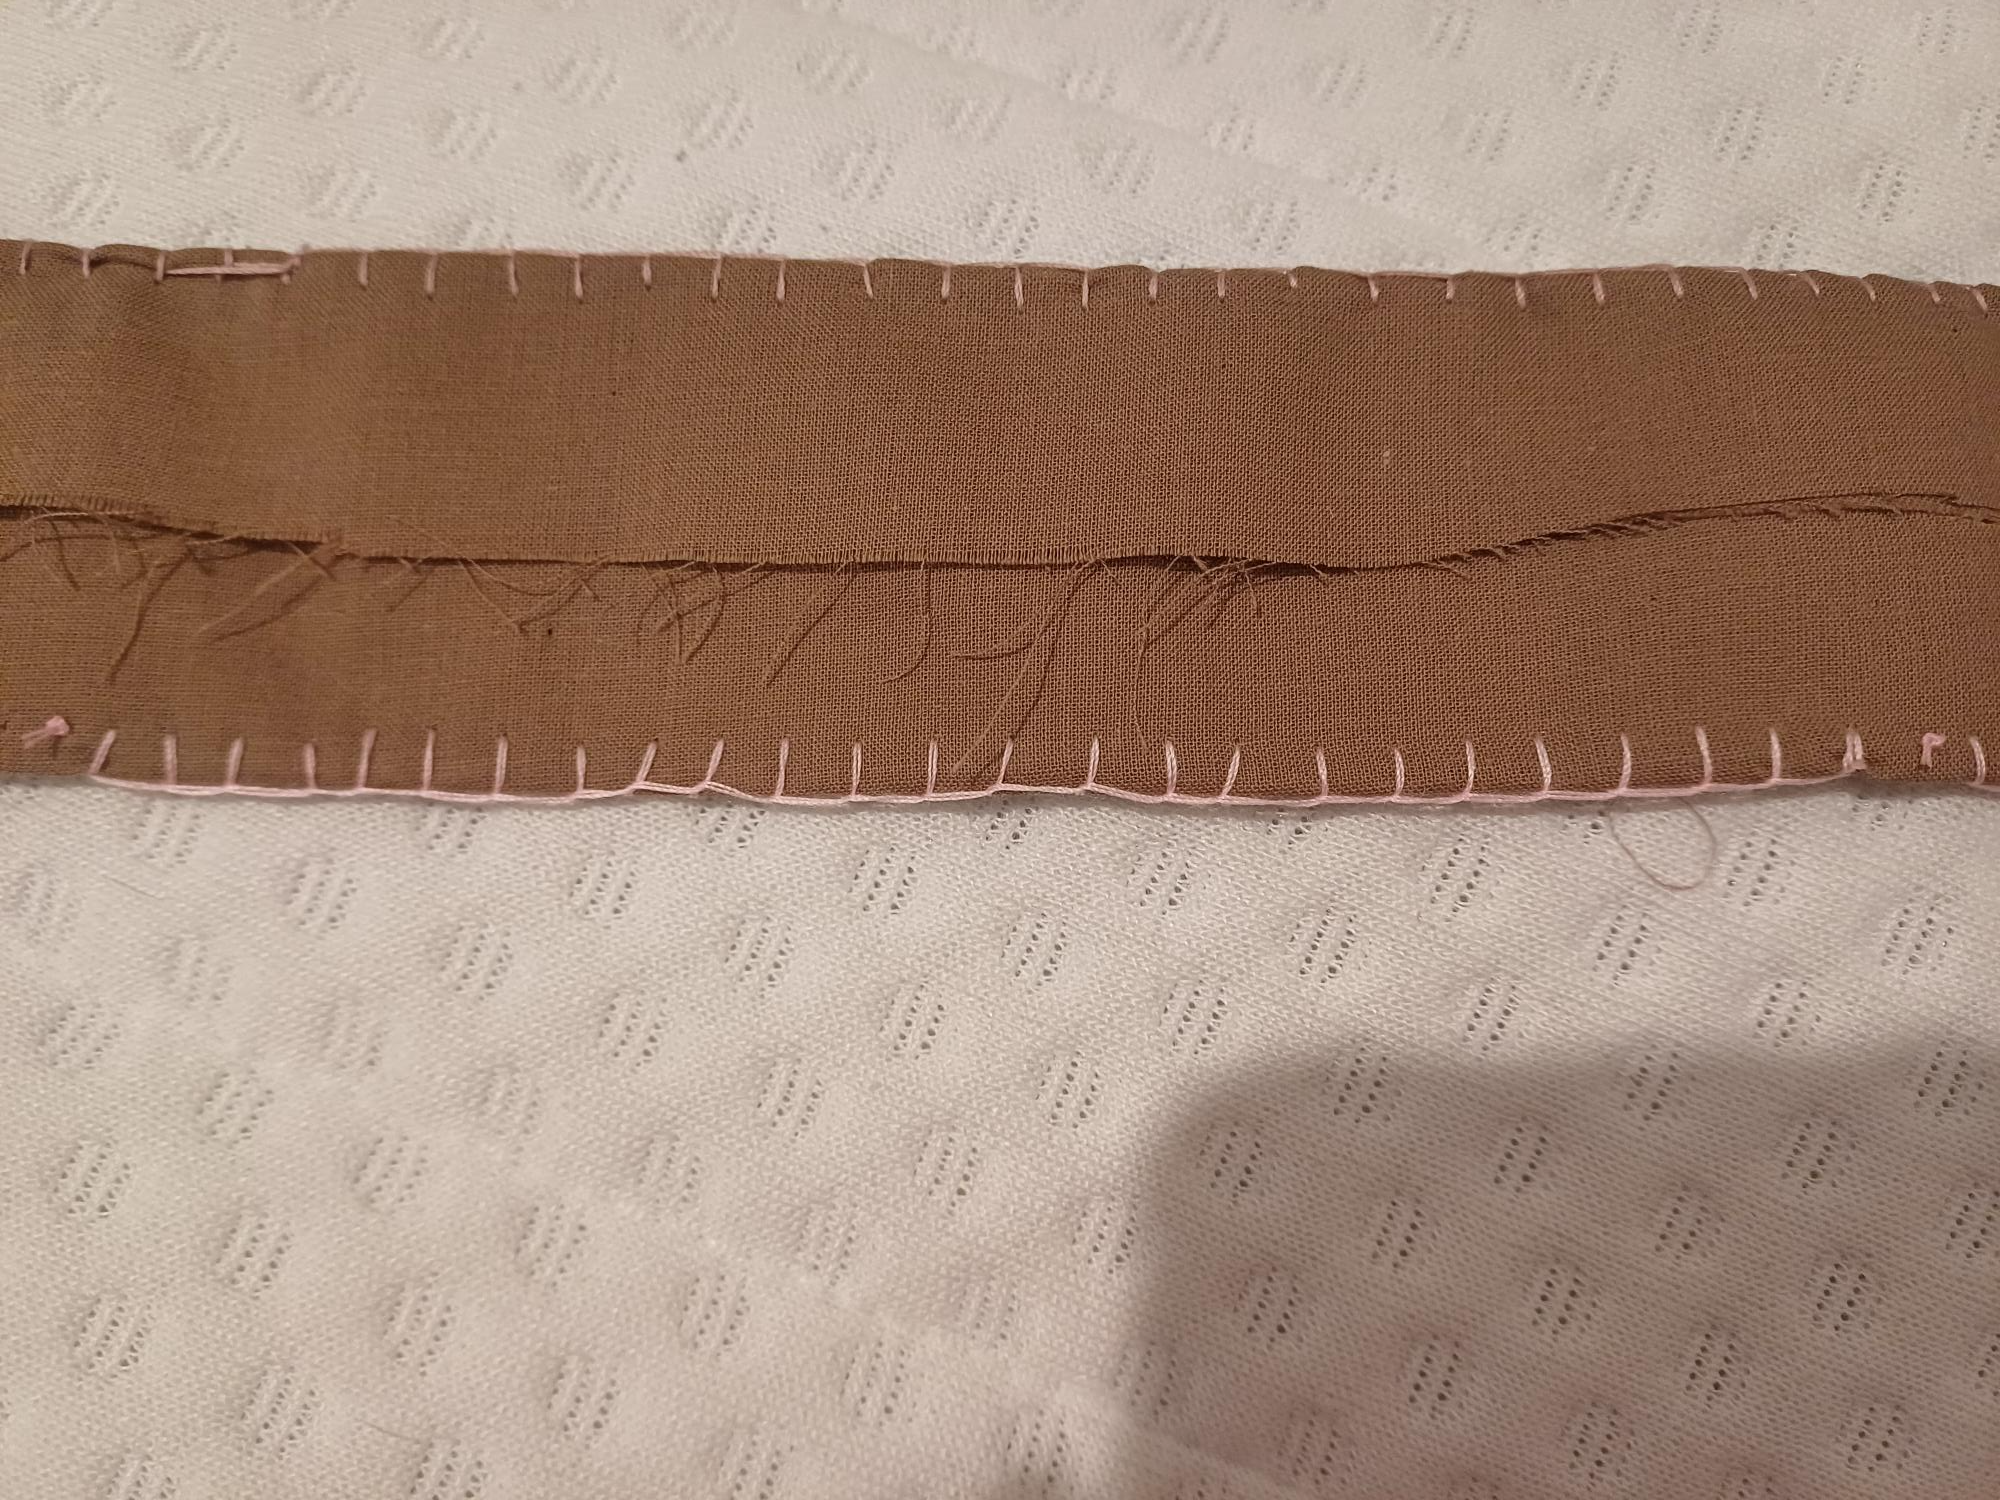
I used a ladder stitch around the edges of the tie to try to give it a nice border, however it began to look messy so I bought some border fabric and sewed that around the edges instead:
At college, I only had enough pink thread to sew a bit of the border before I ran out so I had to finish sewing the border once I got home. I still decided to start drawing the different desserts onto the tie ready for me to paint. At this point in the academic year I was running out of time to complete all of my costume at college, so I decided that I need to do a lot of work at home so that I can do lots of makeup practices after the half term break.
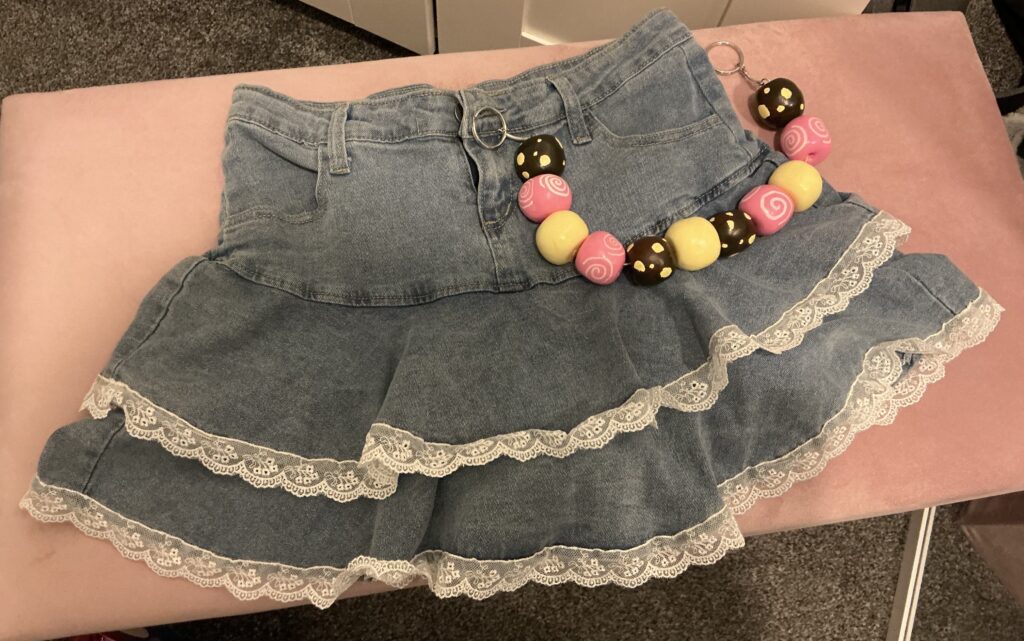
I also made an additional belt loop to the skirt to further incorporate the “overindulgence in food” associated with gluttony:
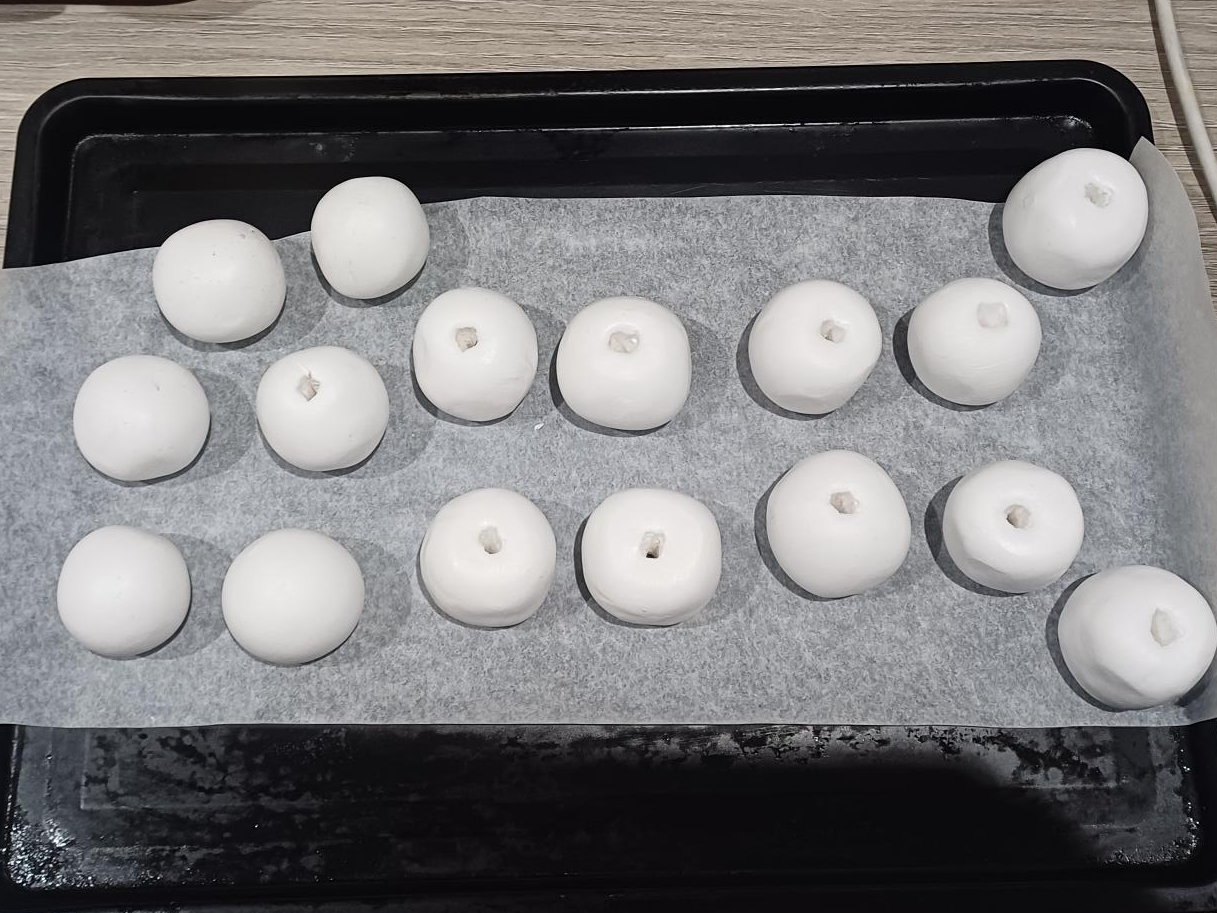
I made the cake pops out of clay, first cutting up a large piece of clay into small cubes of the same size and then rolling them into spheres:
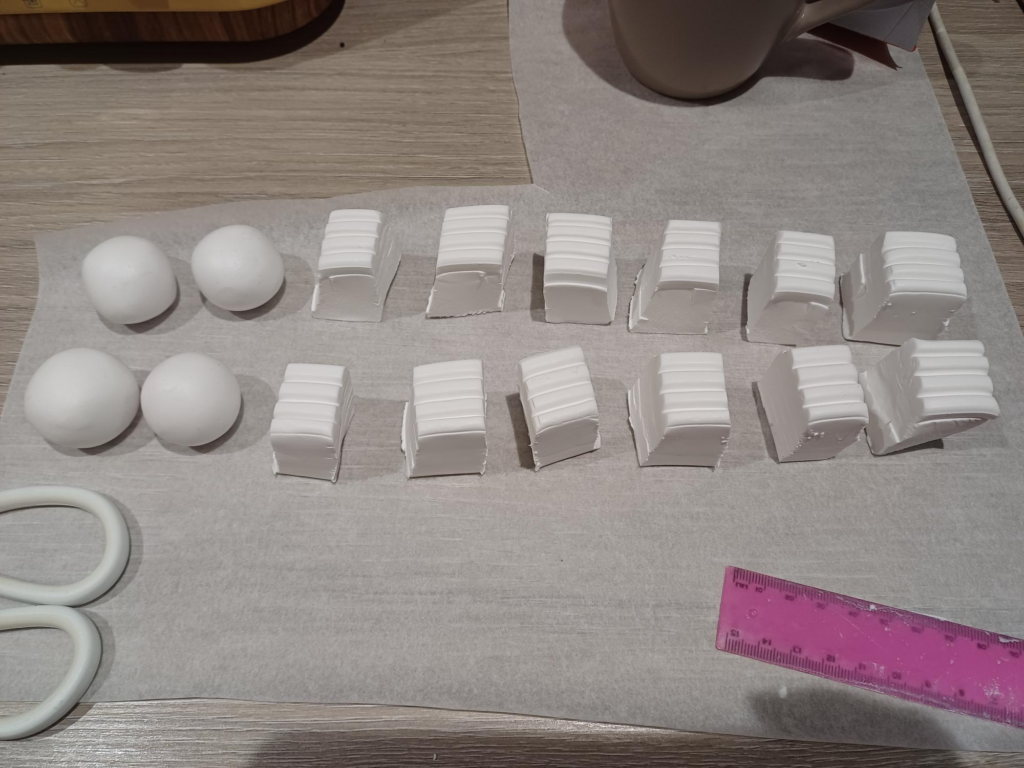
Once every sphere was rolled out, I made a hole through the centre of the spheres that would be going on the belt loop and left 5 over that would be going on the wig later on. I then baked them in the oven until the clay had hardened:
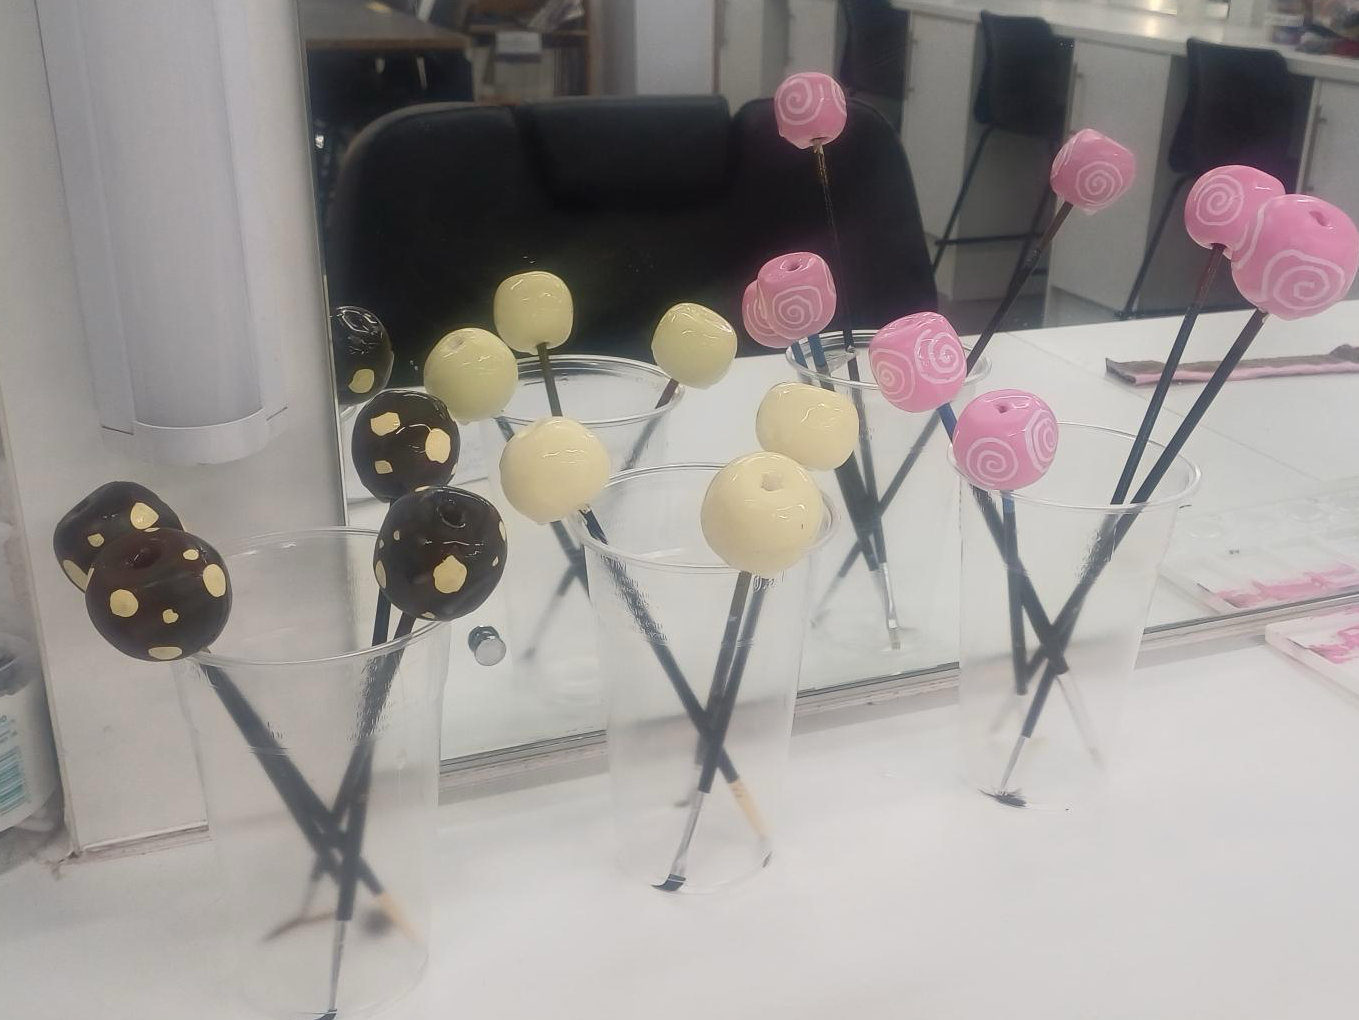
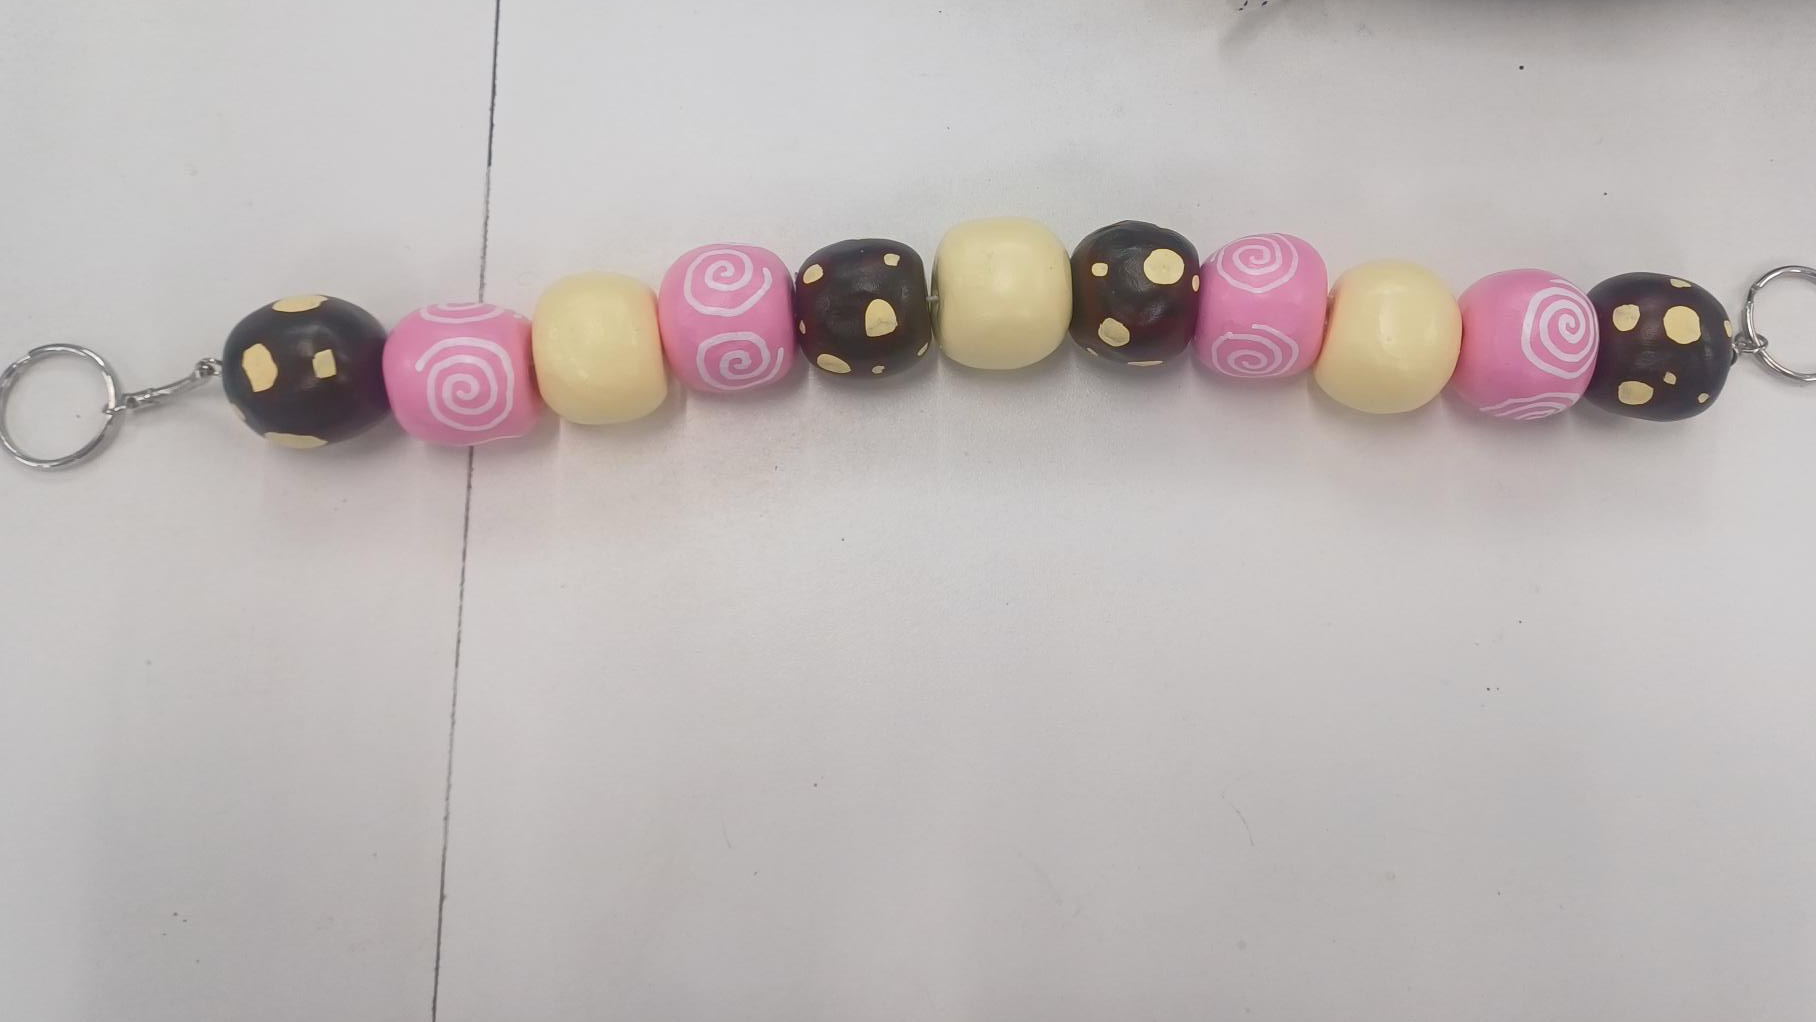
Once the cake pops had baked, I began to paint them with acrylic paint, set them with pva glue and thread them with stronger embroidery thread onto two key chain loops:
Beginning the skirt design, I clipped and pinned the lace into place- aligning the end of the lace to the seam of the hem of the skirt. This was to hide the eye-catching yellow line from the seam, here is an example of how I did this.
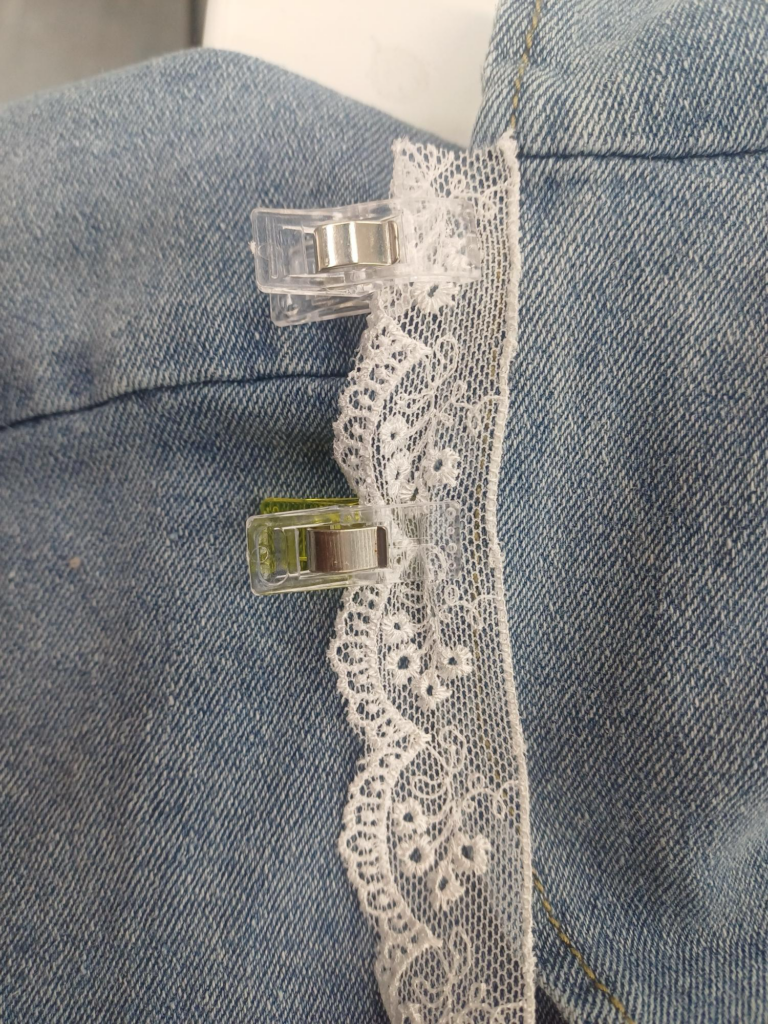
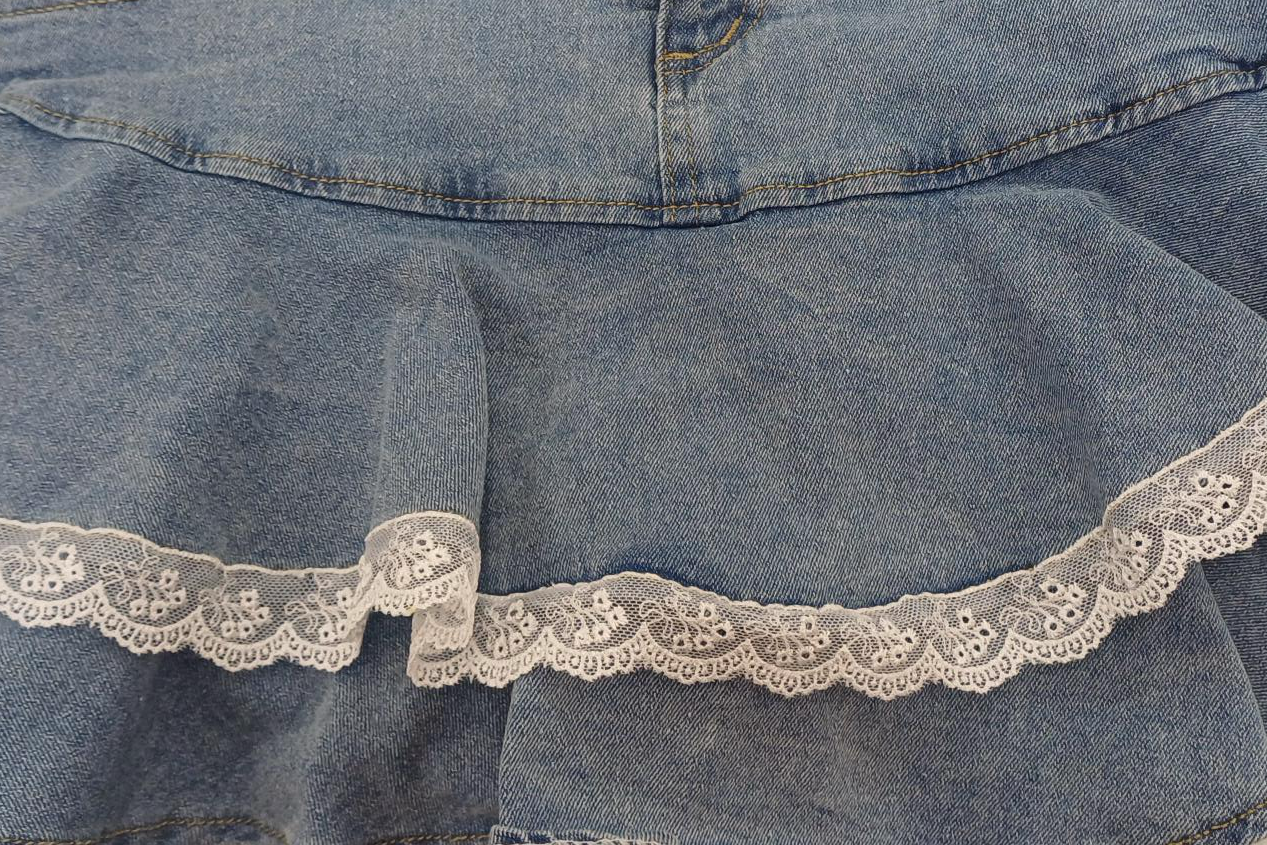
I liked how this lace looked once it was sewn, the lace adds a fun, bubbly touch to the skirt and as a result, the look as a whole.
This is what the skirt looks like once it was completed:
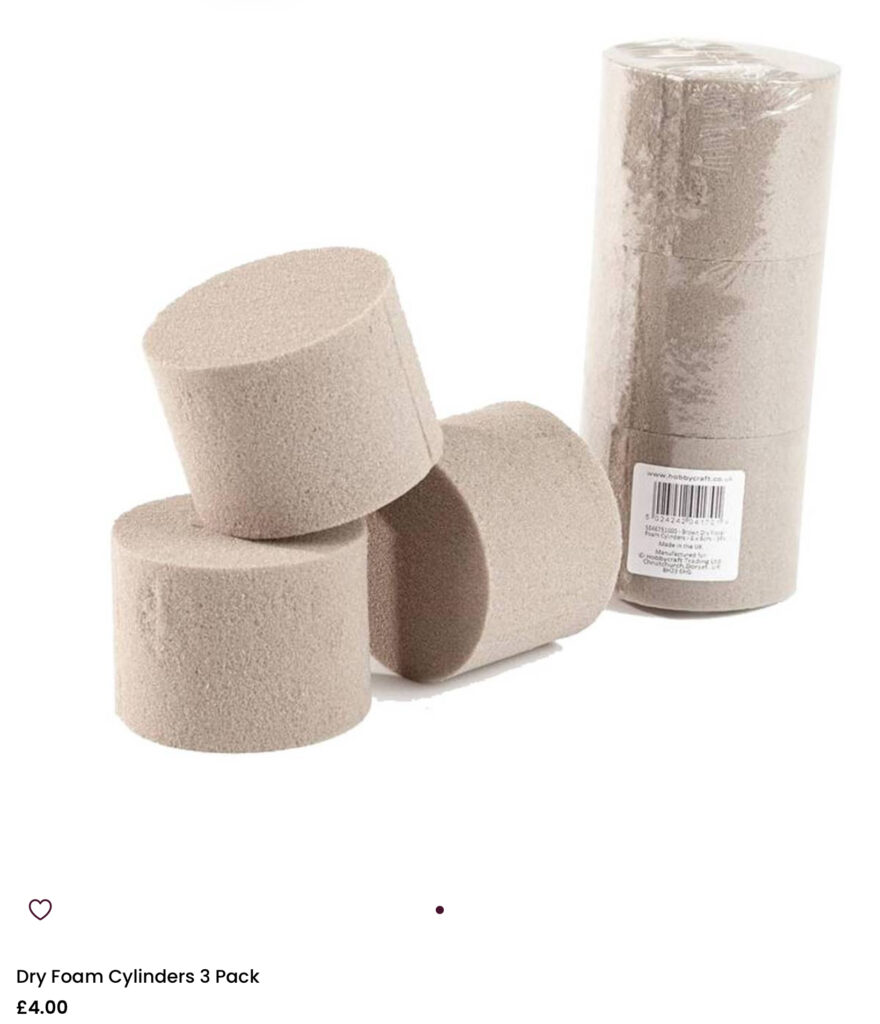
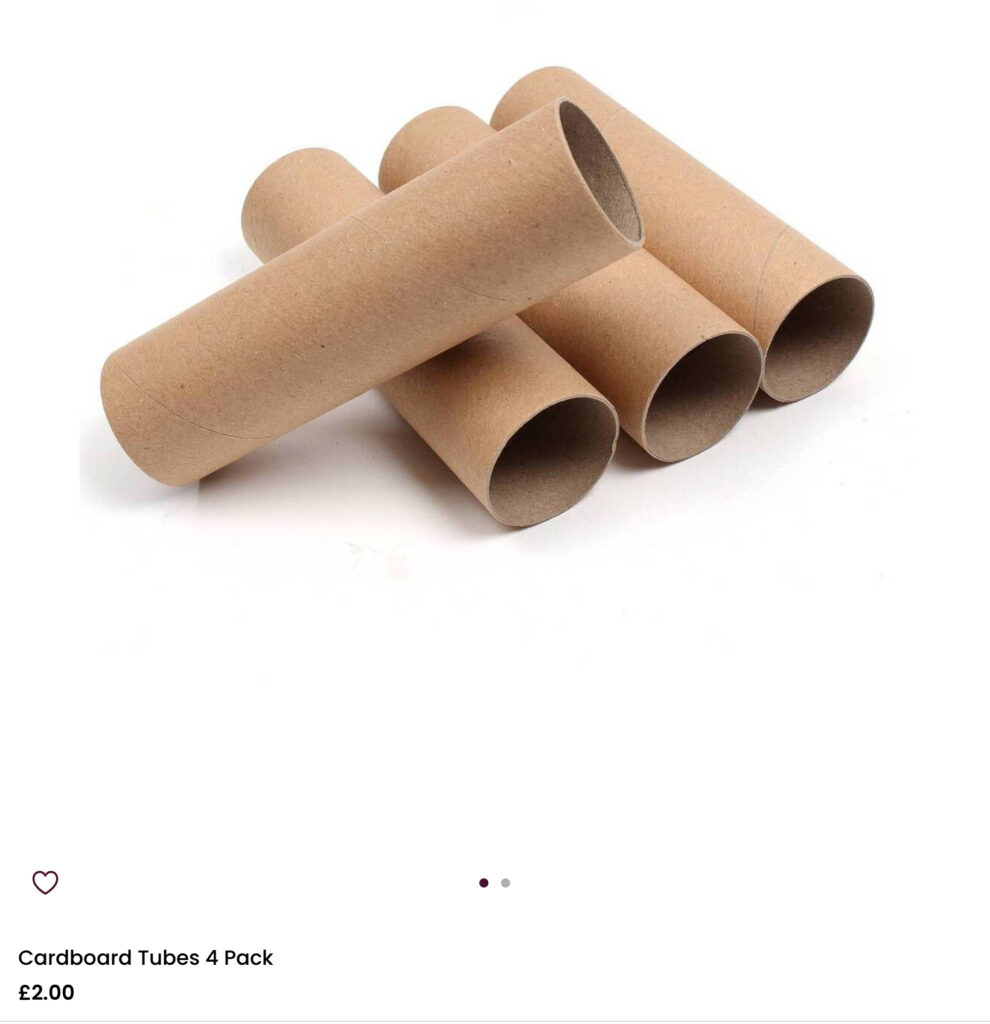
To begin the fork, I had to consider what materials I would use. Some examples of potential materials were cardboard rolls or foam cylinders. I thought that these would be good for the sake of shaping the handle of the fork but they did have some downsides. Having thought about these tools, the foam cylinders would not be able to withstand intense pressure and would likely collapse; the cardboard rolls would be better for structure and shape but most likely would become grainy in texture when exposed to lots of acrylic/ spray paint.
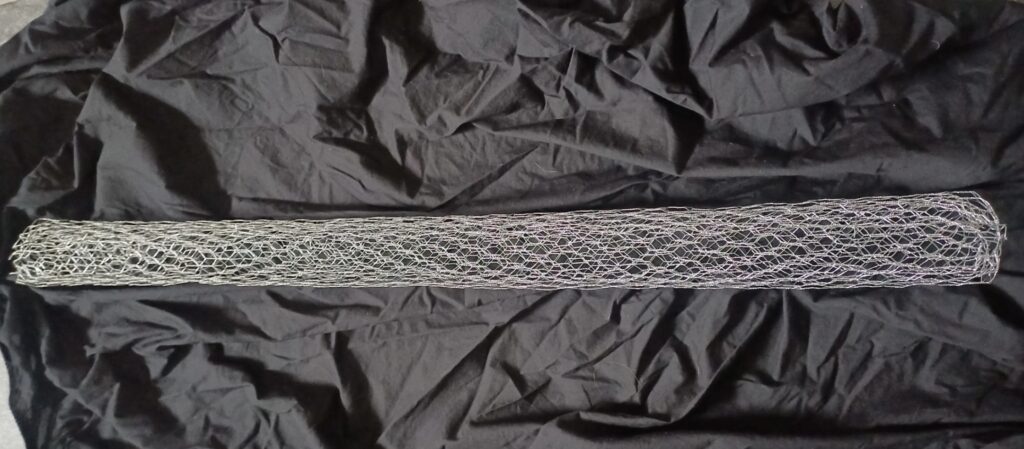
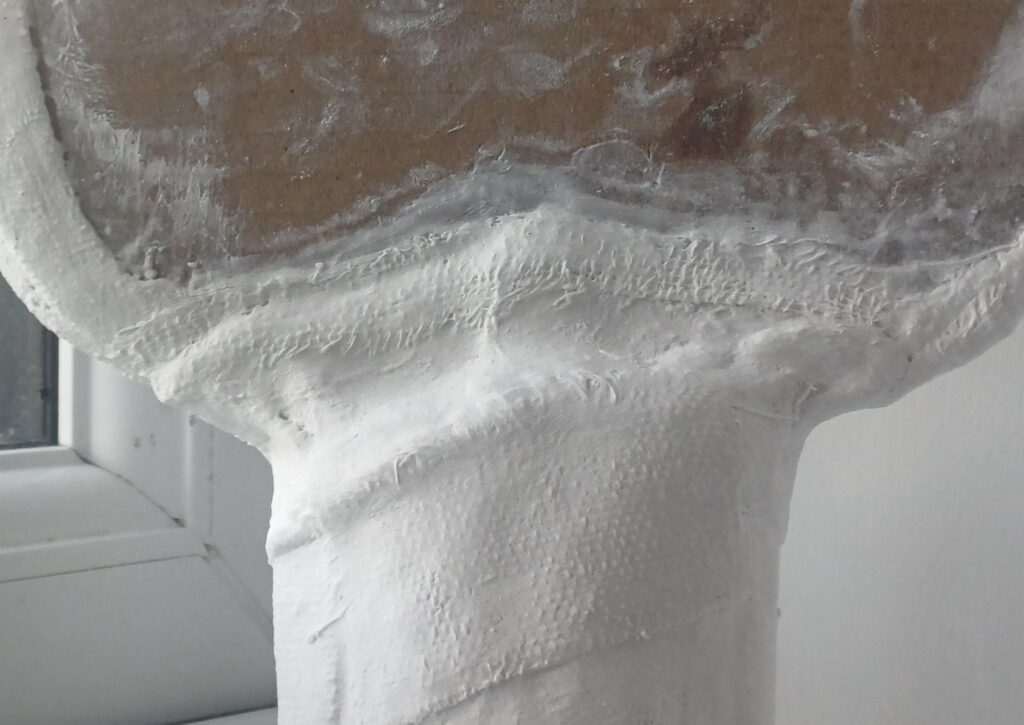
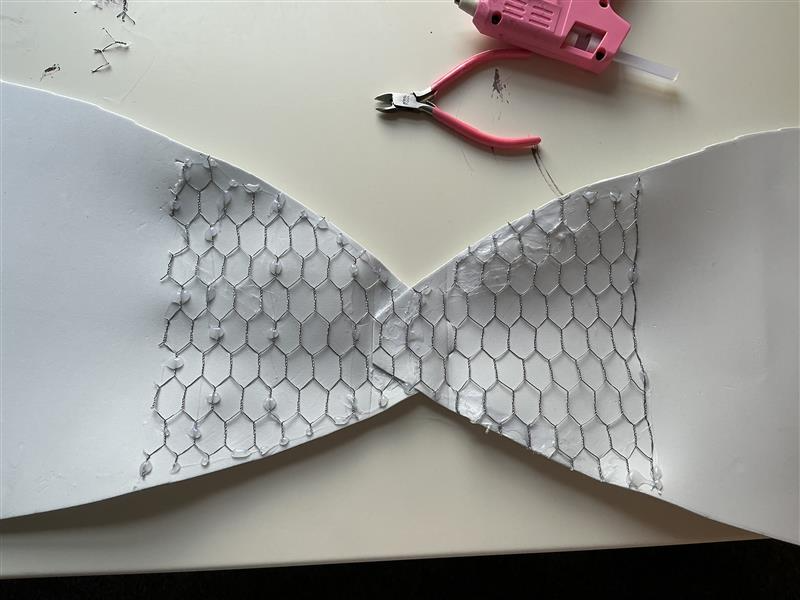
Thinking about these products didn’t lead me anywhere, luckily my tutor advised me to use chicken wire and plaster cast. These products were on hand at college, so I decided to make a prototype handle. I wrapped the chicken wire into a cylinder and wrap layers of plaster cast around it.
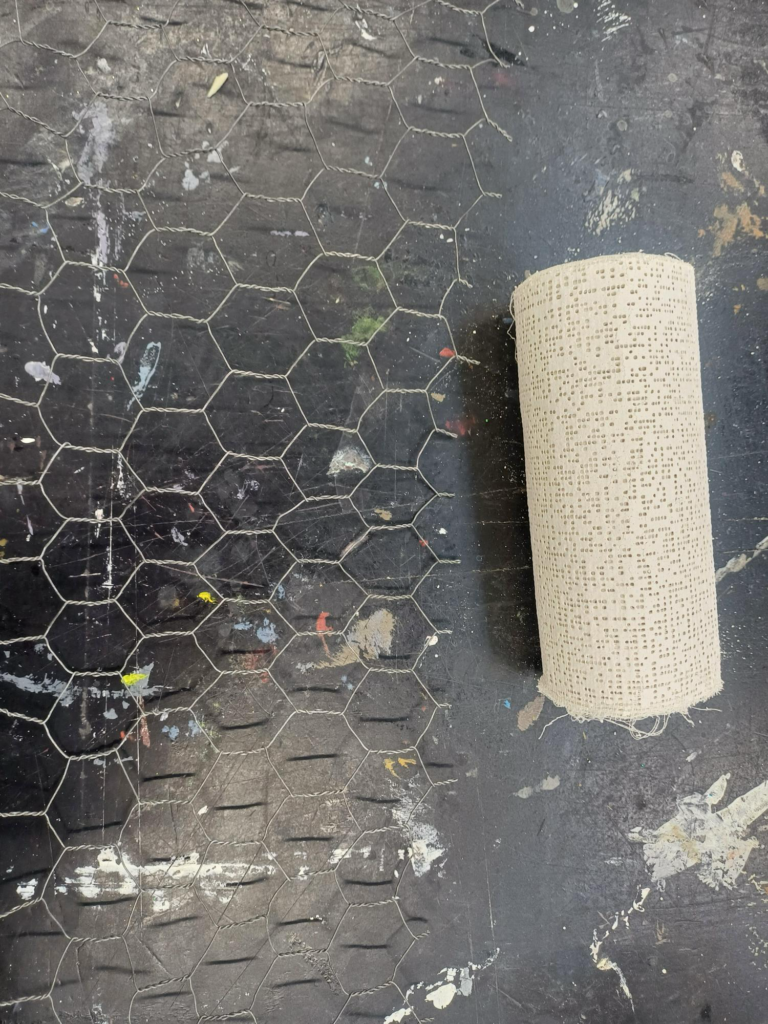
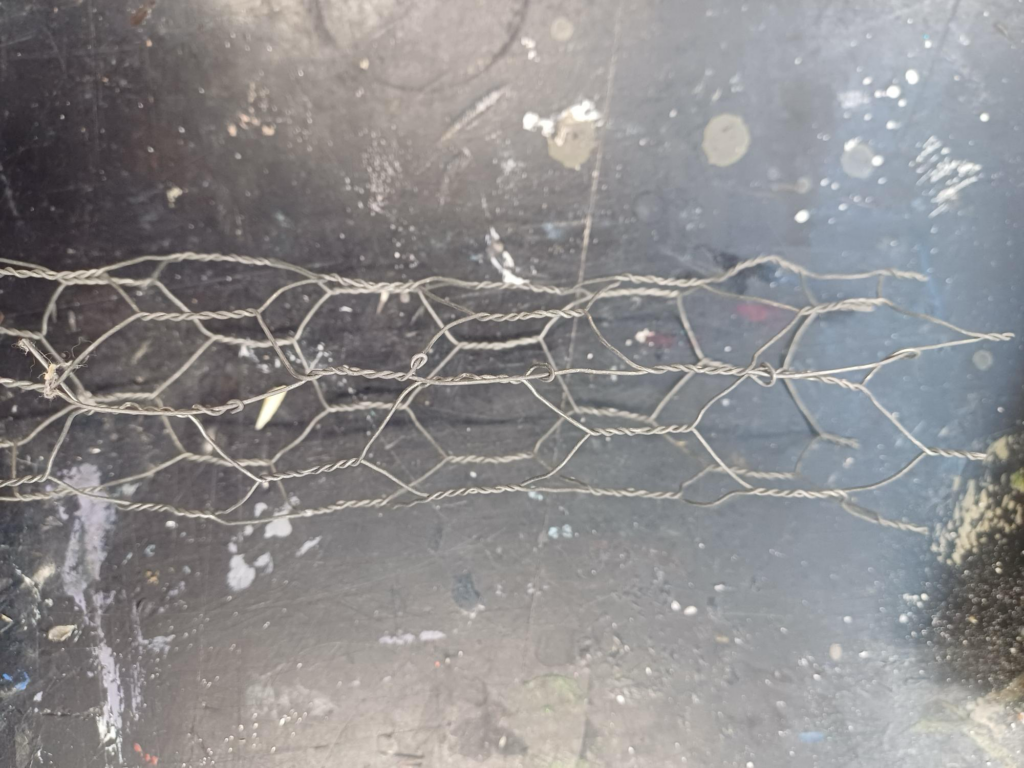
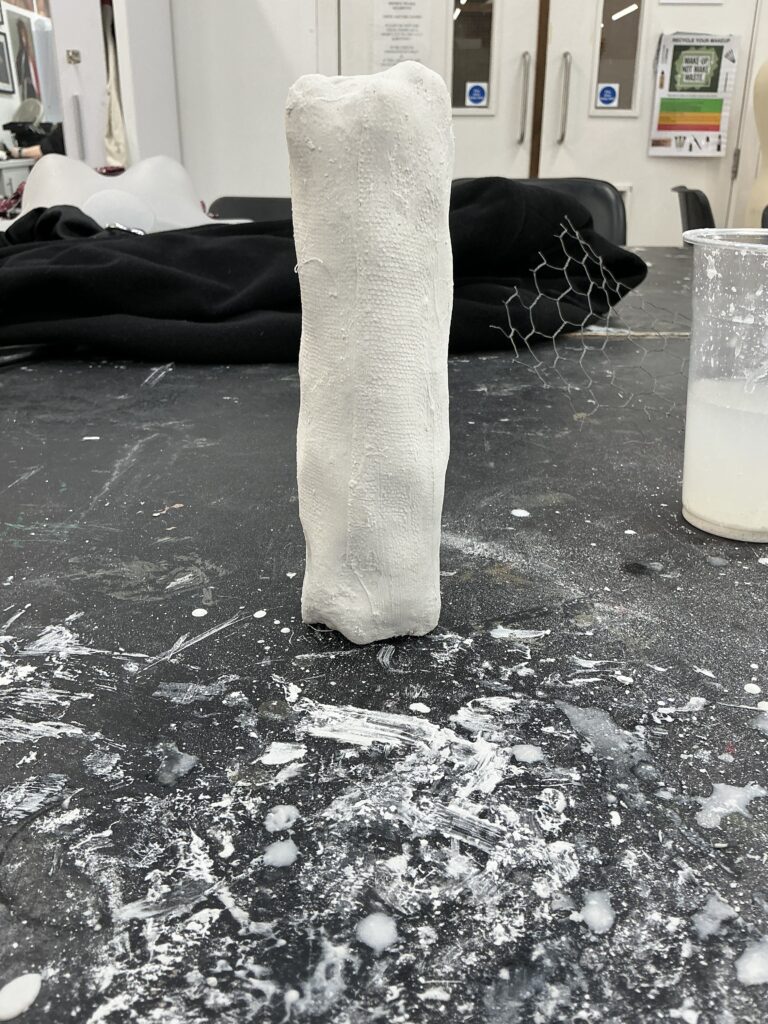
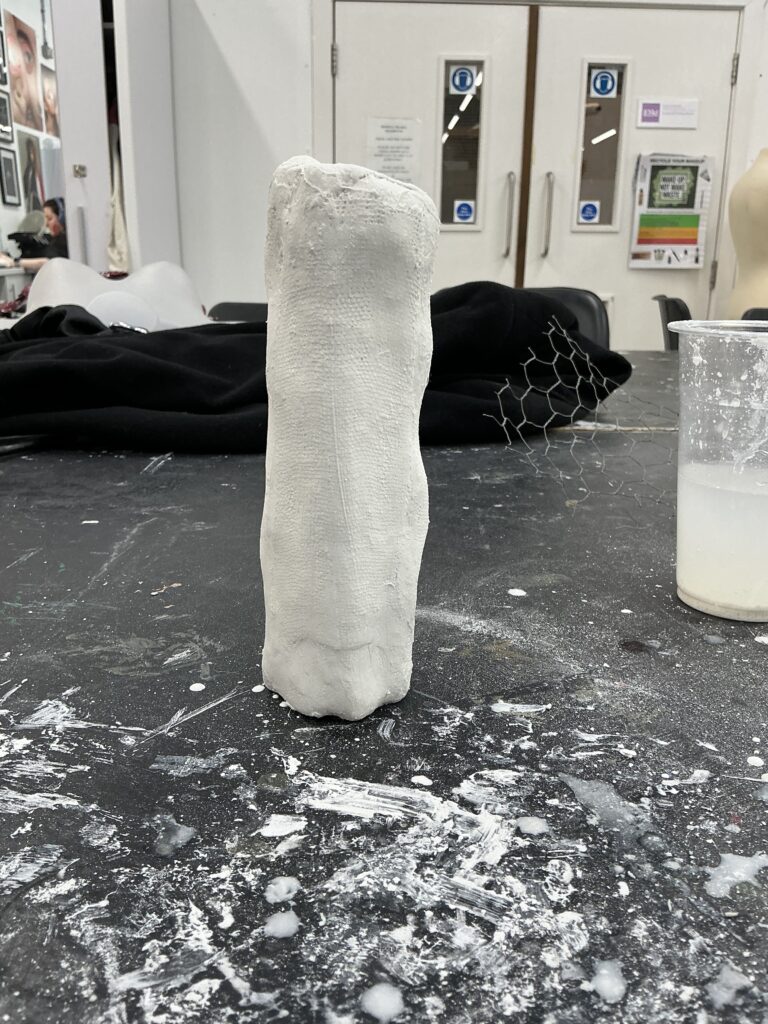
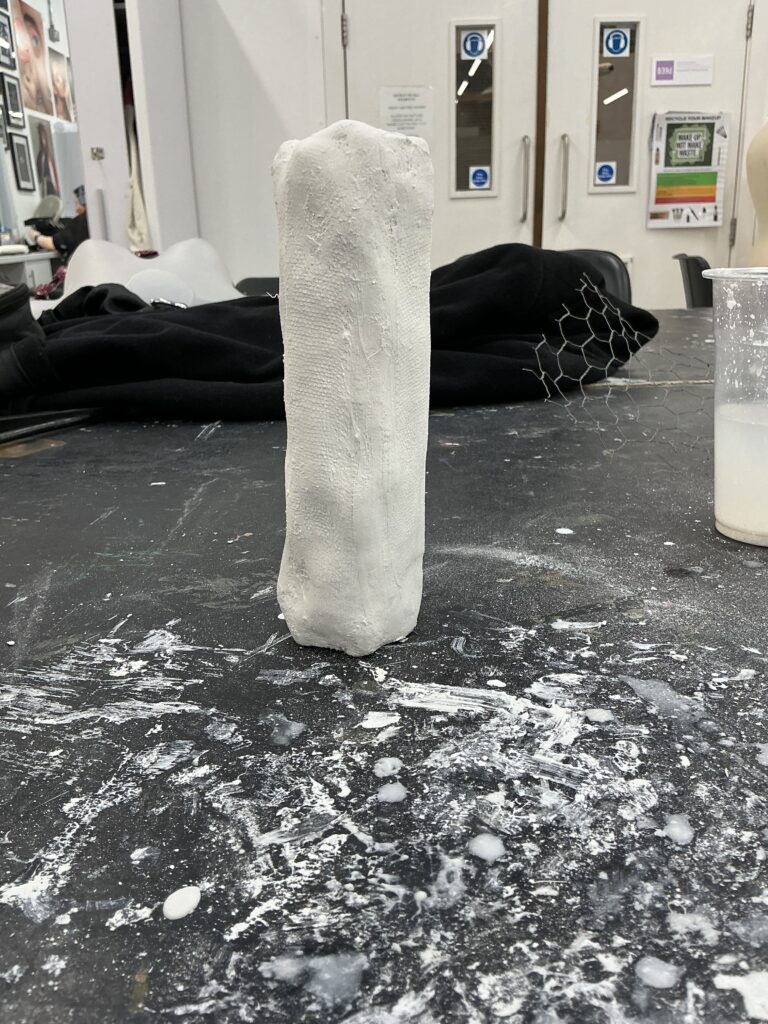
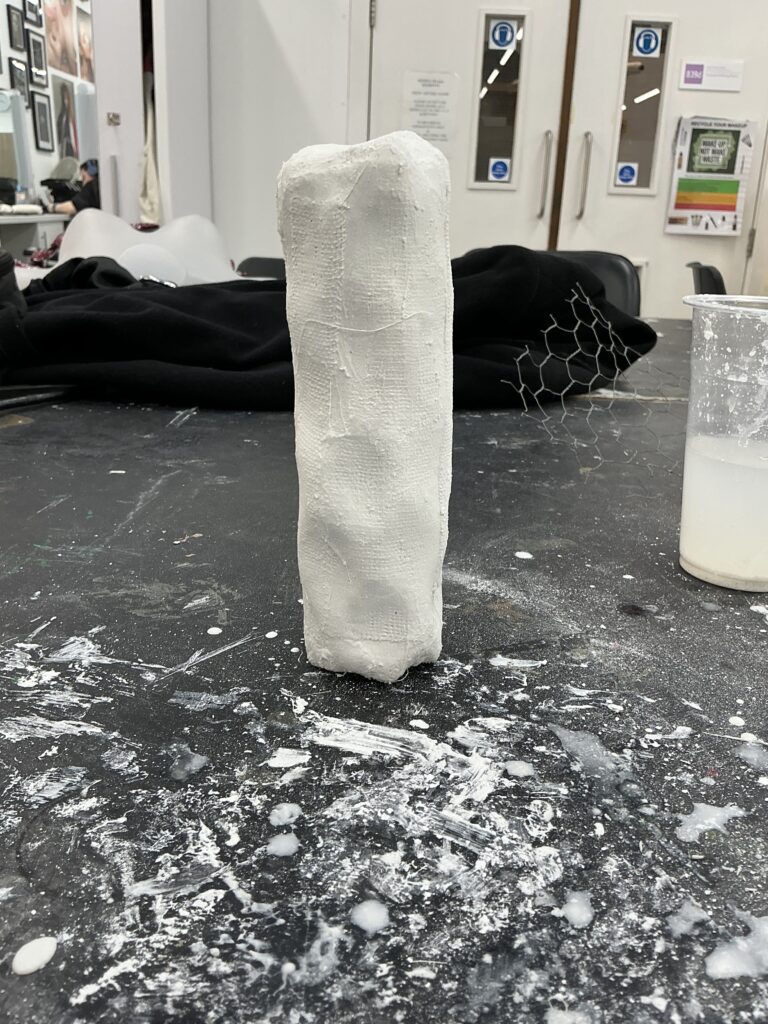
This was definitely the best option, so I decided to use this method when I made my proper fork. I used the same technique of rolling the chicken wire into a cylinder and then wrapping plaster cast around it to make the handle:

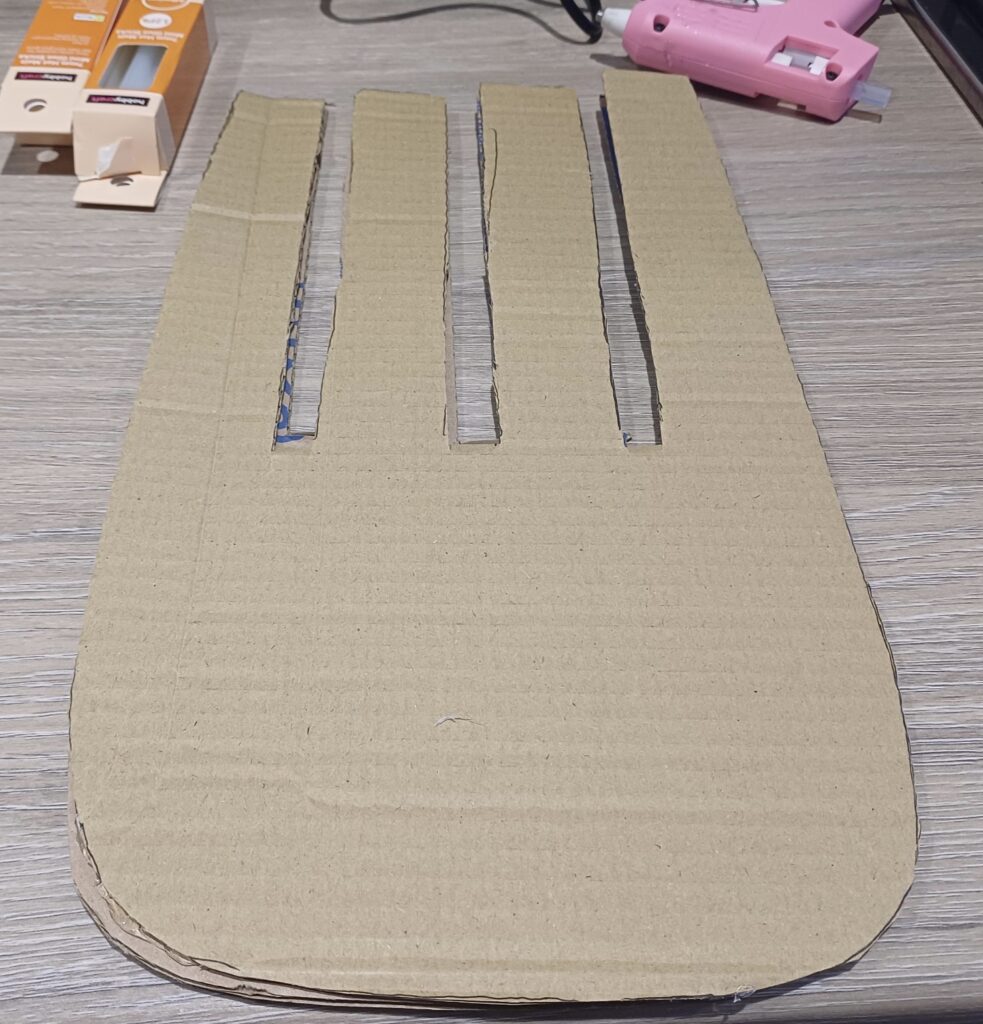
I then glued five pieces of cardboard shaped as the top of a fork together and then to the handle. I took extra care to reinforce the edges so that the fork as a whole has a strong structure.
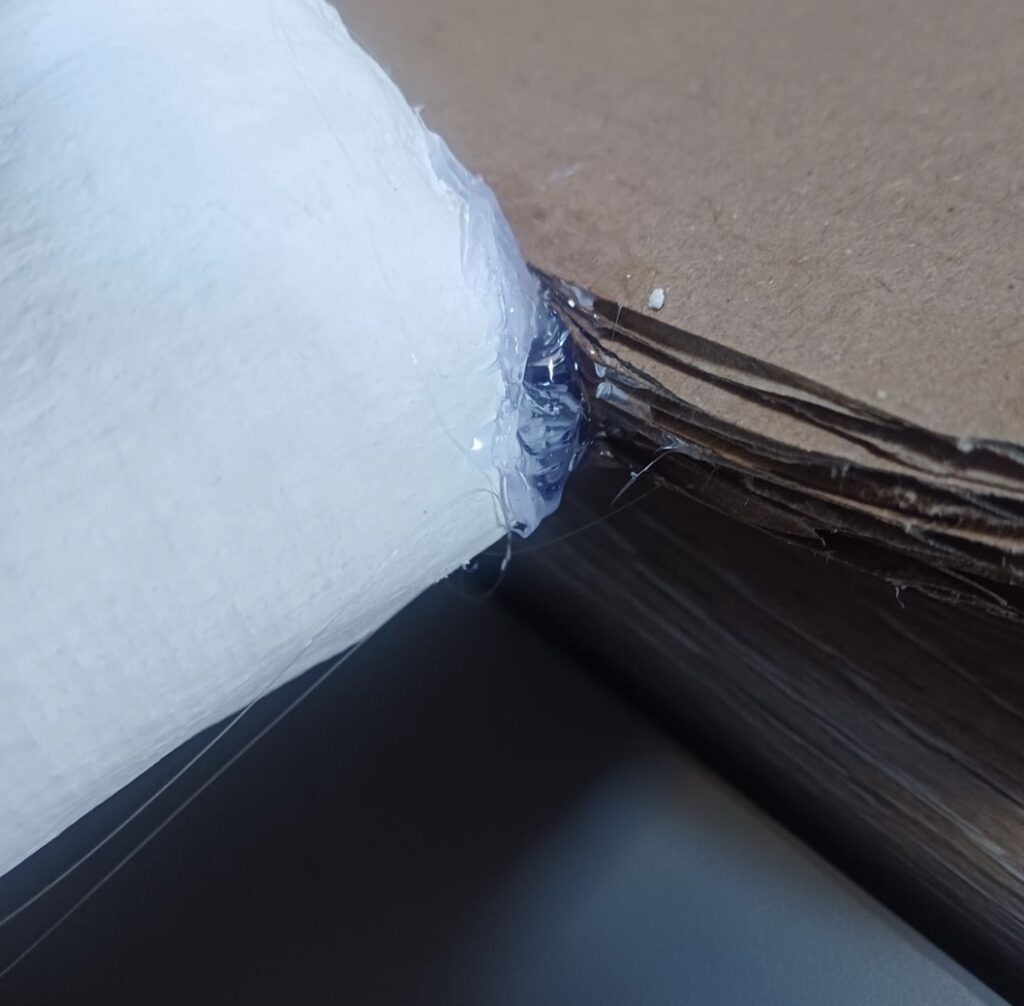
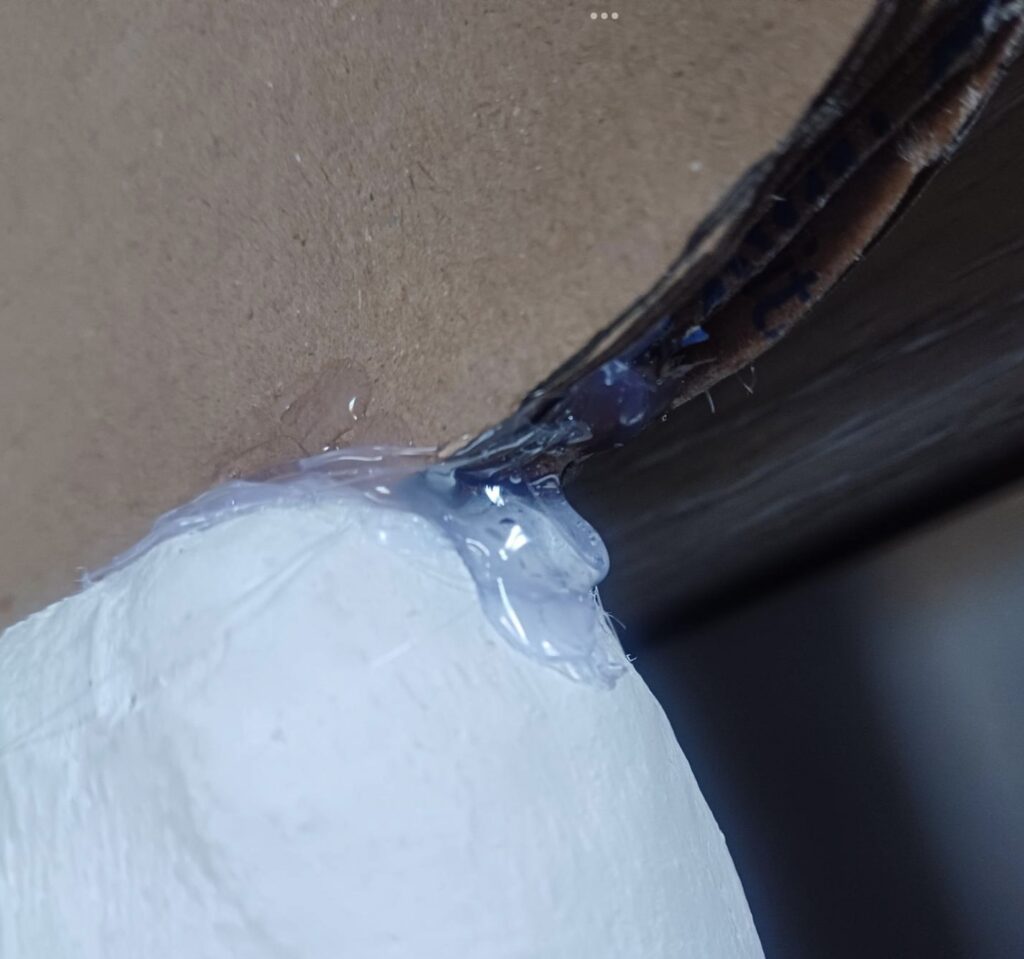
Afterwards, I went back in with plaster cast and reinforced the edges of the fork as well as in between each gap to that the cardboard wasn’t as visible,
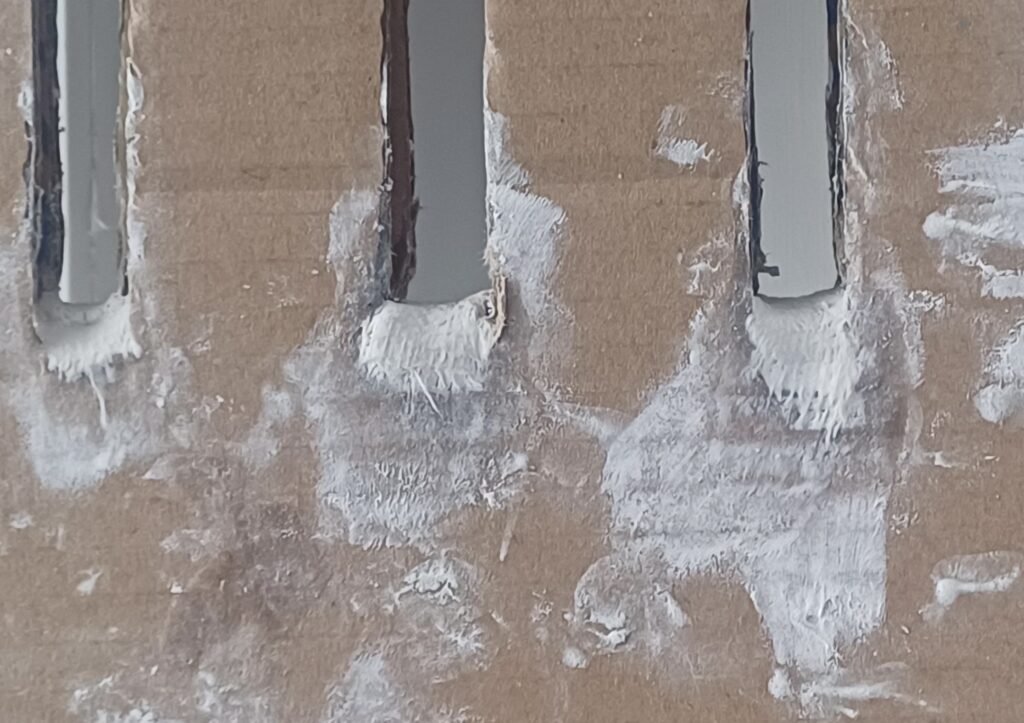
I also chose to reinforce the seam between the top and bottom of the fork using plaster cast for structure and to add the curvature of an actual fork,
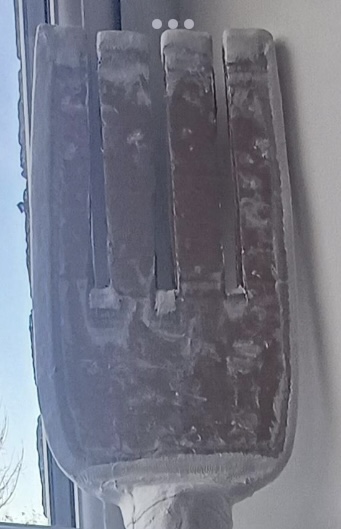
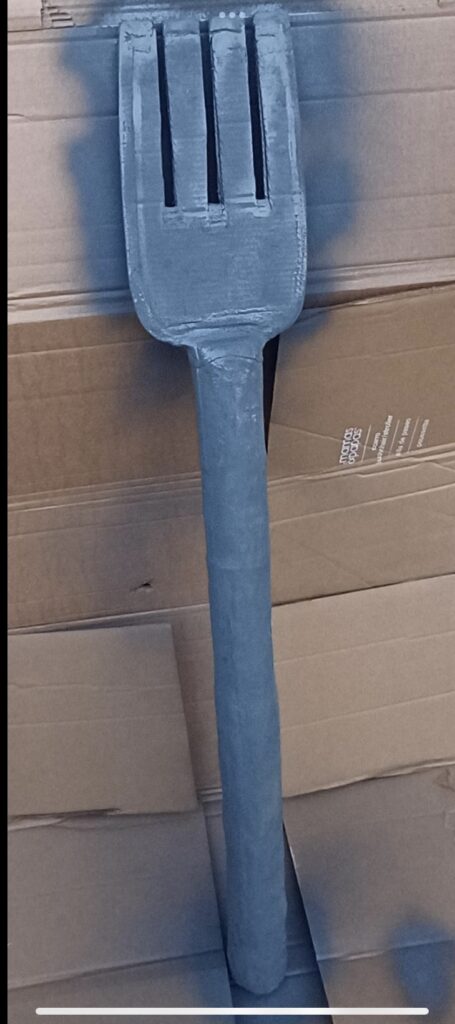
After the structure of the fork was complete, I used a light grey spray paint to add colour all over the fork. I only needed one coat because the spray paint was quite high coverage.
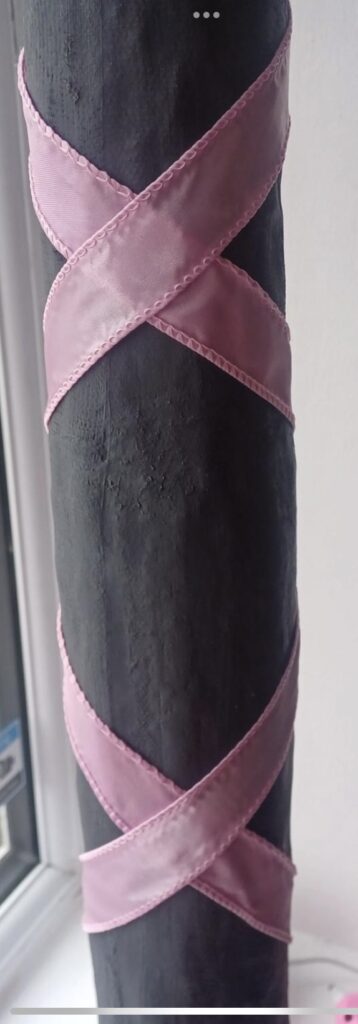
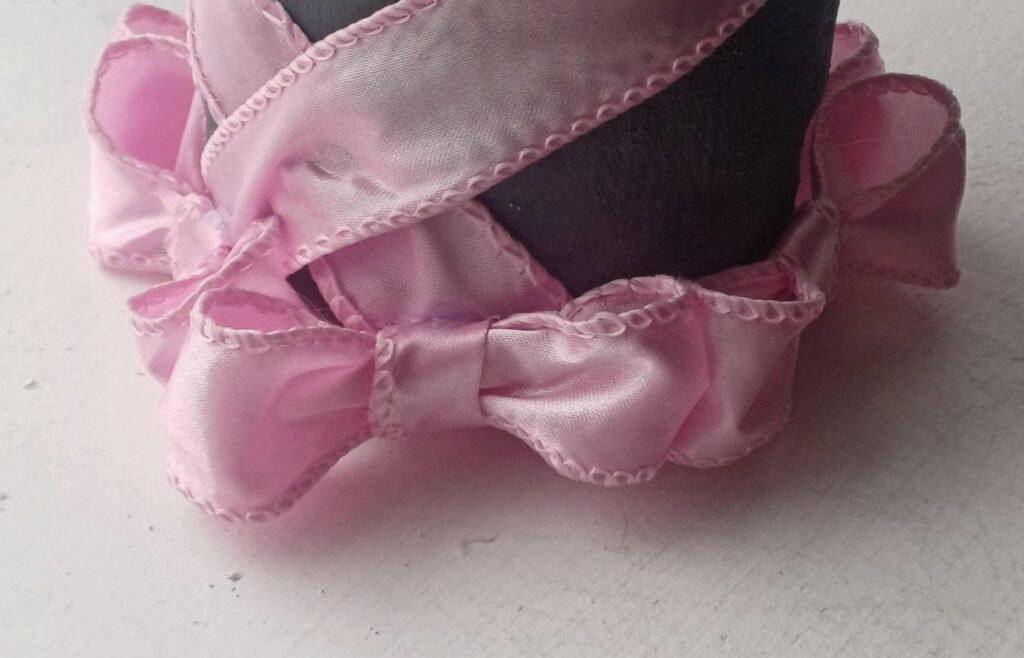
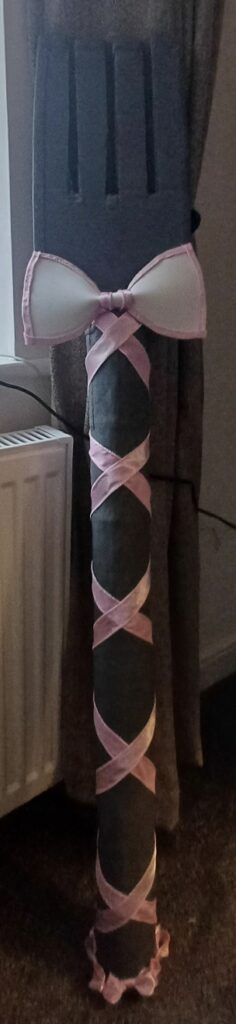
Once the paint was dry, I used a hot glue gun to neatly wrap the ribbon around the handle of the fork. I tried to keep it as symmetrical as possible,
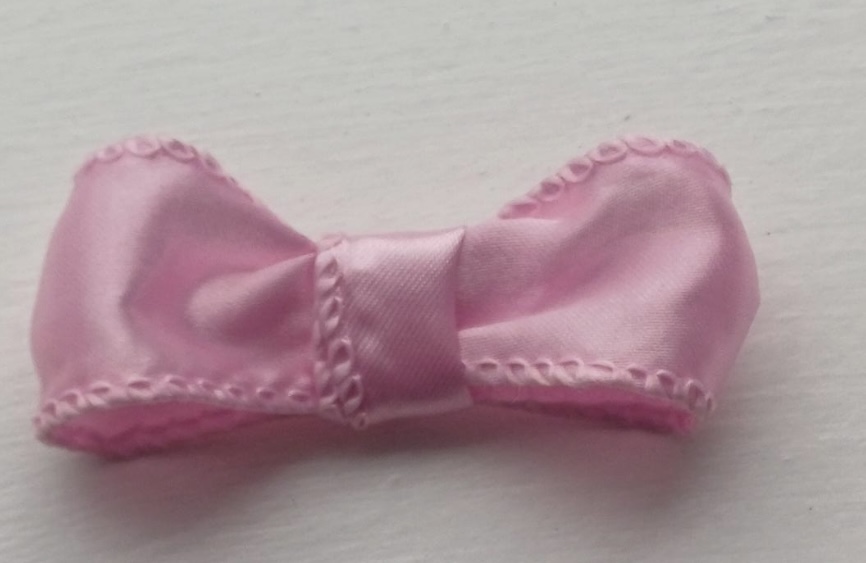
After that was done, I made five small bows using the same ribbon. I folded the ends over into the middle and glued them and then used a thinner piece of the ribbon to create the middle of the bow,
I then glued all five bows to the bottom of the fork
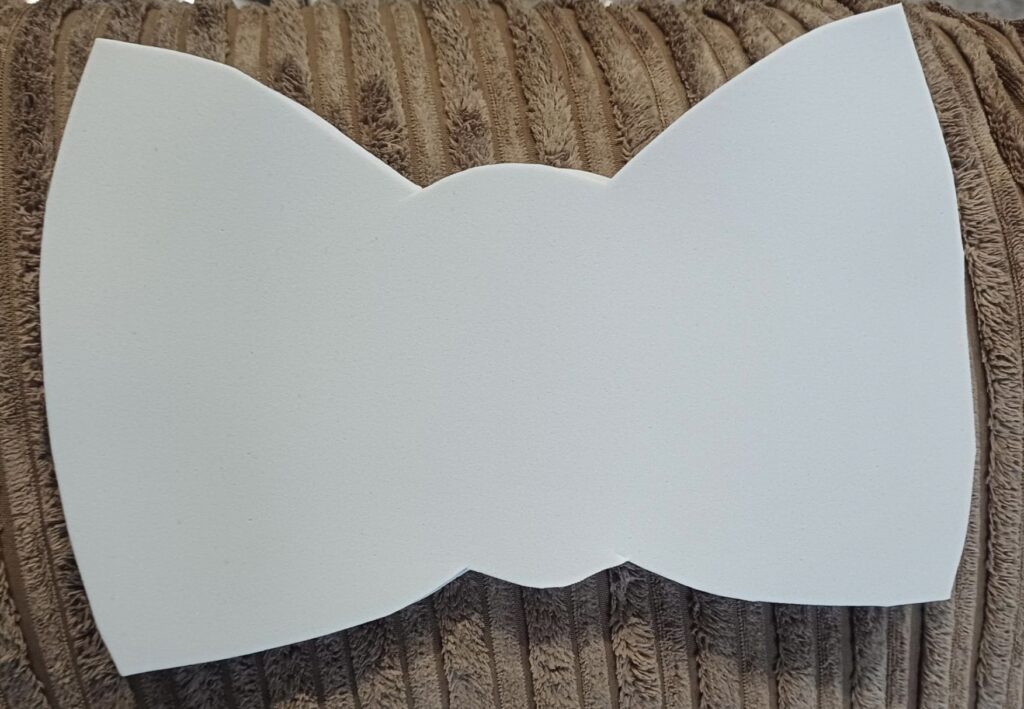
I then used foam card to create the bow.
Experimenting And Problem Solving:
Originally I was going to it out the card into the shape of a bow and glue it to another of the same shape to get a 3D effect, however this didn’t look good at all.
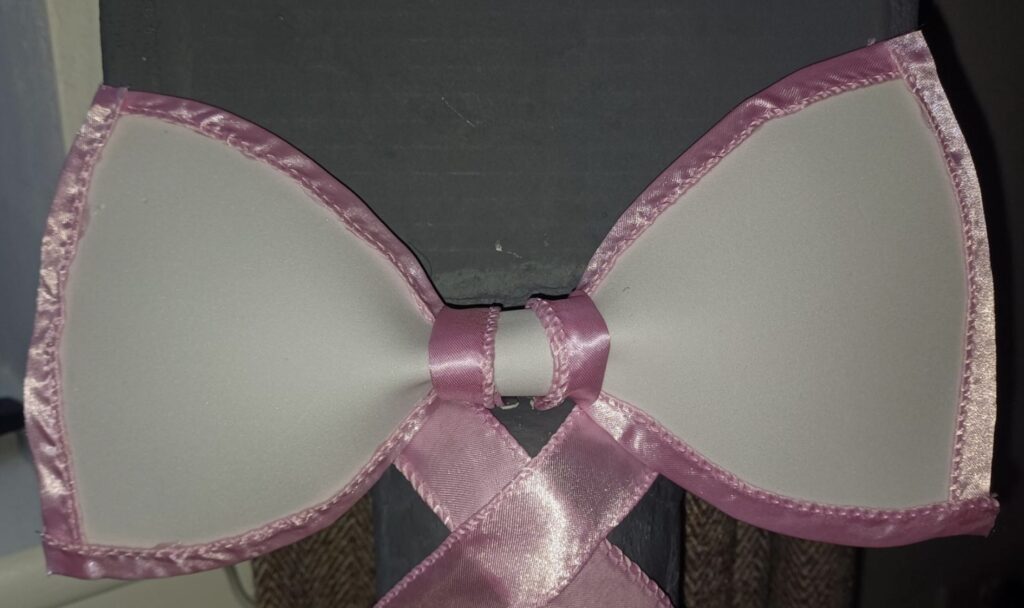
To solve this problem, I cut out a bow shape with a much thinner middle, this was beneficial to me because it allowed me to make my bows using a similar technique as I did with my little bows. I took a longer, thinner piece of foam and wrapped it around the middle. I also folded the middle of the bow backwards to give it some shape.
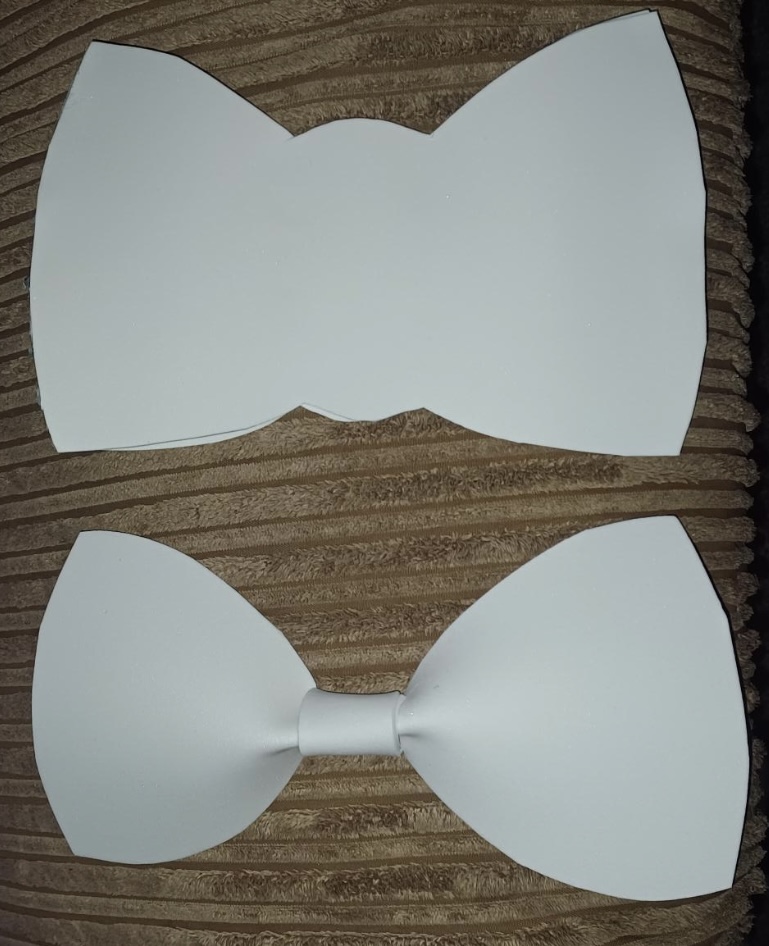
I realised that folding the bow inwards would have been better for the shape, but I couldn’t change it at this point. Still I think it didn’t look bad so I didn’t mind it being folded backwards instead in the case of the fork. Afterwards, I glued the same ribbon as the rest of the fork around the edges and middle of the bow to finish it. I then attached it to the fork where the top and handle meet with a hot glue gun.
To begin my waistcoat, I laid out my fabric and pattern pieces:
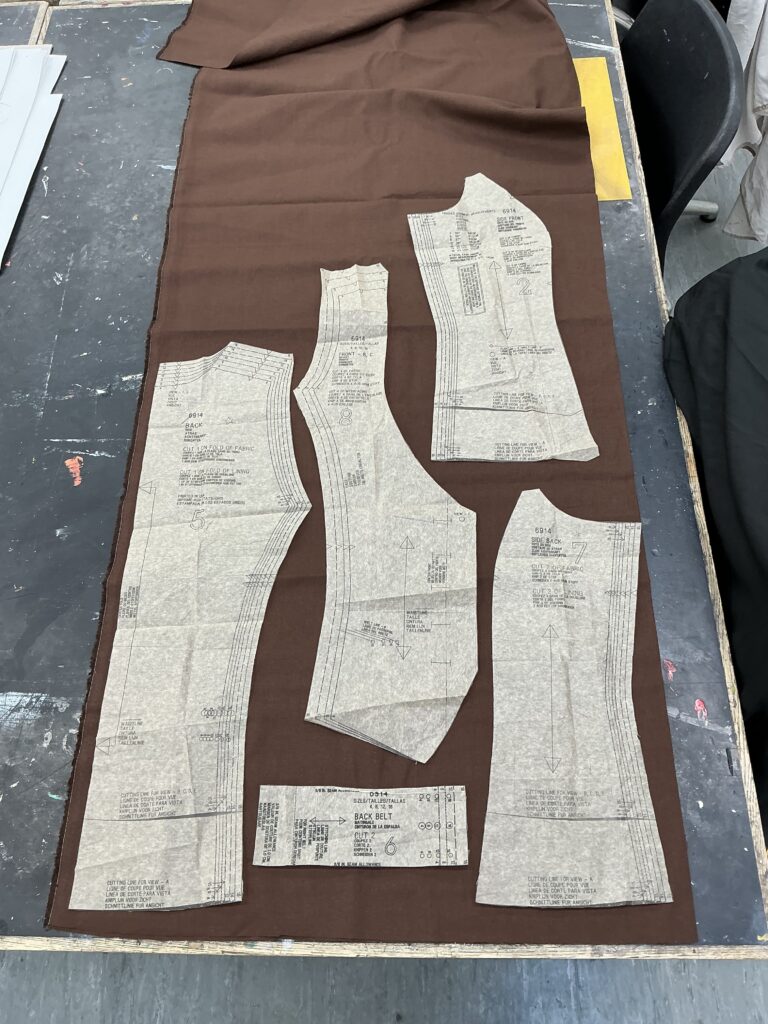
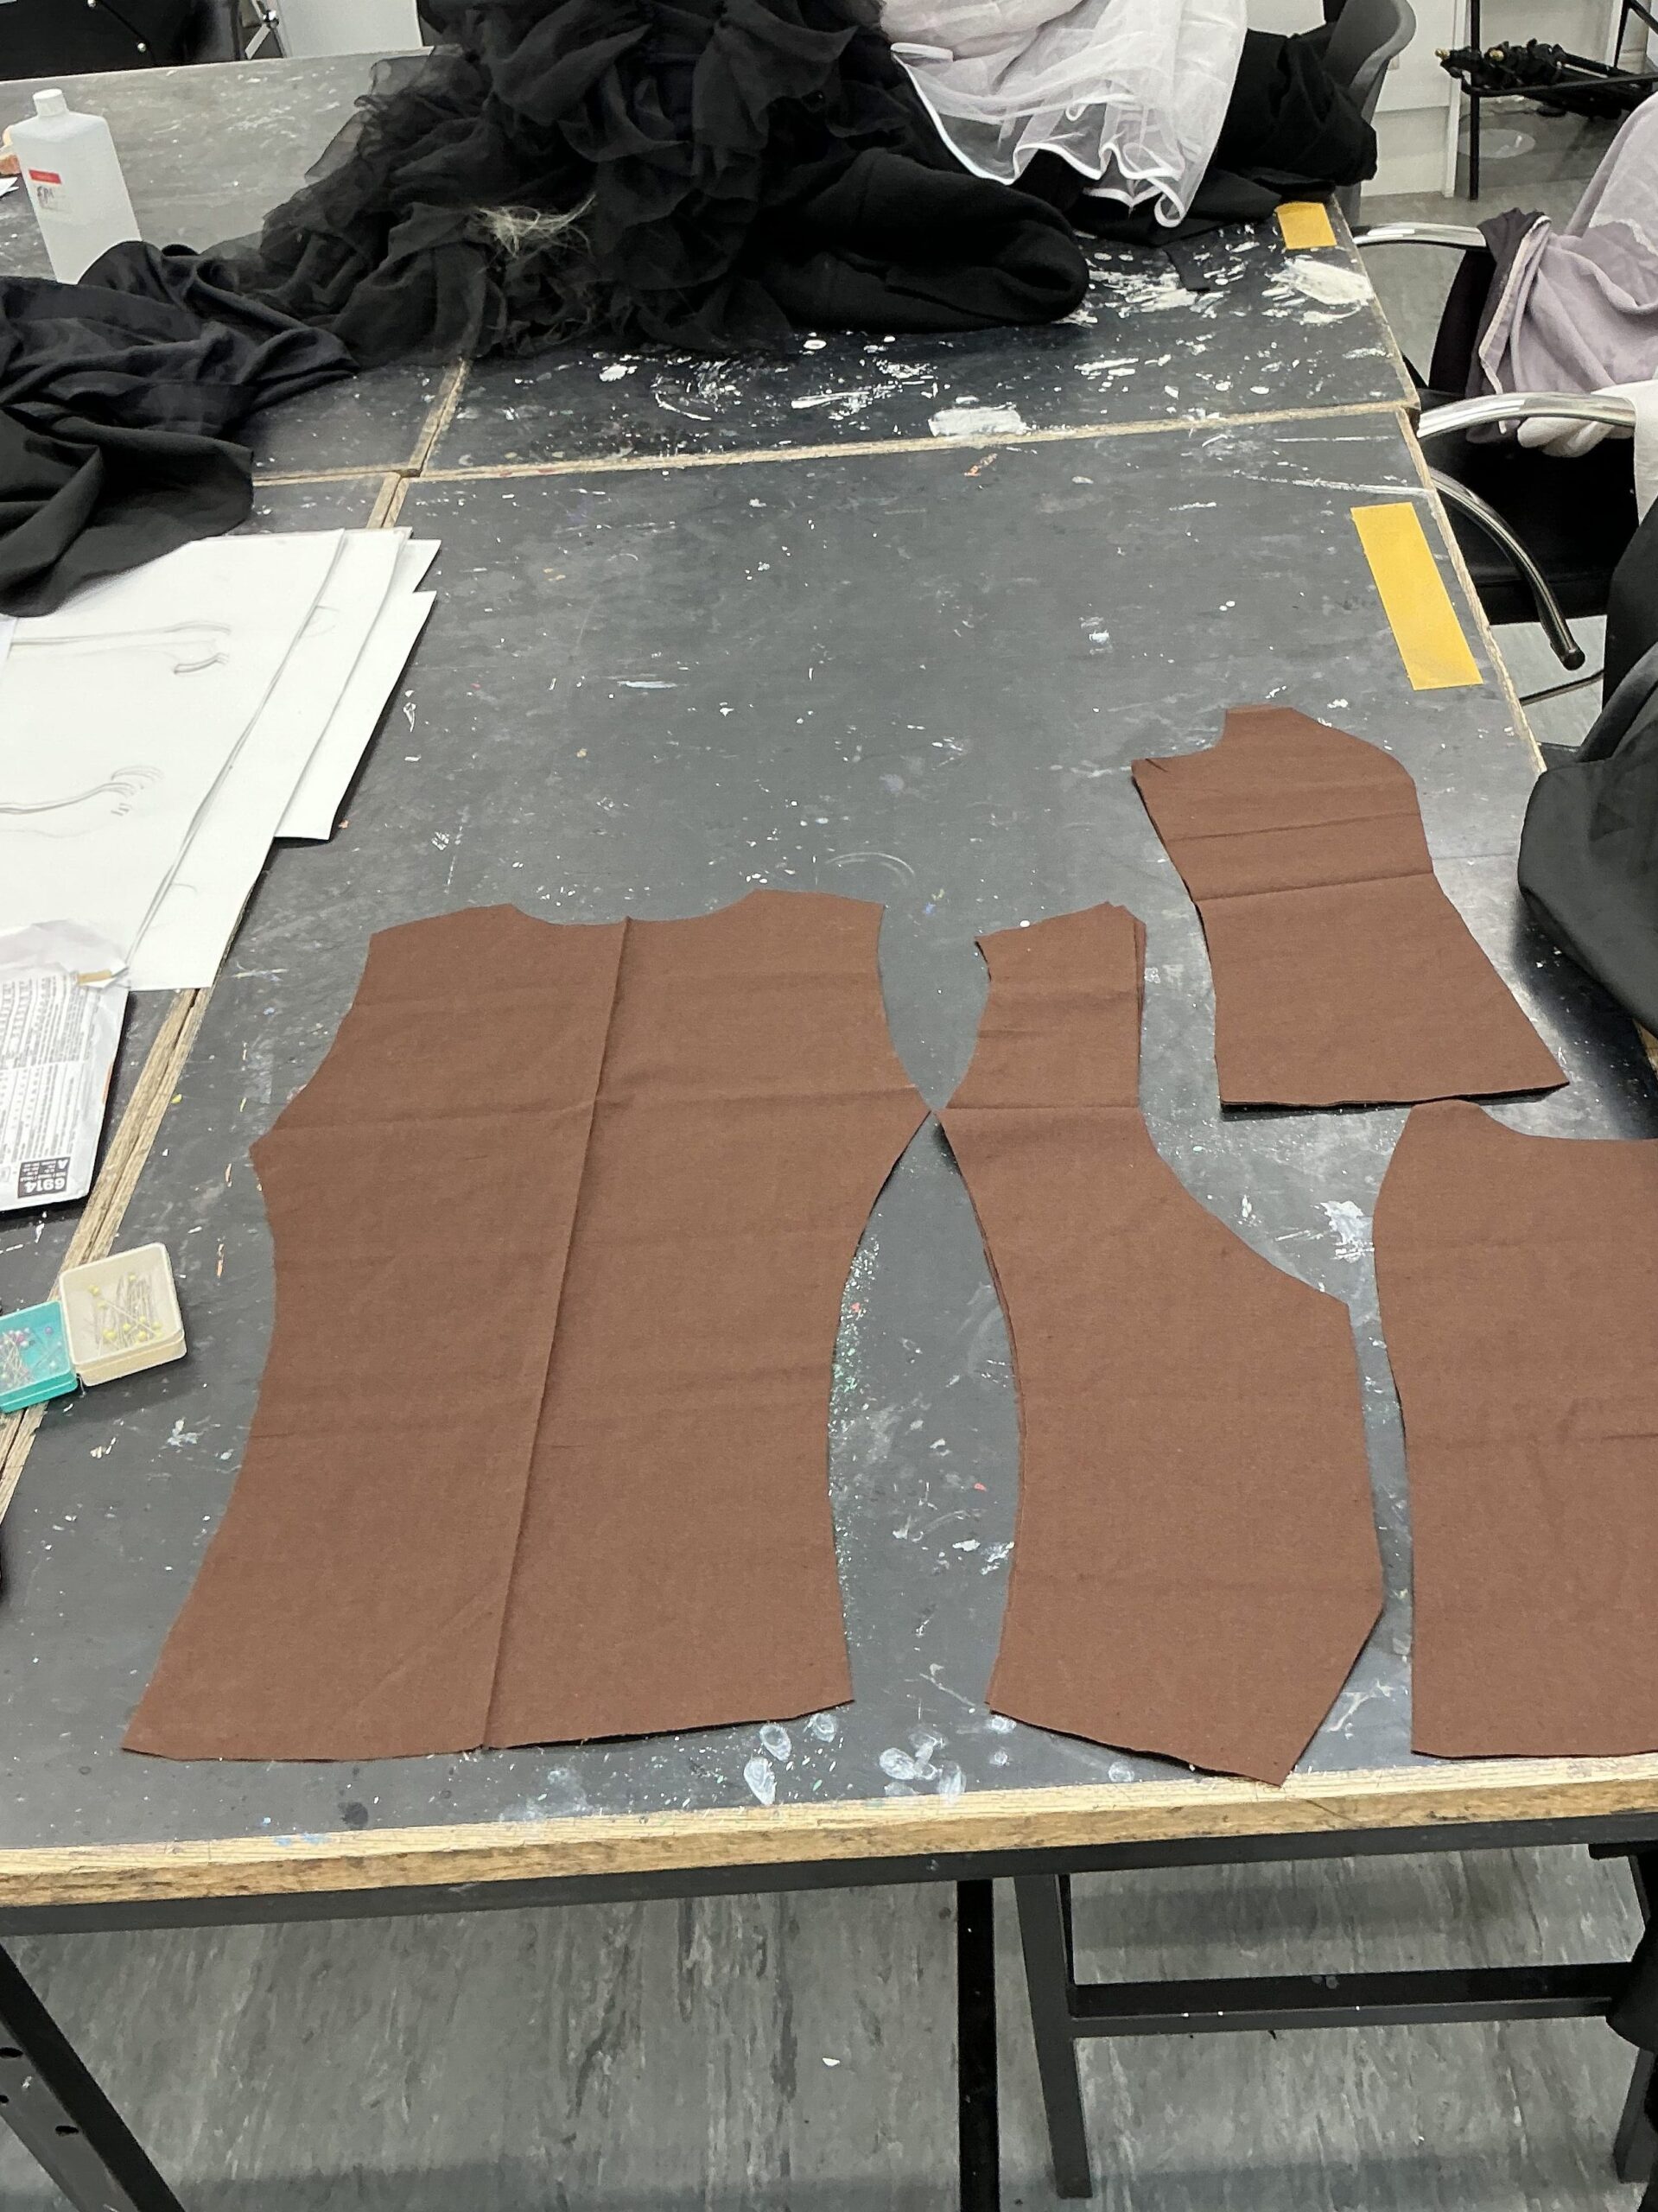
I then cut out all my pieces of fabric. This part was quite simple because it was a very simple pattern that I followed:
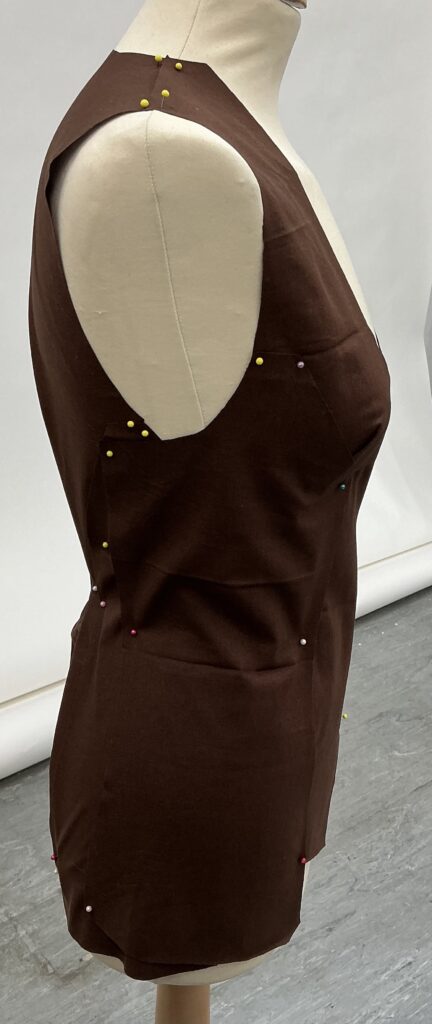
Once I had all of my pieces cut out, I laid them over and pinned them to a mannequin so that I had an idea of where to sew the pieces together. This was also so I could make sure that the sizing of the waistcoat would be right:
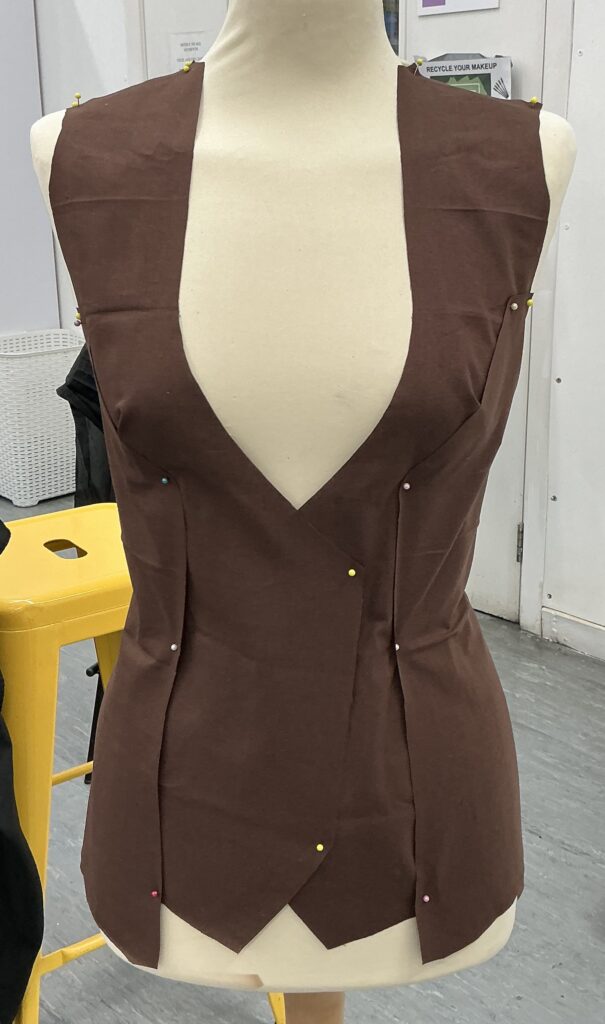
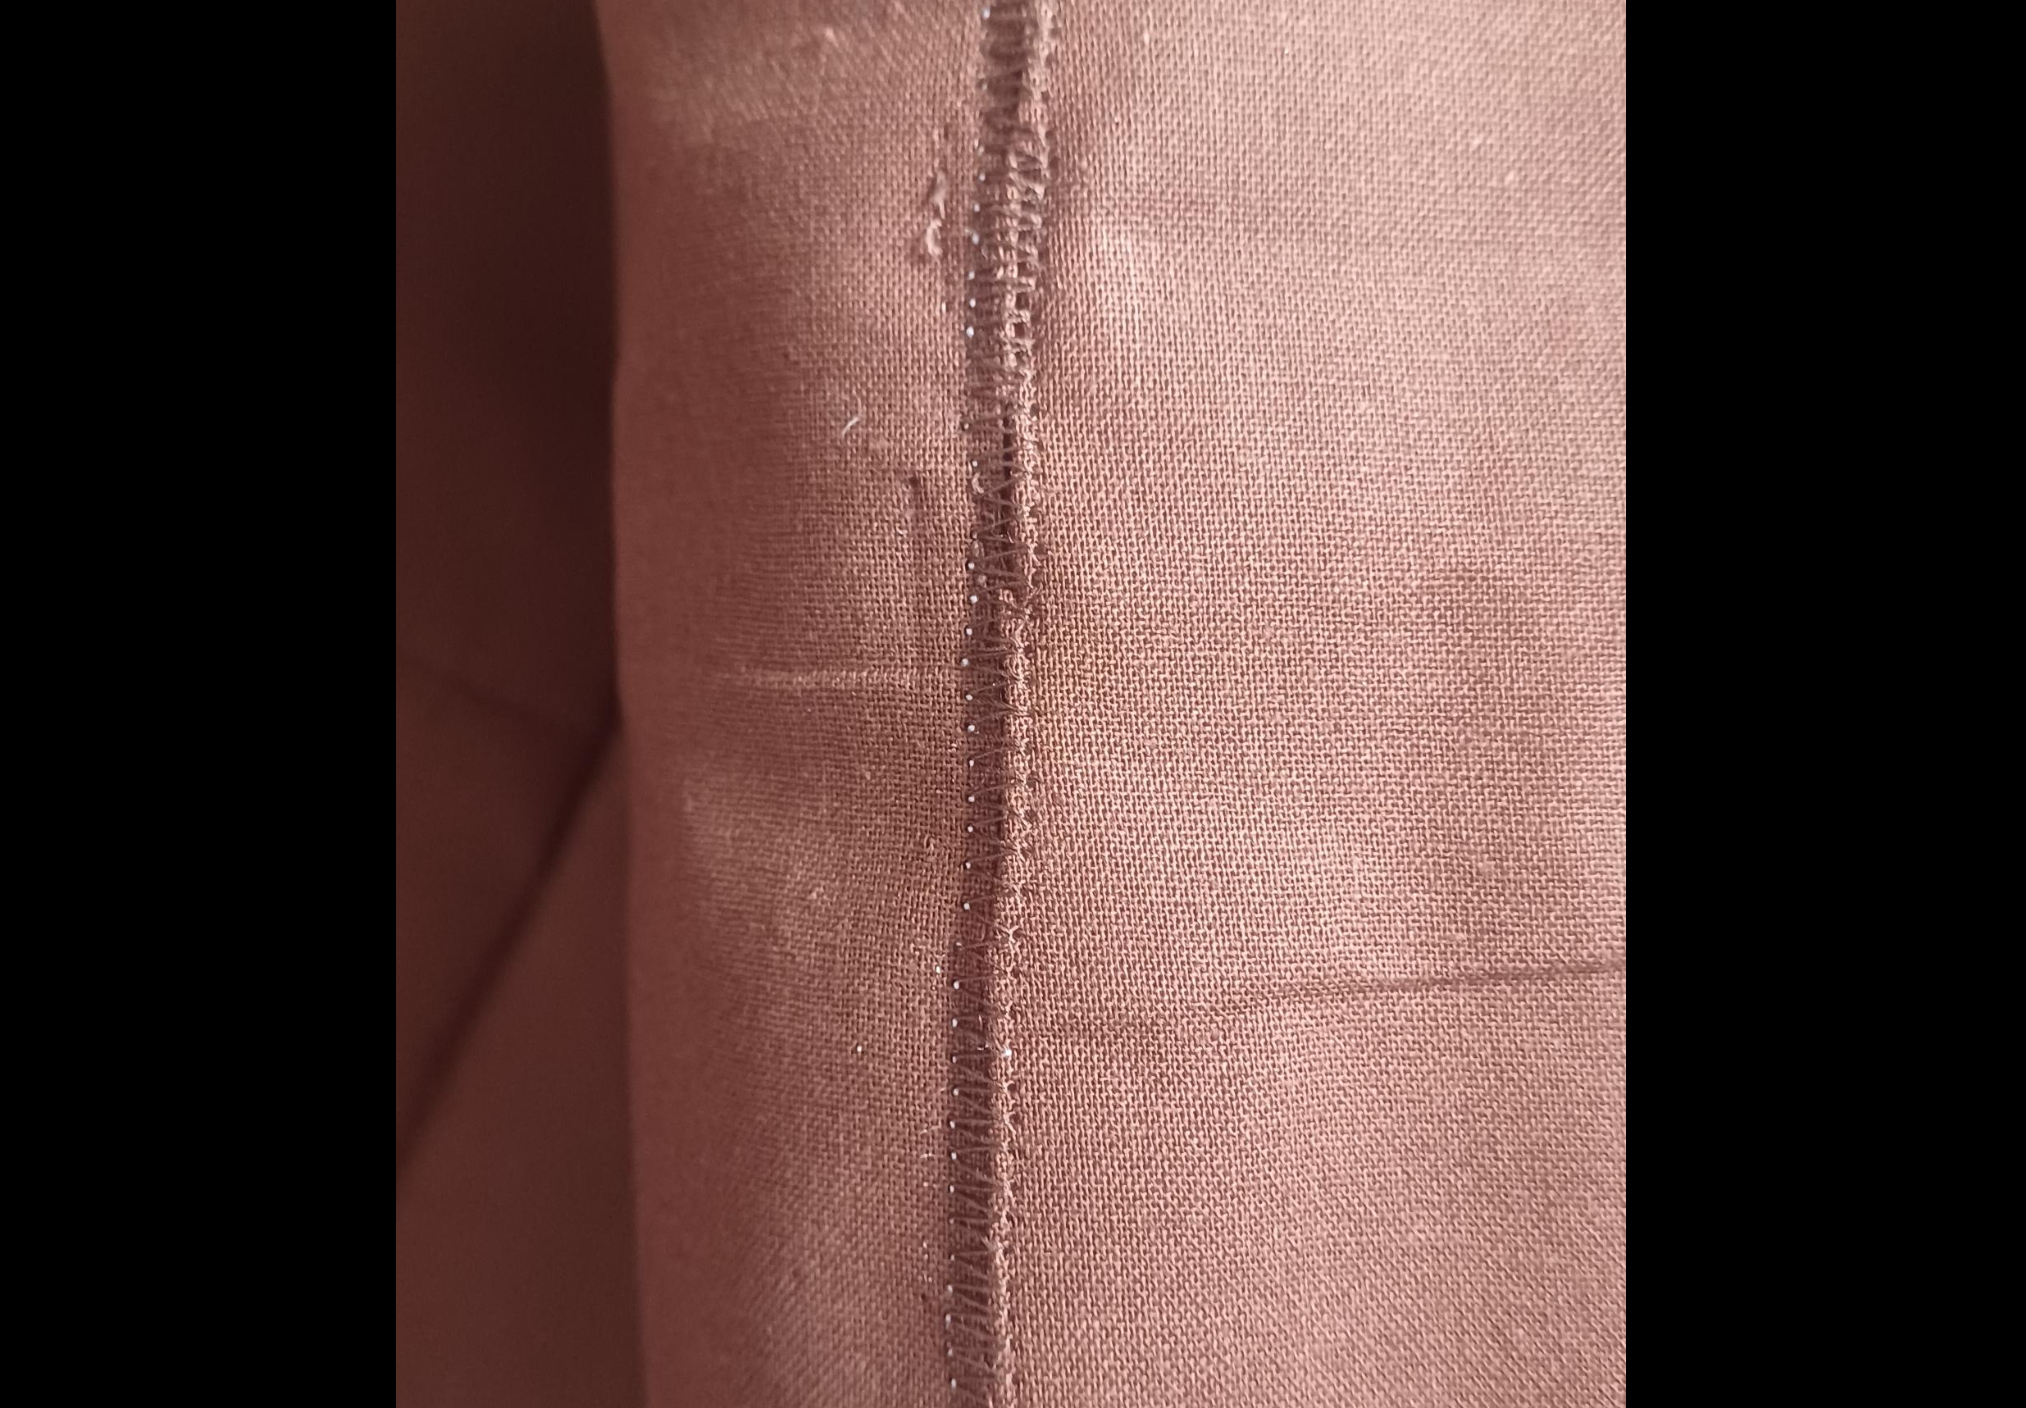
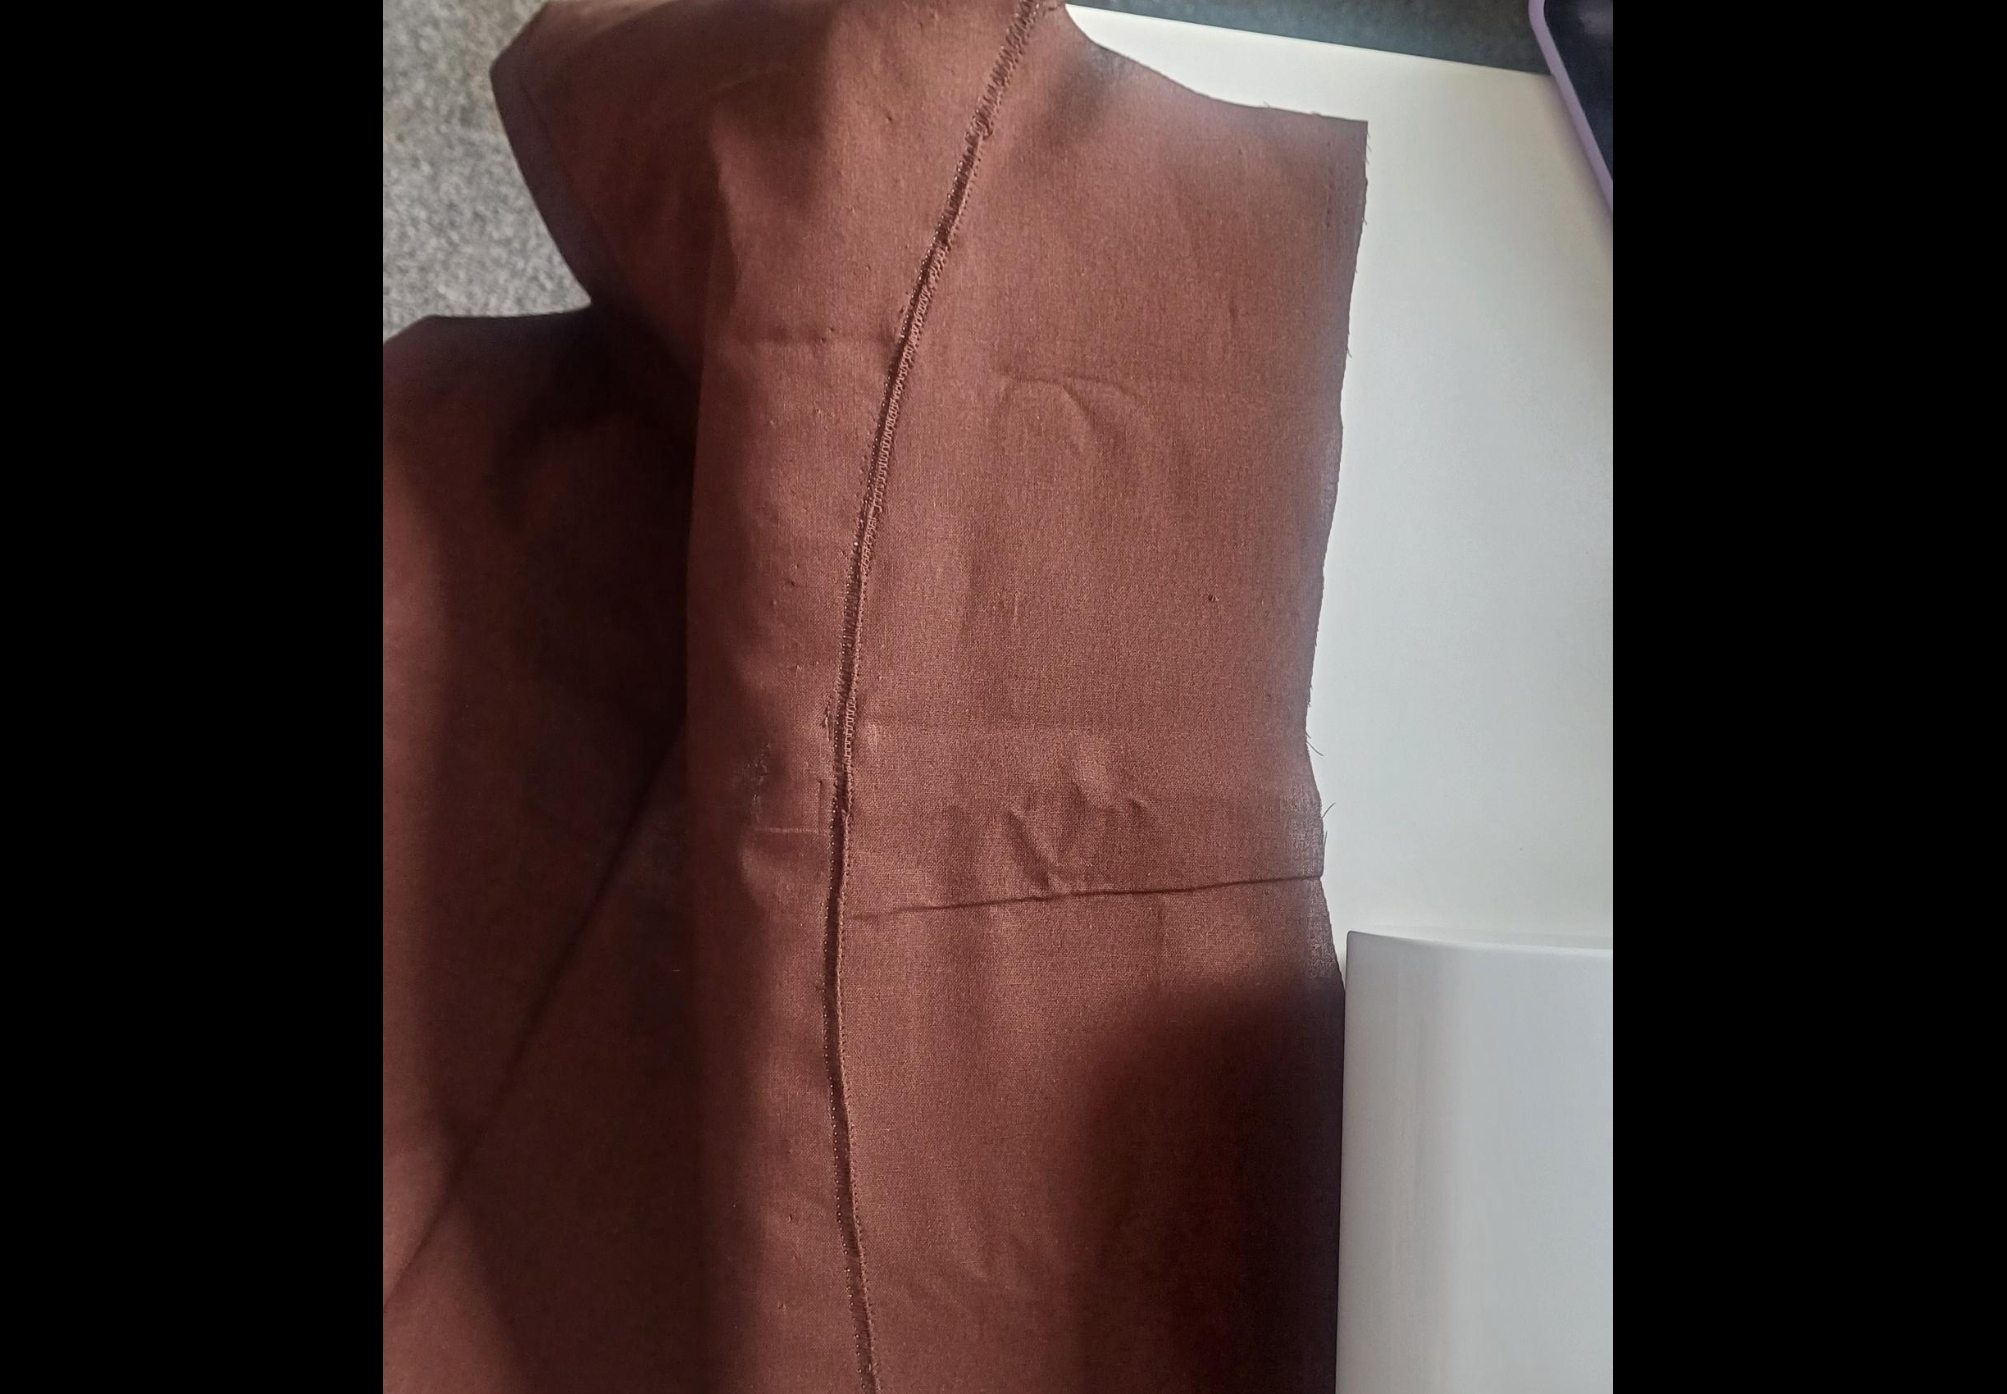
Once I was able to, I began to sew my pieces together. I used a zig-zag stitch setting on my sewing machine to sew my patterns together, this was easier for me to do because I didn’t really understand the instructions that came with the pattern. Still I think that this looked good once the whole waistcoat was put together. I had to sew the fabric on the right side because the thread was more hidden than underneath:
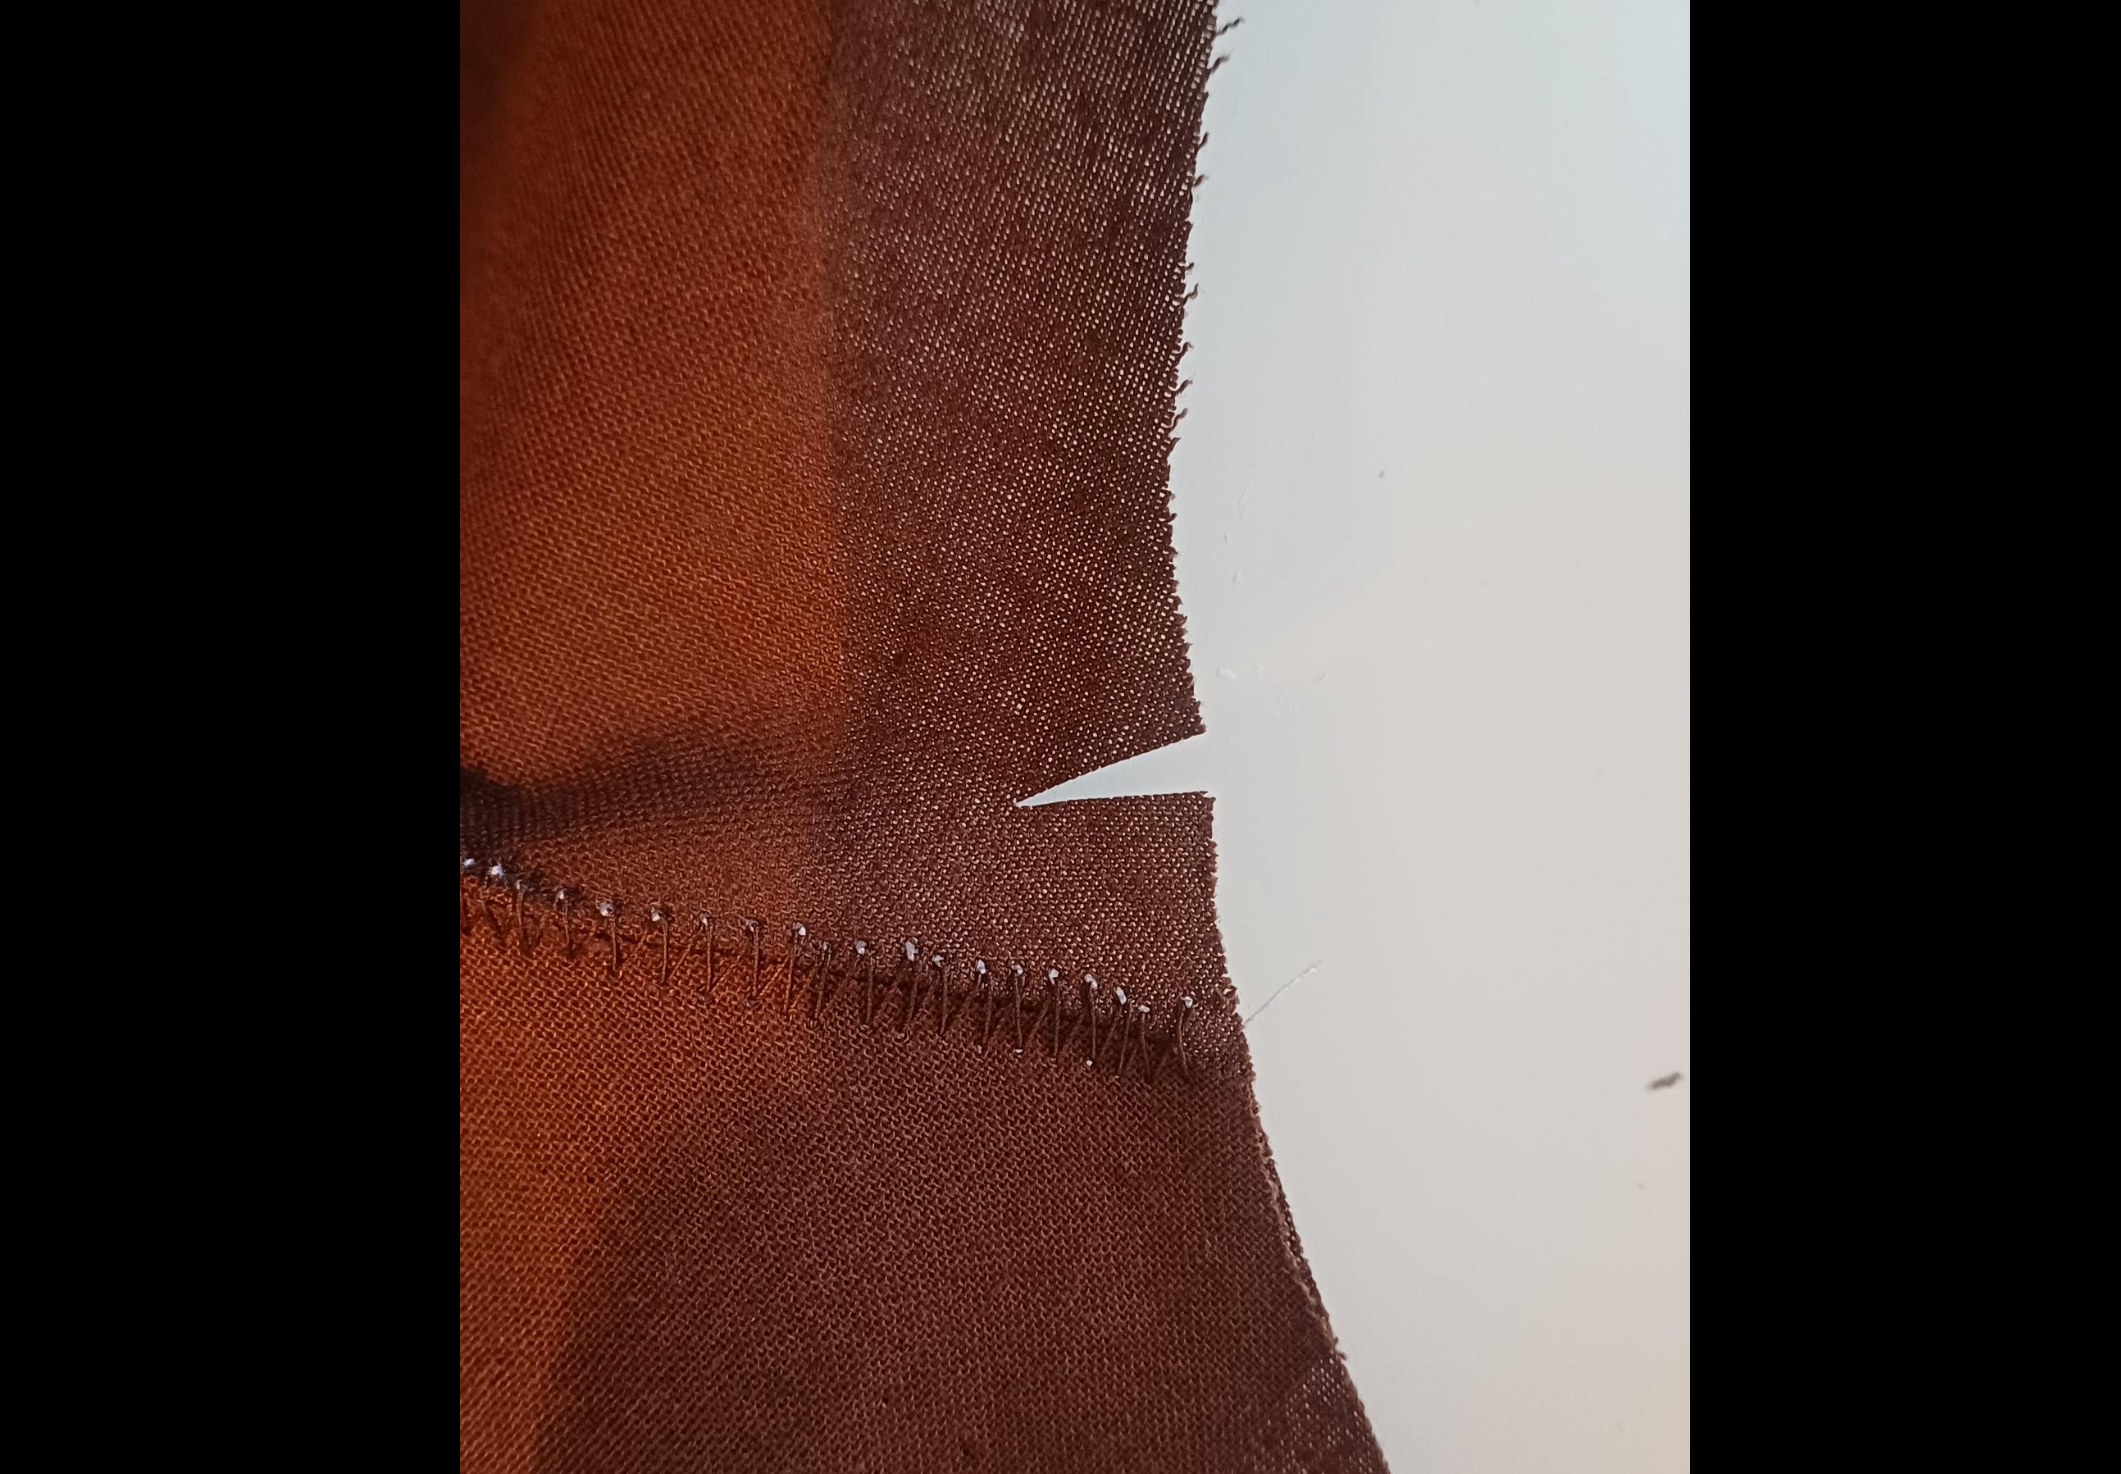
While hemming the armholes, I cut small darts going around to that the fabric could fold and curl without bunching. Darts are triangles cut into the fabric before construction of a garment, they allow the material to fold naturally so that the will fit the wearer:
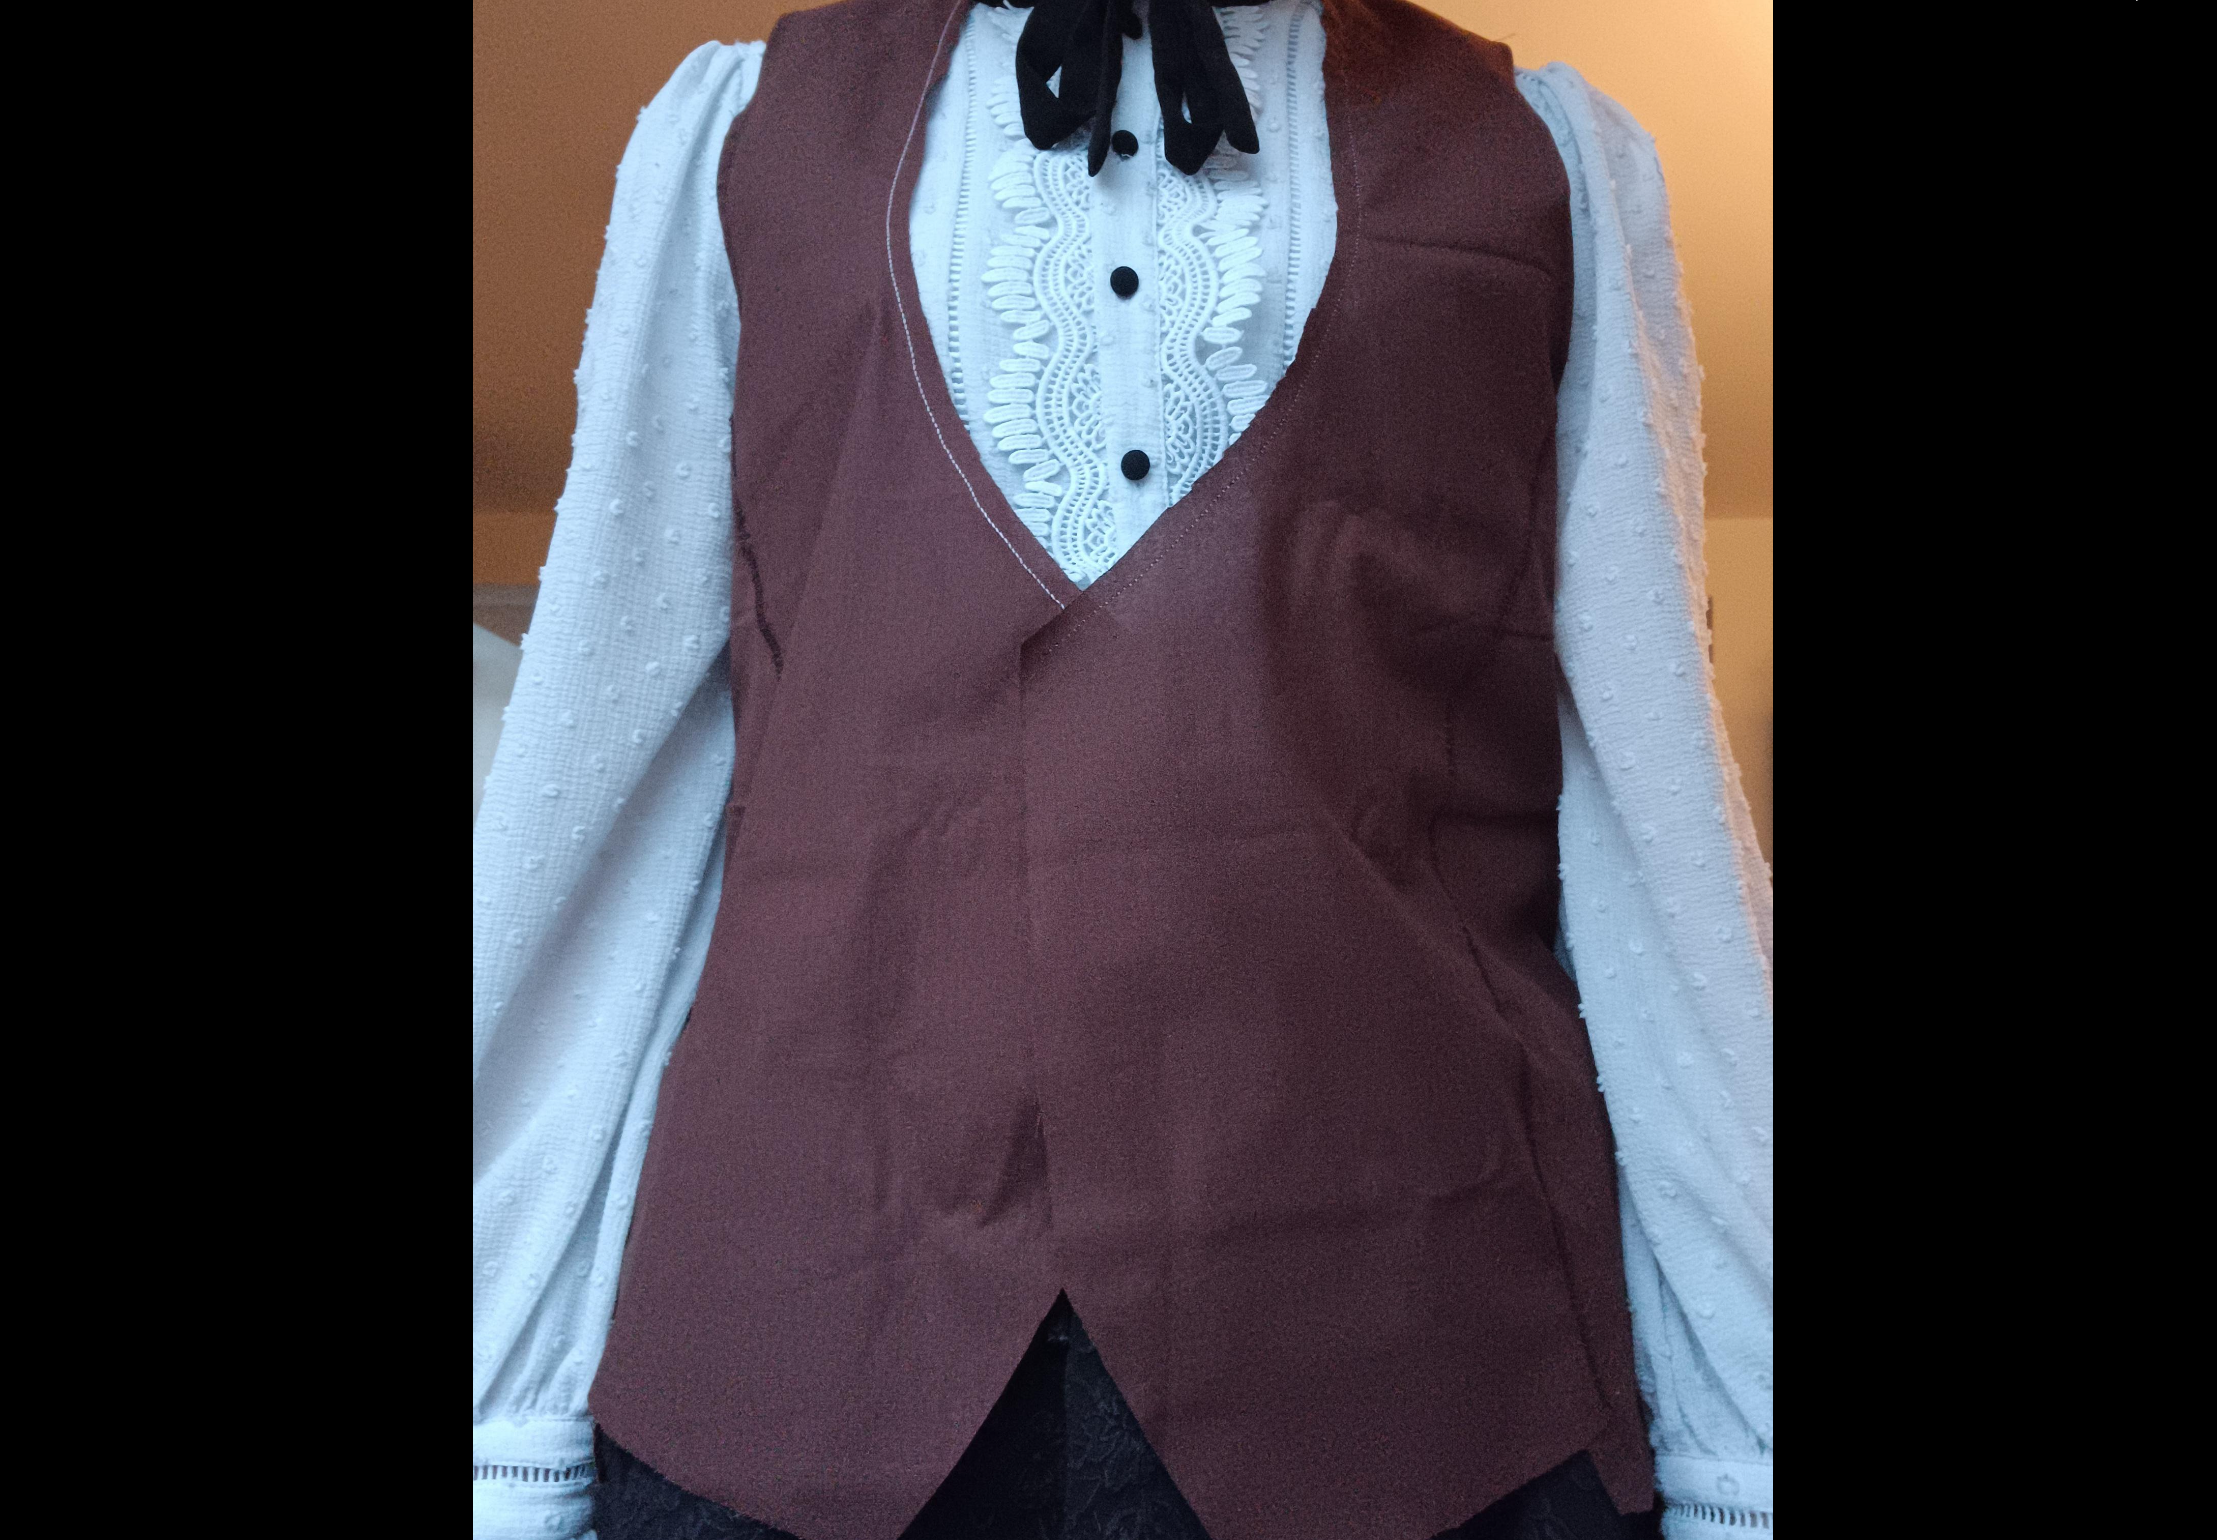
This is what the base of my waistcoat looked like once it was done:
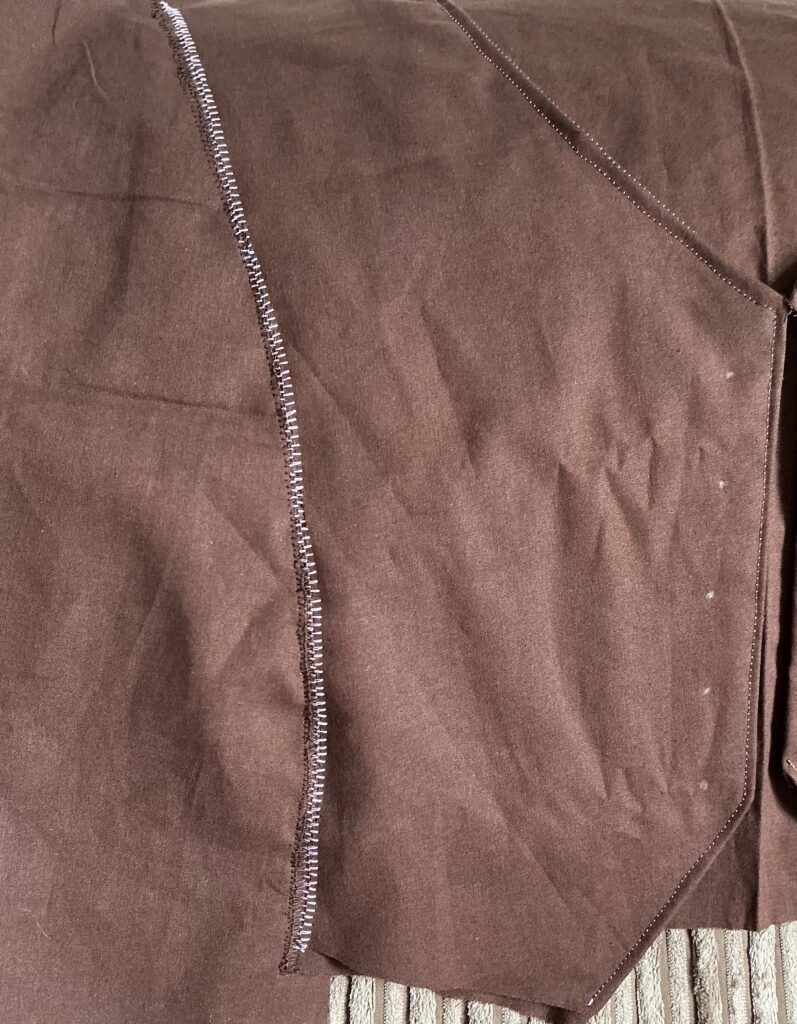
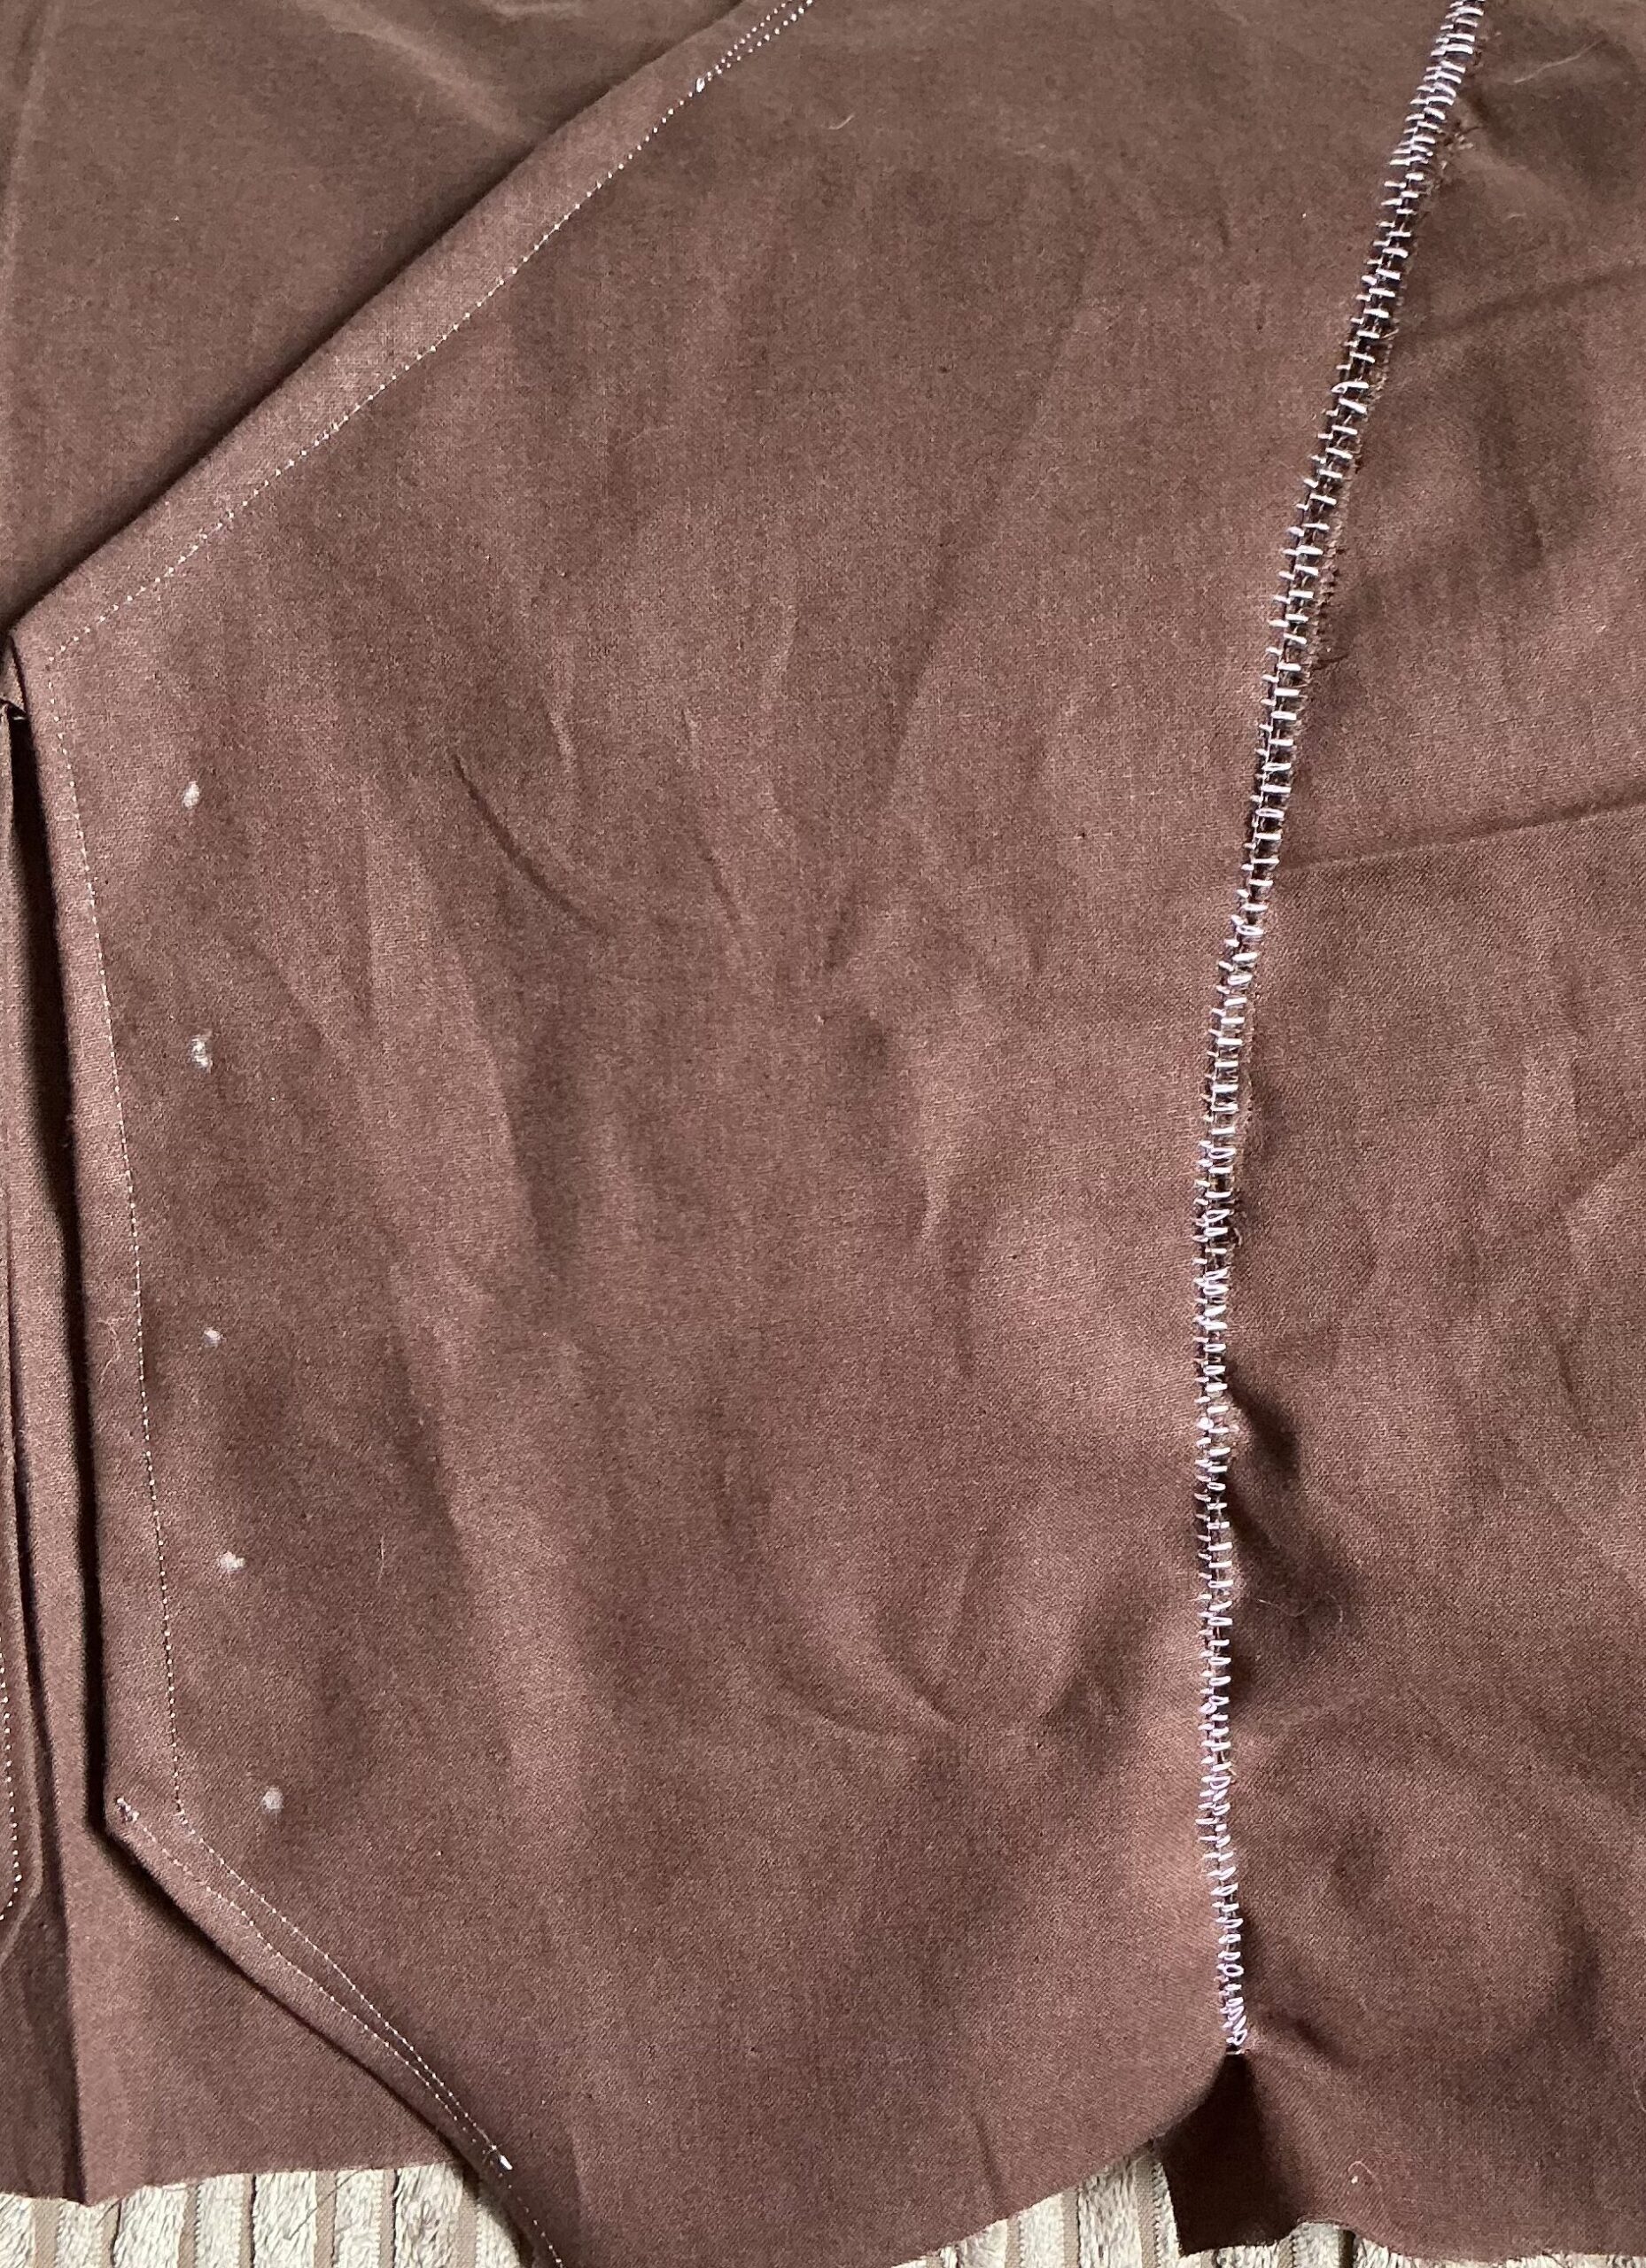
Afterwards, I sewed the final two front pieces to the waistcoat. By doing this, I created a thicker layer for the buttons and button holes:
Then, I used a dressmakers pencil to mark out on each side of the waistcoat where the buttons and button holes would go:
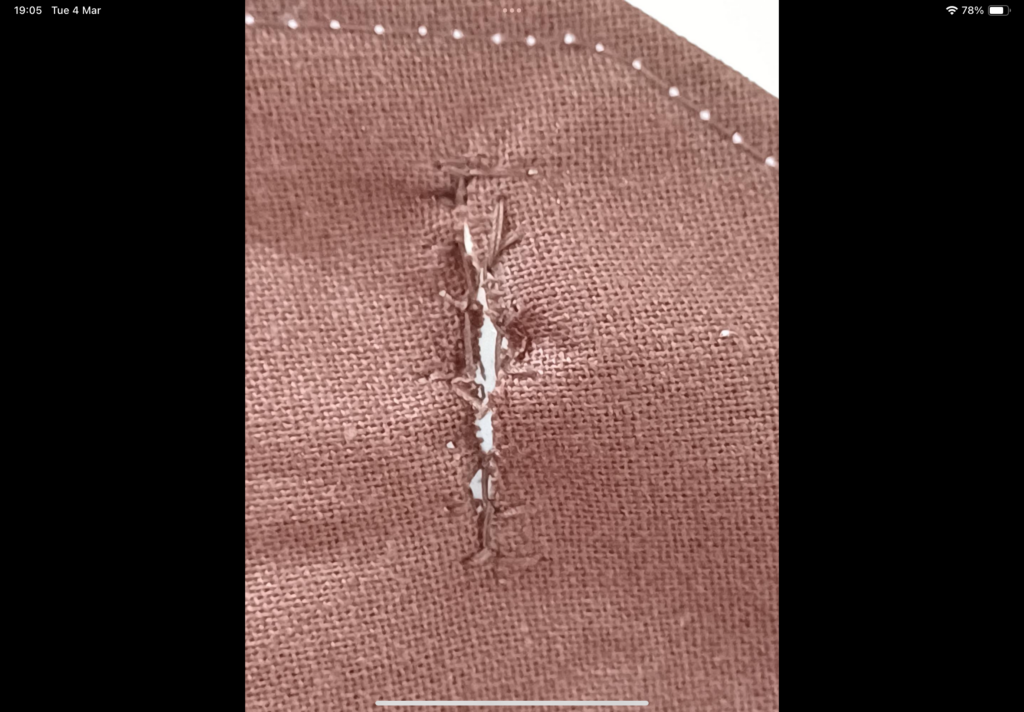
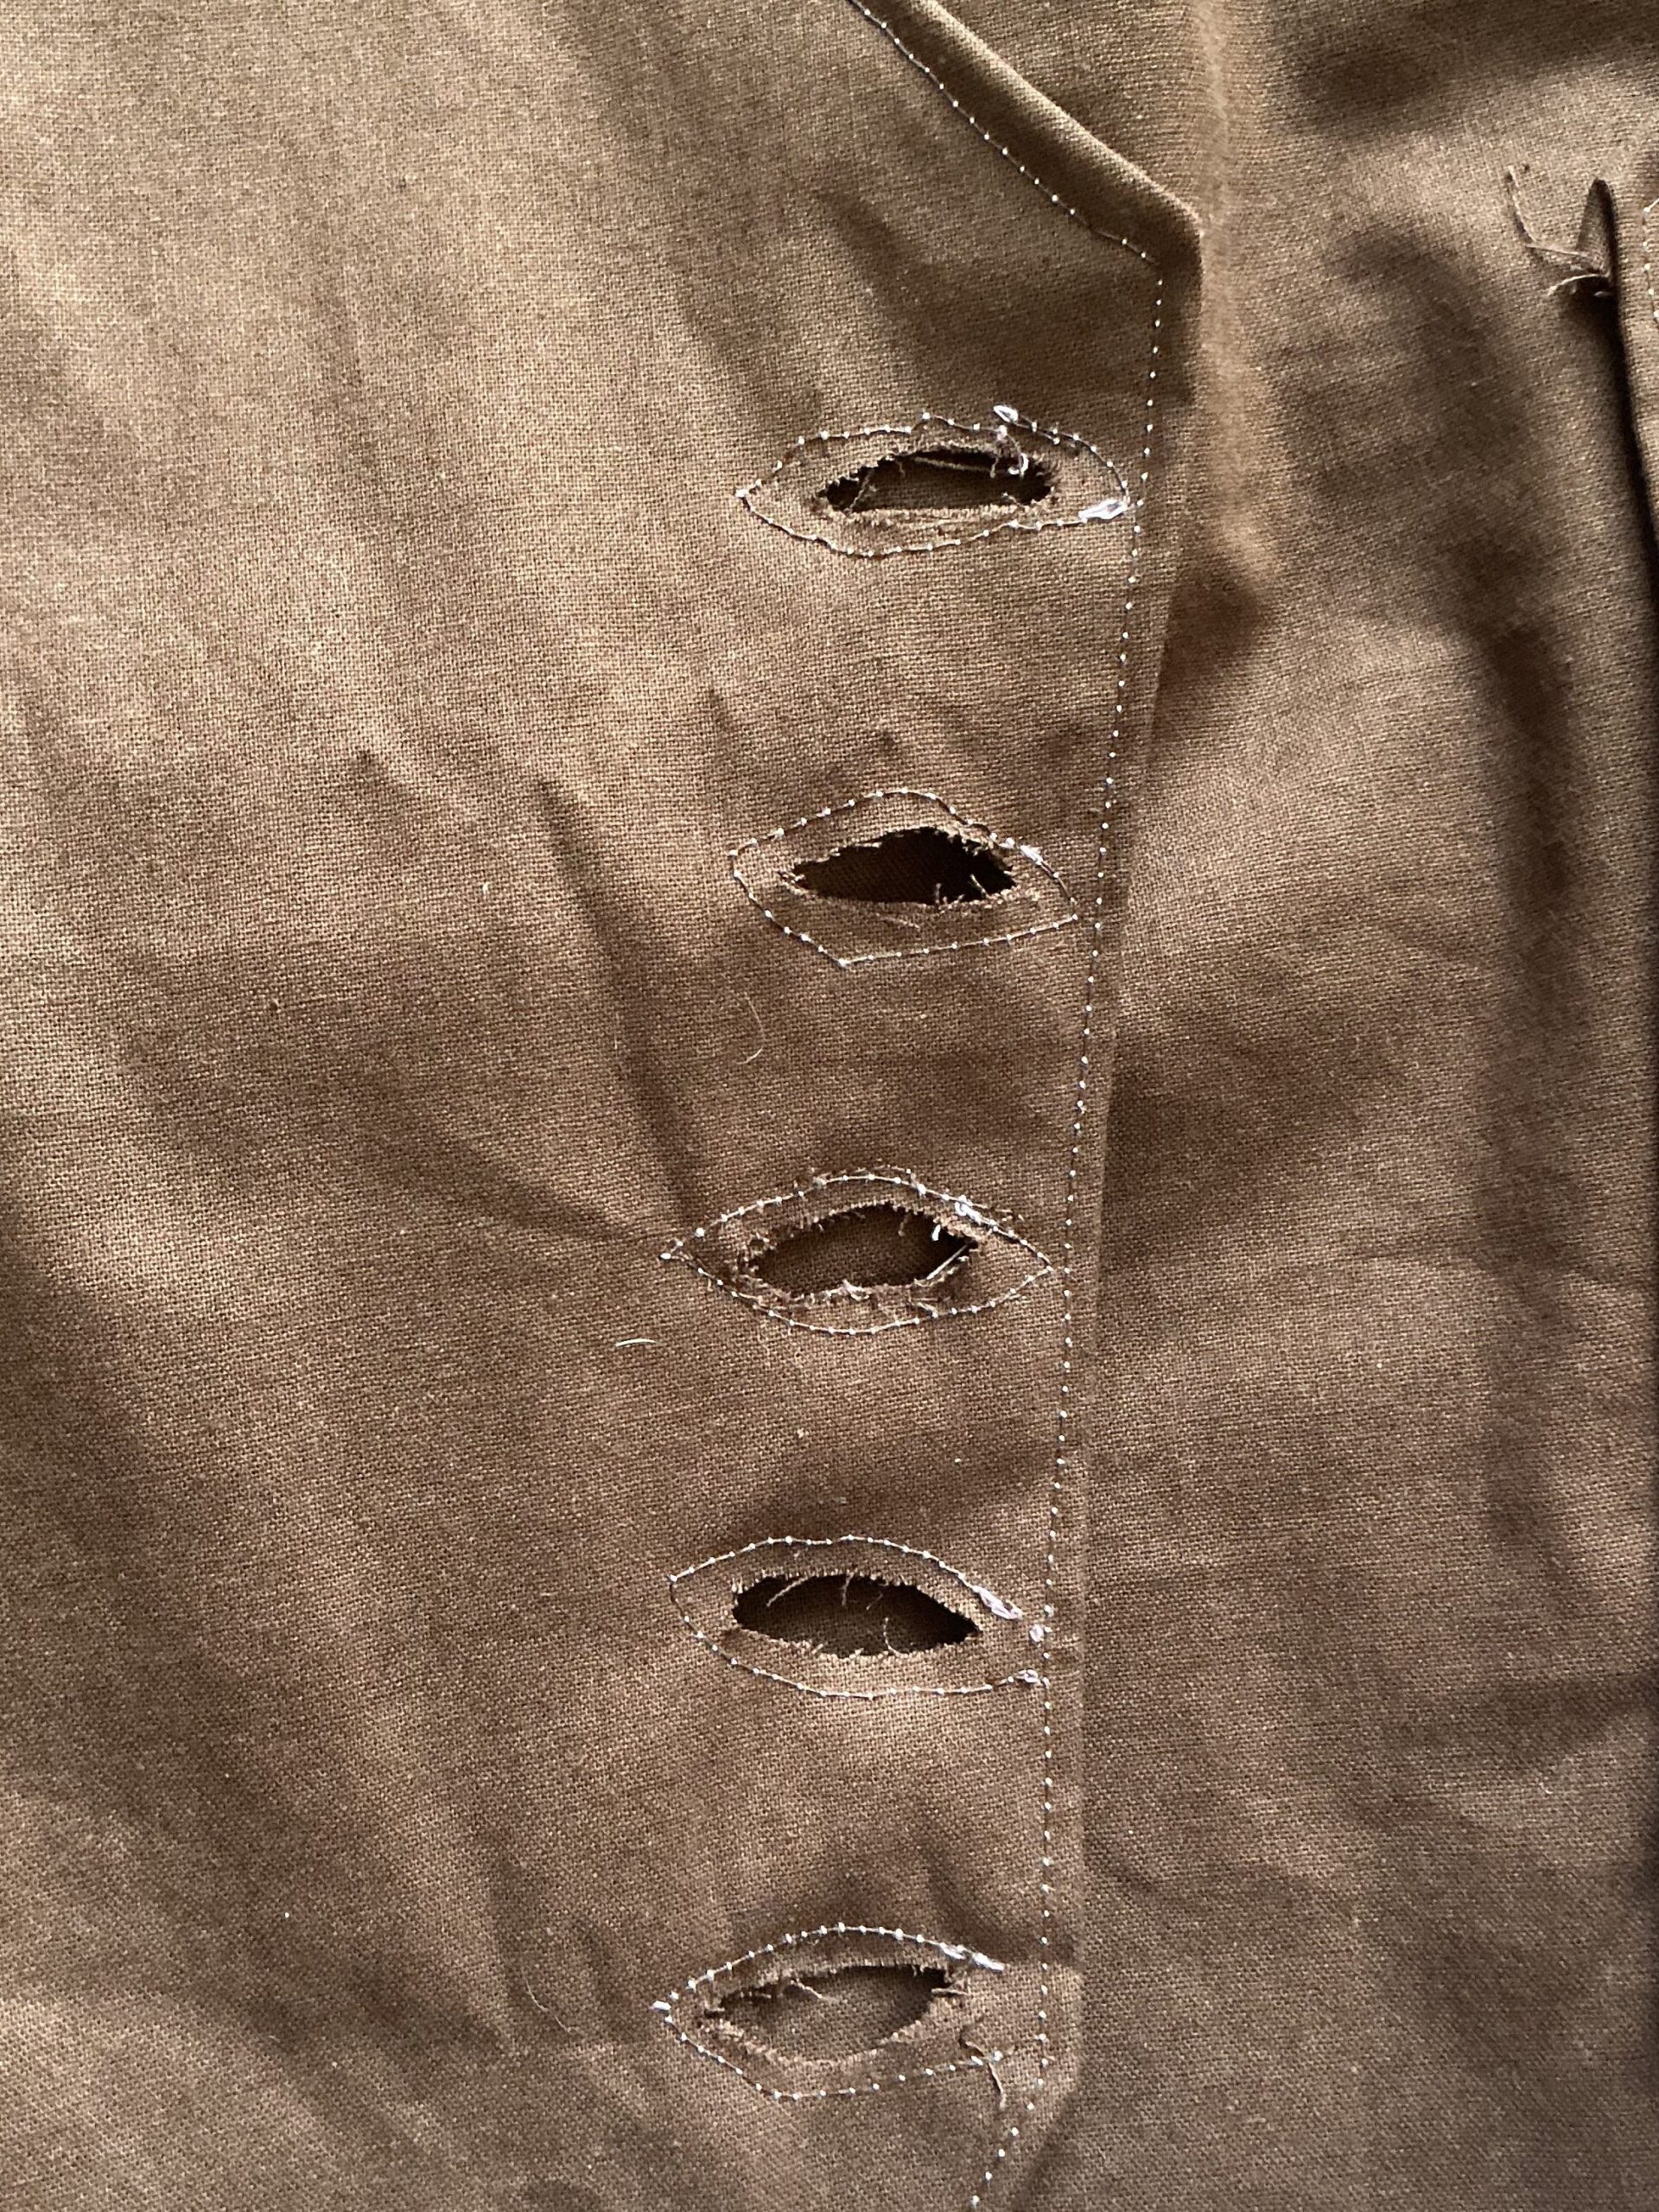
I then used a stitch unpicker and embroidery scissors to cut the button holes. These ended up being about 5cm wide. I tried to hand sew a ladder stitch around the edges but I thought that this looked messy, I decided to use my sewing machine to sew the front pieces together around the button holes:
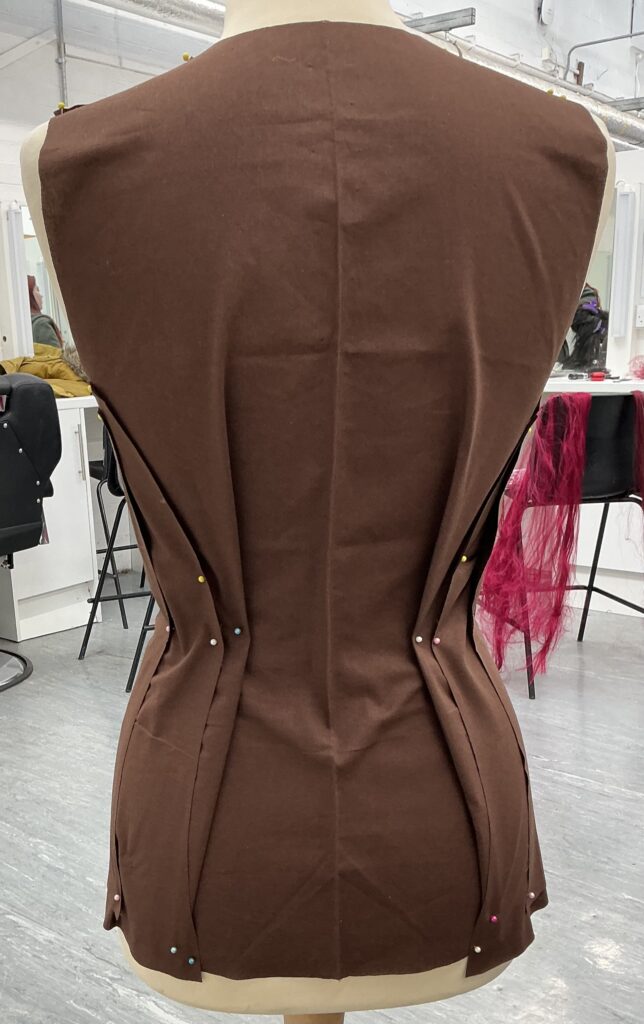
I couldn’t properly create the folds and darts in the back of the waistcoat, so I drew up a solution:
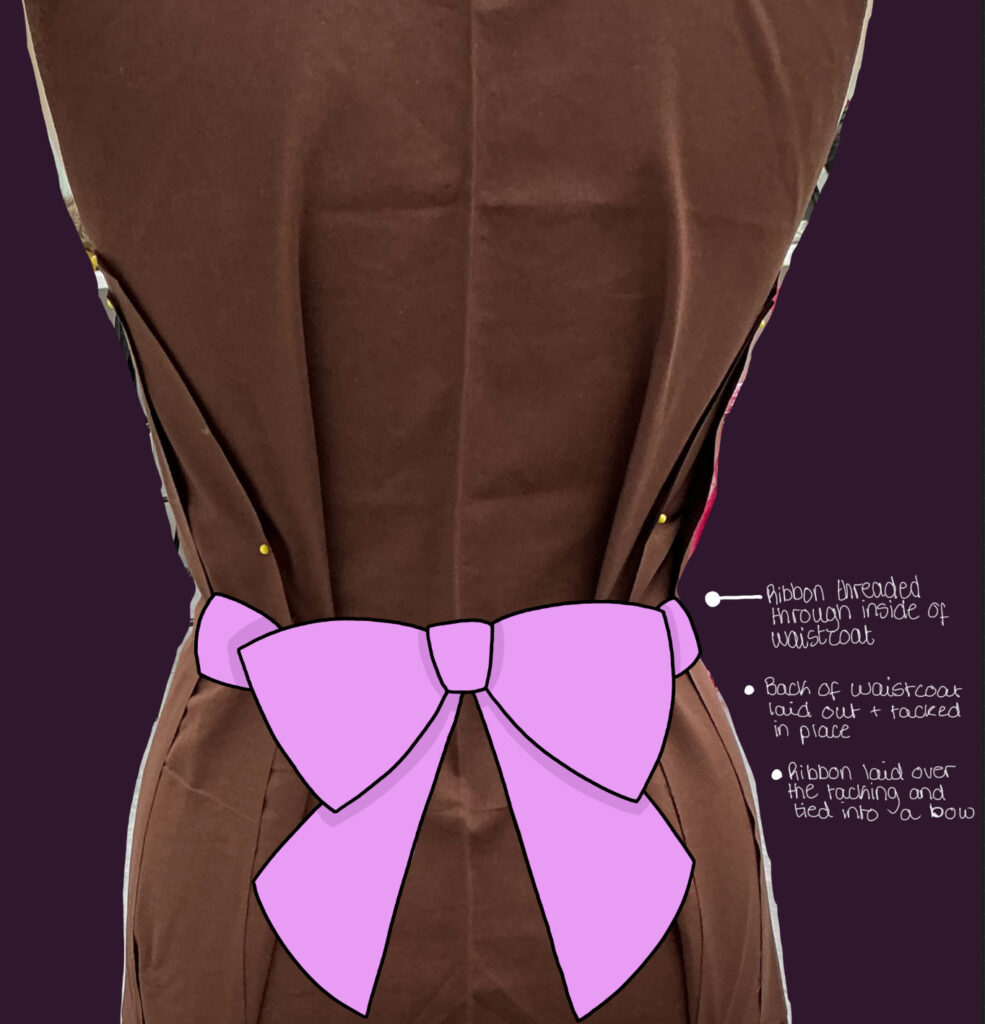
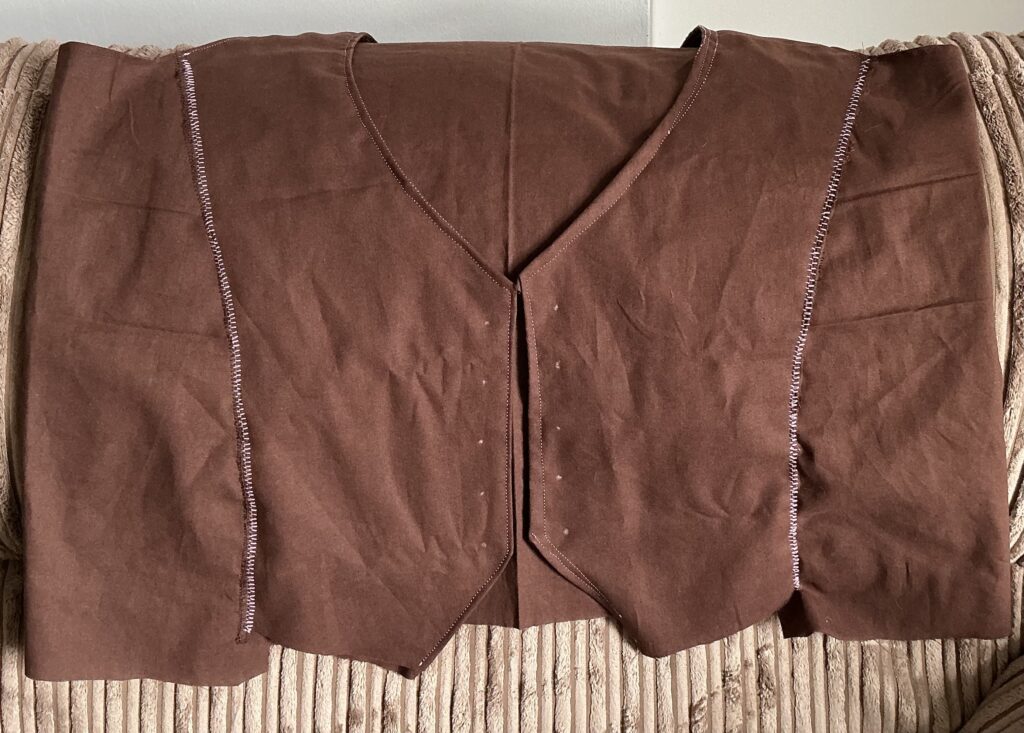
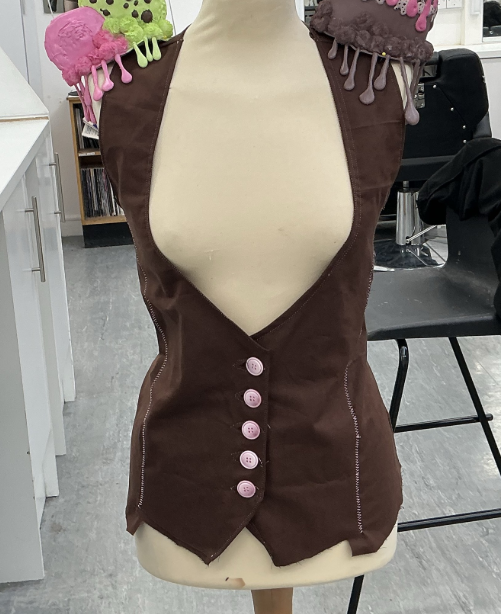
This is what my waistcoat looked like once it was done:
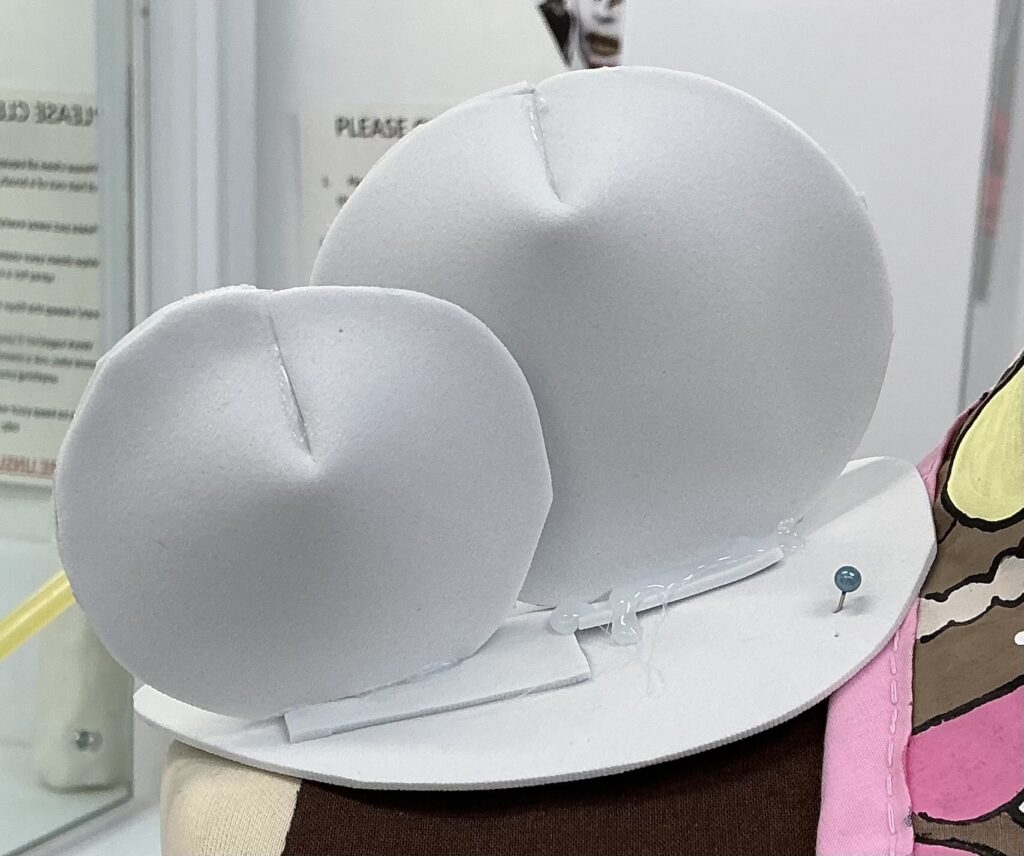
To begin my shoulder pads, I cut out two ovals of foam around the same size as the shoulders of my waistcoat:

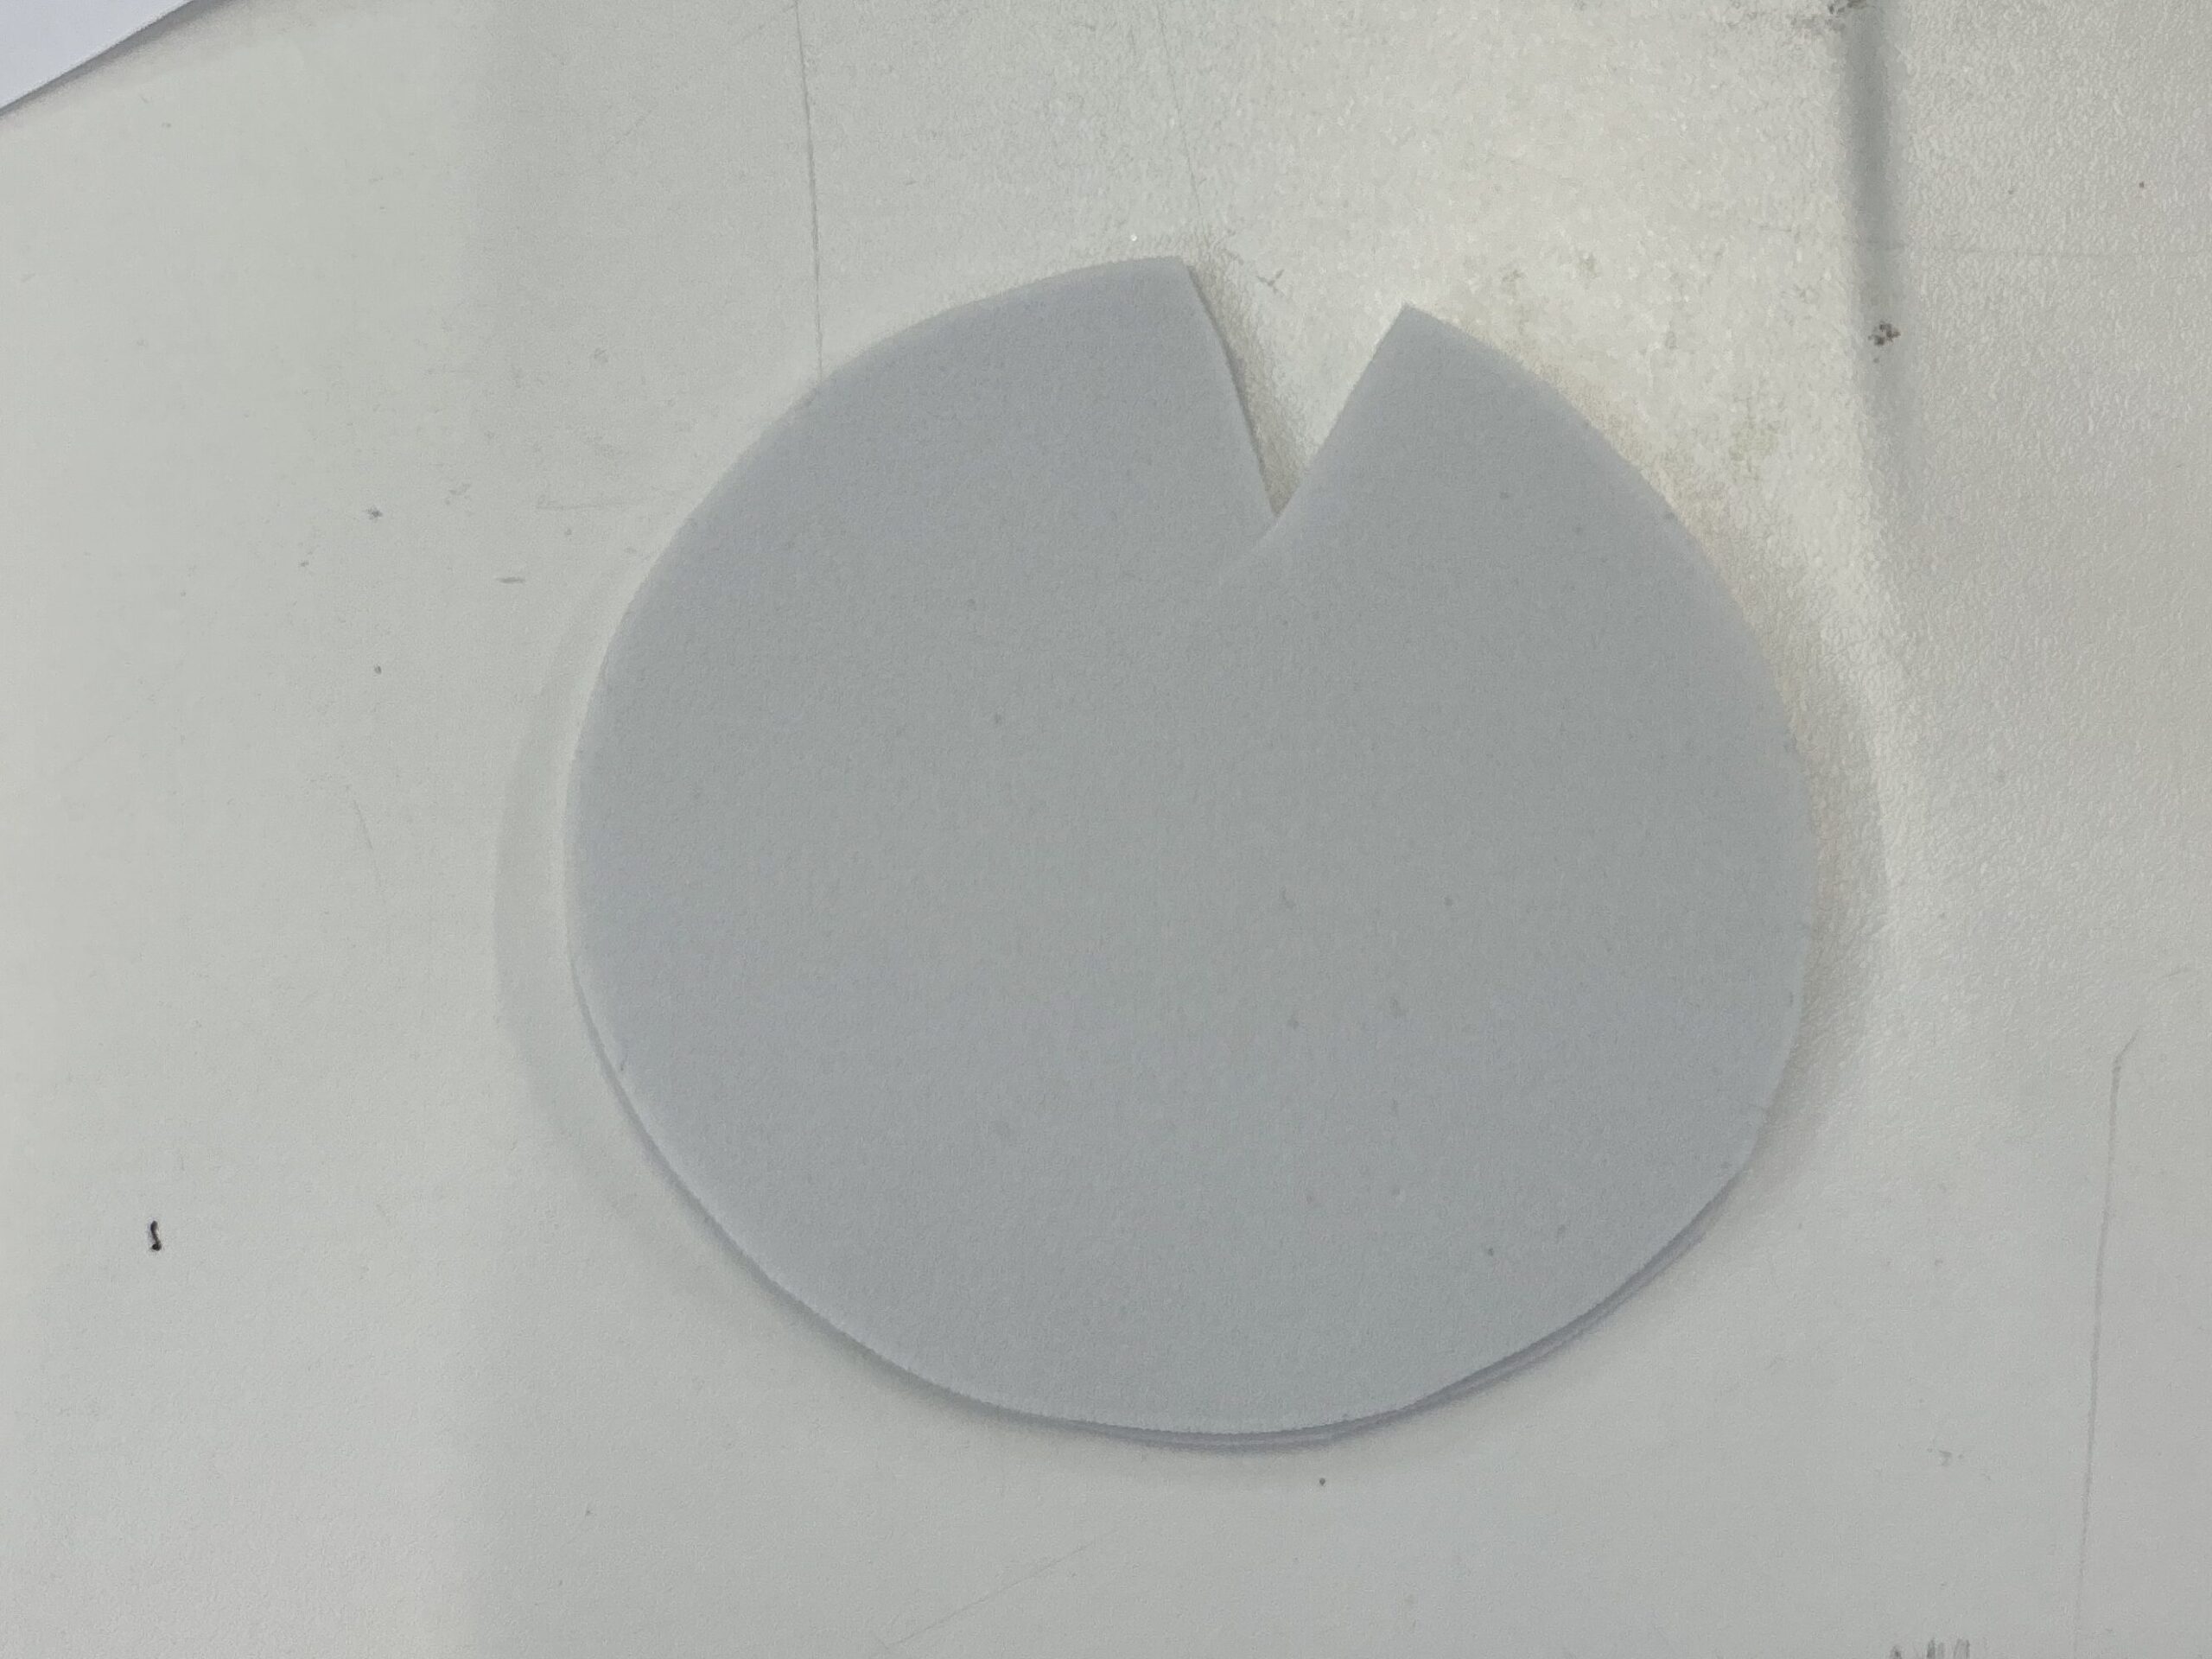
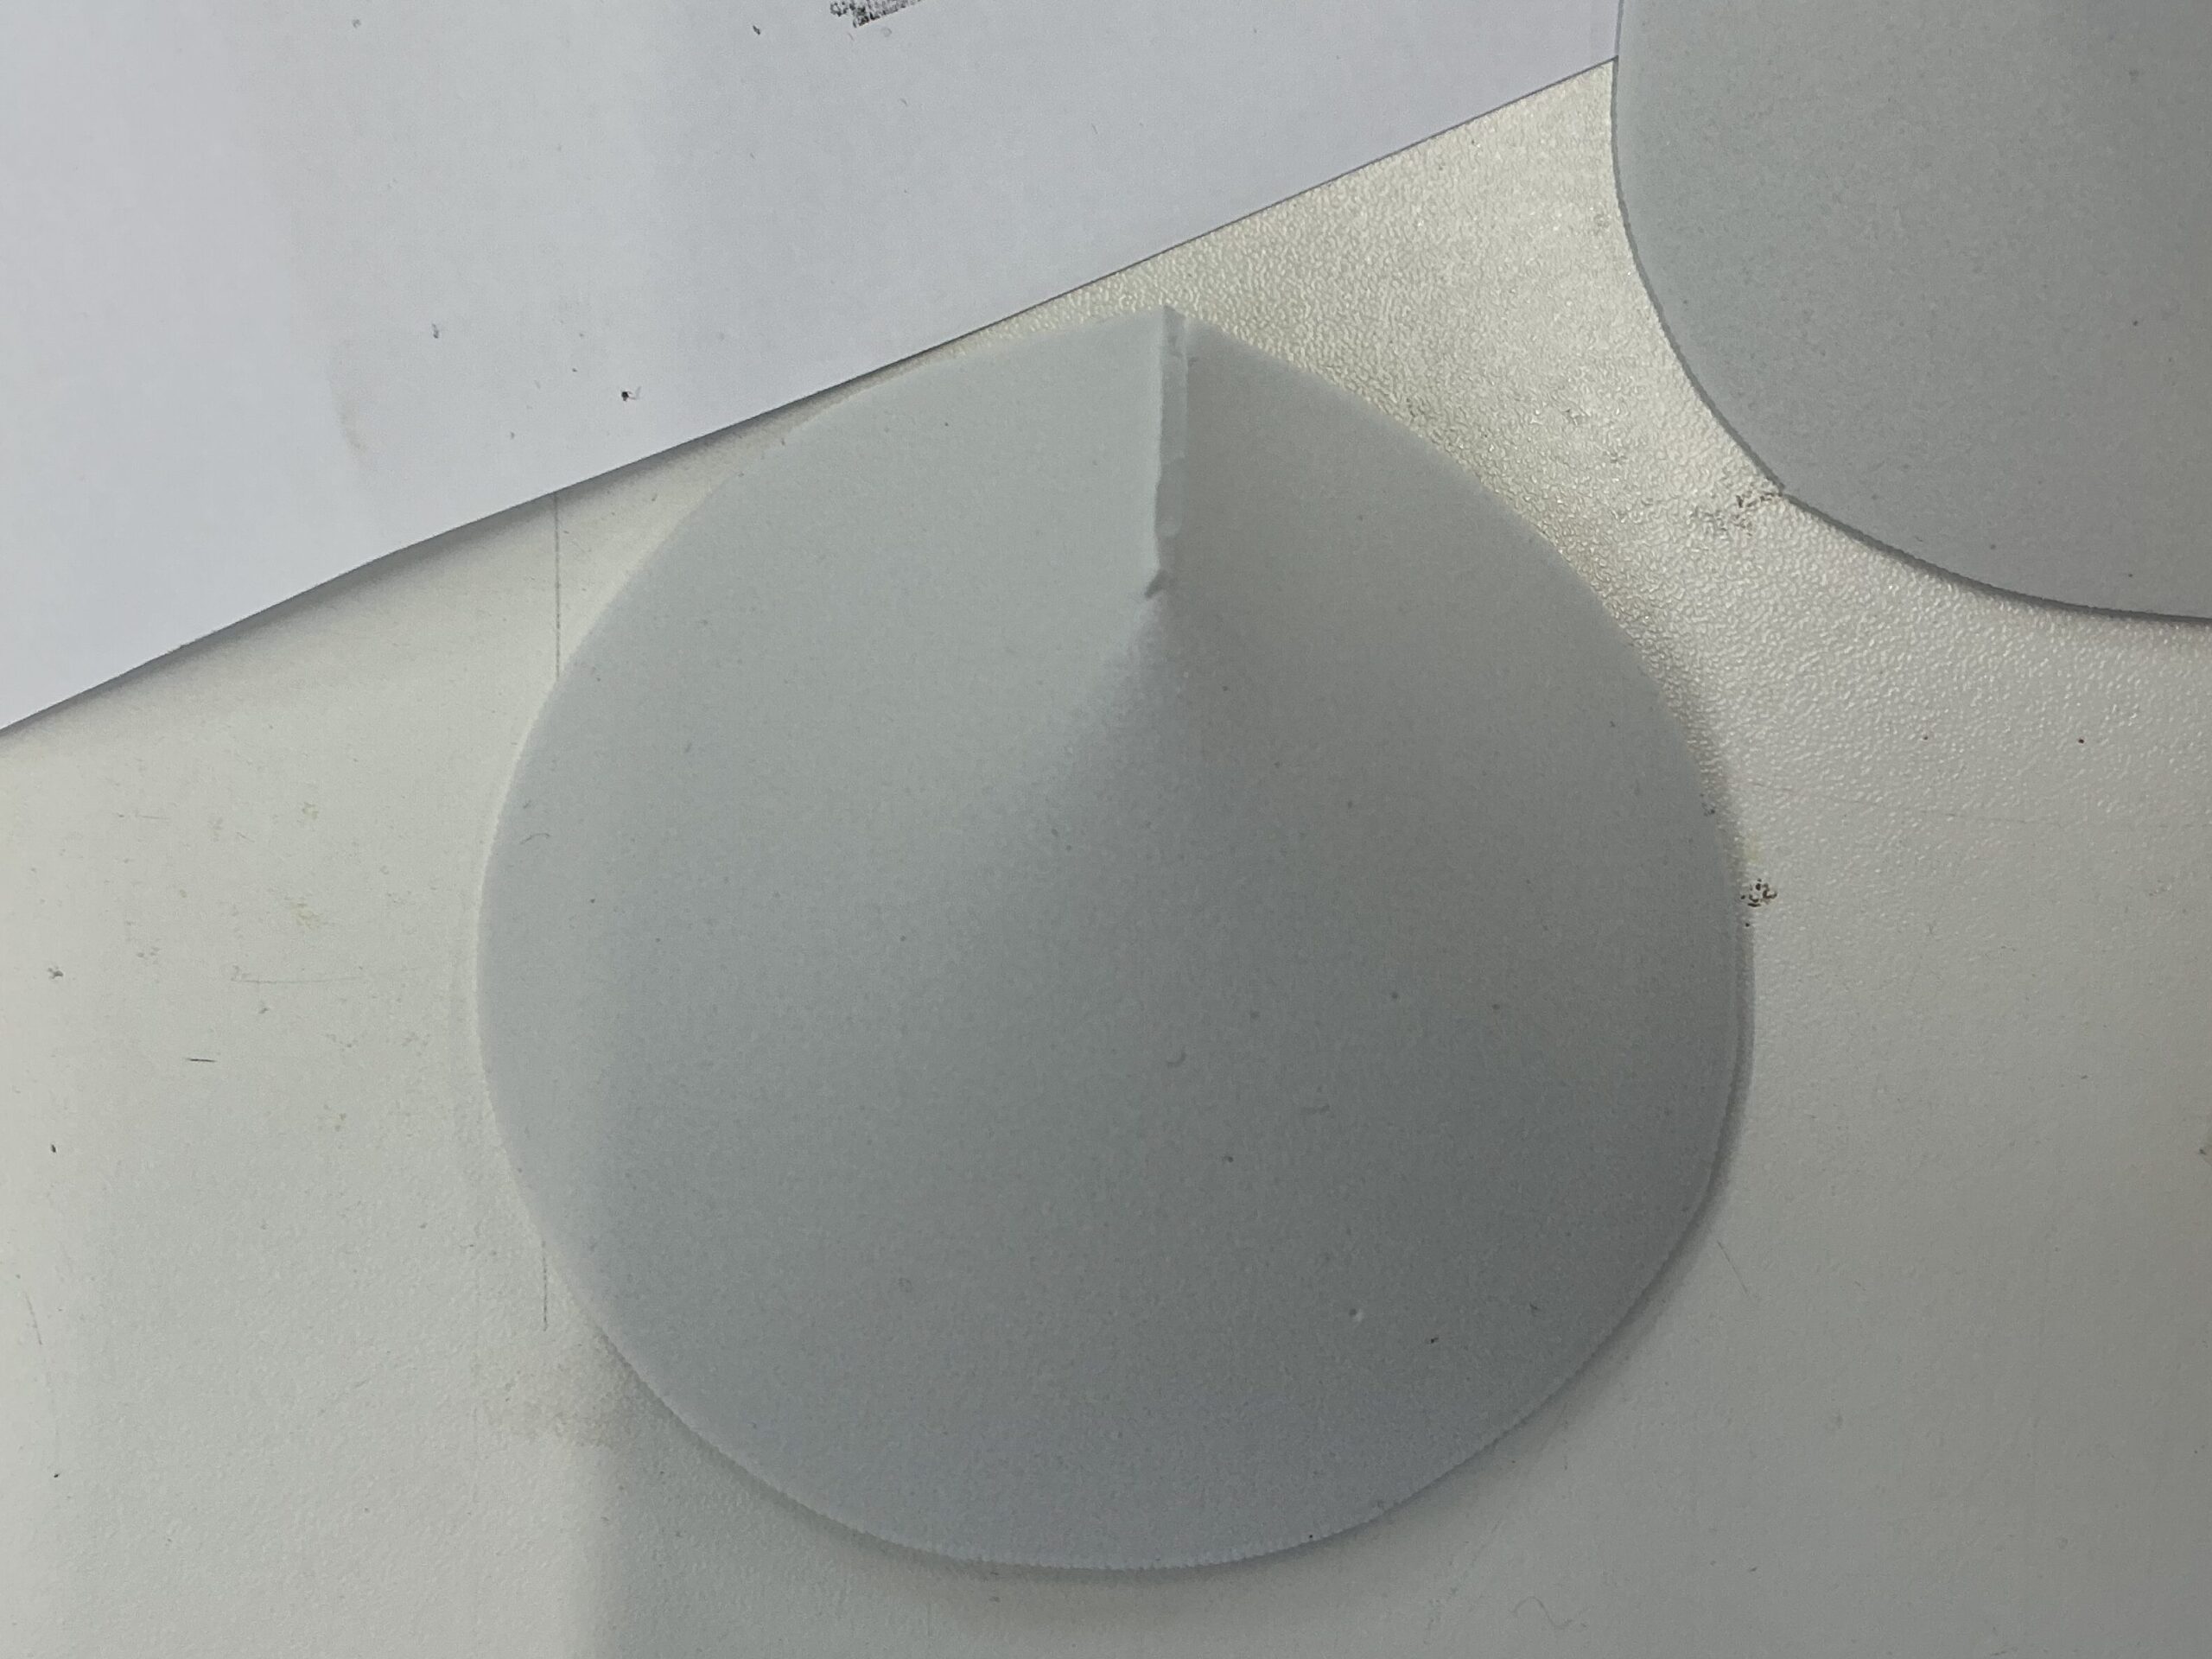
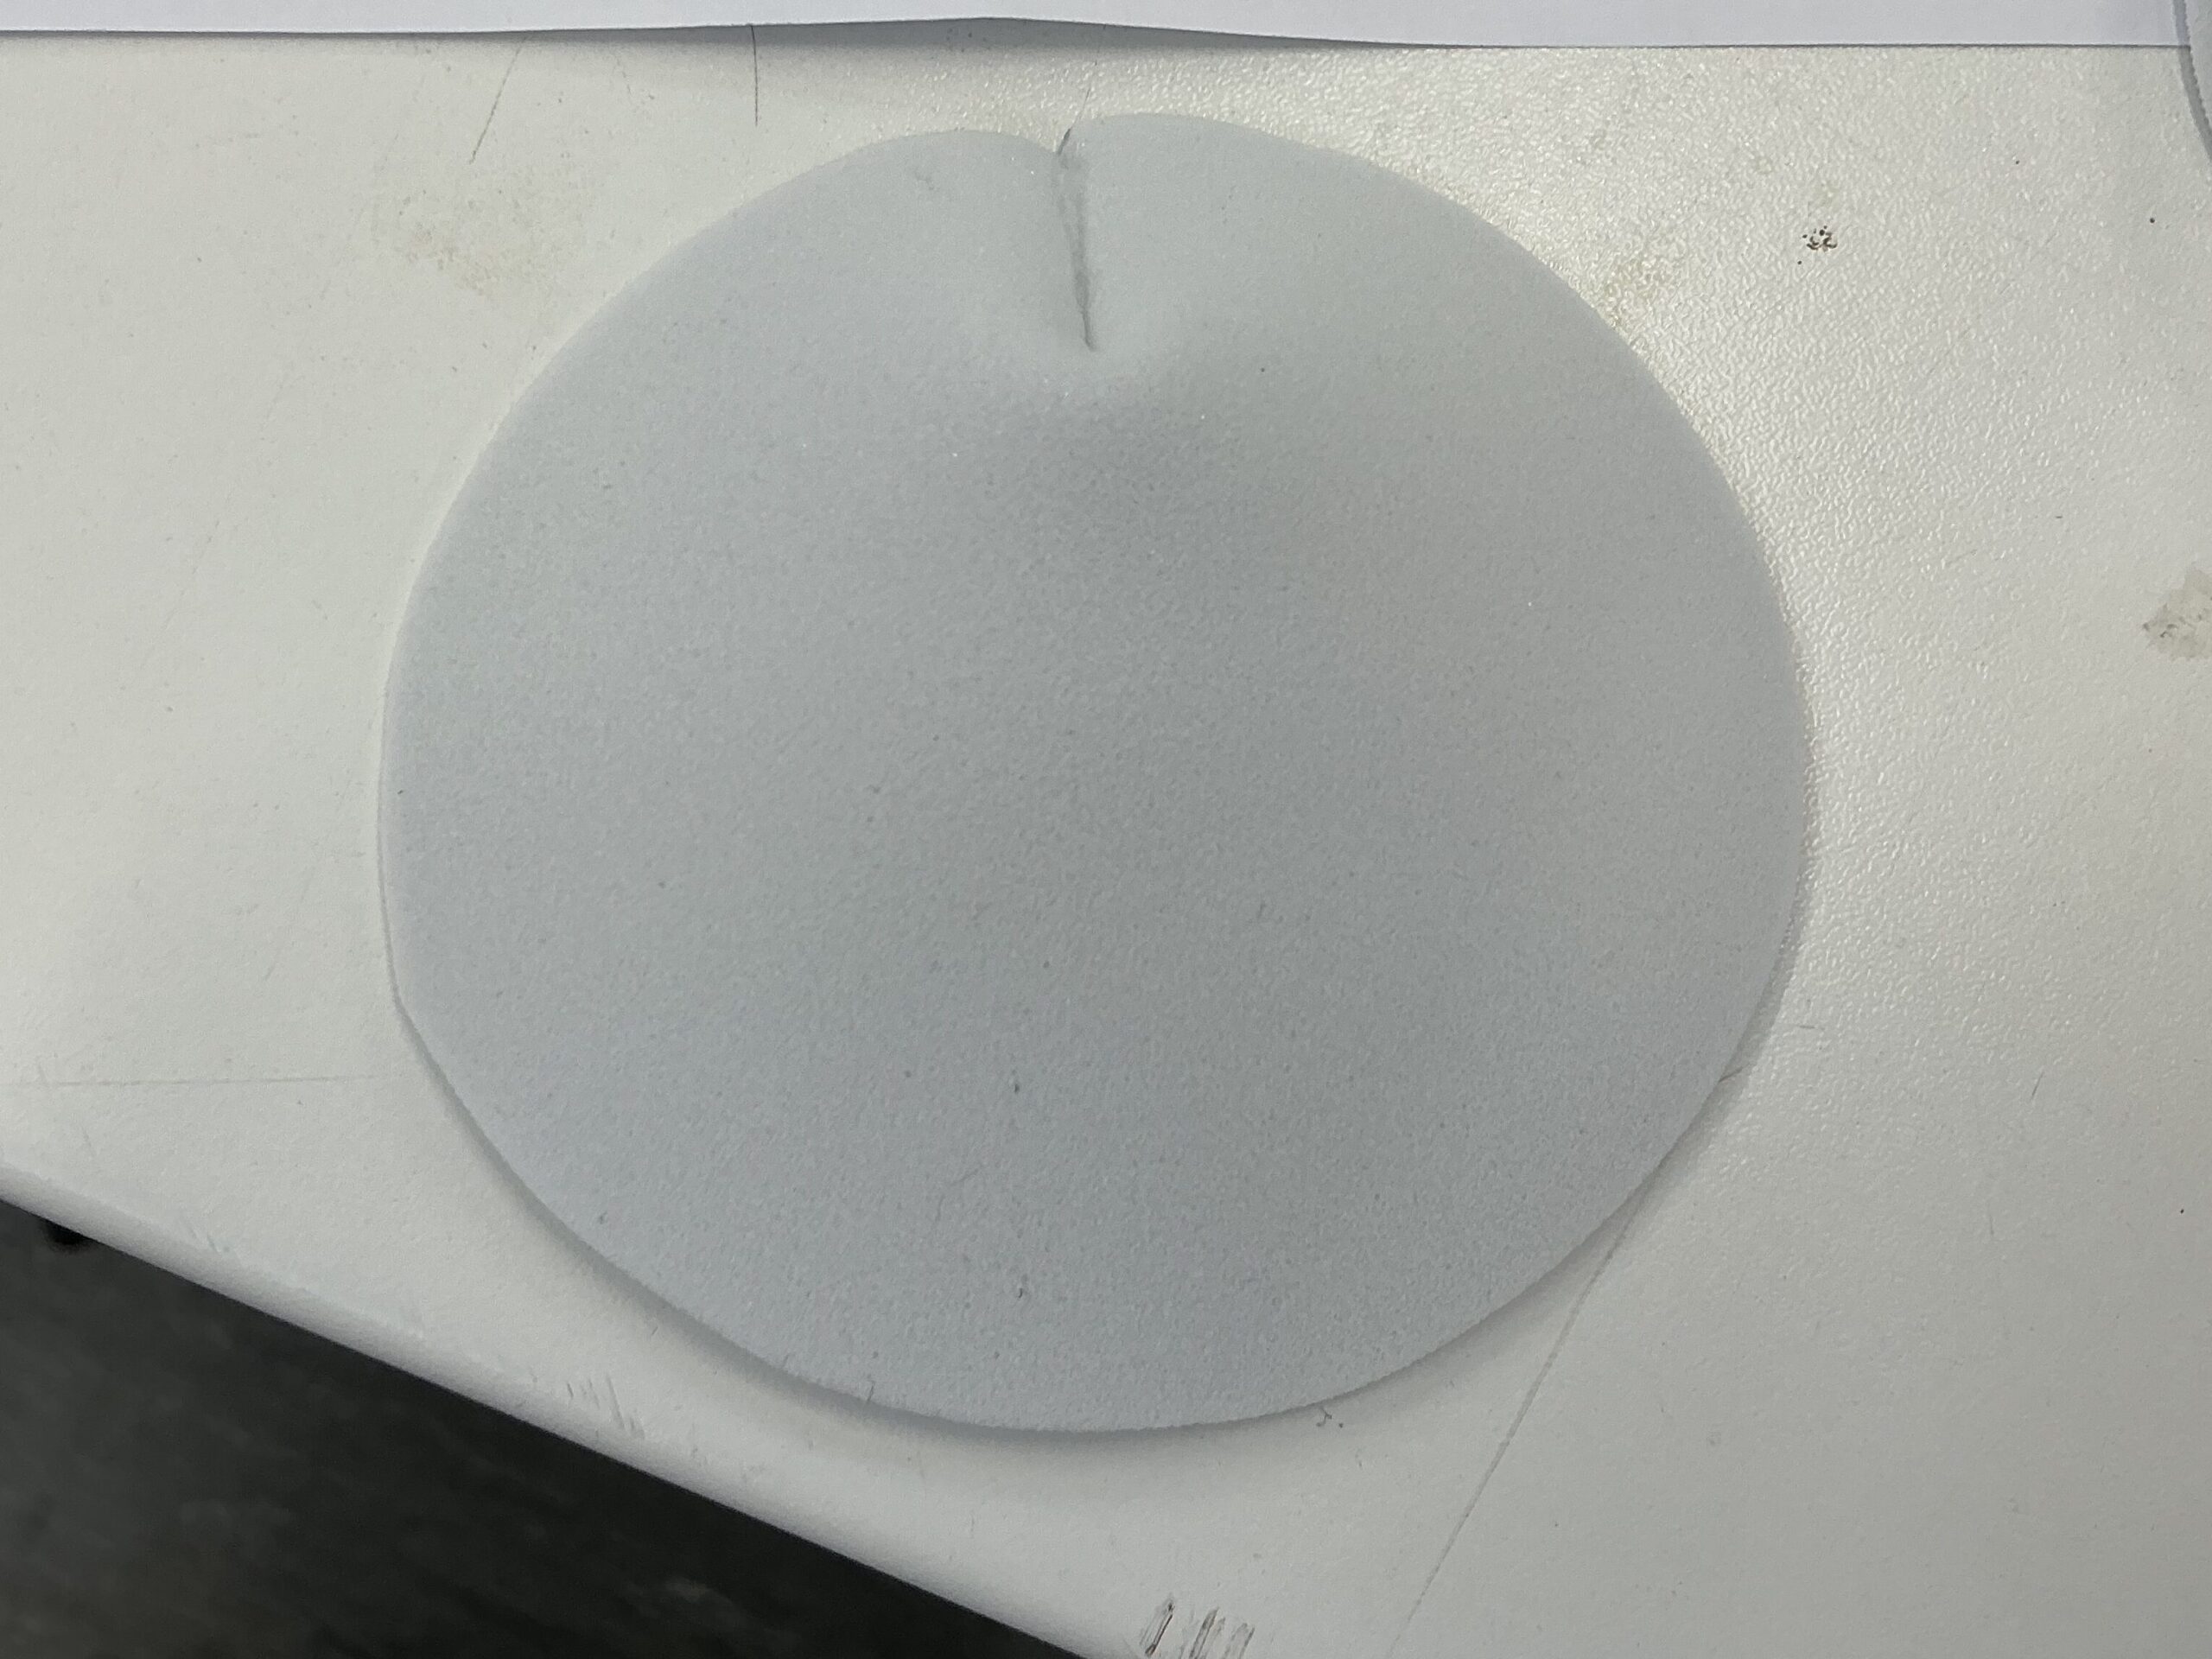
I then cut out four foam circles for my ice cream. I learnt a technique in a book that I have at home by Shelley Down about making felt dolls:

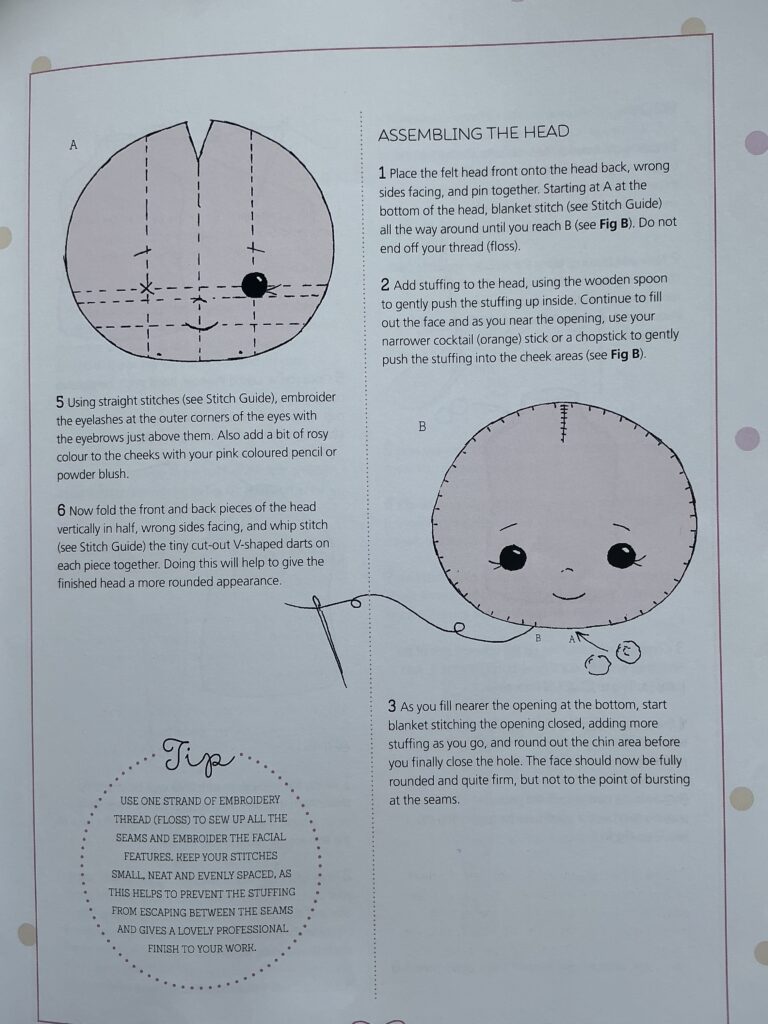
The technique is, by cutting out a small triangle at the top of the circle and then sewing it separately to the sphere itself you create the spherical structure of the dolls head- or in this case, the shape of an ice cream scoop:
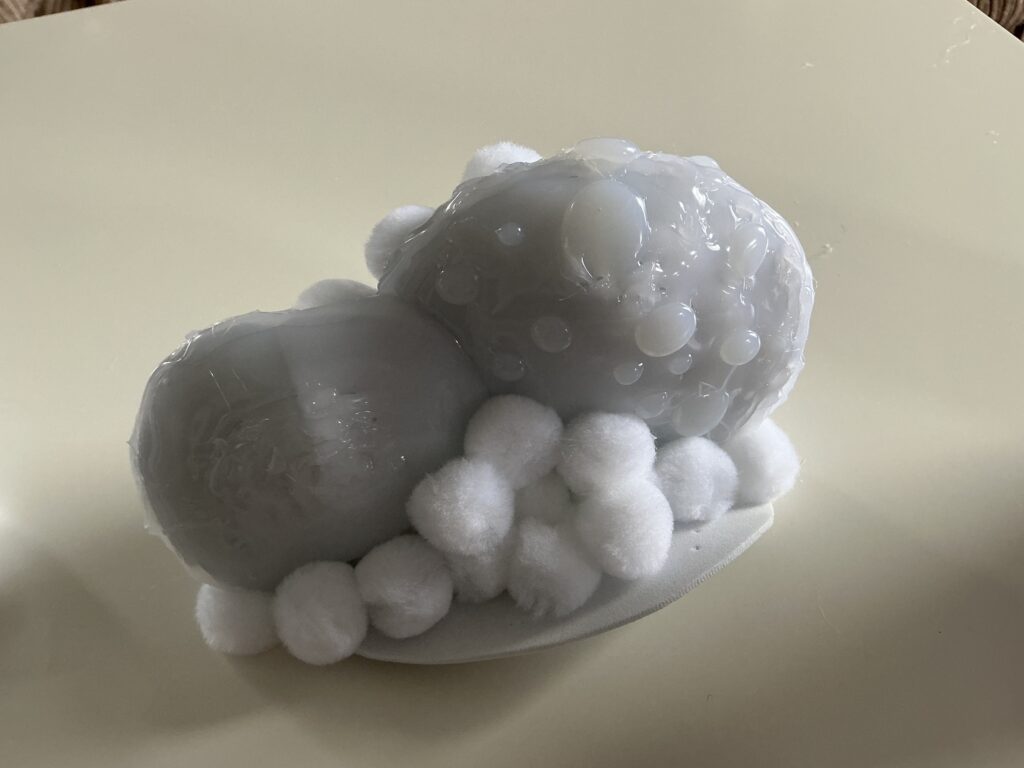
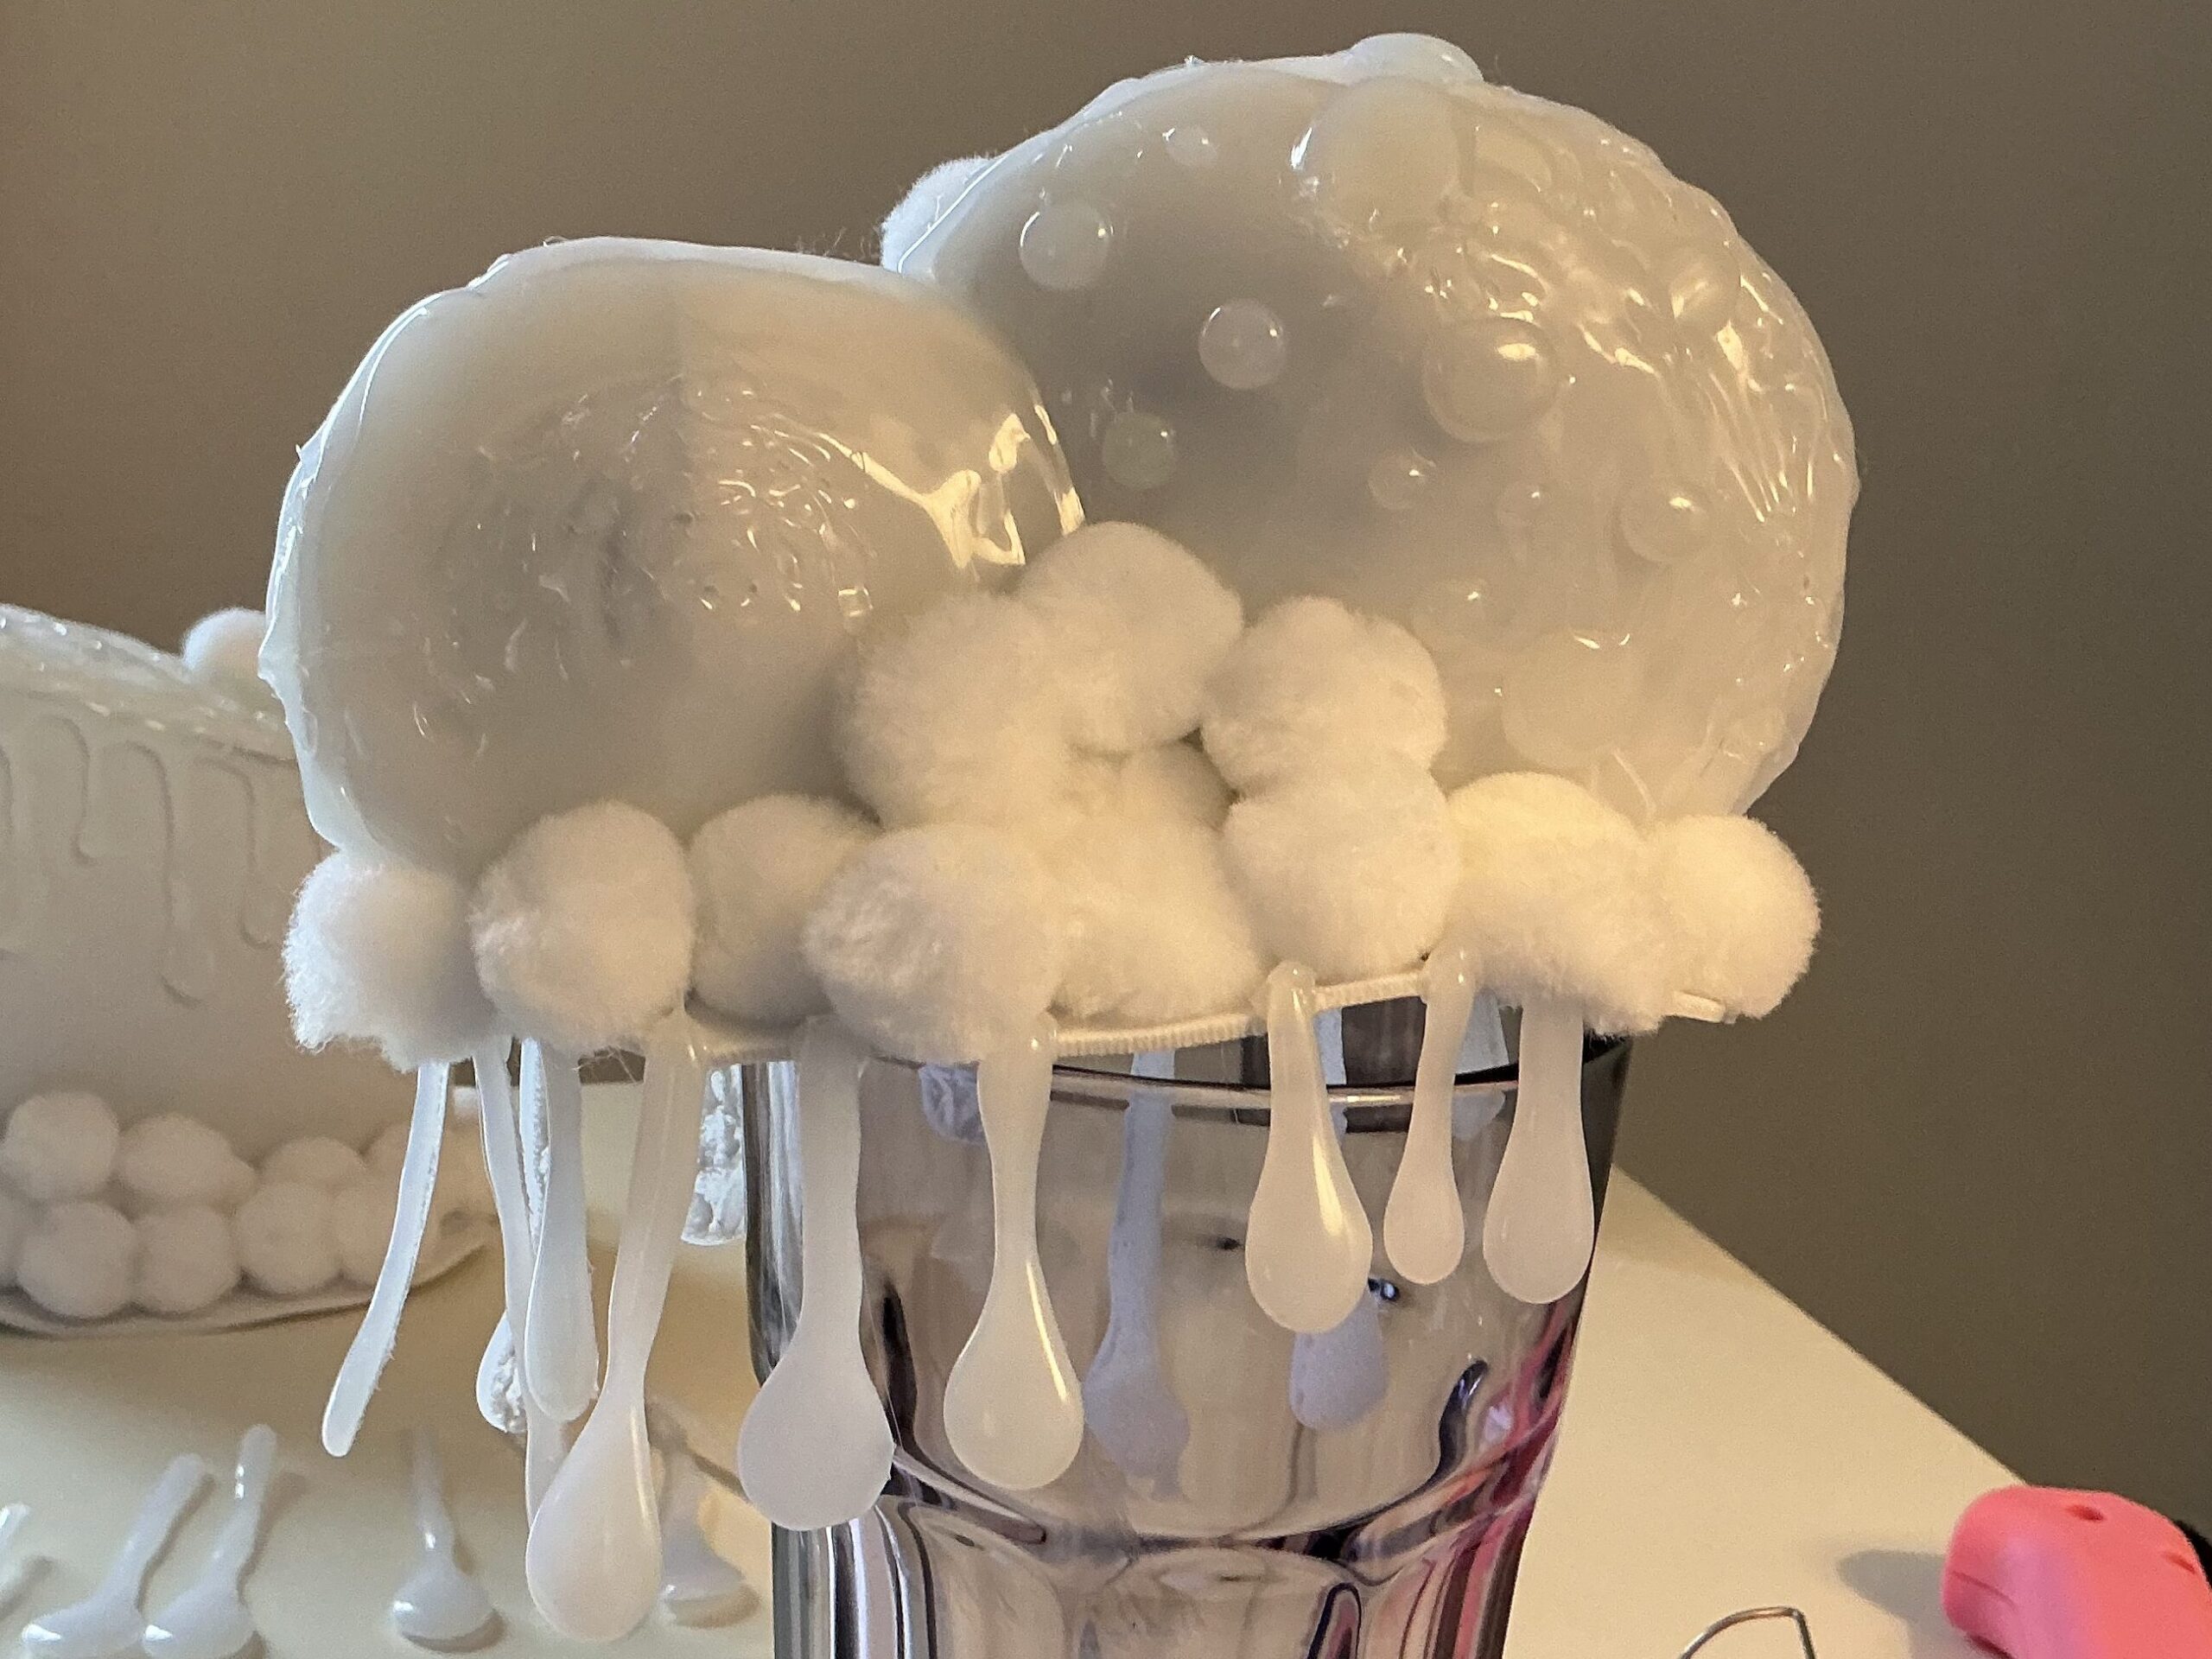
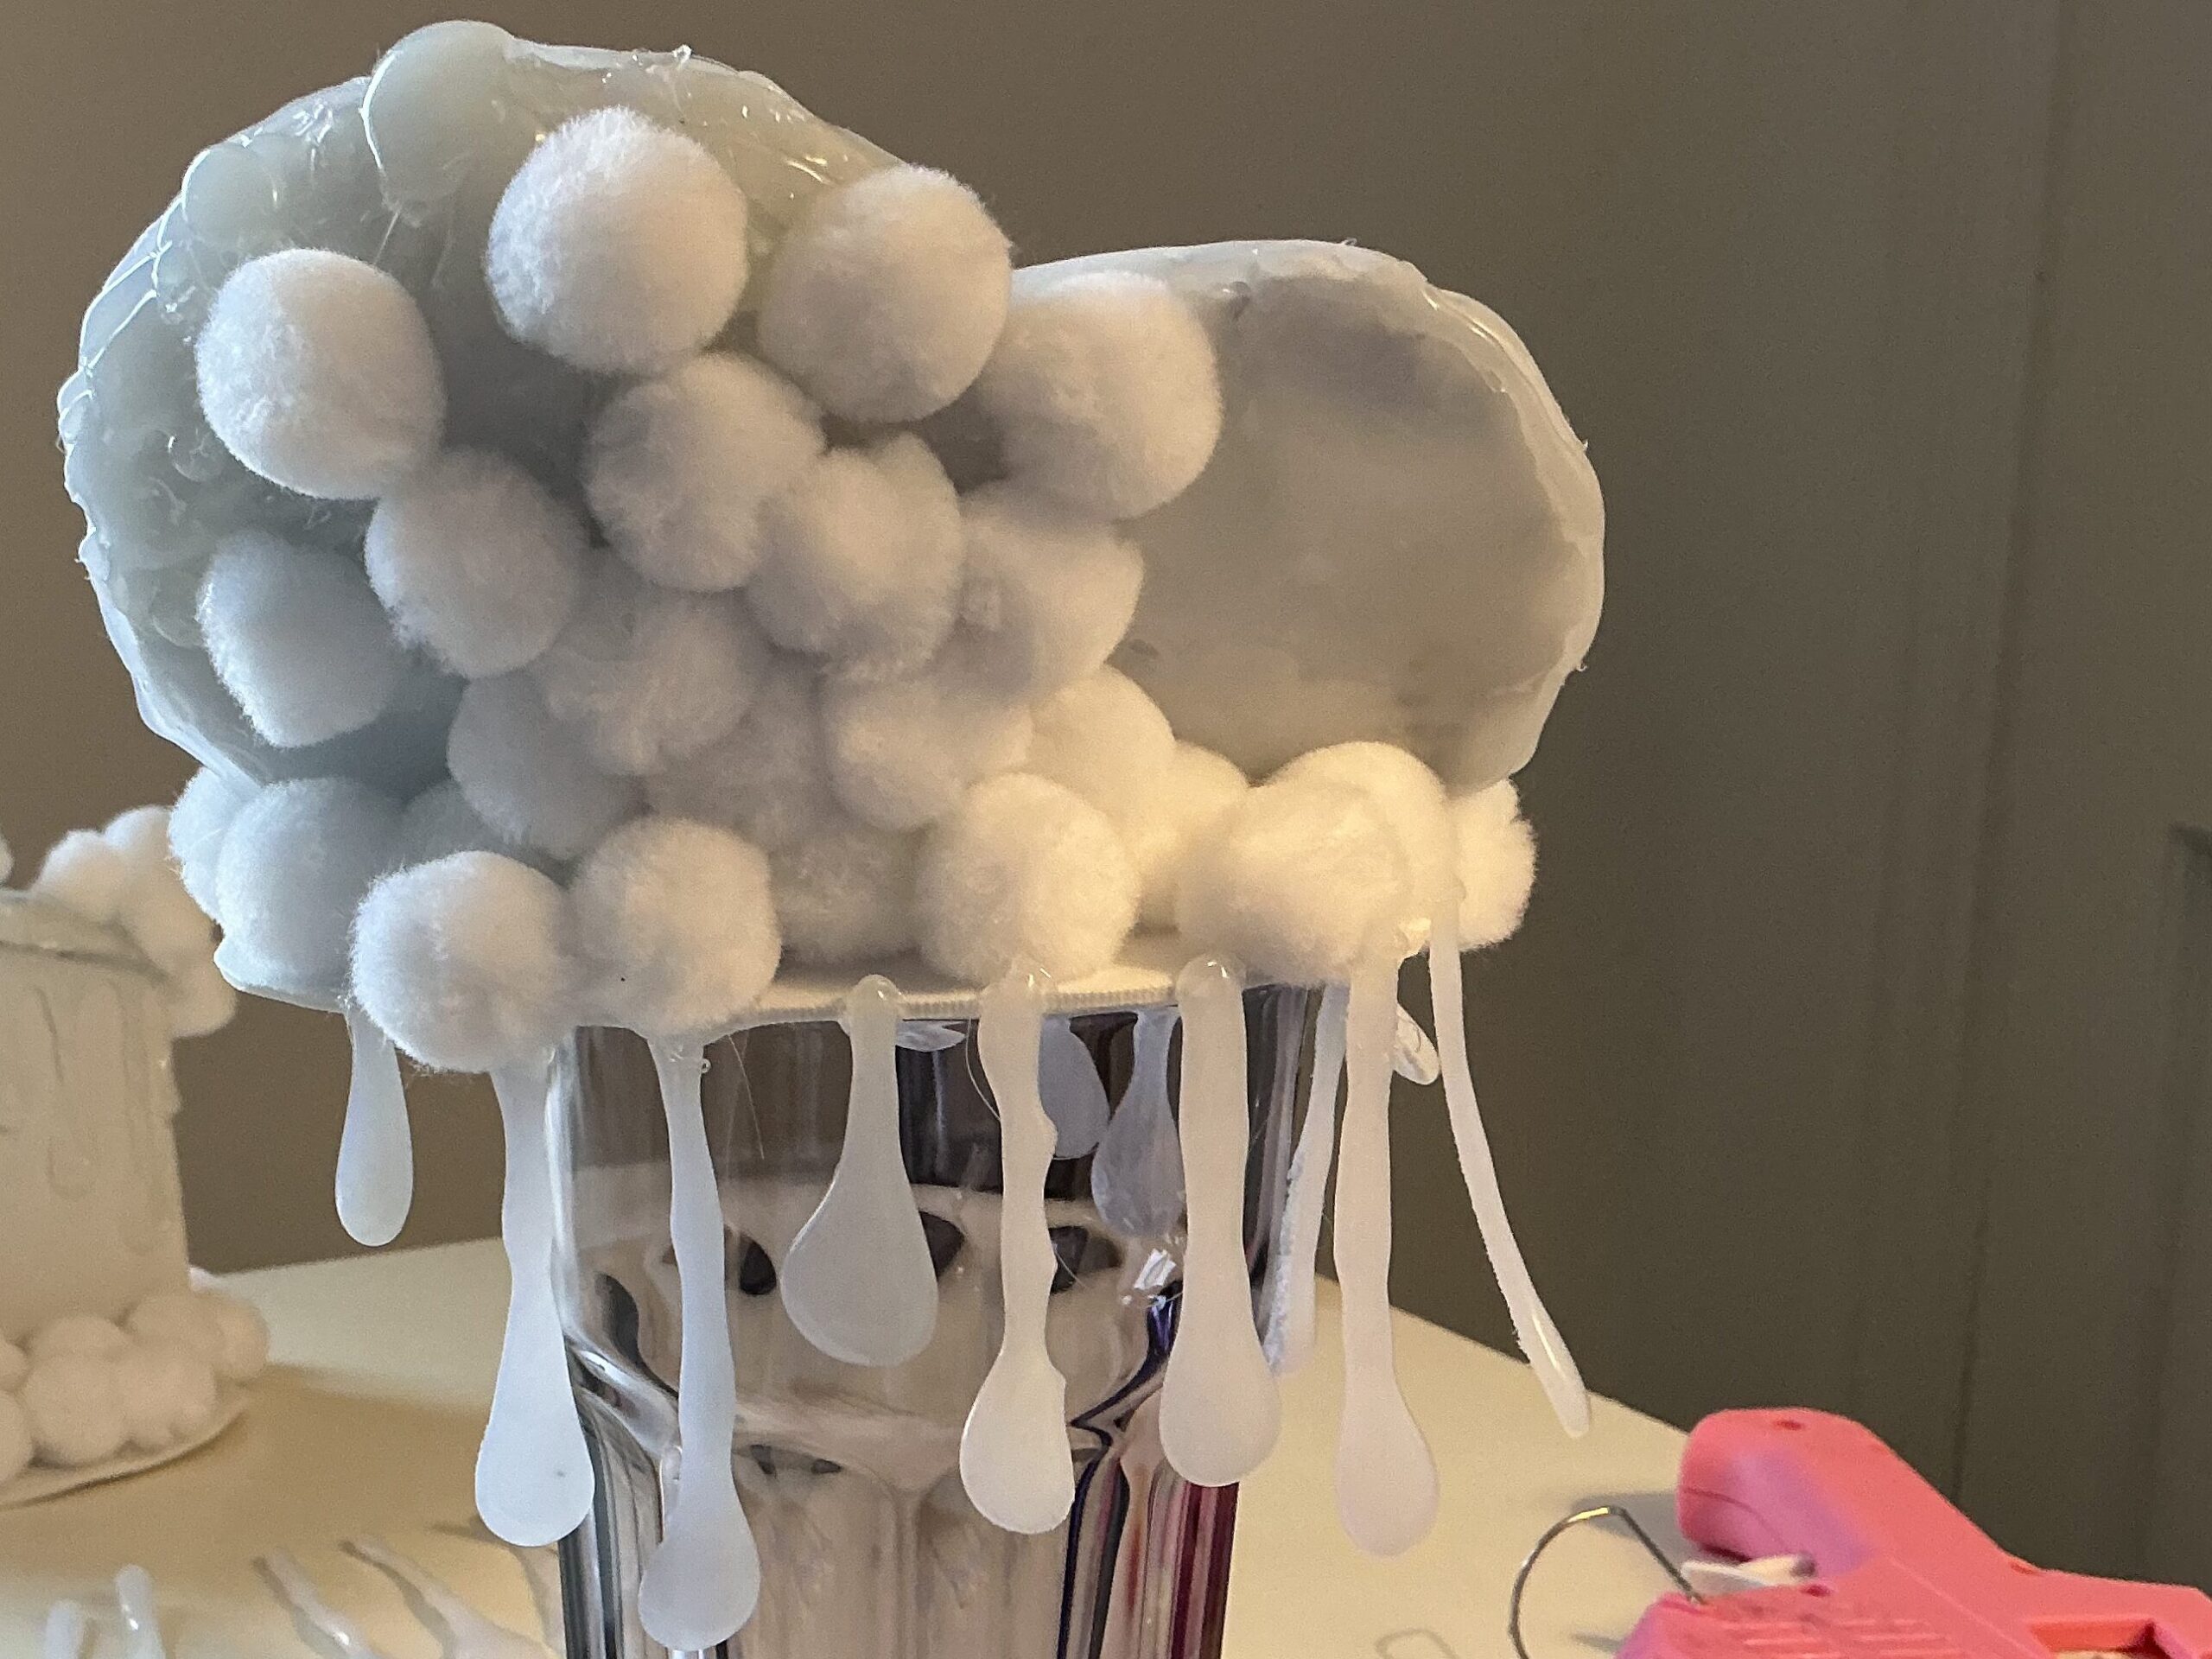
After that, I hot glued the pieces to a flat piece of foam and then onto one of the shoulder pads. I also hot glued pom poms around the base of the ice cream to hide the seam and to give the illusion of melting ice cream (originally I used pva glue for the pom poms, but this glue wasn’t strong enough so I hot glued them in place instead). I decided to use my hot glue gun to create texture in the ice cream. I had created a smoother base by covering the foam with glue, but adding smaller blobs added a 3d effect to the side of my shoulder pad that was mint ice cream:
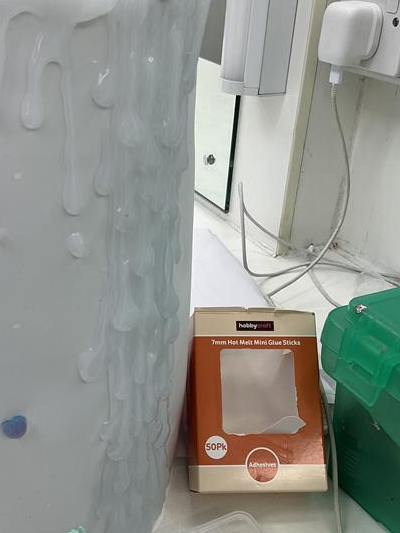
I created drips for the edges of the shoulder pad base using hot glue. I tried a lot of different techniques to do this; petroleum jelly on the workspace, on paper, on foam and plastic:
(First image- petroleum jelly on the workspace, second- paper on the left/ foam on the right, third- plastic)
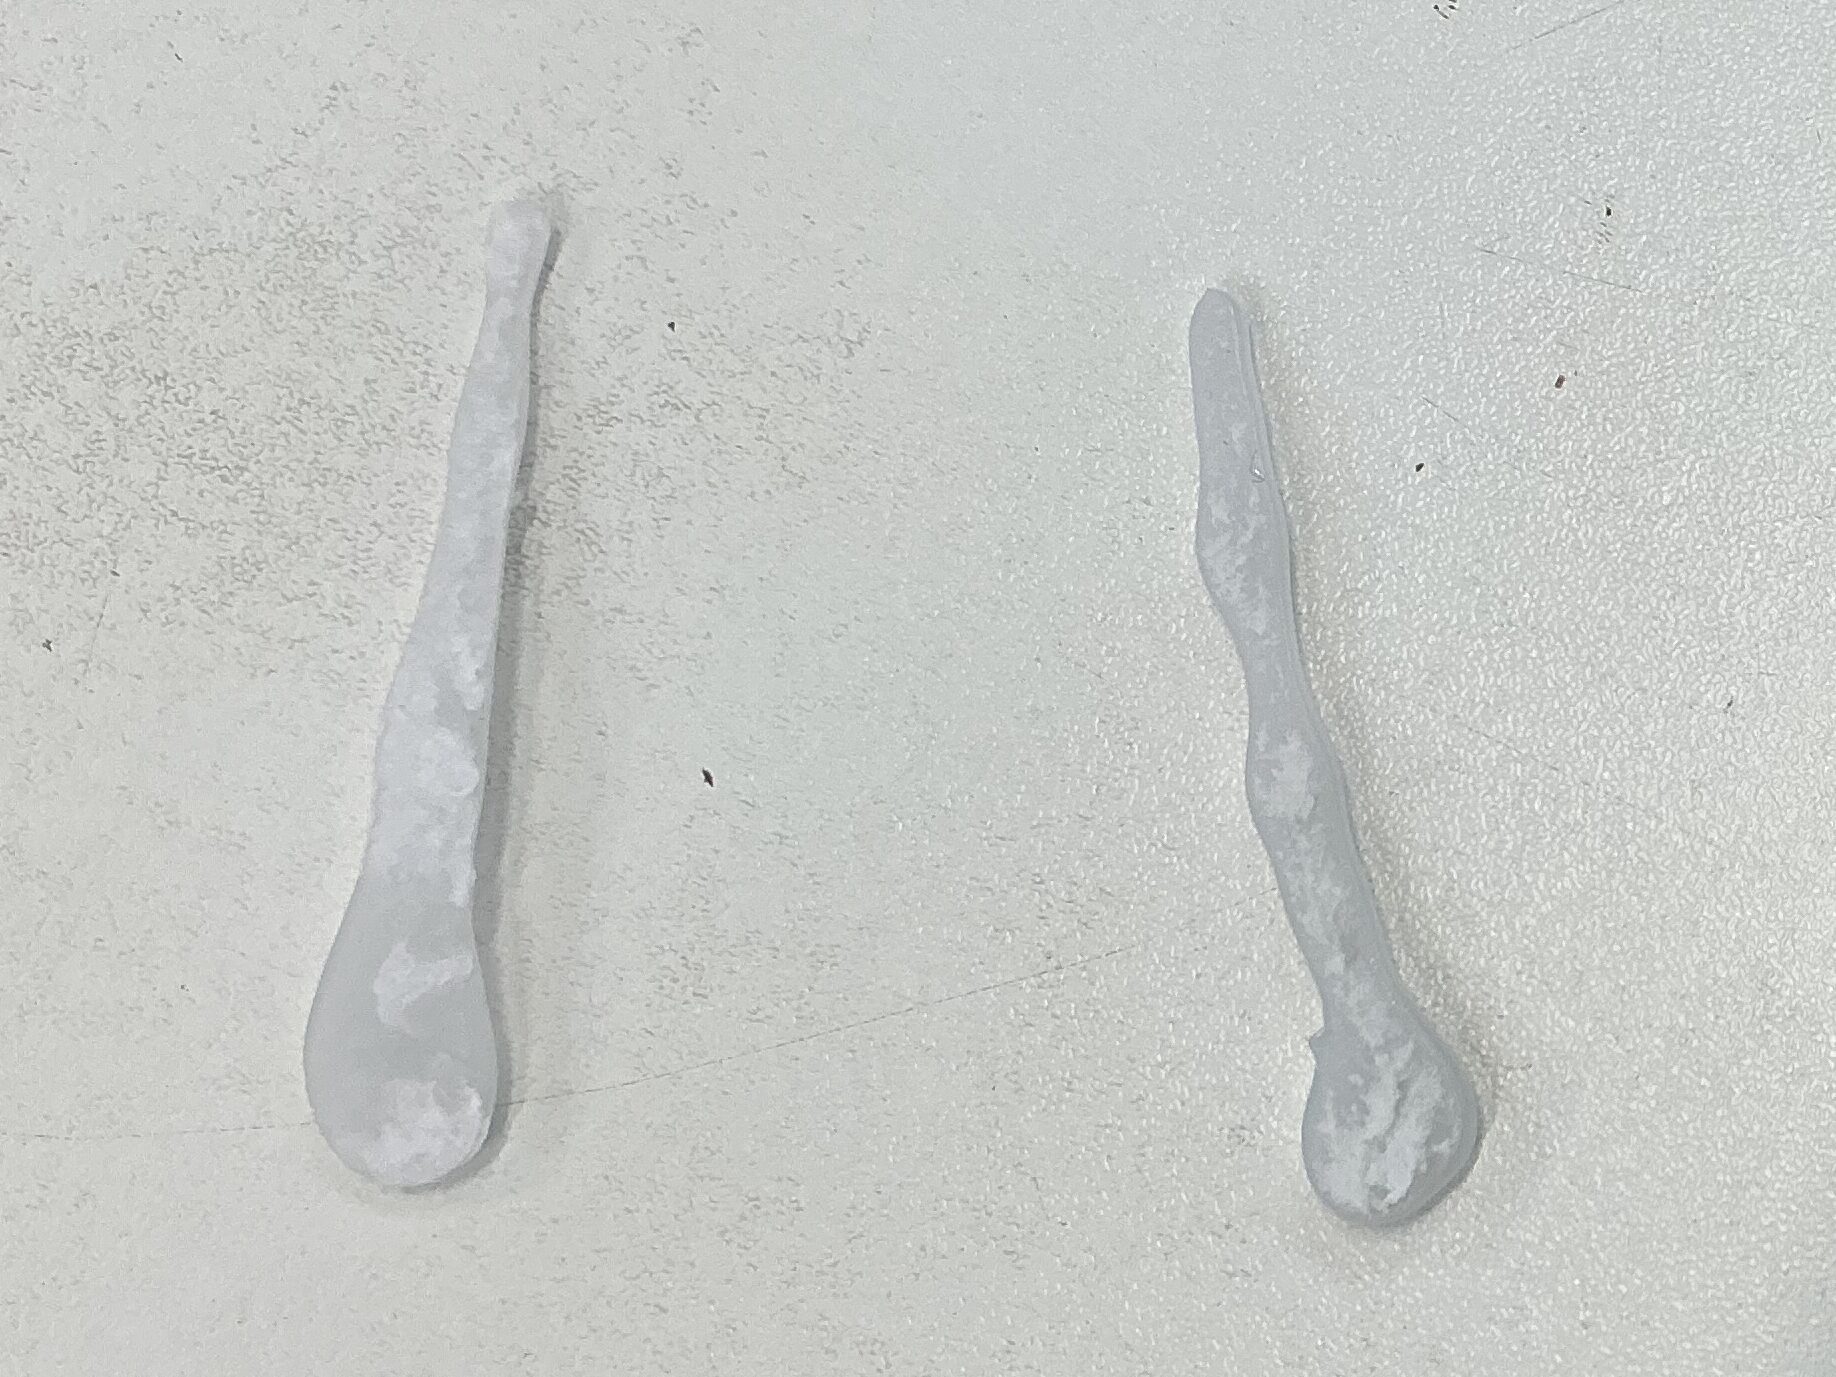

I didn’t like how the glue expanded on the work surface and I couldn’t get the glue off the plastic because then heat had fused the two materials together. I decided through this that putting a blob of hot glue and dragging it up on foam was my best course of action. I thought that even if some of the foam was stuck to the drips it would still work because the foam would act and an ice cream style texture. Luckily, most of my drips were clean once they were dry and pulled off the foam:
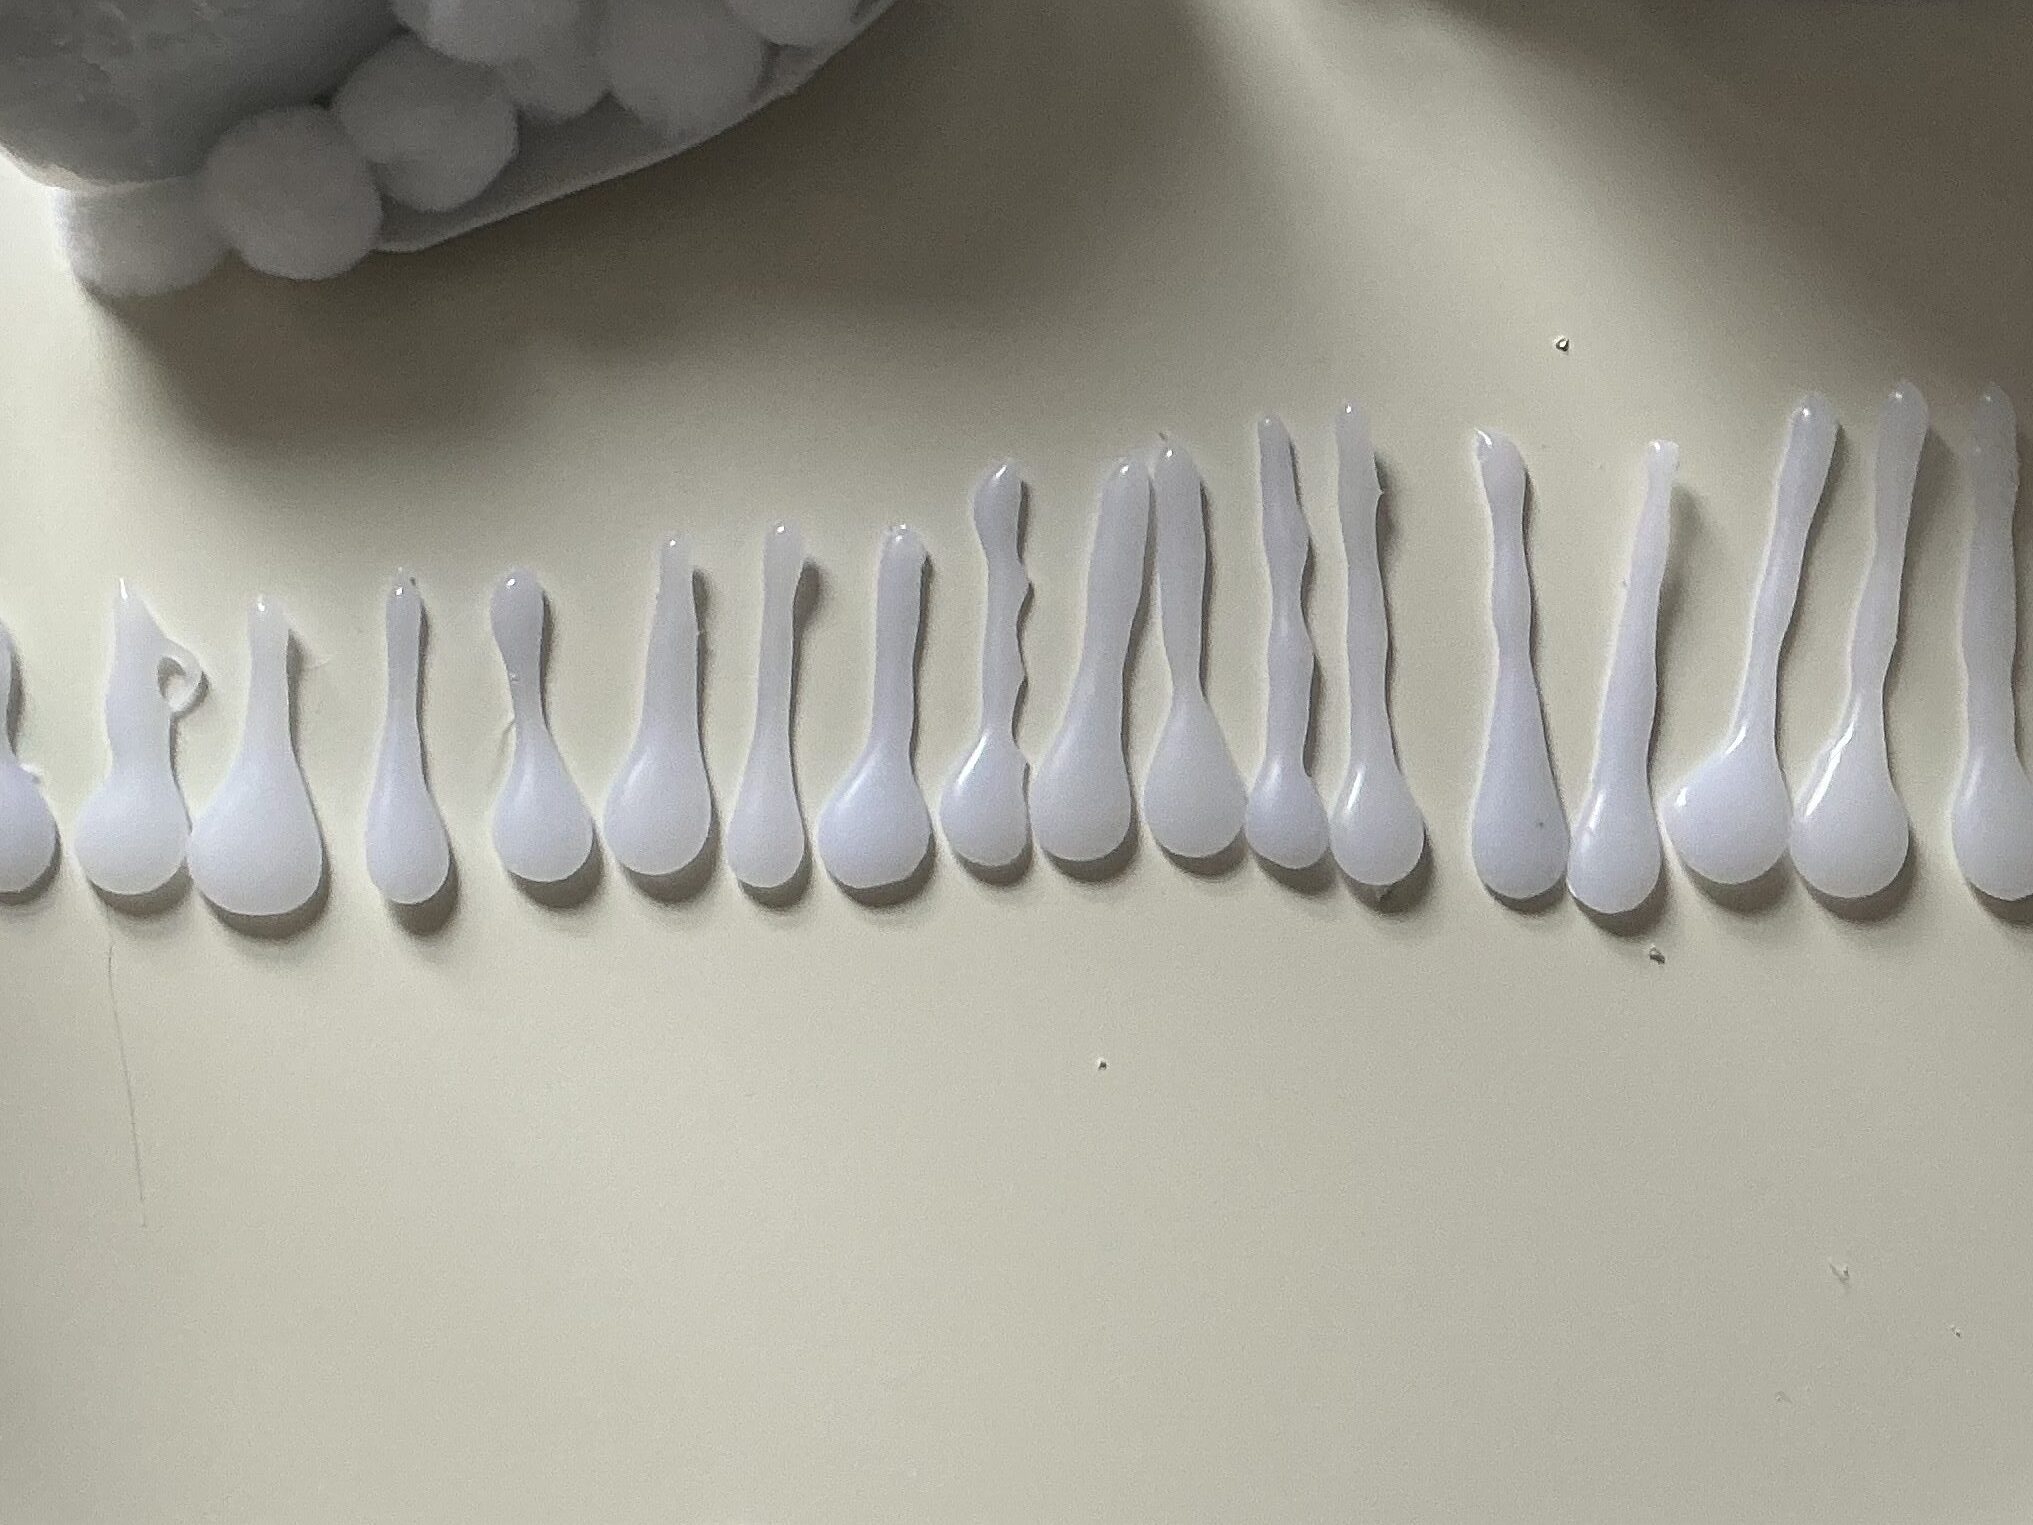
I hot glued the drips to the edge of the shoulder pad. I made sure that shorter drips were towards the inside of the shoulder pad while the outside had more of a variation:
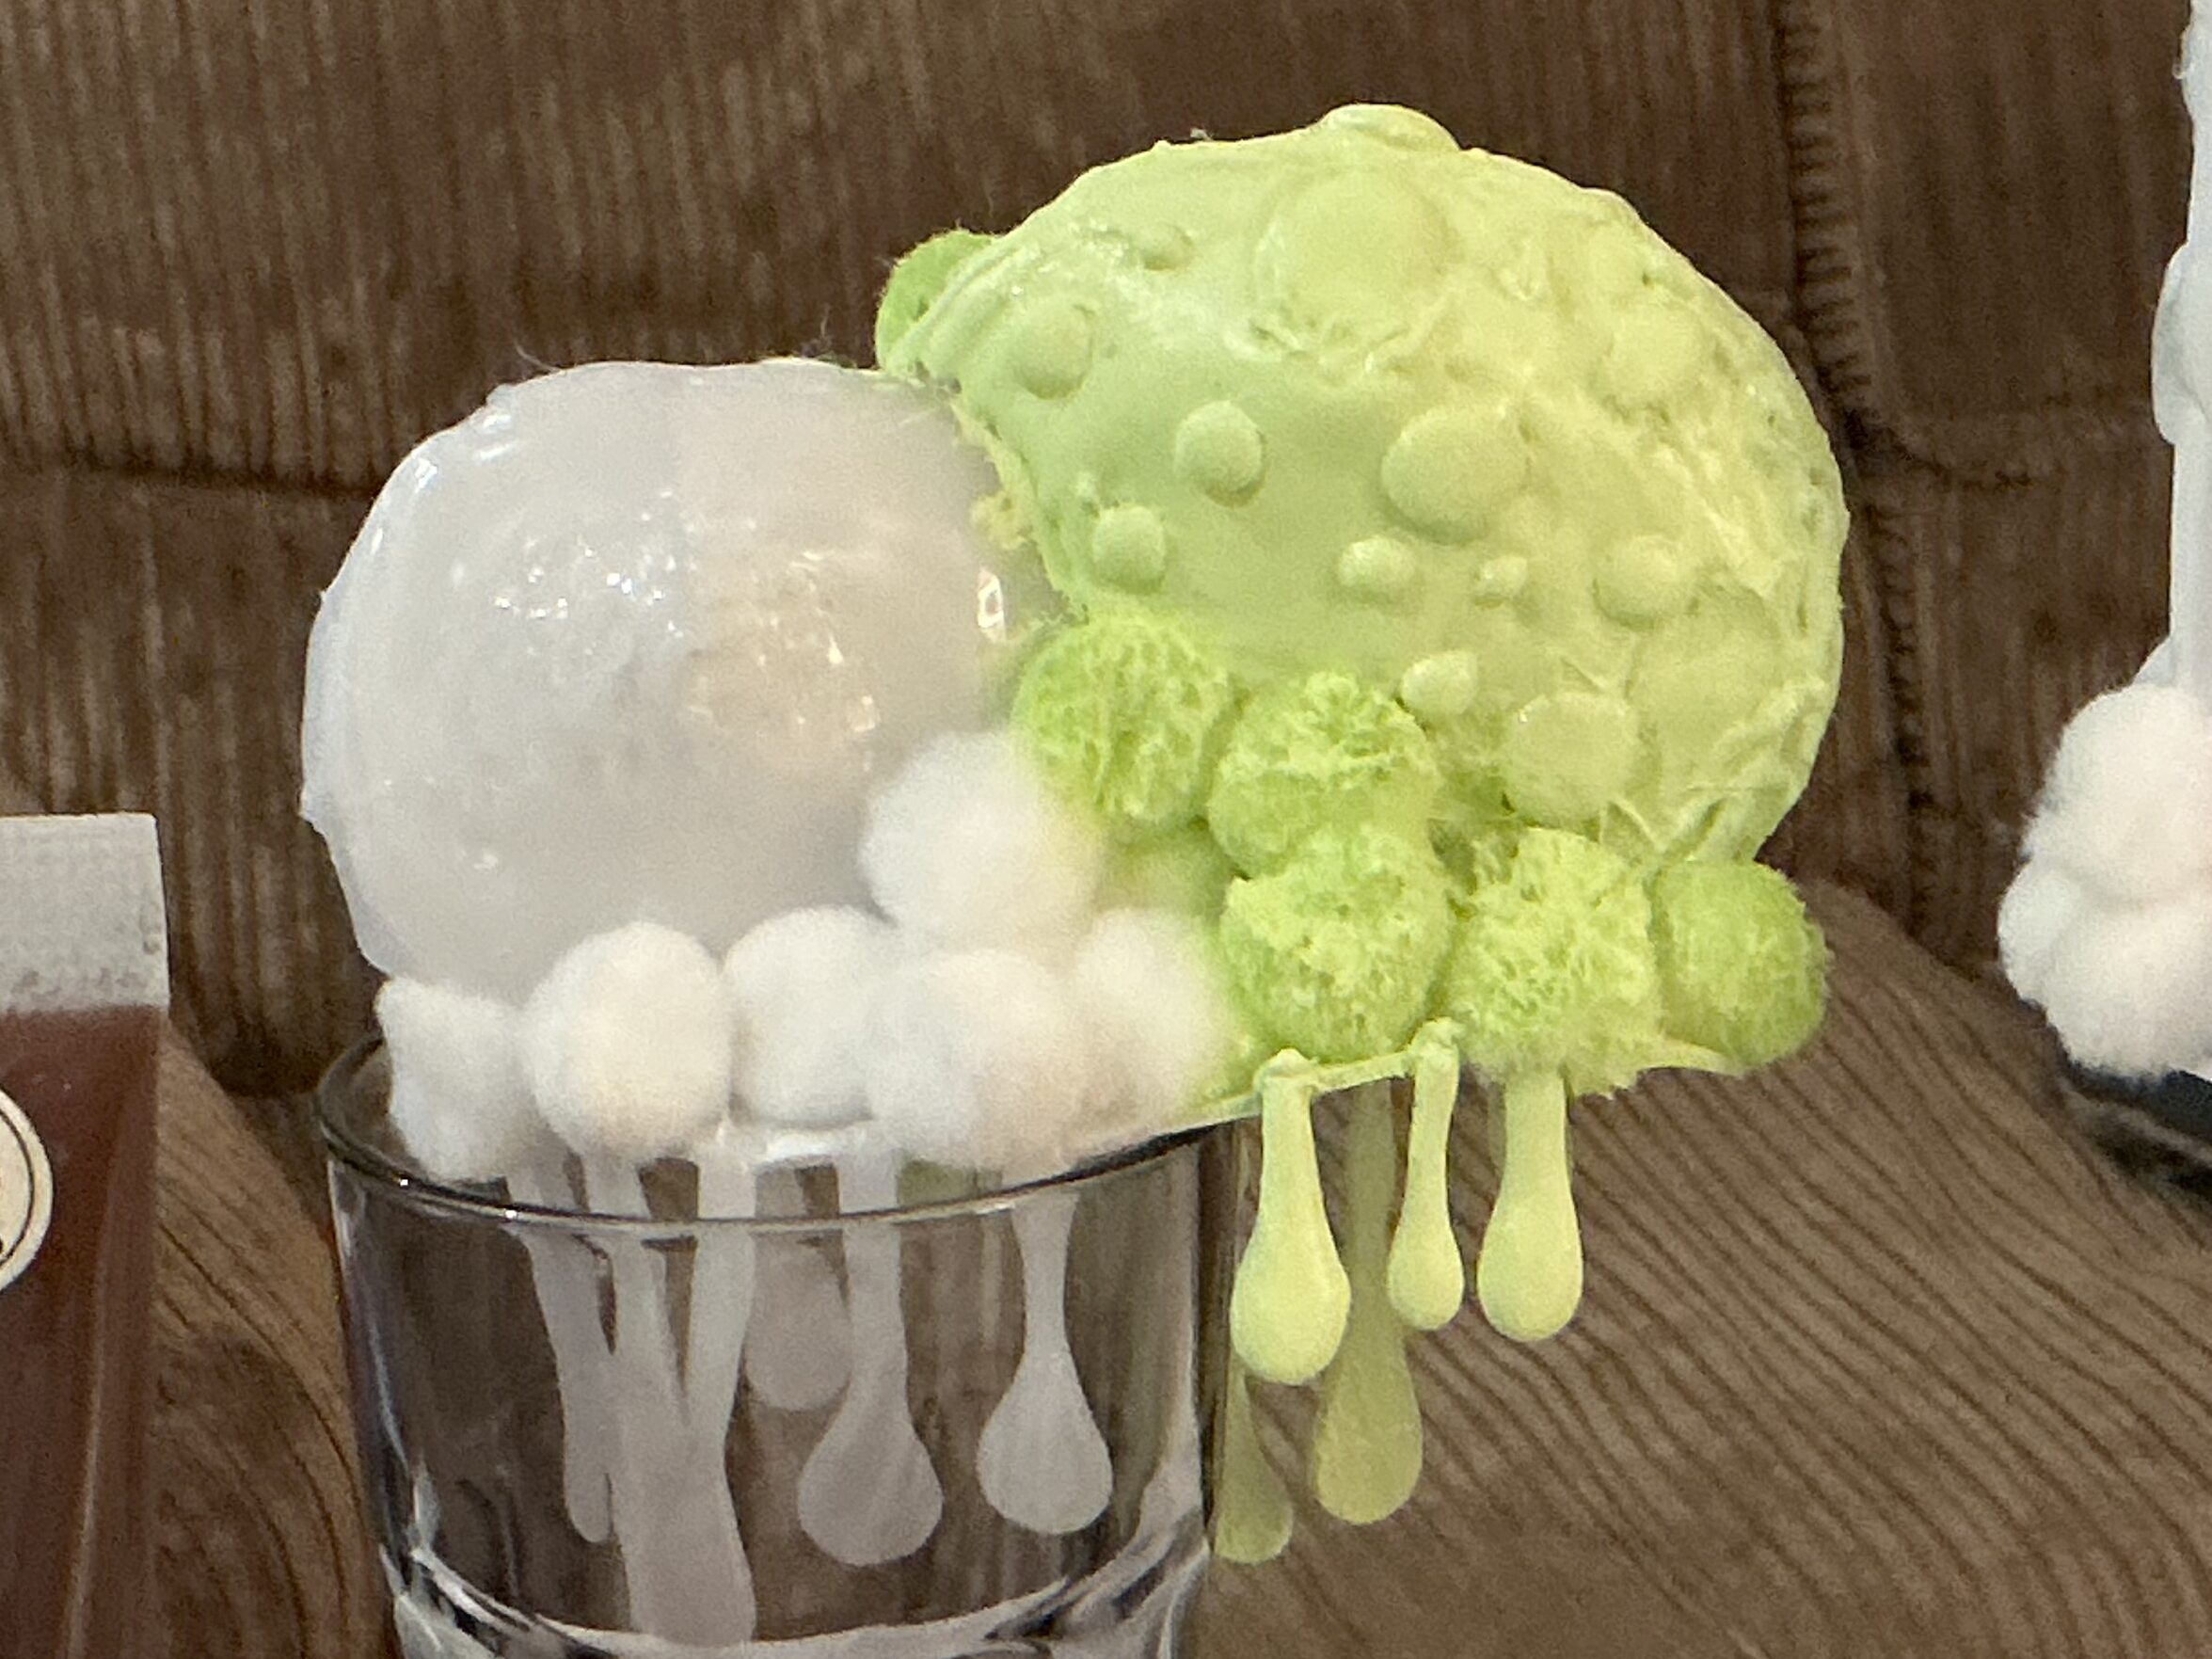
I then used acrylic paint to paint the whole of the shoulder pad:

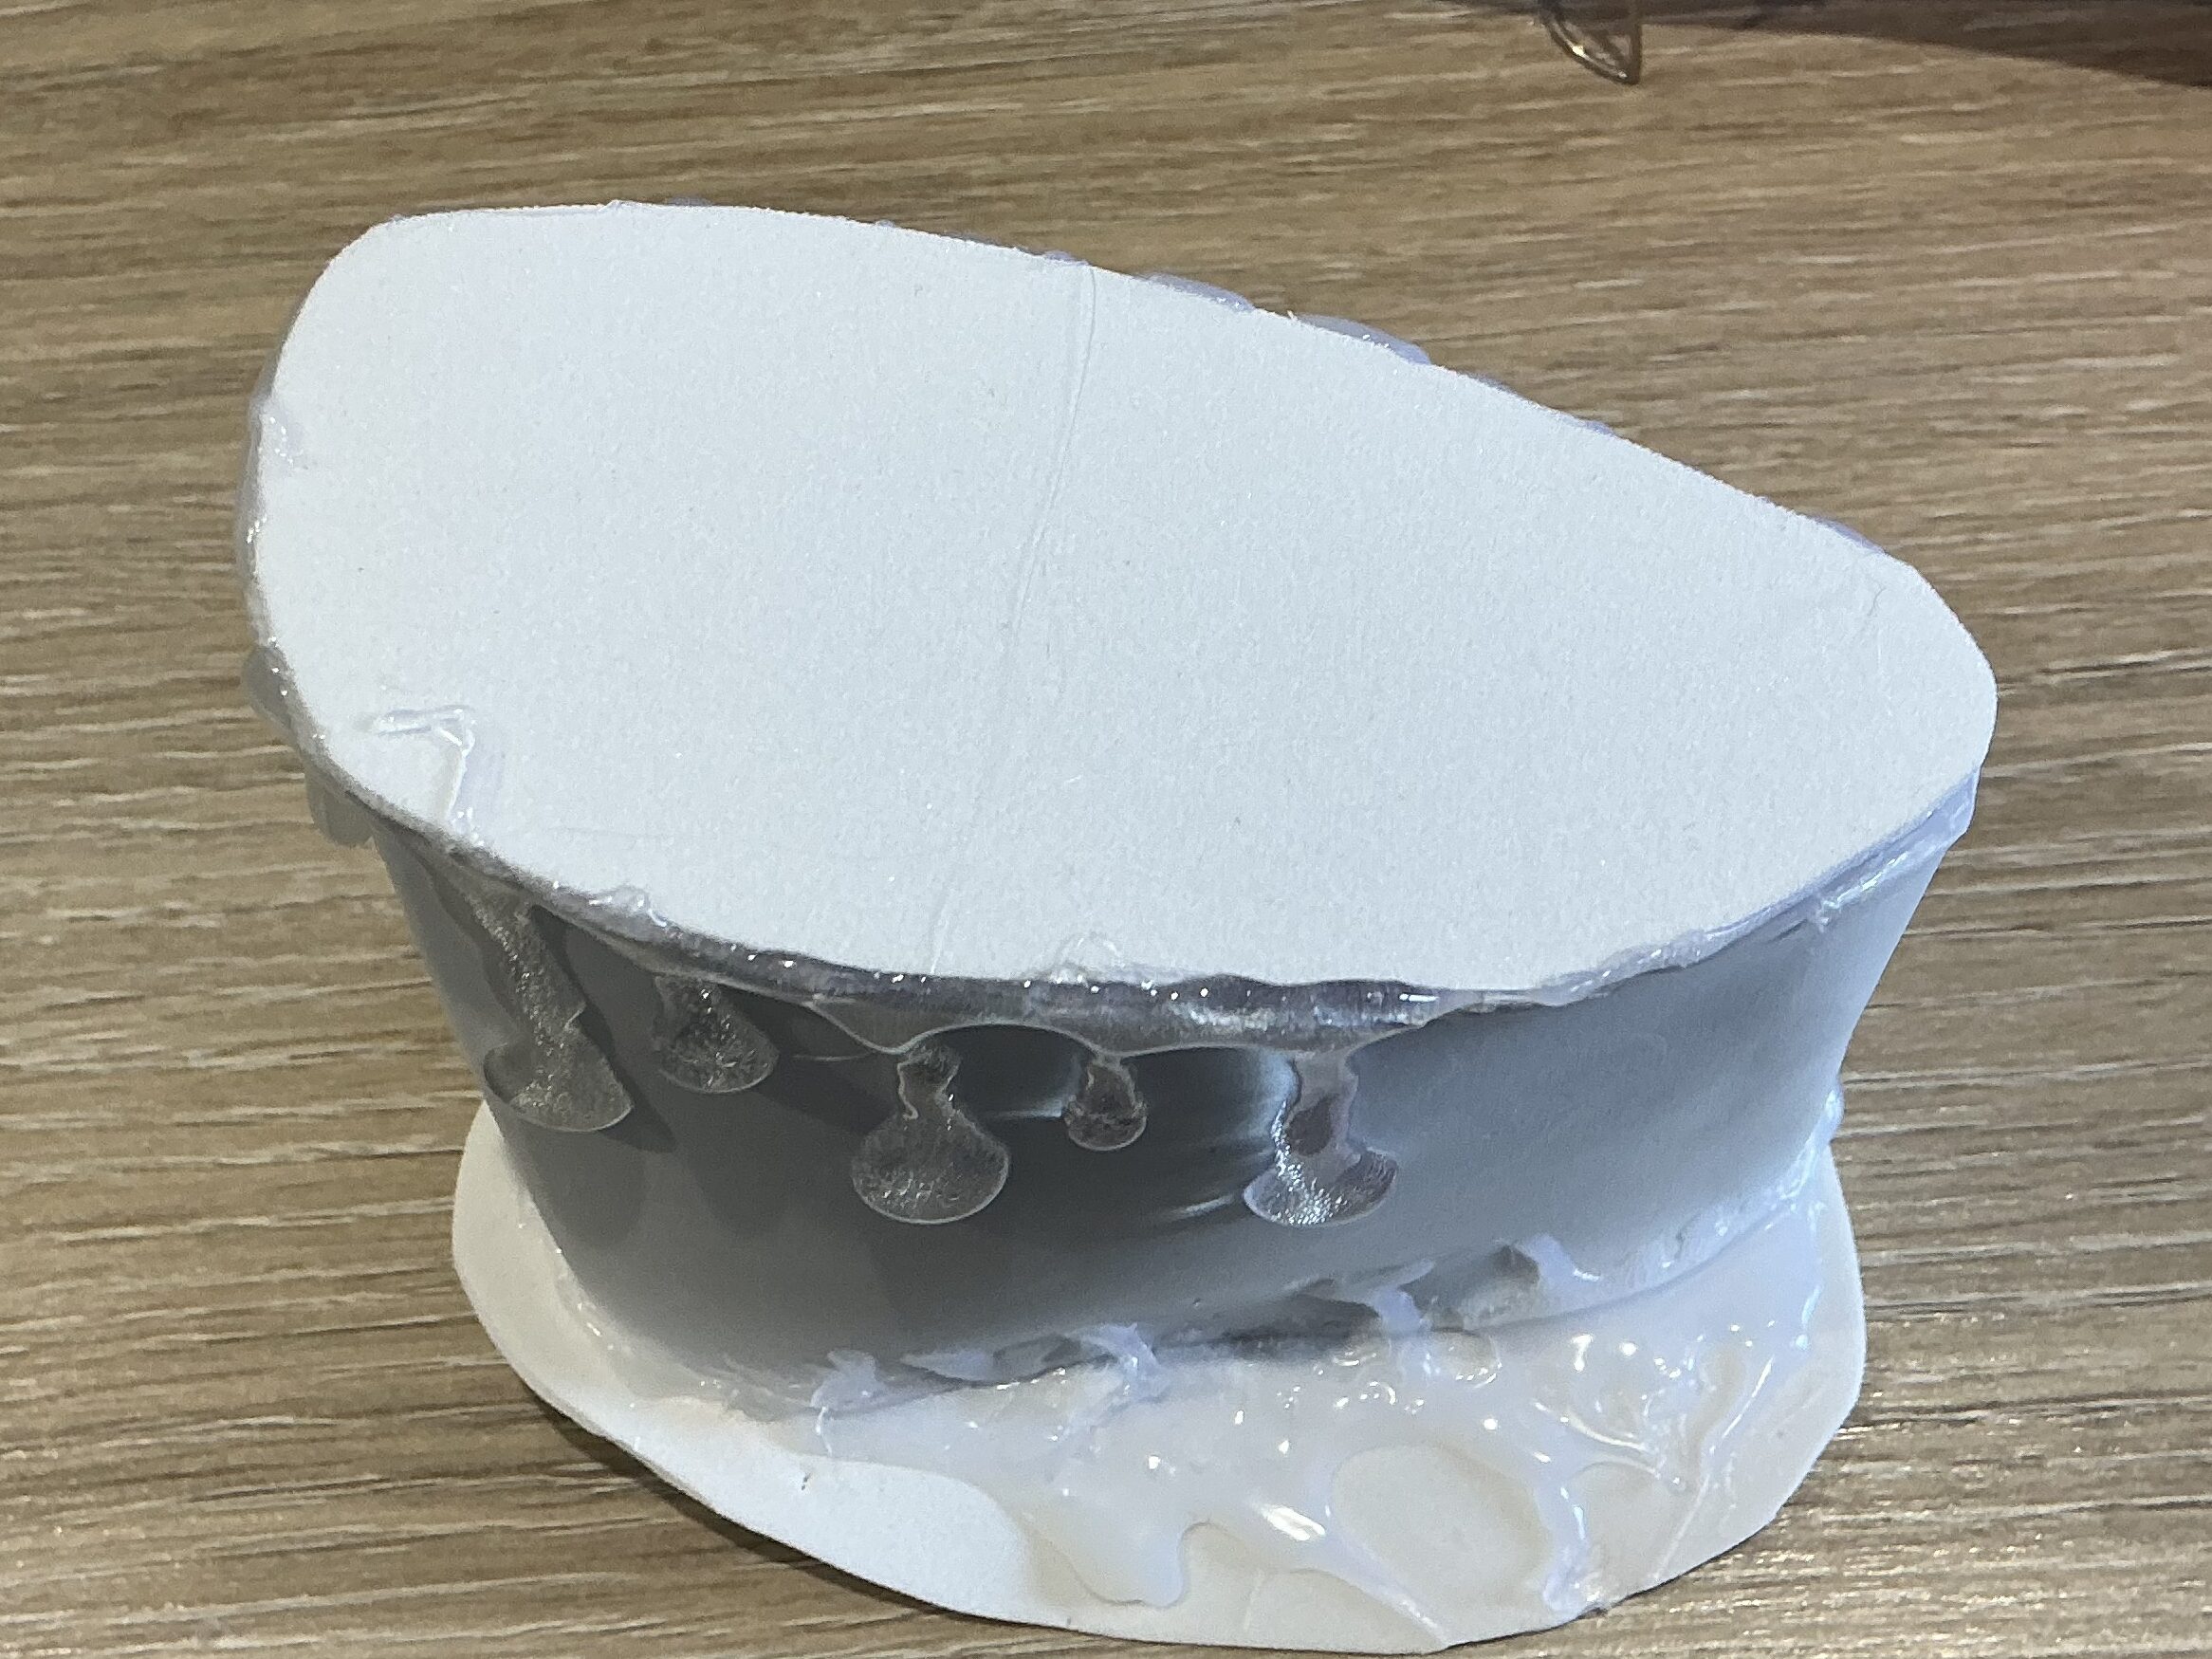
Creating the cake slice for the other shoulder pad was a bit more complicated because I couldn’t figure out how to create the right shape at first. My tutor advised me to create a pattern and score the foam so that the cake was flat at the edge and had a diagonal slant along the top:
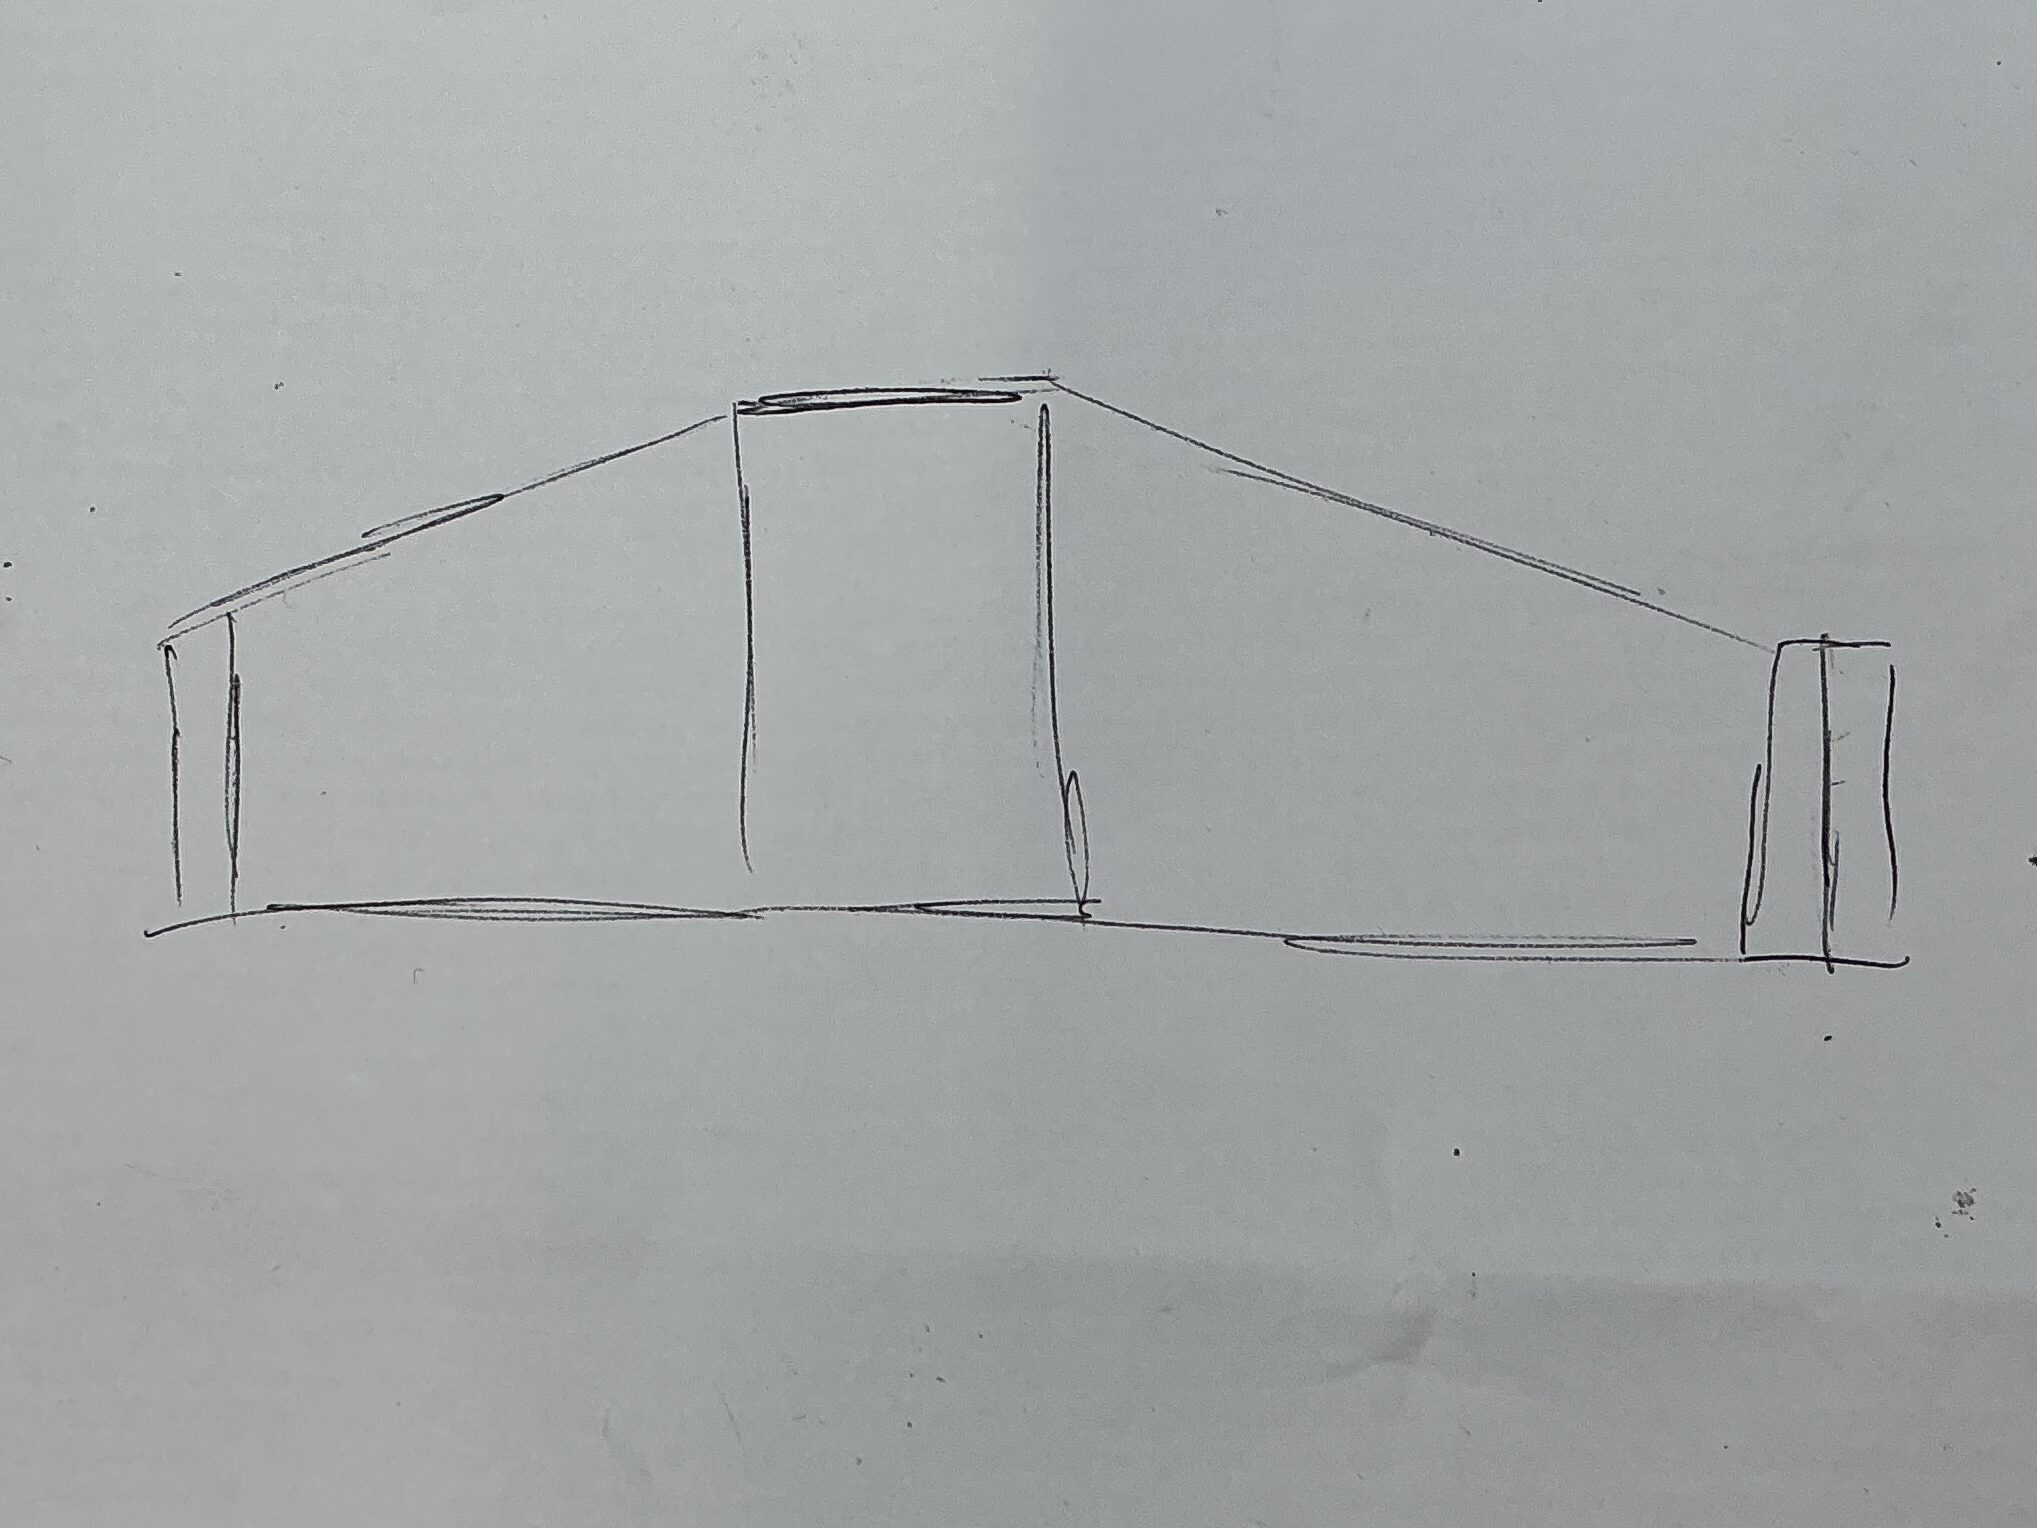
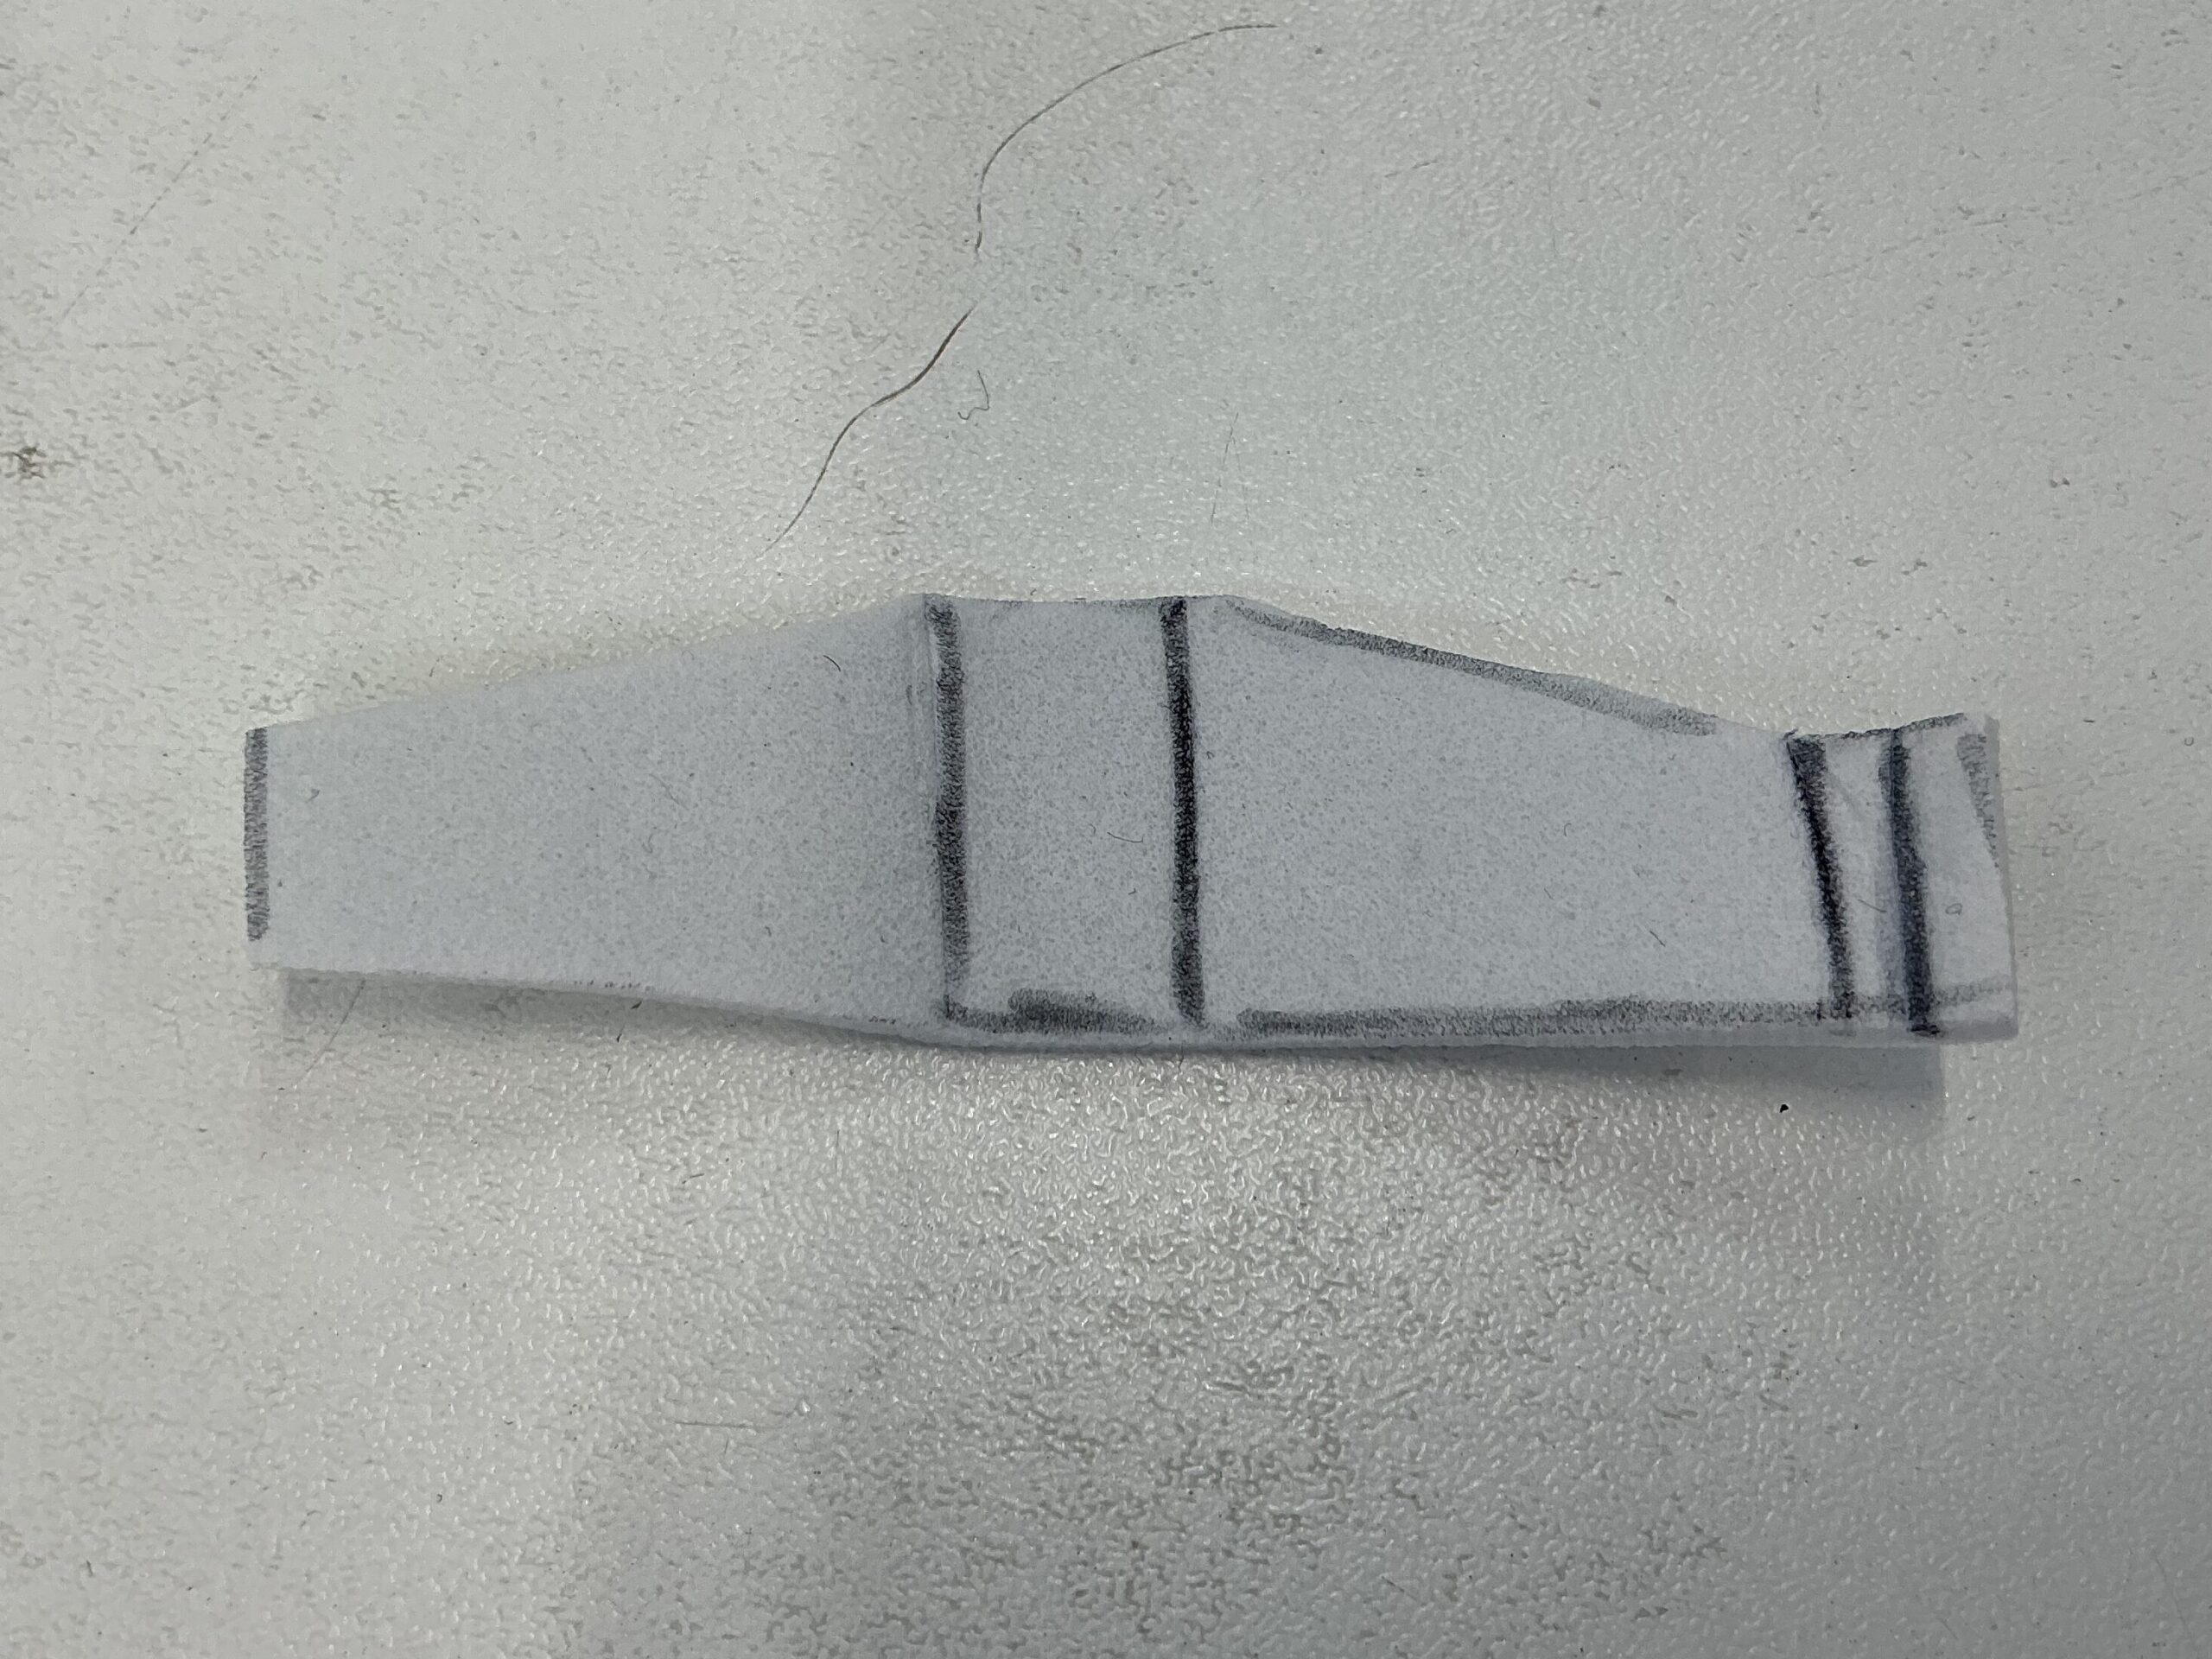
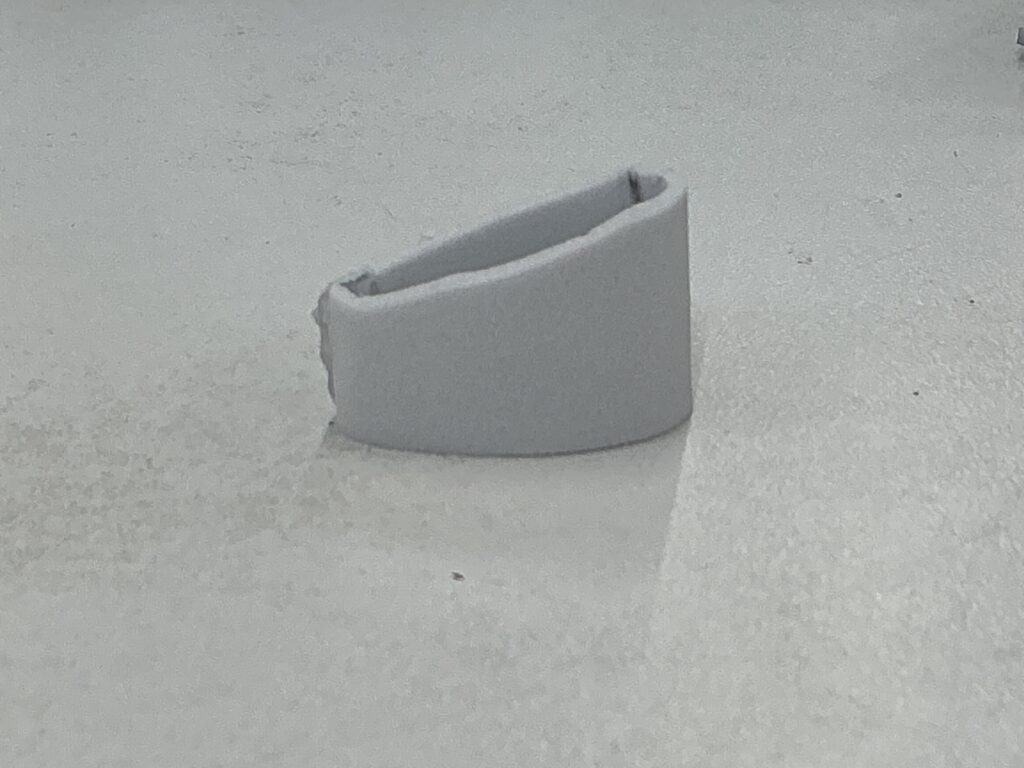
After making a smaller prototype cake, I scaled up the pattern my tutor created to help me and cut out my foam. I scored the lines, folded the foam and glued it into place to create the shape of my cake. I then glued my cake to the shoulder pad- there wasn’t a need to glue it to a piece of card first because it wasn’t curved at the bottom:
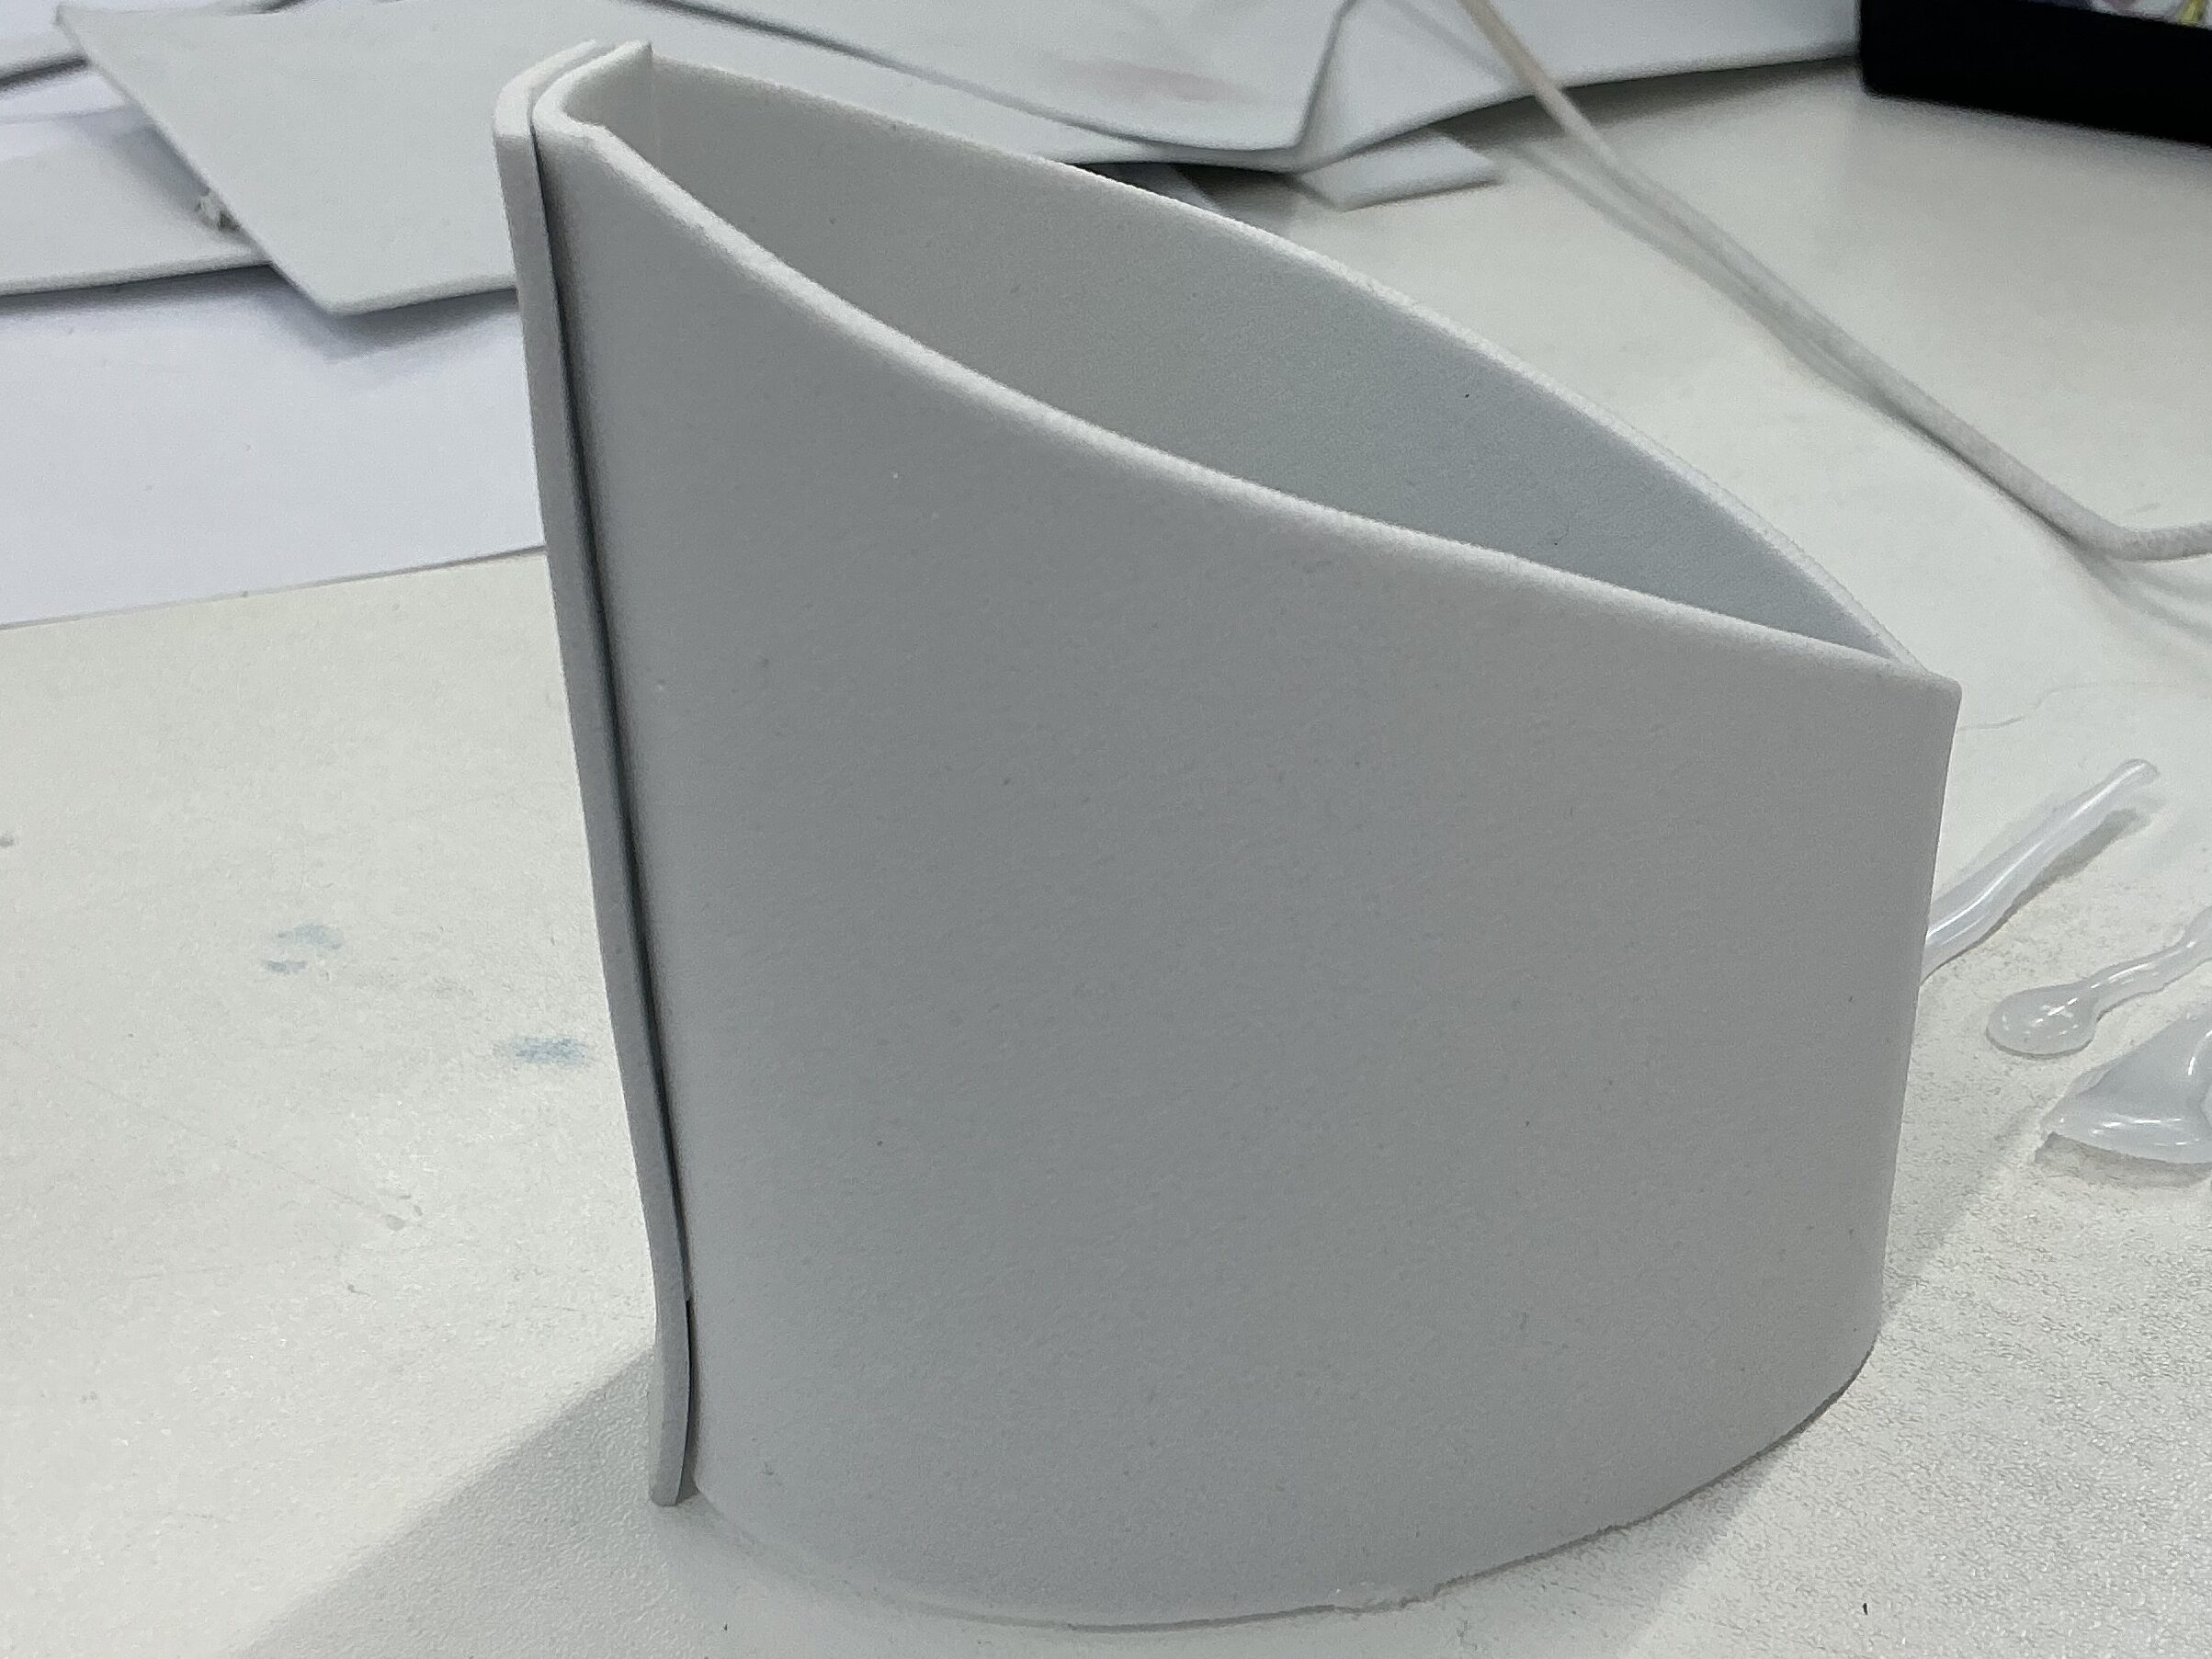
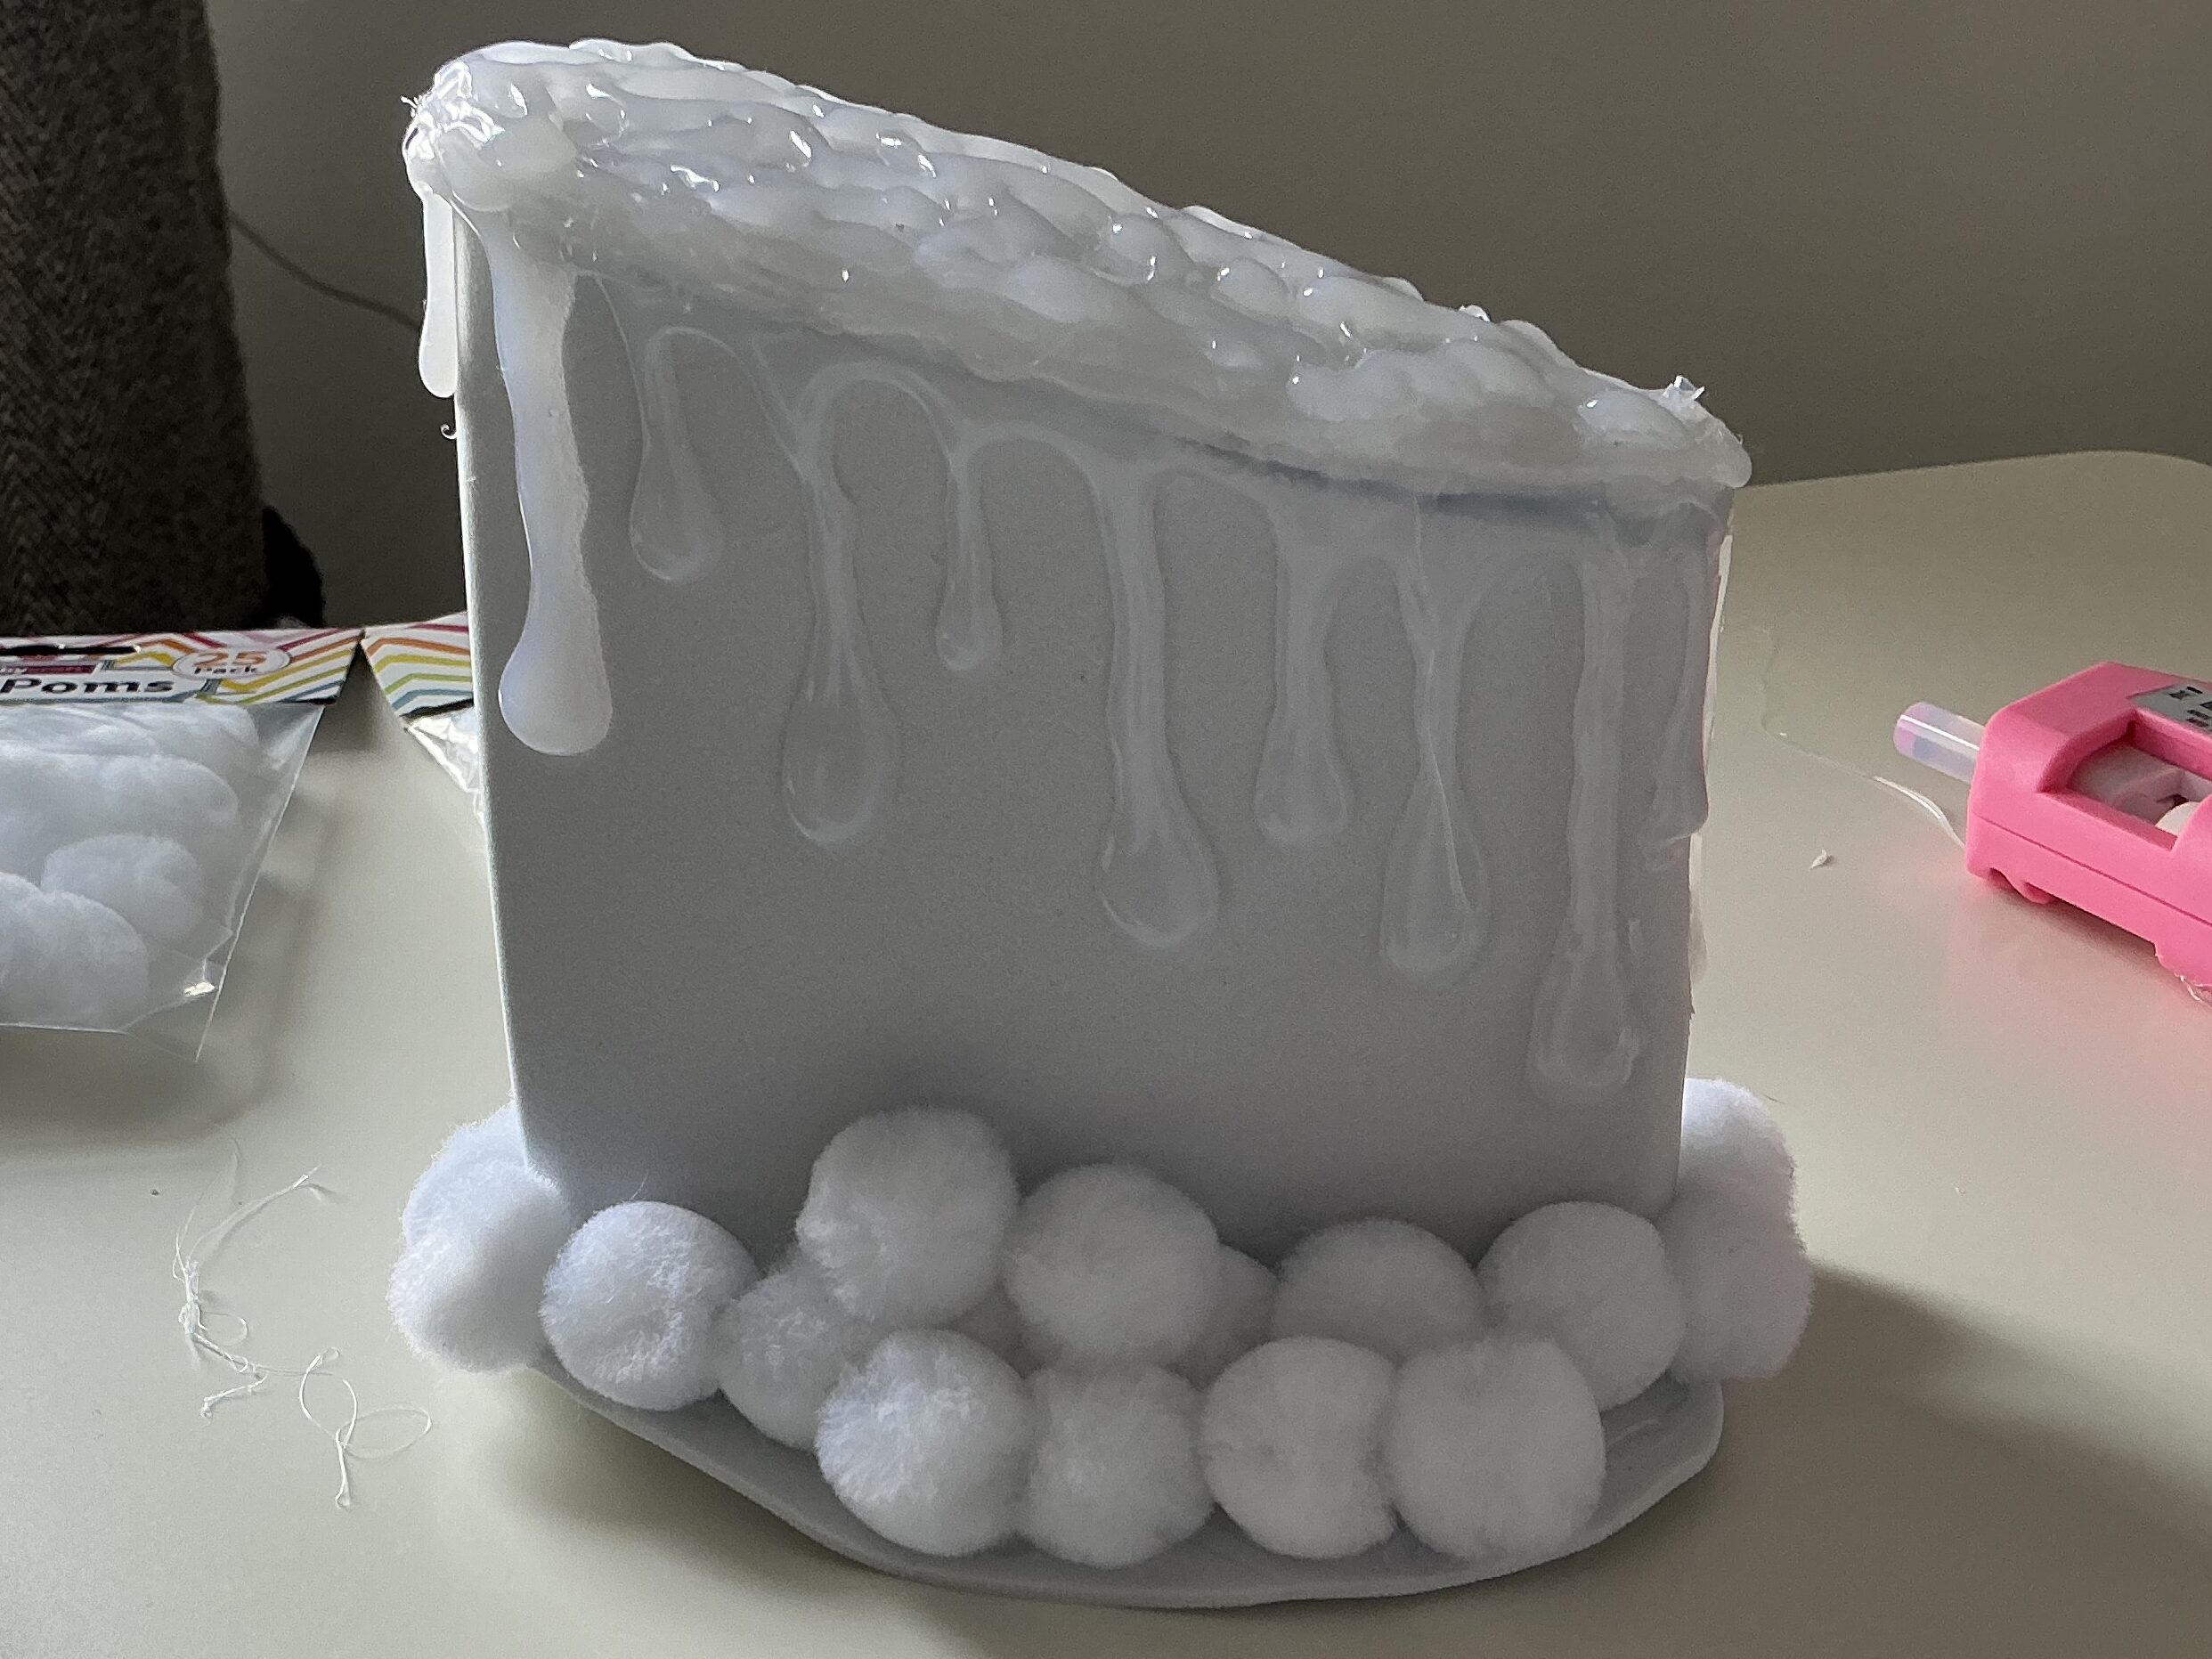
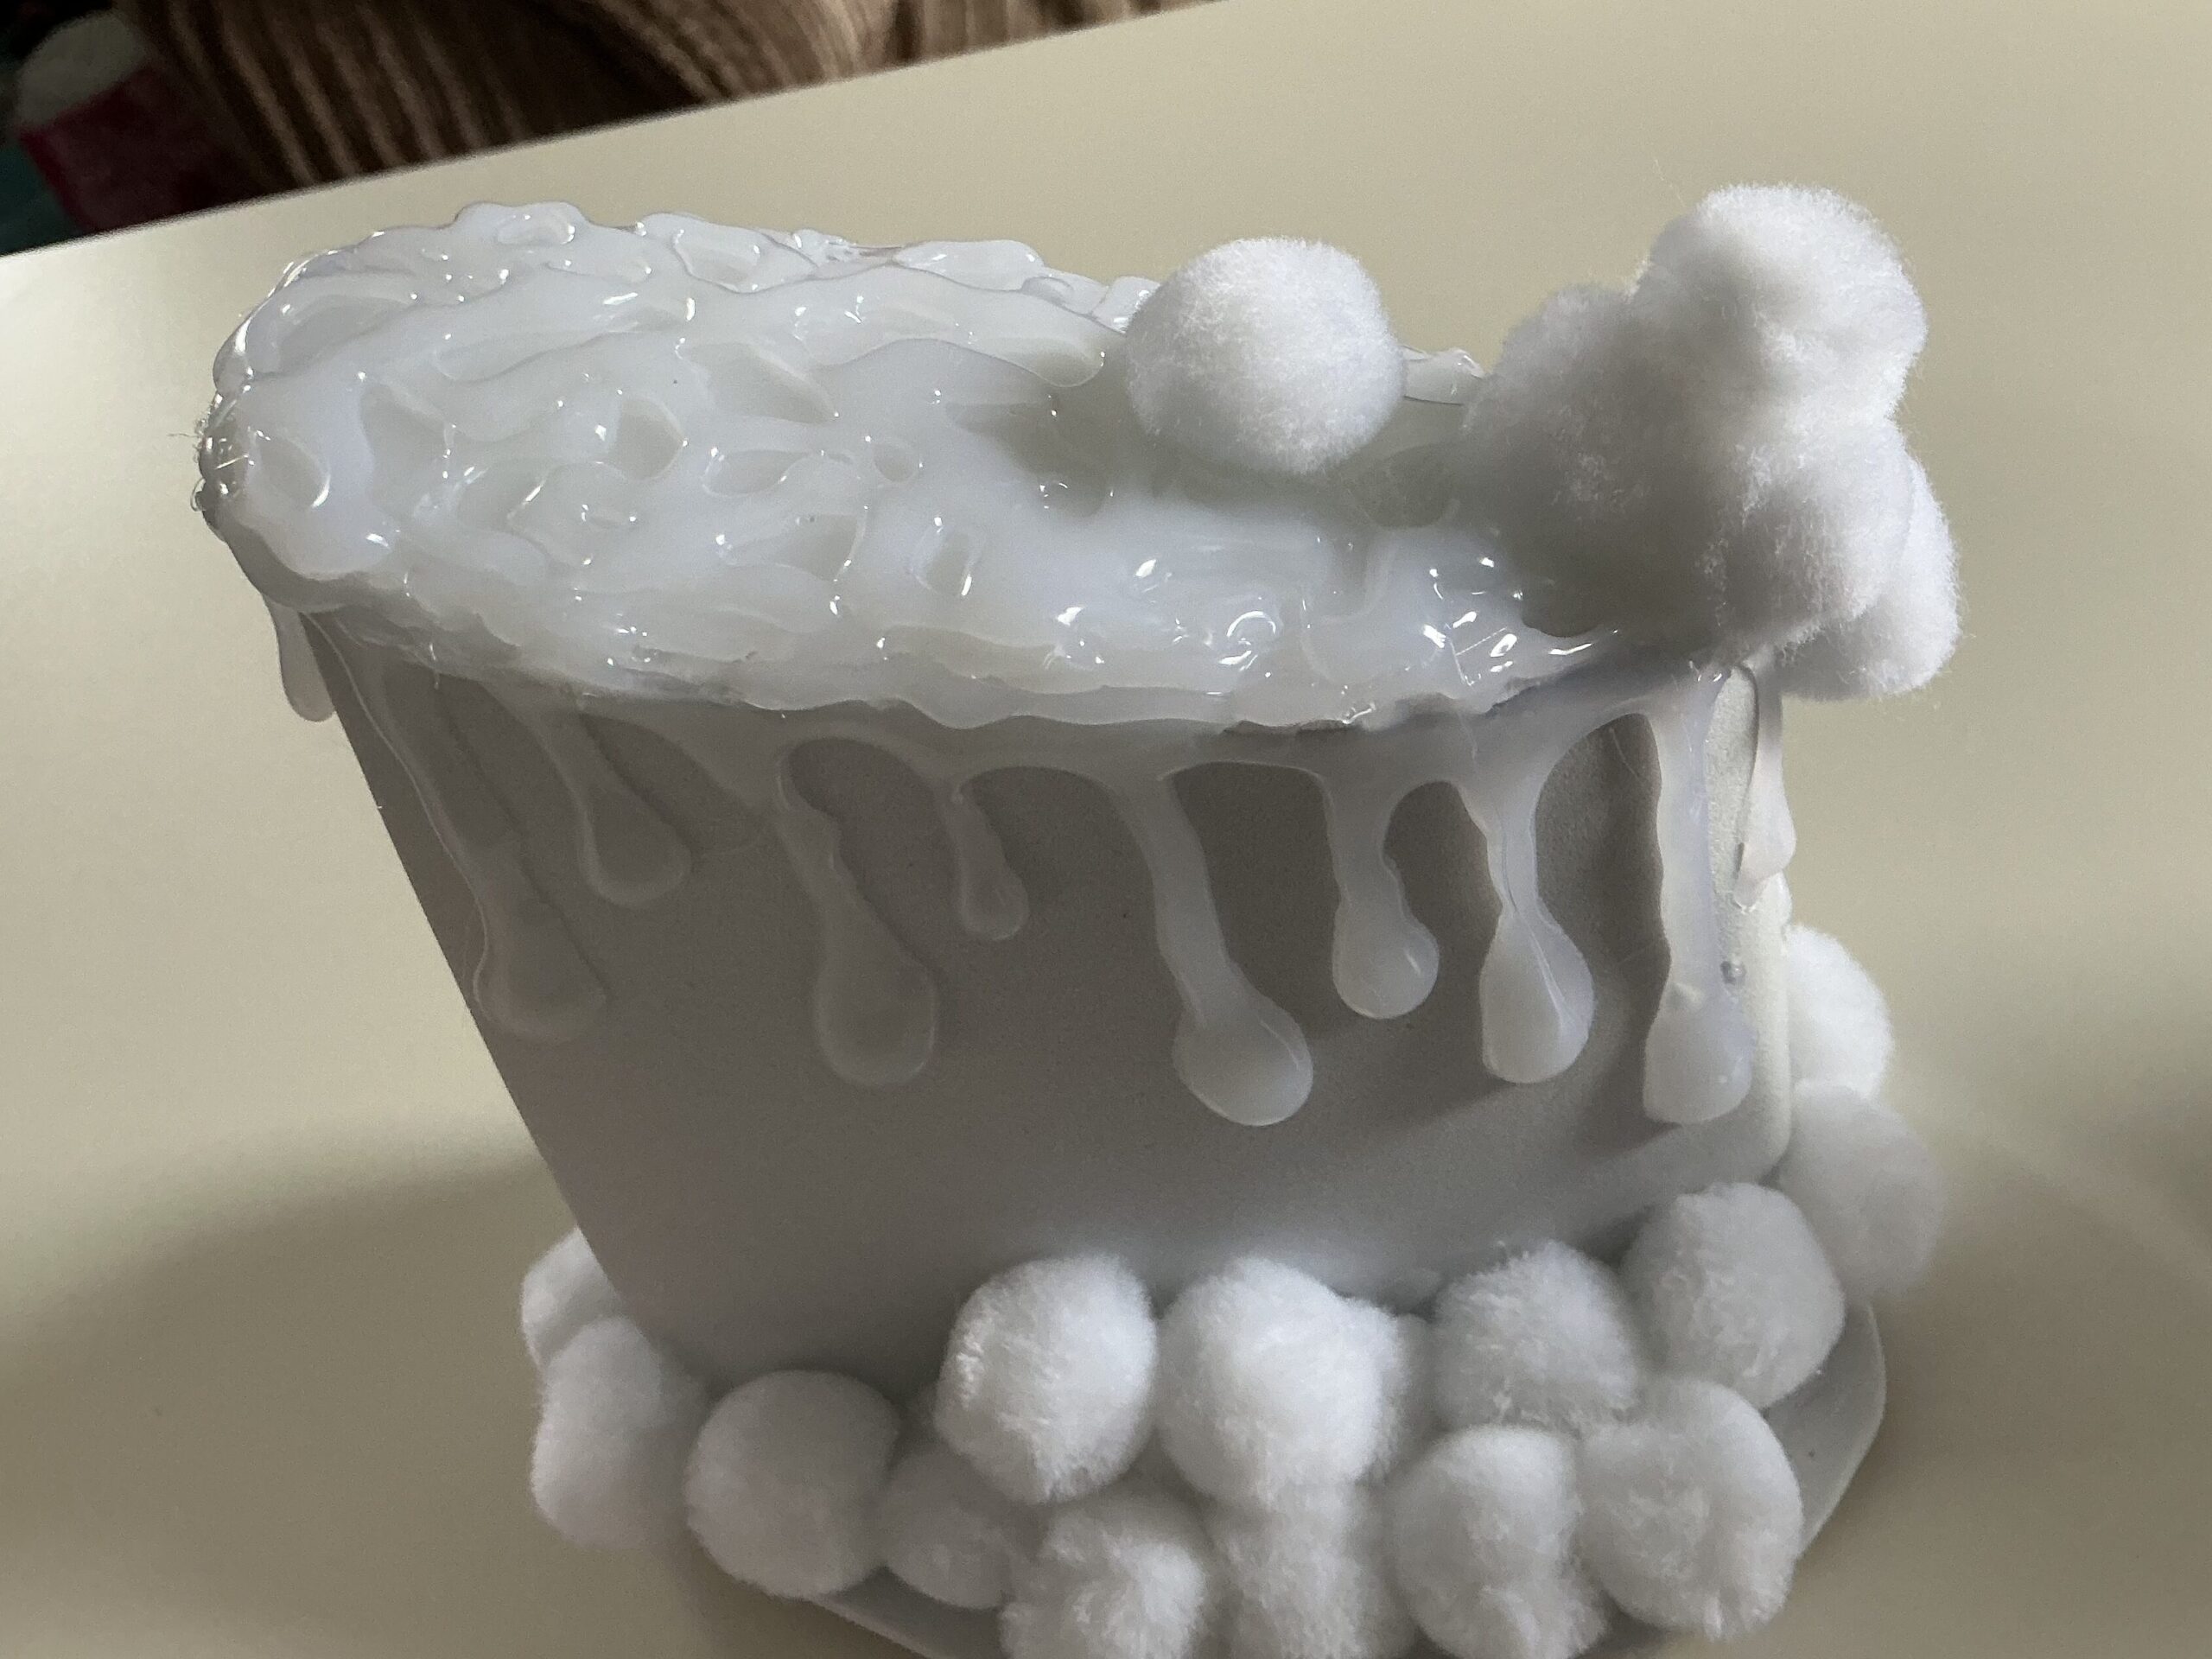
To add the top of the cake, I glued the cake to a piece of foam and cut around the edge so that the top of the cake would be connected.
I used the same techniques adding pom poms and drips to my cake and for the same reasons (to create the effect of the cake and icing melting). I did however add extra pom poms to the top of the cake to add more of a 3d effect to the icing. I didn’t cover the whole of the cake in hot glue because I liked the airy effect. However I did add it to the top of the cake to separate the icing from the cake. I carried on the 3d effect by adding drips down the side of the cake as well as adding hot glue across the middle of the cake to make it look like the icing between the cake layers was oozing out:

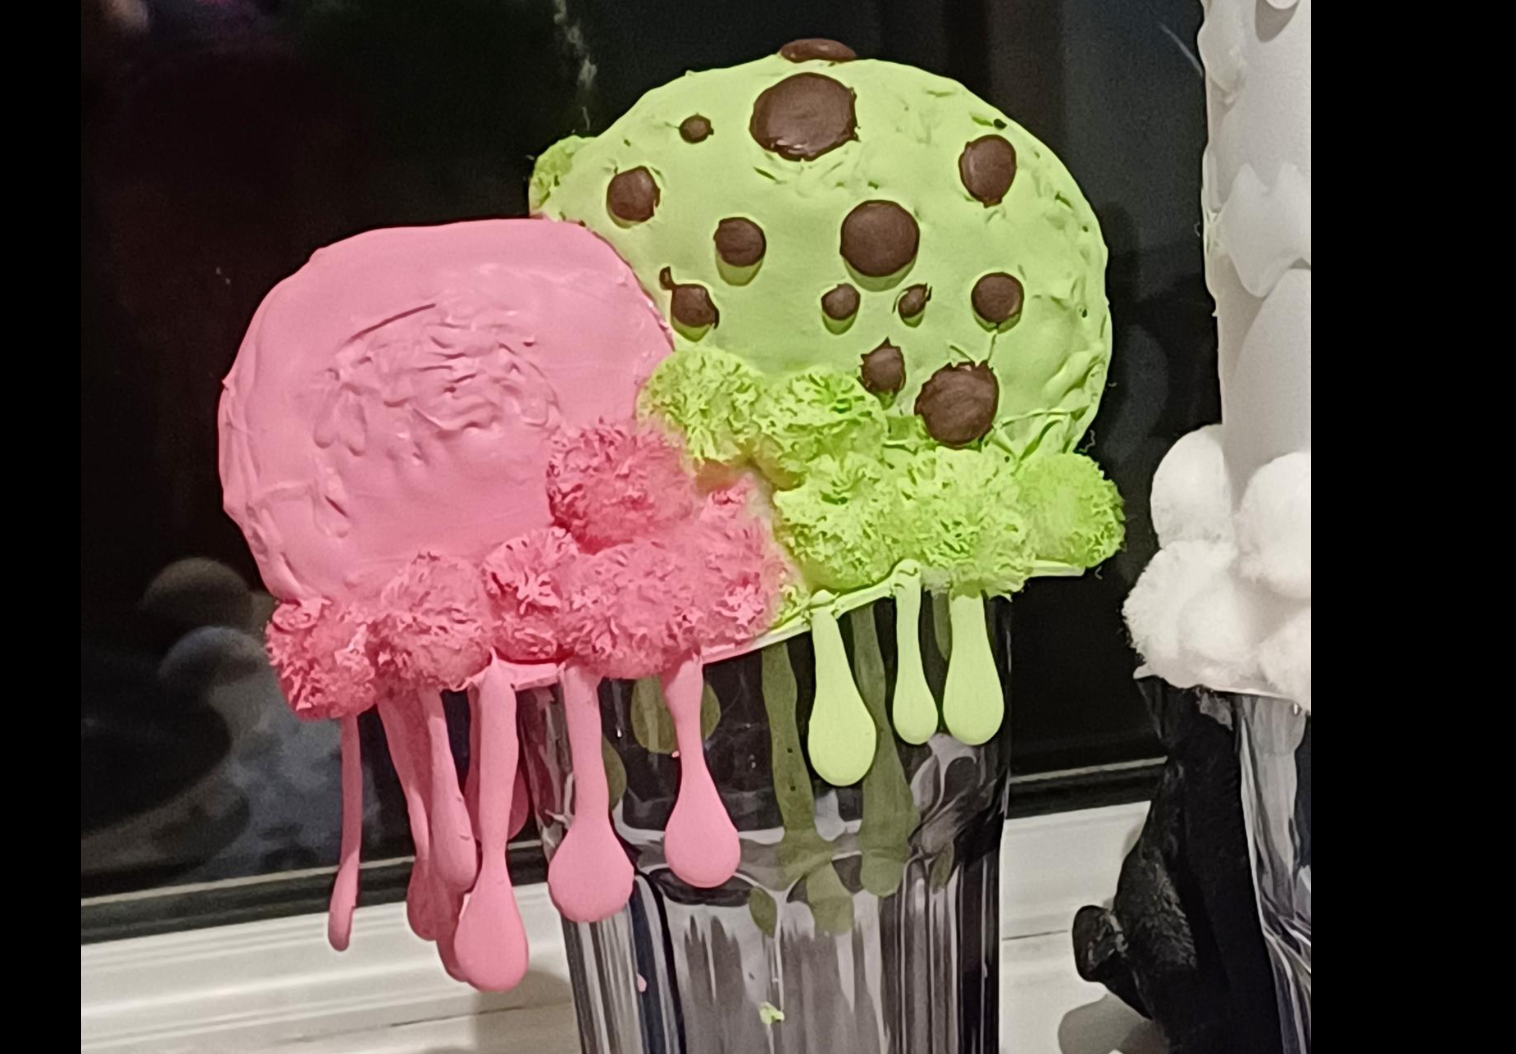
I then painted my cake slice, I wanted to make the colour design similar to my makeup design because I thought that it would add a more disturbing aesthetic to my work- referencing the first image of reference from Pinterest (the first image that appears on my context page).
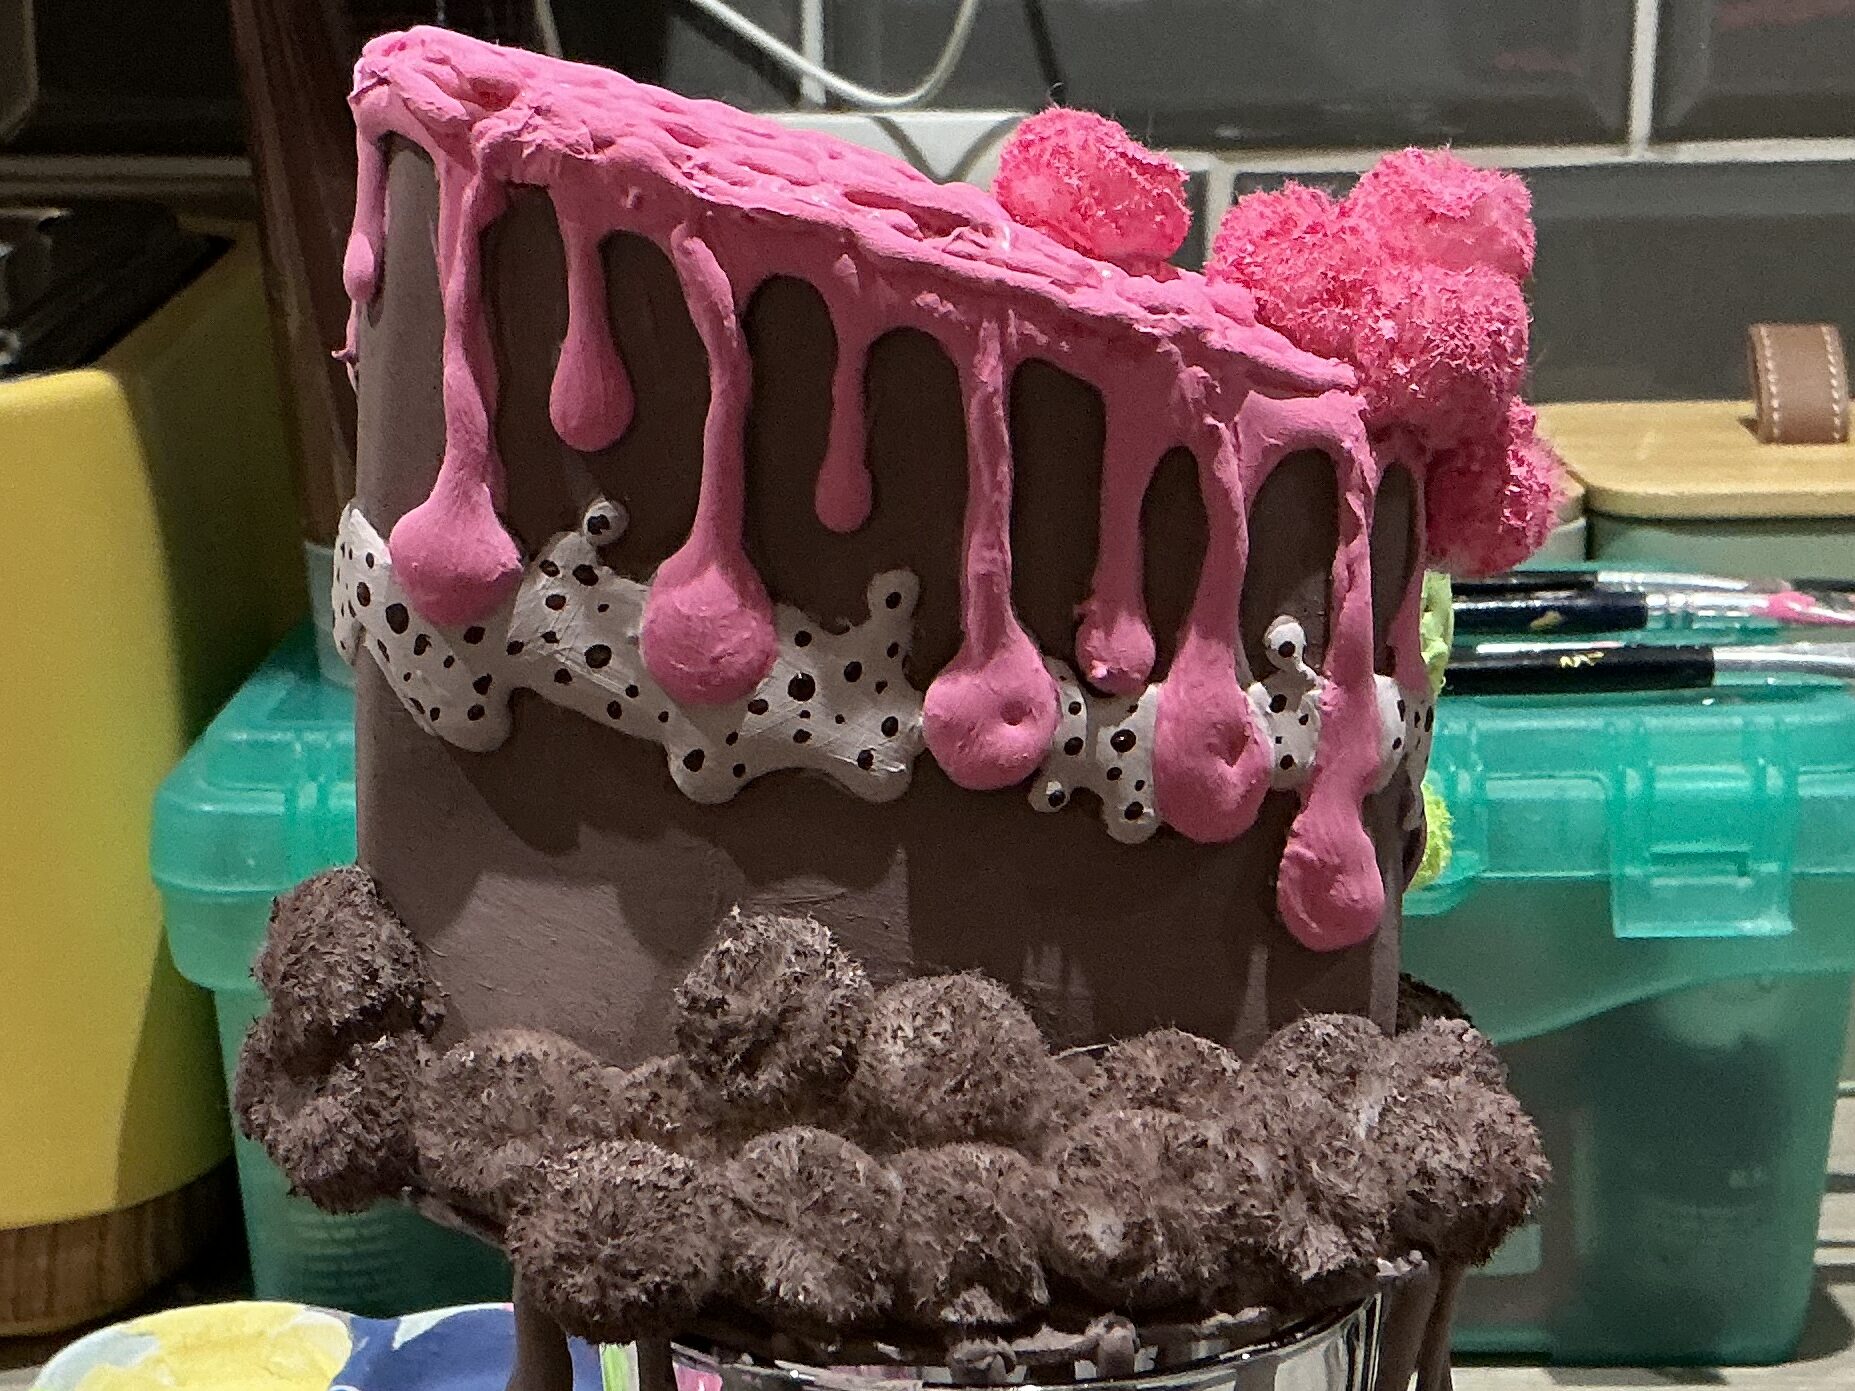
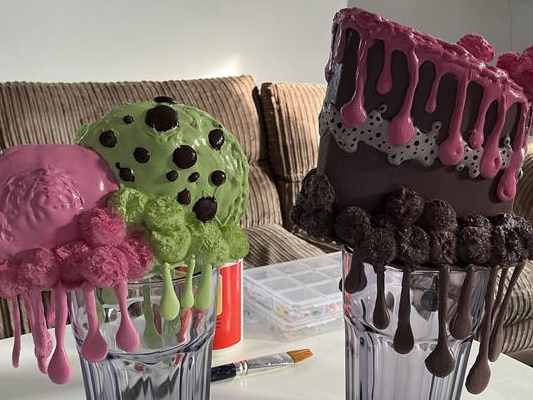
This is what my shoulder pads looked like once they were painted
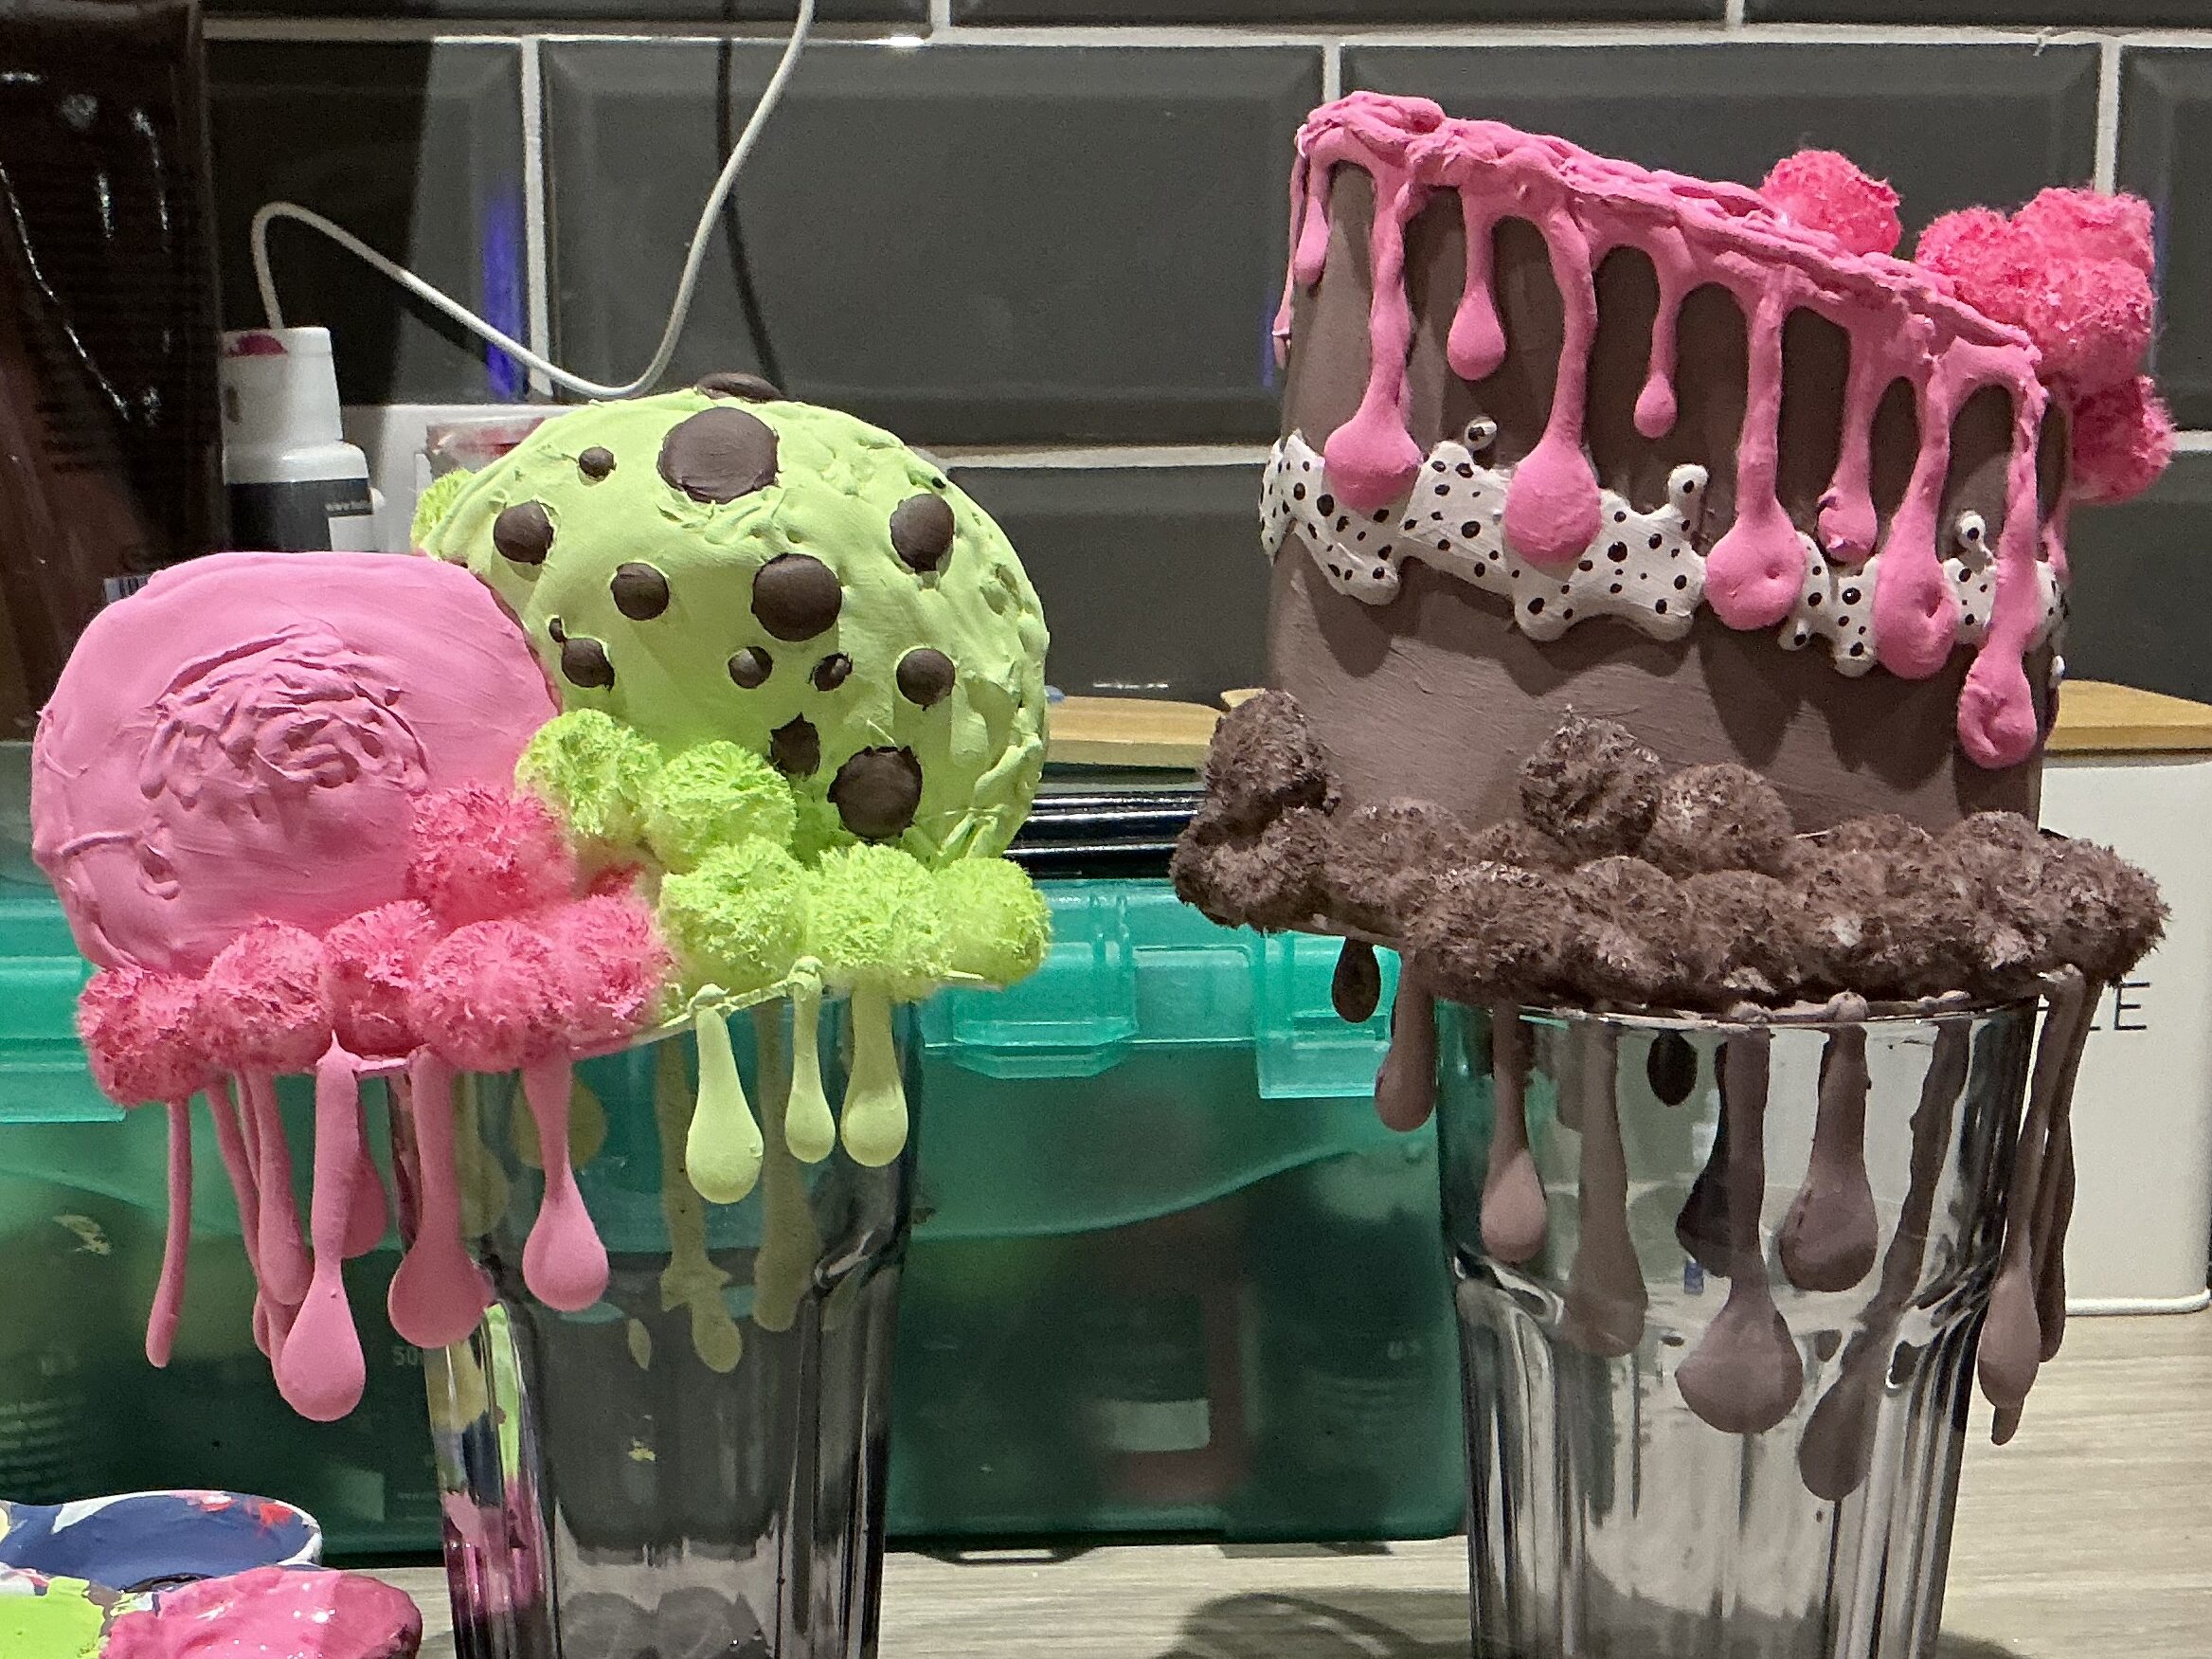
I then tested part of underneath of the shoulder pad to see what the result would be if I used pva glue to protect the paint:
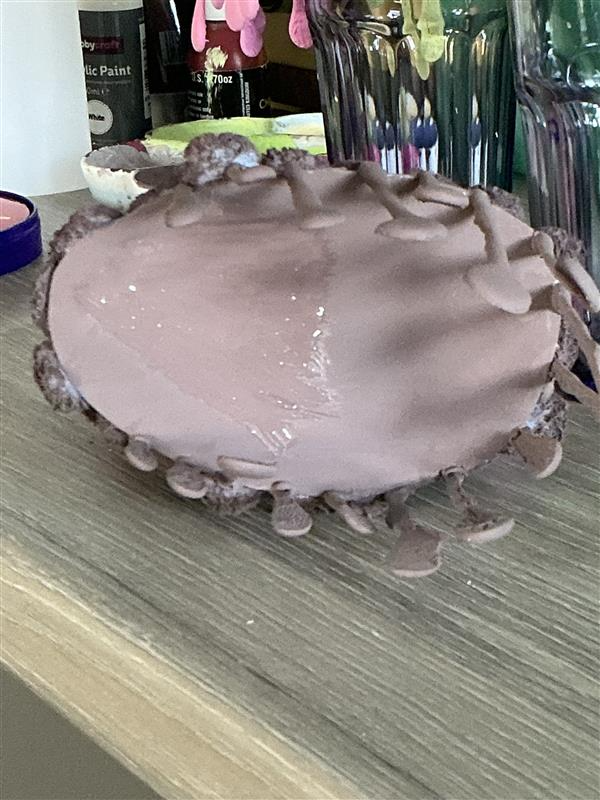
I learnt that I could use glue to set my paint with glue as long as the paint was completely dry. If the paint isn’t completely, the paint will bleed as a reaction to the glue. I was lucky to have the opportunity to have tutors from textiles and fashion look at my work. This is a spider diagram of feedback I received:
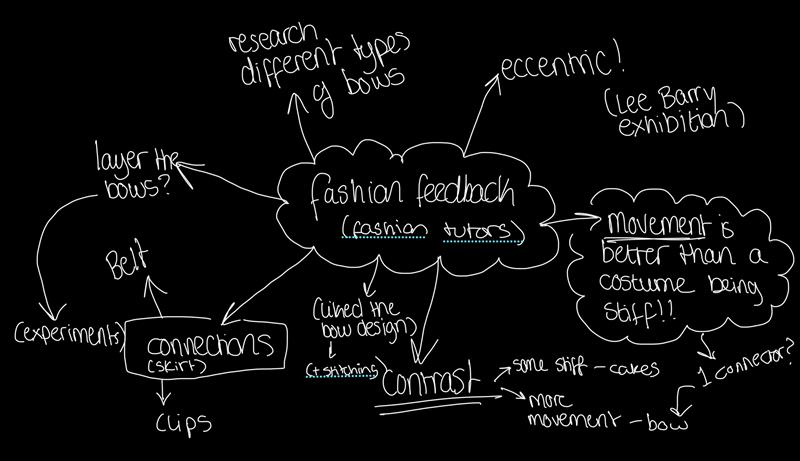
As part of the feedback I received from the fashion tutors, I used a gloss Mod Podge (paint sealer) to add two more layers to my shoulder pads to finish them completely and make them shinier. This is what they looked like once they were complete:
A part of feedback from the textiles tutor that I decided to plan a bigger bow for the back of the waistcoat as well as a train, this is my design process:
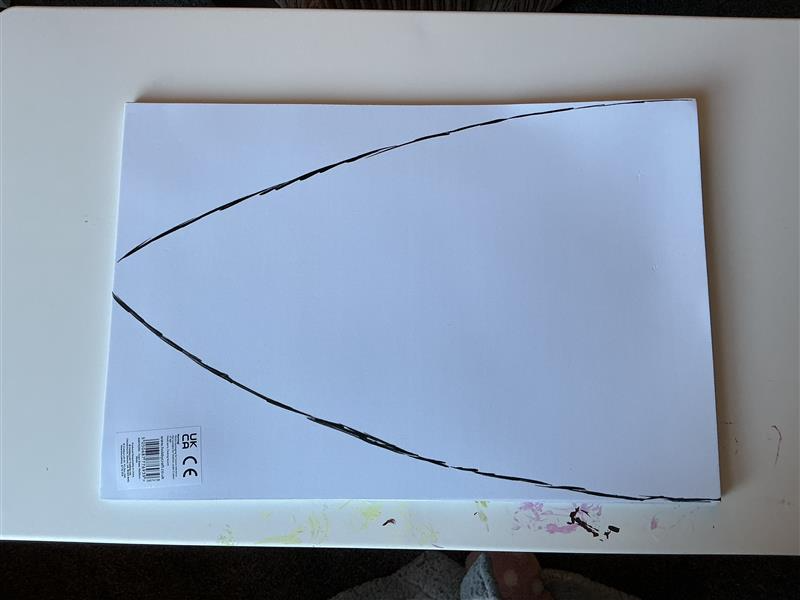
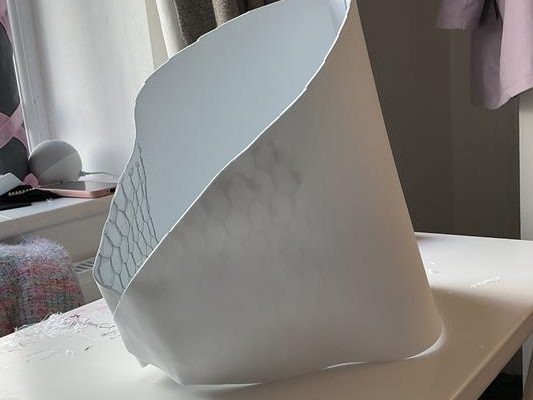
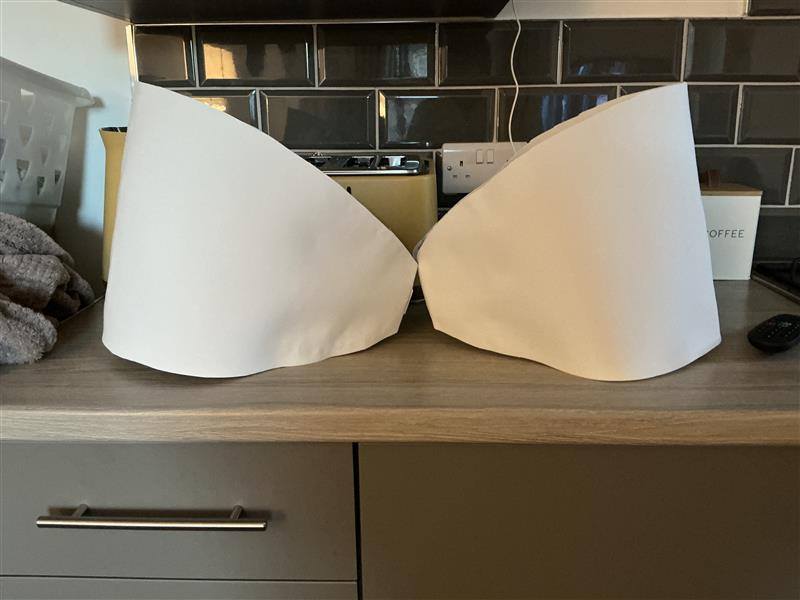
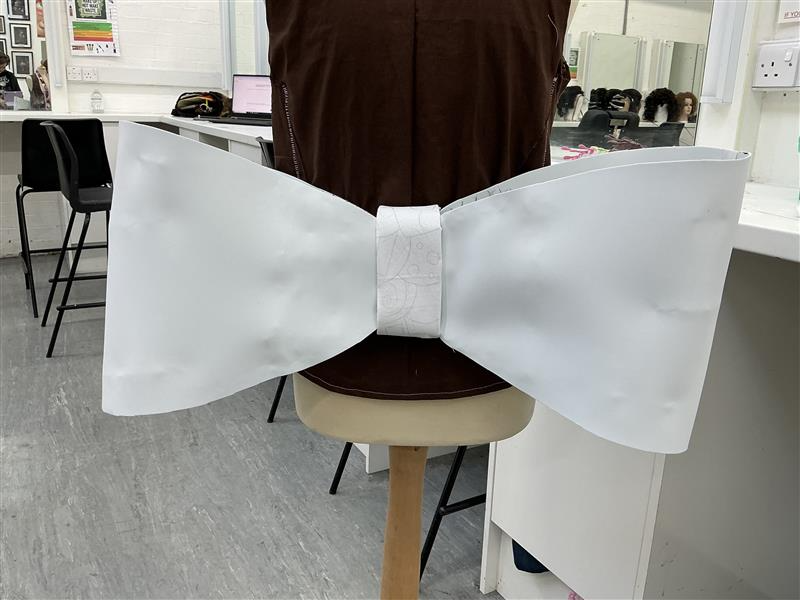
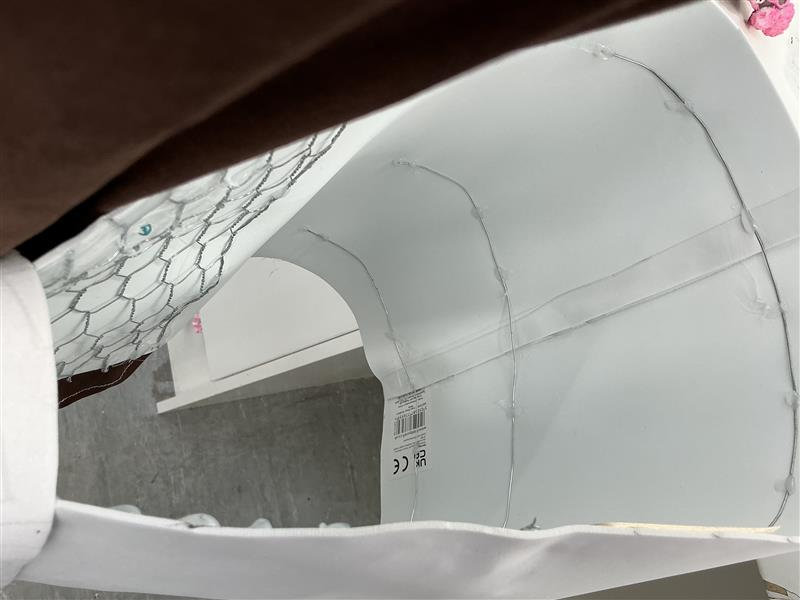
To make the bow structure, I used four pieces of A3 foam sheets to make the shape of the bow. I scored the edges and glued them down before adding chicken wire for structure:
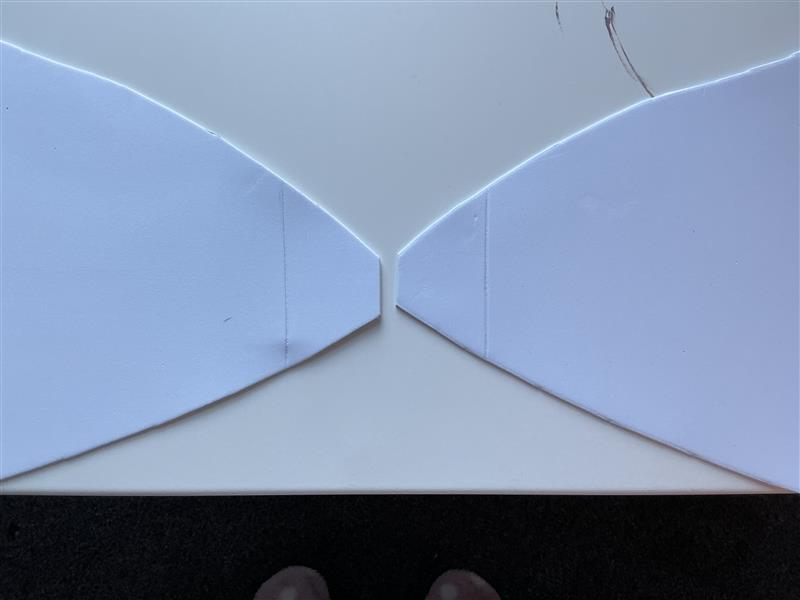
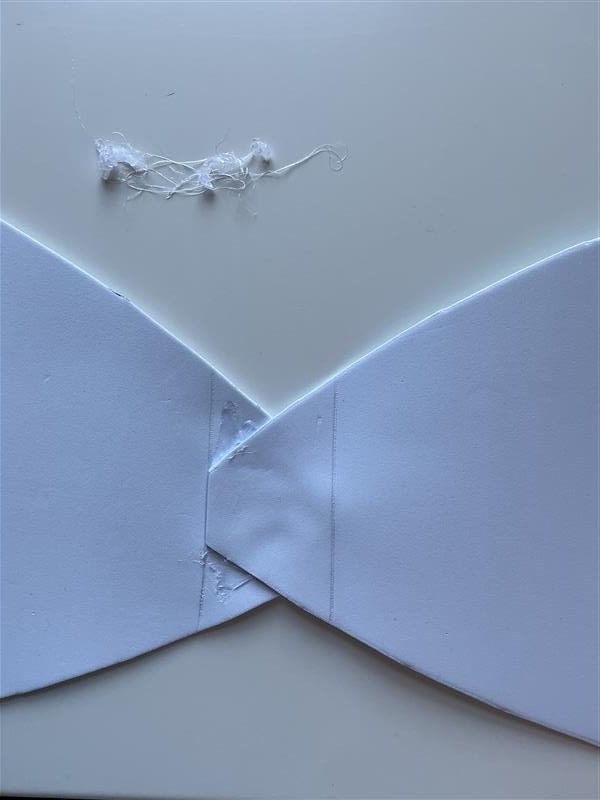
Once both sides of the bow were done, I glued them together at the seams to create a basic bow shape:
Problem Solving:
I used spare foam and patterned fabric to create a middle part for the bow. I had a problem with this at first because the cube ended up being too small for the ends of the bow. To fix this problem, I made the ends of the bows pointier rather than square. This was the structure of the bow once it was done:
When I looked at the bow, I didn’t like how long the ends were because I would have preferred the bow to be wider rather than longer. My tutor advised me to add in wire for structure- I added three small wires first, which I think helped a bit:
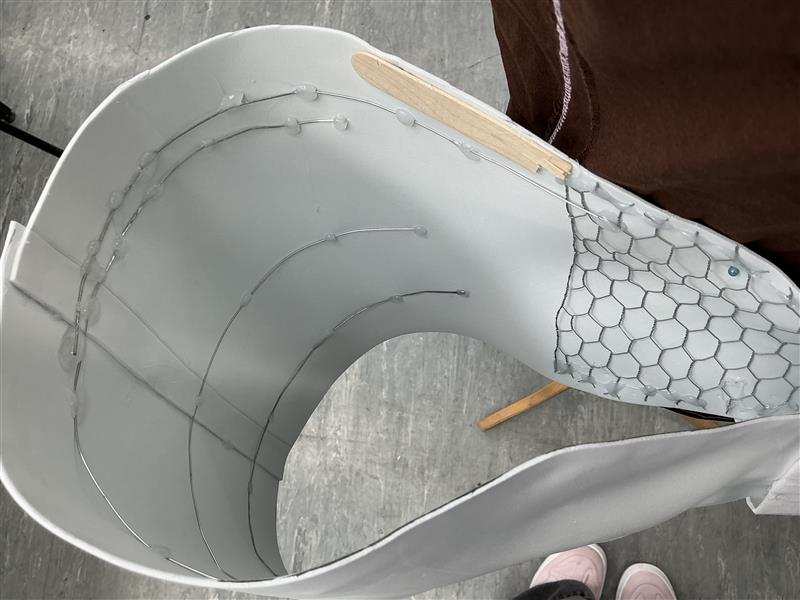
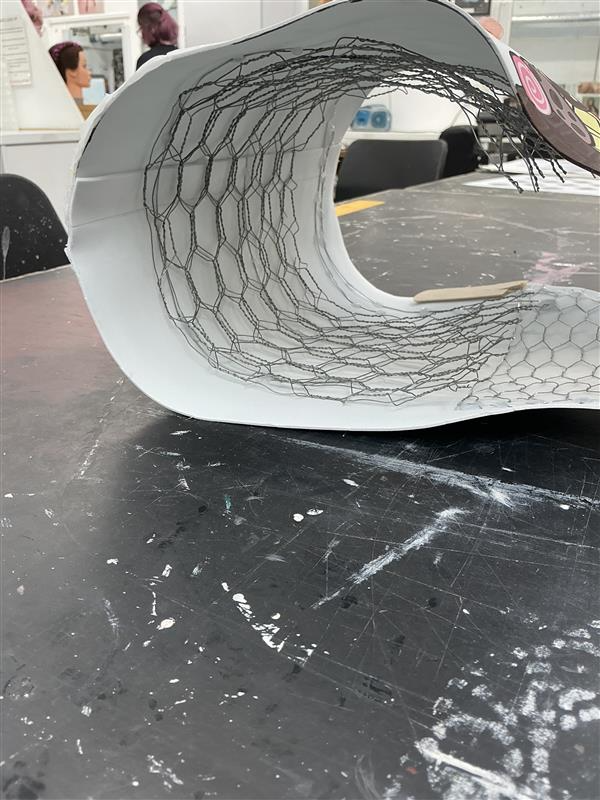
I still wanted my bow to be wider so I decided to fold over some chicken wire and add that too for added structure. I found this tricky because the chicken wire was very layered and I found it difficult to get it all glued down- it was still important that there be a lot of wire so that the structure was completely secure. I also found this difficult because the structure of the bow was already complete so the wire kept catching my hands as I glued it in. Still I managed, this is what the wire looked like once It was glued in.
To hide the seams on the edges of the bows, I added hot glue drips down the edges. I thought that this may hinder my look in the long run because it ended up making my bow heavier, but I made sure that the bow was detachable so that the weight wasn’t a huge problem. I painted the drips with acrylic paint that matched the pink, green and brown on the shoulder pads:

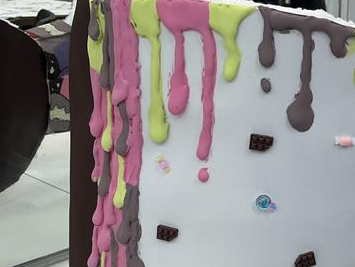
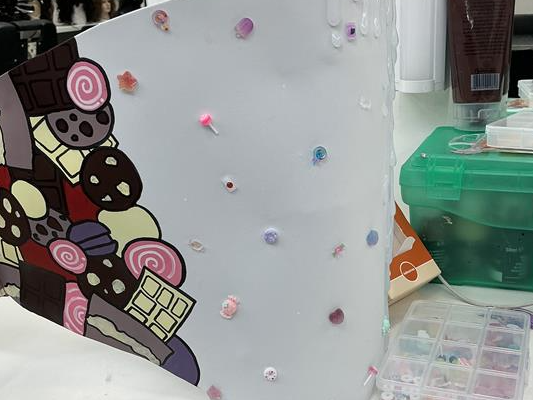
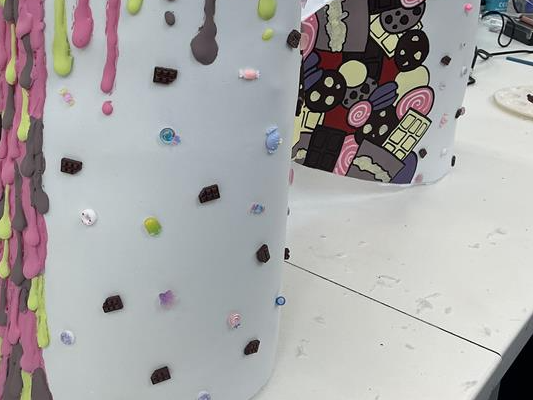
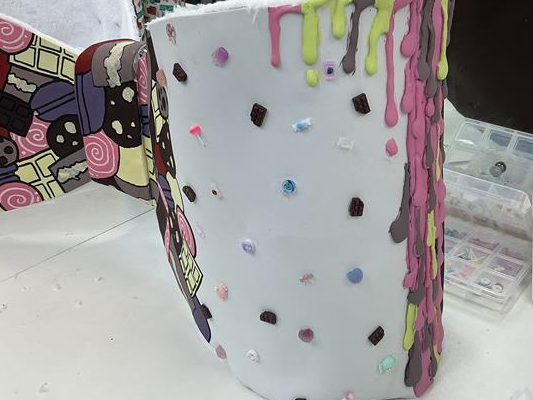
Taking the textiles tutor’s feedback into consideration, I added the painted dessert design to my bow with acrylic paint and I used an acrylic paint pen to add the outline:
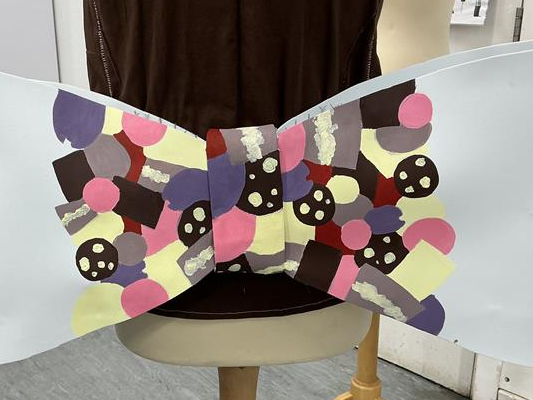
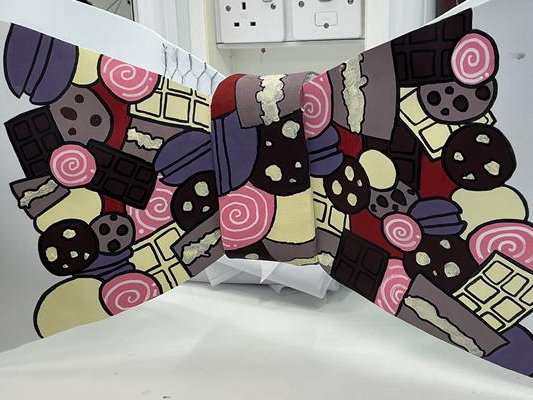
I then glued the nail charms onto my bow, I made sure to leave space for the chocolate bar nail charms that I didn’t have at the time:
Once the chocolate bar charms arrived I added them too:
To finish the bow, I added brown paint and mod podge to the back of the bow and fleece fabric to the inside of the bow:
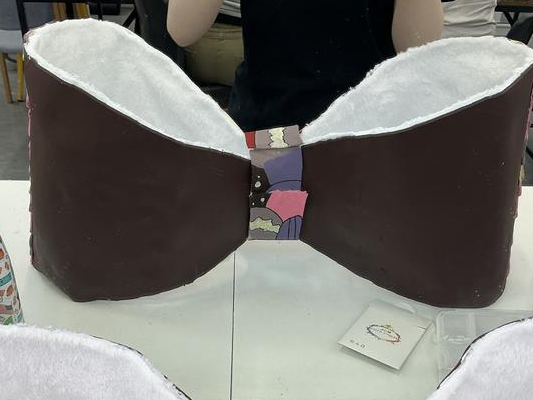
*full bow picture*
I also attached a large hook and eye to my bow and waistcoat. This was so that the bow would be easily detachable:
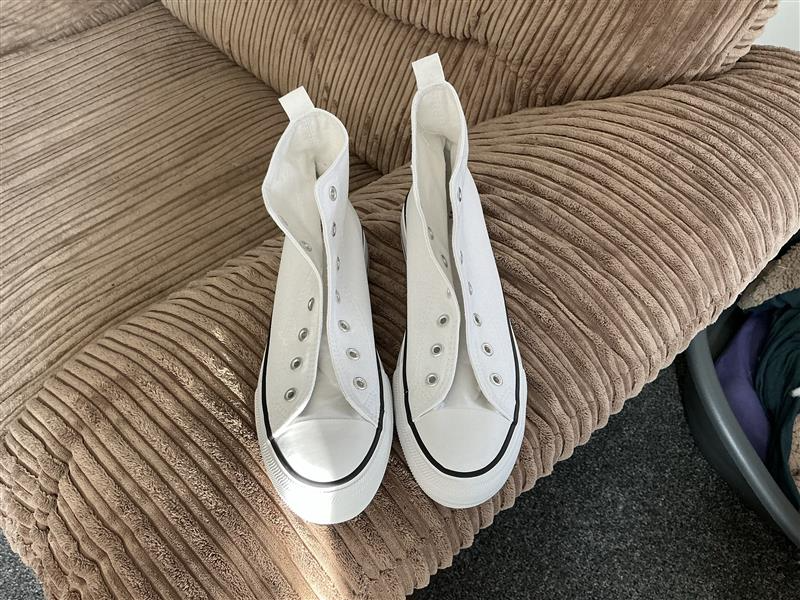
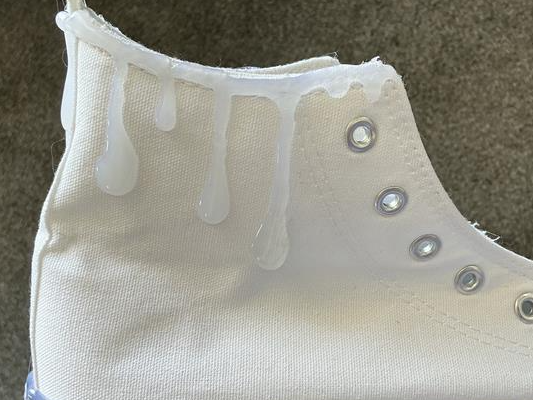
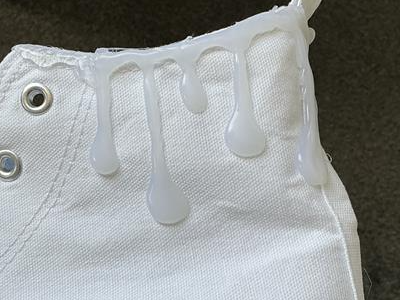
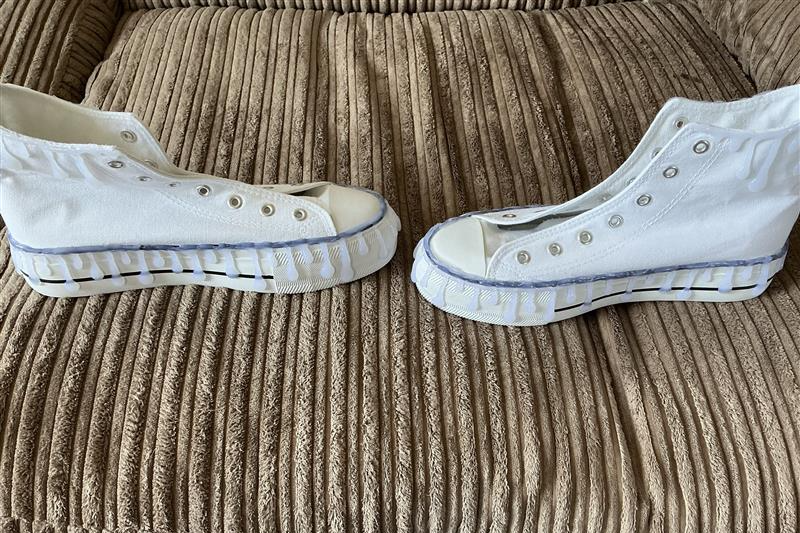
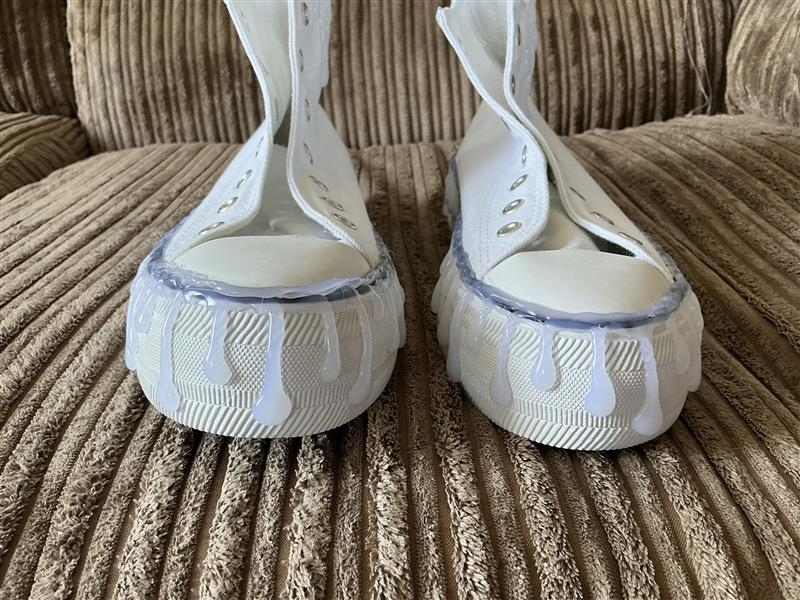
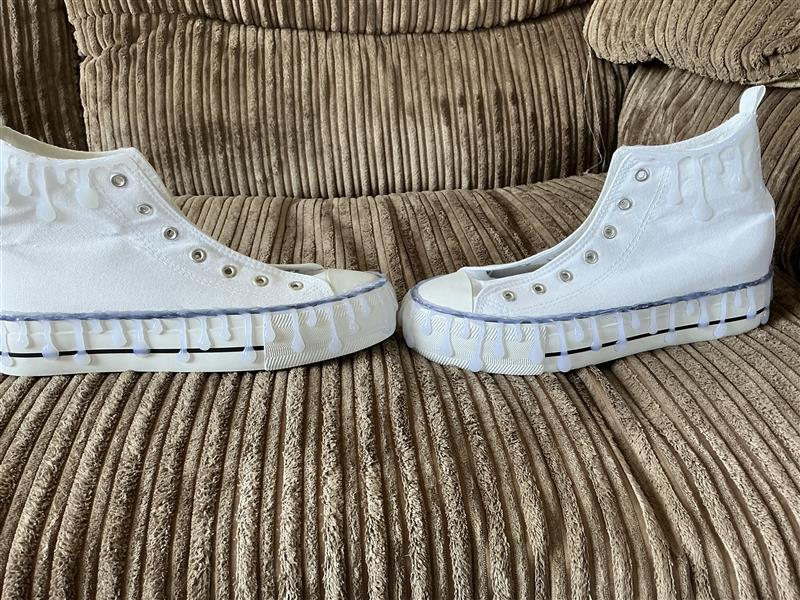
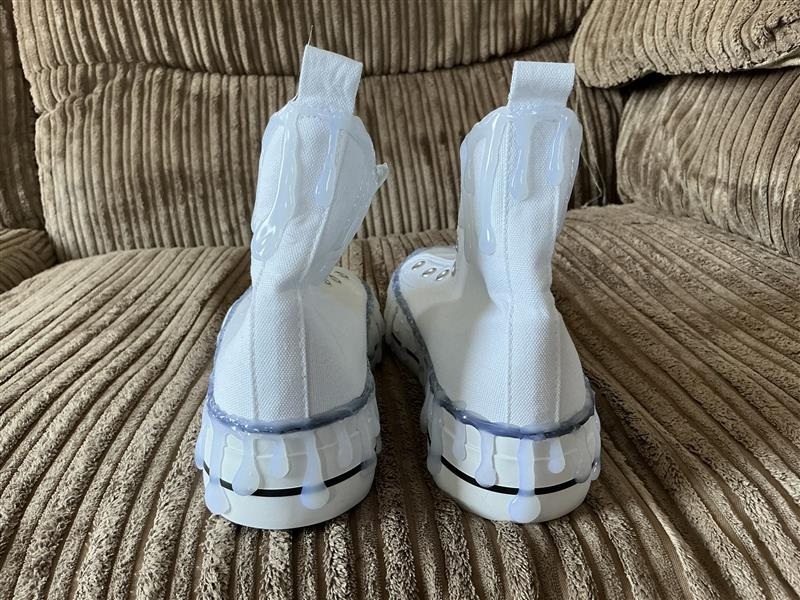
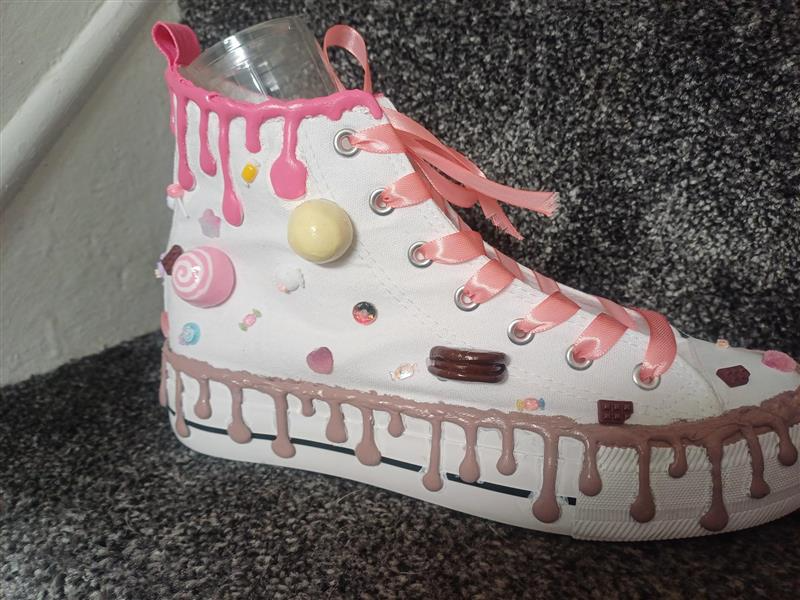
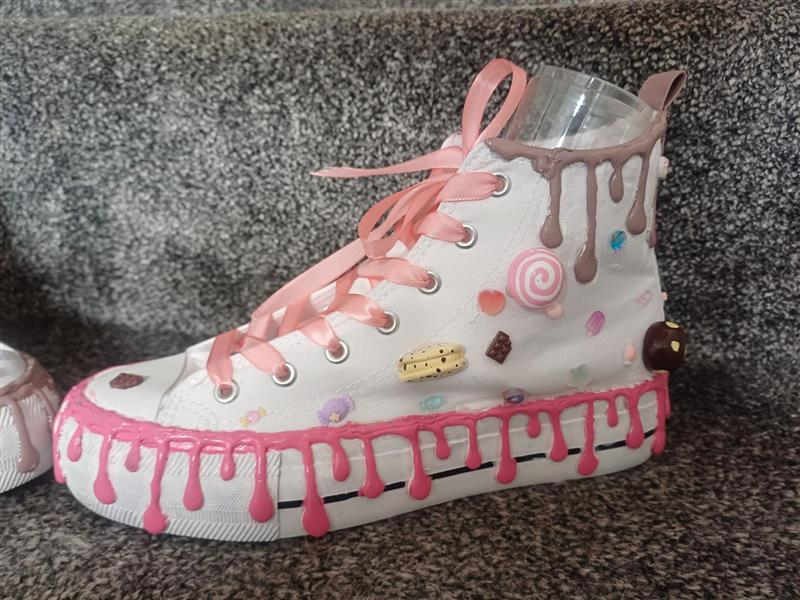
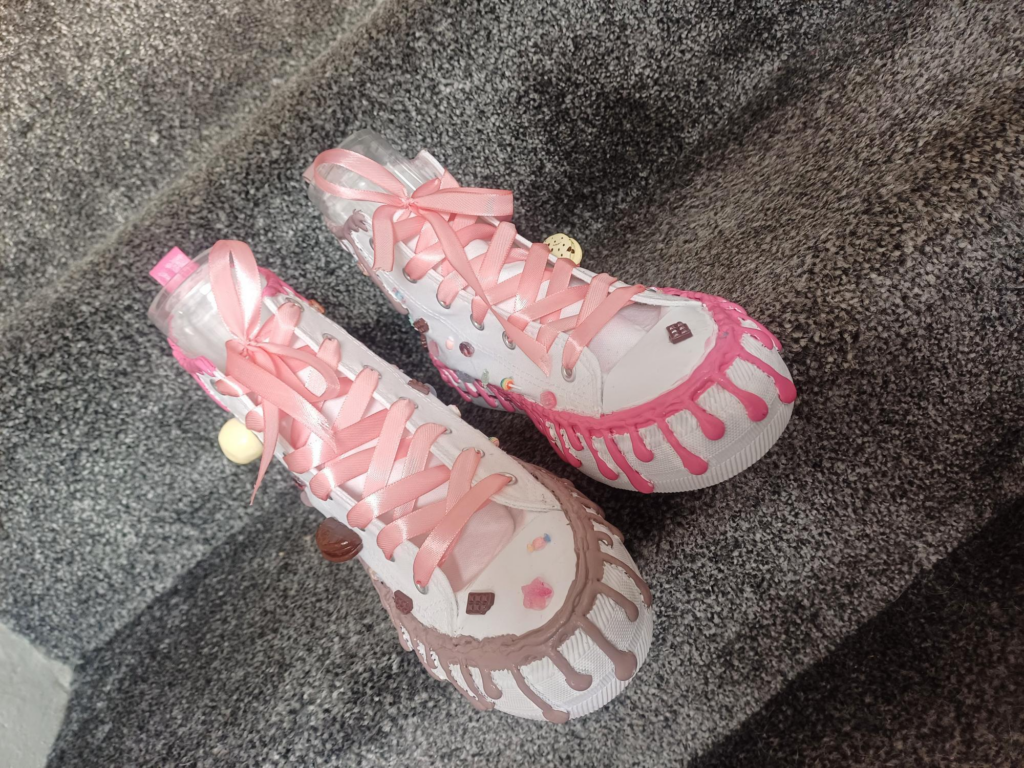
For the shoes, I started with a plain pair of high top white sneakers. The first thing I did was add hot glue drips to the platform and the top of the shoe:
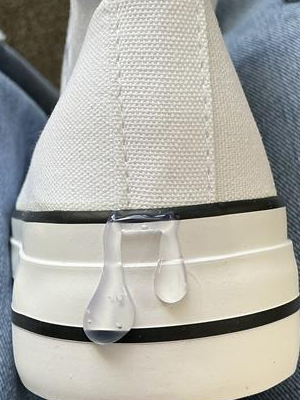
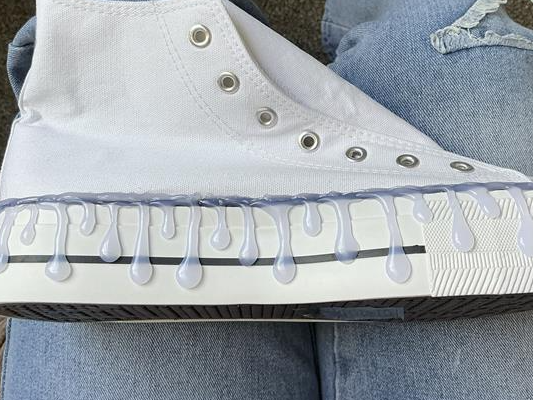
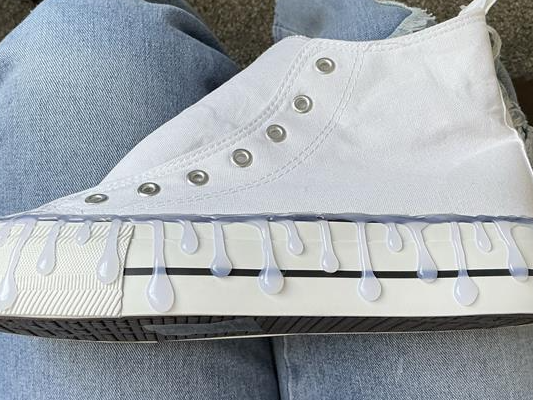
I then painted the drips in pink and brown to match the colours on the bow. I thought it would add a touch more character to the look if i alternated the colours on either shoe: one shoe would have pink on top and brown on the platform while the other shoe would have brown on top and pink on the platform:
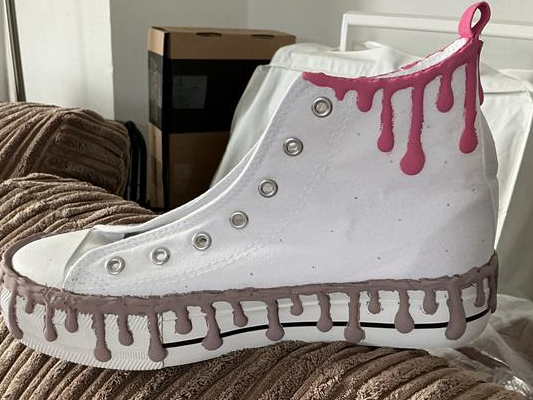
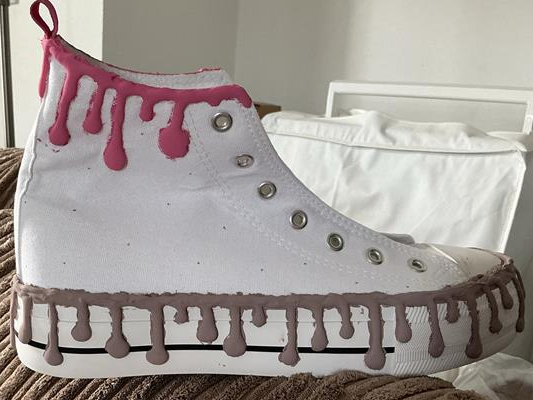
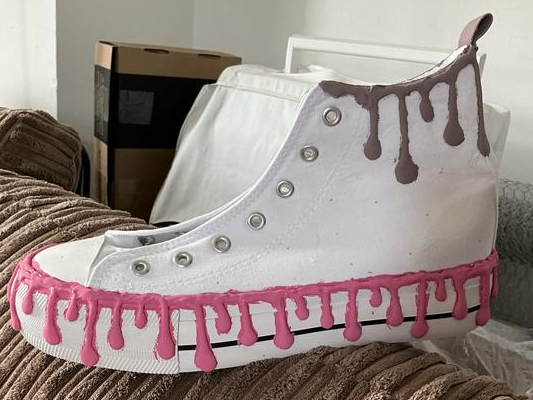
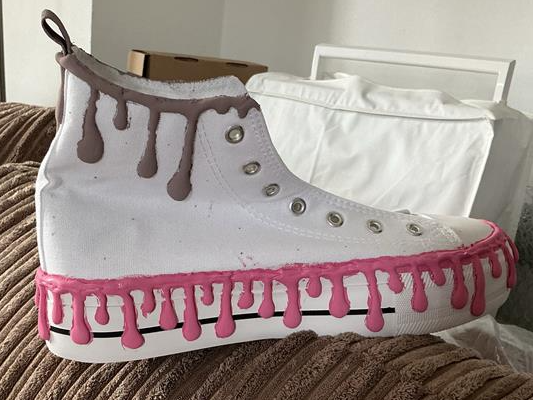
Once that was complete, I sealed the drips with the same Mod Podge I used on the bow:
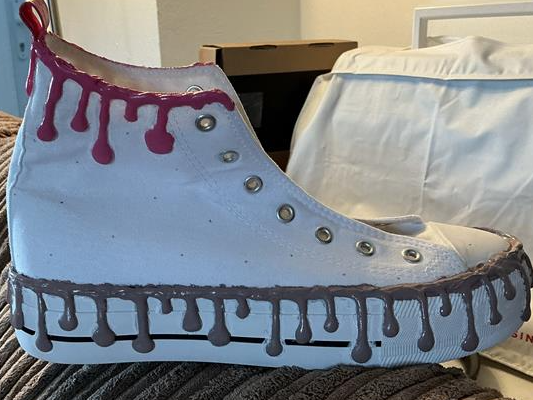
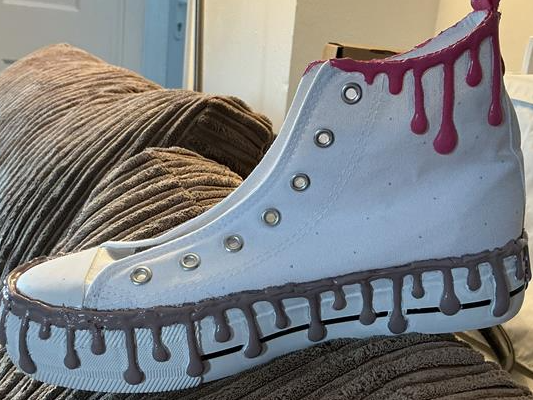
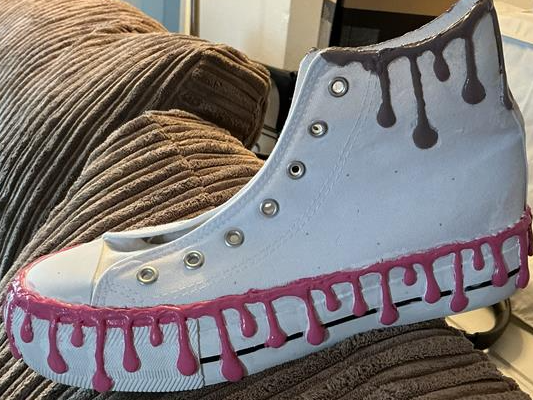
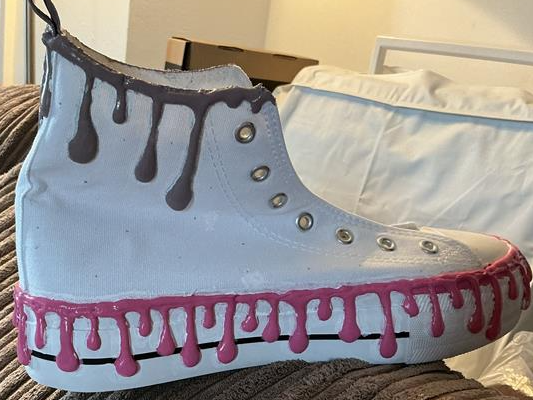
I then glued on the same charms. I also decided to lace up the shoes with pink ribbon rather than the plain white laces because it made the shoes and the look as a whole more charming and fun:
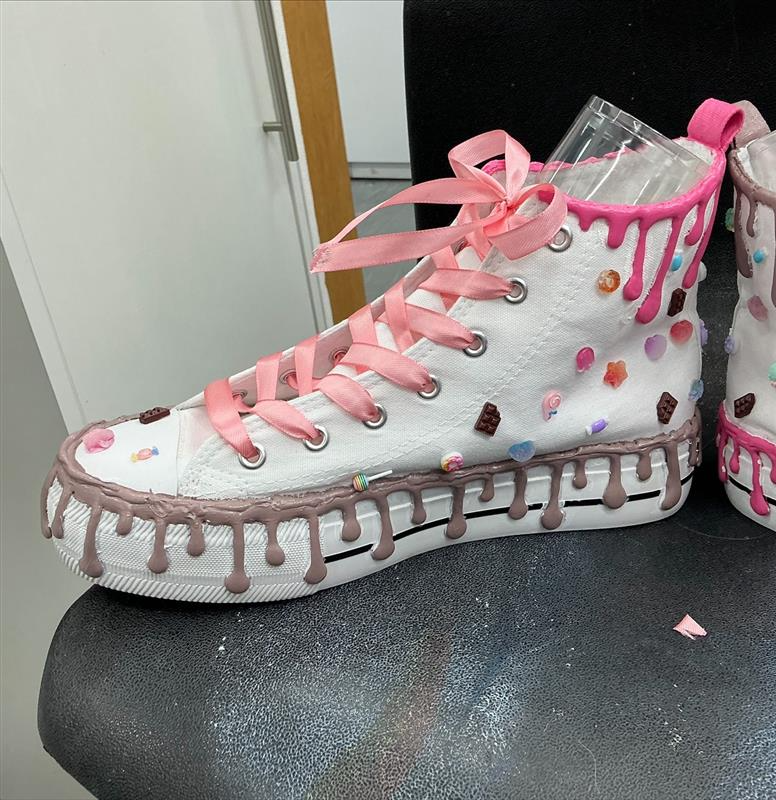
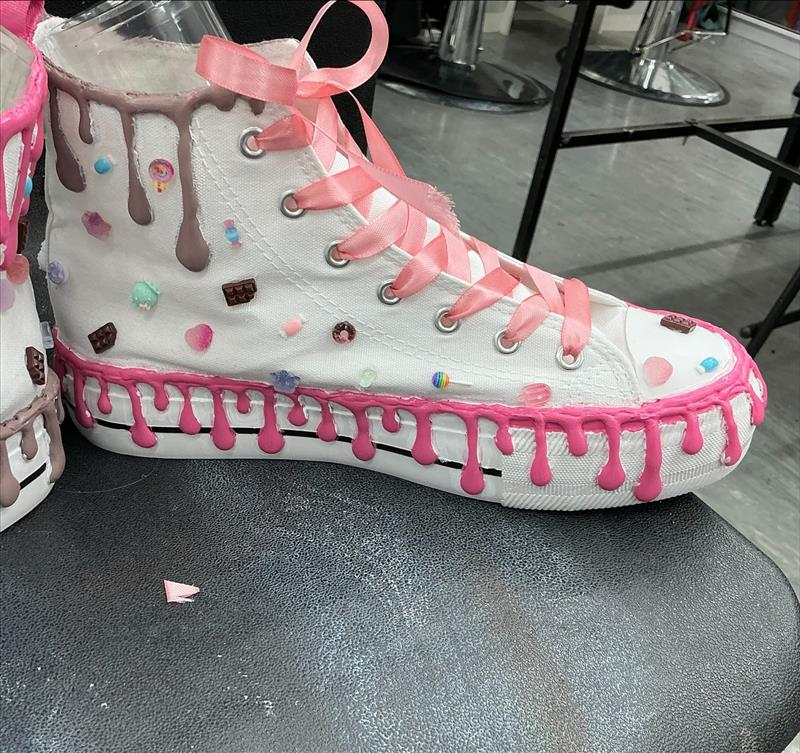
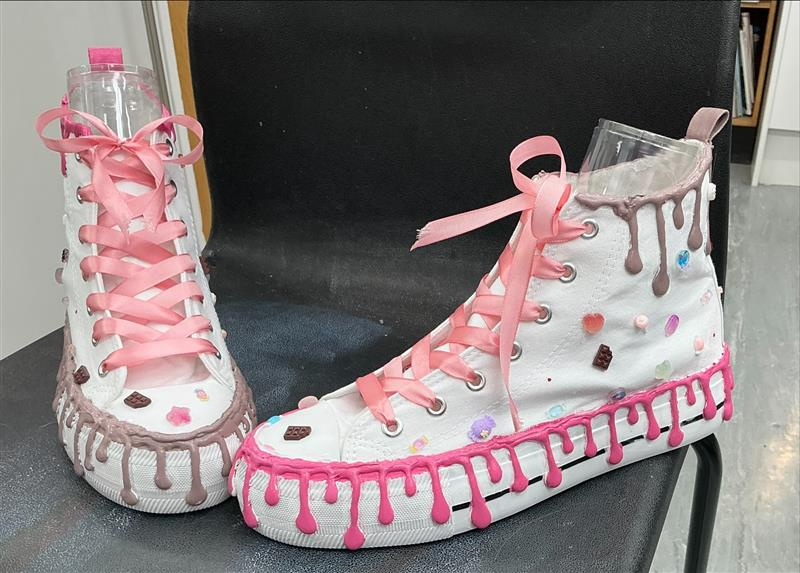
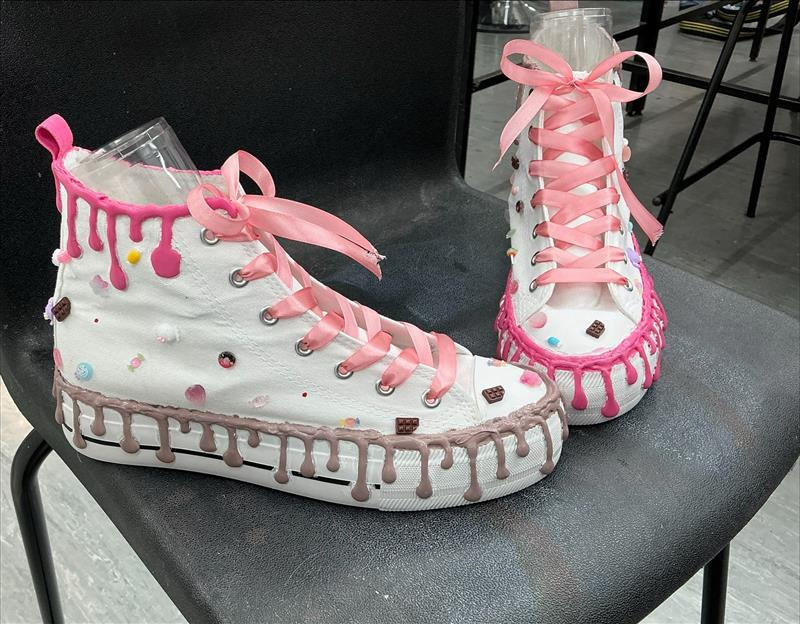
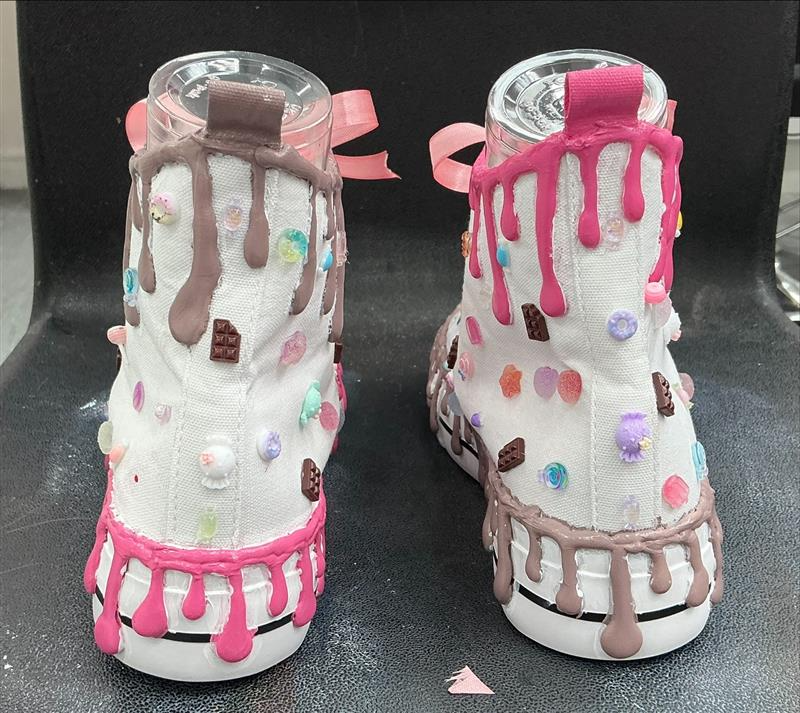
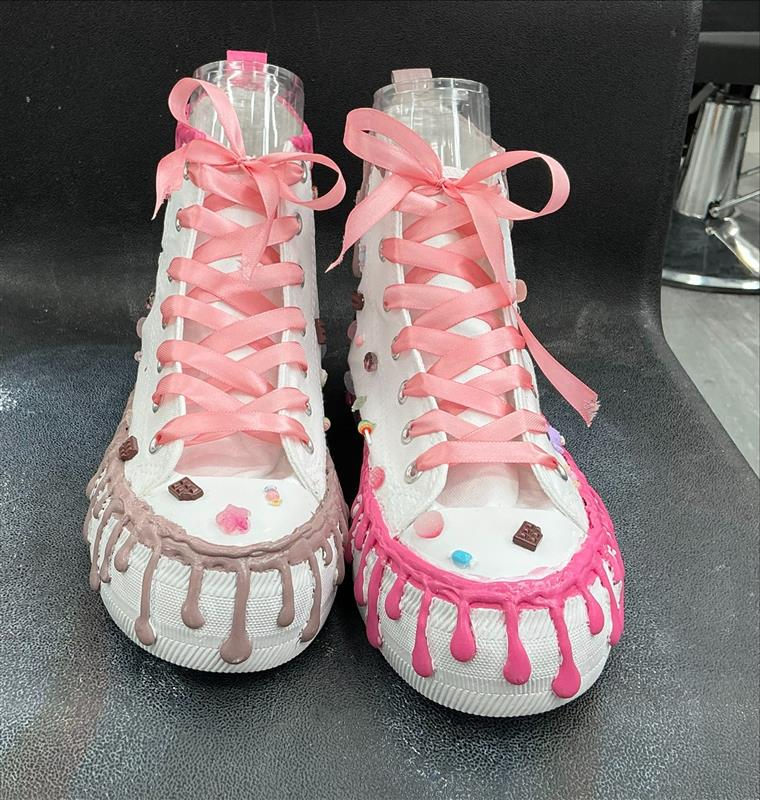
I made some extra 3D desserts to add a bit more dimension to the outside of shoes. Once these were complete I glued them to the shoes:
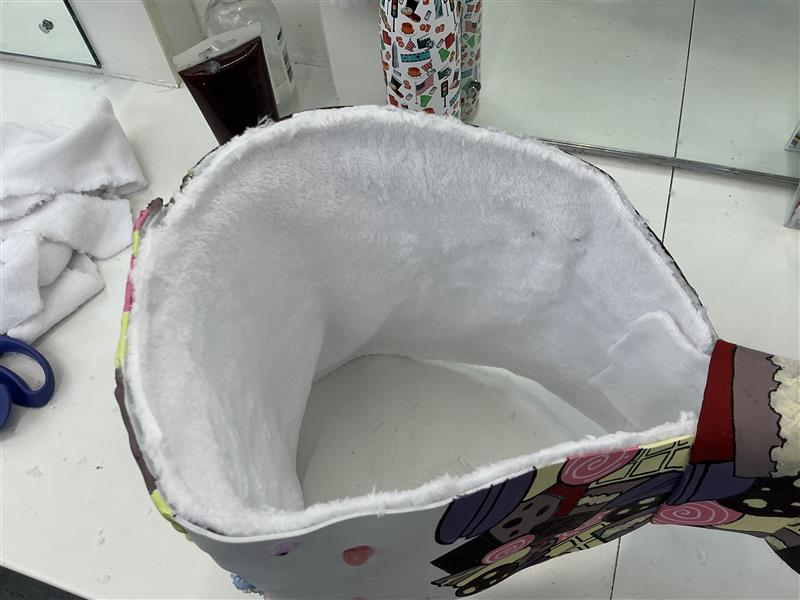
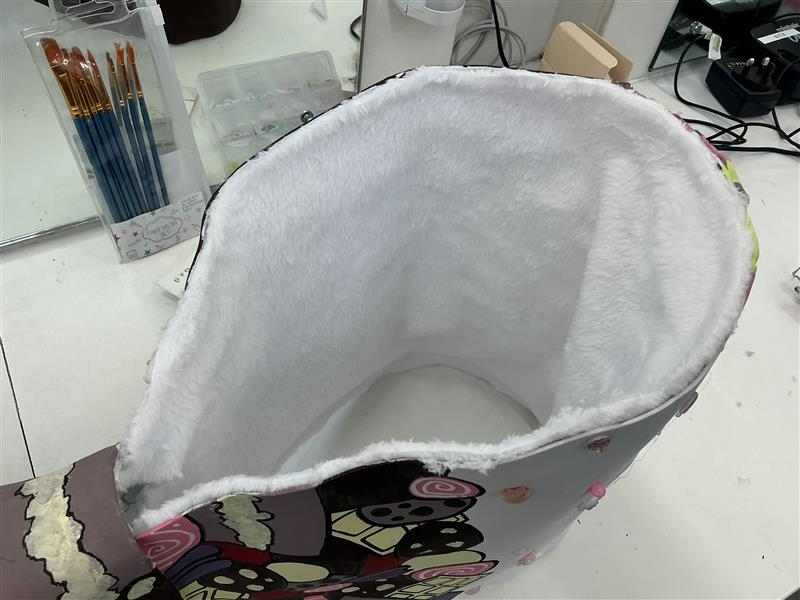
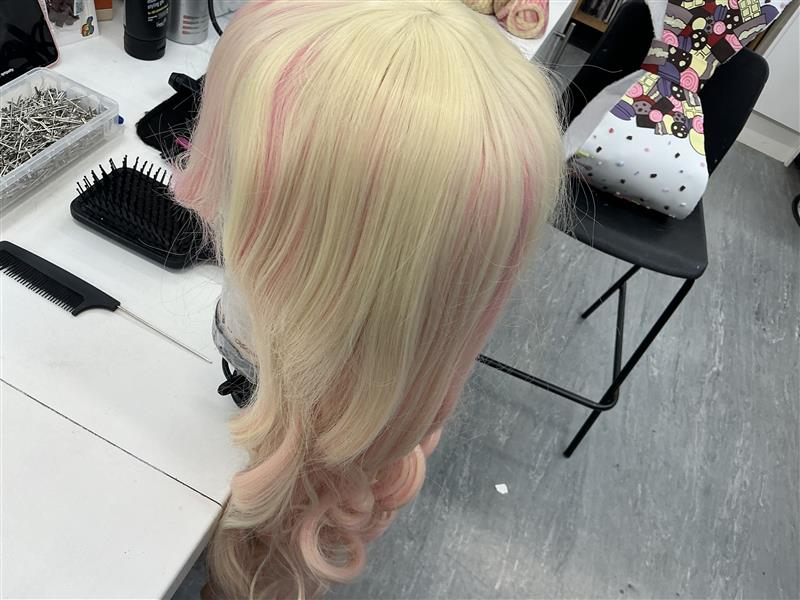
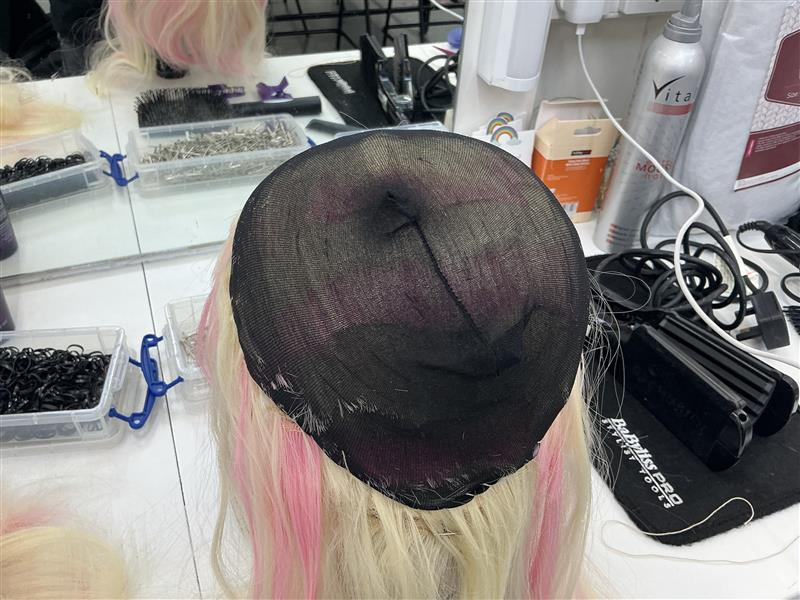
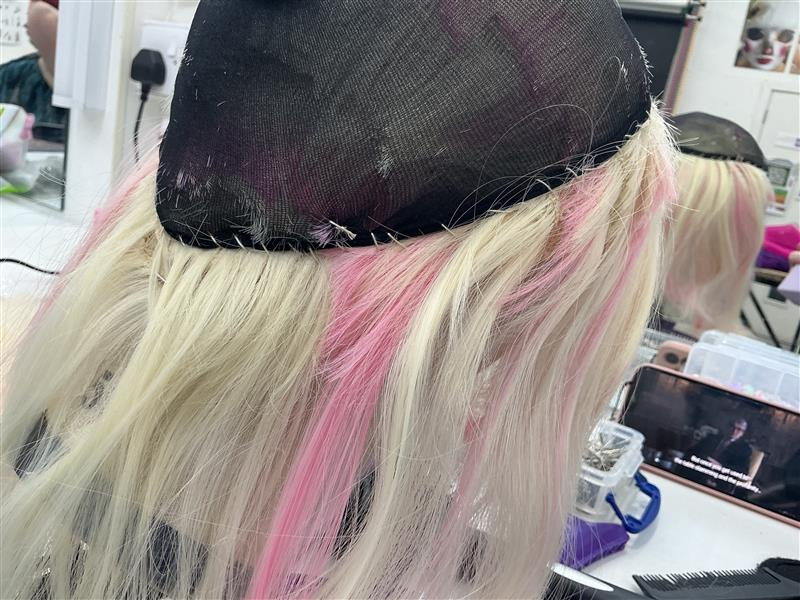
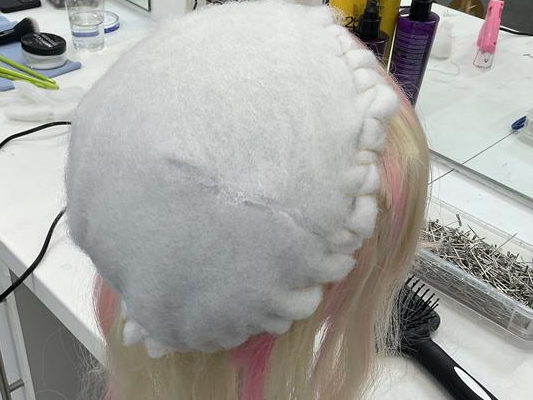
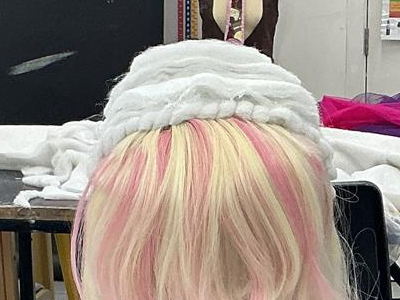
For the wig, I started by securing my wig to a malleable block and cutting out the majority of the hair to create wefts; I left a ring of hair around the edges so that there was still a natural hairline and then sewed down a wig cap to that I could sew down the foundation for the structure of the wig without risking getting glue drops underneath the lace of the wig:
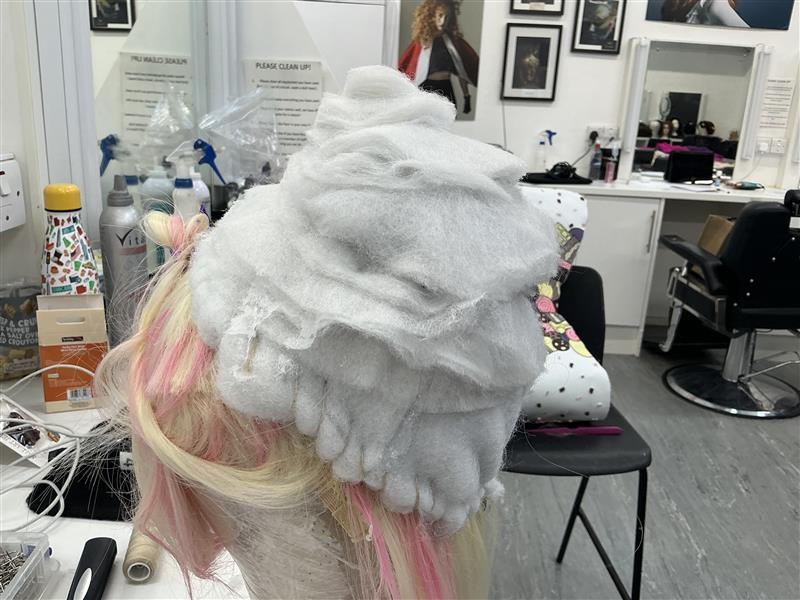
Then I sewed down the base wadding for the structure of the wig itself:
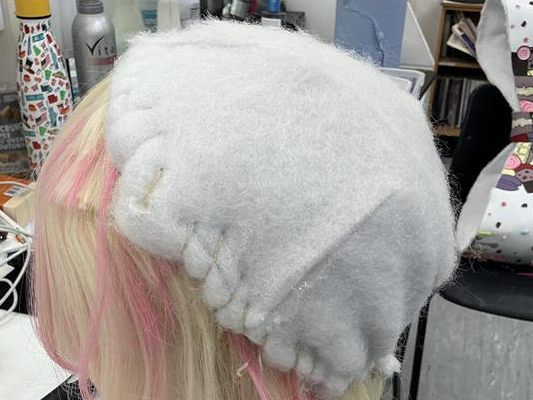
I then began layering up circles of wadding, getting smaller as I got further up. I could glue the wadding at this stage because there wouldn’t be any risk of glue getting underneath the wig as a whole:
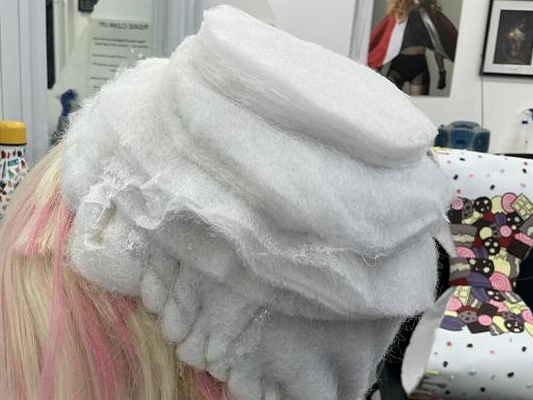
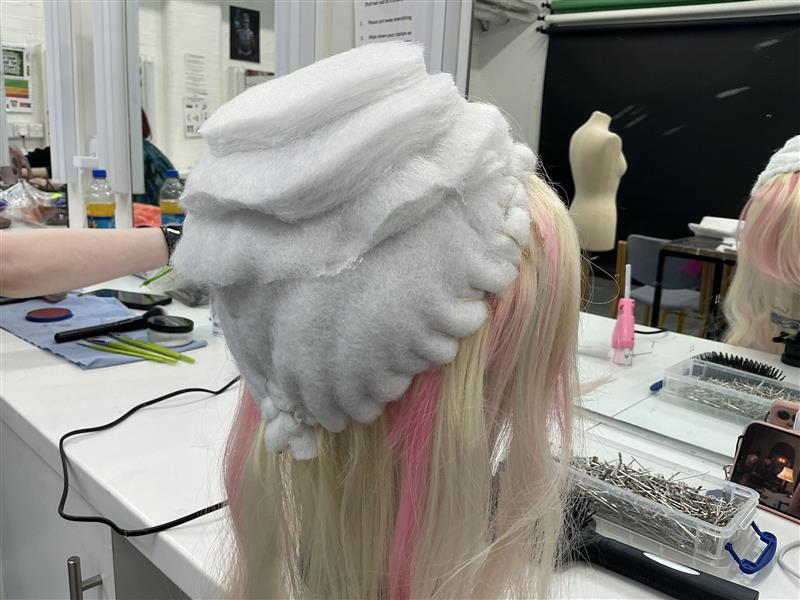
I didn’t like how flat the shape of the wig looked as a whole, my tutor advised me to use stuffing to add more height to the wig structure, which I think worked very well:
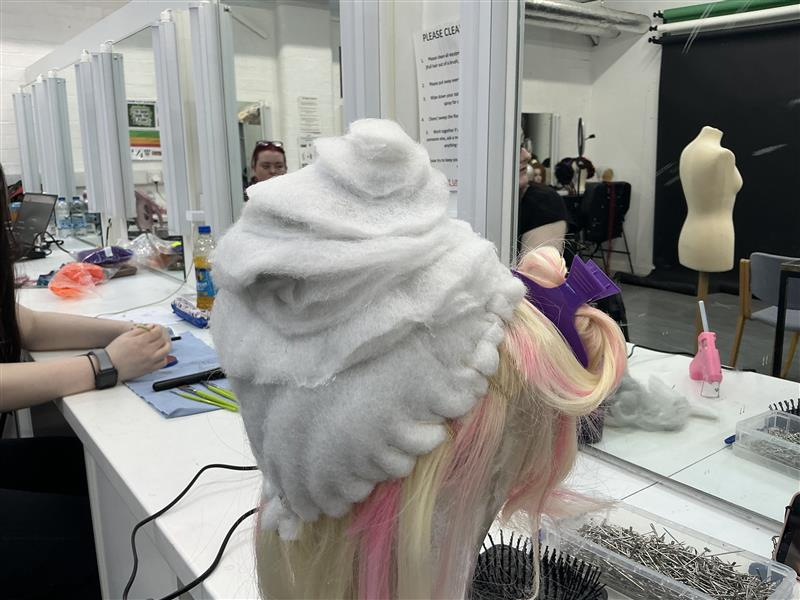
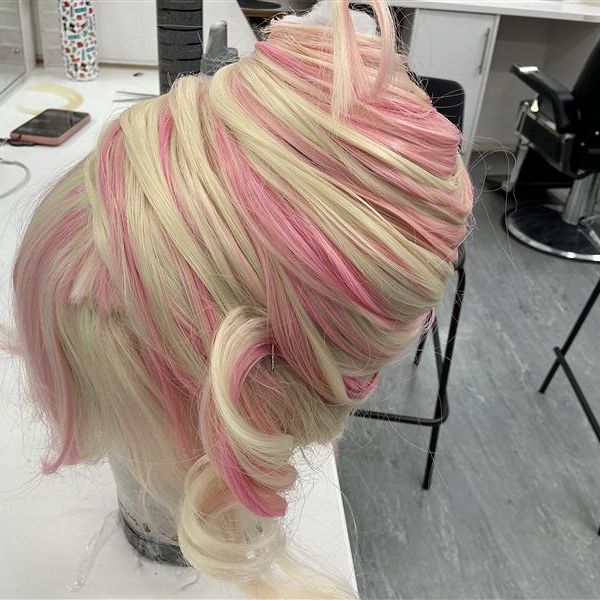
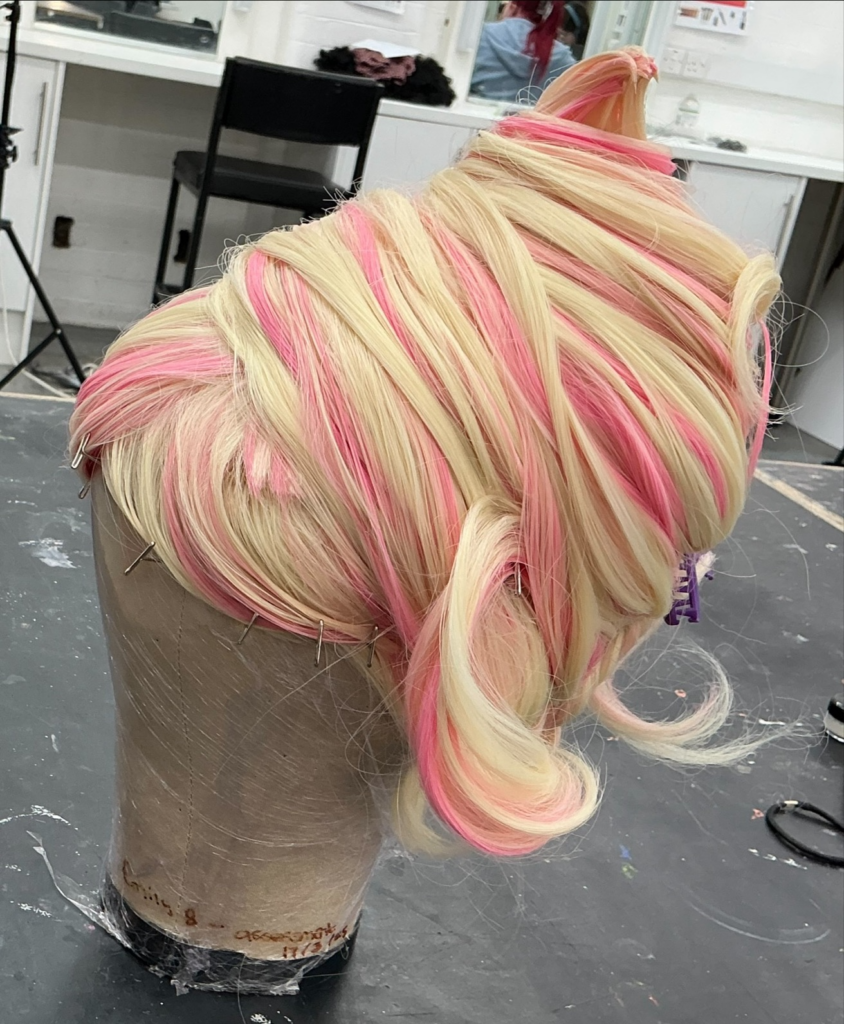
I then began to glue and wrap the wefts around the wig. I did this by first using Got2B styling gel to secure the edges of the weft and then using my hot glue gun to glue the weft to the wig. Because the wig was already fairly wavy, the shape of the wefts seemed to fall into place around the wadding very well:
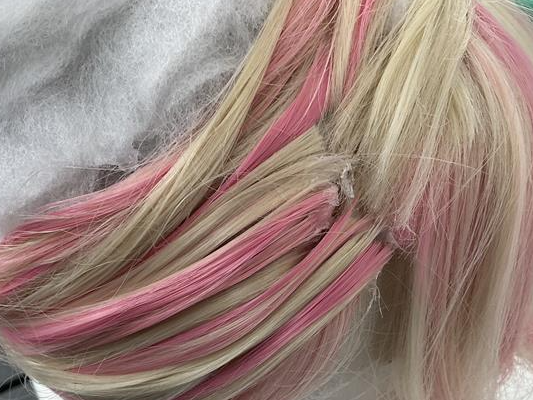
I left a few pieces at the side of the wig that stuck out- almost as a small side ponytail. This was mainly because the the first layer of wadding was too full at the front but too empty at the back. I think that this looked nice though because it adds more personality to the character:
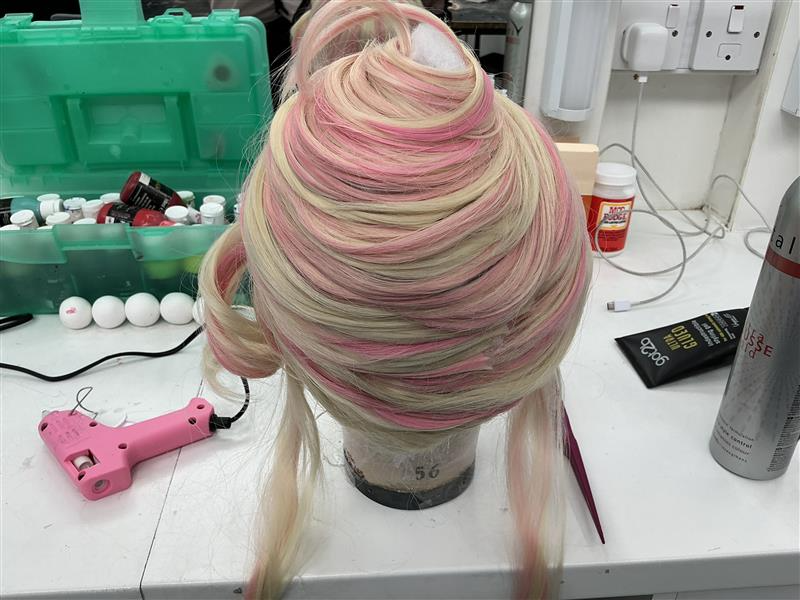
Once I reached the end of the wig I changed my technique slightly. To create the shape of an ice cream tip, I cut the wefts into smaller pieces and glued them upwards rather than around:

Again, because of the shape of the wefts they took the right shape without me needing to manipulate them too much. Once the wefts were all glued down. I used hairdressing scissors to neaten up the shape of the tip and any stray hairs that were sticking out:

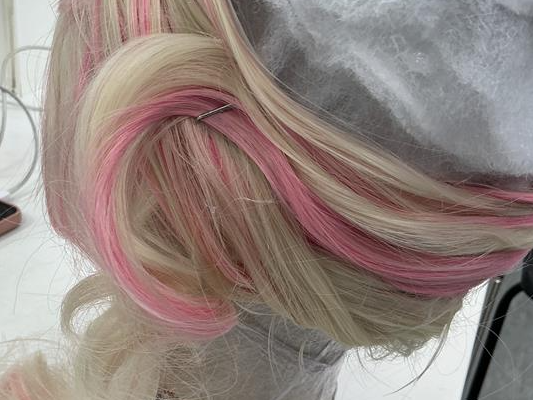
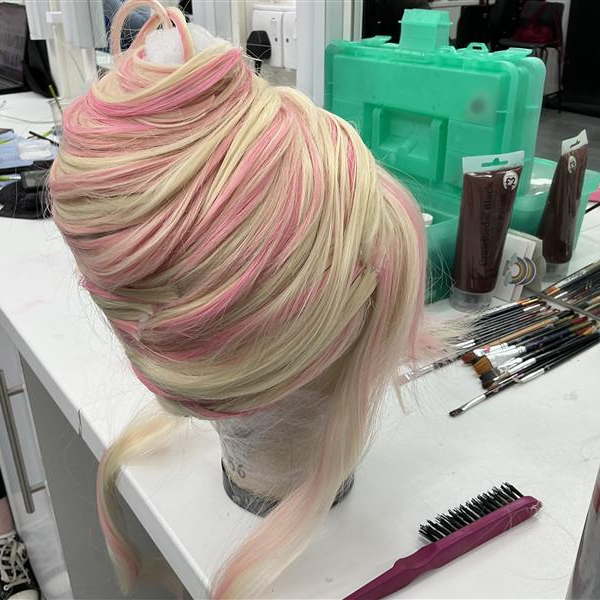
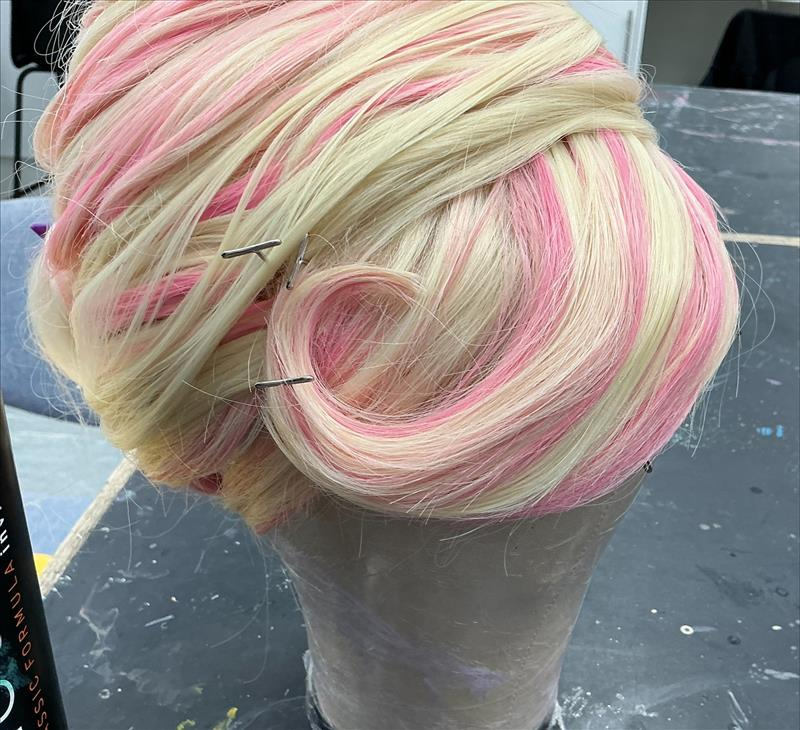
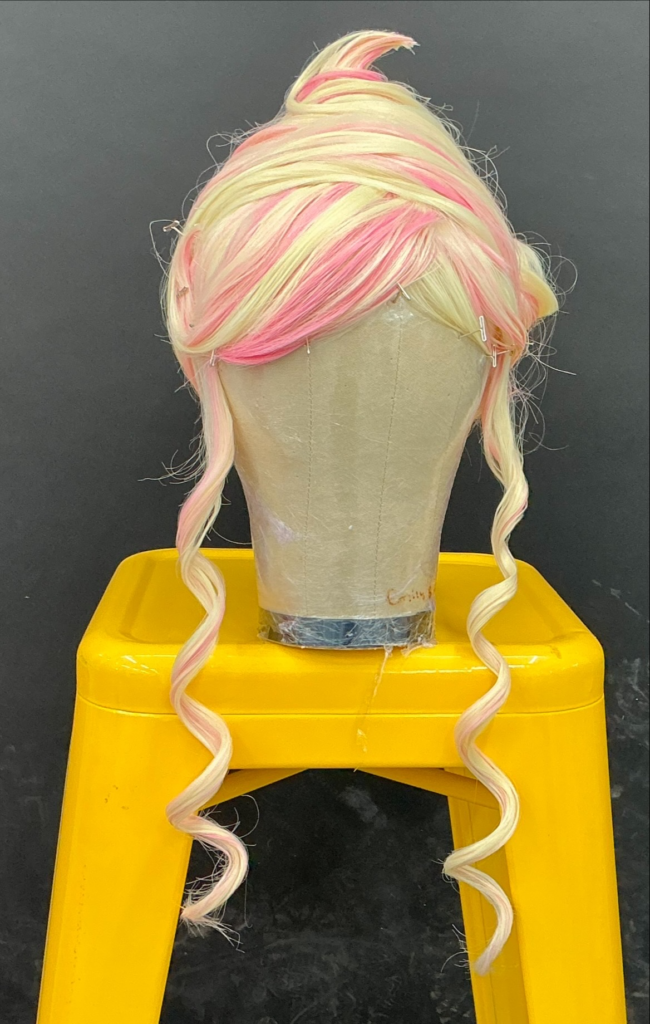
For the front of the wig, I brushed out the hair into two sections and I curled them up towards the wig. I used this to cover up the excess glue that I couldn’t remove with scissors at the risk of cutting the wefts:
Finally, I used hair mouse, heat protectant, hairspray, a thin curling wand and pin curl clips to curl the front two pieces of the wig. I didn’t brush out the curls because I liked how tight the curls were; it added a cartoony effect to my character which I liked.
Problem Solving:
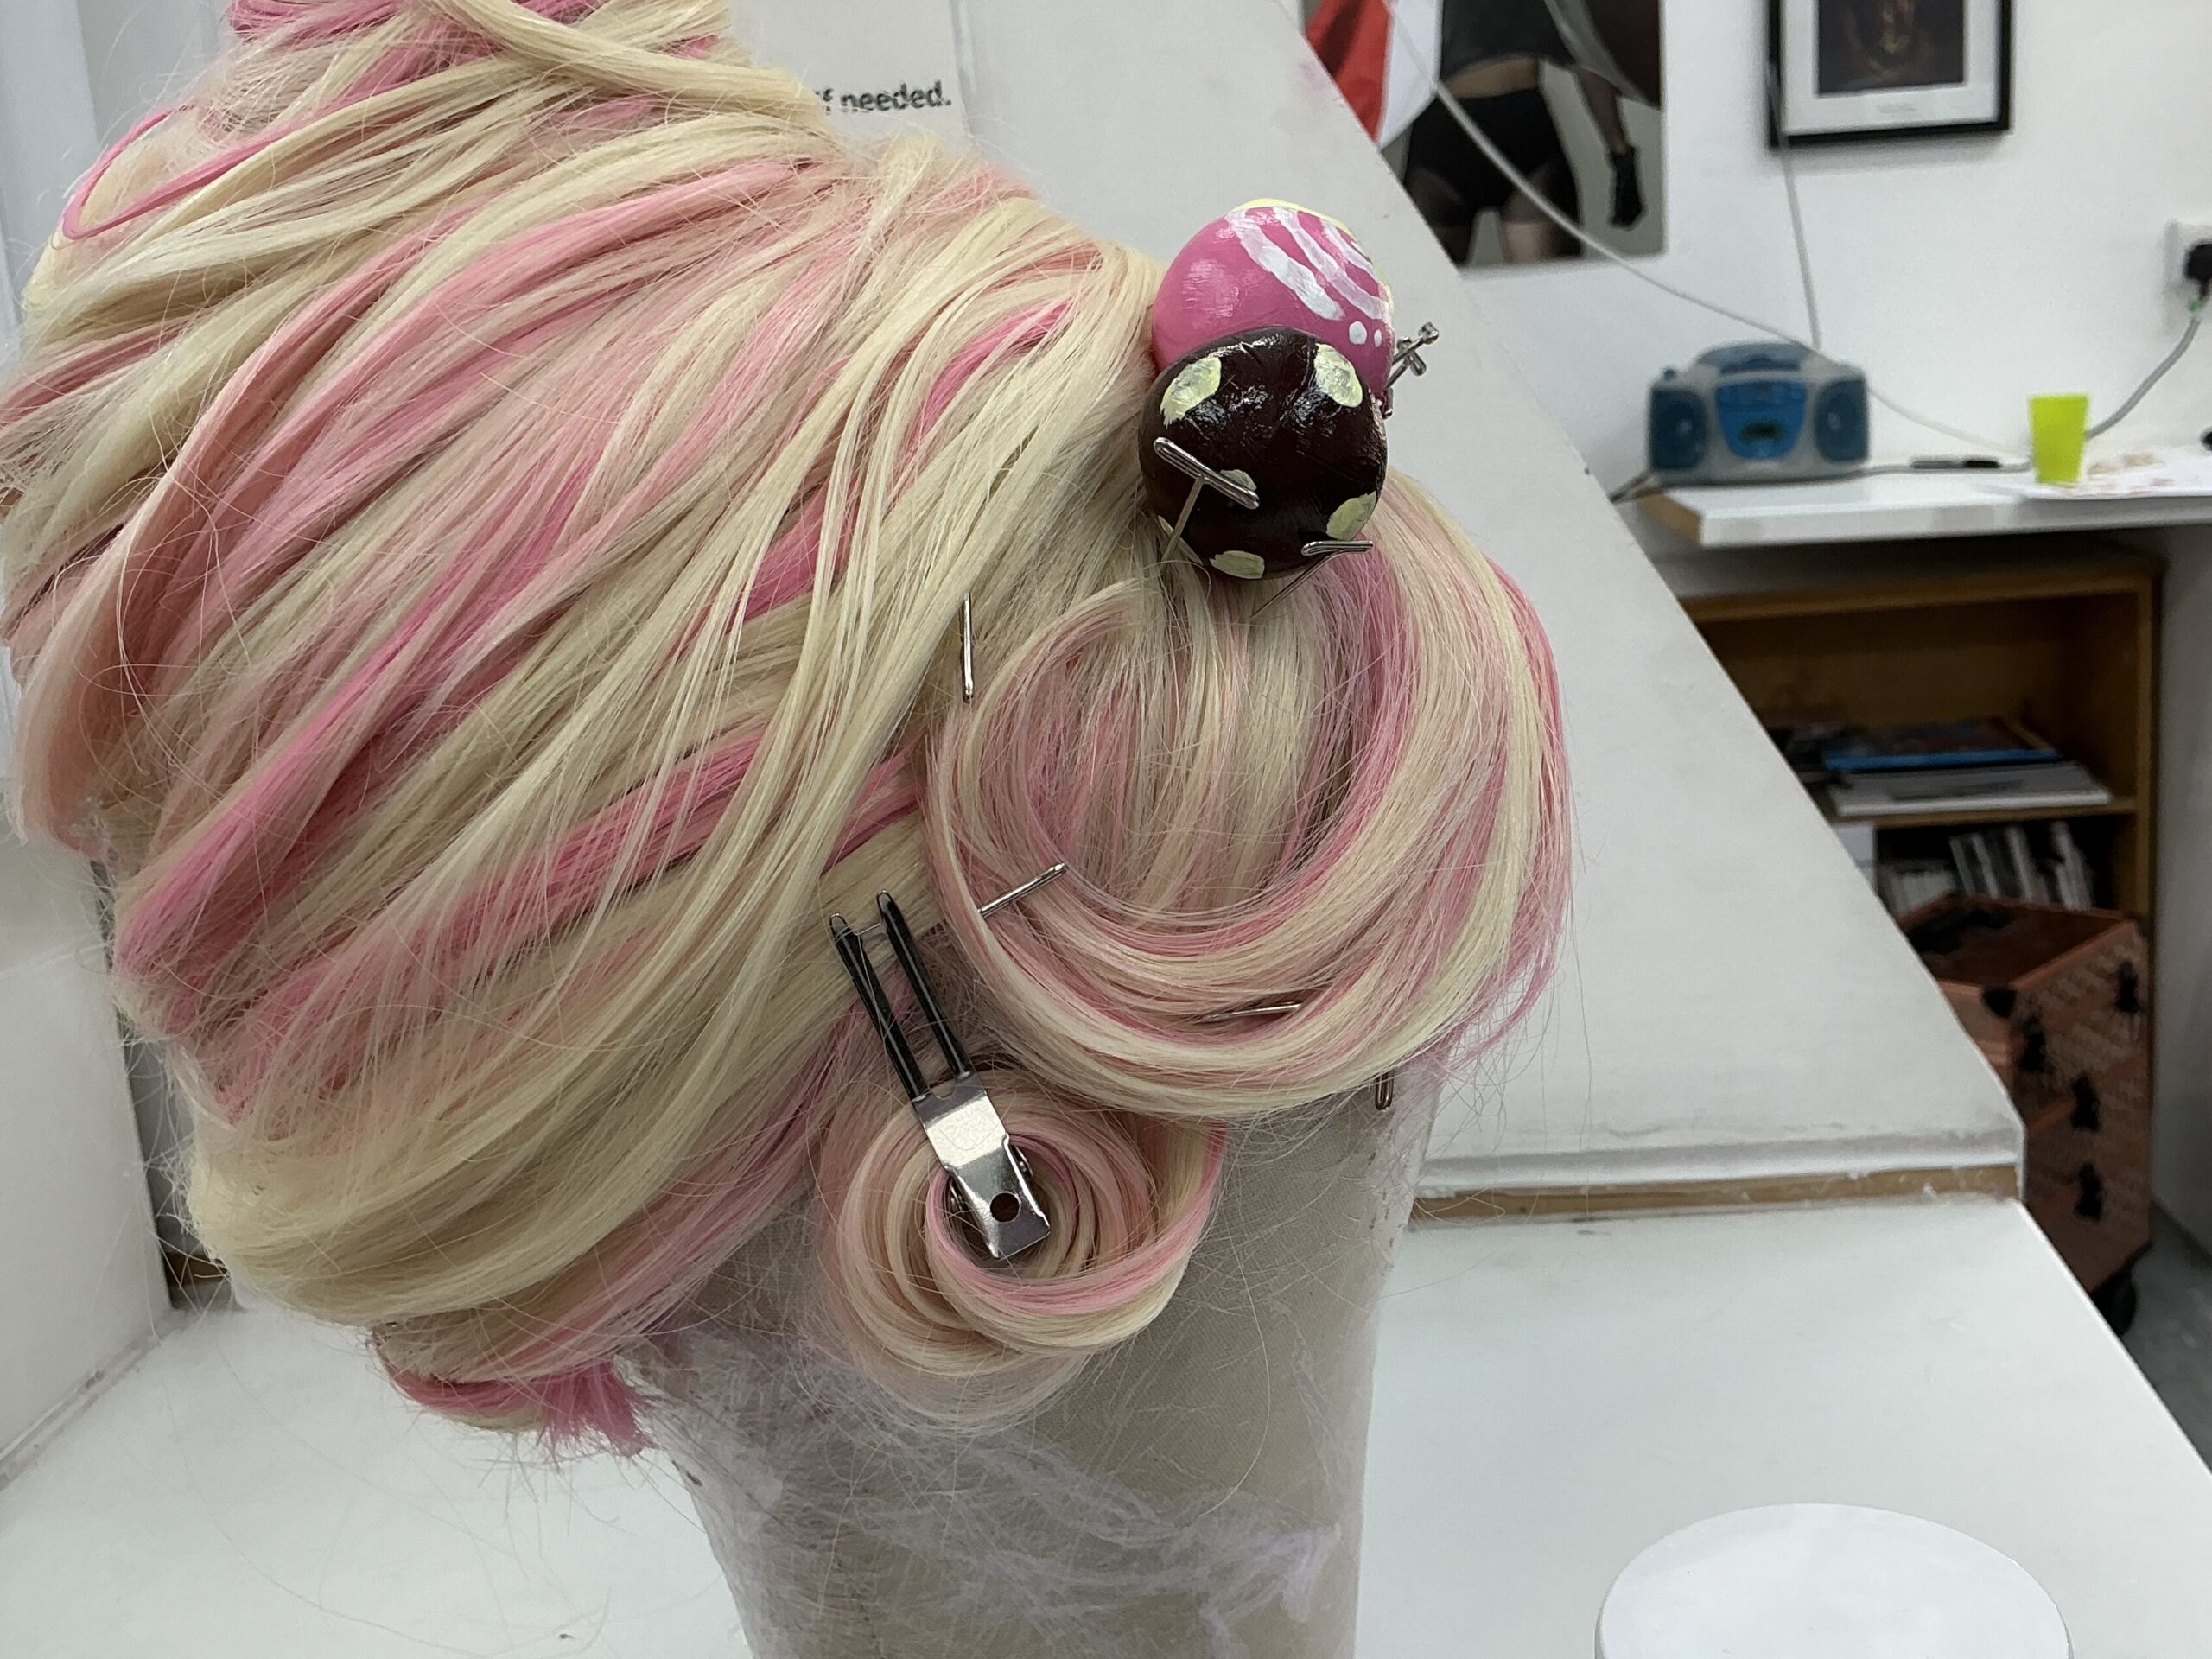
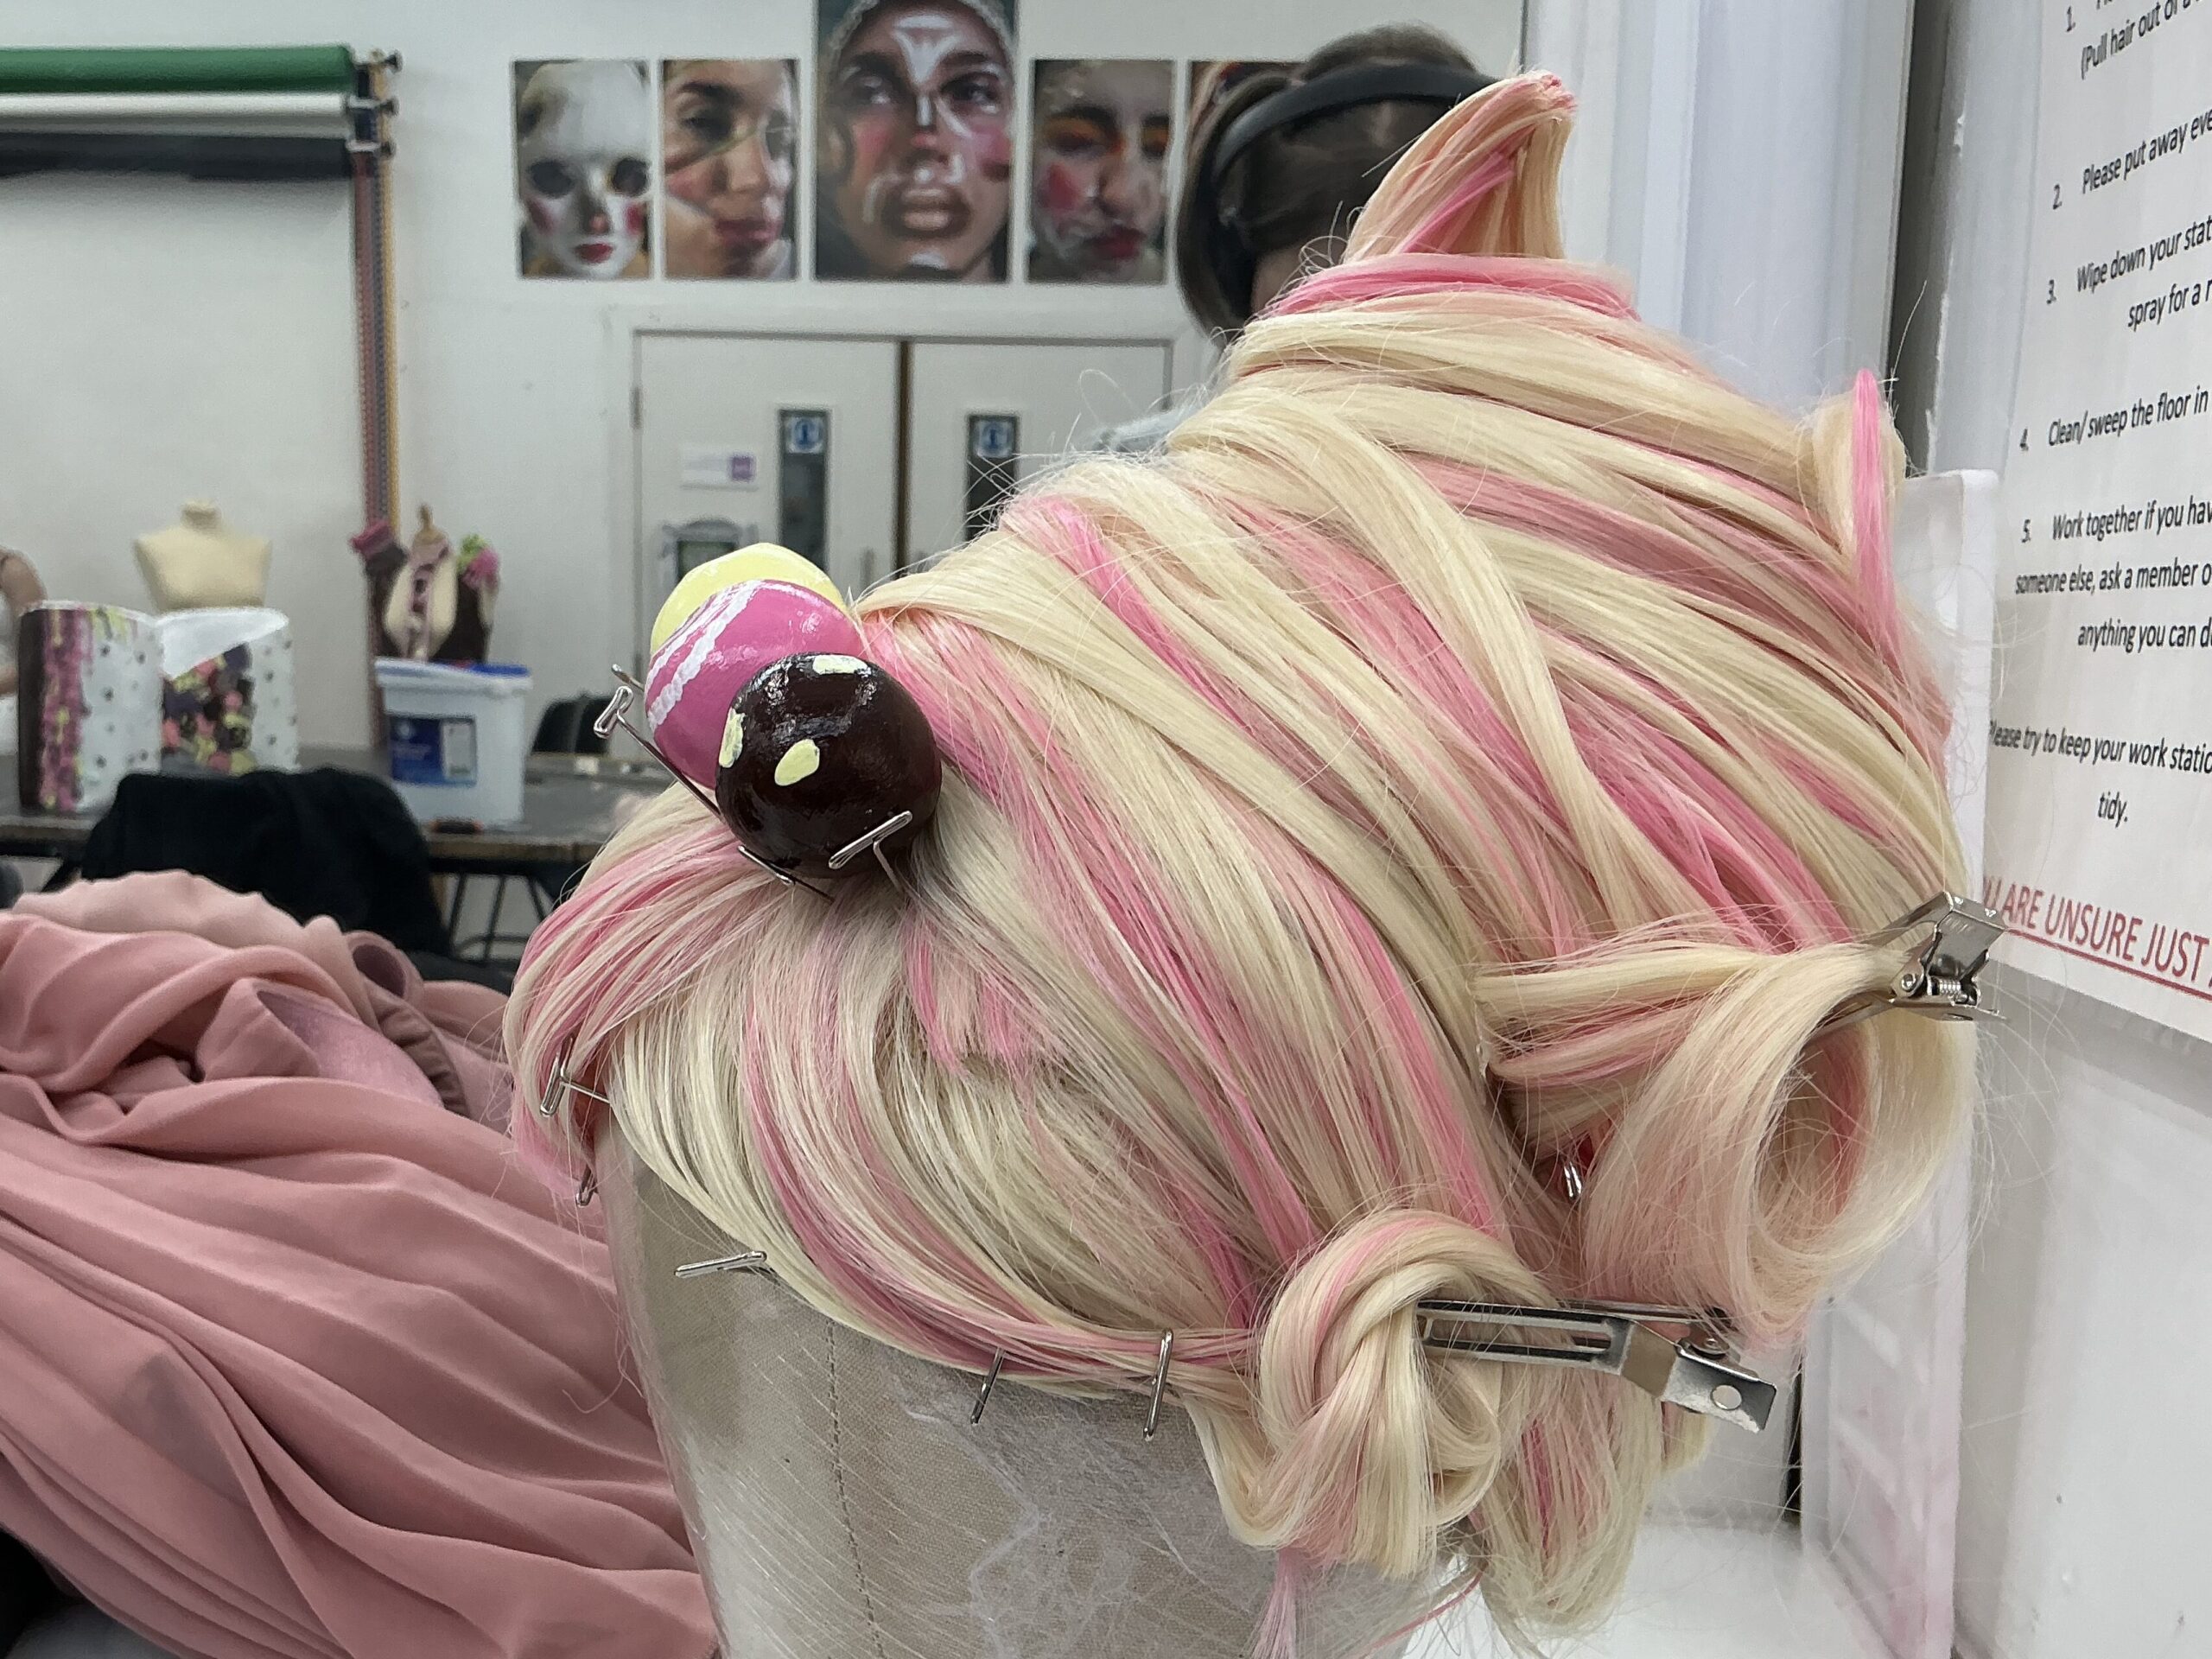
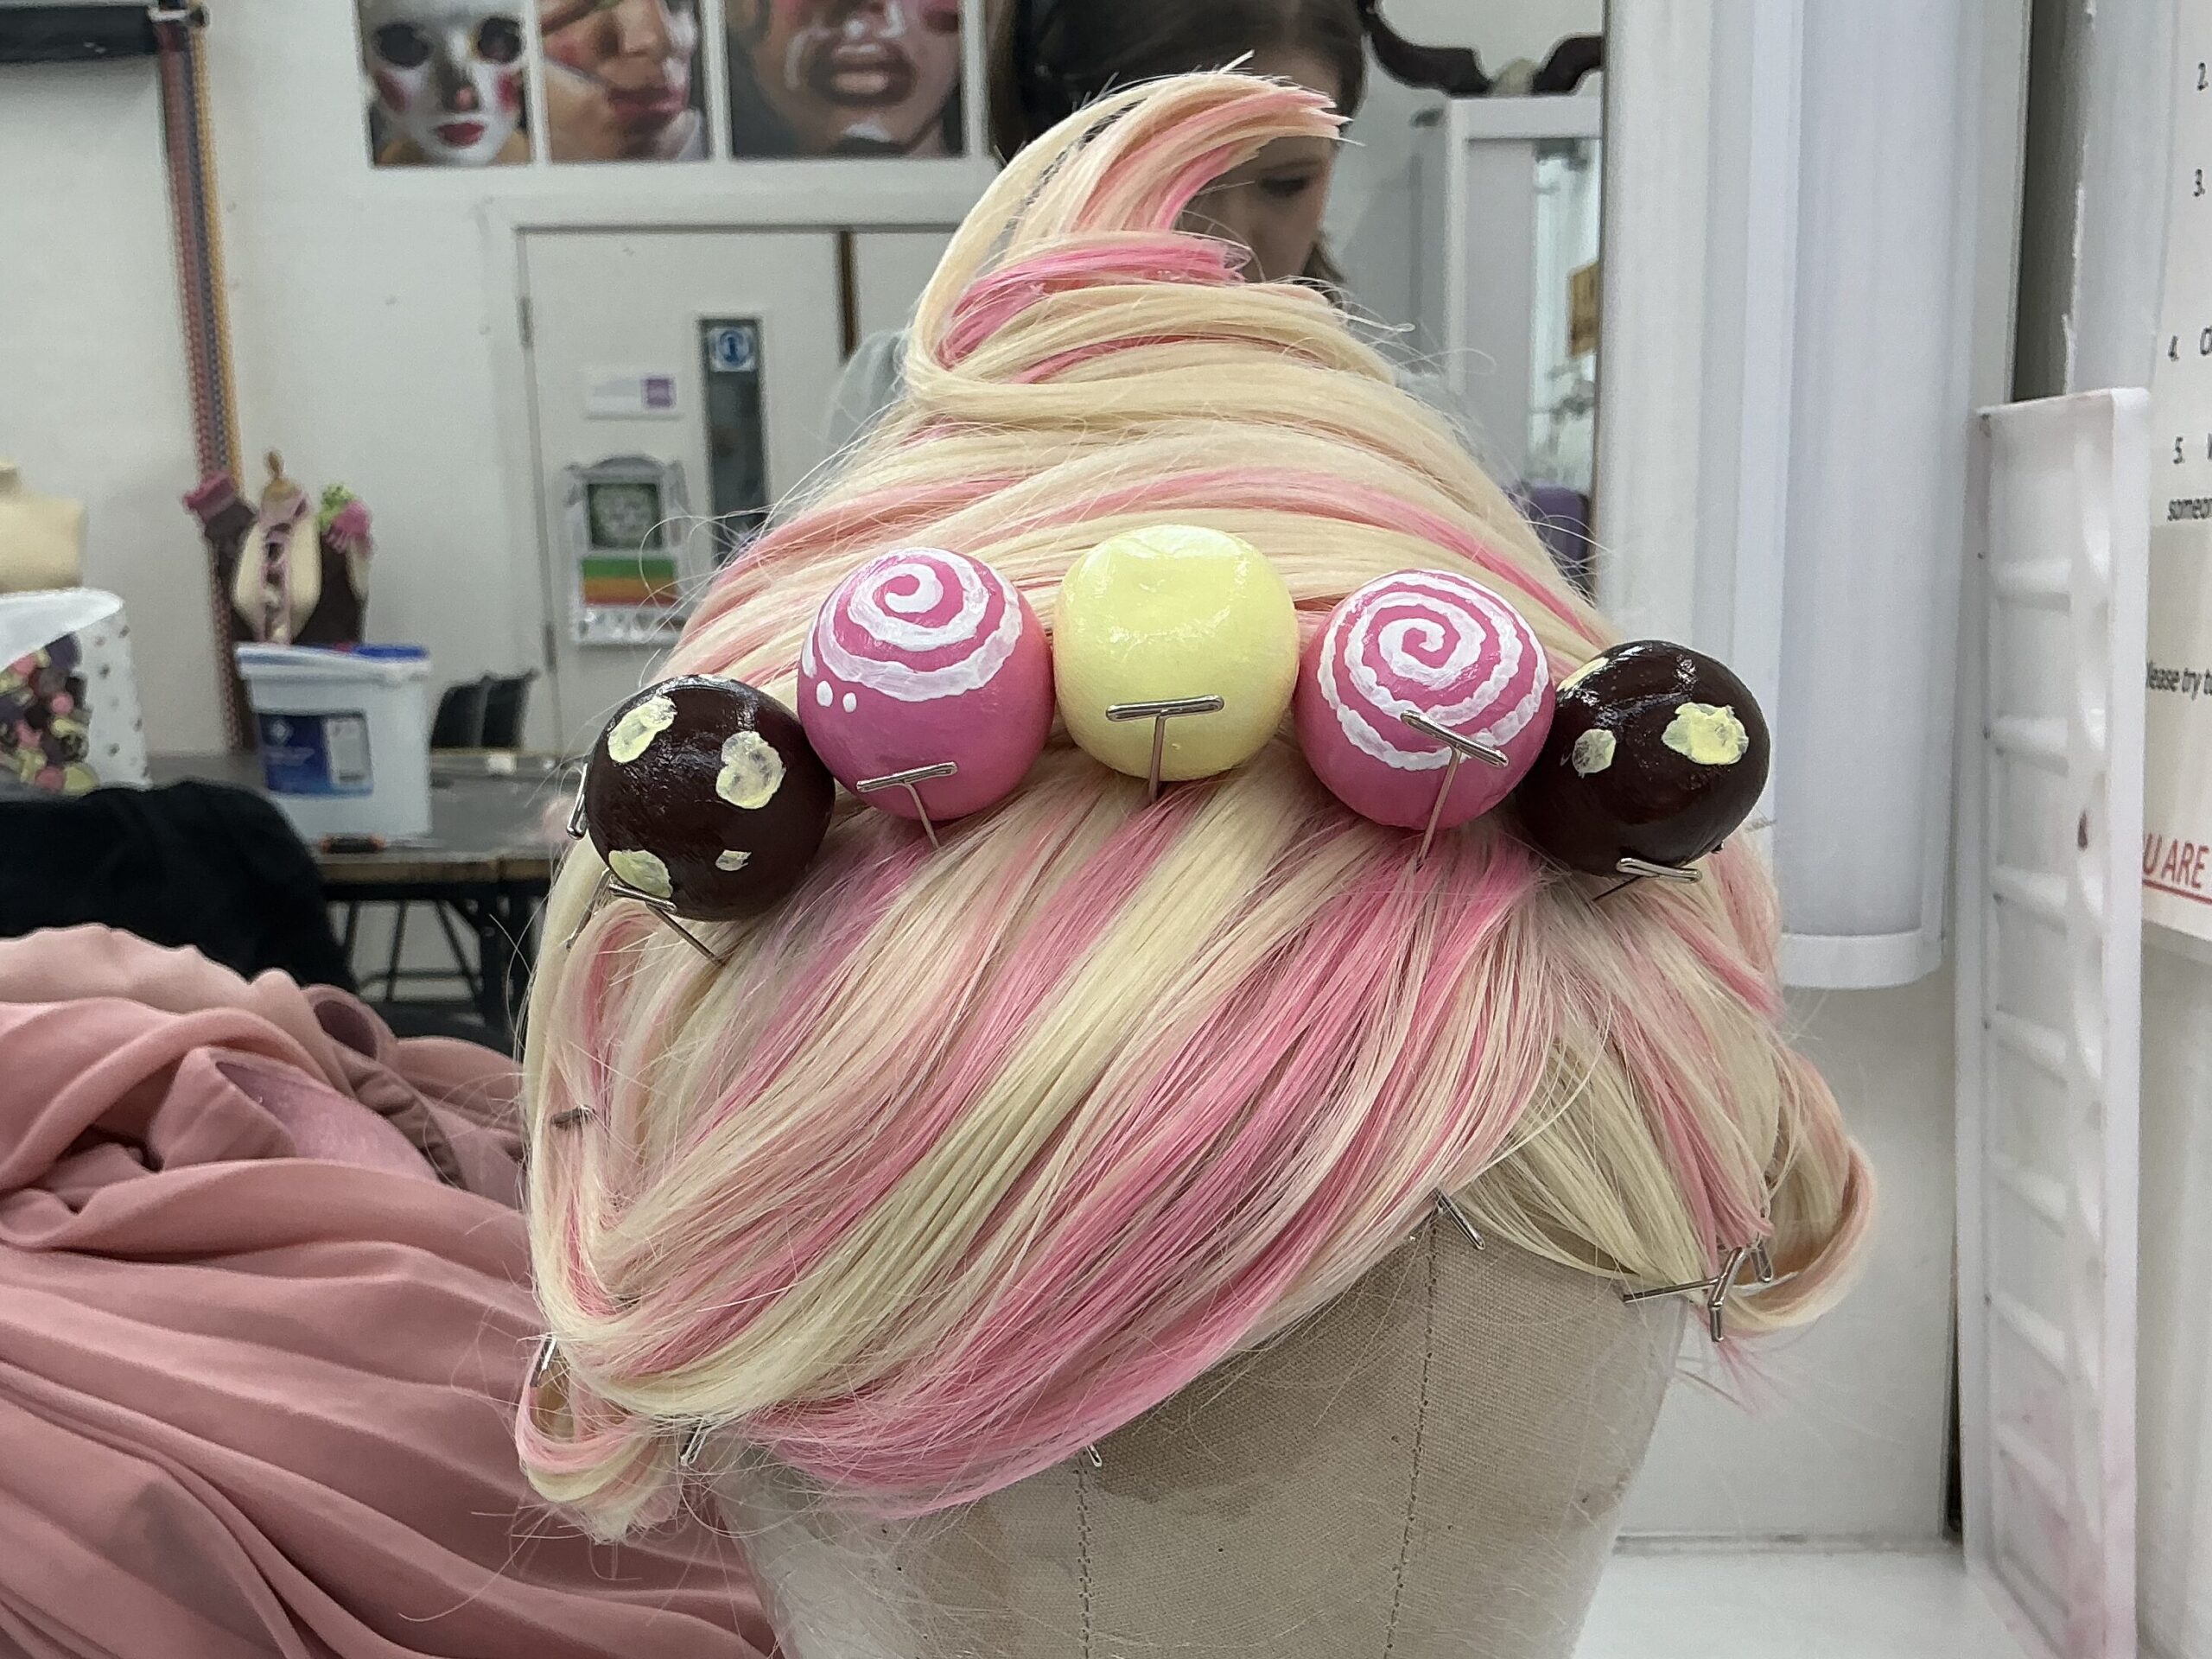
I used wig blocking pins to frame my cake pops to the front of the wig once they were painted. (I used acrylic paint and Mod Podge for this). I thought that they might be too close to the front of the wig so I discussed this with my tutor.
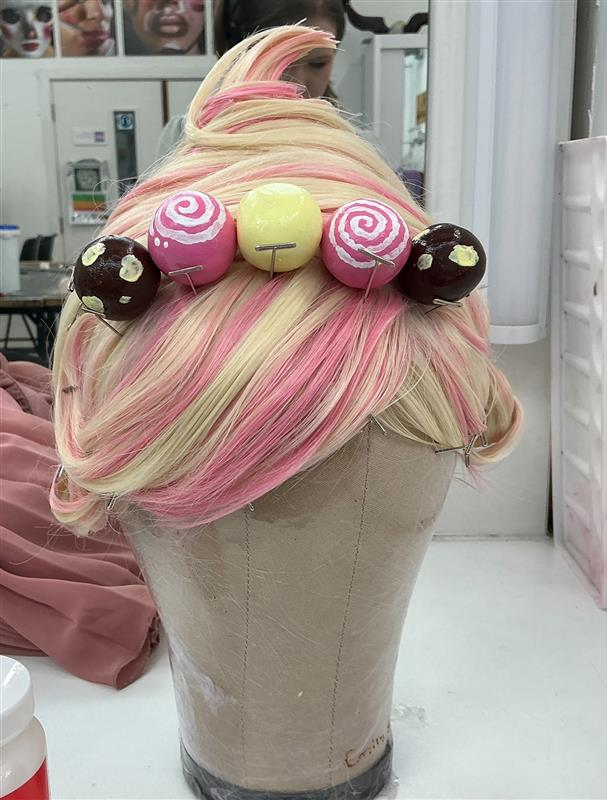
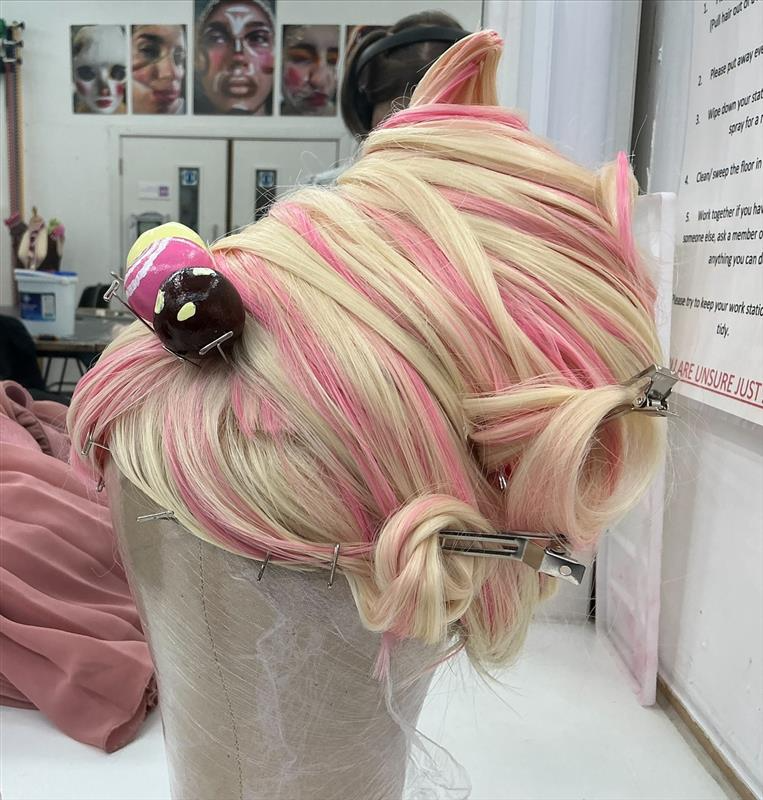
We established that once the wig is stretched the cake pops may fall off or separate, my tutor said that I might have had to drill through the cake pops and thread through some ribbon to tie at the back. The problem with this is that the cake pops may have still fallen down as well as the ribbon being visible because of the shape of the wig.
To fix this problem I said that the best possible idea would be to buy a clear headband and hot glue the cake pops to that- my tutor agreed that this would be best.
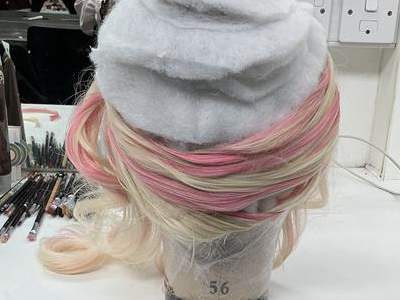
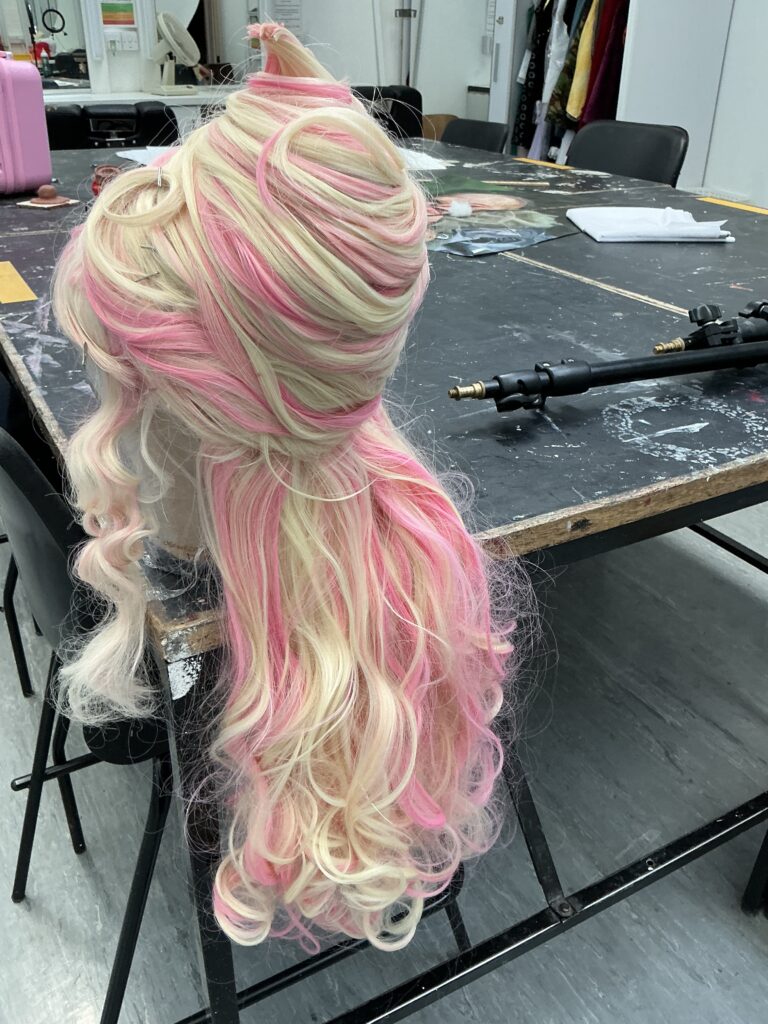
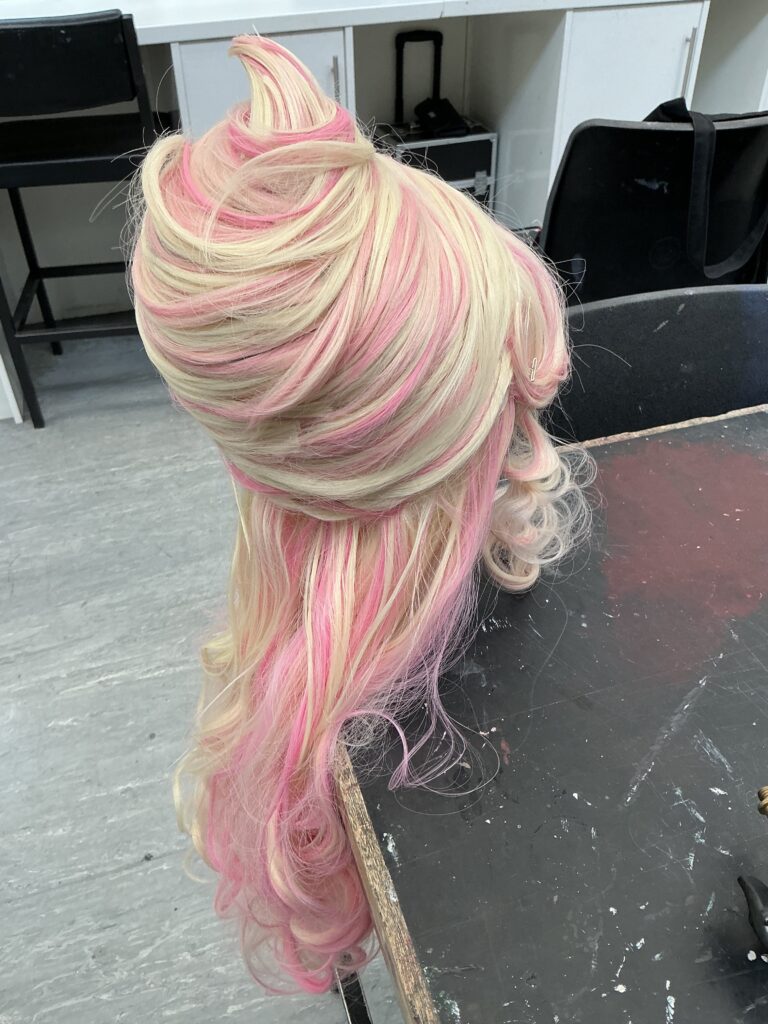
This is what the wig looked like completely finished, with the detachable cake pop headband;
For the train, I got 1 meter of white fabric and cut them in half so that I had two pieces of fabric that were meter long. Originally I had the same dessert pattern as the bow at the top of the train and had the drips at the bottom of the train that were the same as the bow and shoulder pads:

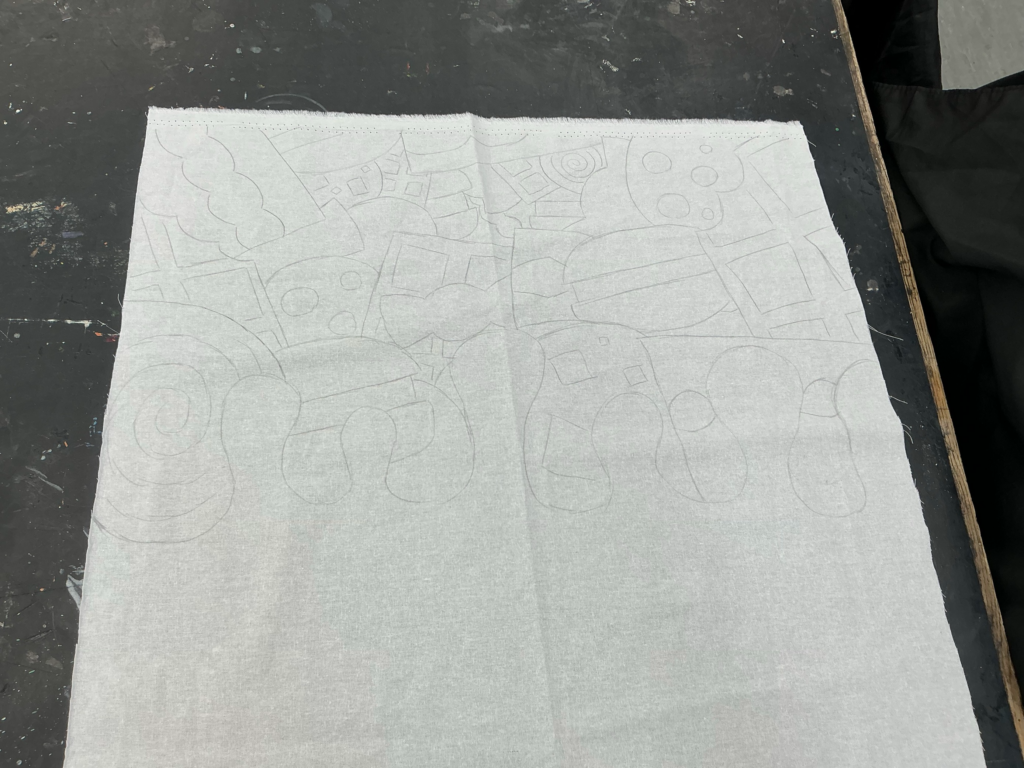
Problem Solving:
When I positioned my train, I didn’t like how the dessert pattern sat. I didn’t like how you couldn’t see the design clearly:
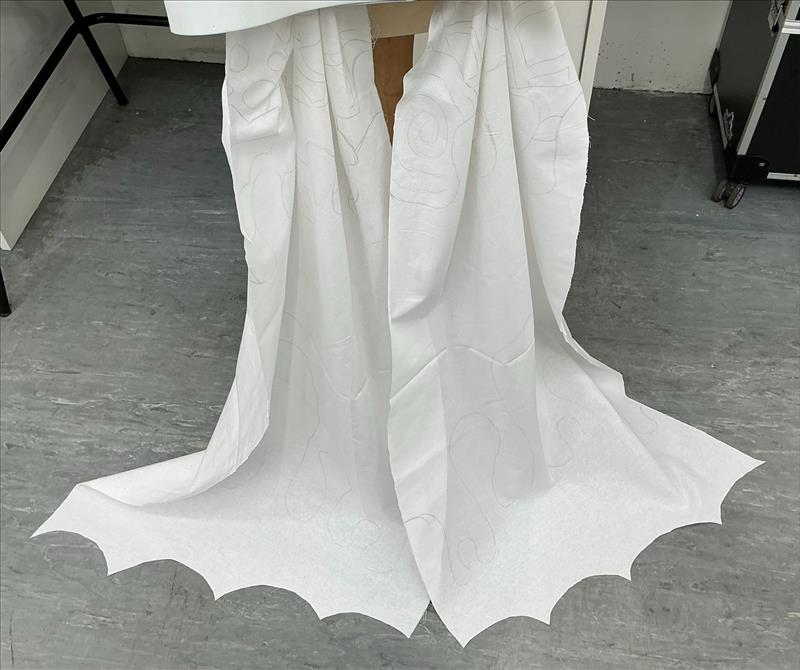
To solve this, I had to redesign my train and swap the designs around so that the simpler drip design was coming down from the bow and the dessert pattern was on the bottom. I also made the train 2 meters long. This ended up looking a lot better so I was glad to have redesigned the train like this:
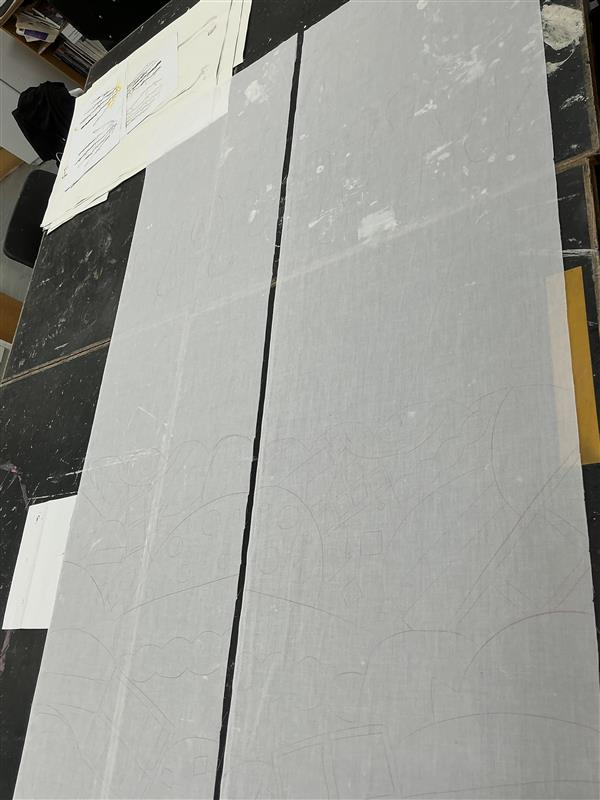
I then painted the train, I used a similar colour scheme as the bow for my dessert design and drips. I didn’t add any glue or Mod Podge paint sealer because it wouldn’t react right with the fabric and it would make the train heavier- which would impact the movement on the train (I wanted to avoid this the most because of how heavy the bow already was.)
Once this was done I glued on the same nail charms as the bow using a small amount of hot glue.
To hide the paint of the underside of the train, I decided to sew a layer of brown fabric cut to the same shape as the main design. This would make the look more cohesive and link to my bow design:
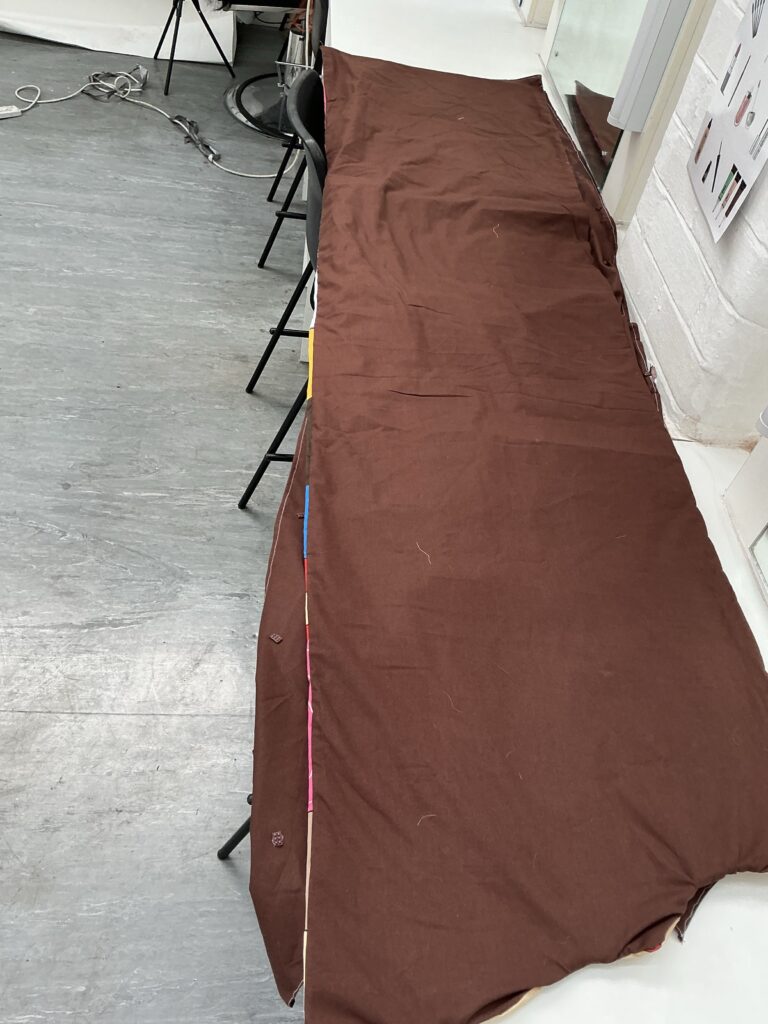
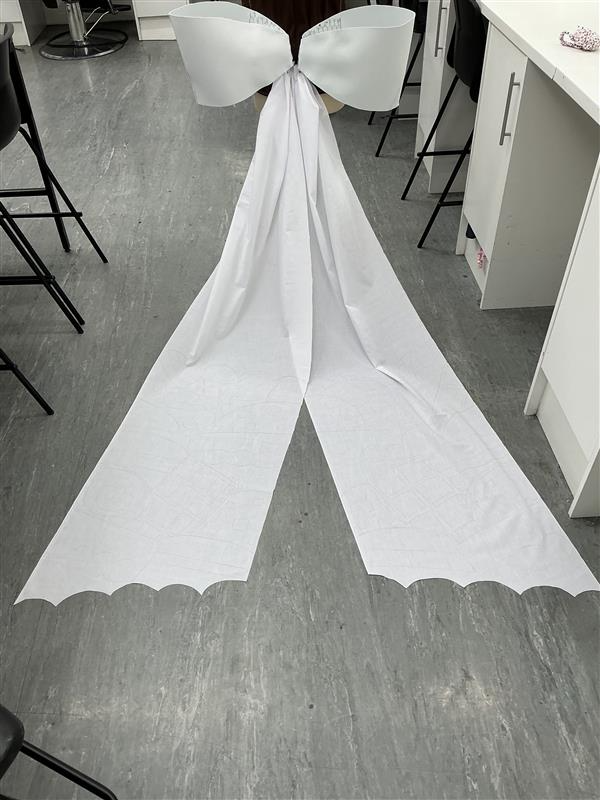
For the other half of the train, I used the rest of the brown fabric and hemmed it to make it a single layer half. I also decided to hot glue the same chocolate charms along the fabric to add a 3D element and to not make it look as flat and rushed. I think that these two halves go well together because it wasn’t too messy, I think that if I had done the drip/ dessert design on both sides it would be more distracting and possibly over-doing it, even with the definition of gluttony being over indulgence of food and drinks. This is what the train looked like finished:
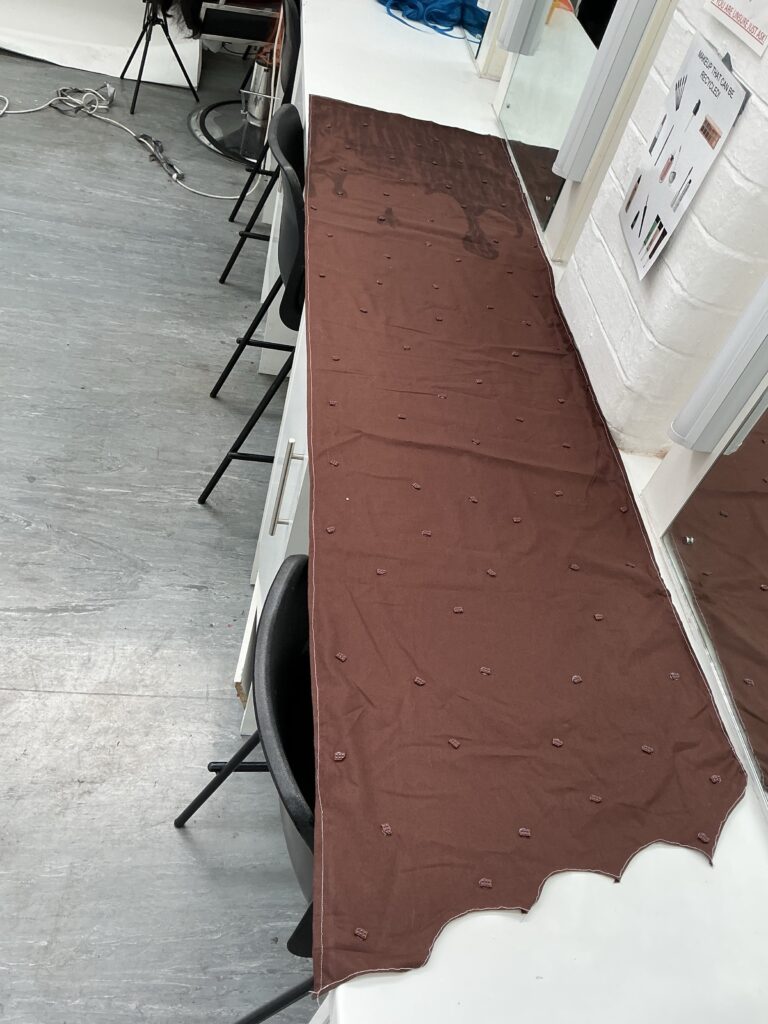
This is what my train looked like once it was completed:
I learnt afterwards that the single layer side of the train would need extra stability when put on a runway because it was quite flimsy at times but it would be okay for pictures. To make this layer more stable I will sew another layer onto the layer and possibly secure it with a small amount of chicken wire.
To attach my bow to the waistcoat, I sewed and glued lots of hook/eyes to the pieces:
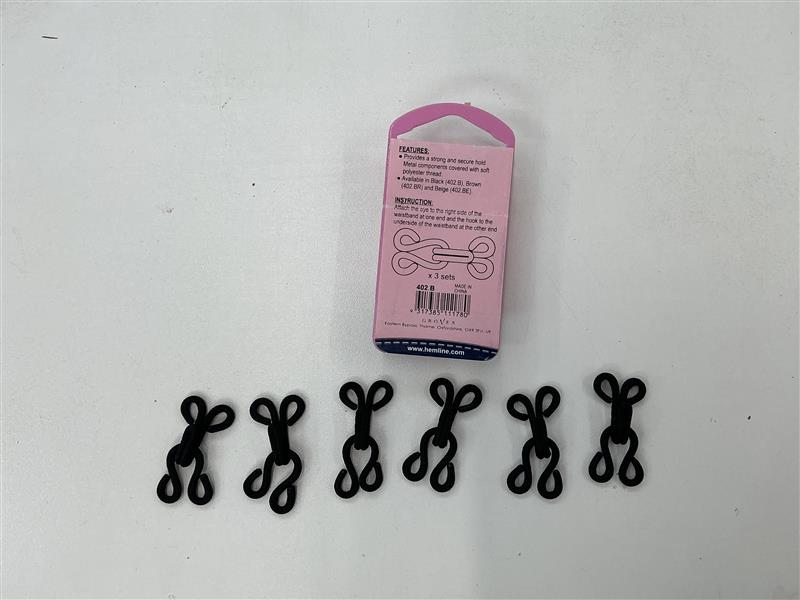
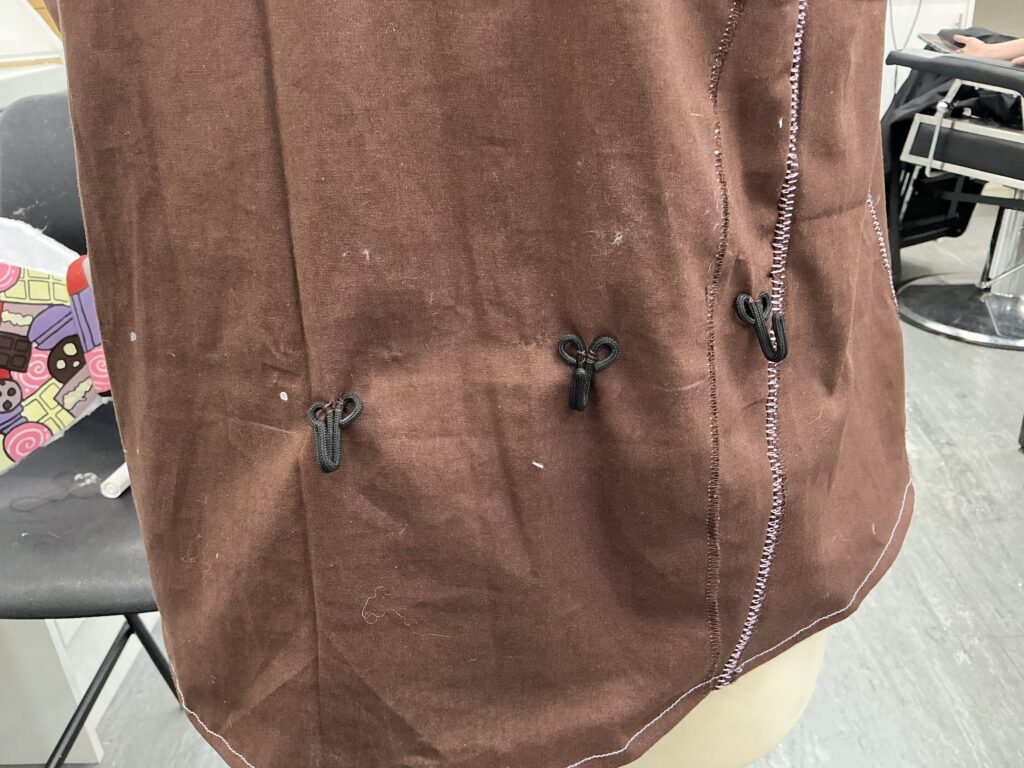
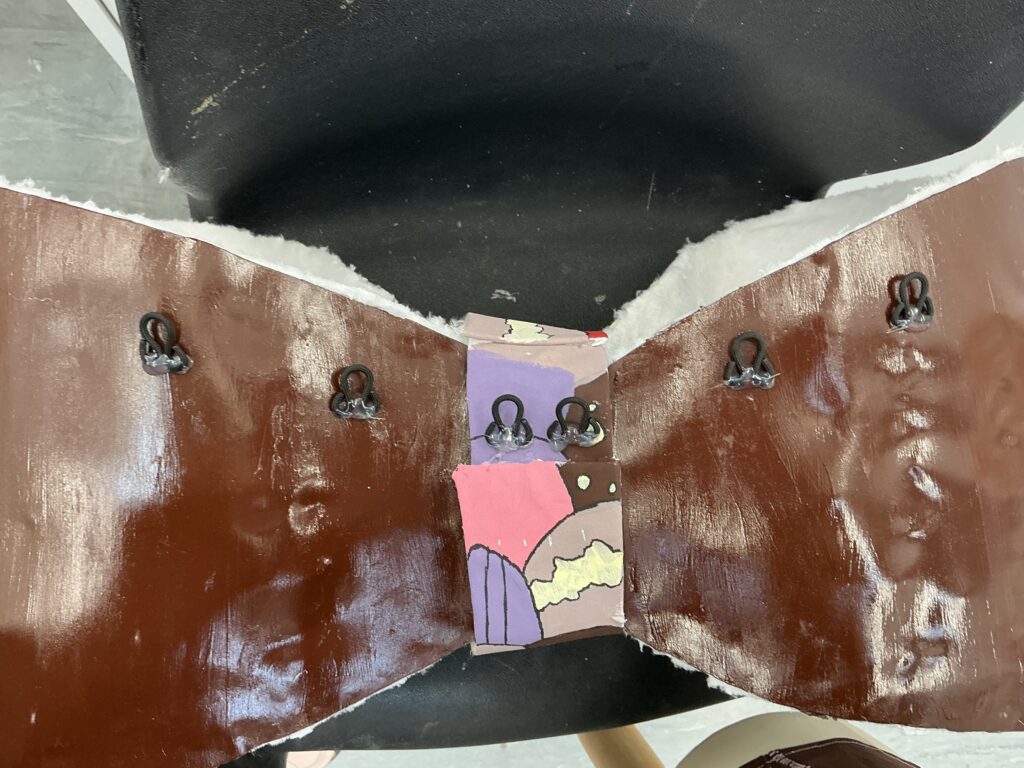
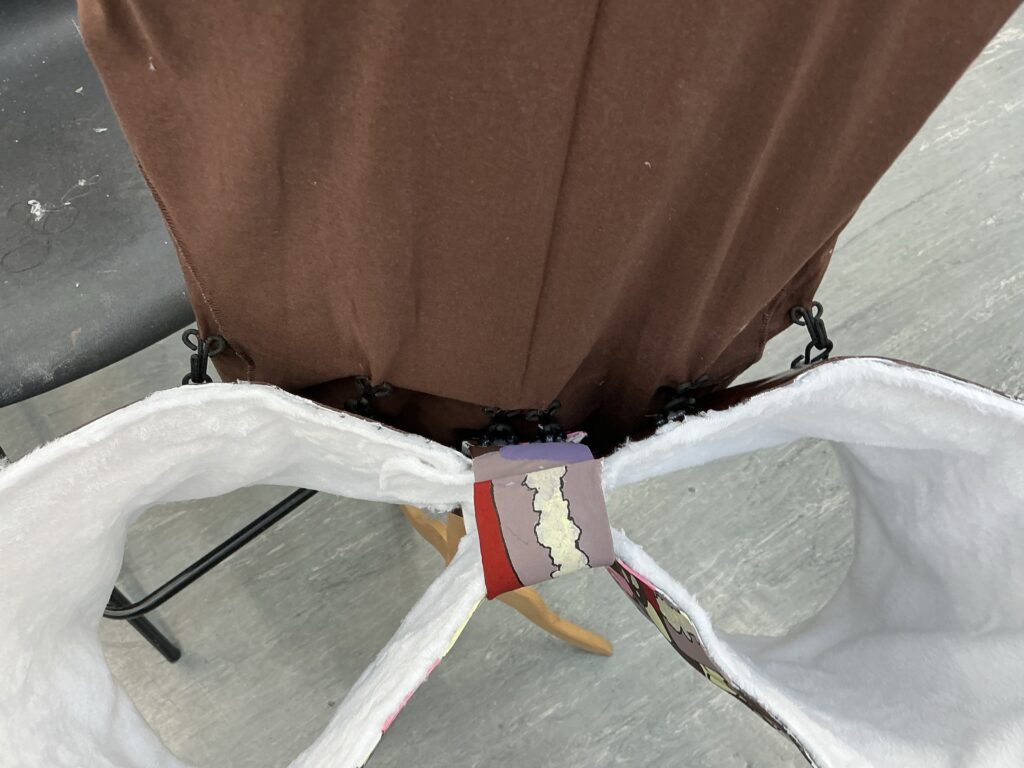
I did add more hooks and eyes to the sides both costume elements for extra security.
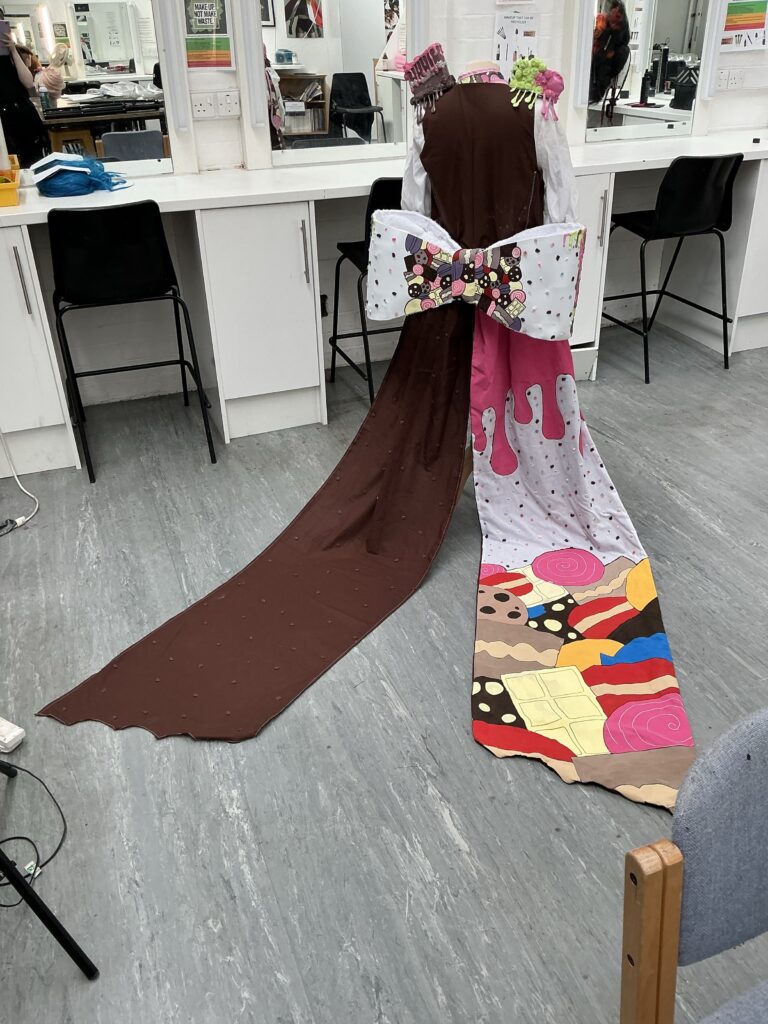
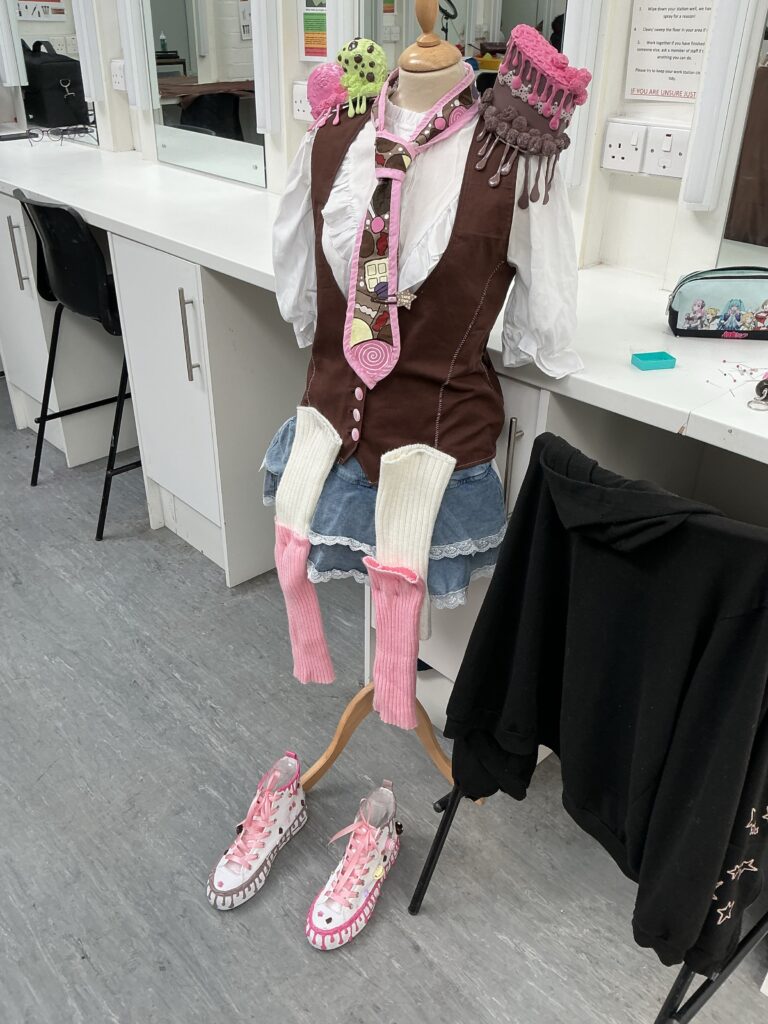
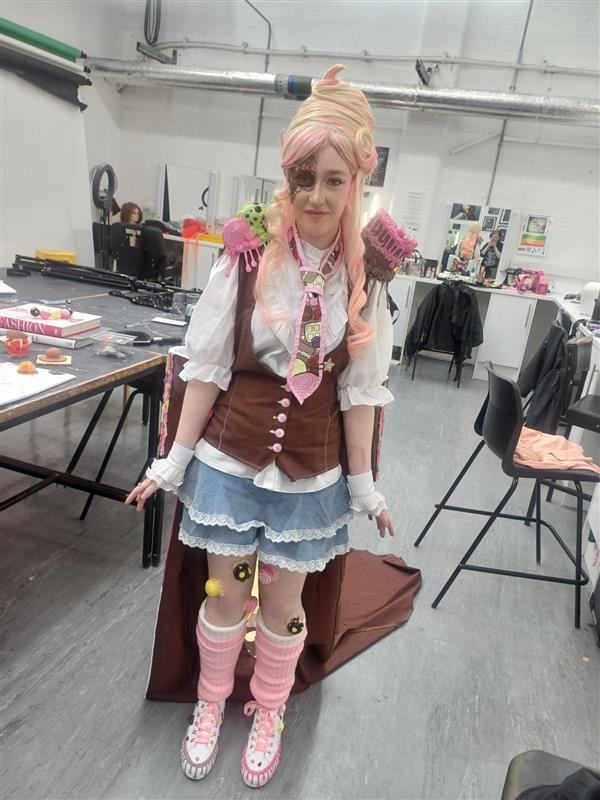
I attached my train simply by sewing it to the waistcoat so that there was no extra strain on the costume. This is what my full costume would look like with everything I have made/ bought:

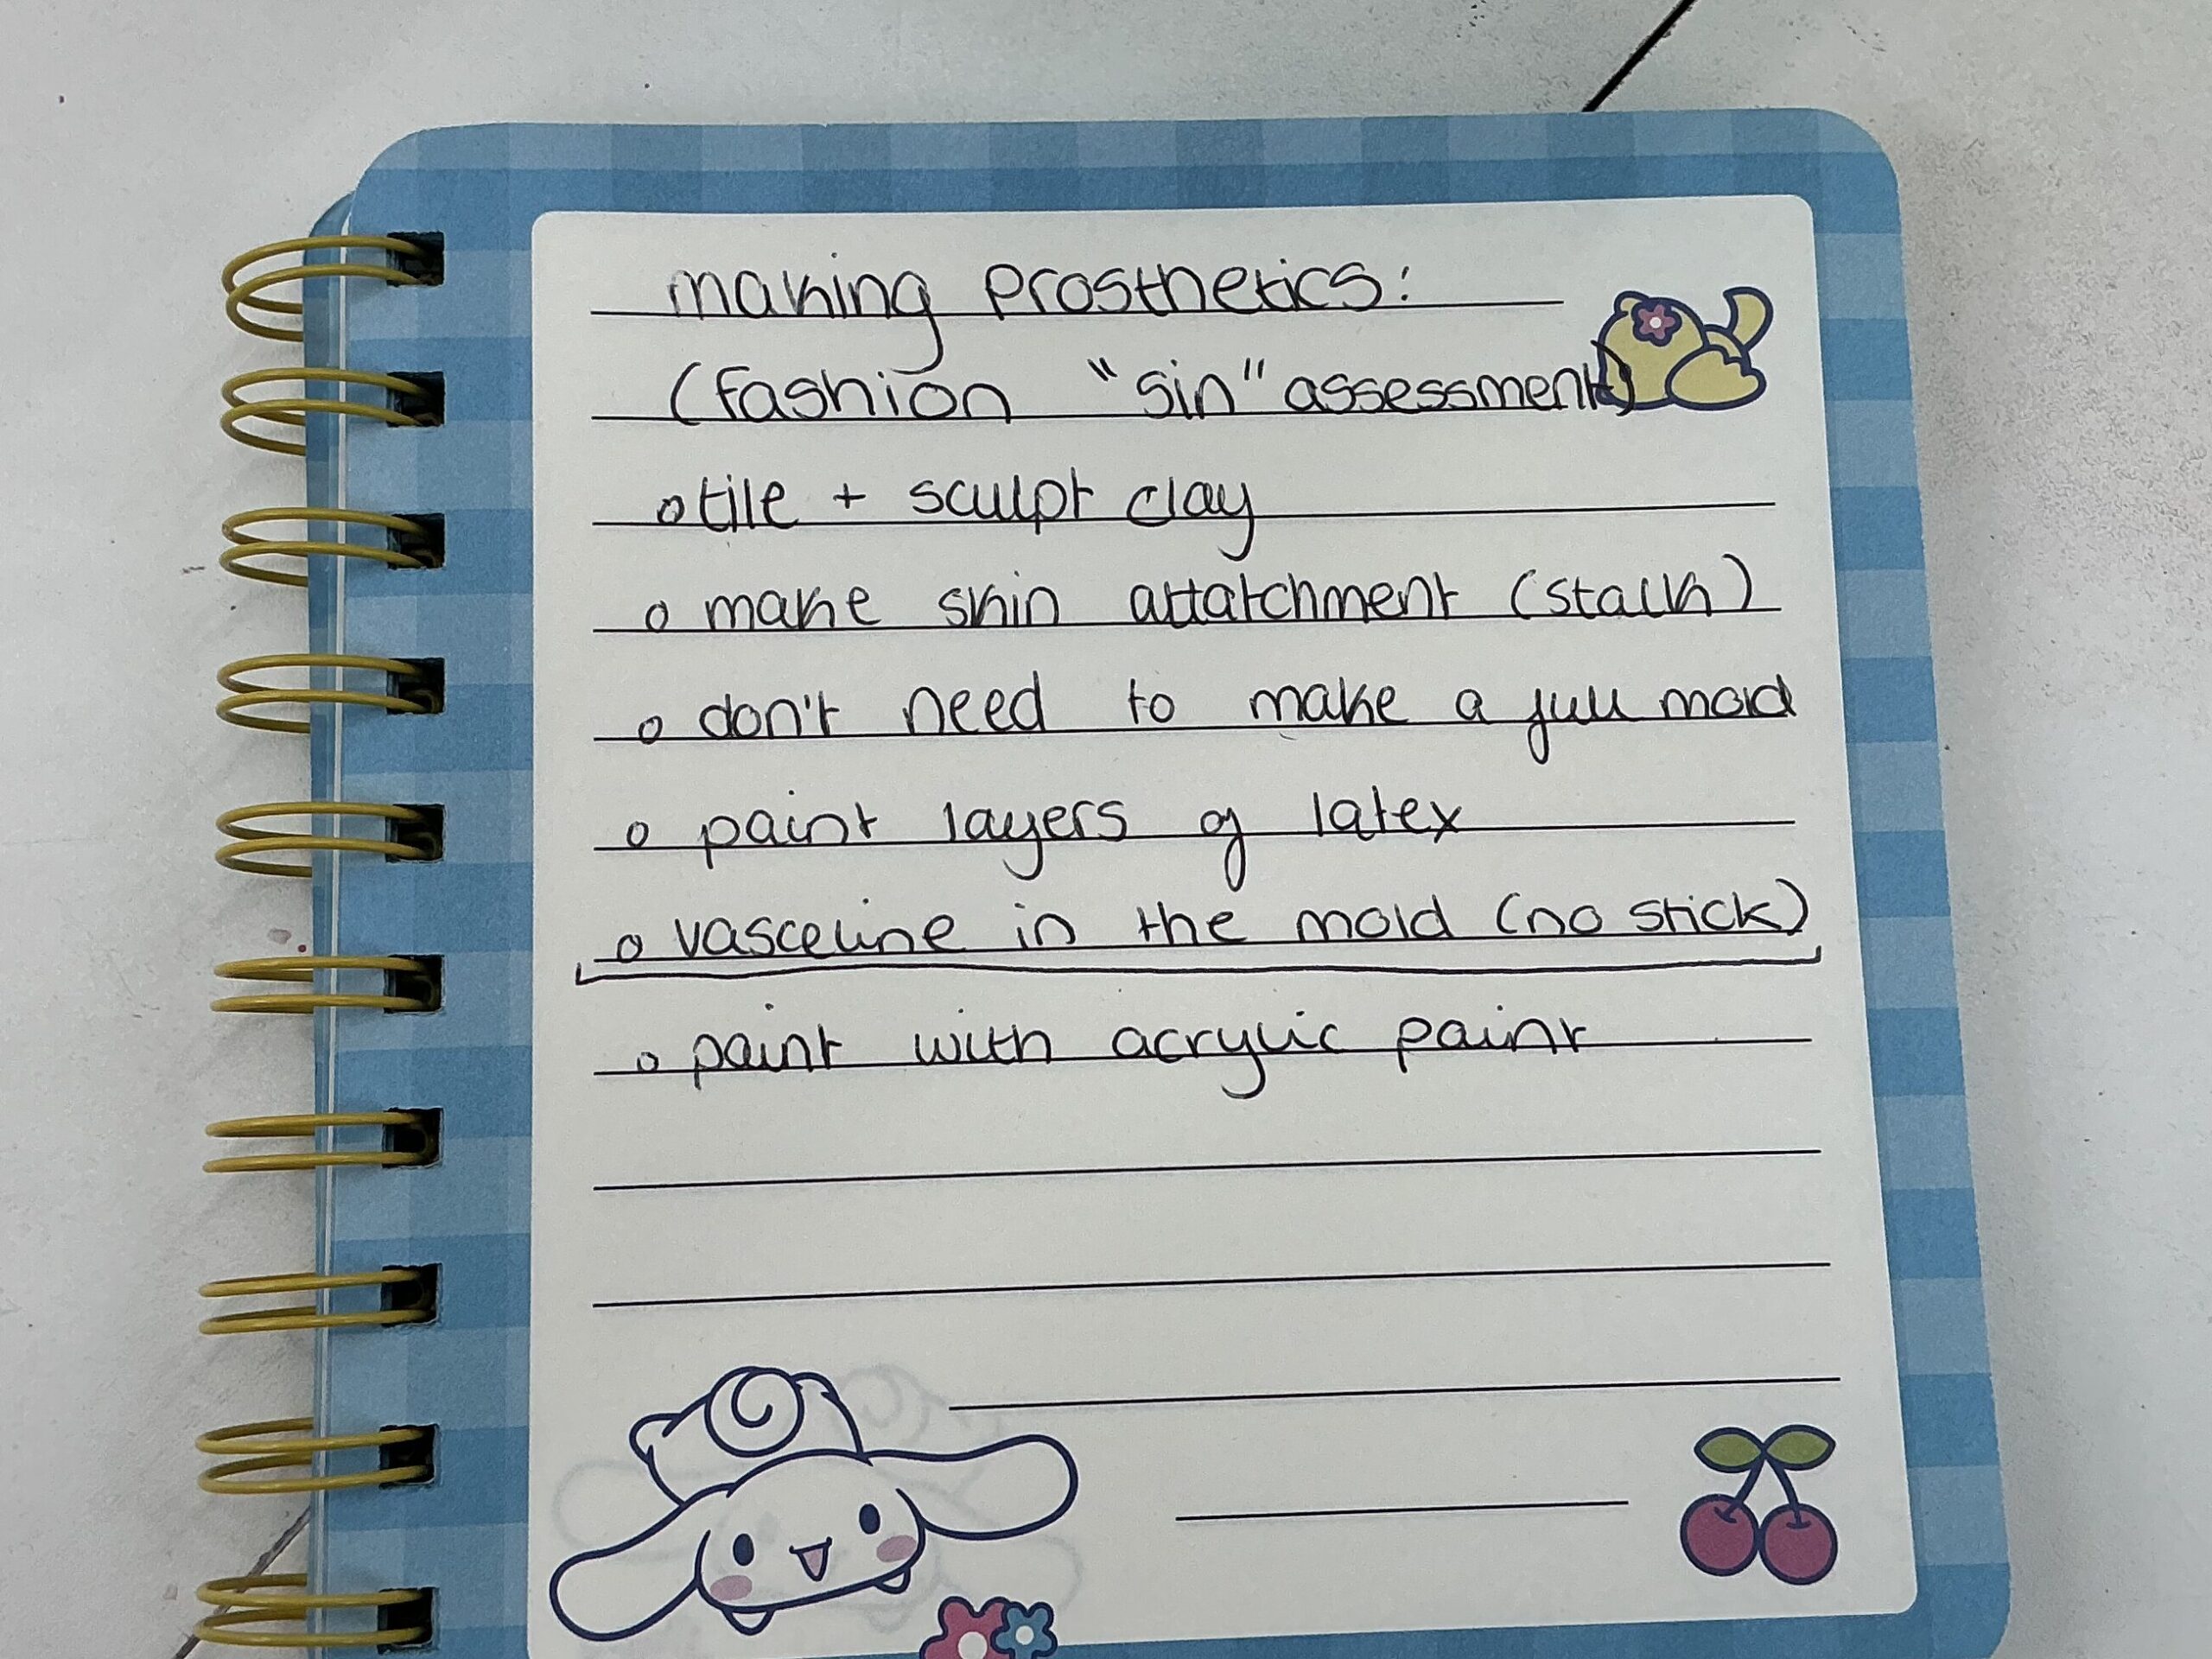
To make my cake pop prosthetics I first had to make a mold. This is a page of notes I took from when my tutor was explaining how to make the mold:
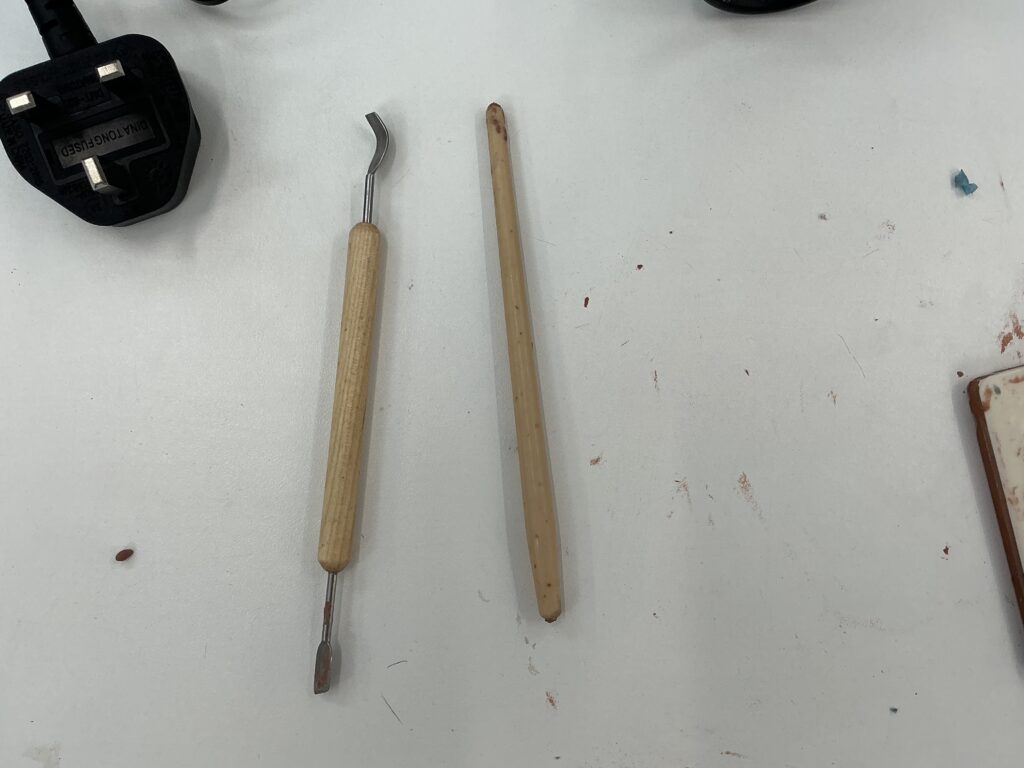
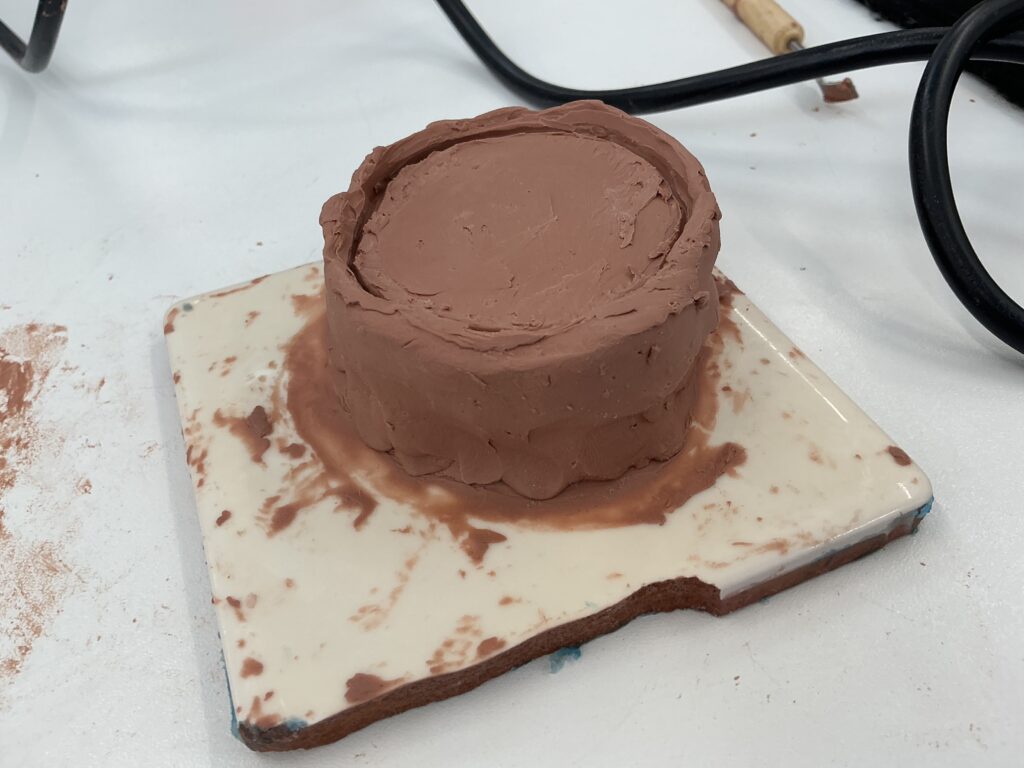
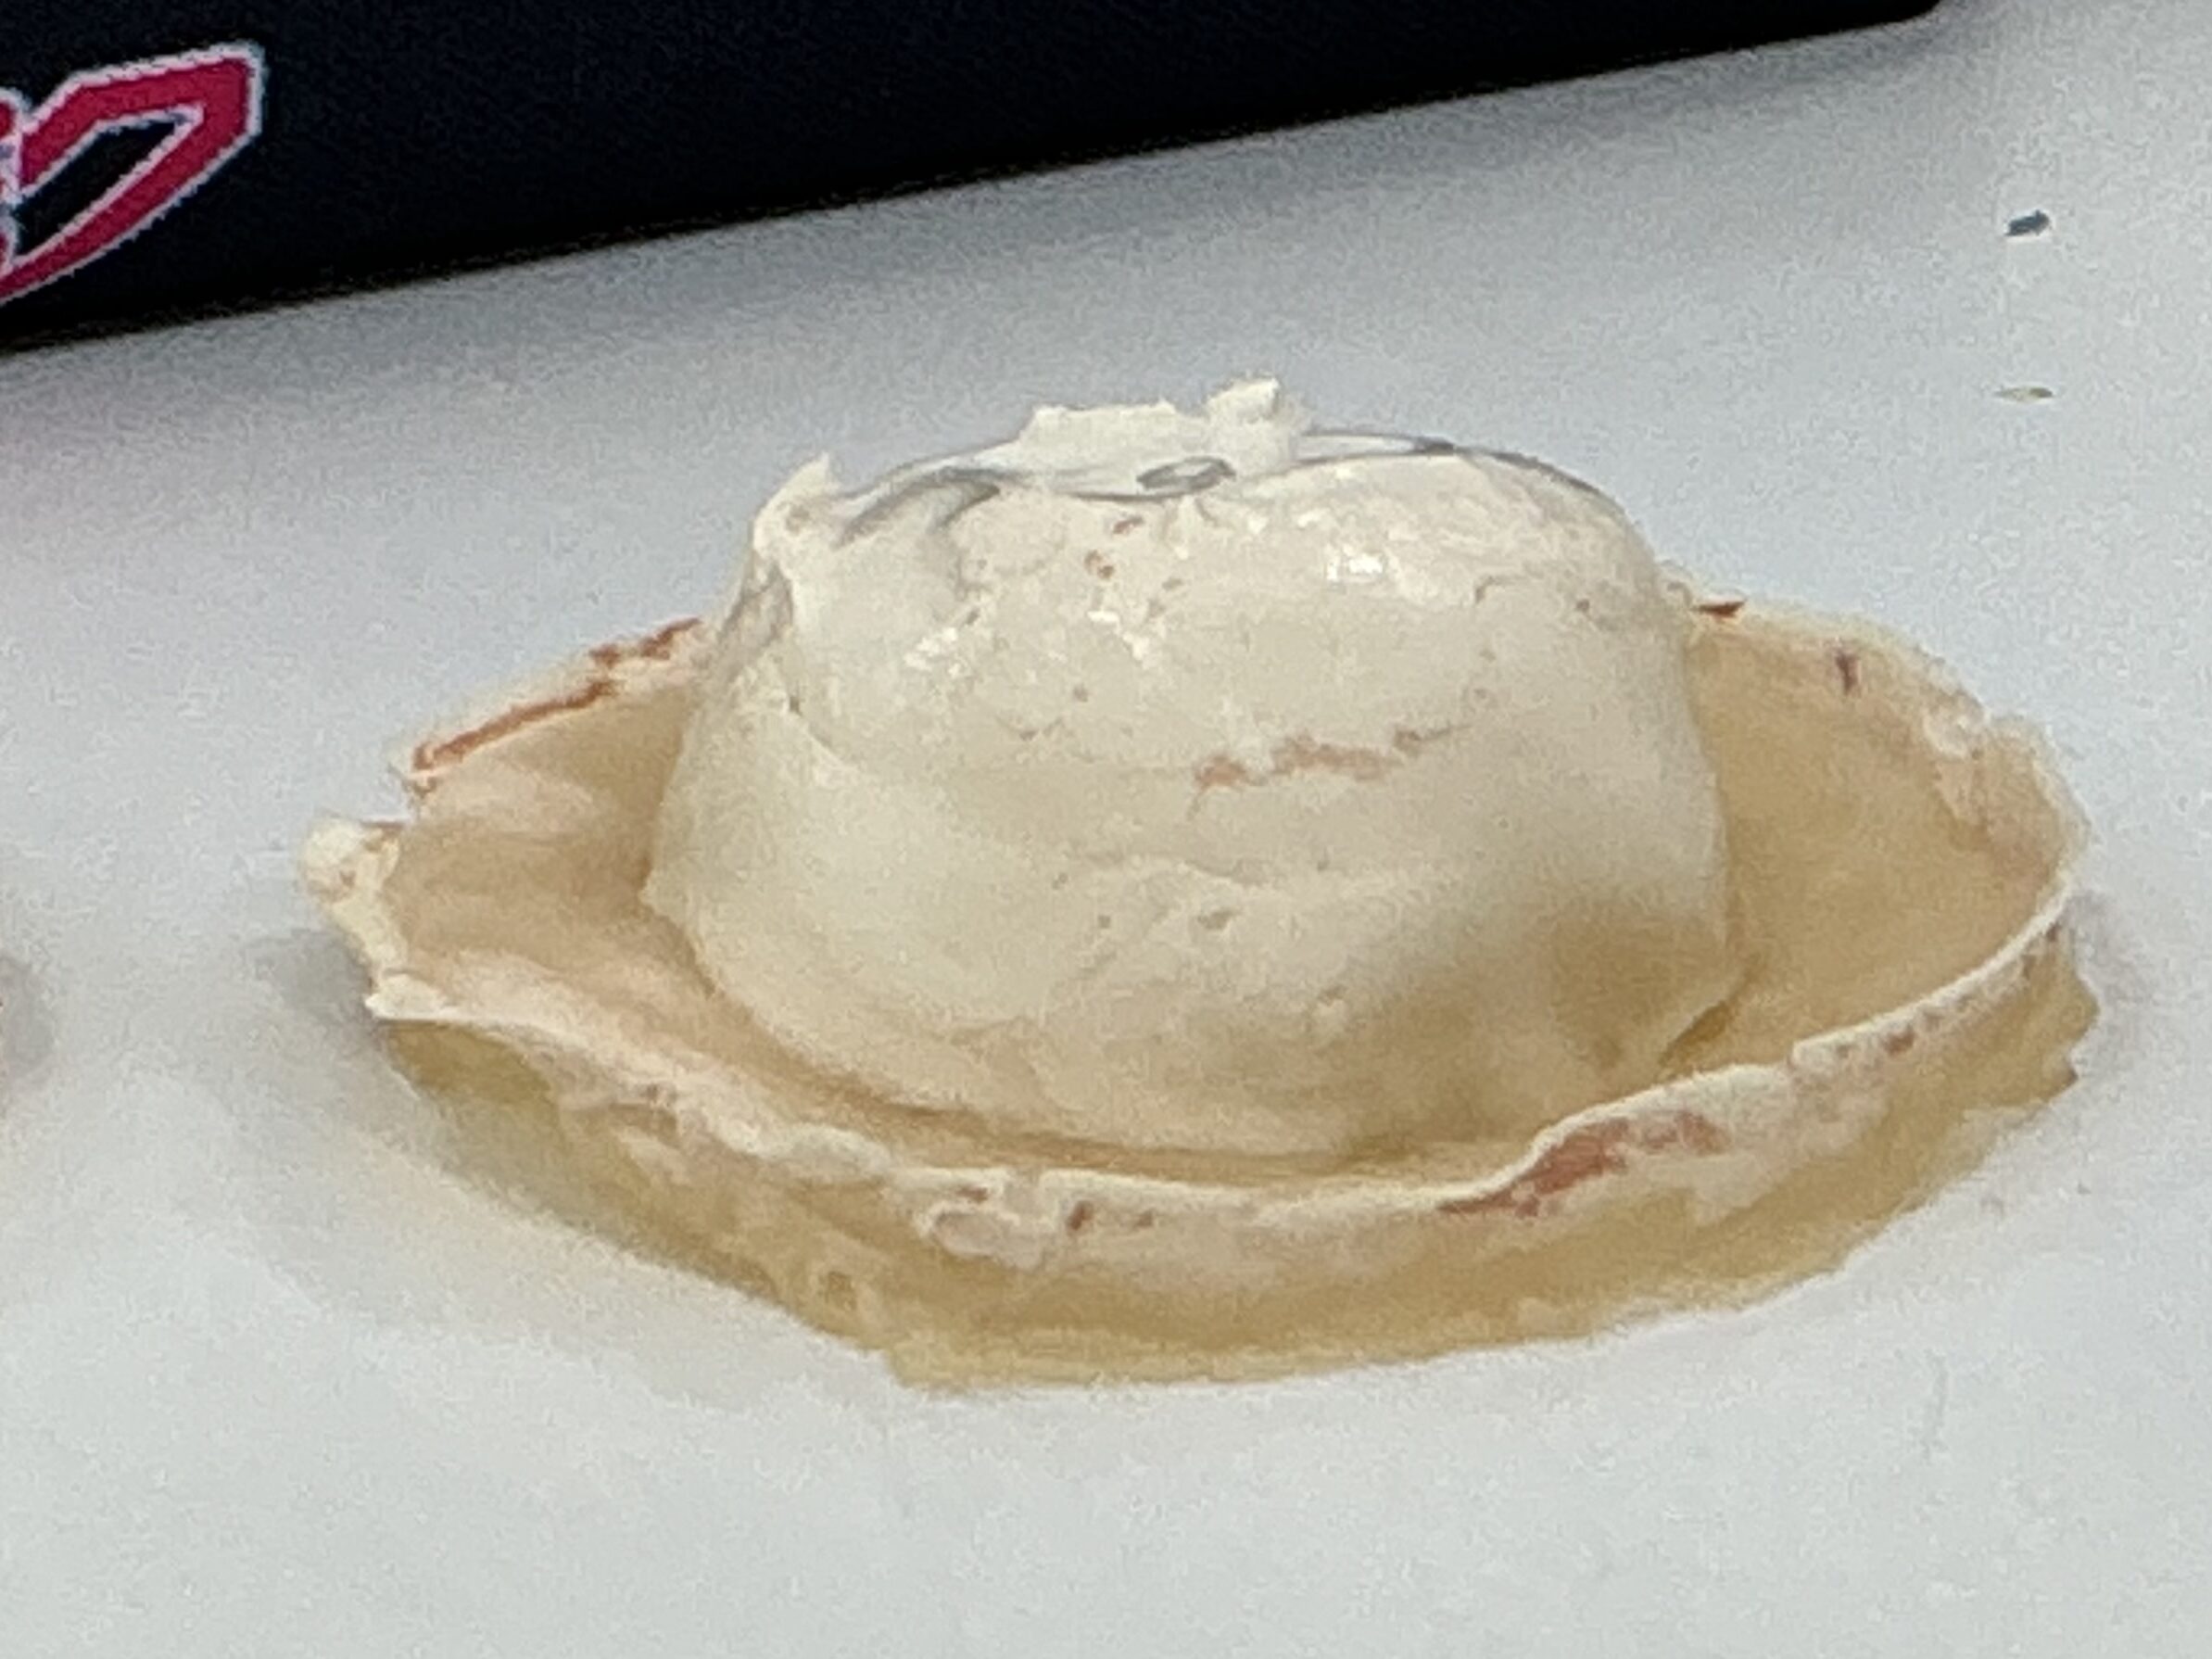
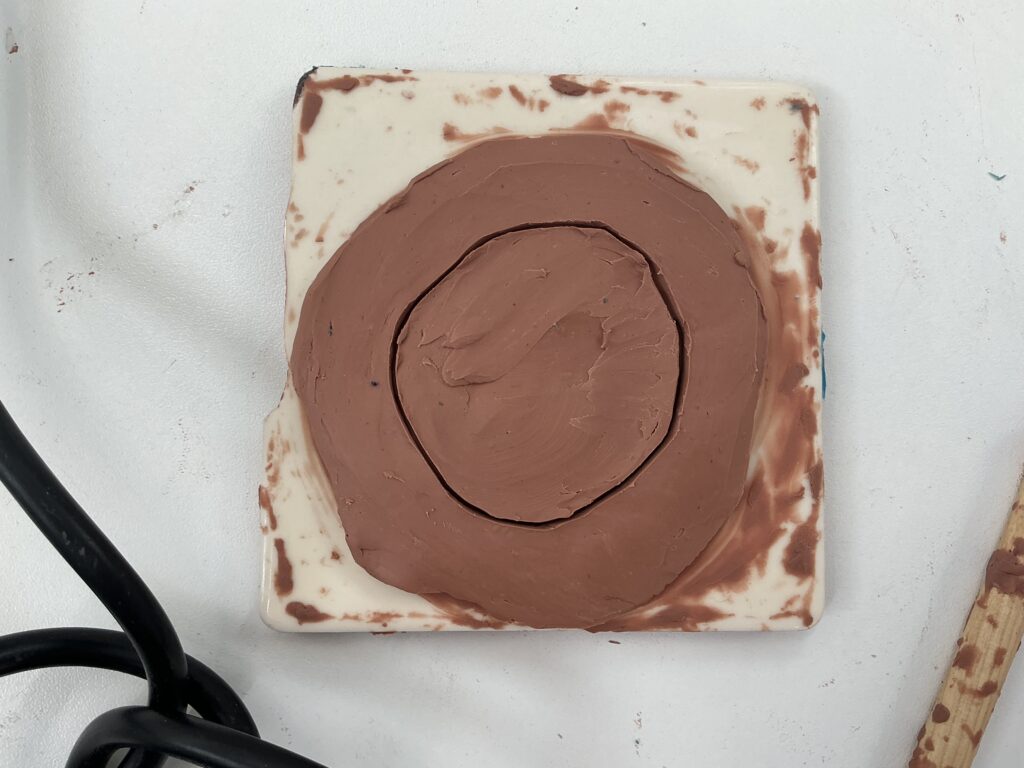
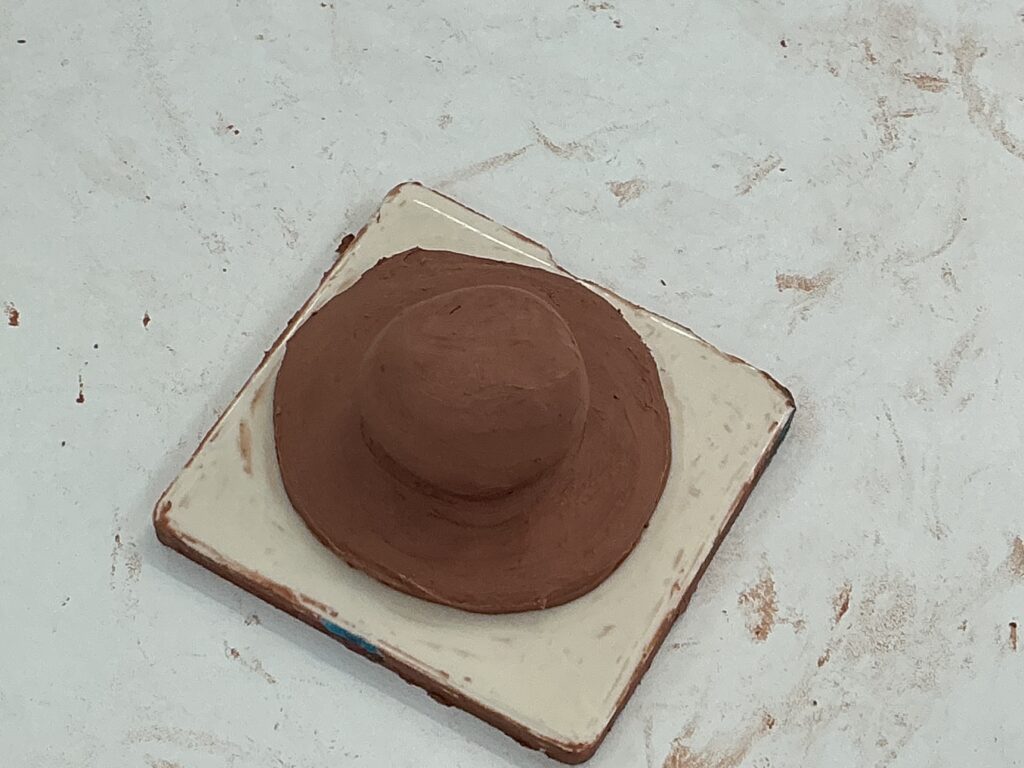
I was given a tile, clay, a clay cutter and sculpting tools to begin and I found it easier to use a hairdryer to warm up the clay so that it was malleable:

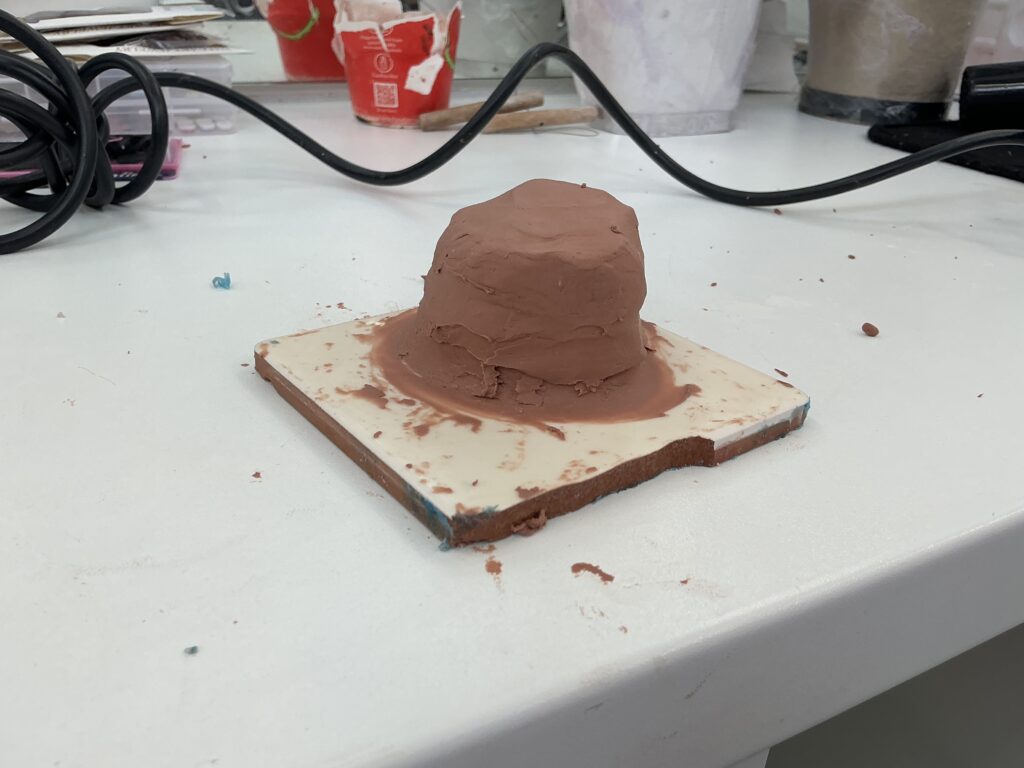
The first technique I tried was to make the clay into a wide cylinder shape and marked a circle in which I would create the shape of the stalk and the cake pop itself. Once I had dug out the shape I used the hairdryer to warm up the clay again, as it began to melt it became easier to smooth out into the right shape:
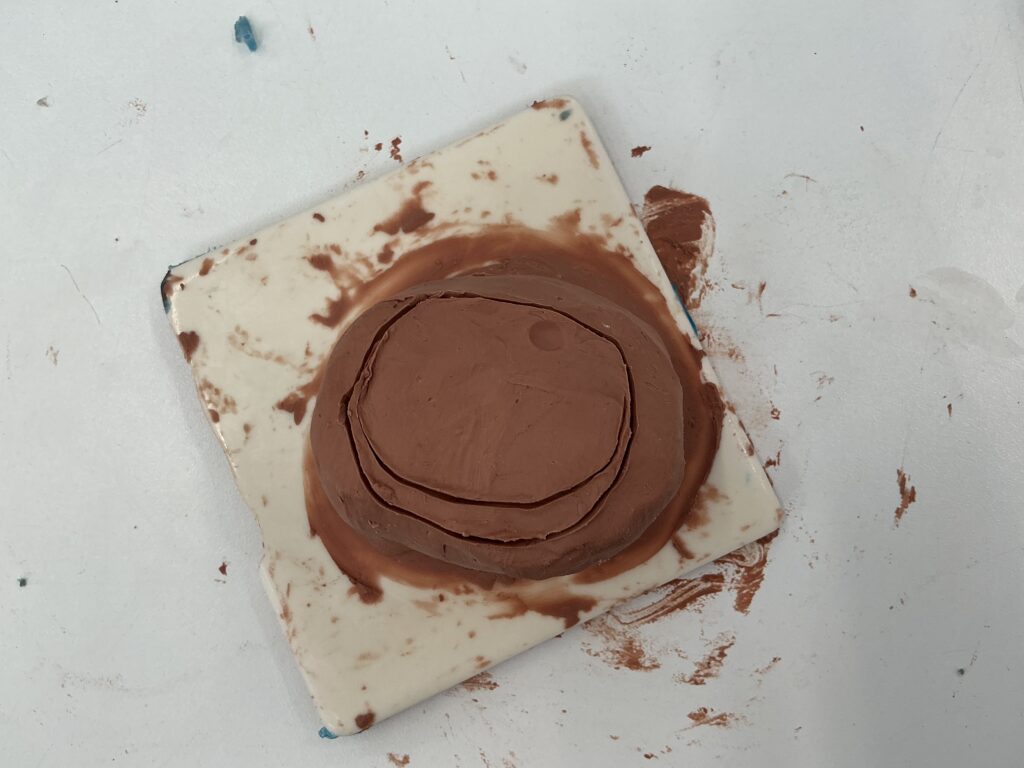
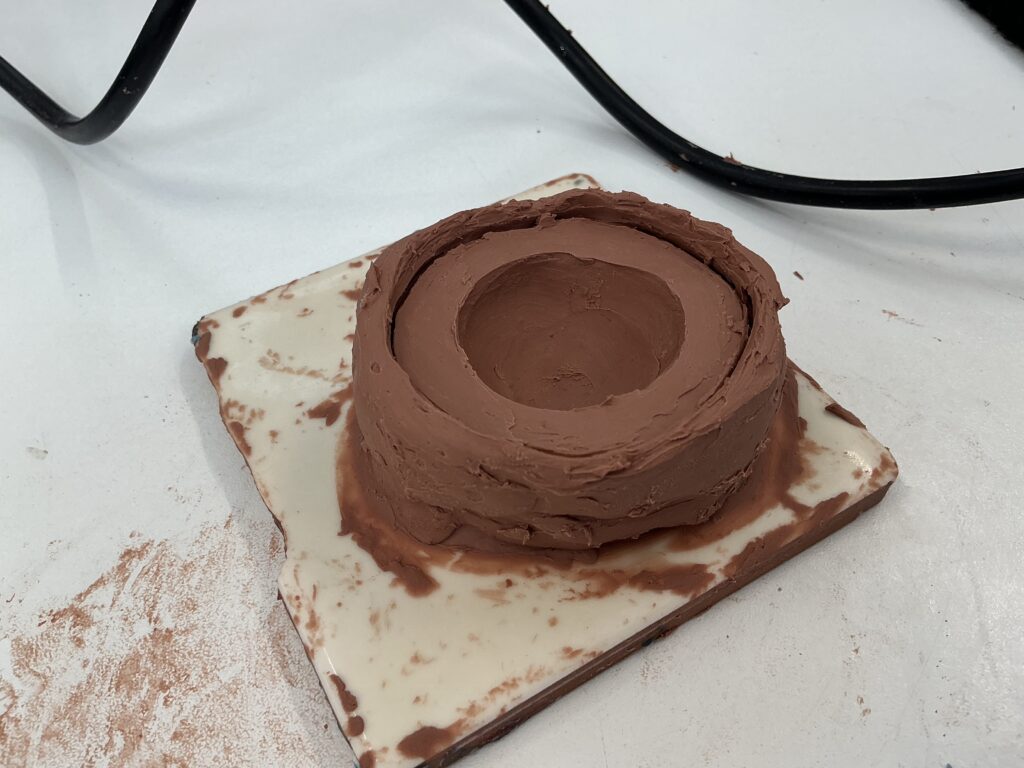

I realised that this technique might make creating the prosthetics more difficult, my tutor advised me that making the prosthetics like this could mean that the stalk might end up too thick:
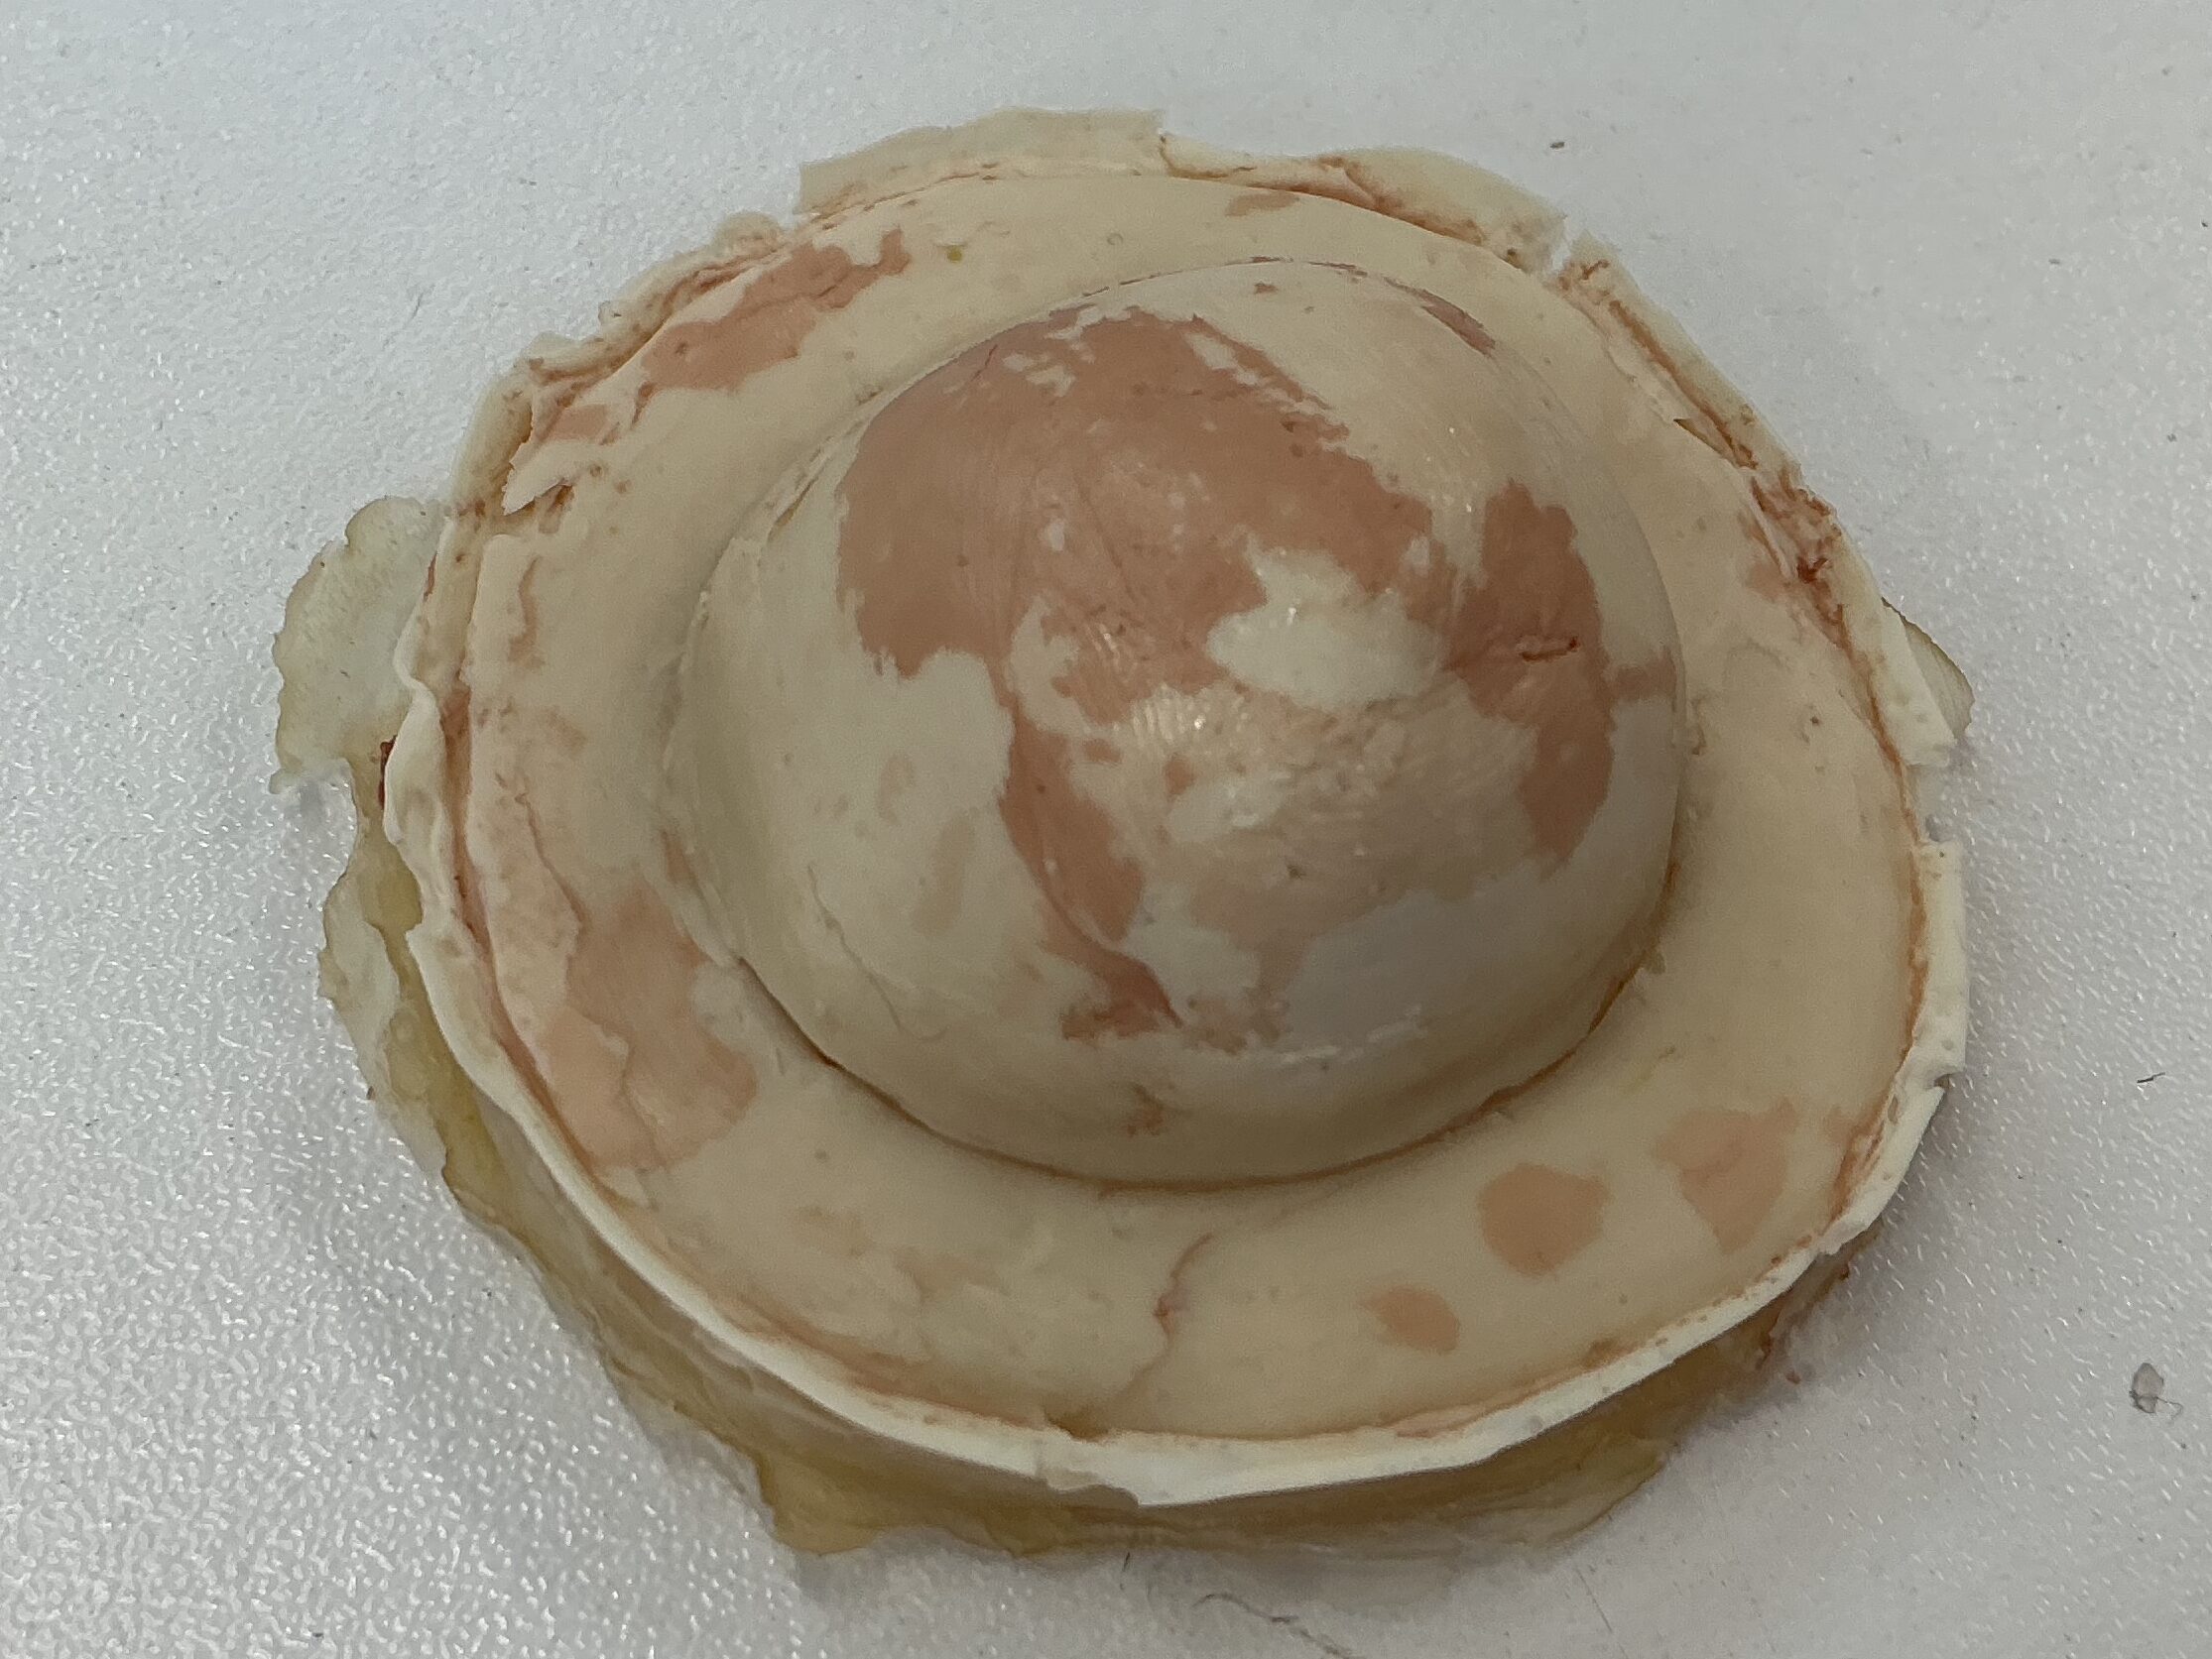
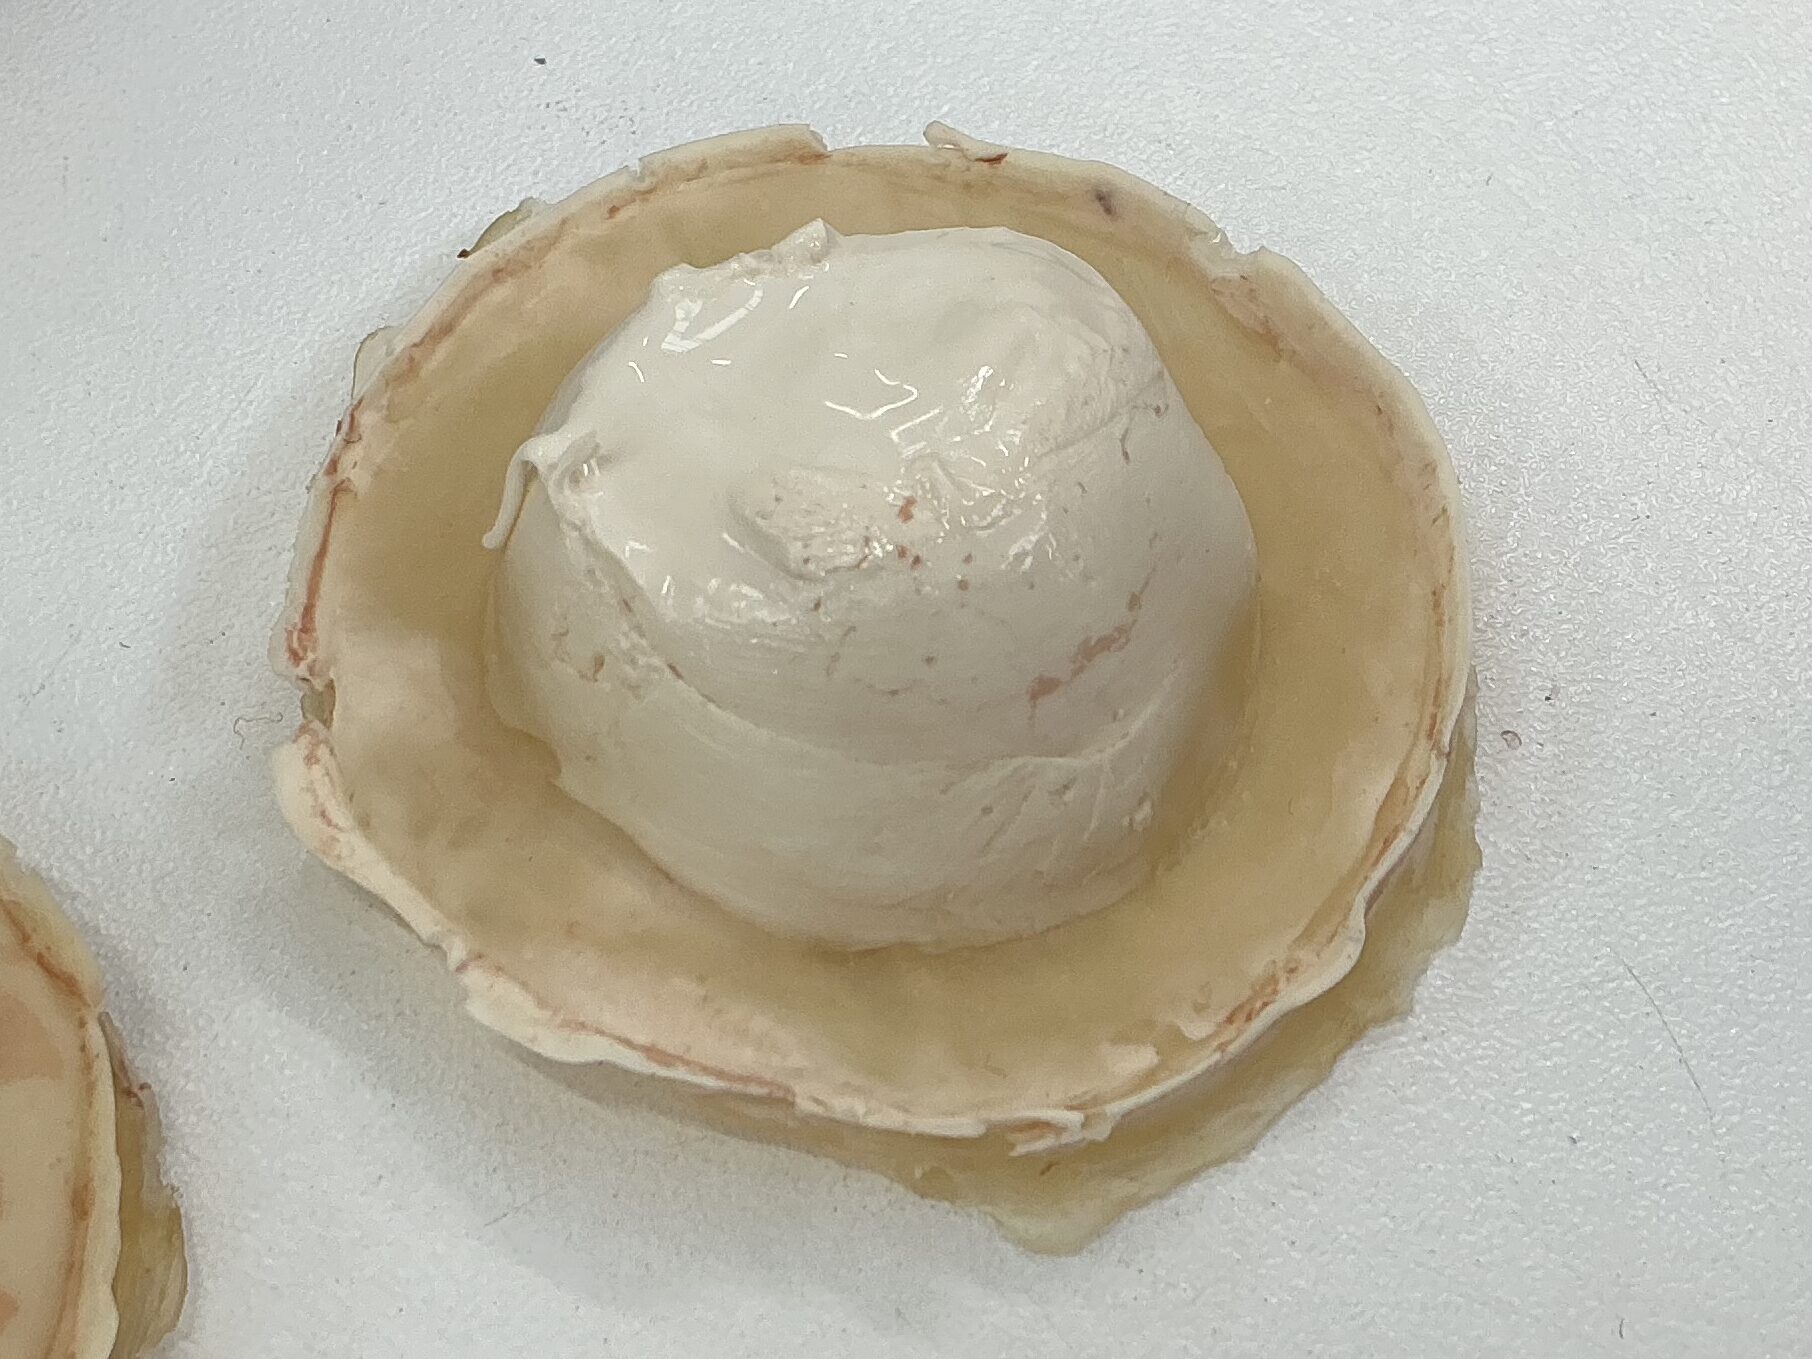
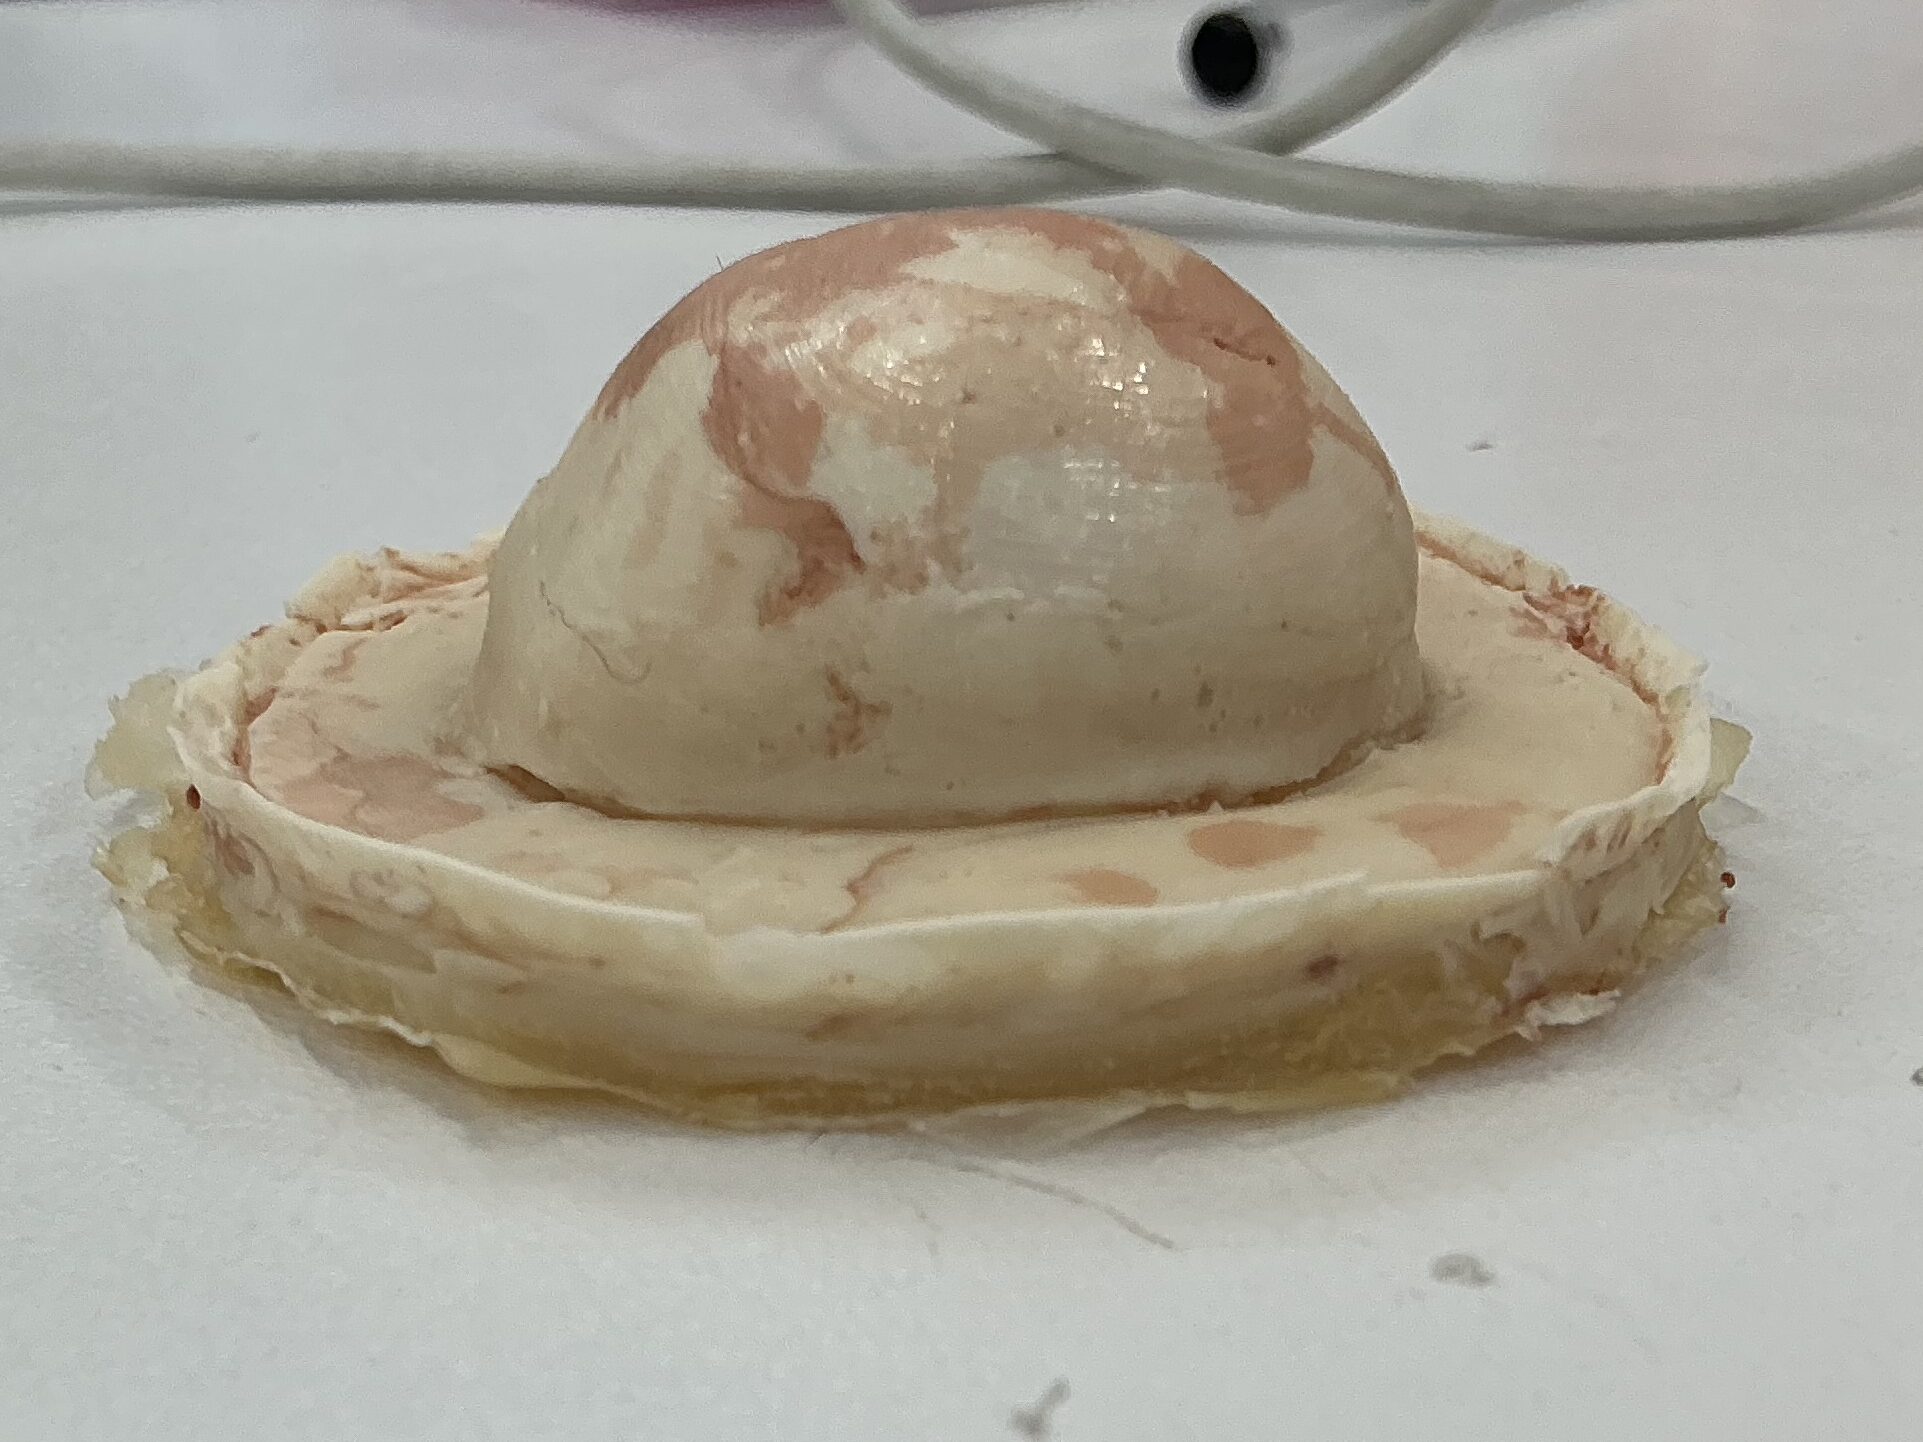
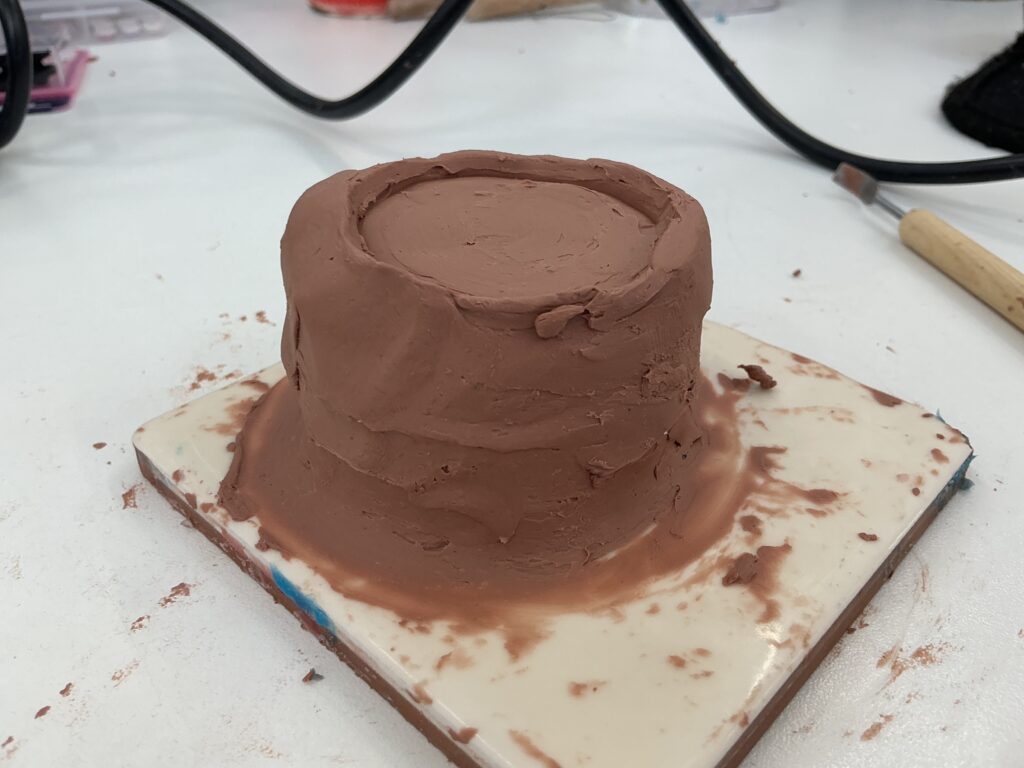
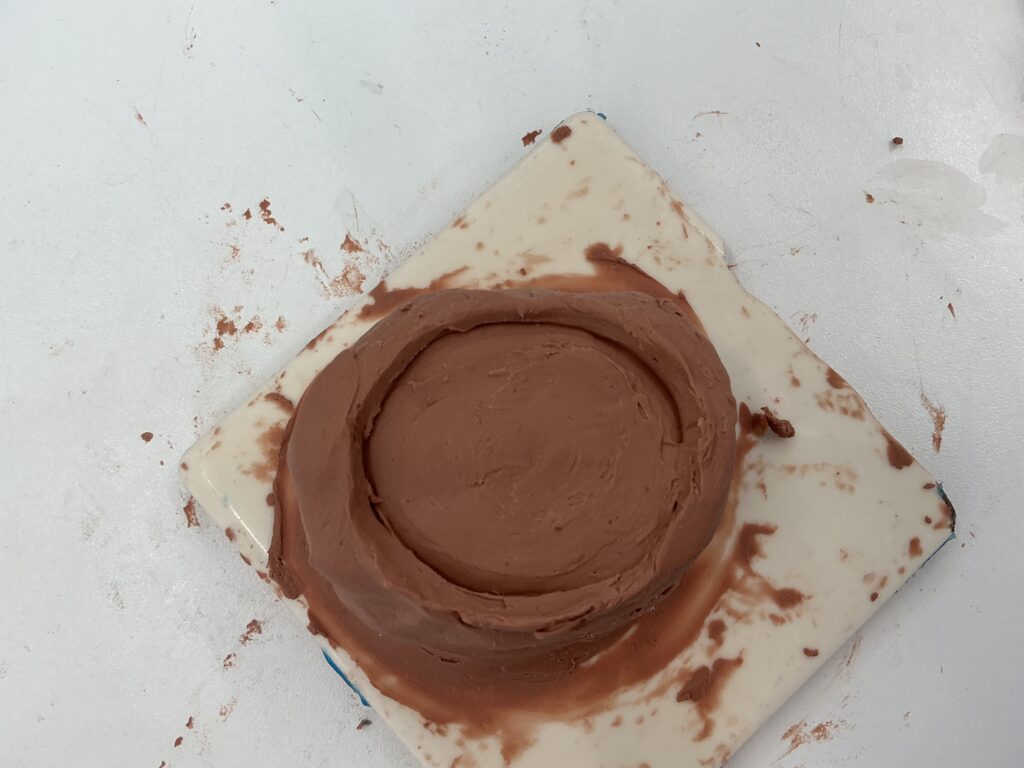
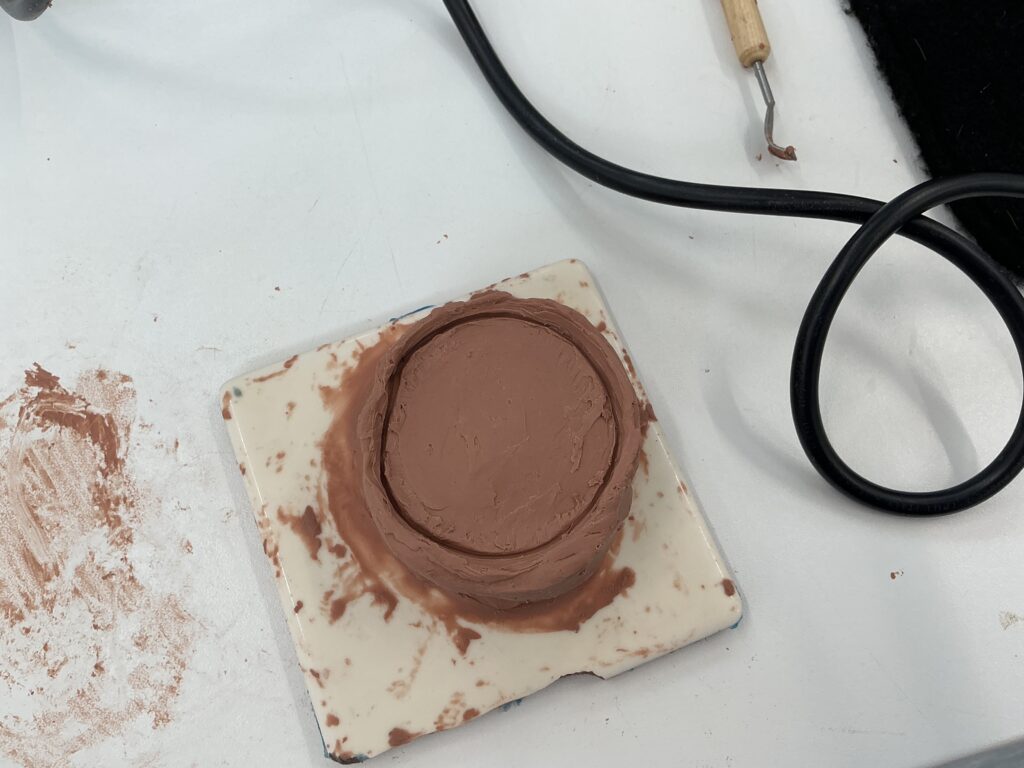
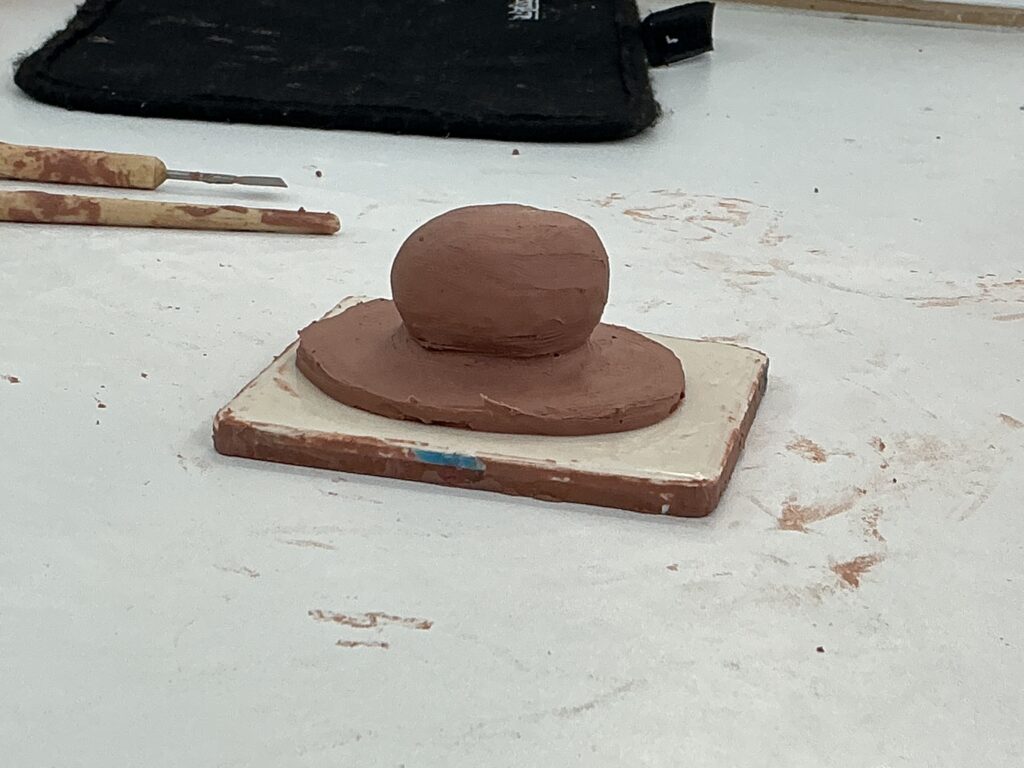
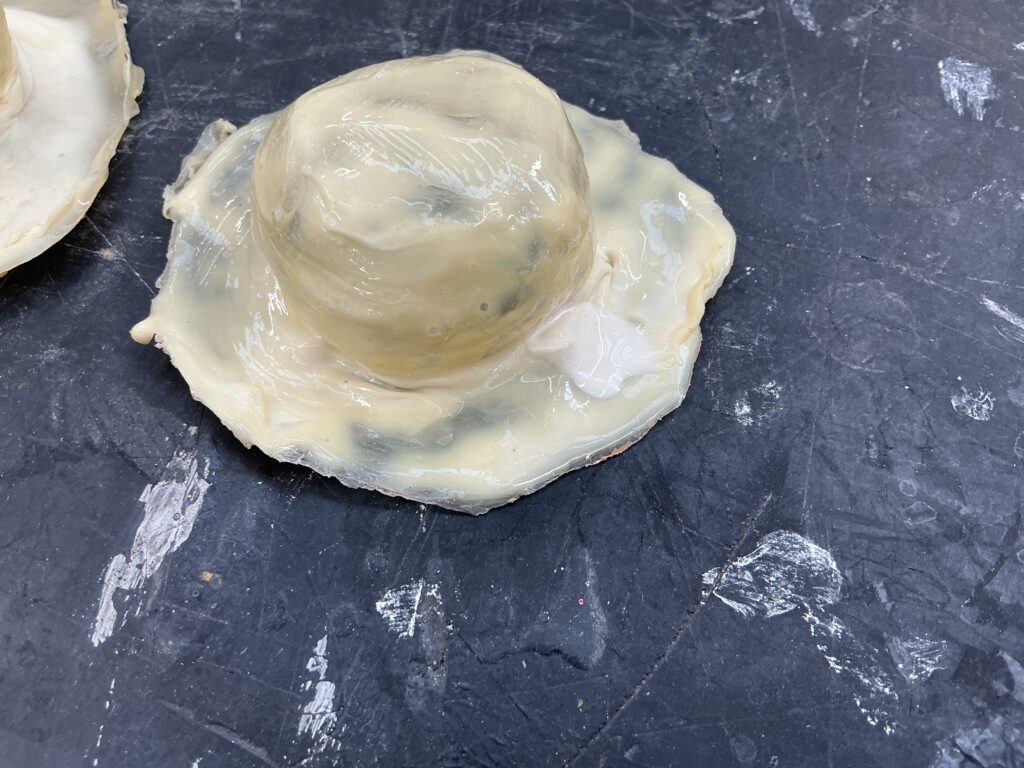
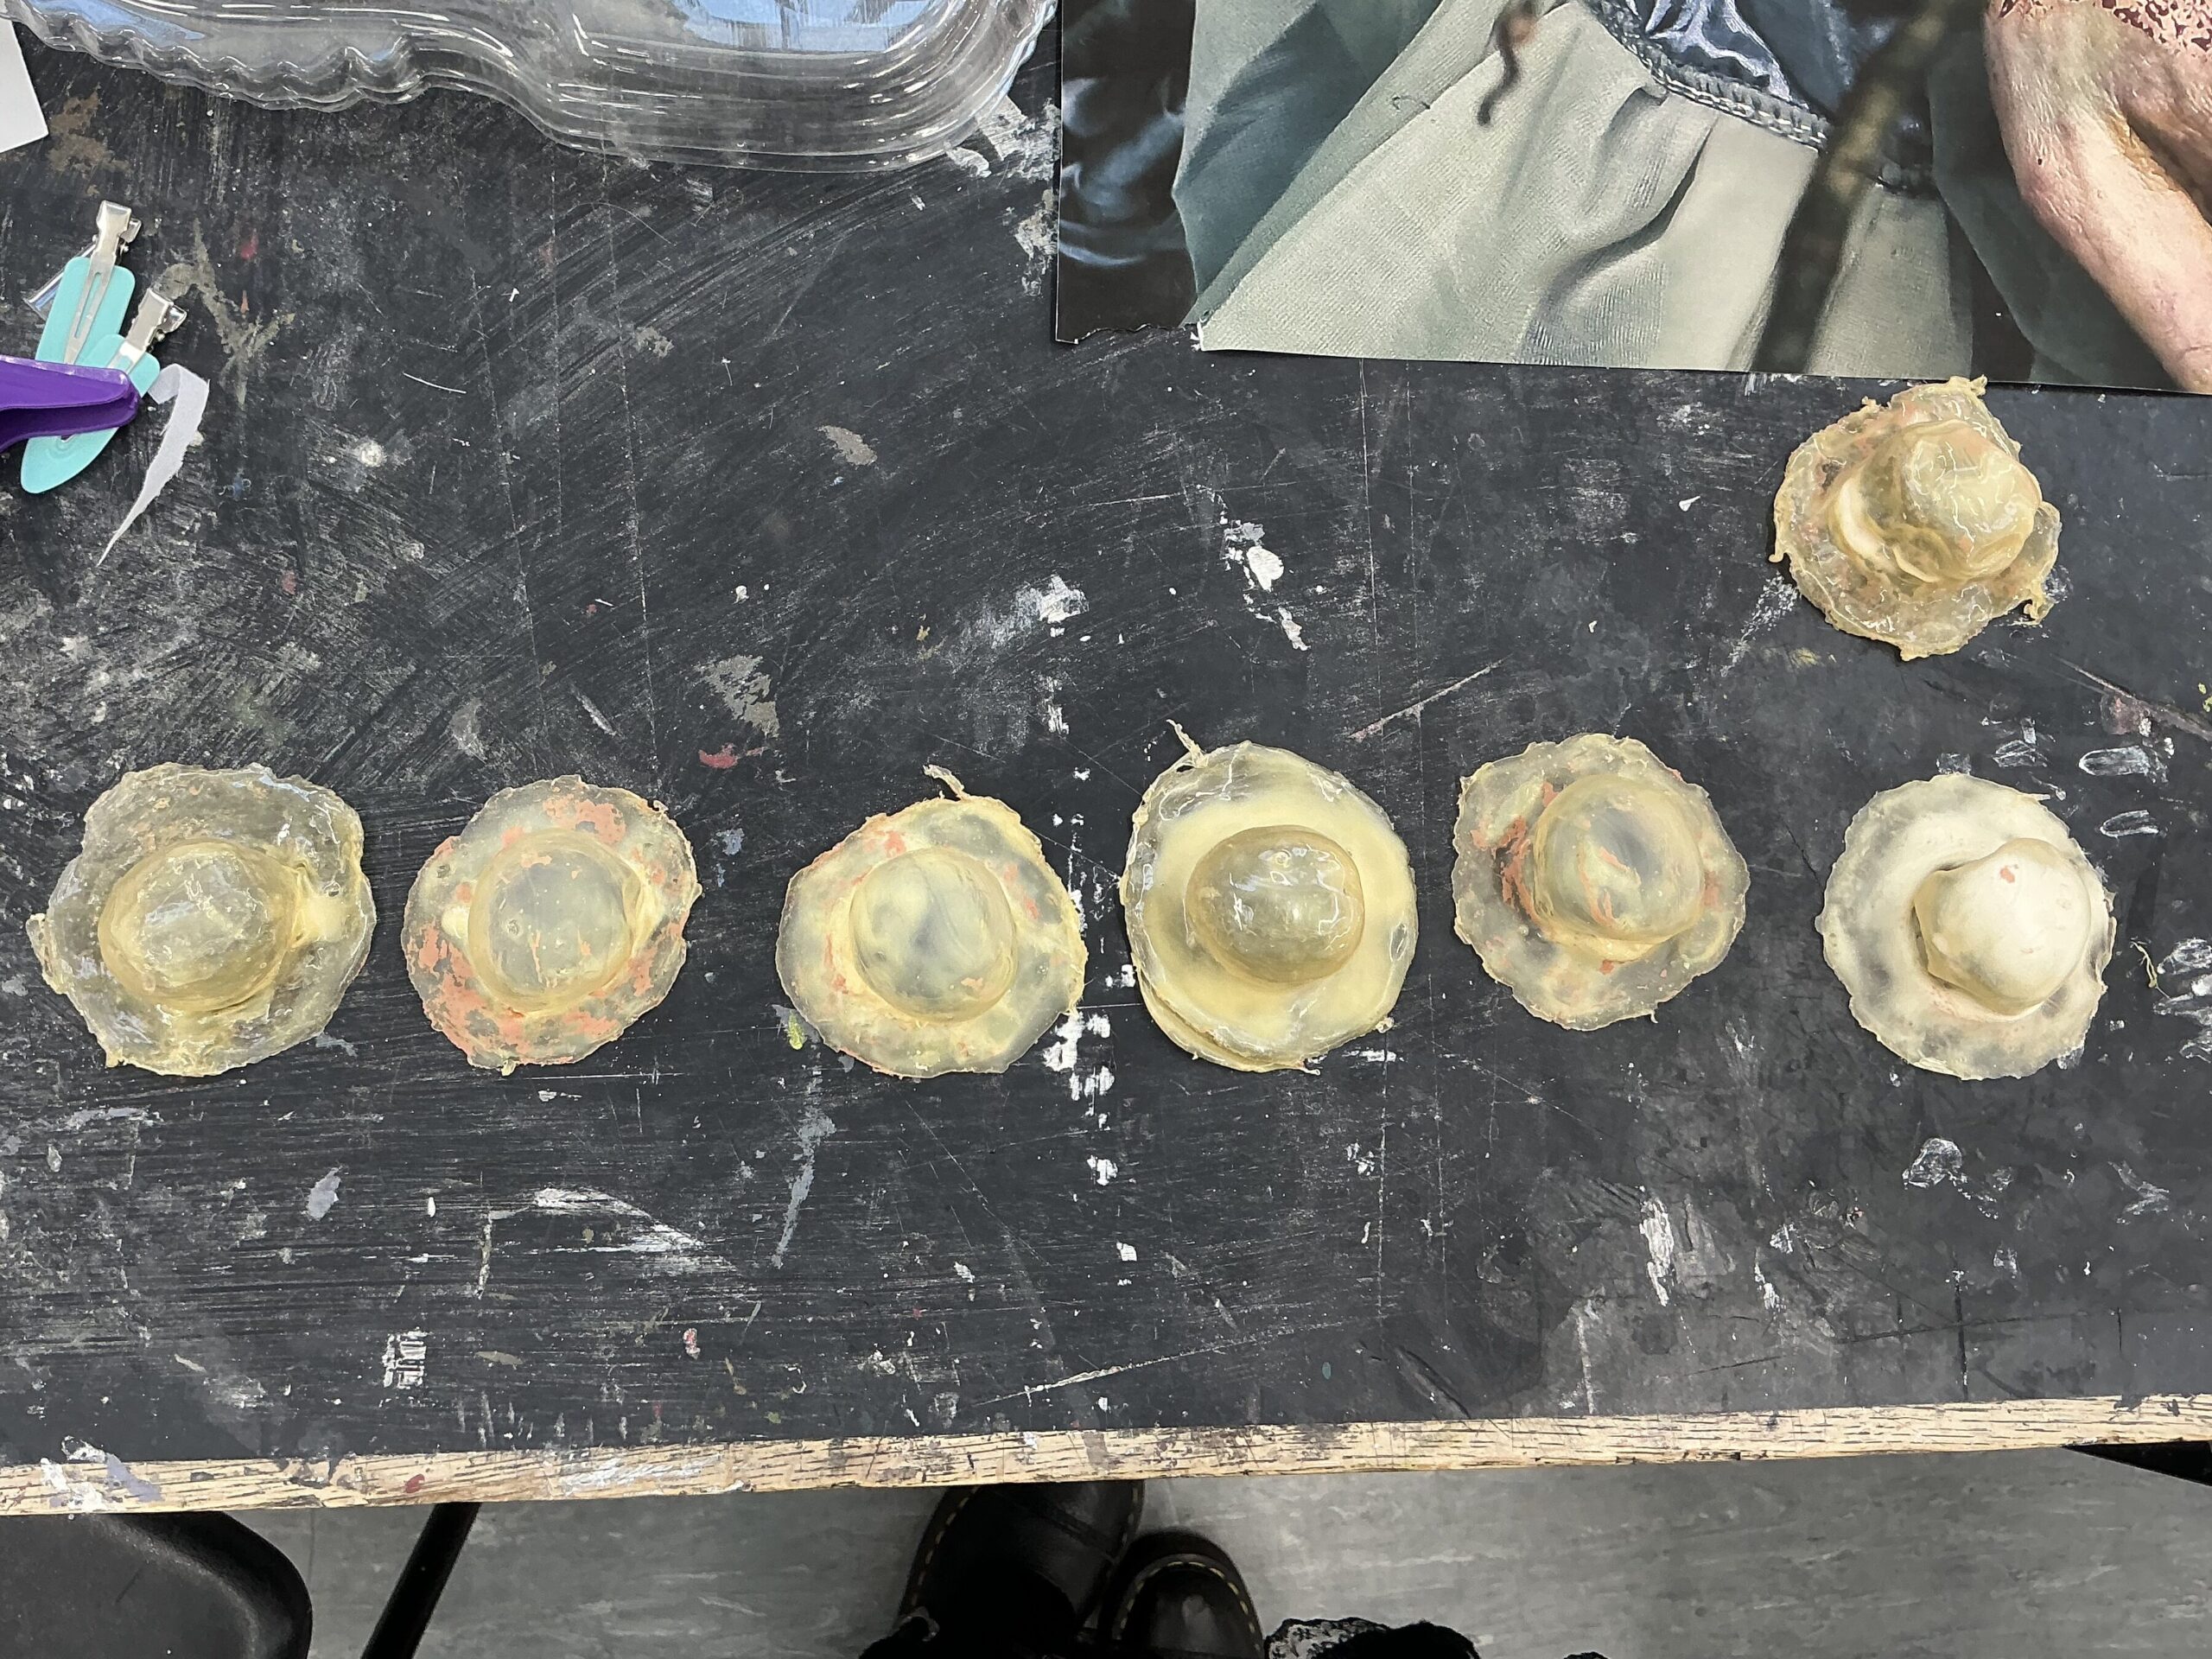
Because of this I decided to try a second technique, make the mould upwards rather than downwards and pour the liquid latex over the mould so that it would thin out naturally:
Problem Solving:
The only thing wrong with this prosthetic is because I didn’t let the layers dry enough. I learnt that I need to be patient with the drying time so I spent a day where I prioritised my prosthetics.
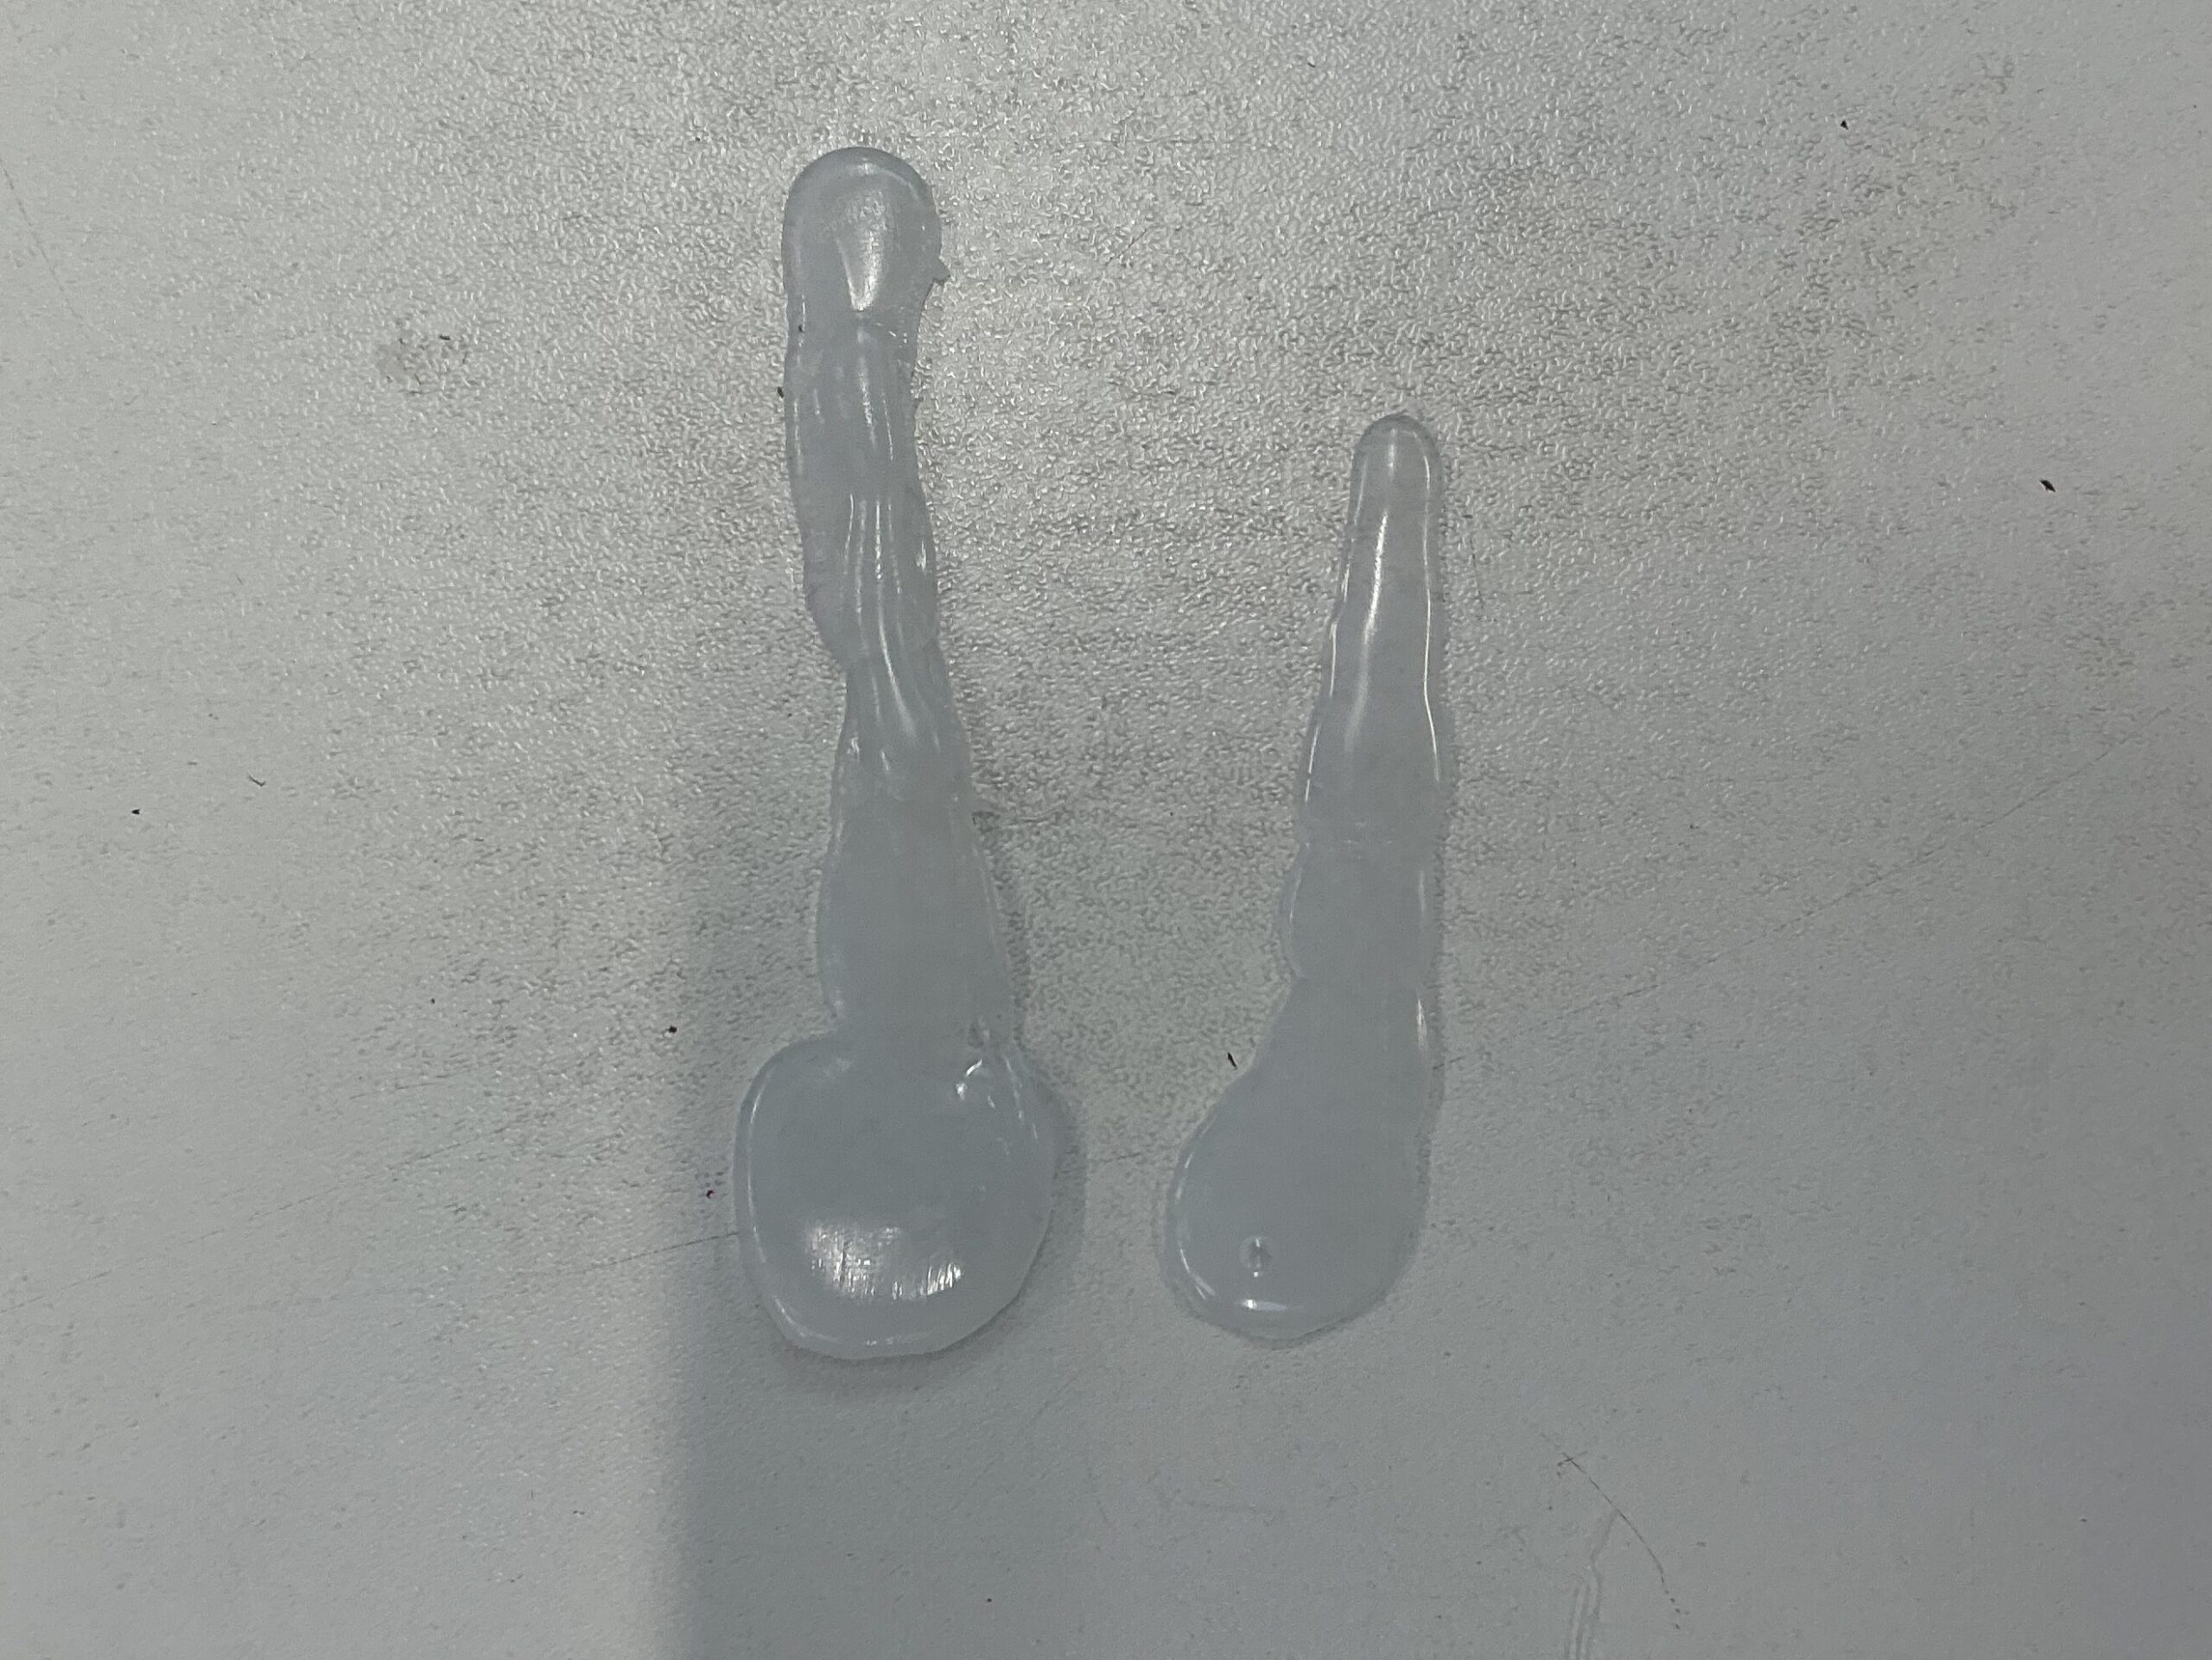
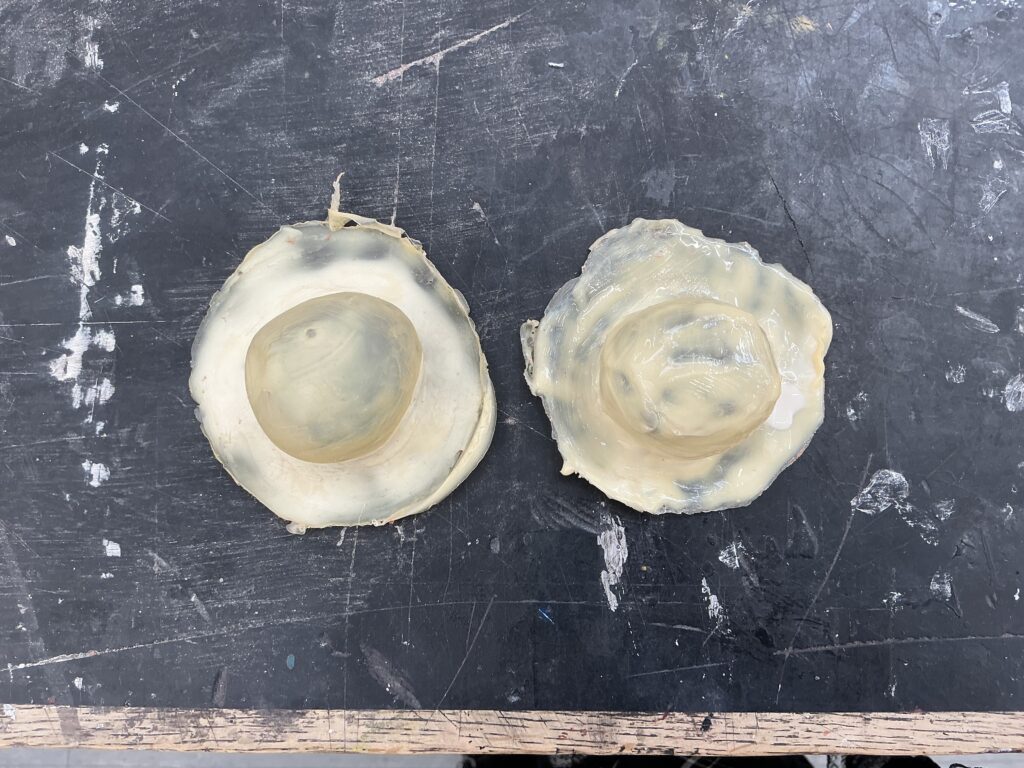
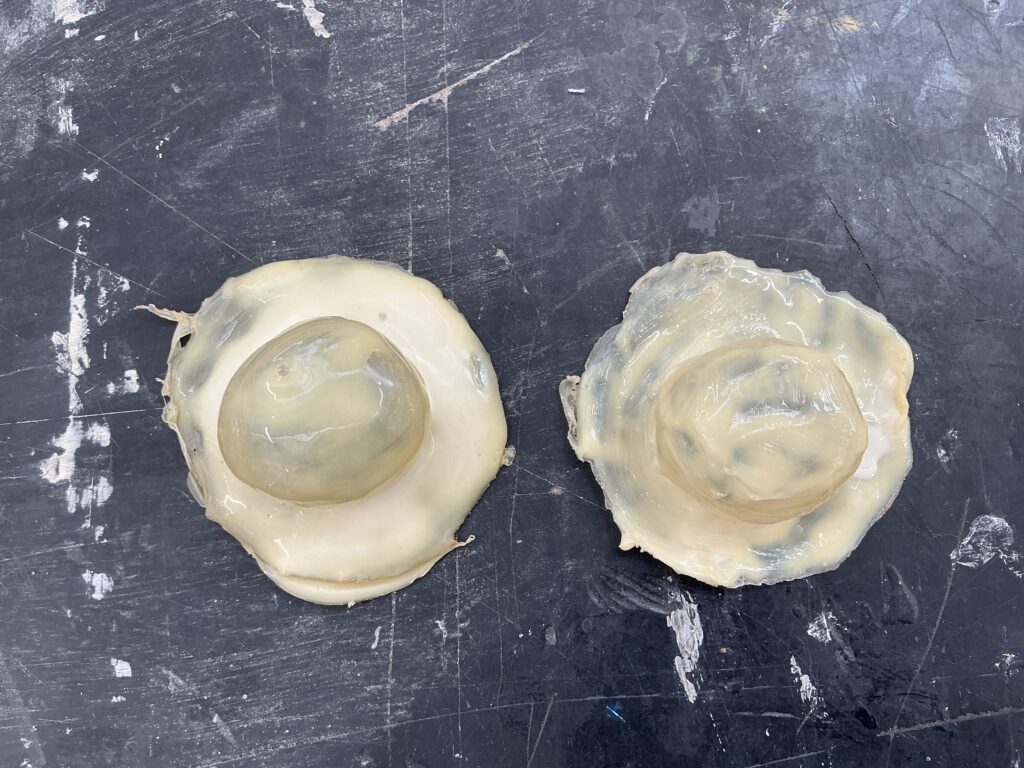
This is what my prosthetics looked like once they had been made, I used the pouring and turning technique to make them. Thankfully I had enough liquid latex to make the number of cake pops I aimed to make (I aimed to make 6 or 8 so that I would have an even number of prosthetics on each leg). I was able to make 7 prosthetics with the volume of liquid latex I had, so I would have had 6 of the best cake pop prosthetics for my assessment.
Problem Solving:
While making my prosthetics, some began to tear slightly as I removed them from the mold because they weren’t dry enough at the time. To fix this problem, I lightly dabbed some more liquid latex over the small tear to seal it again. I also learnt that I shouldn’t have used a hot air setting on the hairdryer I used to speed up the drying process because it caused the clay to slightly melt. Luckily I noticed this early on so it didn’t cause much of a problem.
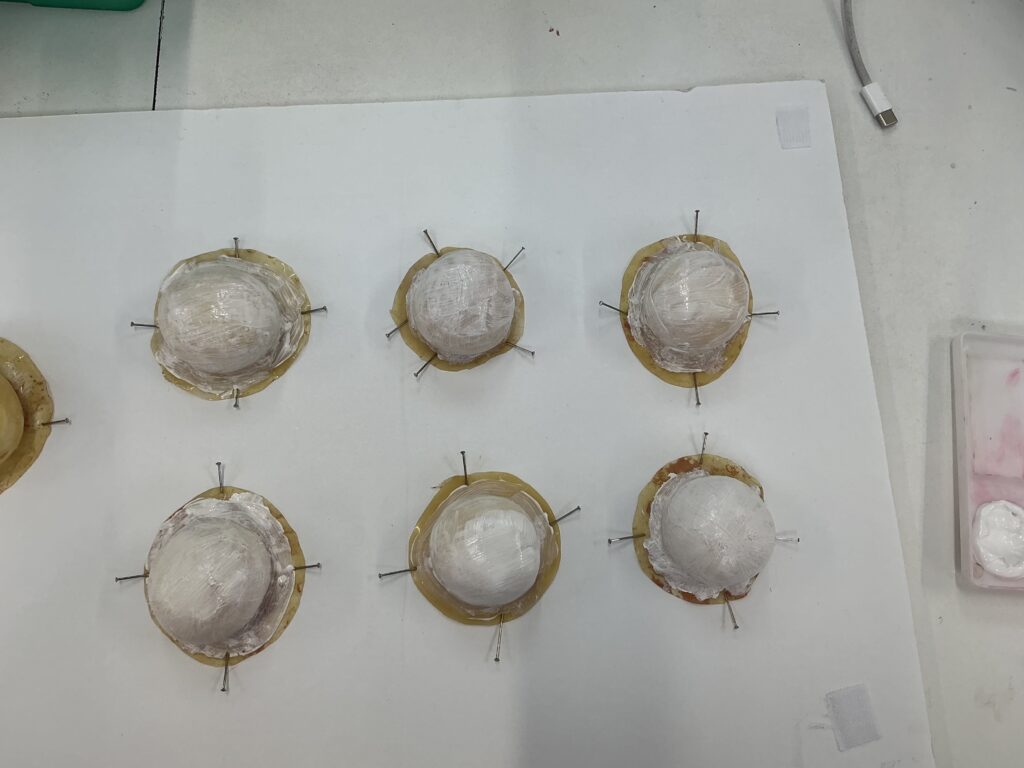
I then stuffed the prosthetics with cotton wool so that they would keep their shape. I then painted the prosthetics with acrylic paint, I made sure to add layers of white acrylic paint before the actual paint because the prosthetics were light in colour and if I didn’t add a layer of white then the colour would have been patchy:
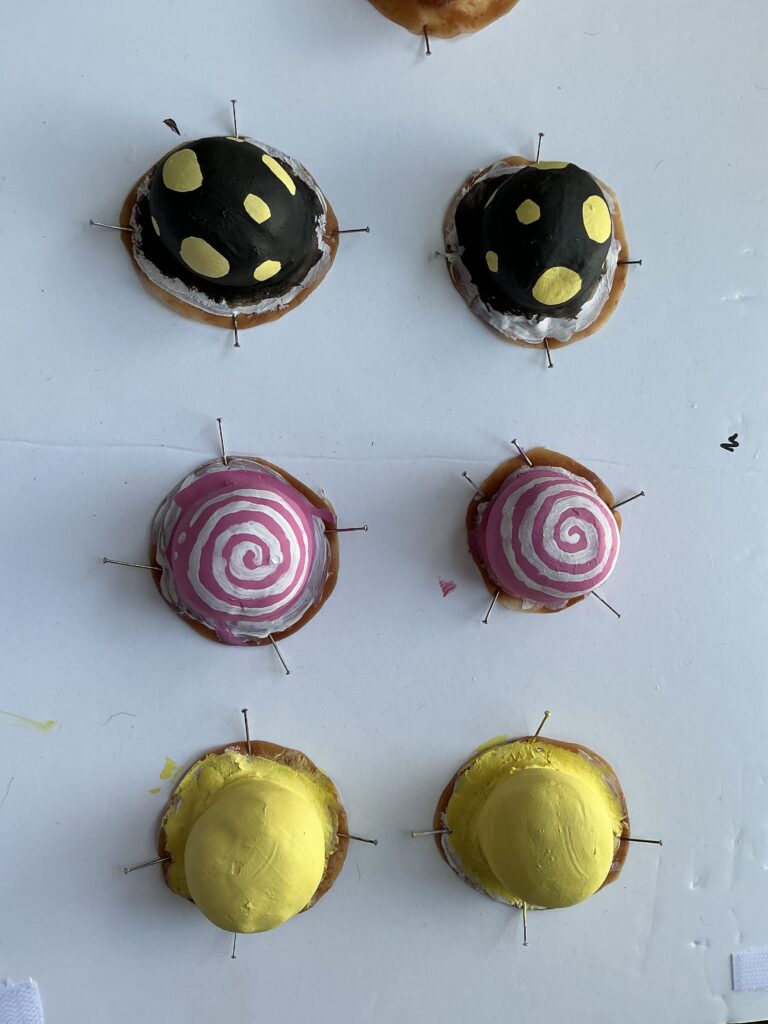
Finally, I painted the prosthetics to match those on the wig and belt loop. Some of the colours were slightly off because I ran out of the right paint and couldn’t find it anywhere:
Problem Solving:
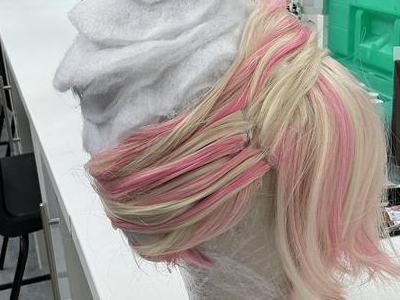
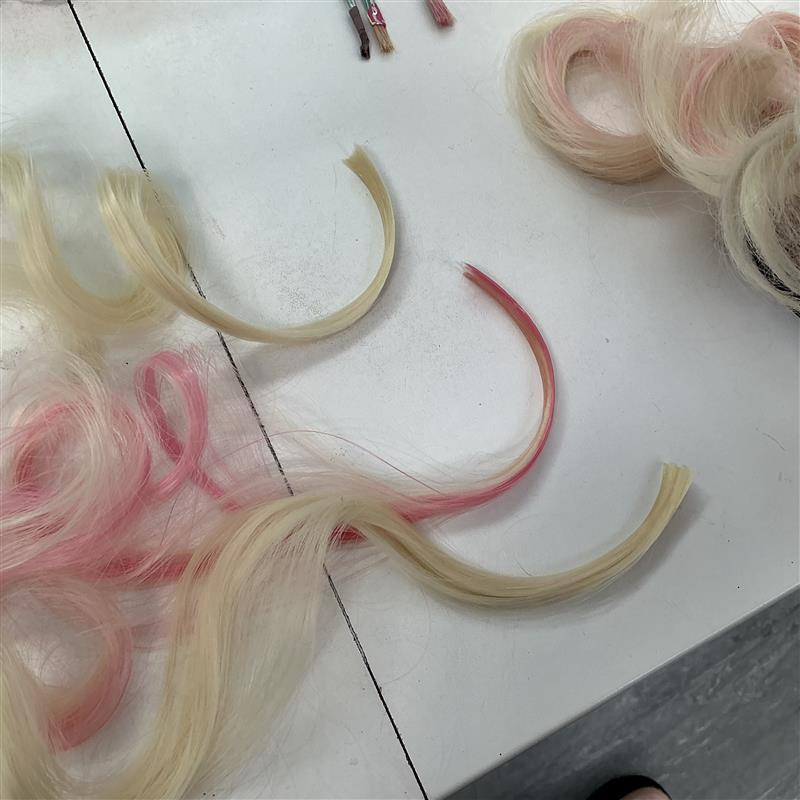
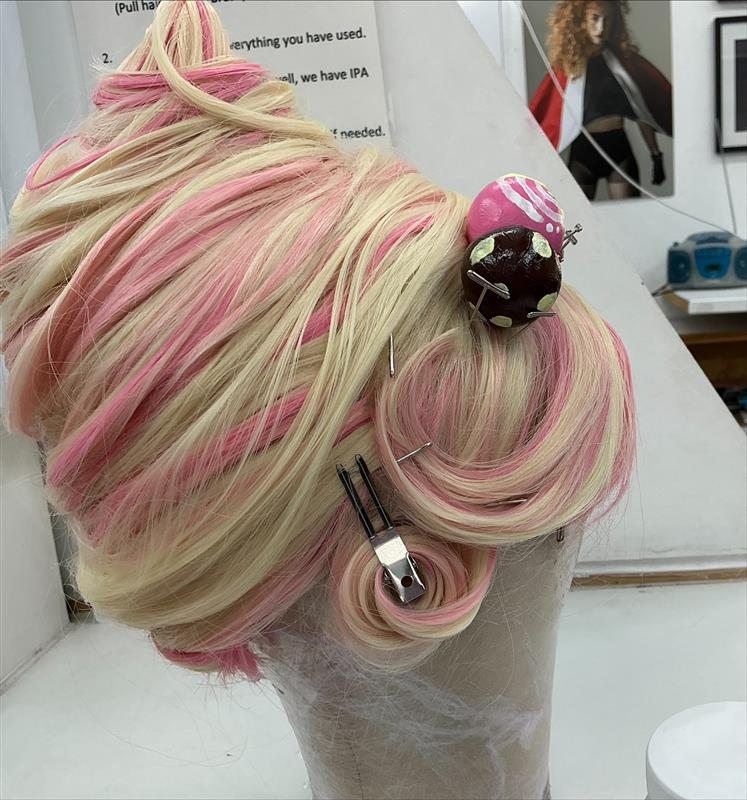
The day before my assessment, I learnt that my wig was far too small because of how I sewed on the wadding for the swirl. To fix this, my tutor advised me to use the spare ponytails and glue them to the sides/back of the wig; this way the wig will sit right at the front and the rest would be covered by the rest of the hair. As this was the day of my assessment I tried this method straight away. I also changed the shape of the wig by swirling up the piece that was originally going to be more of a ponytail:
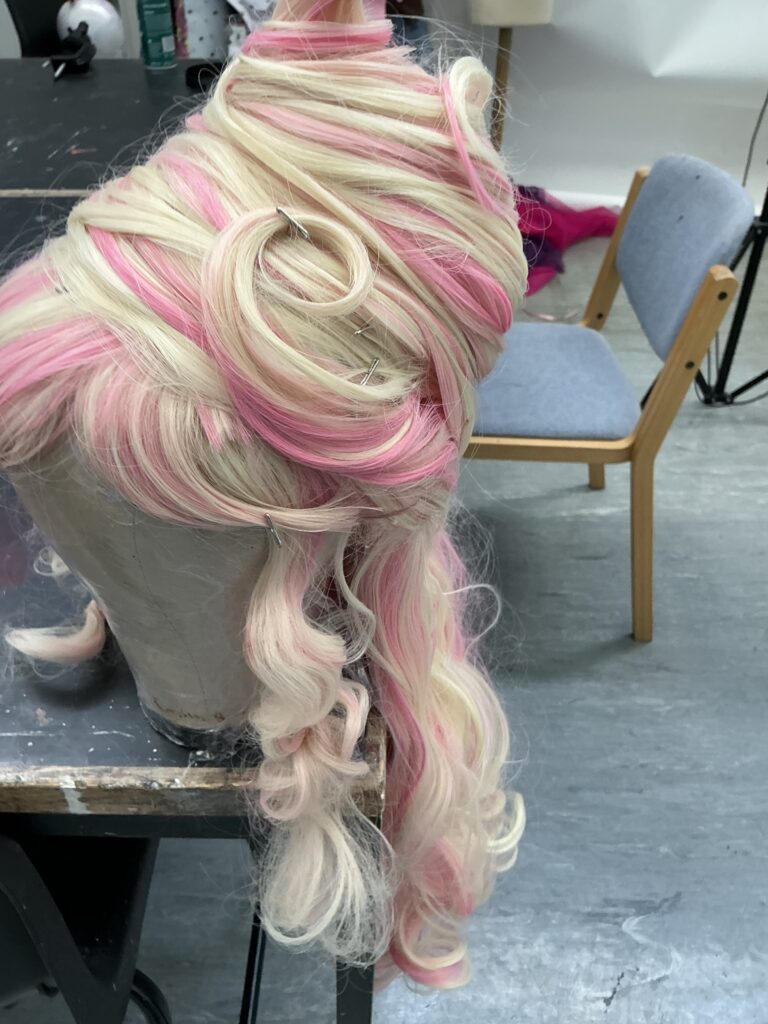
My tutor and I both agreed that this made the look better overall and I am glad I did this.
PRODUCT LIST:
FROM COLLEGE:
. Skin prep
. Crème blush
. Eyeshadow (powder contour and eye highights)
. Eyeshadow (mixed with vasceline to create highlighter and a brown mix for texture)
. Grease paints
. Wig cap
. Weft clips
. Hair pins
. Paddle brush
. Hair bobble
IN MY KIT:
. Crème foundation
. Setting powder
. Eyeshadow (eye makeup and cake shading)
. Brown face paint
. Pink lip gloss
. Vasceline (mixed with my brown eyeshadow to create a texture mix)
. Wig
. Costume
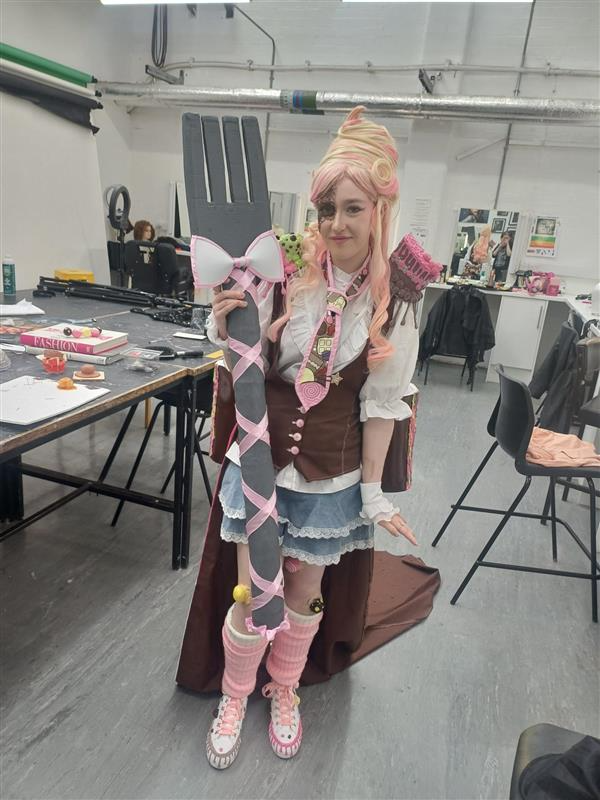
. Fork prop
Problem Solving:
Before the assessment I had someone in mind for a model, however the day before the assessment I found out that she wasn’t allowed to be a model. A lot of my peers had the same problem of not being able to find models. On the day of the assessment we were allowed to model for each other, because of this there wasn’t time before my assessment to do a patch test. To get around this problem, I made sure to just keep asking if my model had any allergies/ if any products were irritating my models skin.
To start this look, I added a crème base of foundation, concealer, contour and blush to my models face. I then set the face with setting powder before going in with powder blush and contour to redefine those areas.
I then used a shimmery eyeshadow to add highlights to the inner corner of the eye. After that I worked on the eye makeup; my model already had false lashes applied so I didn’t need to add any myself. I used a small brush to add brown eyeshadow as eyeliner around the eye makeup and into a wing. I then added brown mascara.
To finish the base I added some pink lip gloss.
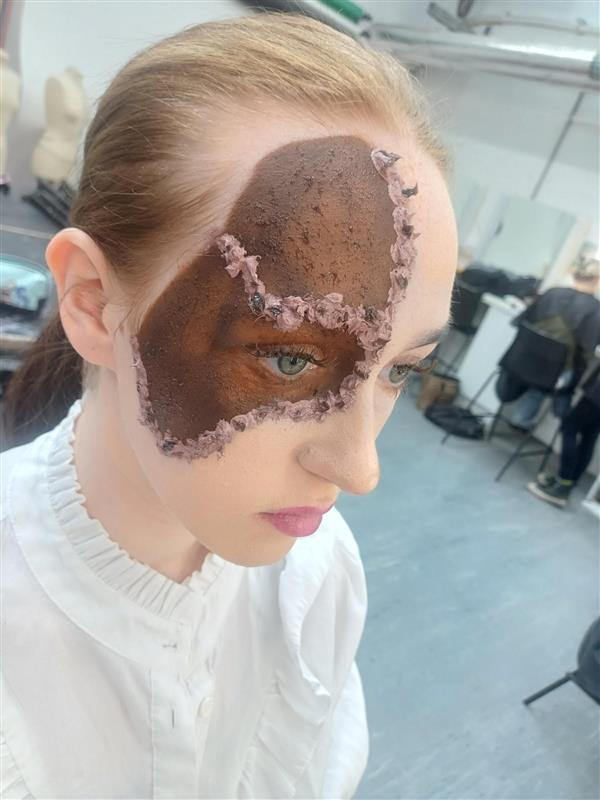
To start the cake slice, I painted a quarter of my models face with brown face paint and shaded it with darker brown eyeshadows. I then mixed up vasceline and brown eyeshadow to add the dough/cake texture to the slice. After that I mixed white, cream and brown grease paints to make the frosting and added it to the outline of the cake slice and also across the middle of the cake as it was recommended by my tutor that I do that. I then added the vasceline eyeshadow mix to around the frosting, then I added brown face paint to the eyelashes and waterline where the cake slice was so it would be easier to edit the eye out in the photos.
After finishing the makeup, I attached the cake pop prosthetics using thin layers of liquid latex. During this process I kept making sure with my model that the latex wasn’t irritating her skin because liquid latex reactions can always range from minor to serious, I wanted to keep making sure that there weren’t any reactions happening since there wasn’t time before the assessment to do a patch test. Luckily my model didn’t have any reactions to any products.
I then prepped my models hair for the wig using a wig cap and weft clips. Finally I added the wig and final elements of the costume to finish my look.
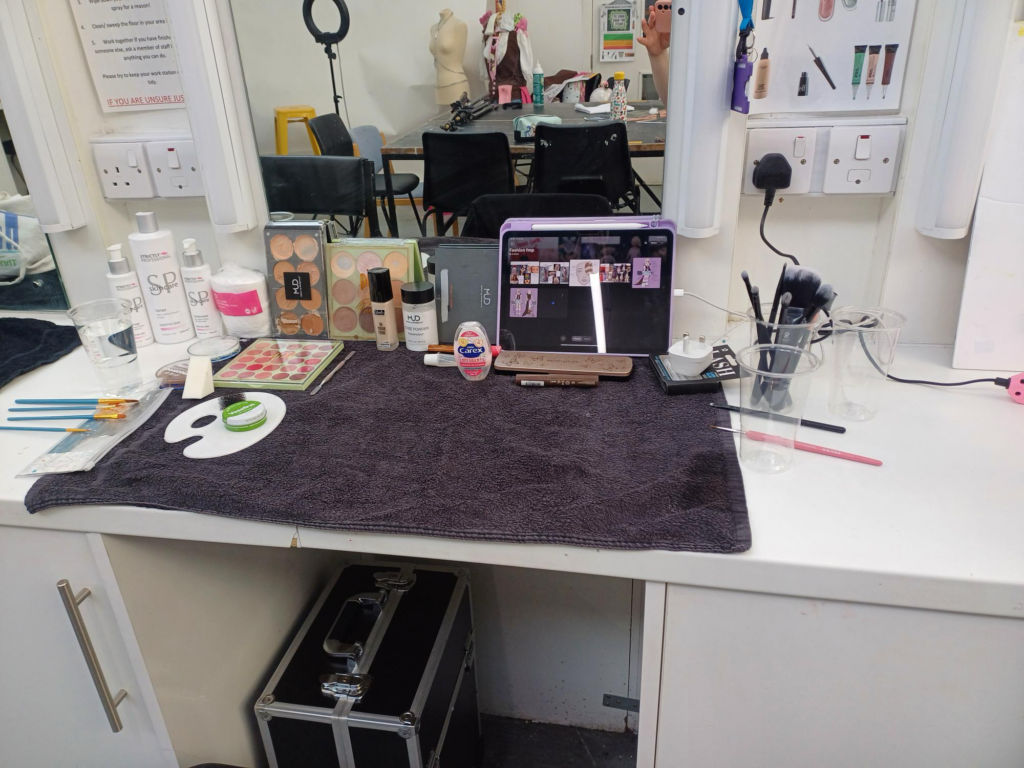
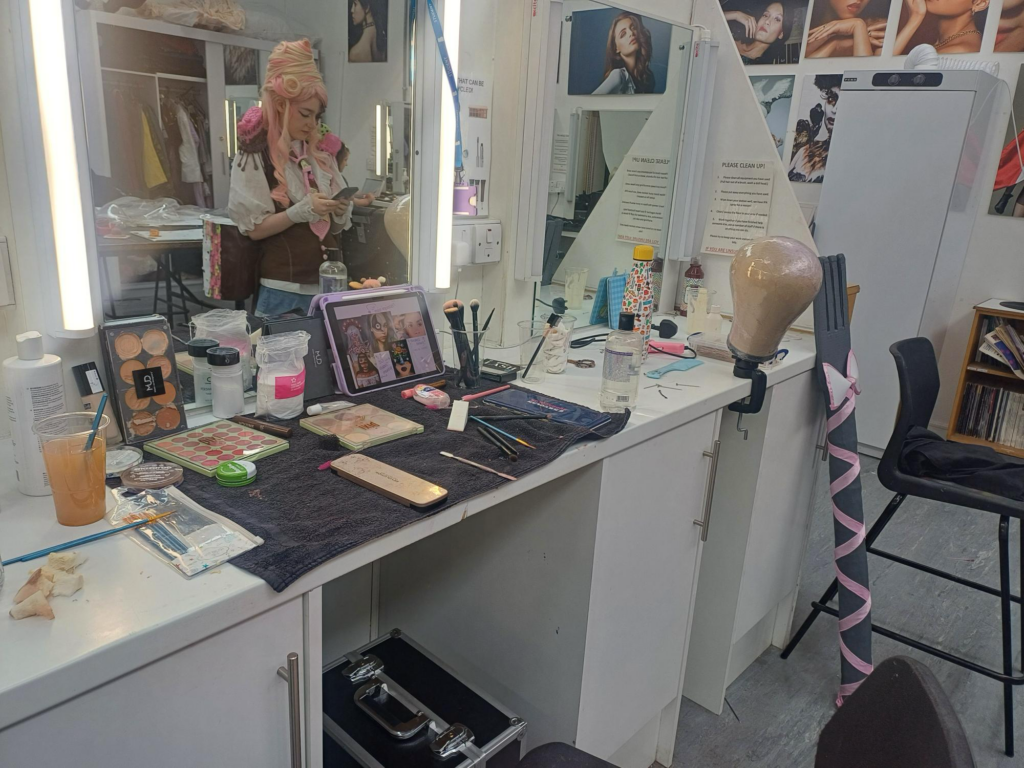
My station before my assessment:
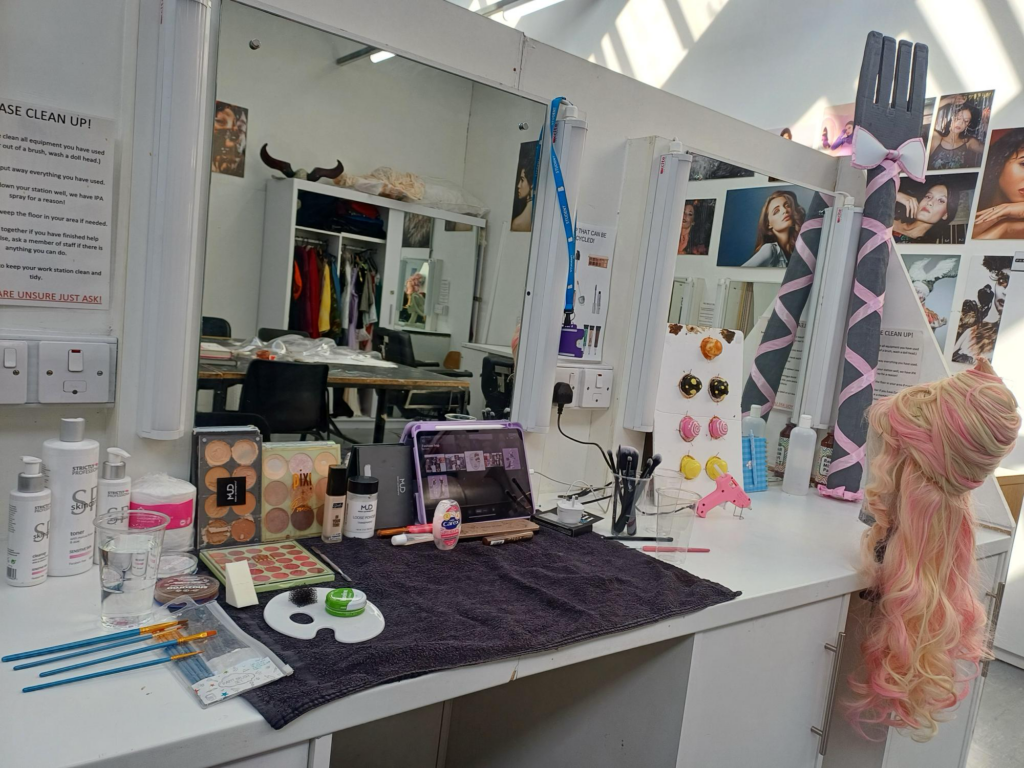
My station after my assessment:
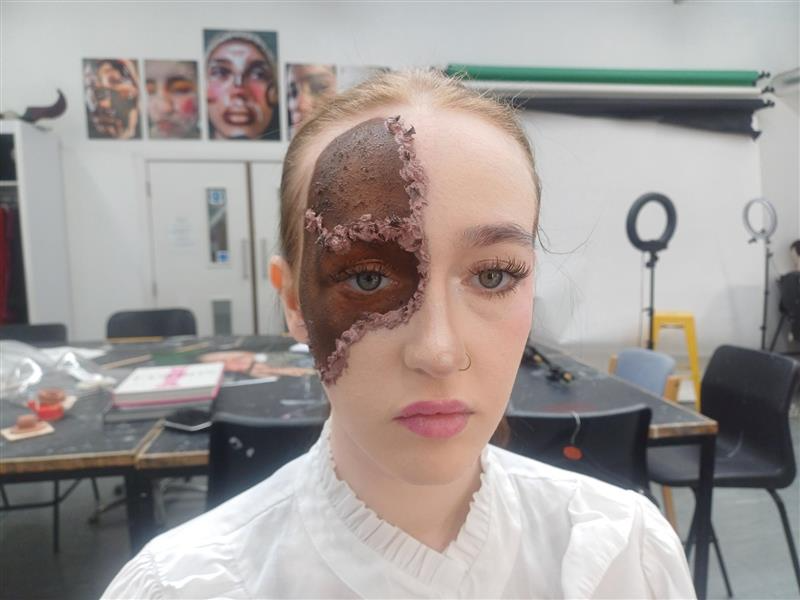
My Makeup Before Adjustments And Final Images:
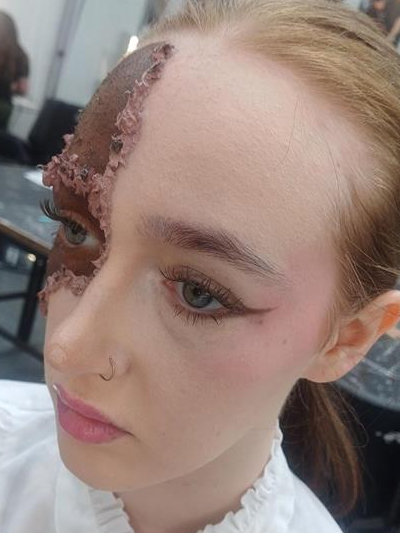
Adjustments:
After my assessment, my tutor advised me to add more brighter highlights to the cake slice. To do this I mixed the highlighter eyeshadow I used with some vasceline and painted it at different points just at the edge of the frosting.