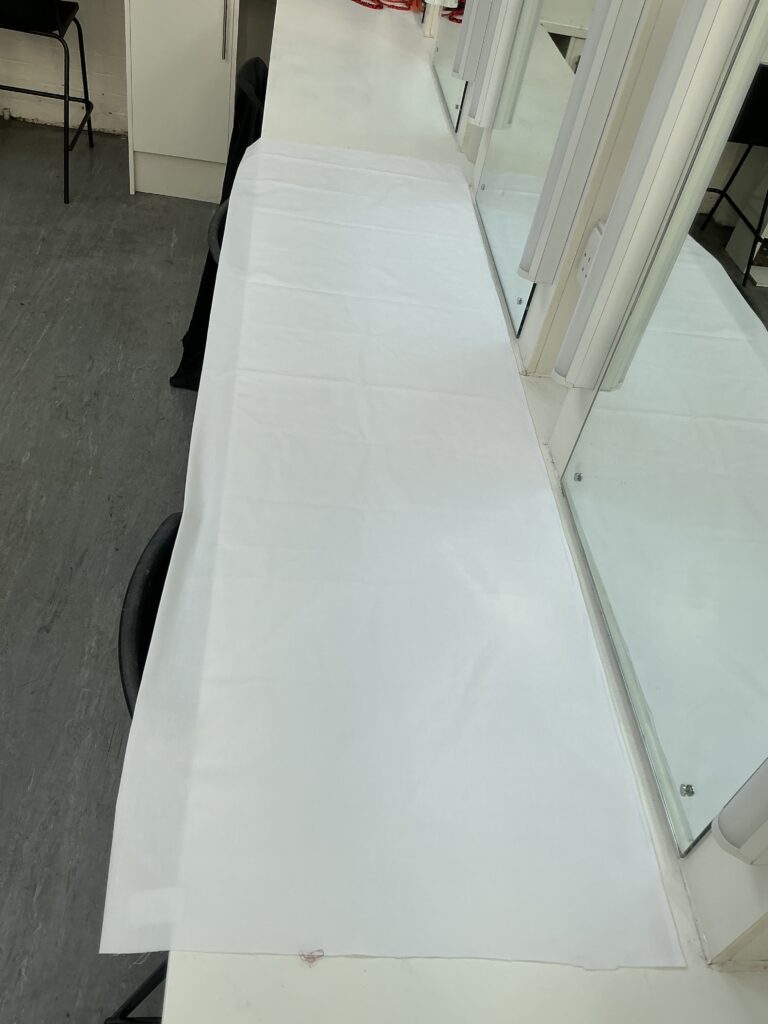
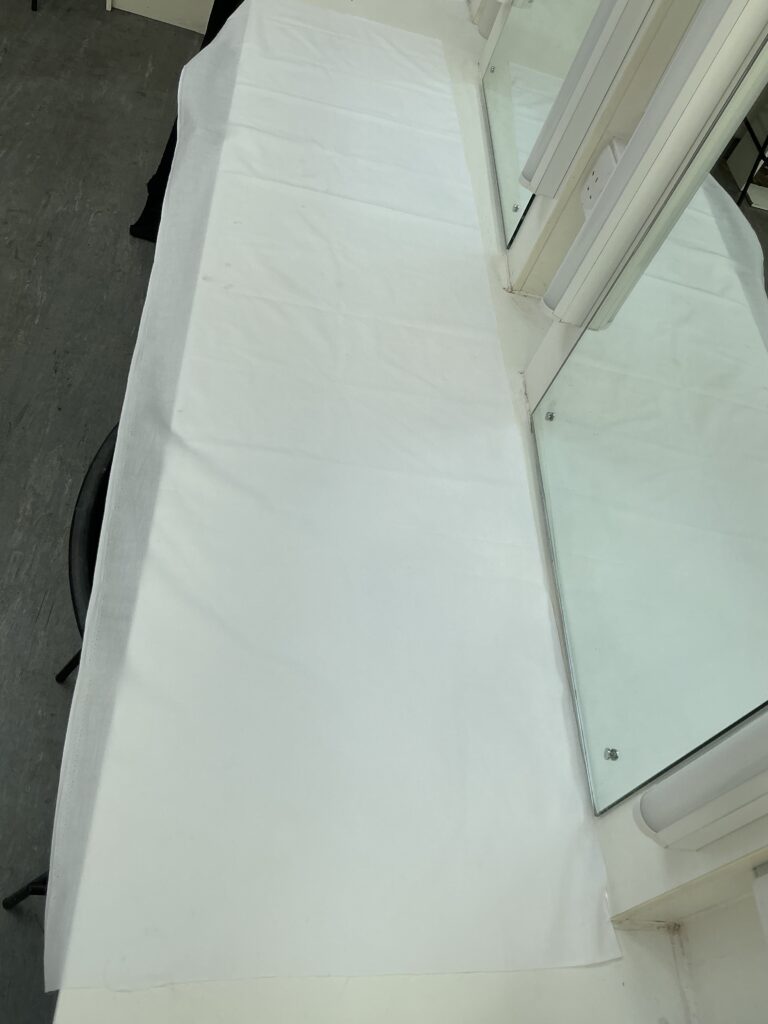
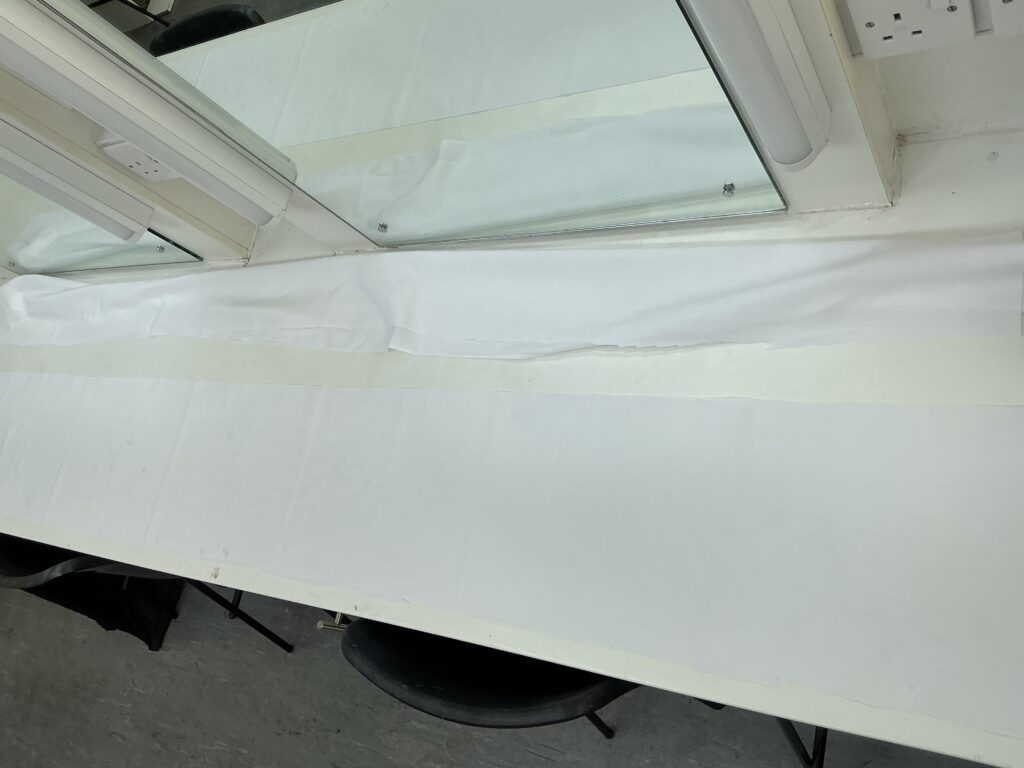
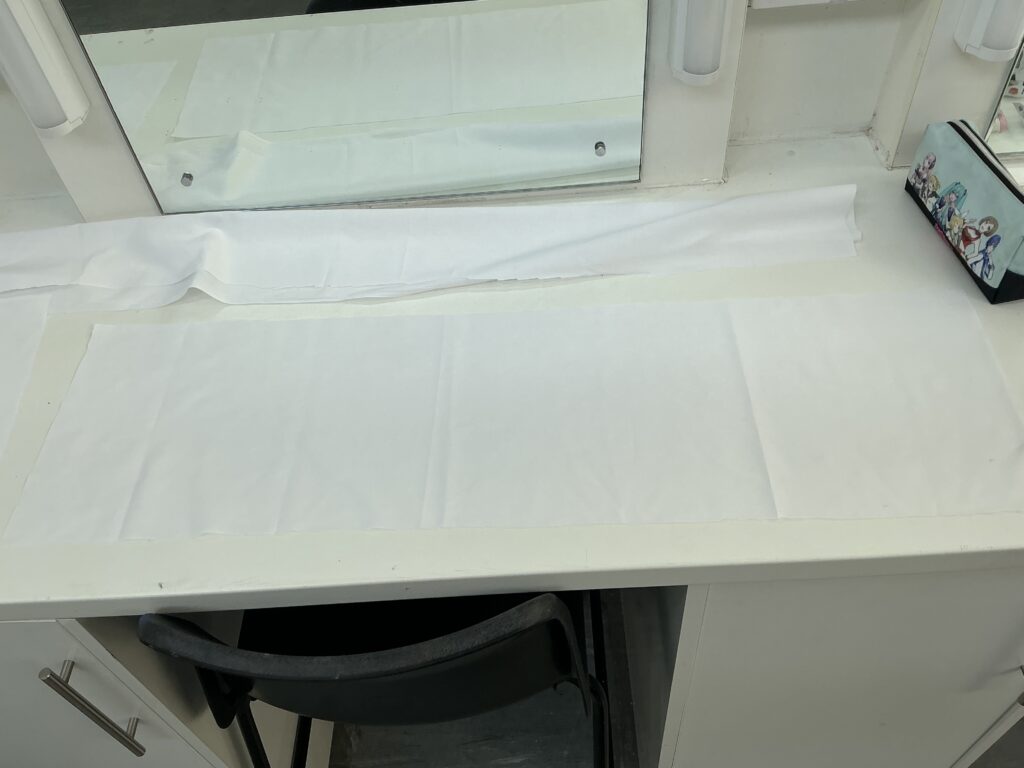
To prepare for the last part of my final major project, I began to make the apron for the costume element of this look. I began by laying out my white fabric and cutting it down to the right width, by doing this I would also be creating the waistband with the excess fabric. I had 1.5 meters of white fabric at first so I was left with a small but significant amount of fabric left over:
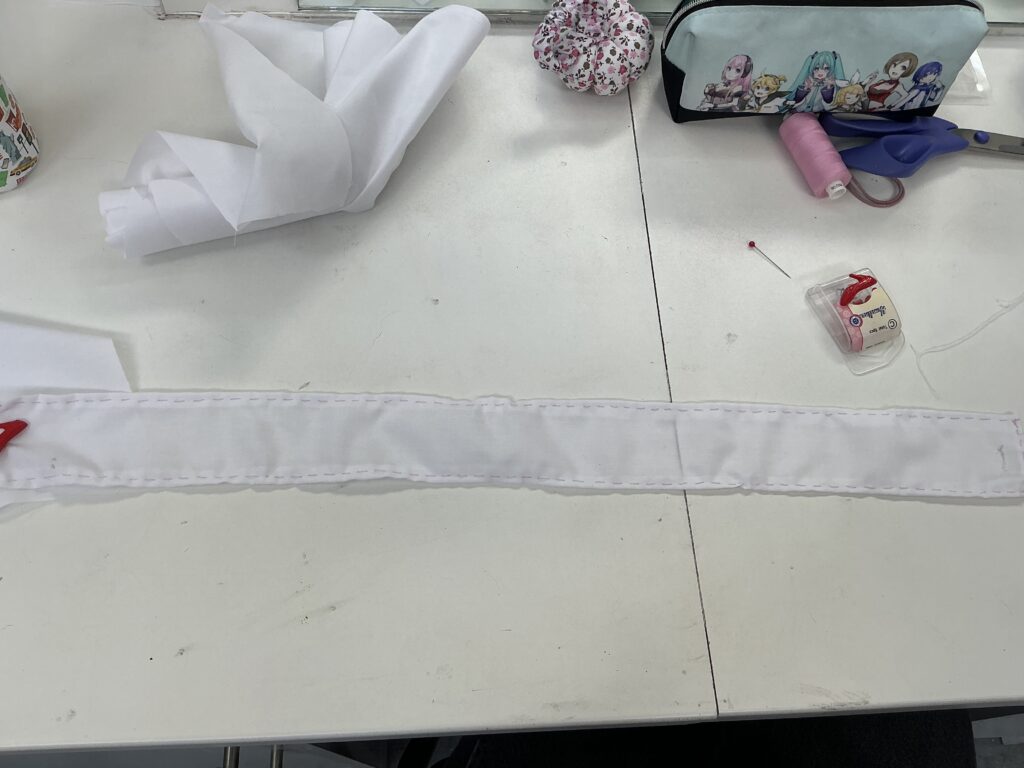
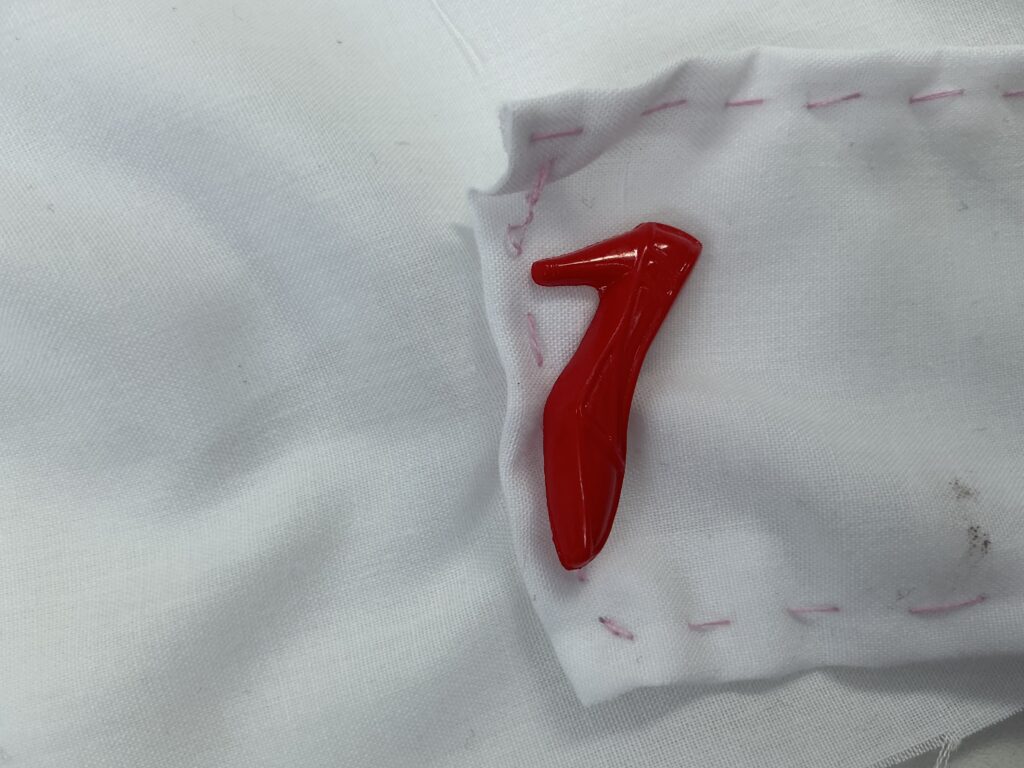
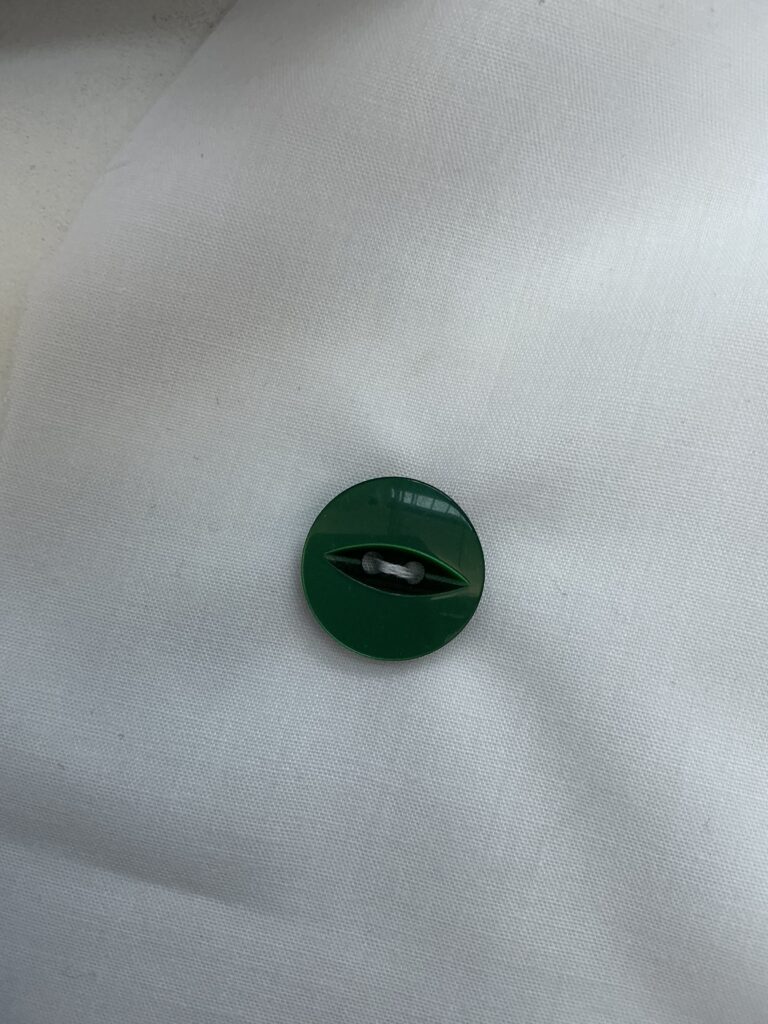
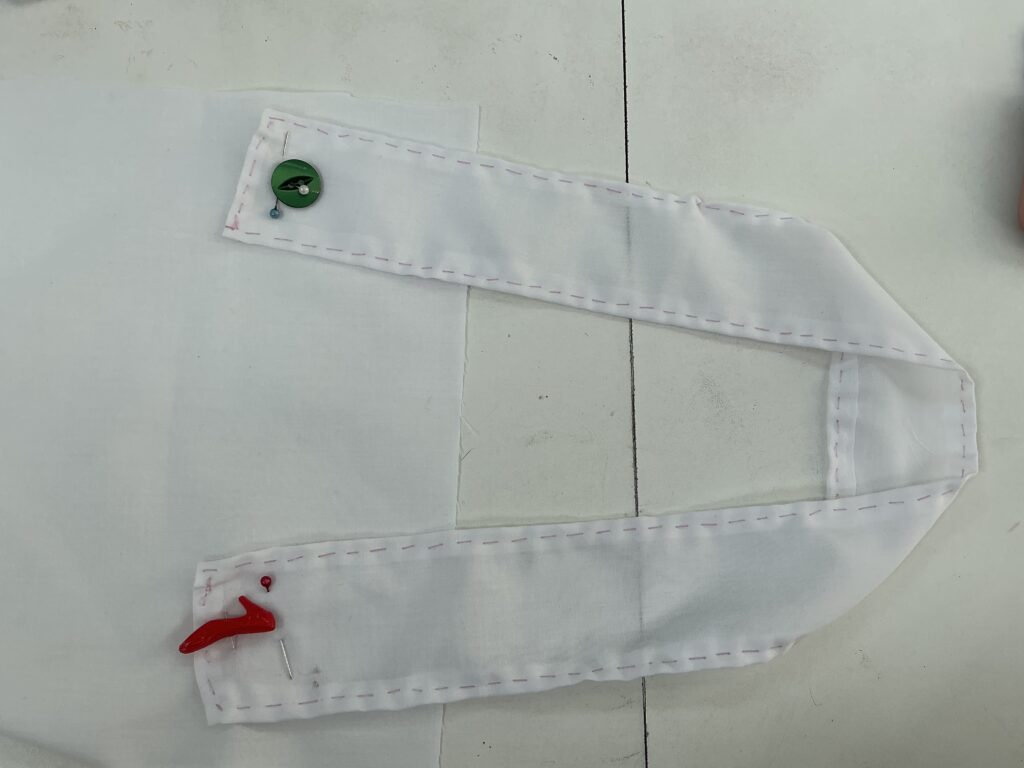
Using the left over fabric, I cut a smaller strip for the neck band. Once that was done, I pinned and sewed down one side of the neck band completely. This is so the other half can be wrapped and connected to the other side easier. I also sewed down the bigger and more complicated button (the “ruby slipper”) to this side to make putting the apron on easier:
I then sewed the “emerald” button to the other side and made a cut in the other side of the neck band where the button would be:
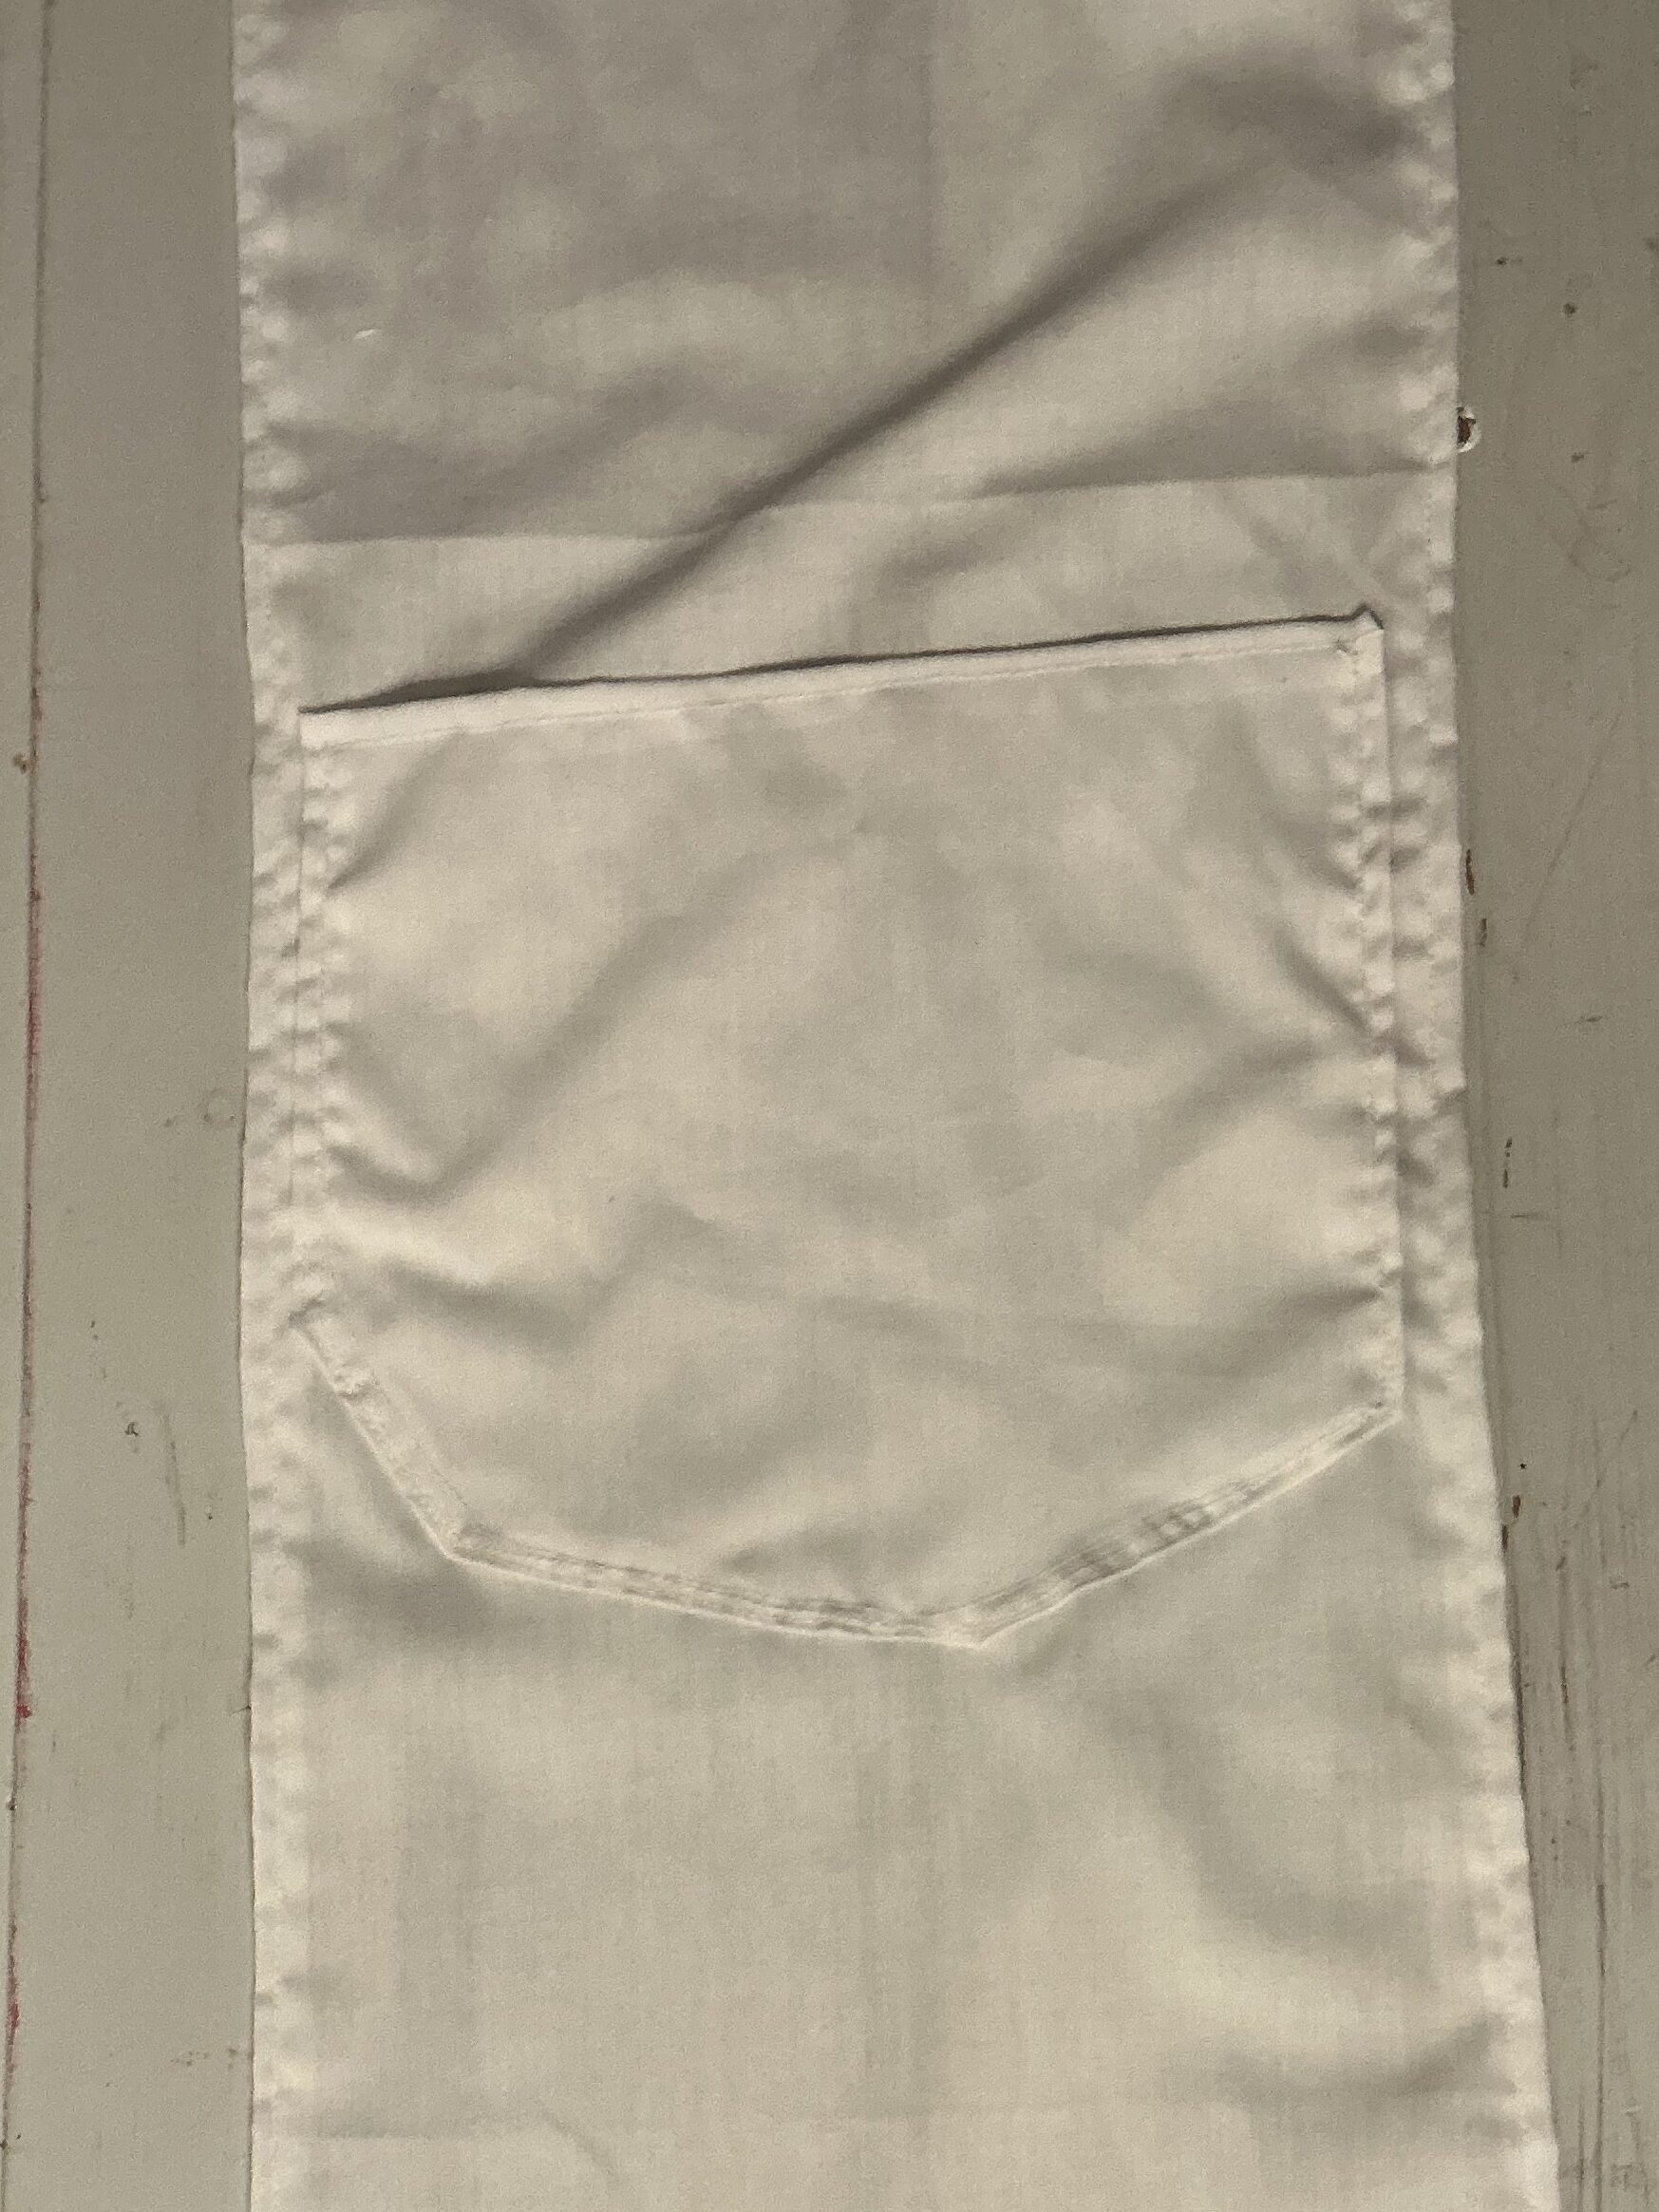
I decided that hemming the apron would make it look more professional, it was important that the apron looked well made because costume design is also important for this part of my final major project:

I also made a small pocket out of the scrap fabric and sewed it just below the waist of the apron:

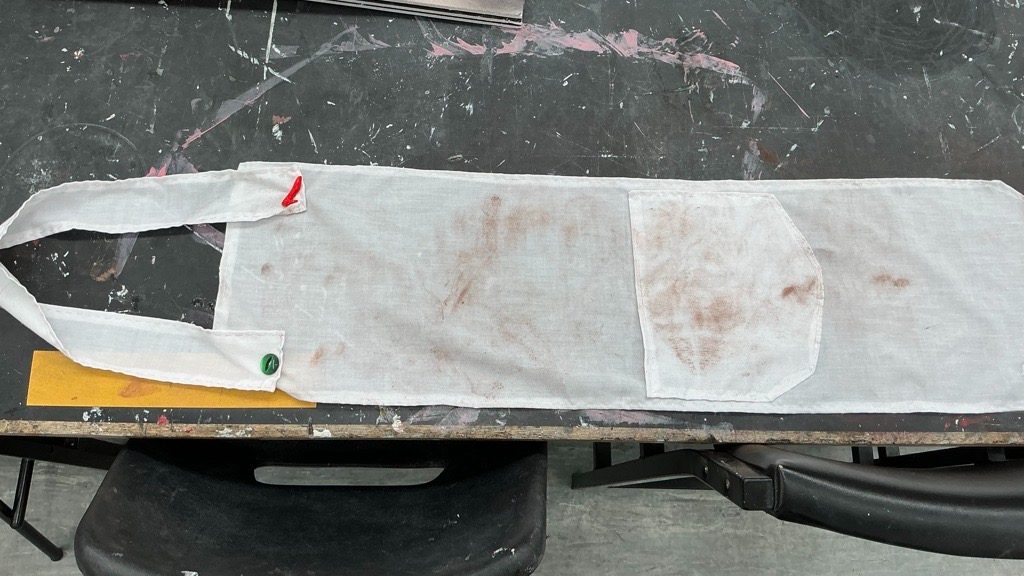
Once that was all done, I used some dirt powder to make the apron look worn and dirty. After this my apron was done:
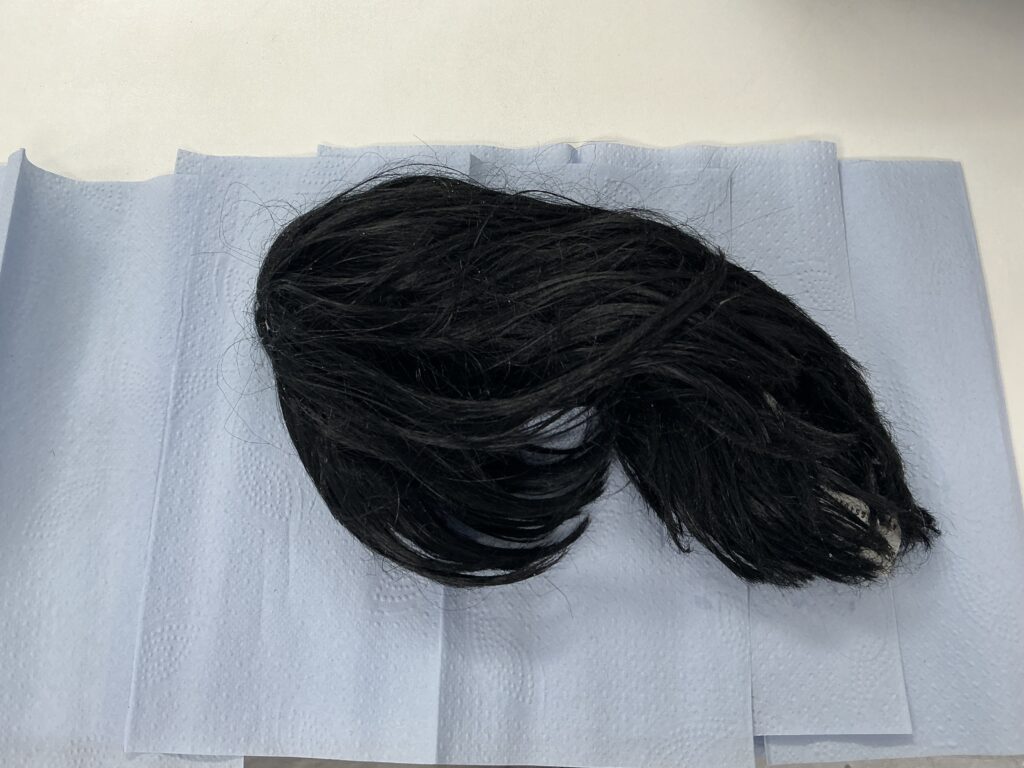
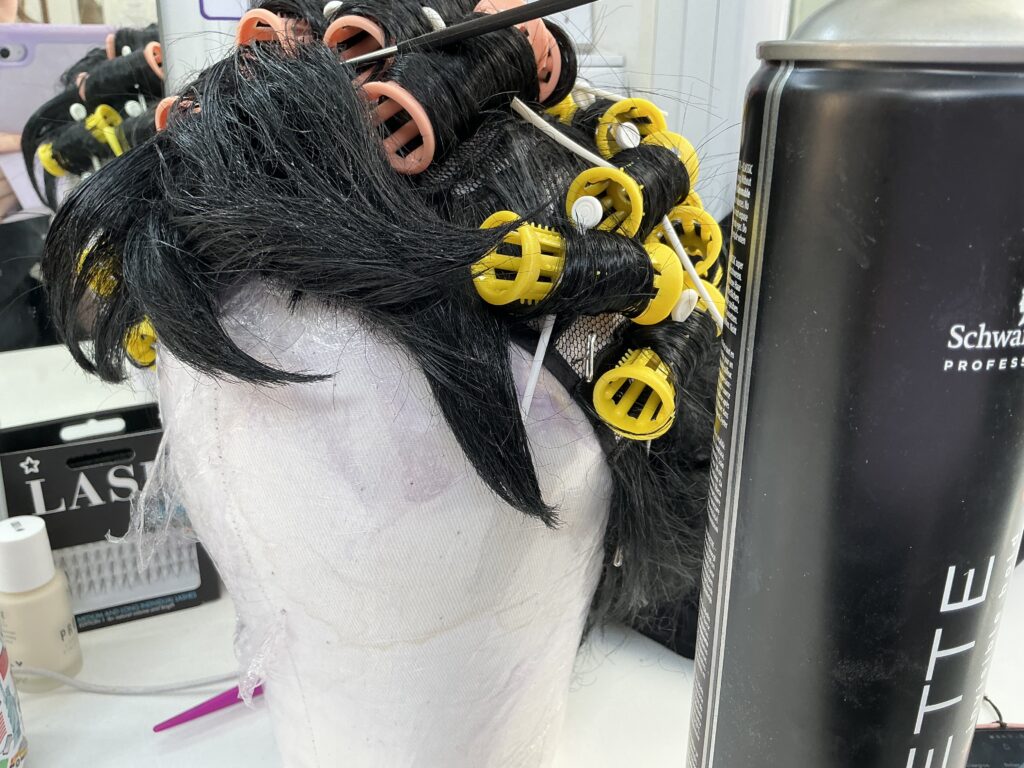
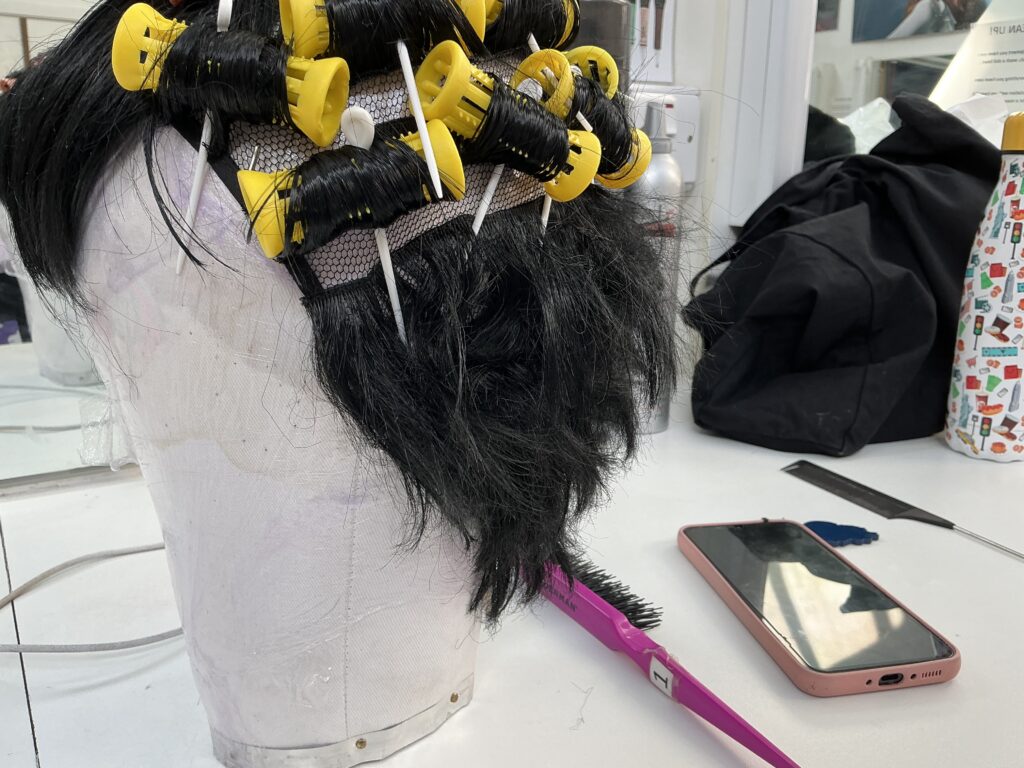
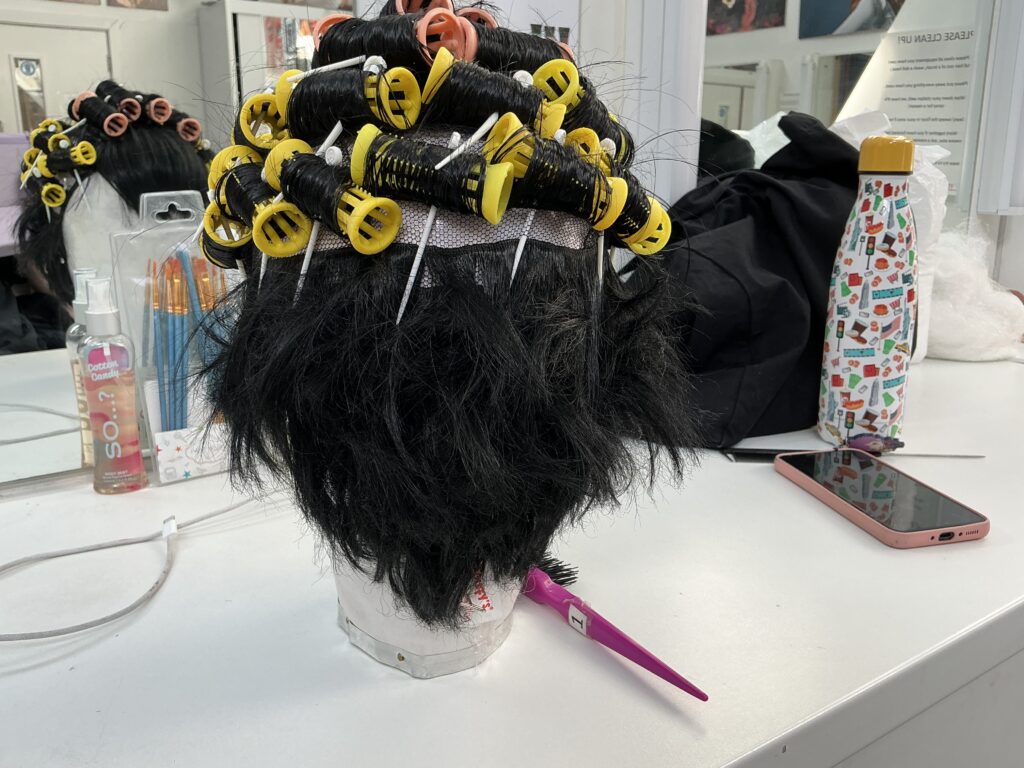
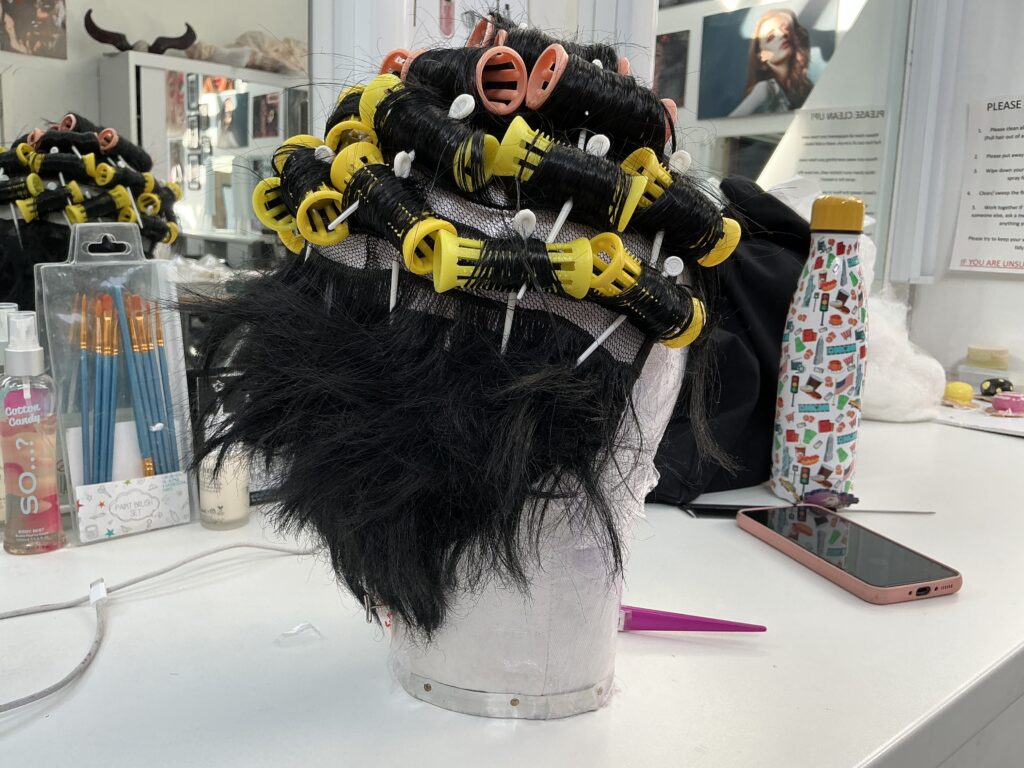
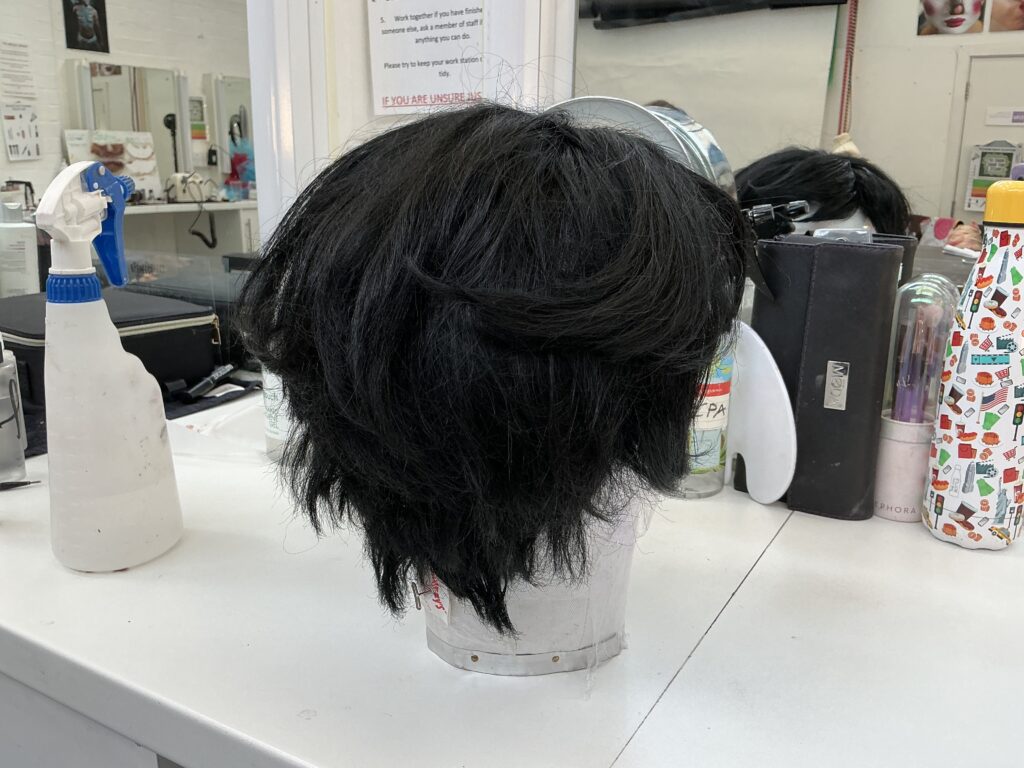
I also decided to style a wig for this look because my models hair was very short, my model also had an unnatural hair colour and ideally I would want it natural. I took a slightly longer short wig and washed it. I then did a wet set, putting hair curlers into the majority of the wig. I left the front of the wig because I wanted to follow my mood board quite closely:
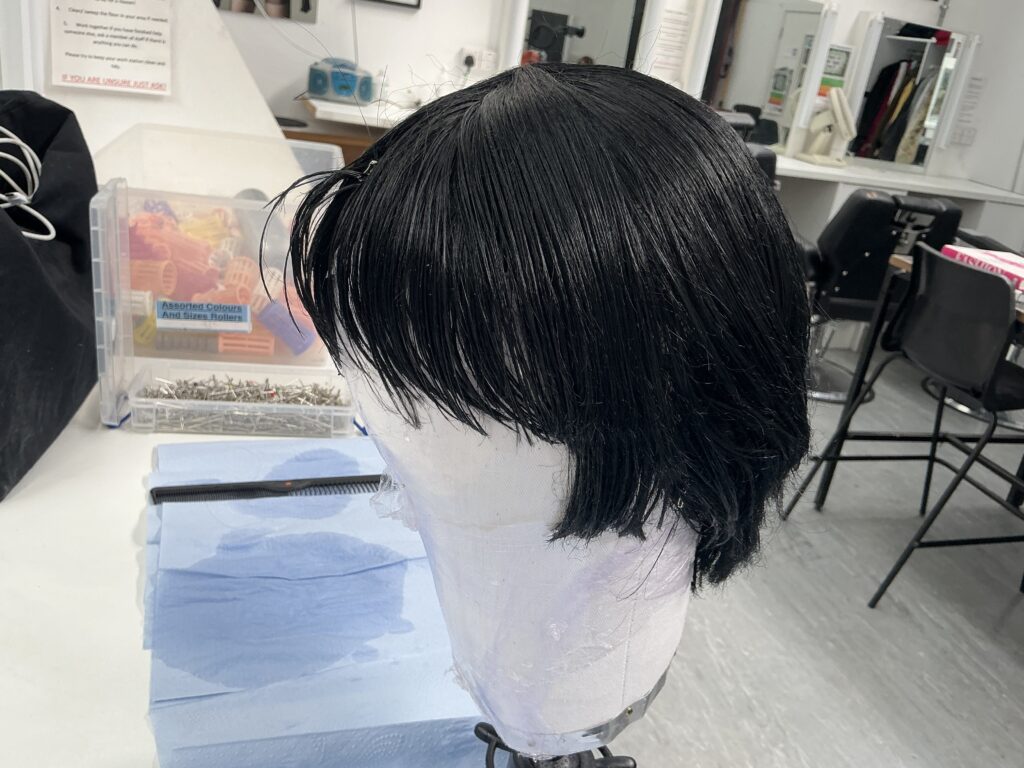
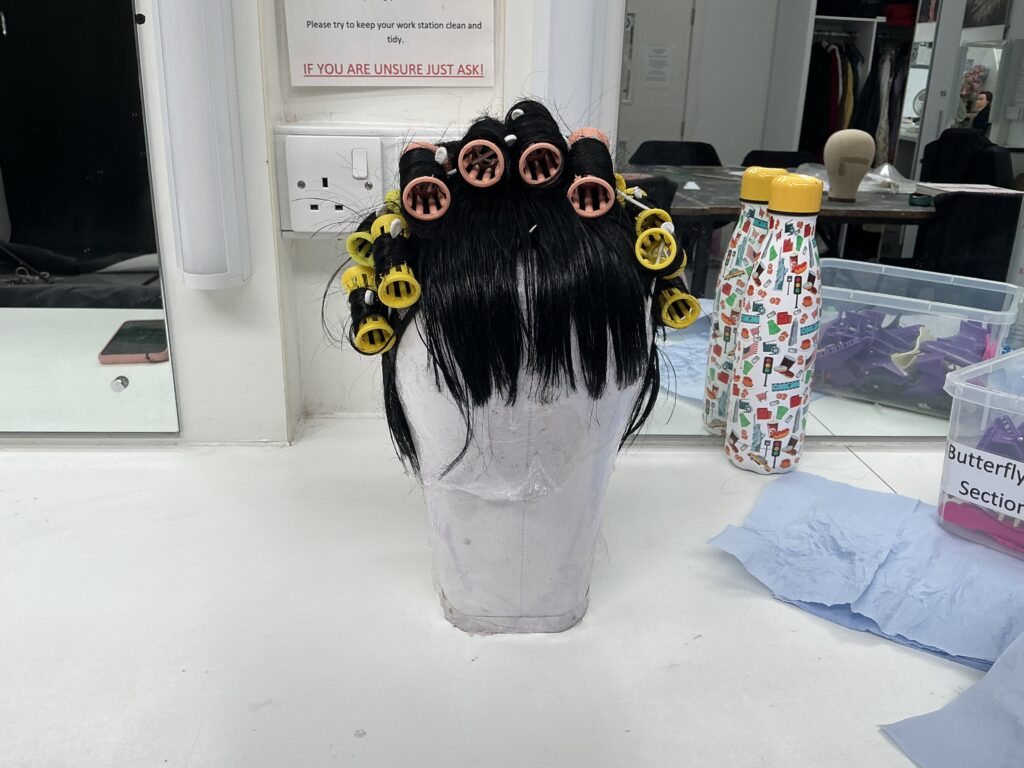
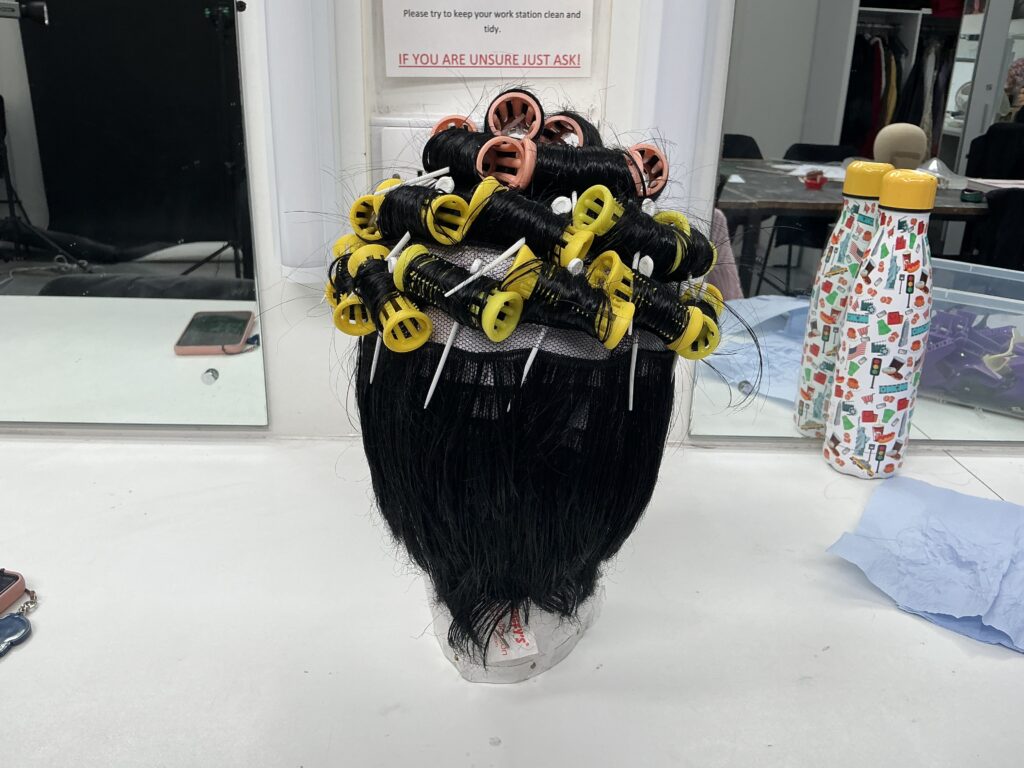
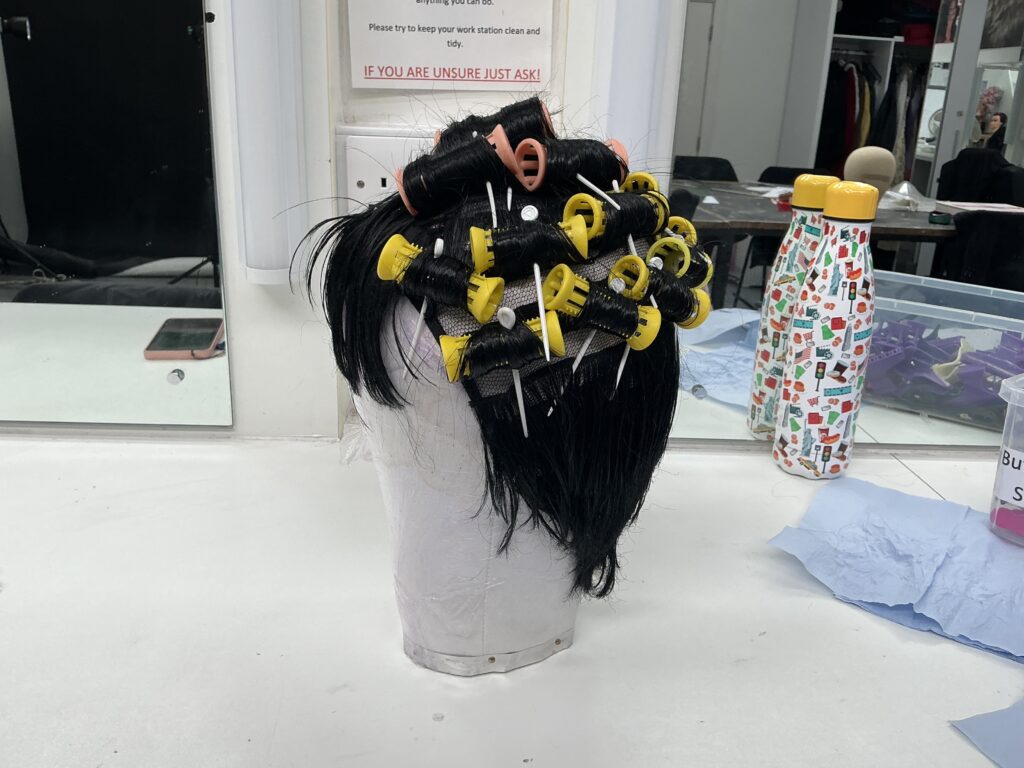
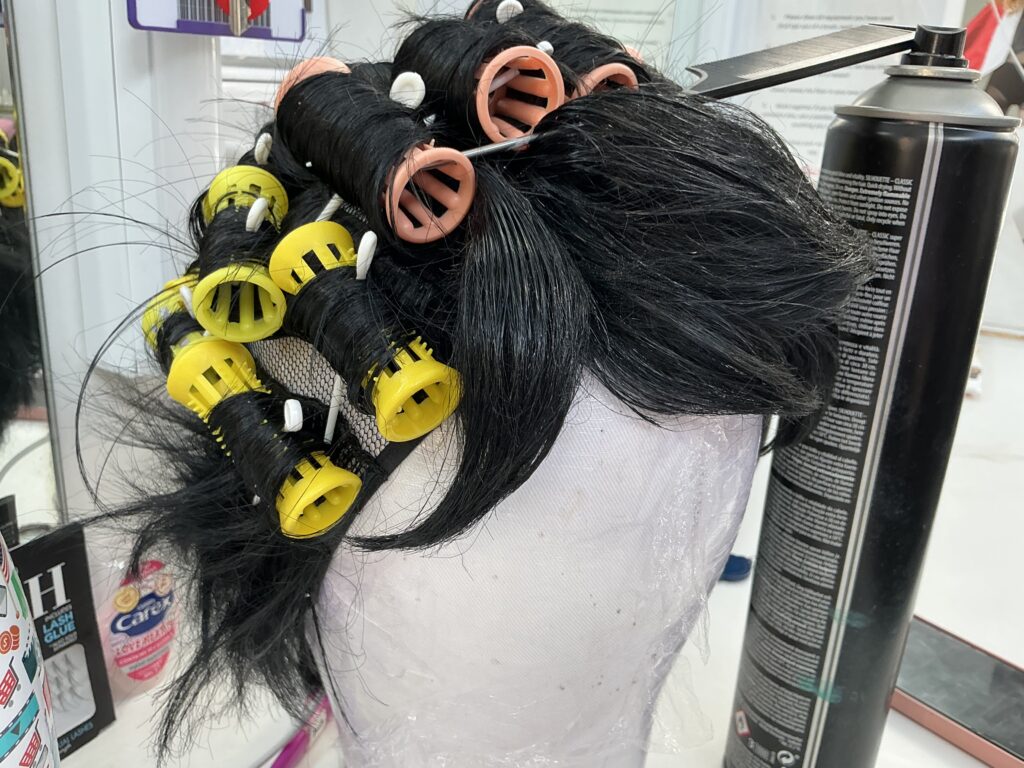
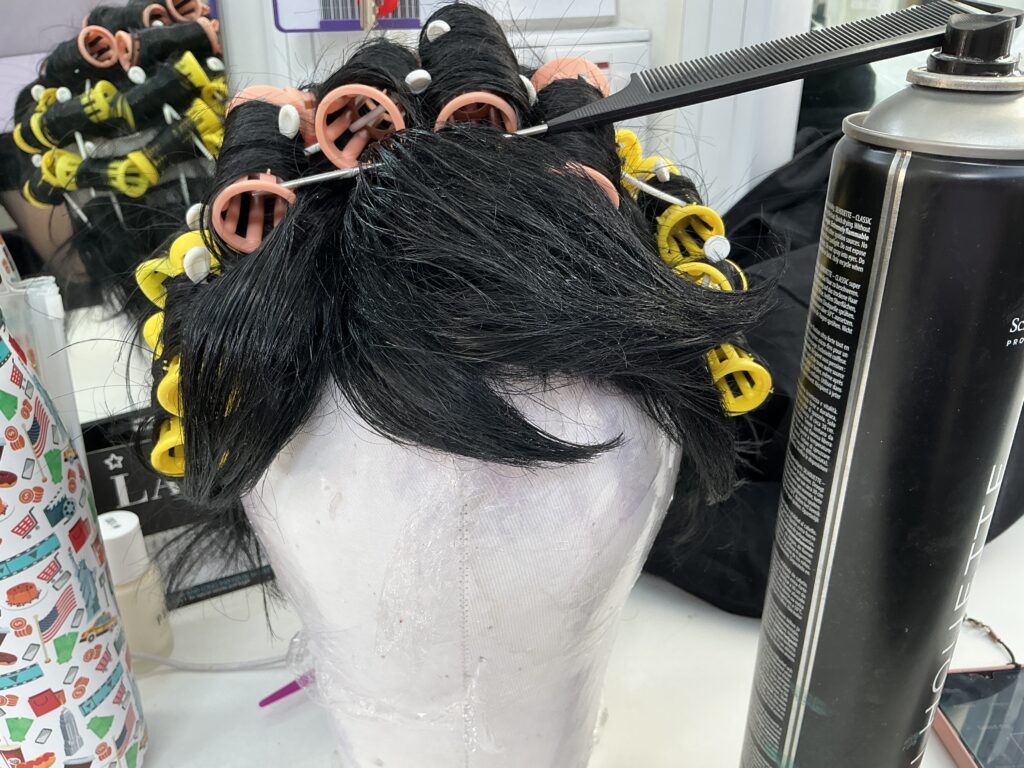
While the curls were setting and drying, I styled the front of the wig with lots of backcombing, hair spray and hair mousse:
Problem Solving:
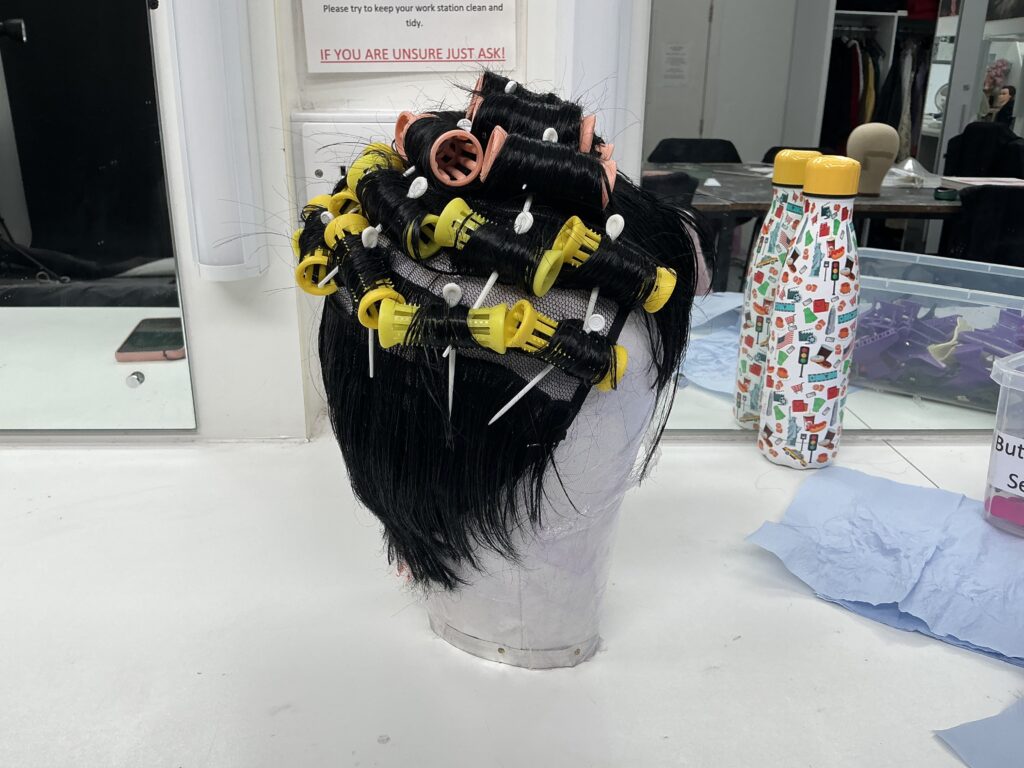
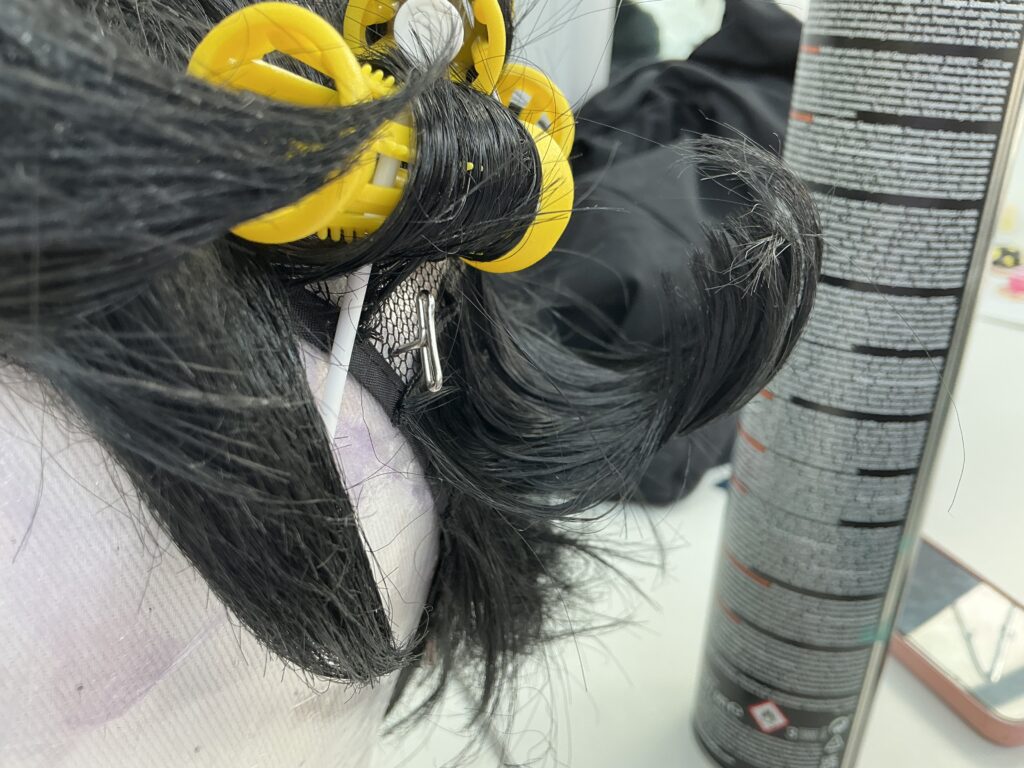
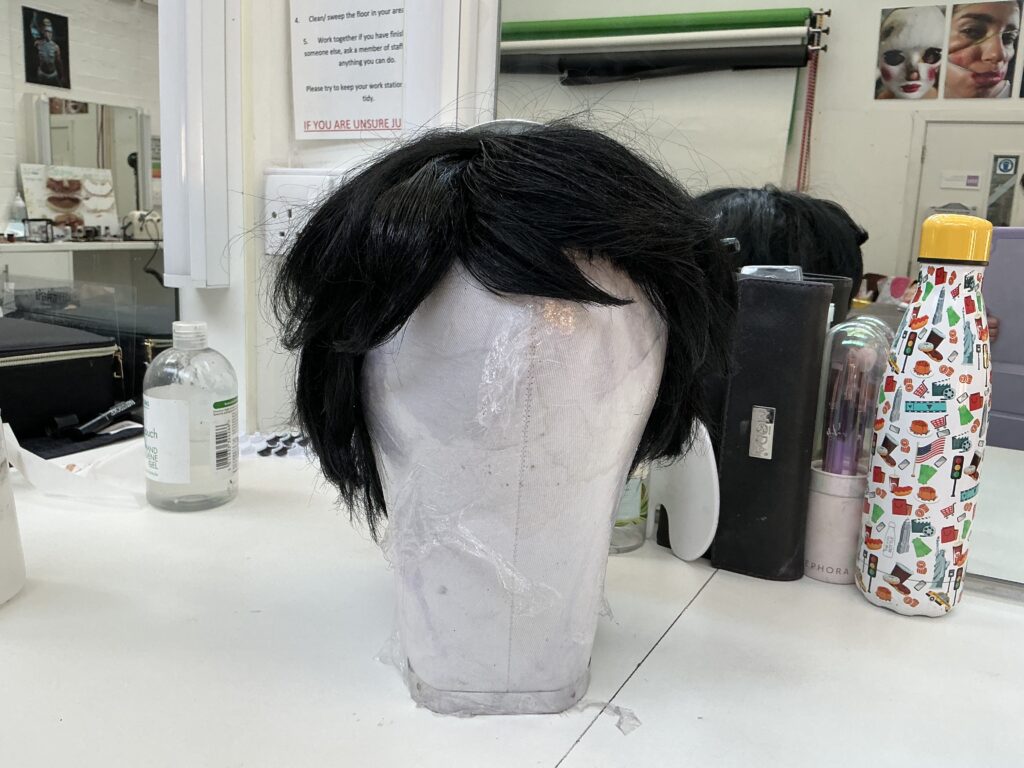
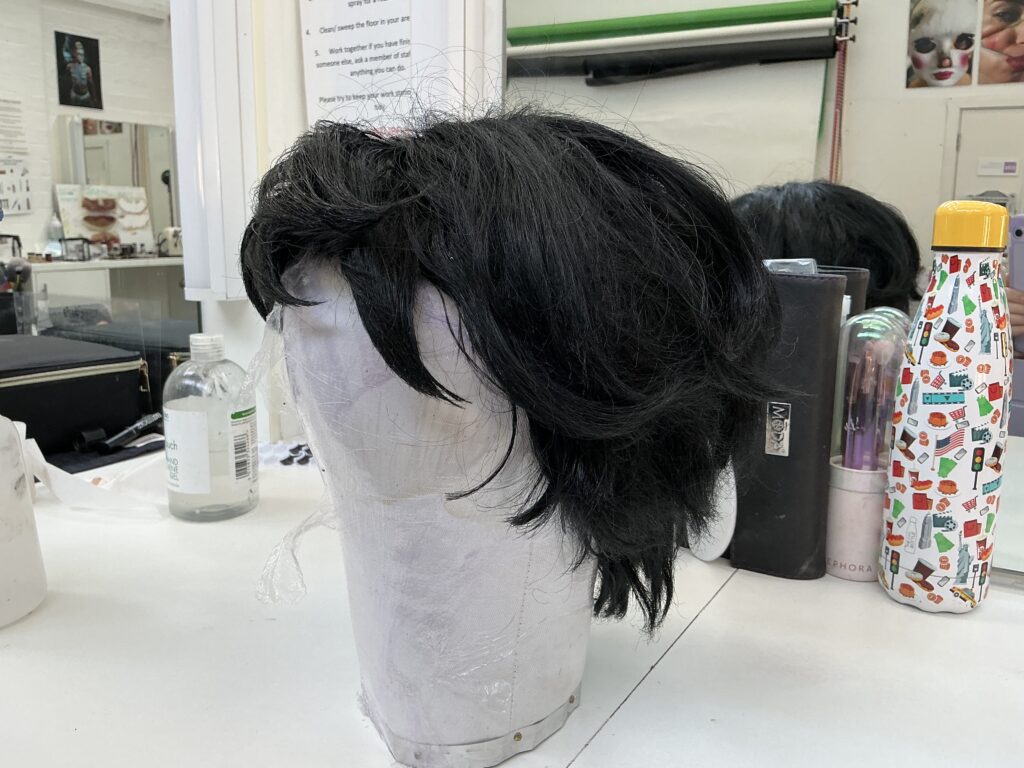
I realised that I had put the curlers in the wrong way once I had taken them out, the curls were going upwards rather than down. I also realised that towards the top of the wig, the hair was too long for the look I wanted to achieve:

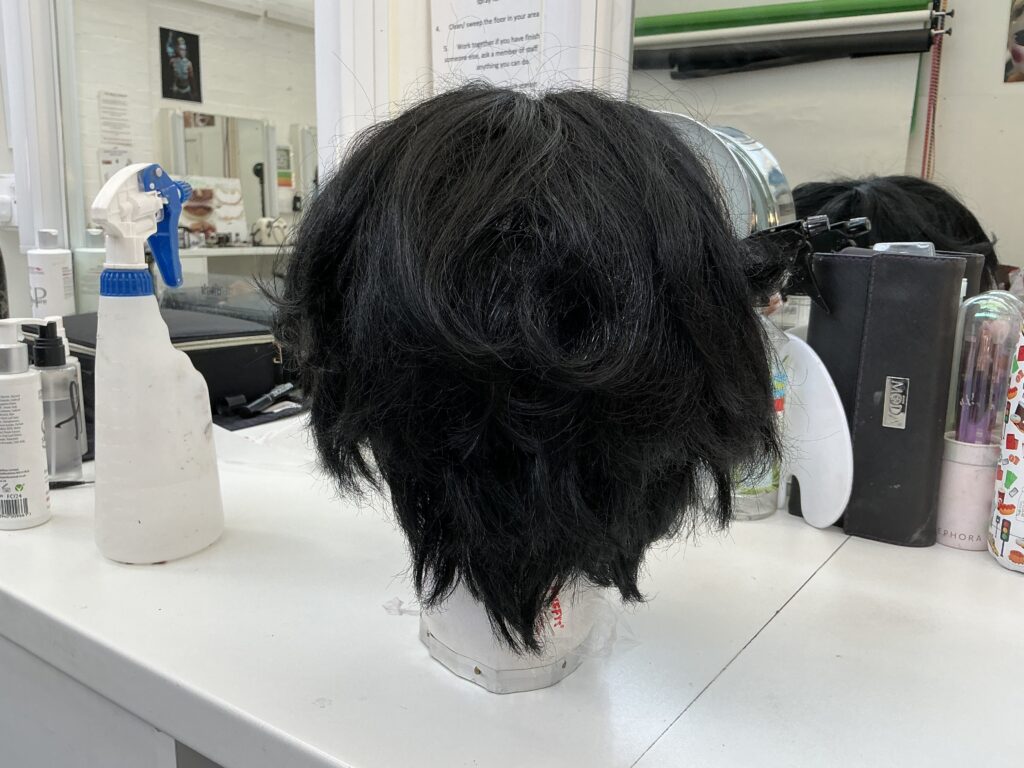
To fix this problem I decided to brush out the wig entirely and back comb it to still get the disheveled appearance I wanted. I still used the longer curls since the shape was still there, I made flicks around the wig similar to the front of the wig so that it flowed. After this the wig was finished:
PRODUCT LIST:
FROM COLLEGE:
. Wig Cap
. Weft Clips
. Wig
IN MY KIT:
. Skin Care
. Pale foundation
. Setting Powder
. Powder Blush
. Black Face Paint
. White Face Paint
. Vasceline
. Purple Eyeshadow
. Mascara
. Apron
. Potion Bottle
After prepping my models face with skin care, I used a very pale foundation as a base before setting it with setting powder.
Then I used some makeup remover to create a ring on the face where my models natural skin tone is visible, after this I used a brown eyeshadow to shade the models skin to give the illusion of a mask on the face.
Once this was done, I added an orange shade of blush and neatened my models eyebrows. I also used a grey eyeshadow to add contours to the cheekbones and nose.
For the eyes, I layered up a pink-purple eyeshadow, a dark purple eyeshadow and a bit of black eyeshadow in a circular shape to match the 1930’s inspiration. I then added mascara to both the top and bottom lashes before using a black face paint to draw on exaggerated bottom lashes. I also used a white face paint along the waterline to really make the eyes pop.
For the lips, I mixed together some vasceline and the same eyeshadow shades I used on the eyes to create a lip gloss. I applied this to my model’s face, making the cupids bow slightly sharper than how it naturally is.
Finally, I added dirt powder in splatters to finish the makeup.
I then applied the wig cap with weft clips before applying the wig to my model and adding a little more dirt powder.
I made sure to add more dirt powder to my models arms so that the look flowed. Once my model had their costume on the look was complete.
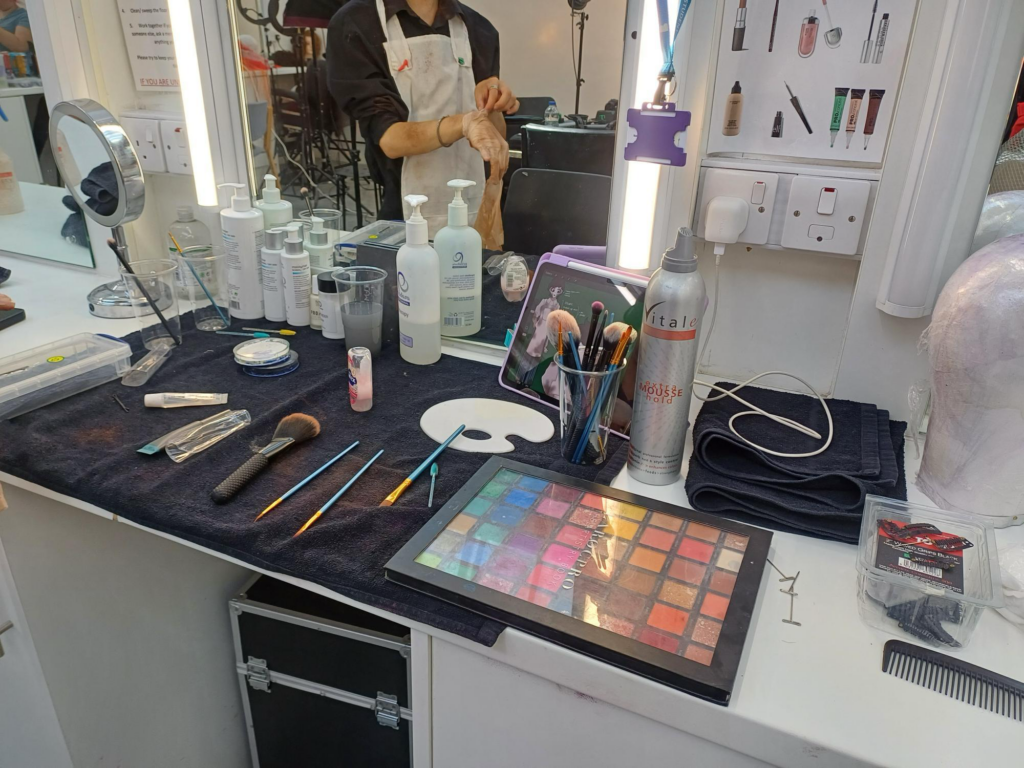
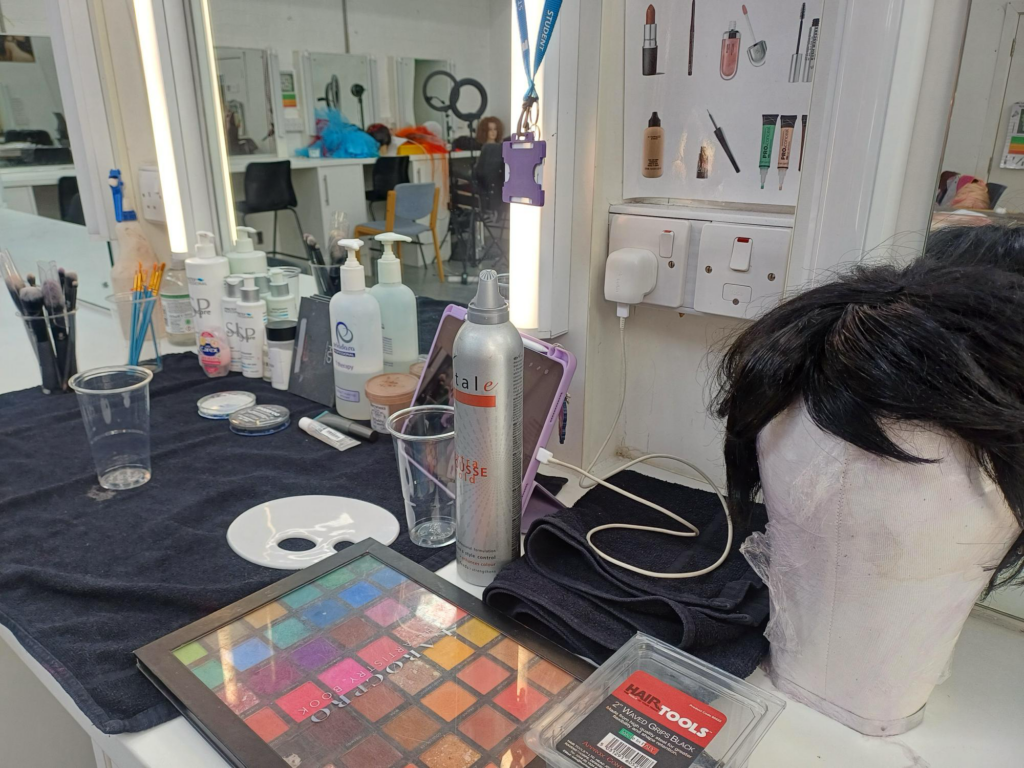
My station before my assessment:
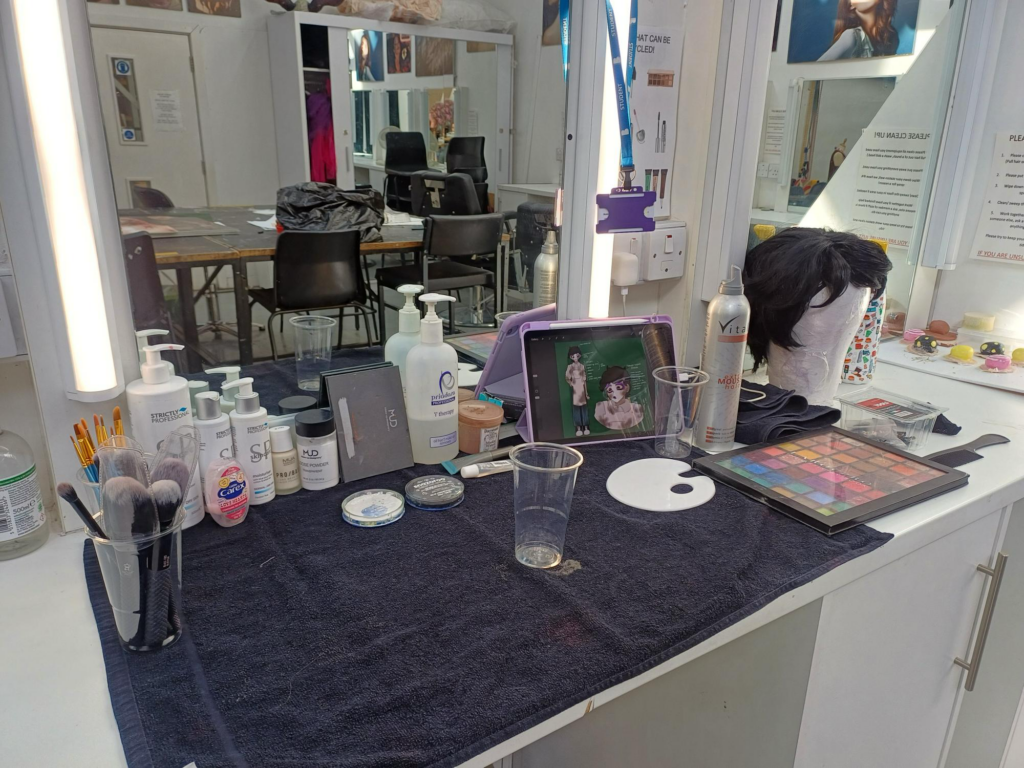
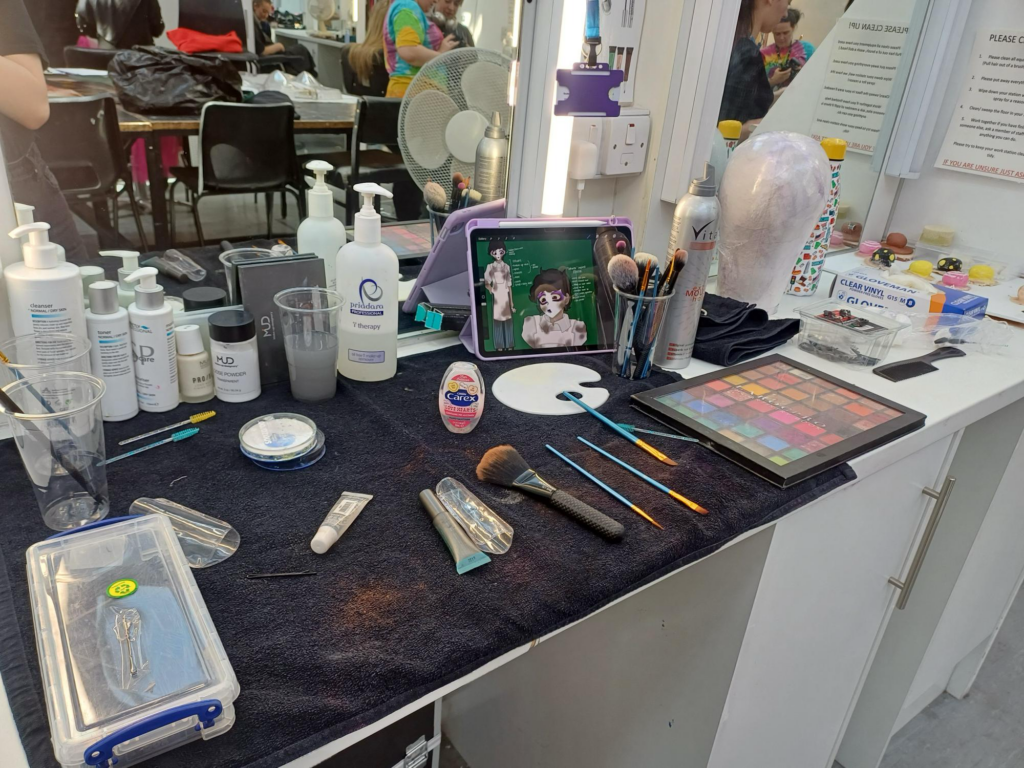
My station after my assessment: