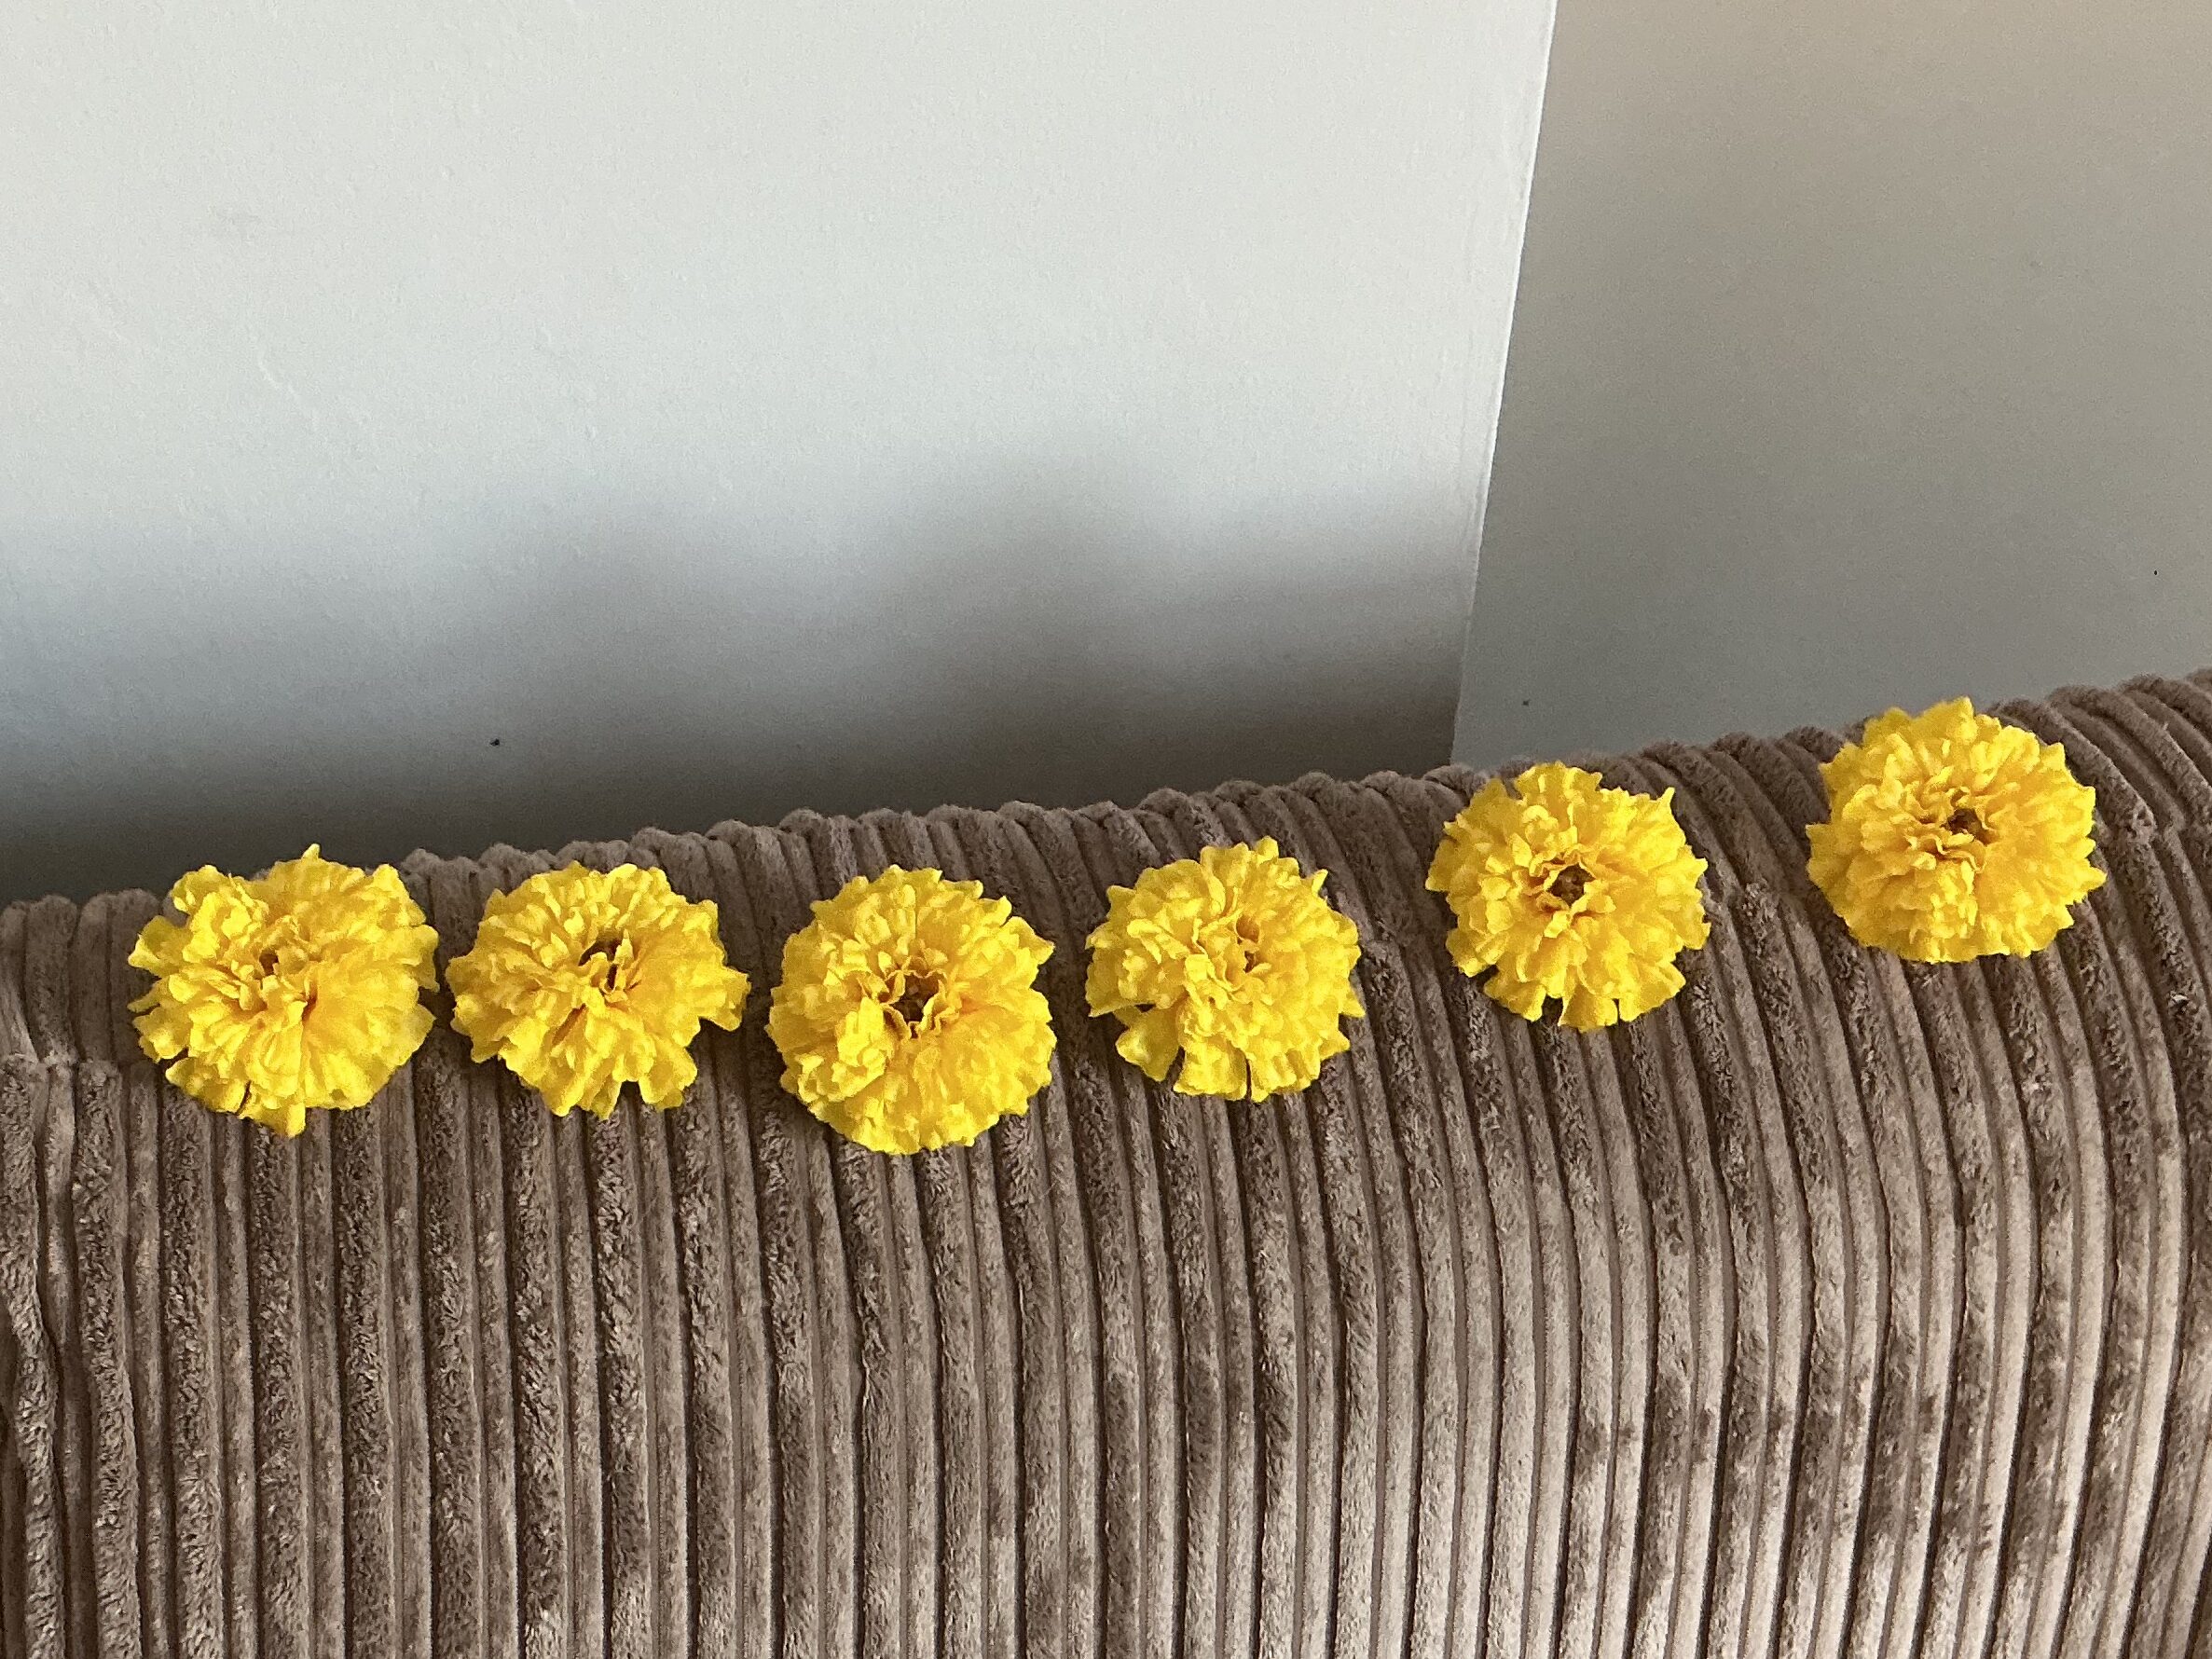
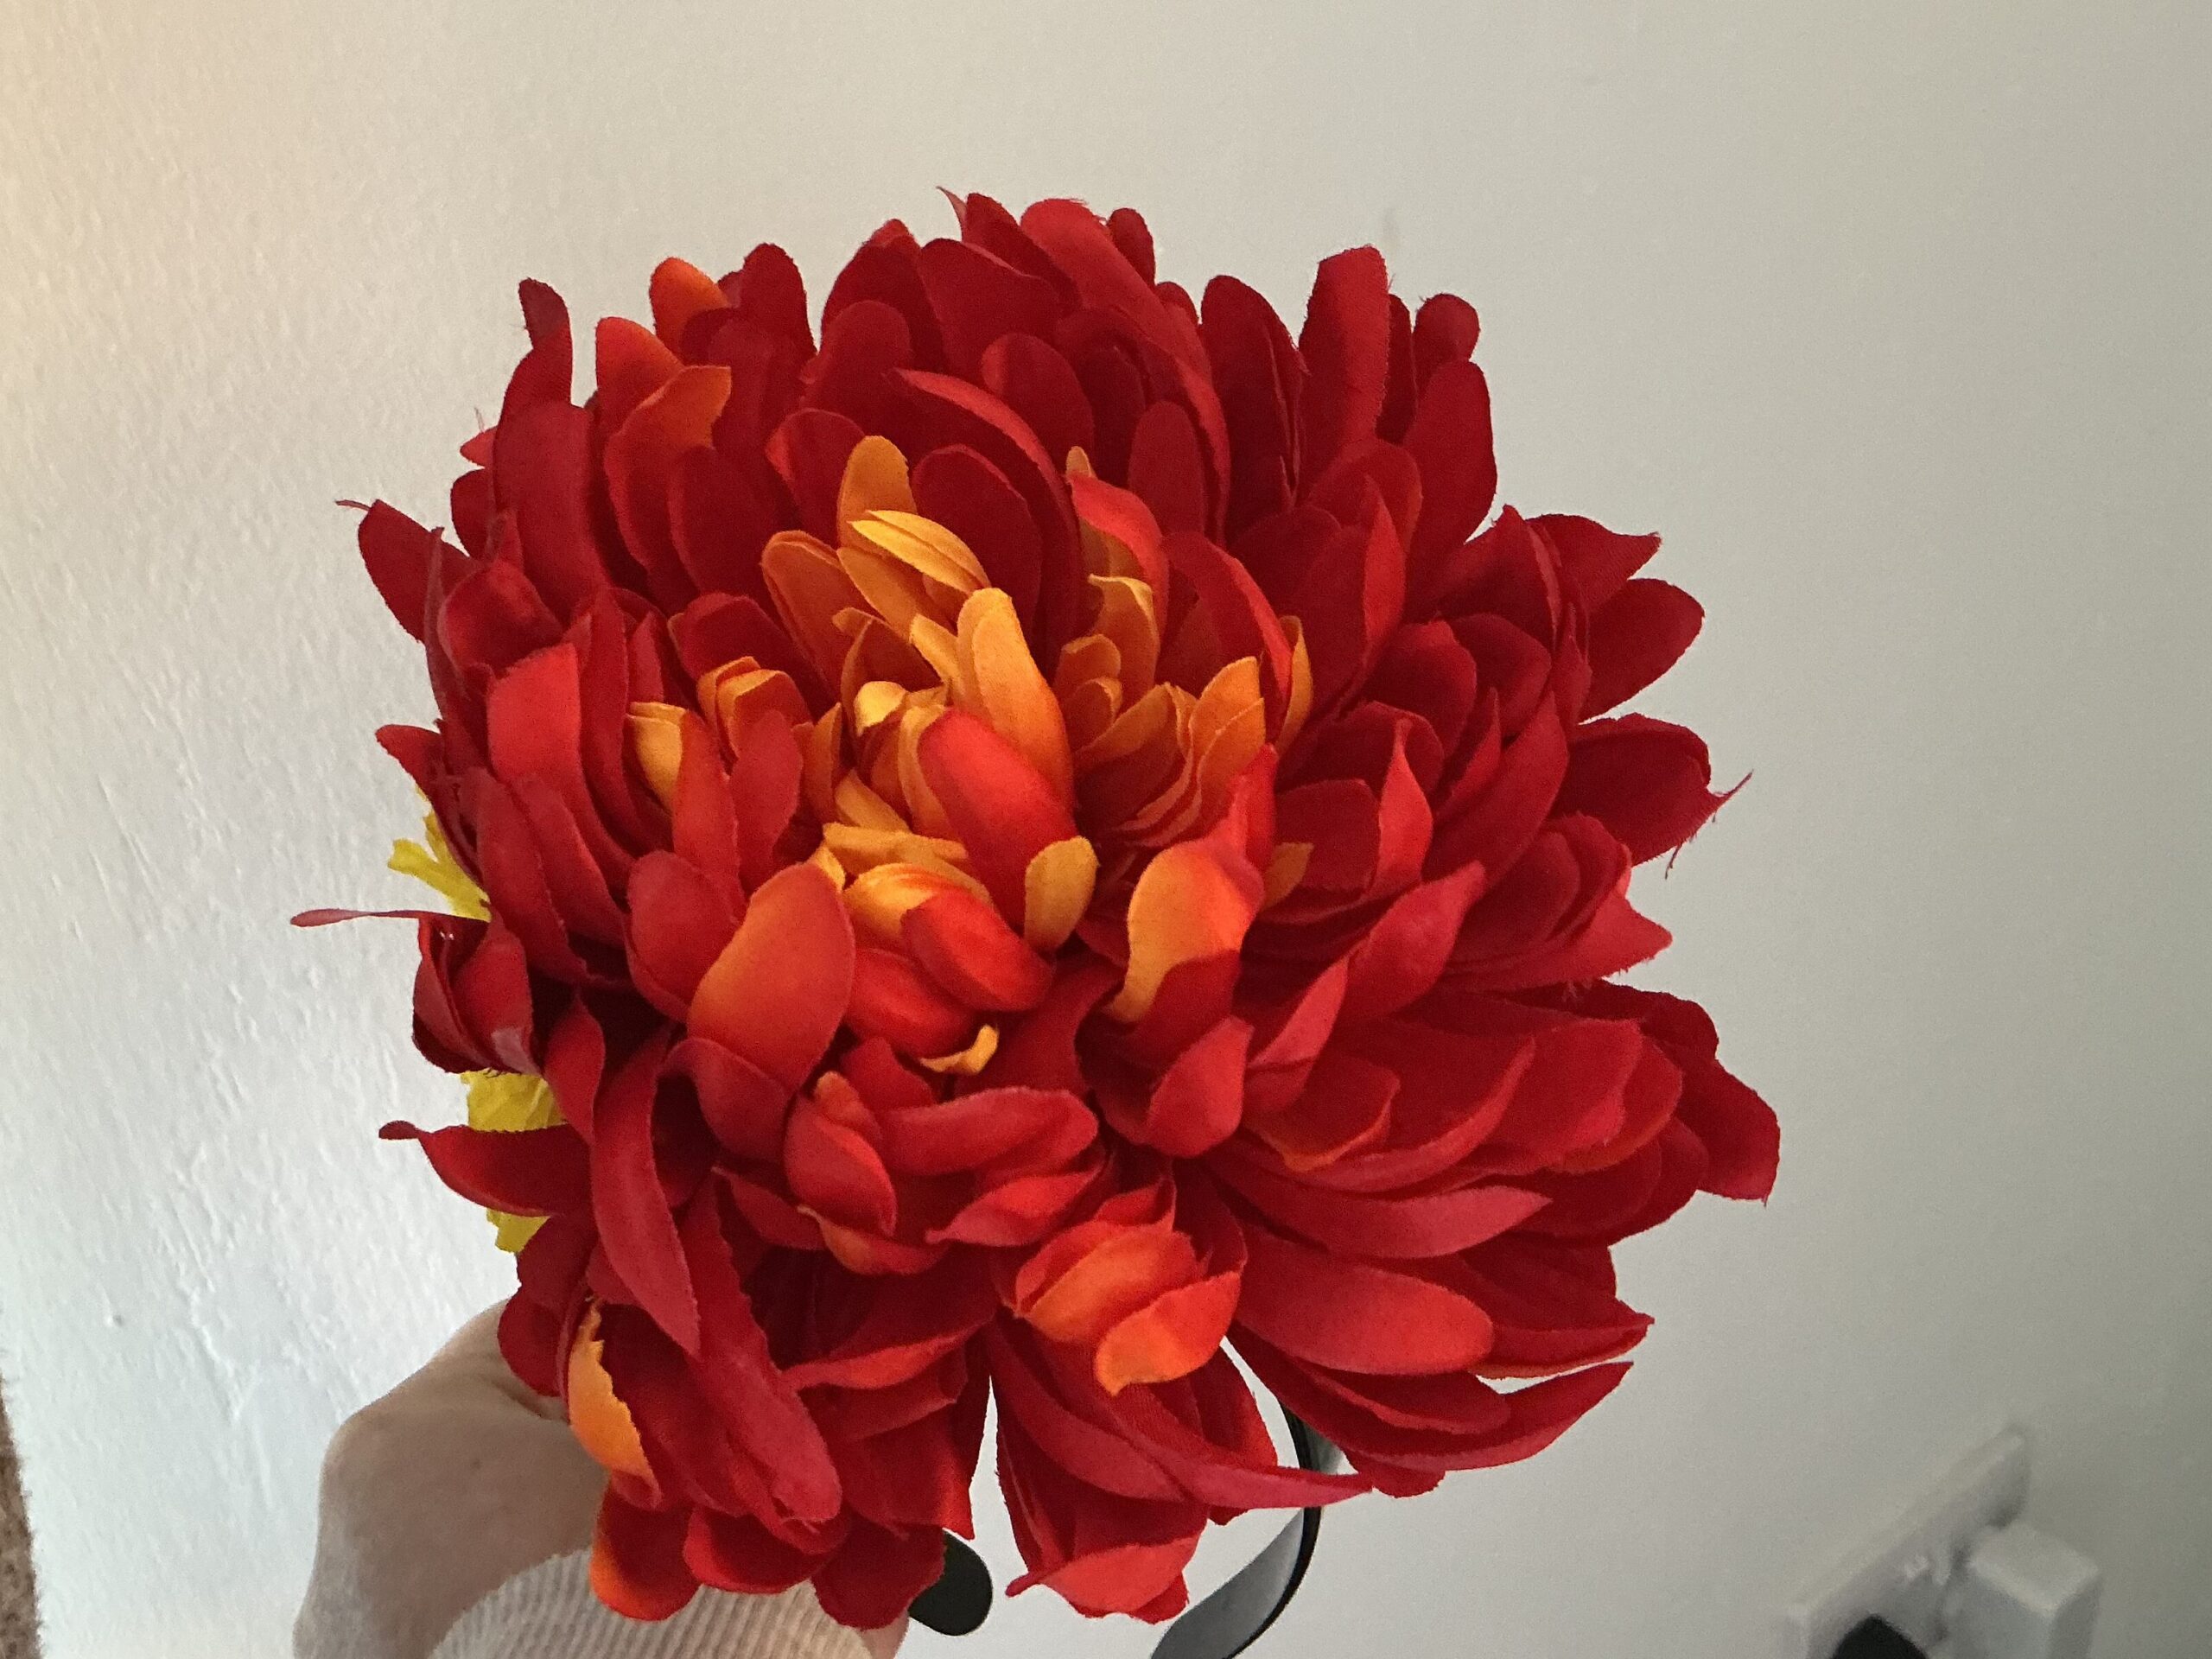
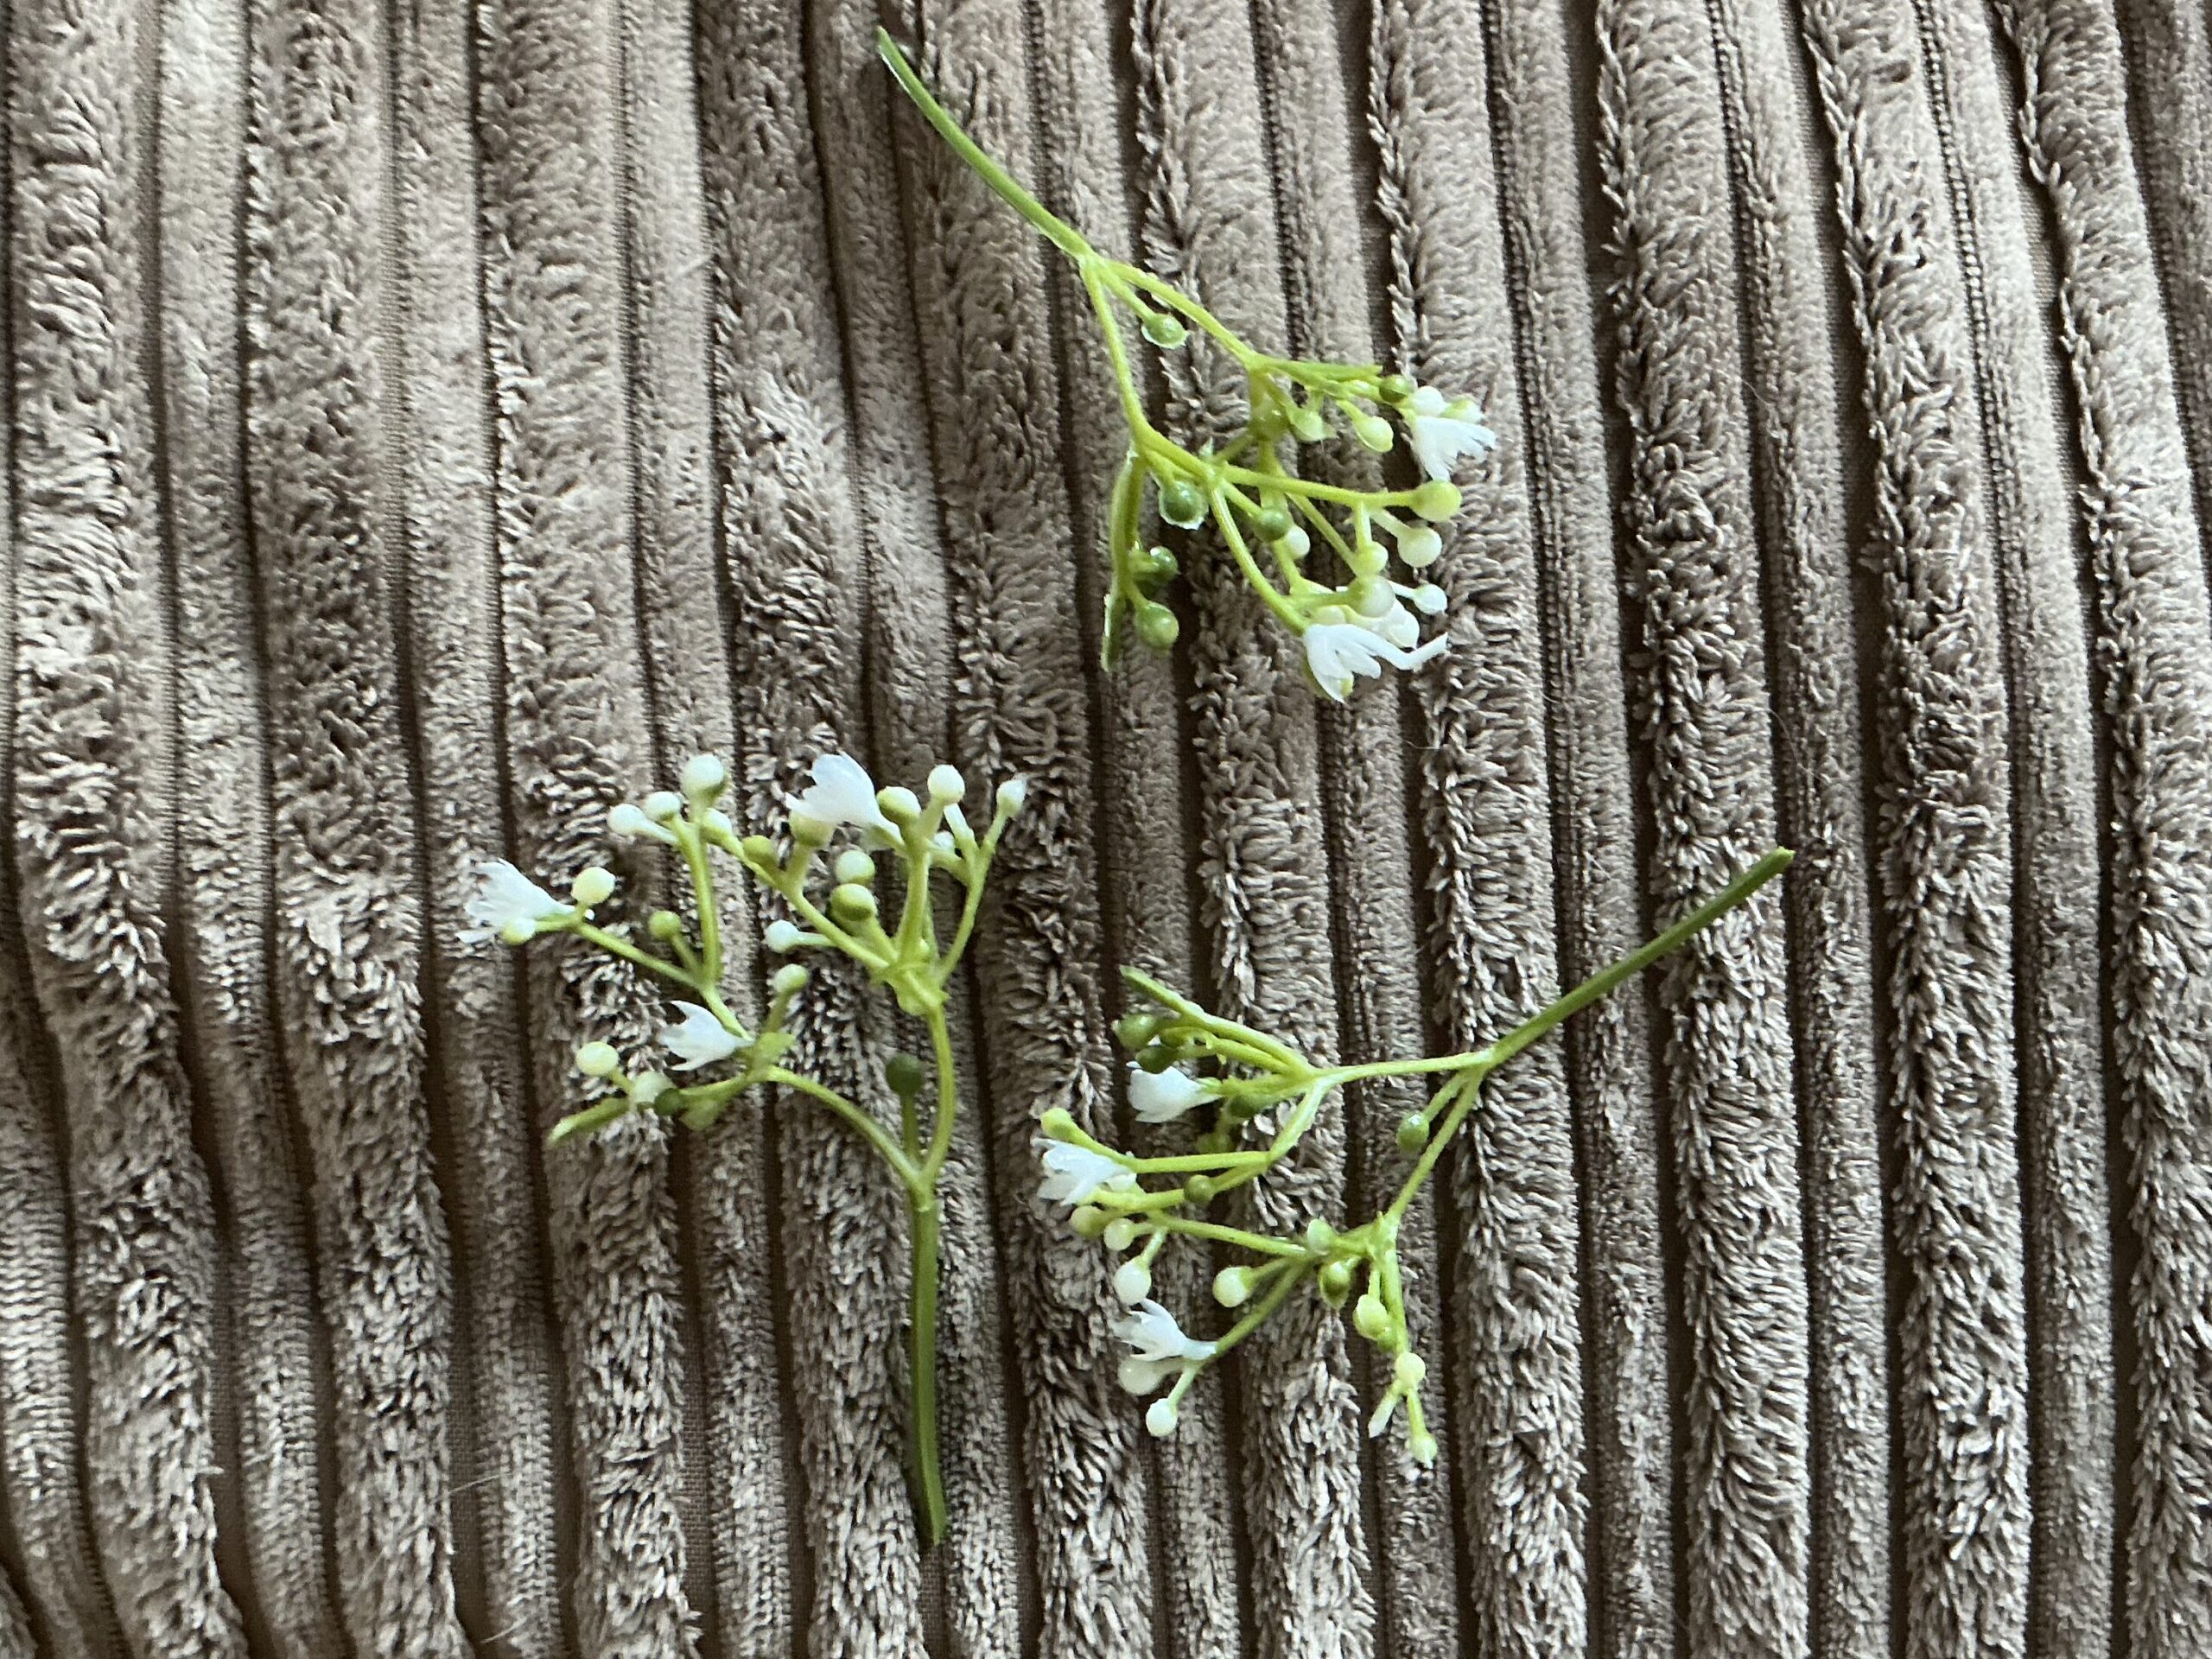
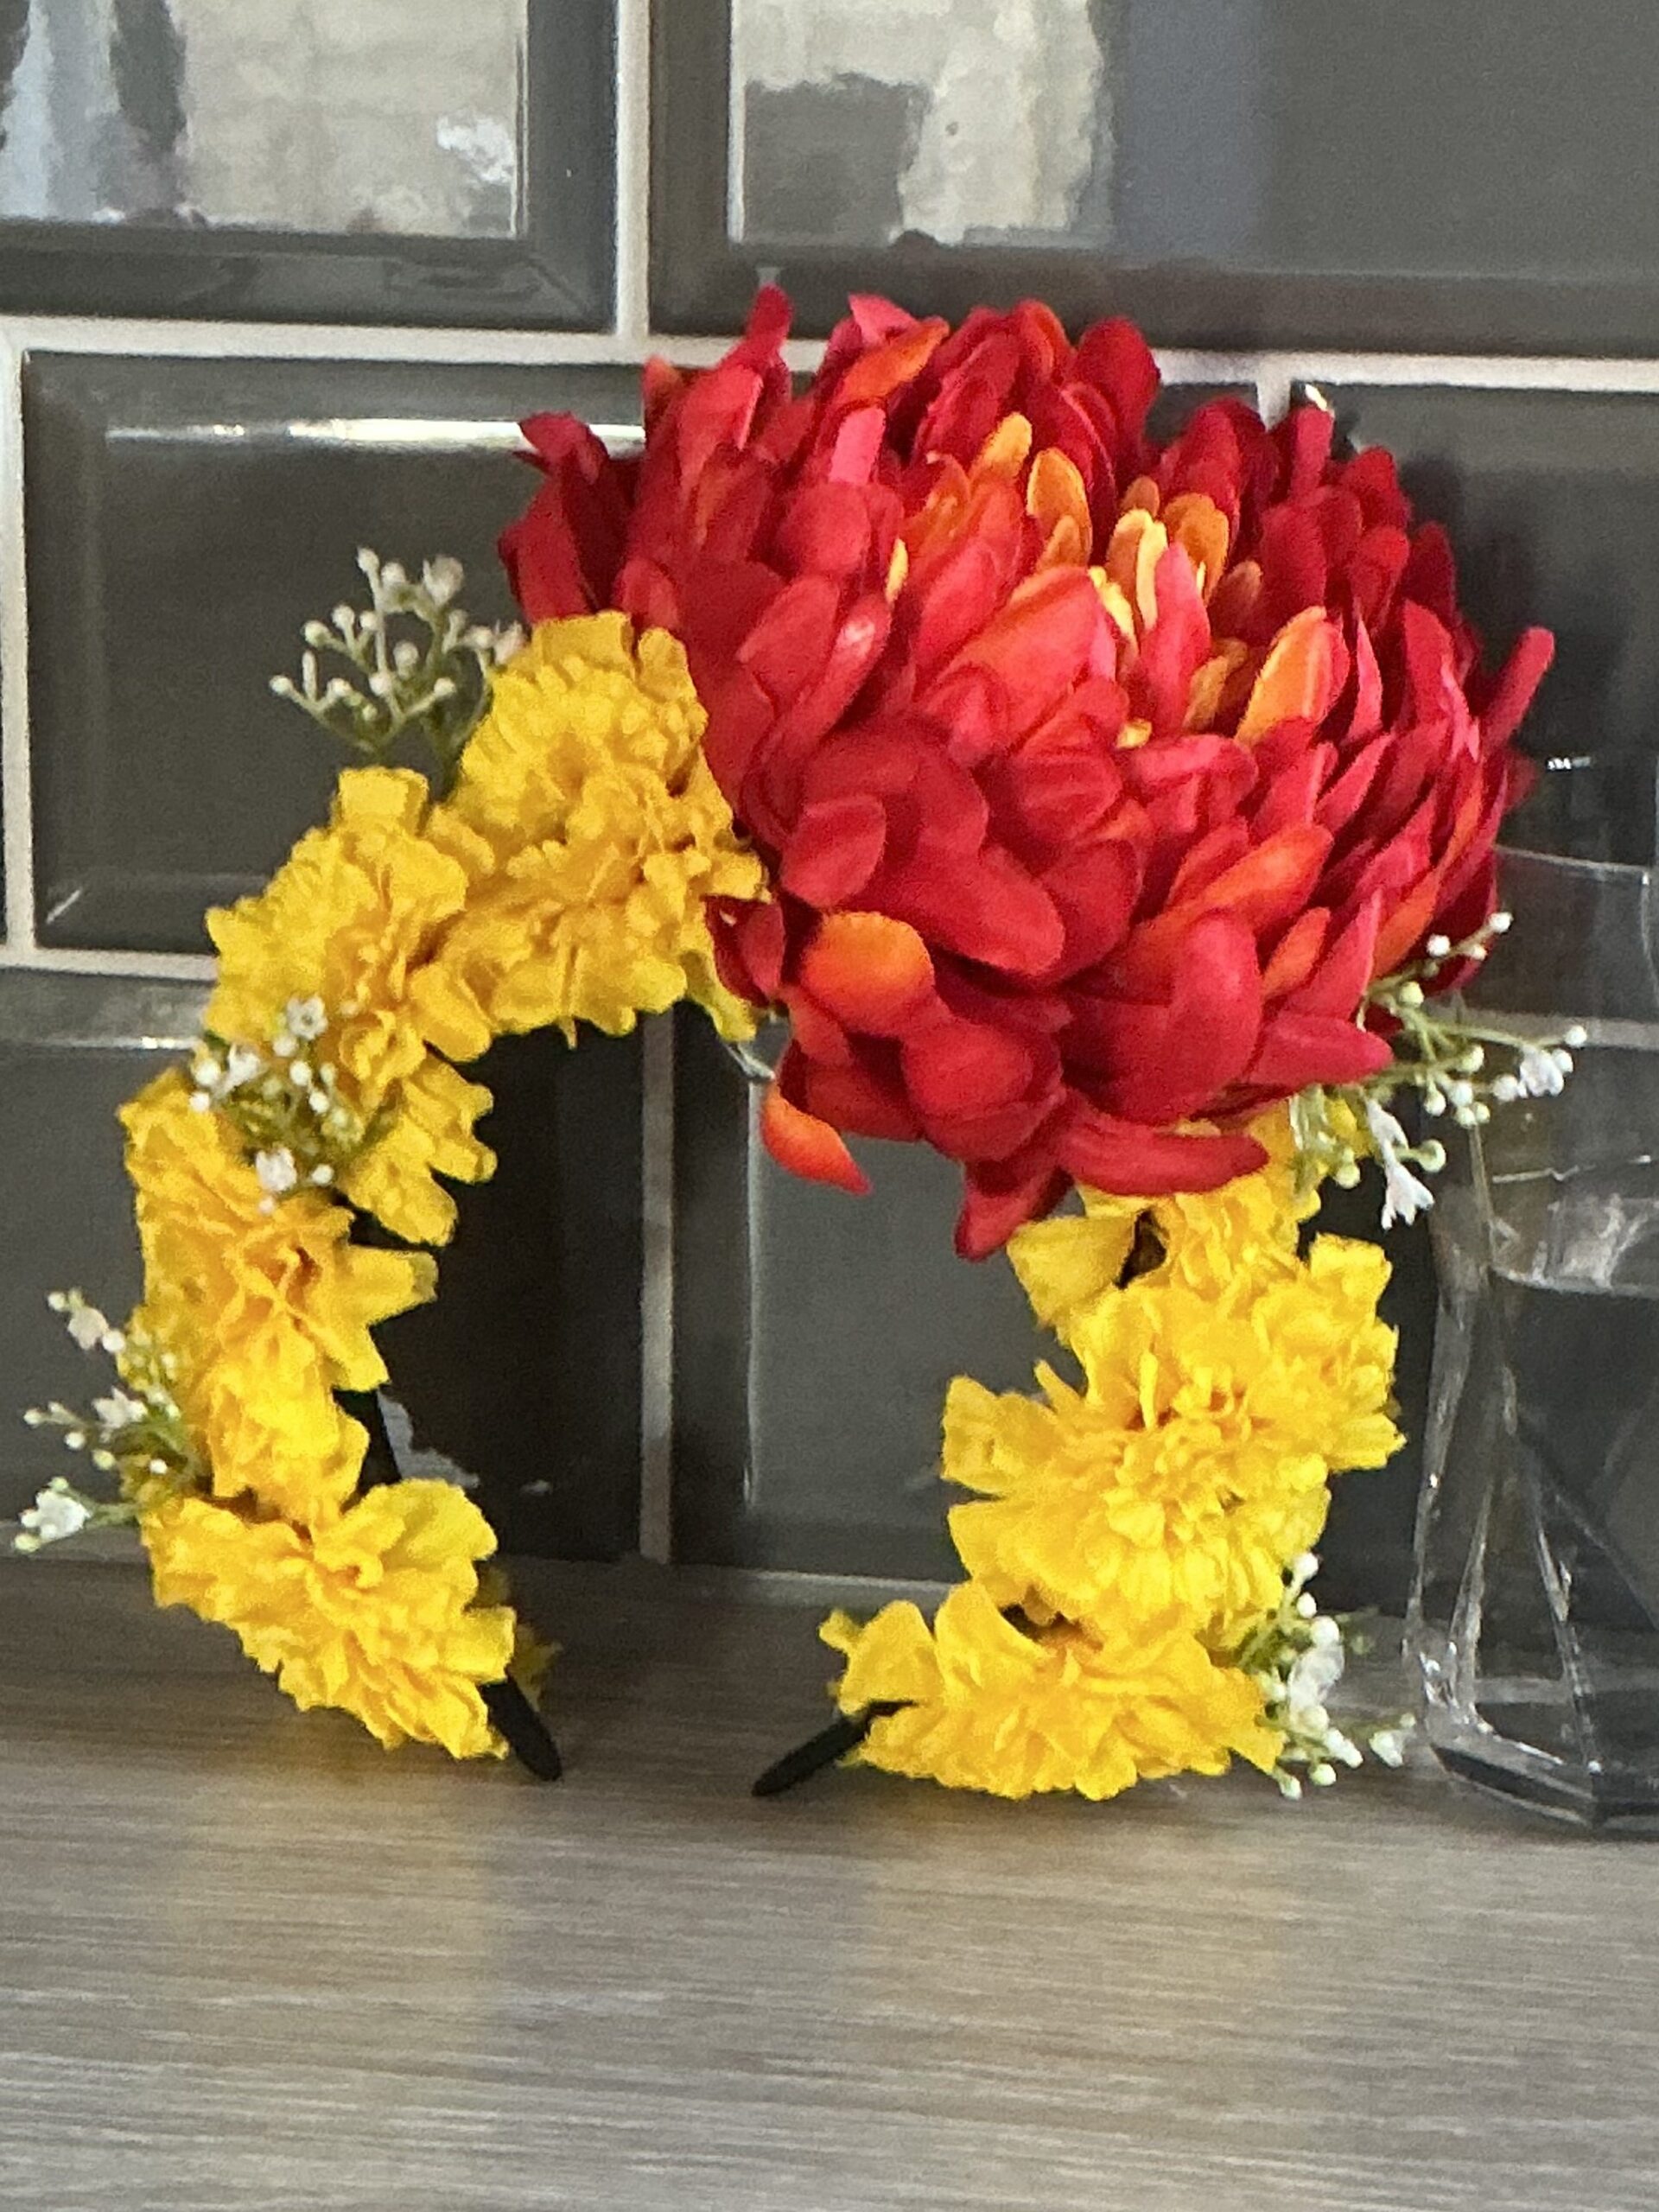
To plan for my assessment, the first thing I needed to do was create the headdress featured in my full body design chart. I went to a shop called Country Baskets, Welcome to Country Baskets | Inspiration from Country Baskets | Country Baskets , where I looked around for some of the traditional flowers of the Day Of The Dead festivals. This shop was recommended to me by a family member because this shop specialises in creating artificial flowers for occasions such as weddings. Unfortunately, I was unable to find all of the flowers I wanted, however I did find yellow marigolds which was good because these flowers are the most important for me to have. I found yellow marigolds, a big red chrysanthemum and a bunch of baby’s breath:
The flowers did come on long stems made of wire so I had to trim some of the flowers down with wire cutters, the marigolds were able to be simply detached from the stems. I then began to place my flowers on a plain black headband that I bought; I glued them down when I was happy with the placements:
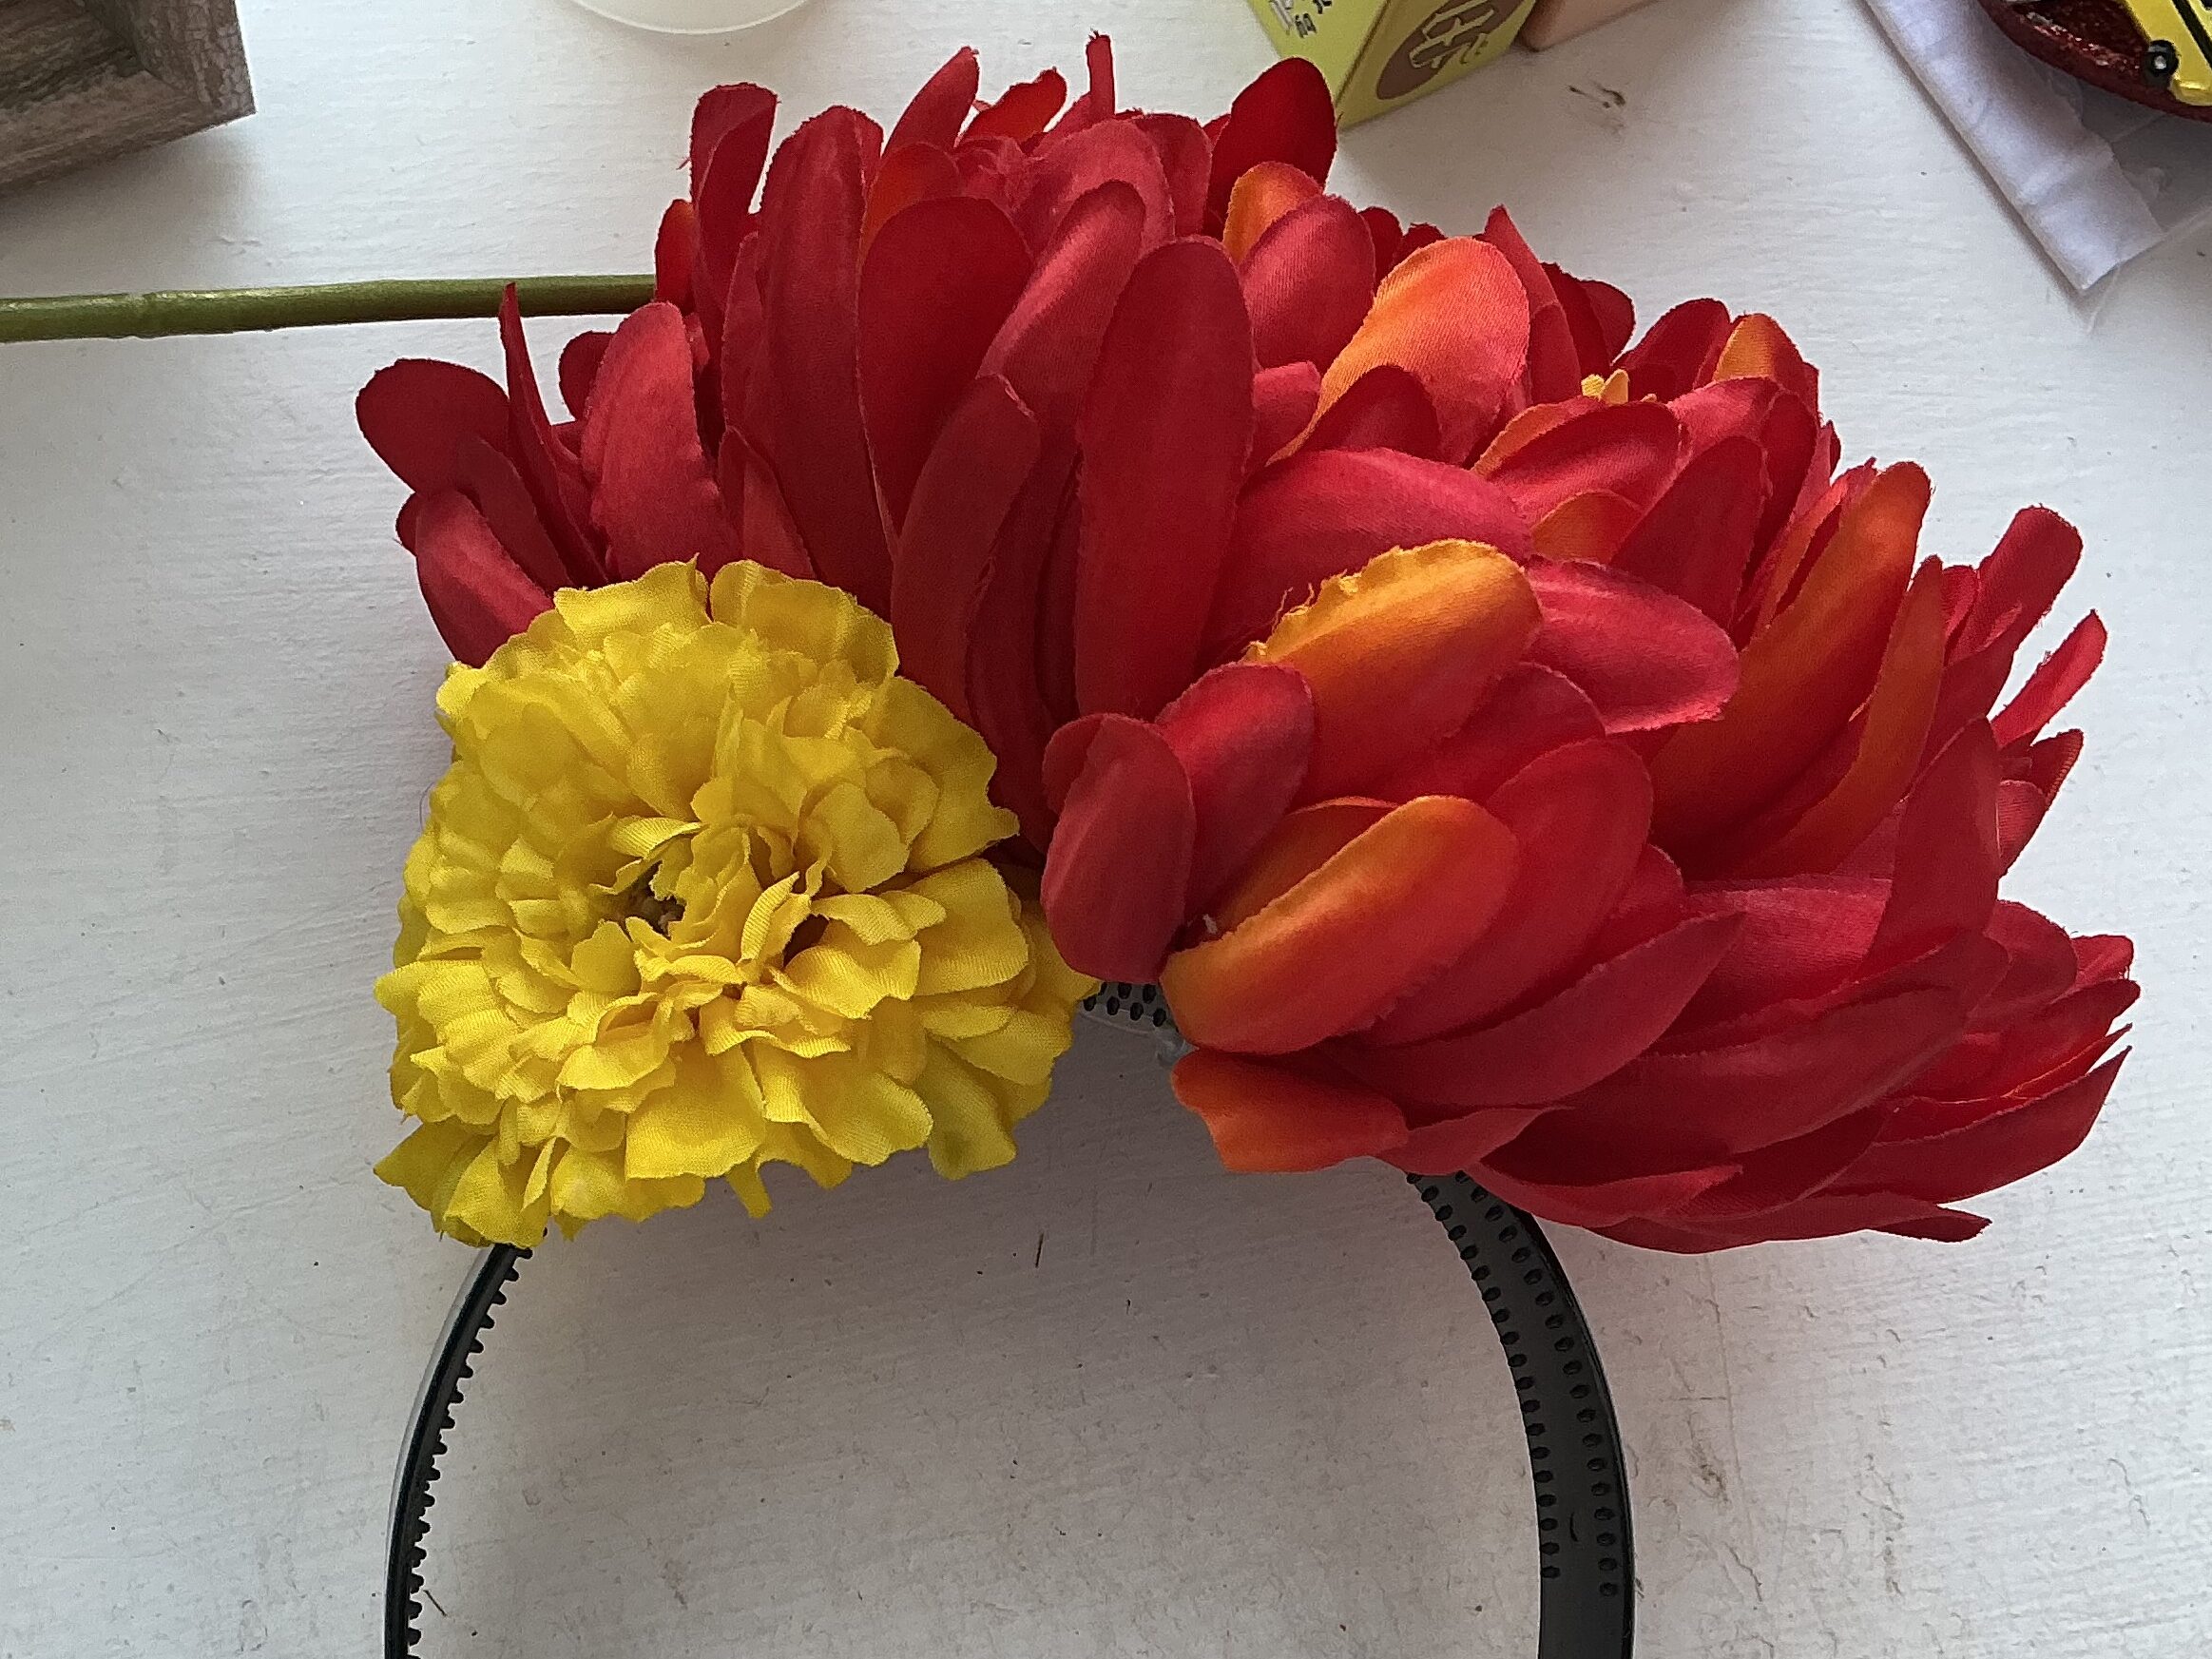
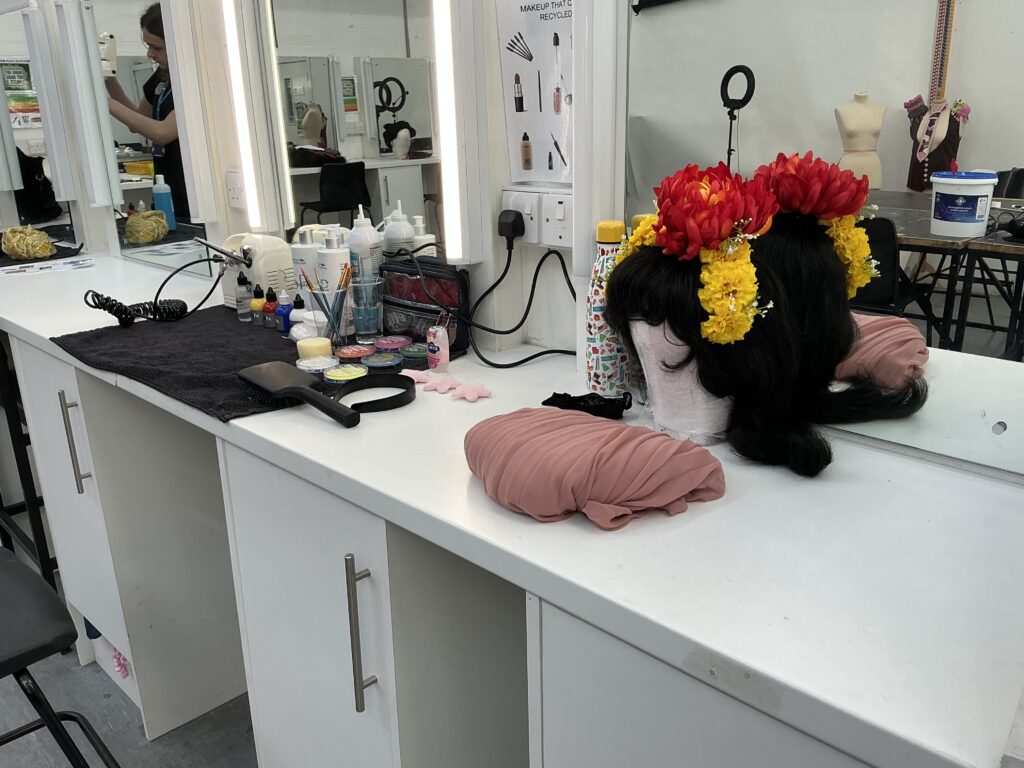
Once the chrysanthemum were glued to the headband, I threaded the baby’s breath through to break up the colours. This was the final step of making my headdress:
I also needed to prepare a wig for this project. One reason is because it would save a lot of time on my assessment day and another is because my model had short hair and my design includes longer hair. My tutor gave me the longest black wig at college:
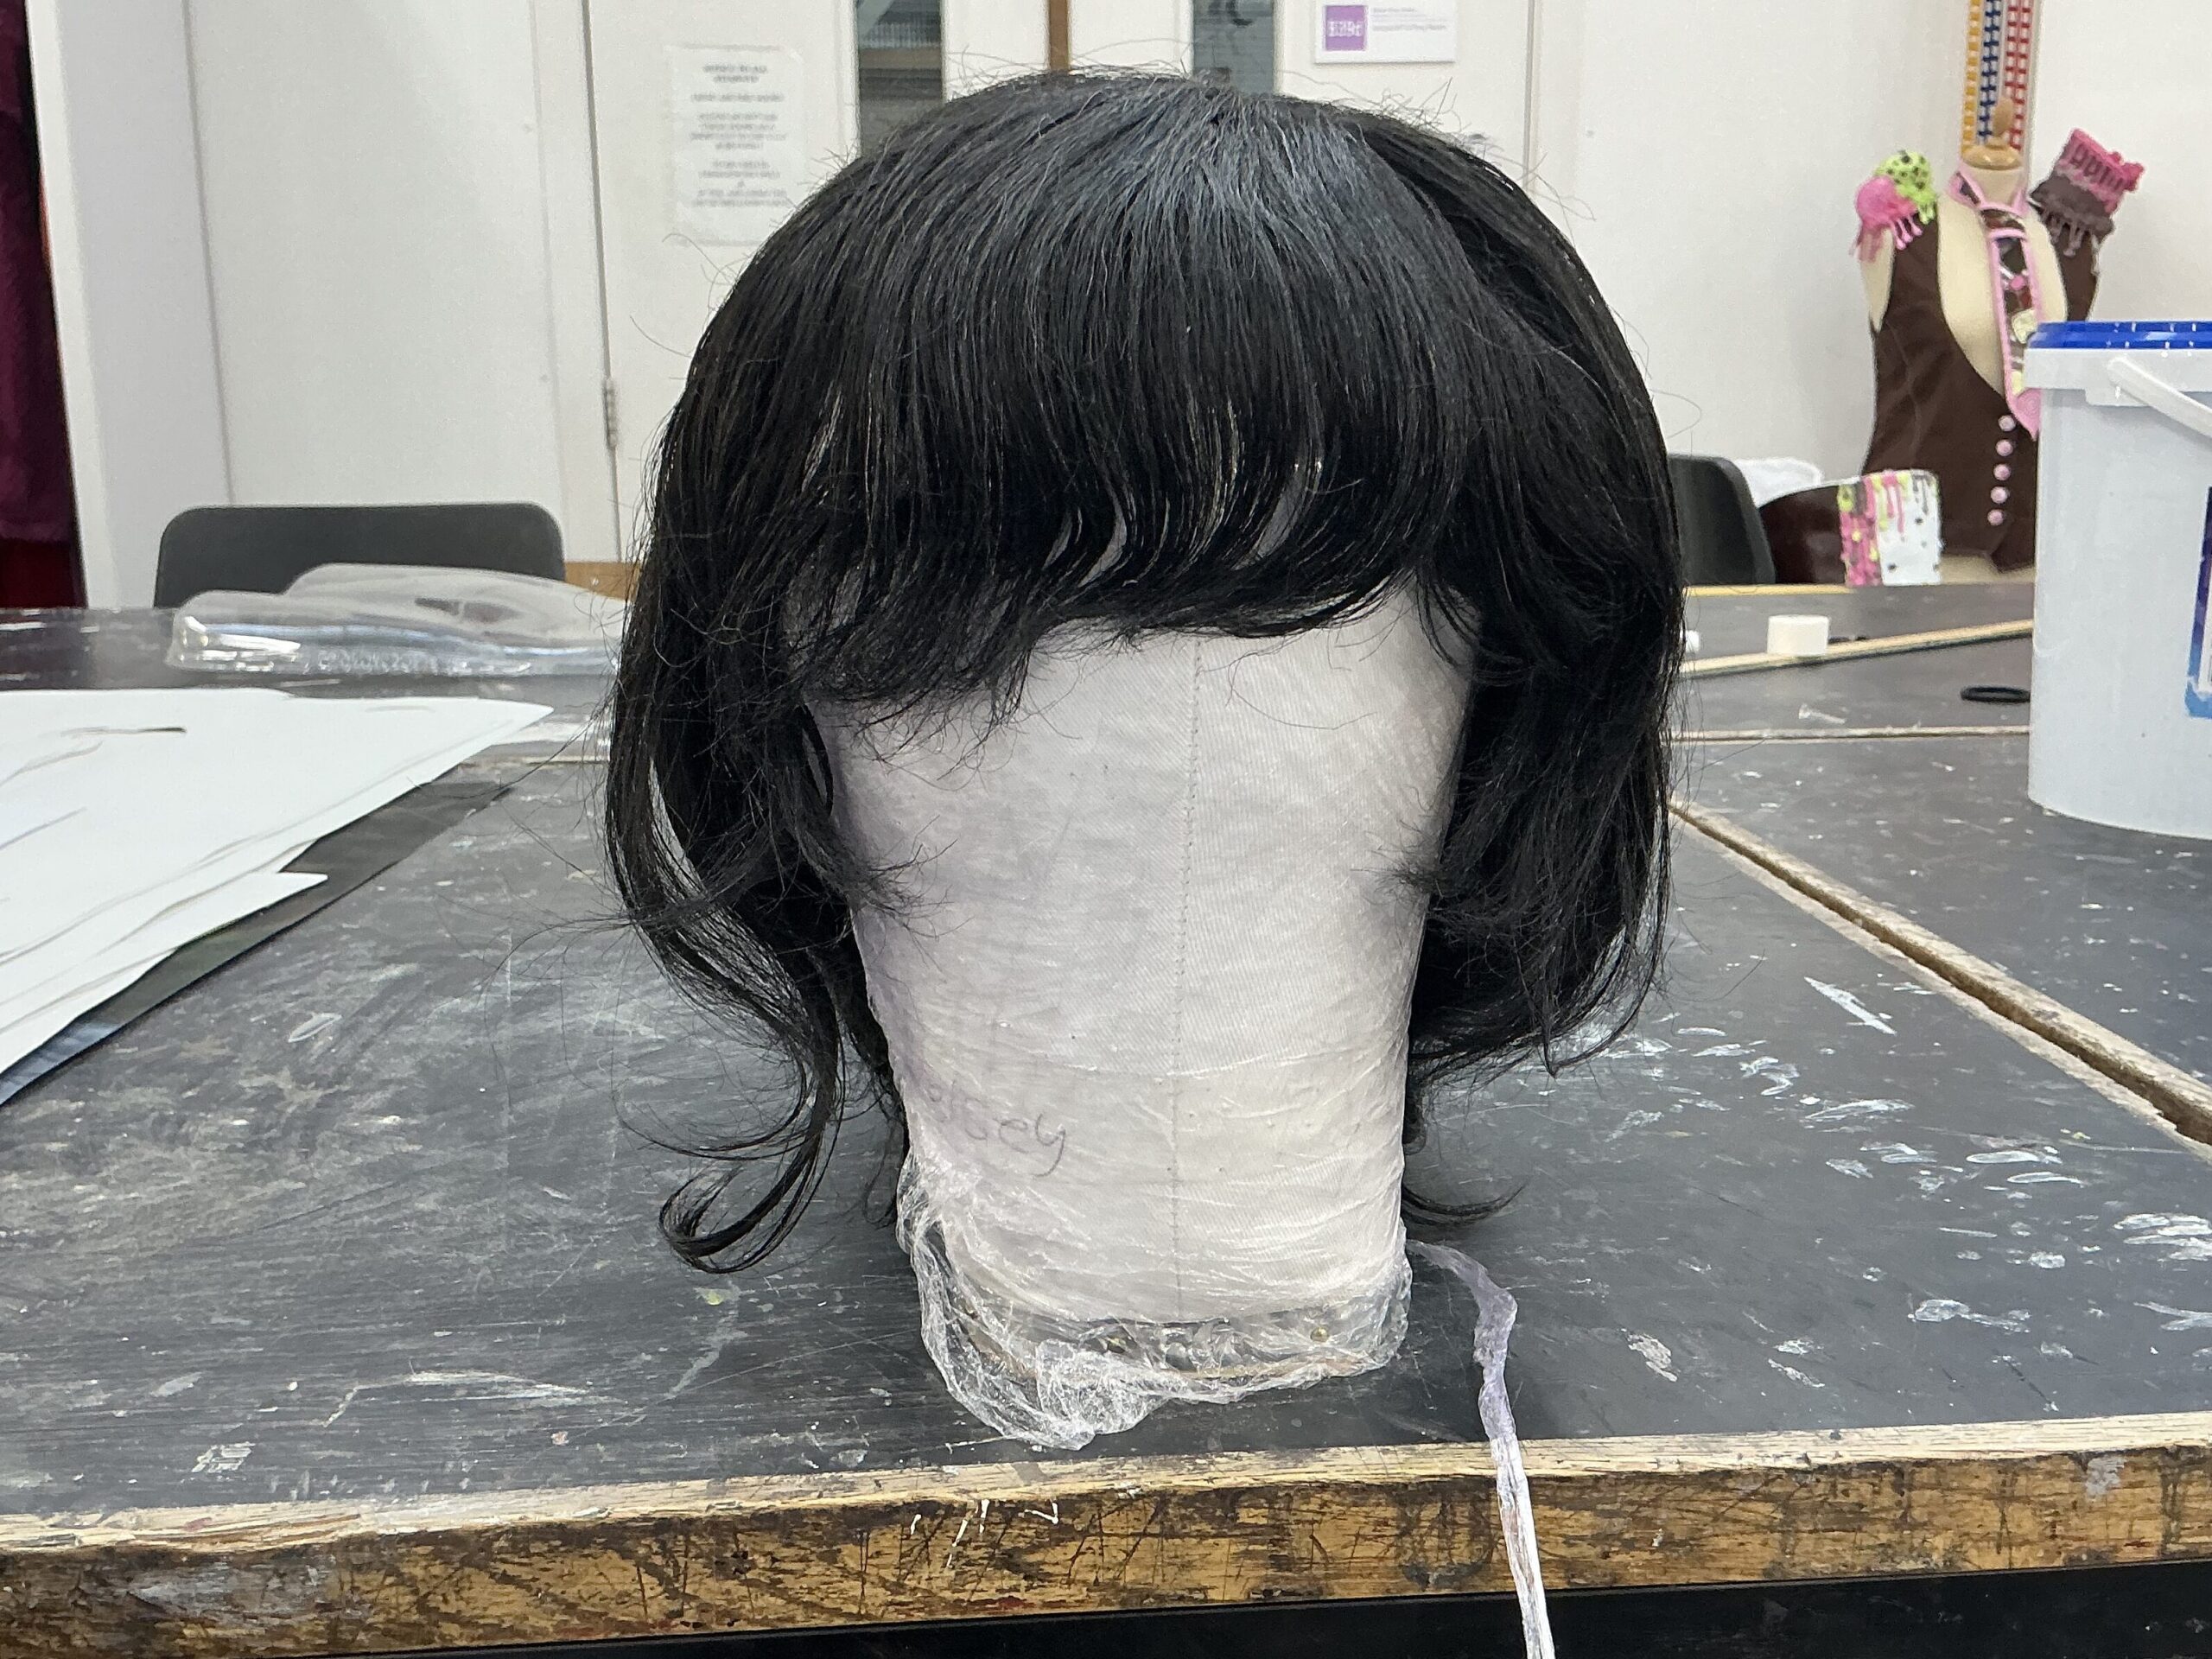
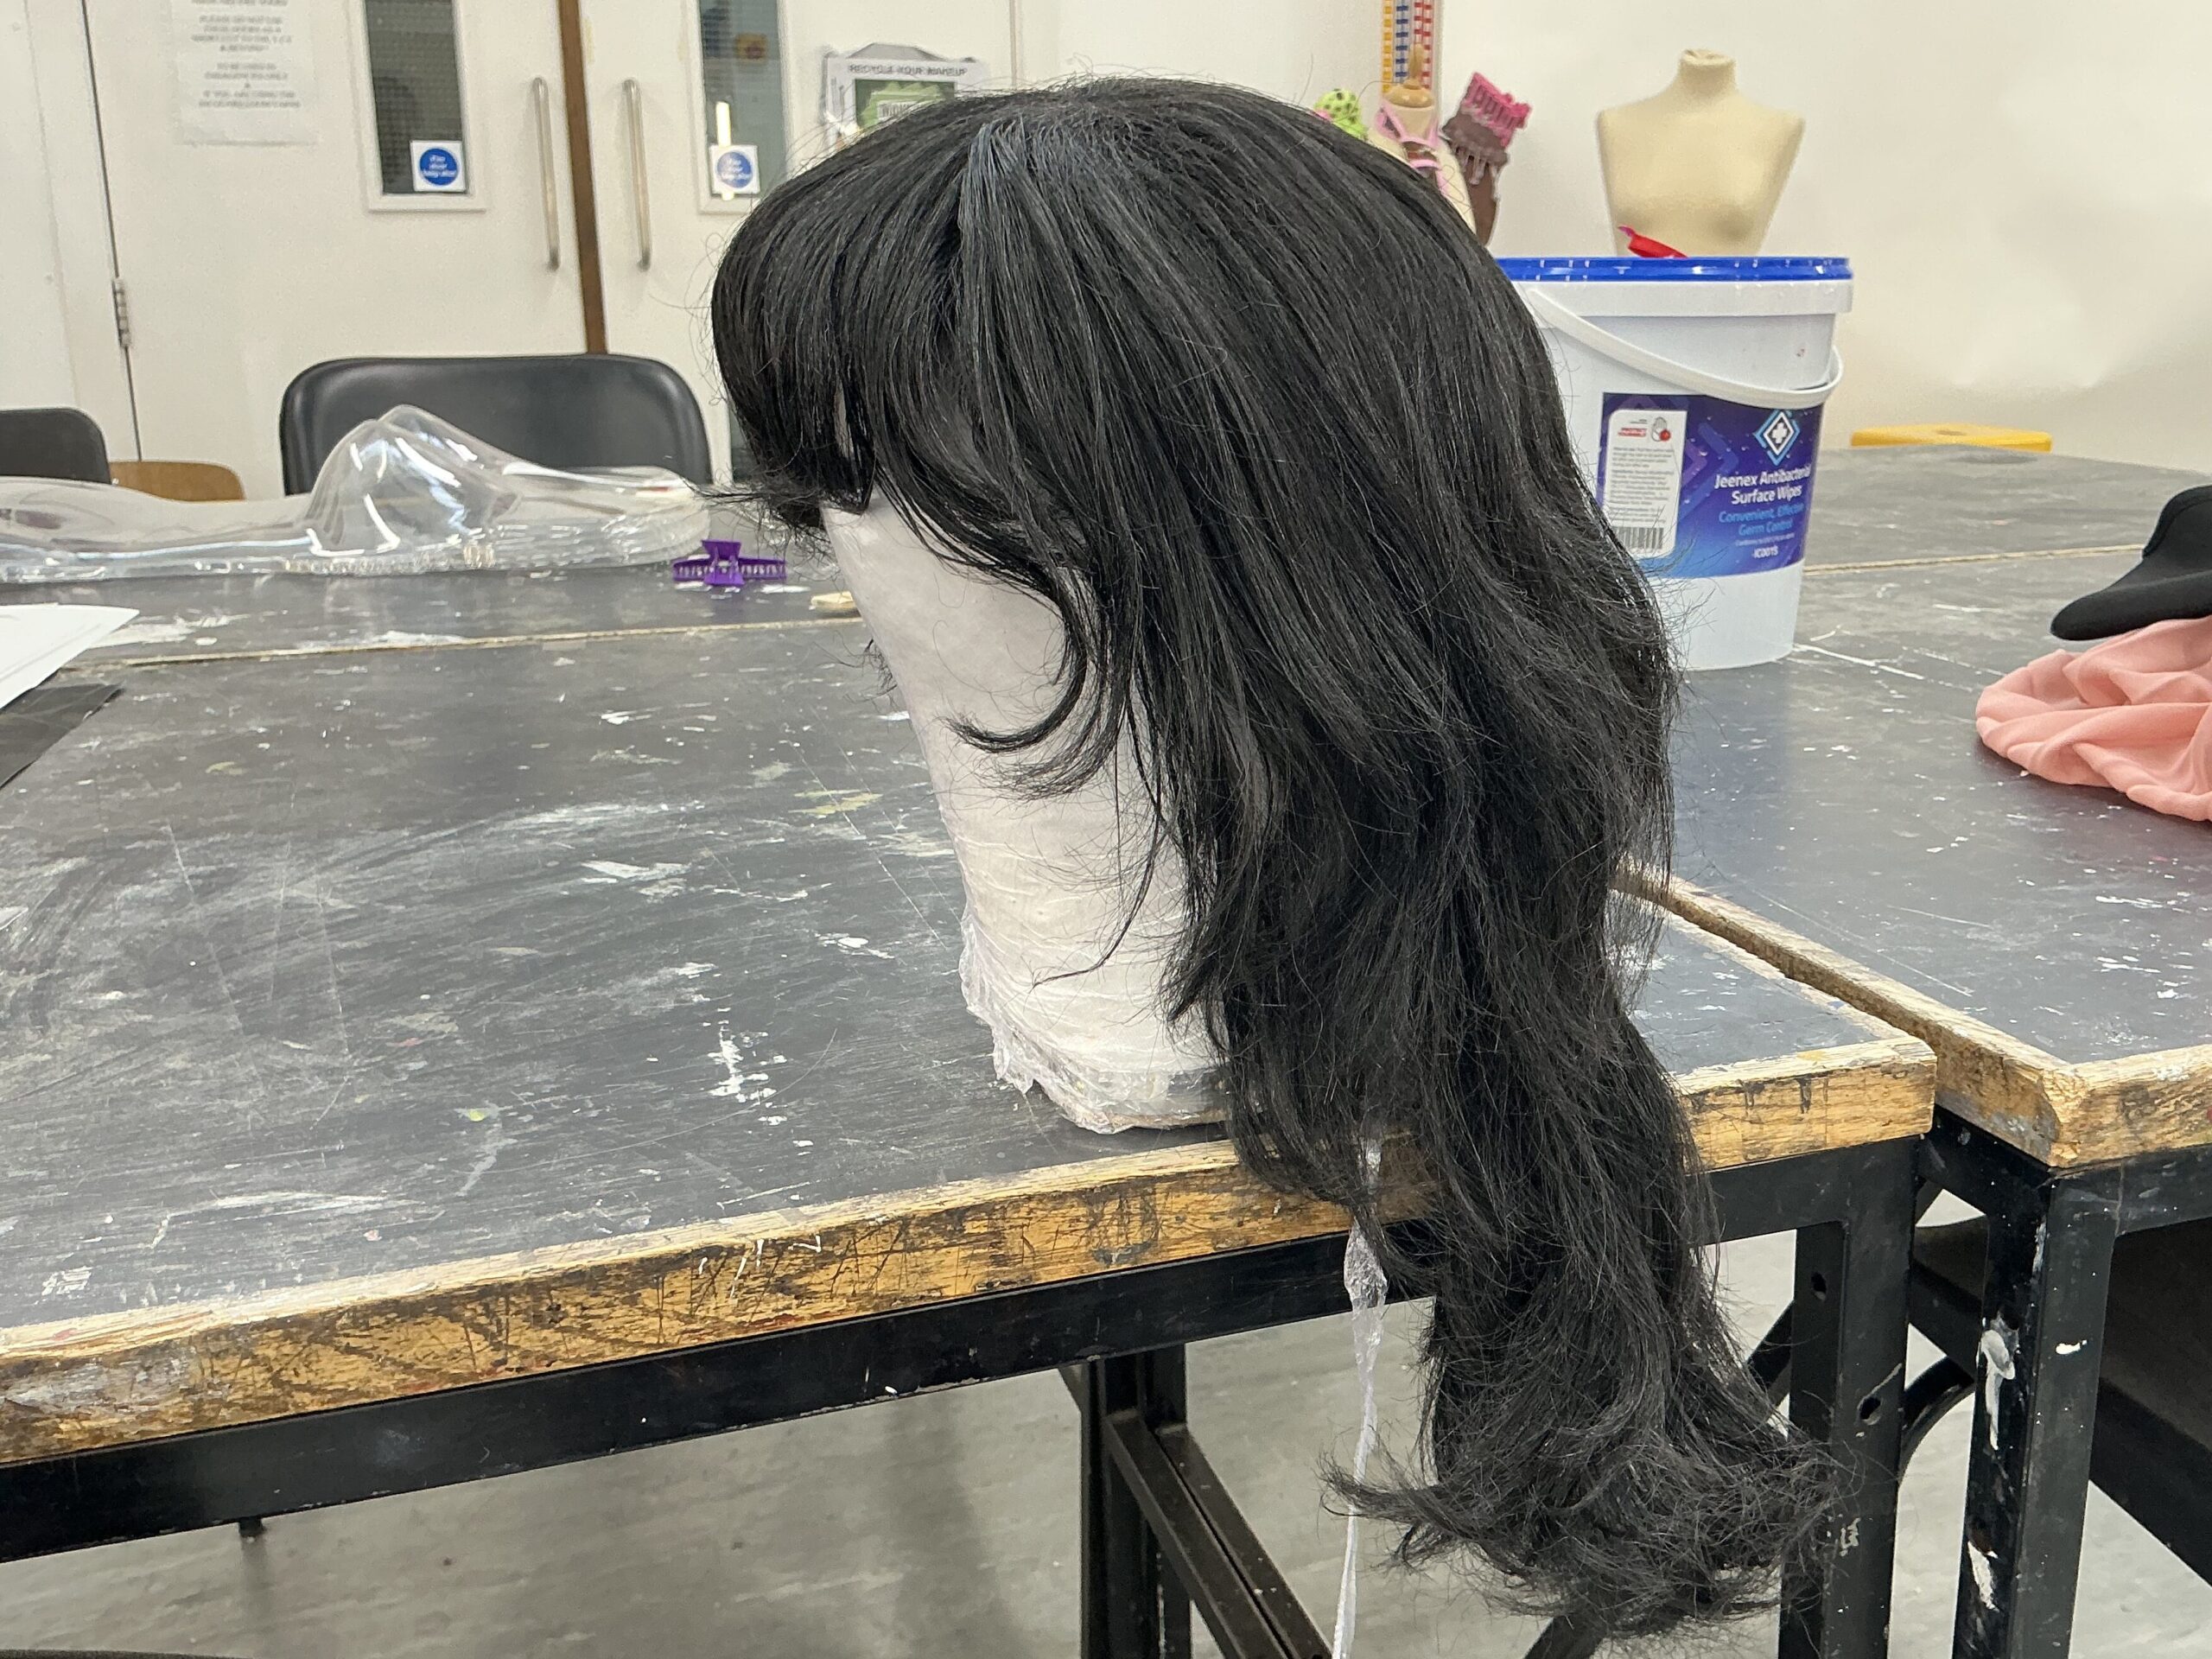
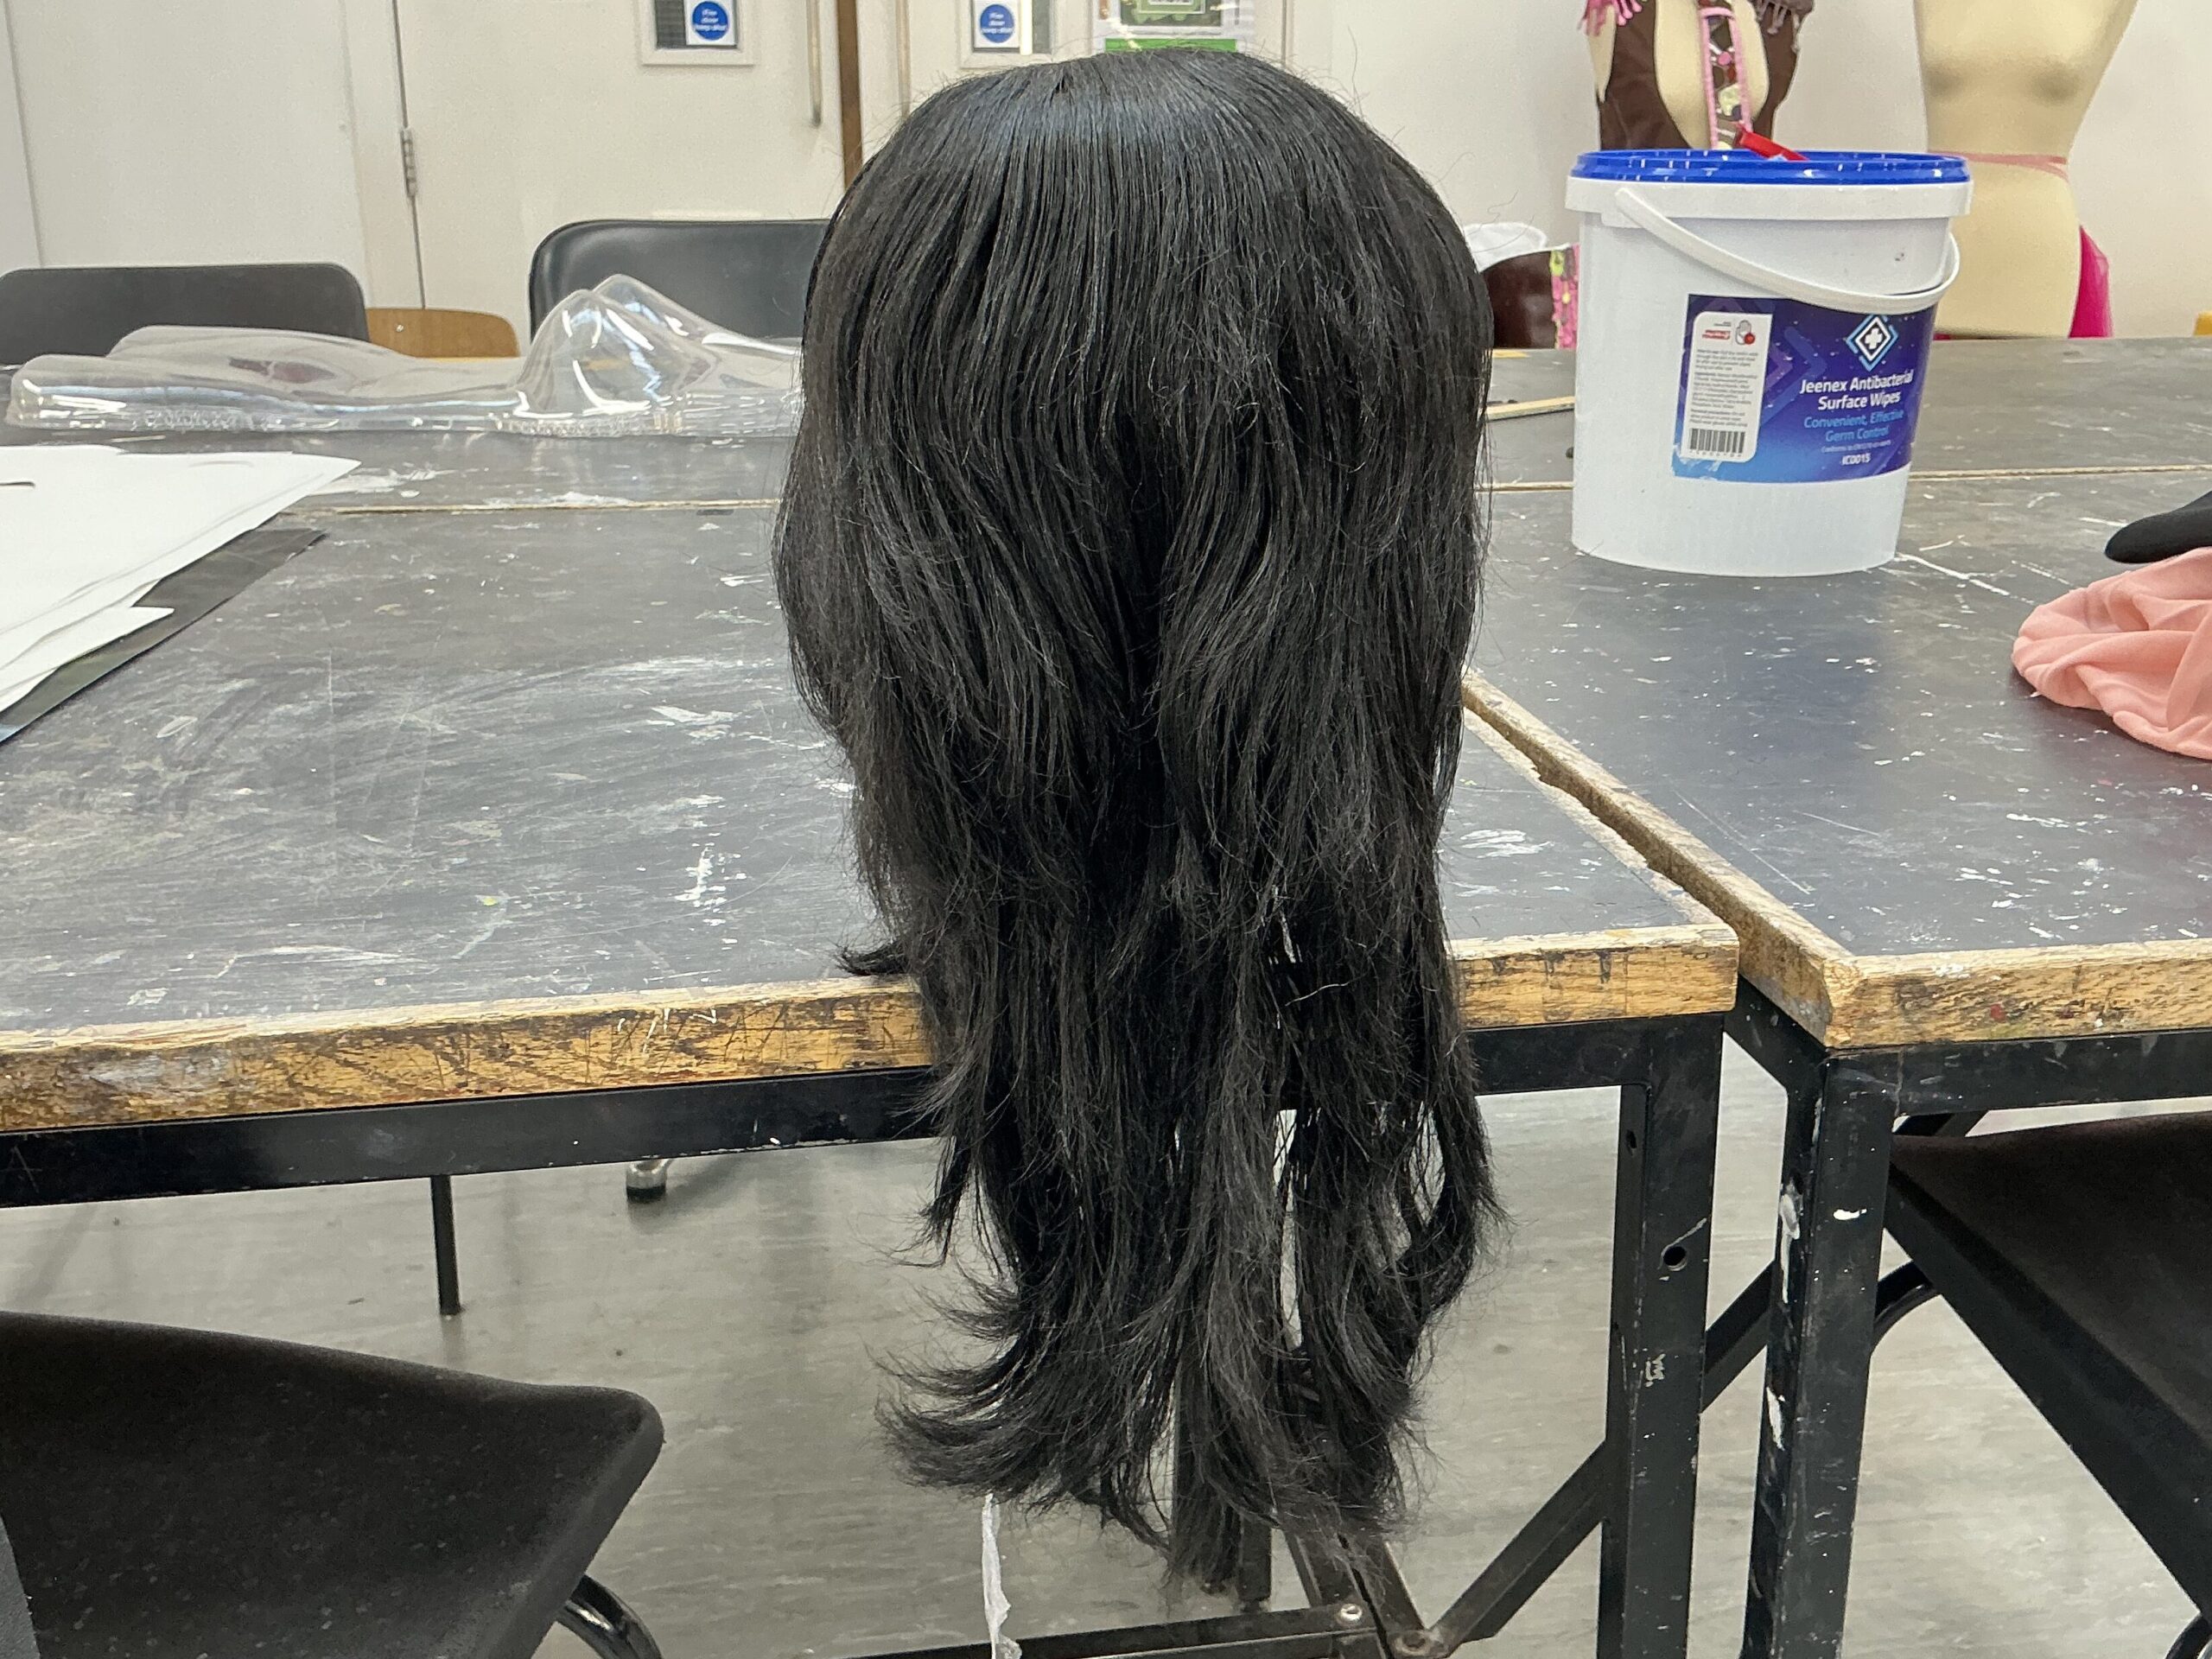
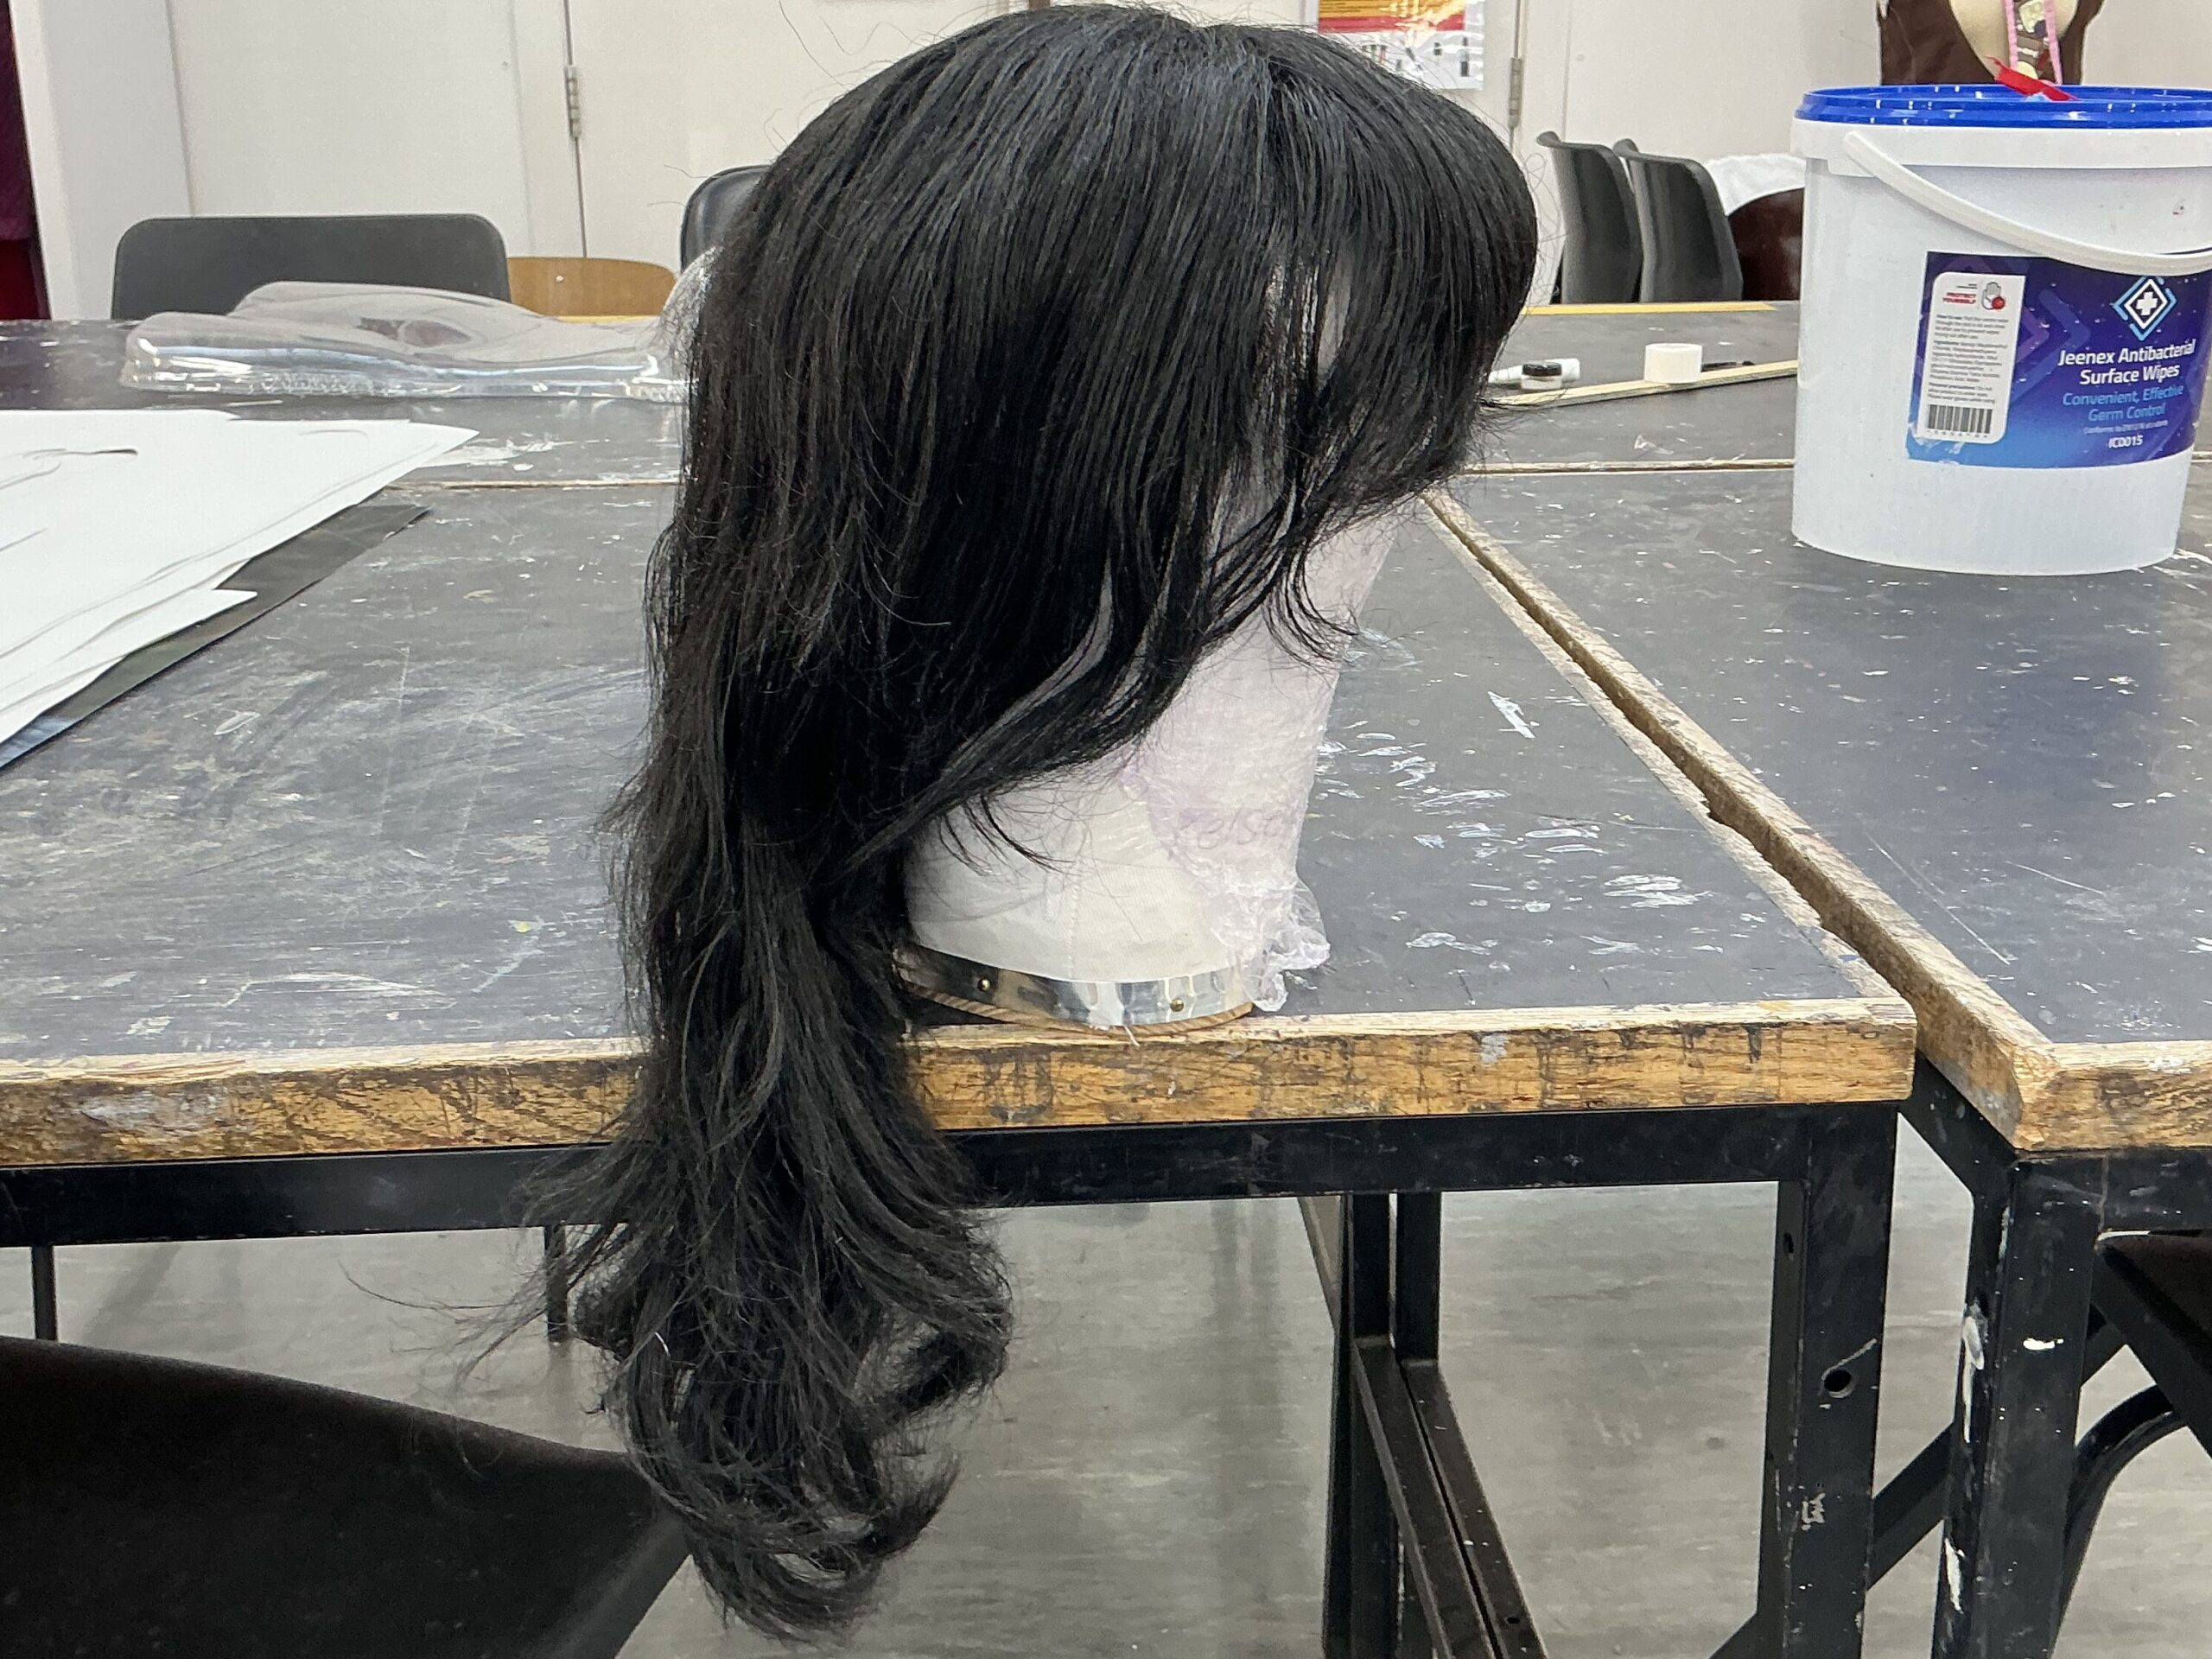
To fix up the wig slightly, I washed the wig using the wig shampoo and conditioner before putting it in the wig oven to dry. The wig already had a natural wave in it and it was quite layered so I didn’t need to manipulate the hair that much to get it into the style I wanted (natural waves). This wig was also synthetic, which helped it keep its wave in this case. Once the wig was dry it was complete:
As part of my planning, I also made sure to explain my look to my model and make sure they had no allergies to any products (they had no allergies)
Product List:
FROM COLLEGE:
. Airbrush
. Airbrush paints and distilled water
. Dermashield/ Skin Care
. Wig
. Wig Cap
. Weft Clips
. Costume Elements
. Blue Face Paint
. Orange Face Paint
. Circle Sponge (face paint)
. Kryolan fixing spray
FROM MY KIT:
. Pink Face Paint
. Green Face Paint
. Yellow Face Paint
. White Face Paint
. Headdress
. Brushes
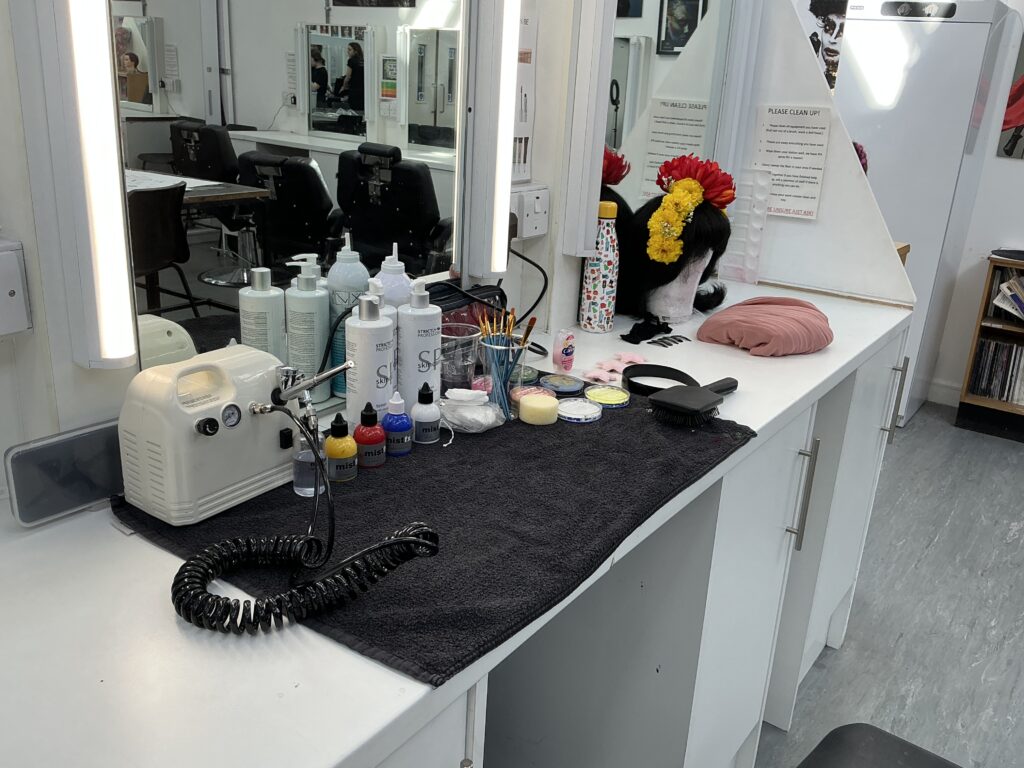
My Station Before My Assessment:
My station after my assessment was quite messy because I had problems with the airbrush/ paints. The assessment took around 5 hours so I forgot to take a picture of my station afterwards, I was also cleaning my station throughout the assessment to keep it clean.
Step By Step:
To start, I made sure that my model was already in costume (a button up shirt and a longer skirt.
I used dermashield on my models arms to protect the skin and minimise staining. I then used my airbrush to add the bright body paints in the shapes of circles.
I then used the same technique of using the airbrush to make colourful circles on the rest of my models torso and the back of her neck. Once this was complete I set the paint with kryolan fixing spray as this product has helped me in the past with creating long lasting body paints.
After that, I used a wide paint brush to add the bones to my models arms and chest. Contrary to my previous practices, I decided to make the bones on the hand more of a pattern than particularly realistic because it would have been a risk to try to get the bones completely realistic. By making the hand bones more of a pattern, my look becomes more unique and fun. I set the bones again with fixing spray.
Problem Solving:
The bones began to crack during my assessment because I had too many thick layers of white face paint. The cracking was also made worse as my model had to put on a long sleeve jacket to leave mid-way through my assessment to get food (I realise that I should have asked her not to leave during my assessment having already told her to bring her own food, but I did not want to cause a fuss at the start of the assessment.)
My mistake of having too many layers of face paint wasn’t entirely a problem though, because my tutor and I agreed that the cracking added texture and realism to my look.
Once the top of the body was done, I repeated the same process with the airbrush on my models legs so I filled the brief of a full body paint (at least 75% of the body).
To add the small white dots that represented the souls entering and leaving the living world, I used a different airbrush technique. I started from far away and then brought the airbrush towards the skin to create the gradient and highlighted white dot in the middle. I repeated this process on my model’s legs and torso.
For the face, I used a circular sponge to add the colourful circles, this is because airbrushes sometimes have a high PSI (air pressure per square inch) which makes using the airbrush around the eyes and ears particularly dangerous at times. I also used my paintbrushes again to fill in any gaps.
After fixing the face with the same kryolan fixing spray, I used a thin square brush as well as a regular thin brush to add the traditional day of the dead makeup to the face.
Problem Solving:
In this part of my assessment, the white face paint I was using for the details began to smudge with the other light yellow face paint. I also noticed afterwards that the swirls from the ends of the mouth makeup were not very symmetrical at all. At this point in my assessment I was running out of time to get my pictures and clean up everything so these weren’t things I could necessarily fix, I was however able to hide these problems through different camera angles for my final images and by using the wig to hide any slight imperfections.
The last step I needed to do was add the wig and headdress. My models hair was already in a ponytail which made applying the wig cap very easy. I secured the wig cap with hair clips because I couldn’t find any proper weft clips and then placed the wig onto my models head. The wig didn’t stretch at all, which made fitting the wig easy. I then put on the headdress to complete my look.