In The Industry:
In the fashion industry, makeup artists are almost always hired. They usually have a very strict brief to follow based on the genre of the fashion show and the rules set by the head makeup artist. A head makeup artists’ job is to keep everything in order under the short time frame for completing looks and communicating with the directors/ designers as to how the makeup should look as well as ensuring the makeup has the right effects for the fashion show.
I researched the salary of a theatre makeup artist from this website, Makeup Artist Salary in 2024: Salary Trends (and Job Description) For – hollywood mirrors , where I learnt that “Most fashion makeup artists work on a freelance basis, and their earnings can fluctuate significantly depending on the projects they undertake. On average, they may earn between £18,000 and £40,000 per year”.
Through this same website I also learnt that the skills required for a makeup artist to succeed in the fashion industry include knowledge of colour theory, understanding of different trends/aesthetics, creativity, working with different skin tones and general experience in the fashion industry. The responsibilities of any fashion makeup artist listed on this website include precision when applying makeup, following the briefs set for any particular job and staying up to date with fashion trends as to best represent them when it comes to creating a makeup look.
Case Study One:
My first case study on creative hair/ wig techniques is a wig created by one of my tutors:
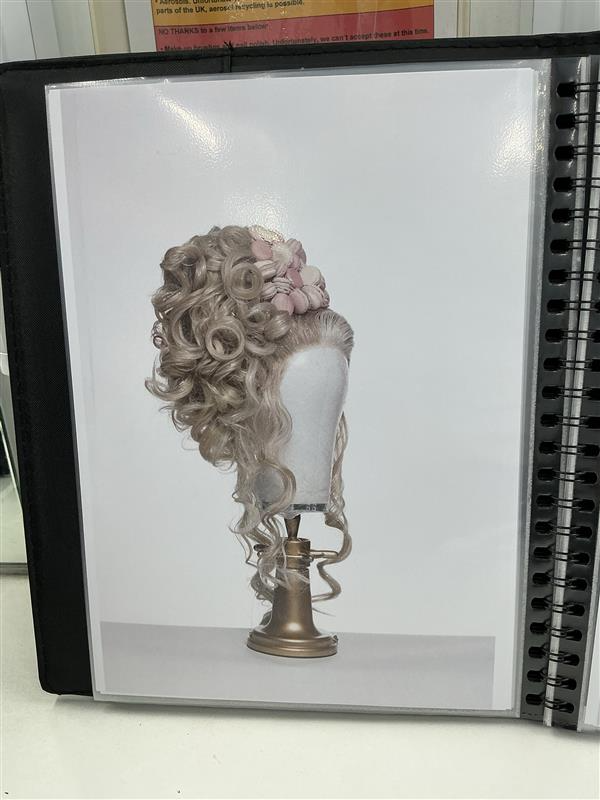
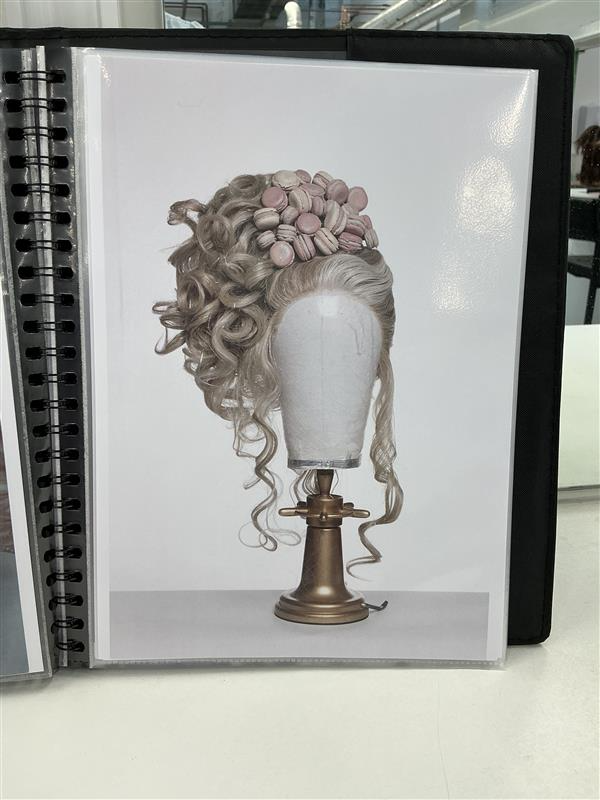
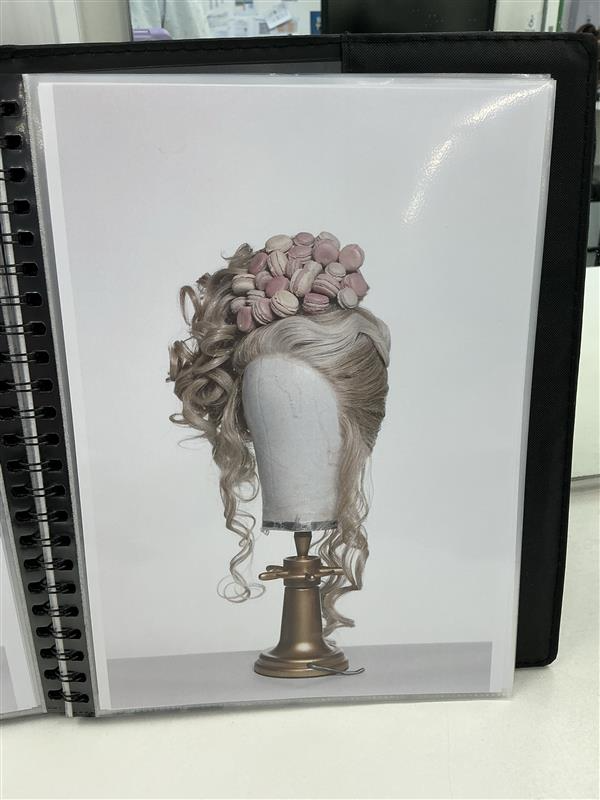
Through analysing these pictures and speaking with the tutor that created this wig, I learnt about different techniques in creating wigs. One example being using thick wadding to create the volume the wig needs. I also learnt more about backcombing and creating additional features of a wig- for example, the macarons on this wig were my inspiration for the cake pops in my own work.
Here are some examples of my tutors research into her look:
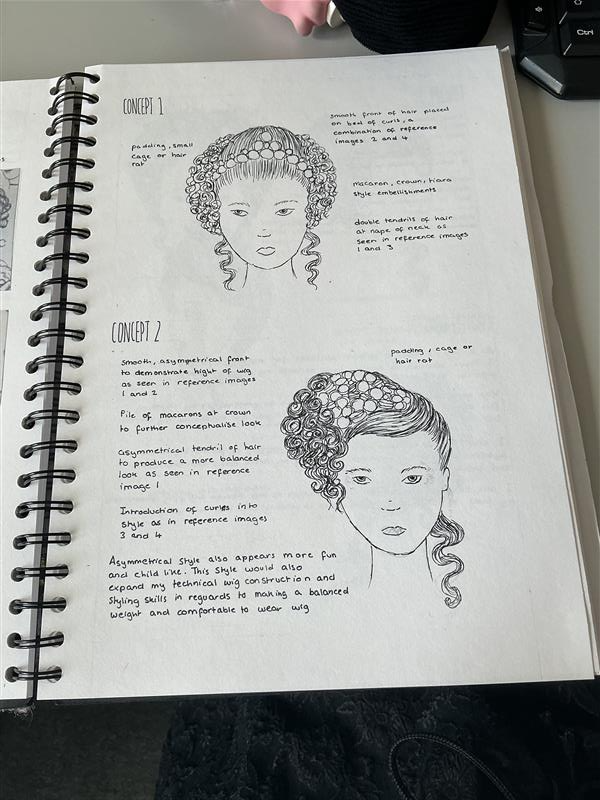
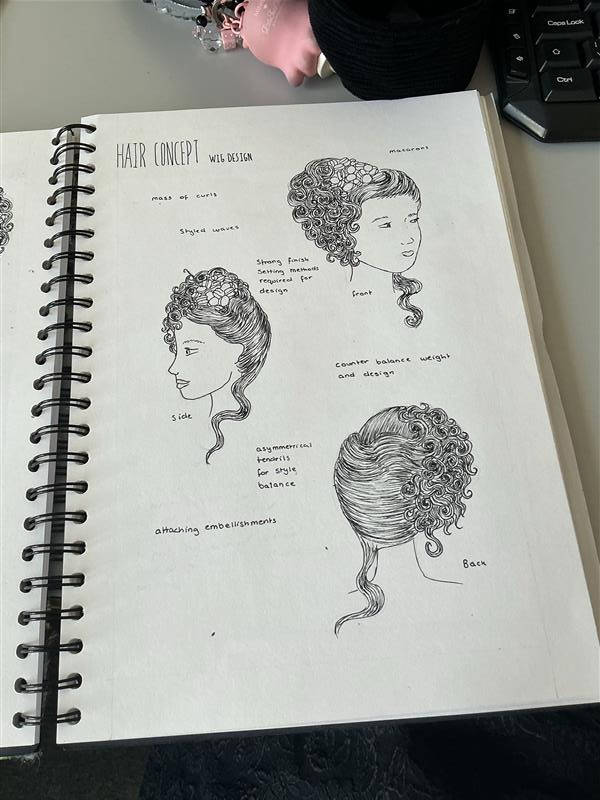
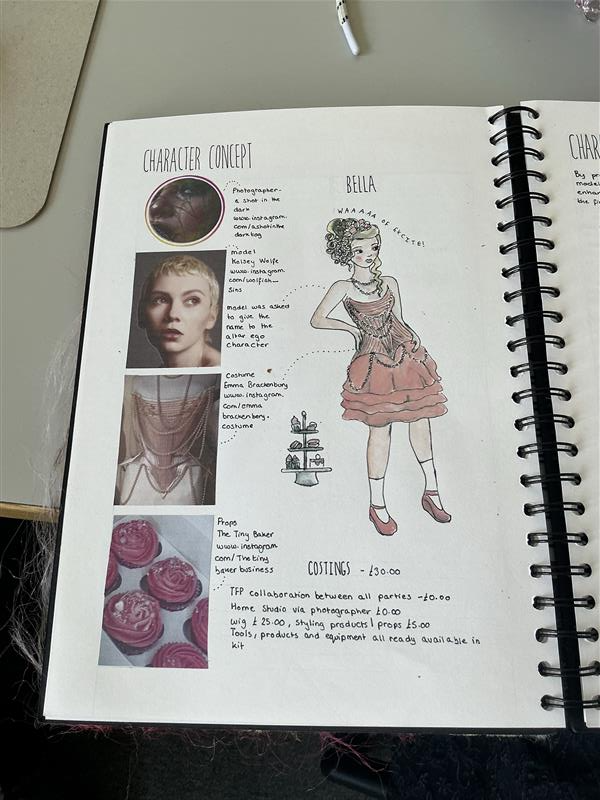
I thought that this was interesting because my own work was already quite similar in terms of having multiple concepts/ designs of my character, but I did learn a lot about the right way to lay padding for wig layering and the importance of having multiple angles of your designs in order to understands the process of creating the look.
Case Study Two:
My second case study is the lolita fashion style. This style is most popular in Japan but is also well known in Europe, the more popular brands include “Angelic Pretty”, “Baby, The Stars Shine Bright” and “Moi Meme Moitie”, which is a brand created my one of the most influential figures in lolita fashion, Mana Sama:
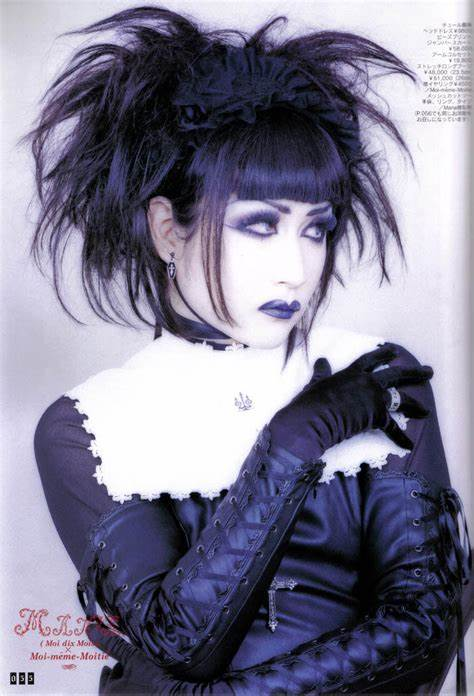
Any online source will tell you that Mana Sama was in the Japanese “Visual Kei” (alternative music) band Malice Mizer as a guitarist from 1992 to 2001 before branching out and starting his own band Moi Dix Moi. He remains one of the most influential figures in Visual Kei and lolita fashion even now.
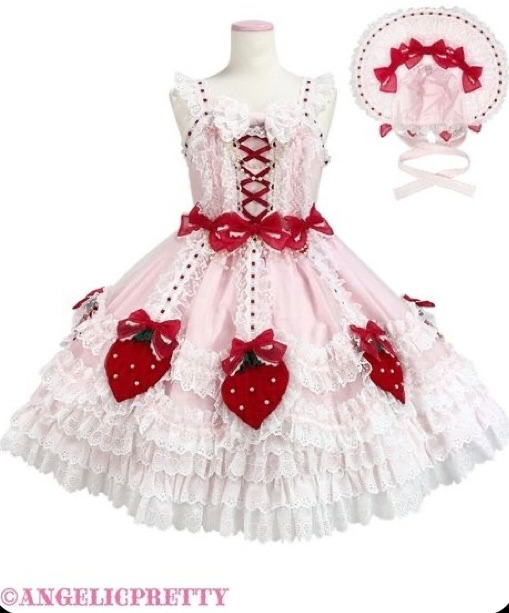
My favourite subcultures of lolita fashion are “gothic lolita” (similar to this picture), “shiro lolita” (all white outfits) and “sweet lolita” (outfits with pastel colour schemes and dessert patterns/ elements). Because sweet lolita fashion has more colours and bolder designs I decided to use this as inspiration for parts of my look. I found these photos on different Pintrest accounts and used them in my mood board featured on my “Designs” page:

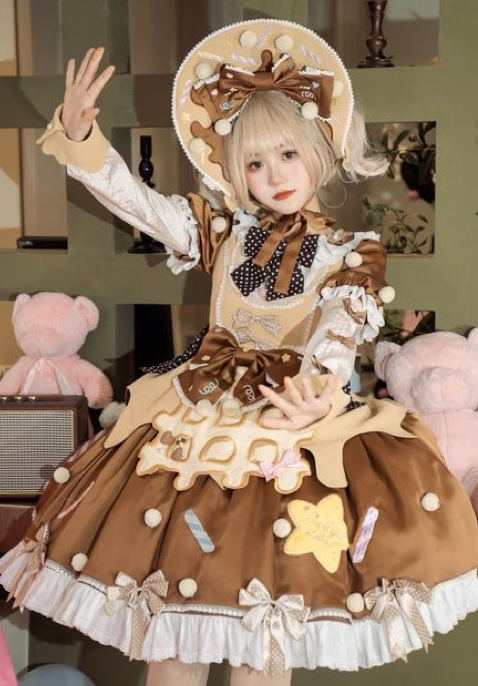
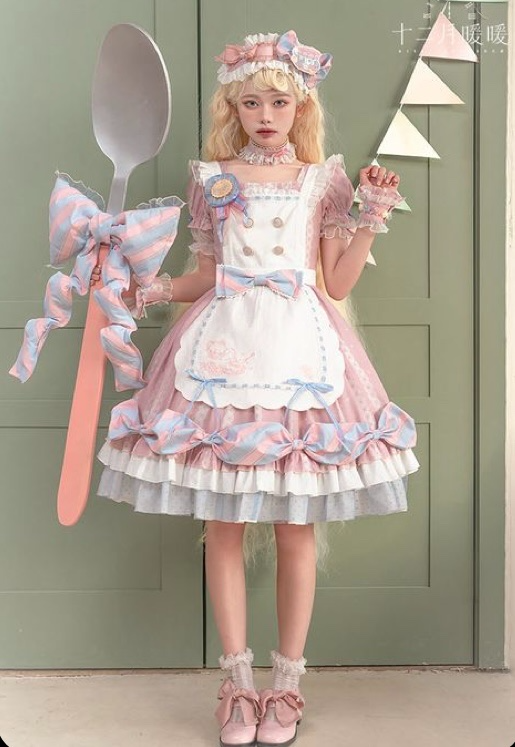
My look didn’t end up having a particularly lolita-like costume, but I did get a picture during my third practice of what my cake monster look would look like with a lolita co-ord I have. A co-ord is a fully put together outfit (for example; a dress, blouse and shoes that all match):
Lolita fashion would work for a Gluttony inspired look because it can be perceived as a “princess” style on account of the frills and petticoats. In some pieces of media princesses can be portrayed as spoiled with sweets and other presents, which links to the “over-indulgence” meaning of Gluttony.
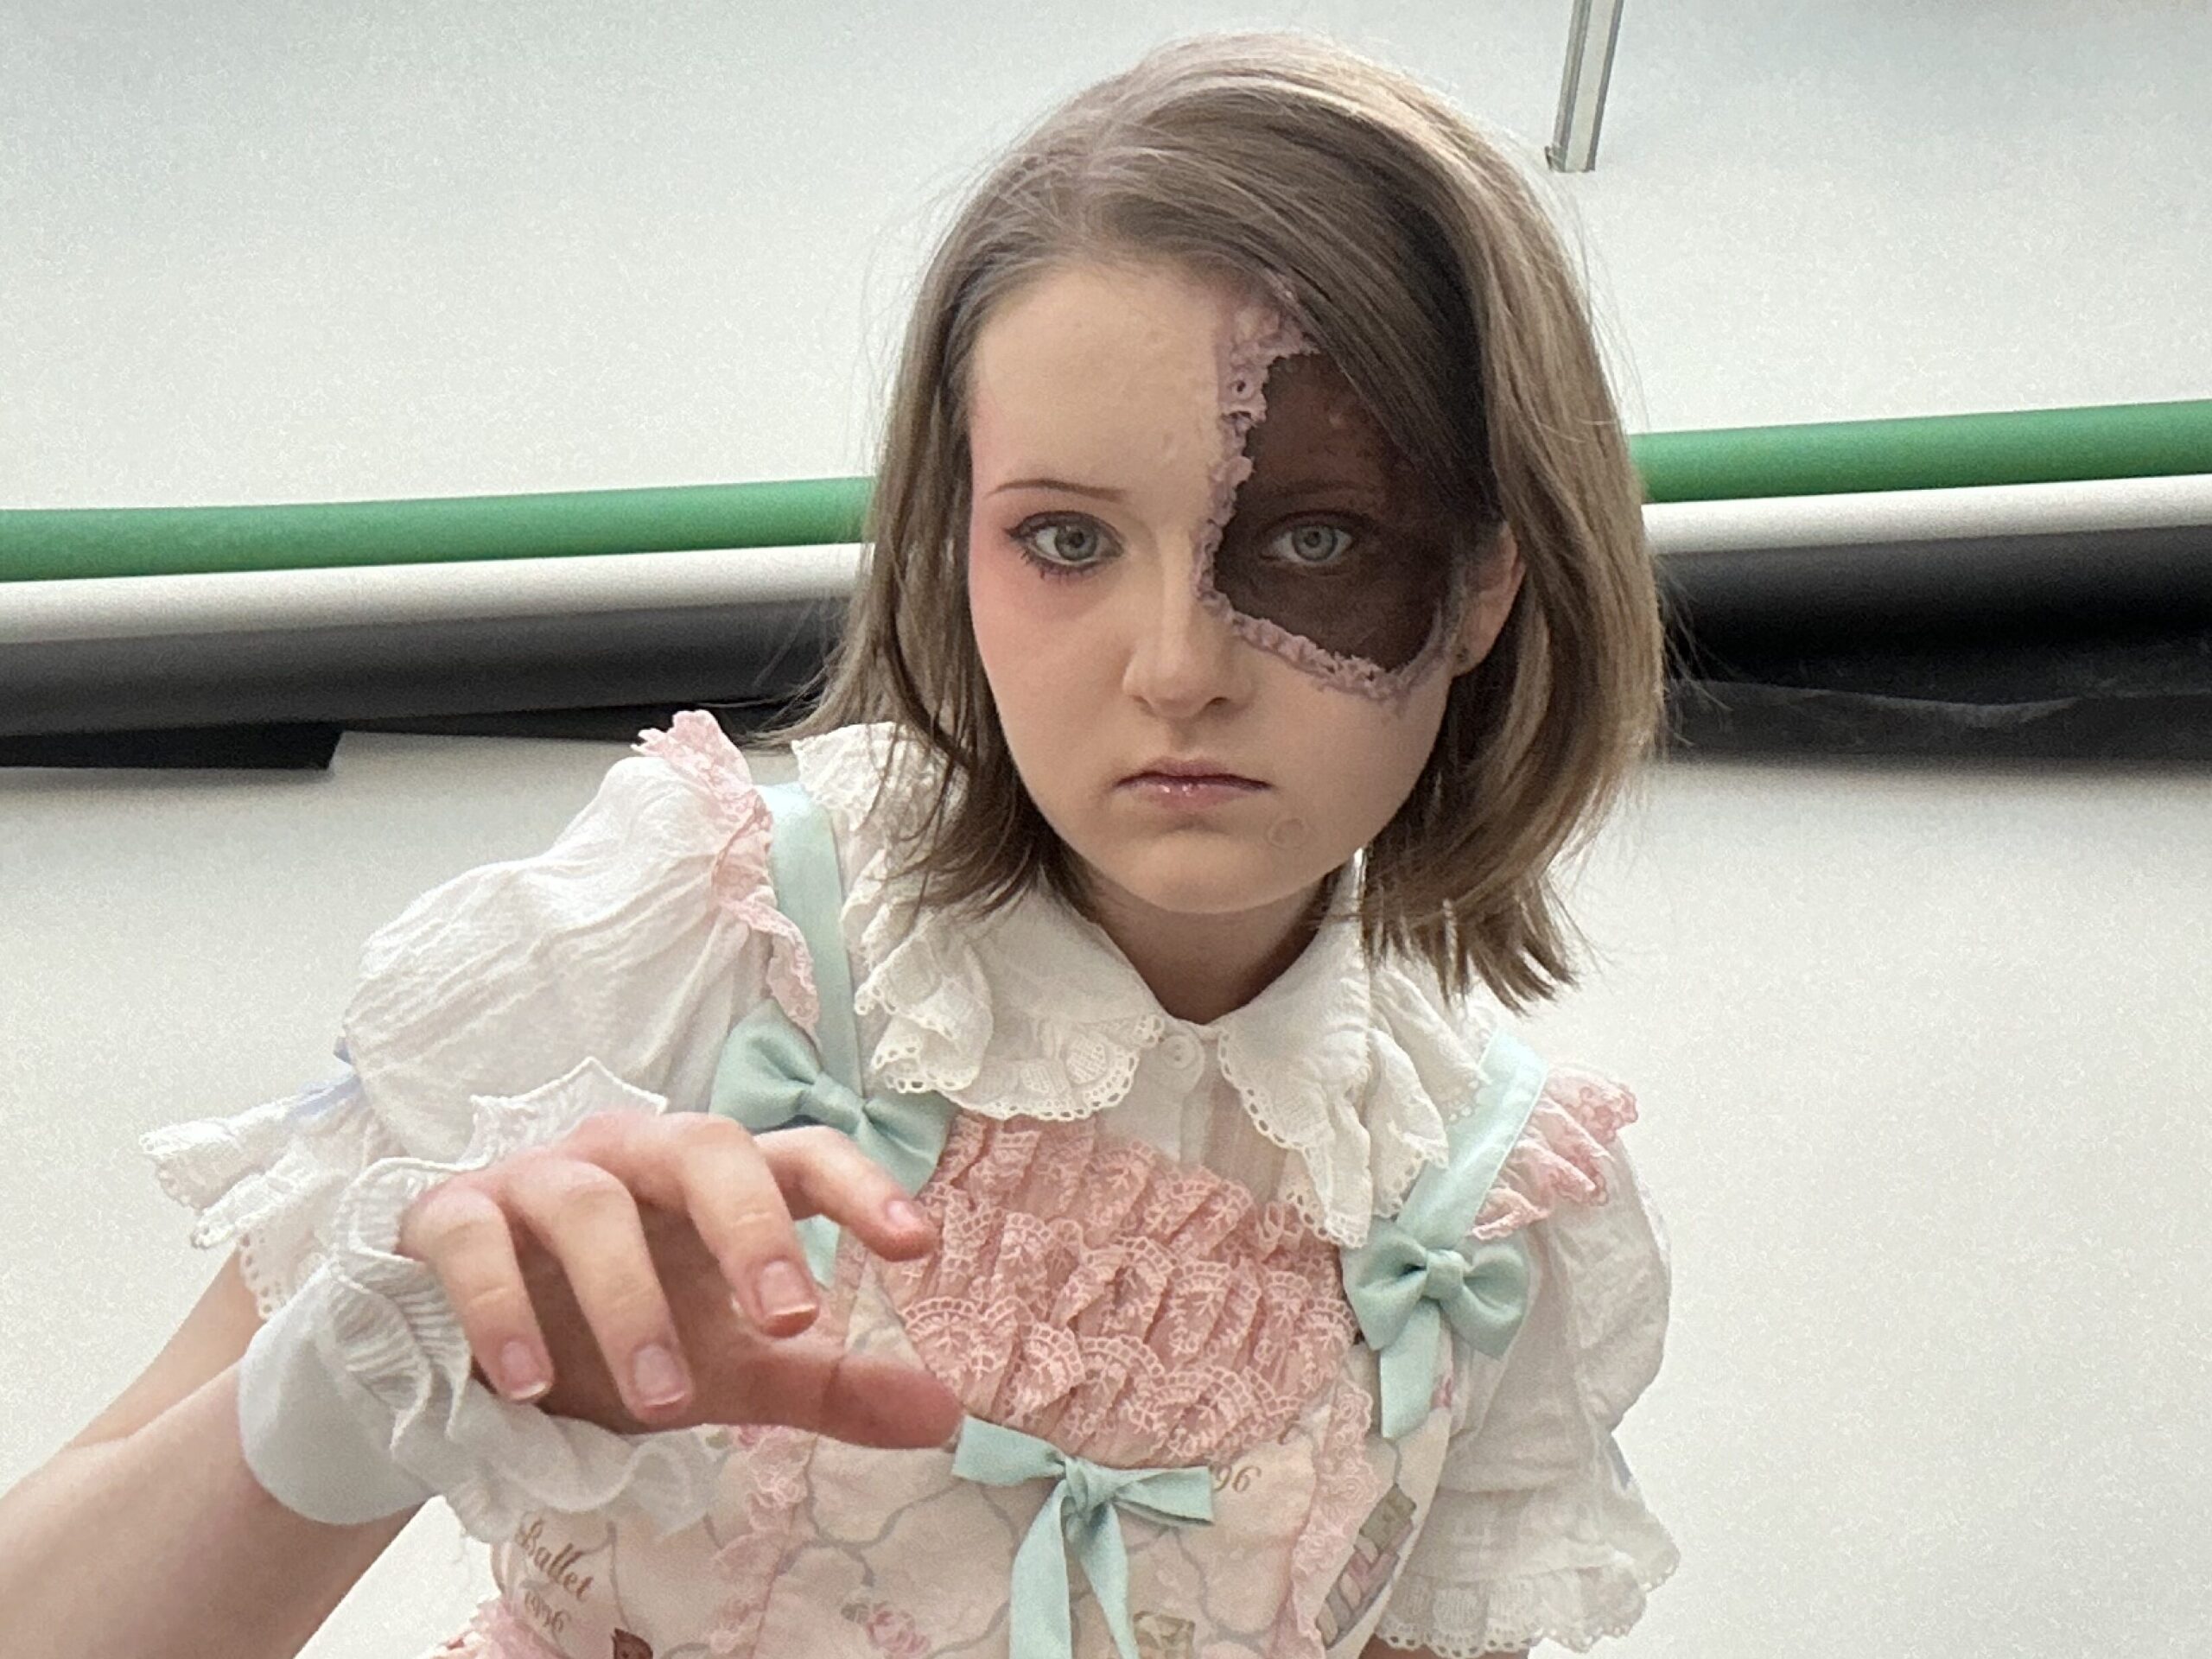
Research- Practices, Technique & Evaluations:
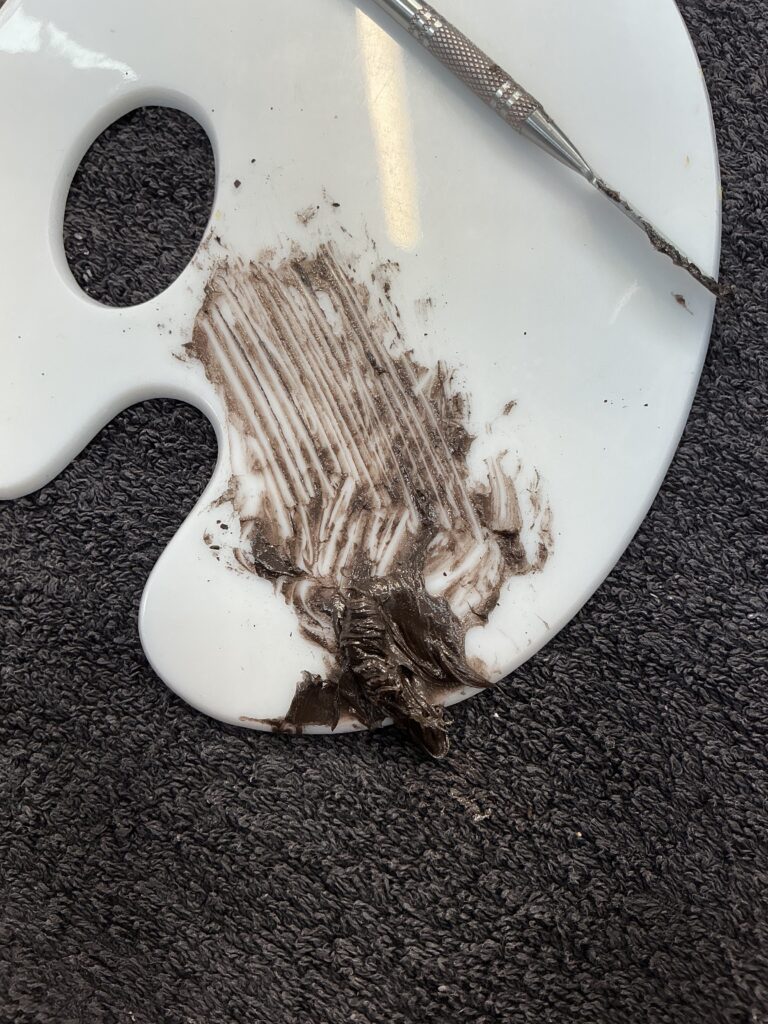
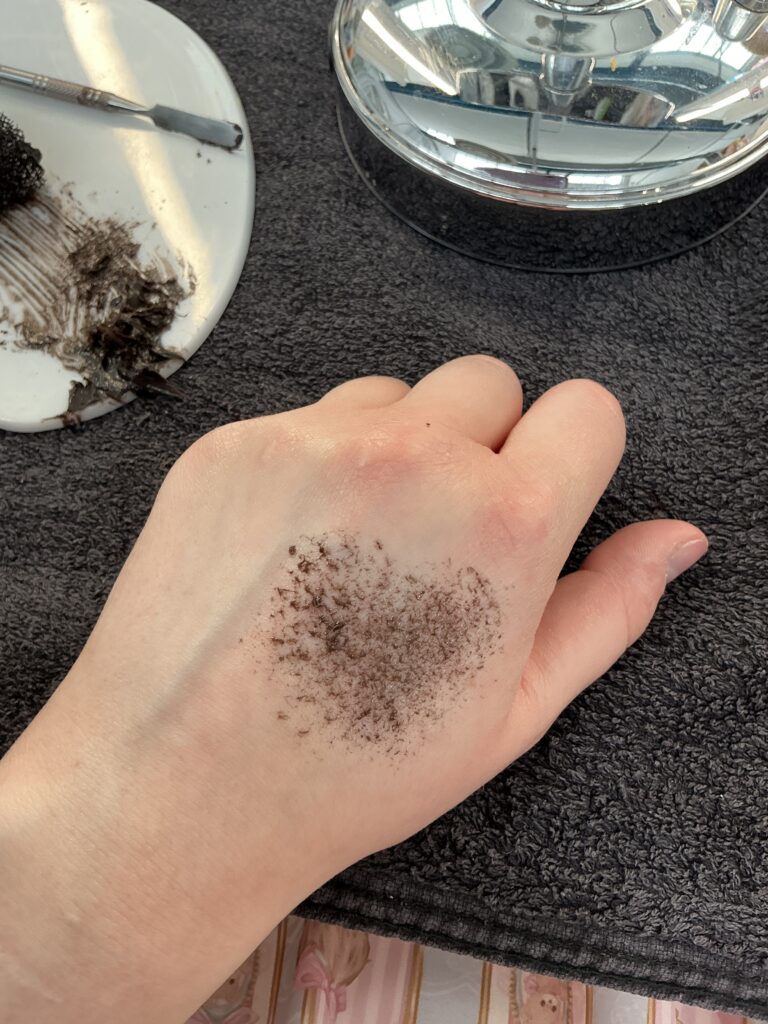
When practicing and researching ways to complete my Gluttony inspired look, I first did a small makeup practice on my hand to study the shading and 3D effect I was aiming for, I started by using a liner pencil to map out the shape of the cake slice;
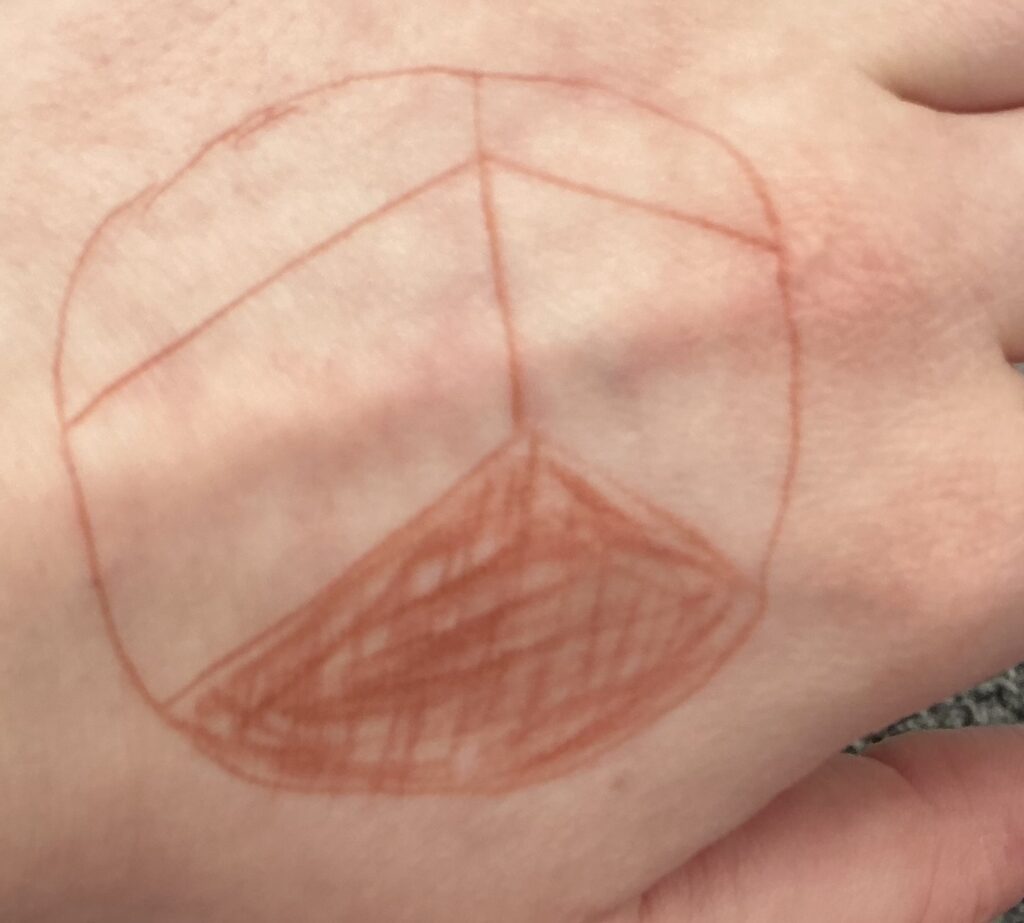
Through doing this, I learnt that the main principle of creating the depth with makeup is the same as it would be with any other art medium such as pencils.
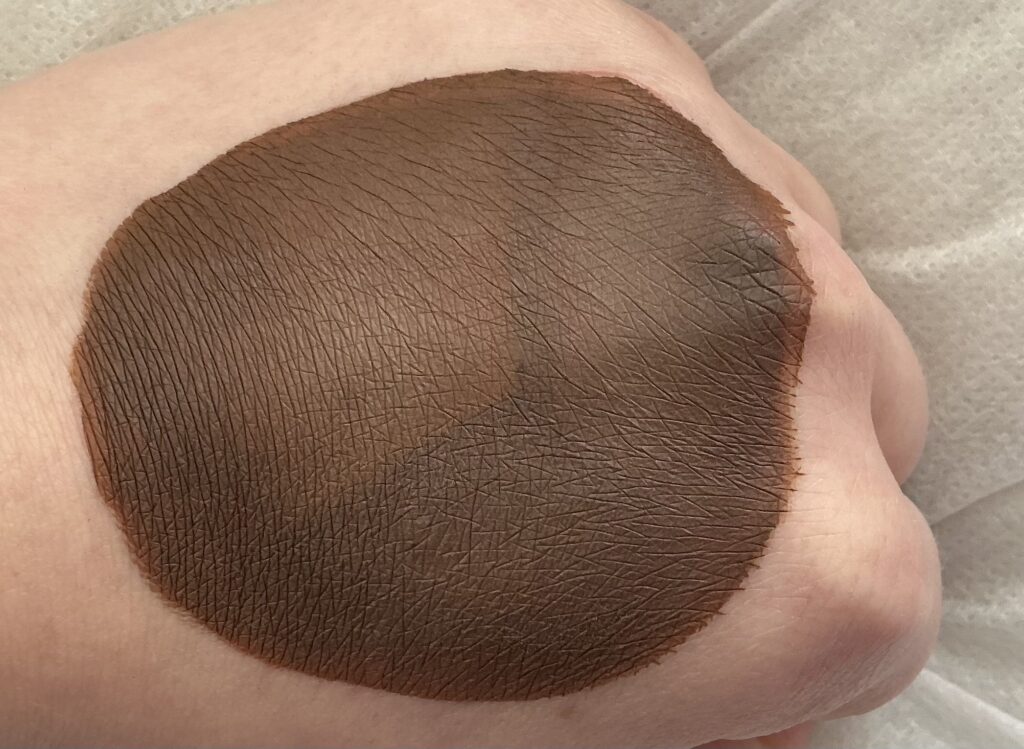
I then painted over the lines with brown face paint, it was importantly that the paint was completely opaque to keep the illusion:
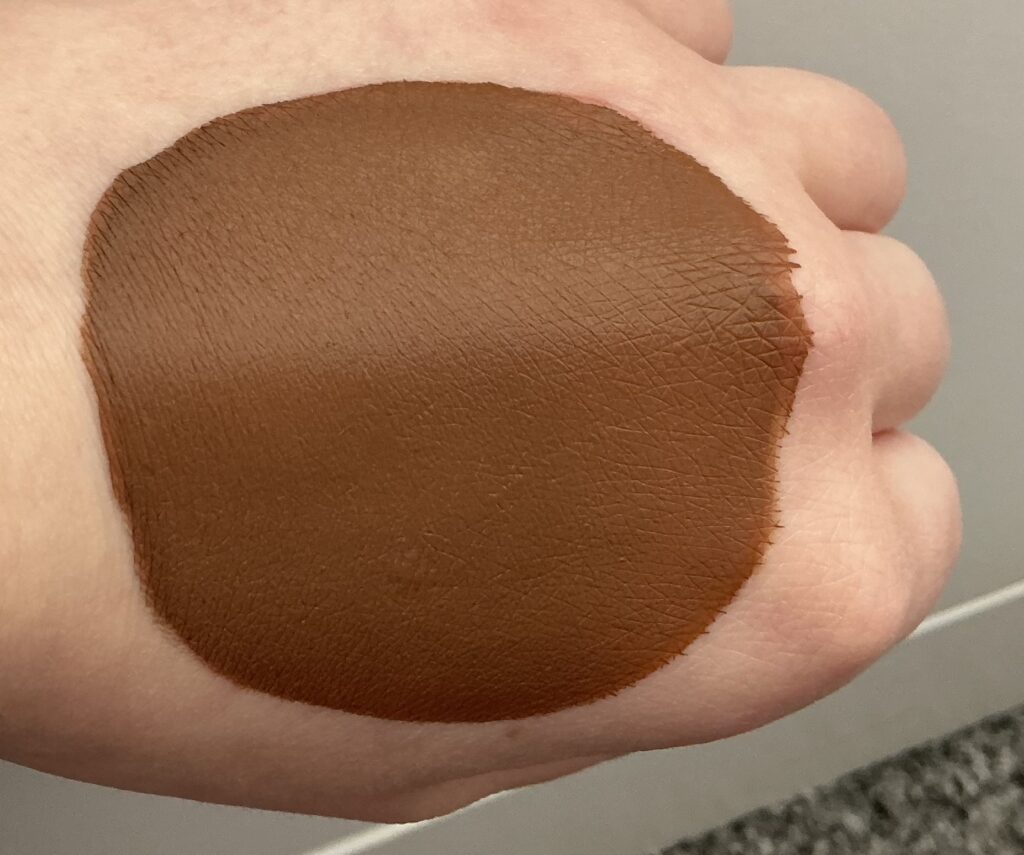
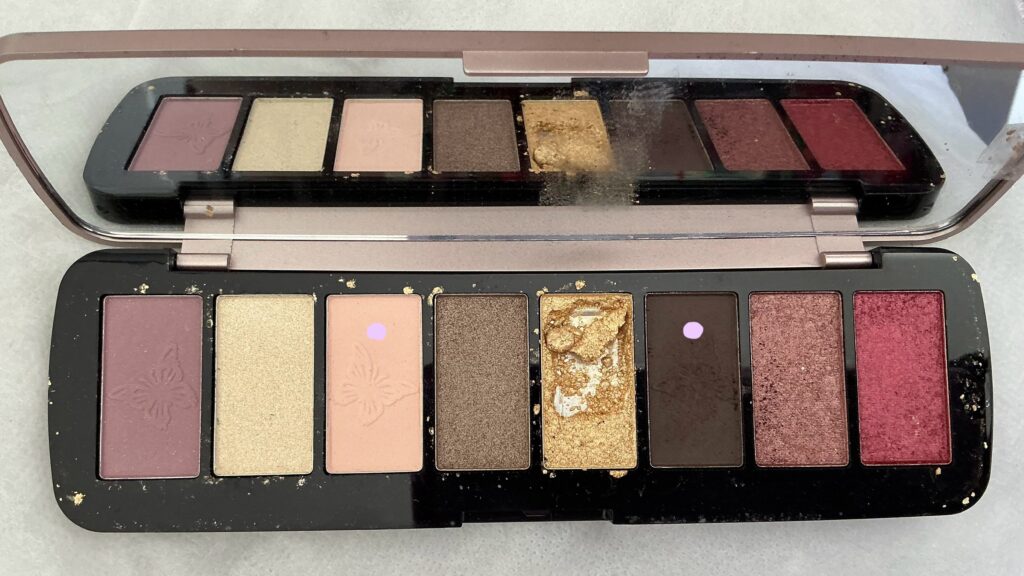
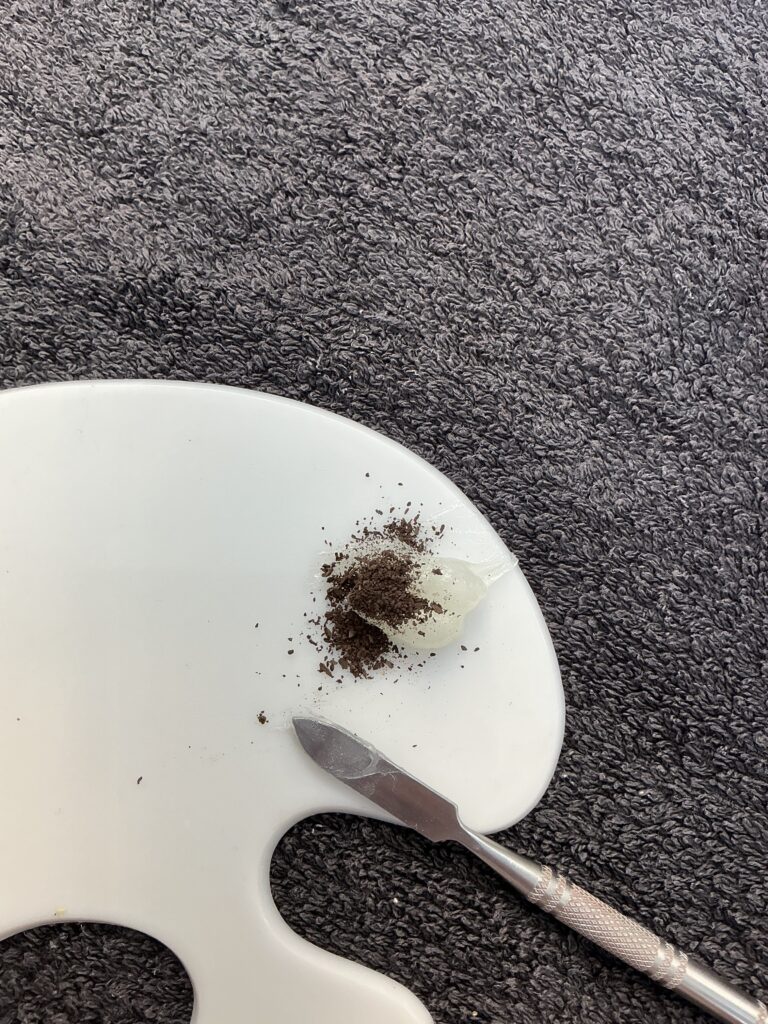
I then used an eyeshadow pallete with a dark brown to shade the outline of the shape as well as create the shape of the multi-layered cake. I also used a lighter, paler shade because it added small highlights that added more depth:
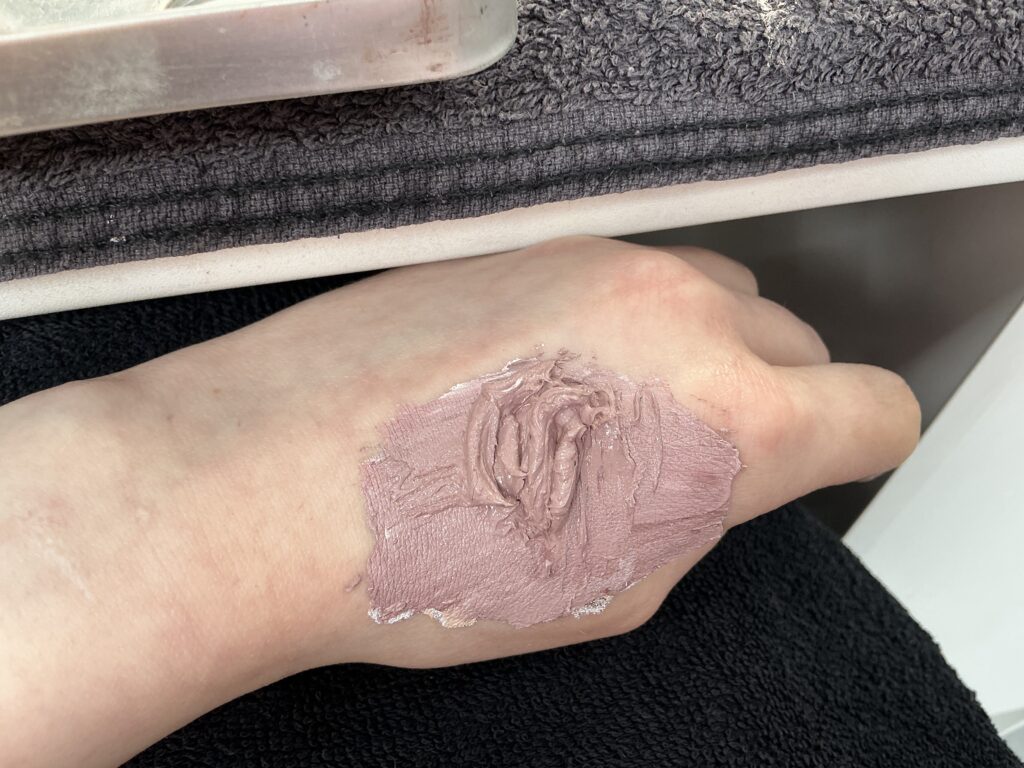
Finally, I added vasceline around the shape to look like icing:
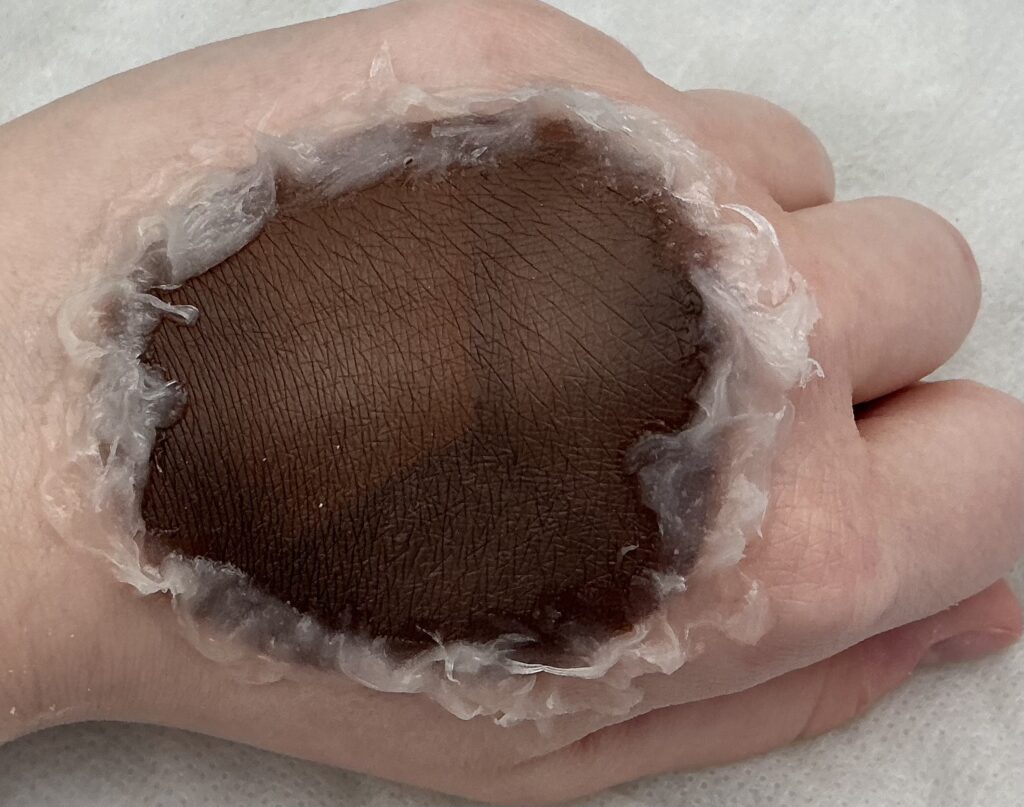
From this practice, I learnt that I should use grease paints for the icing effect instead. I liked the texture of the Vaseline but it was slightly too transparent for this part of my project.
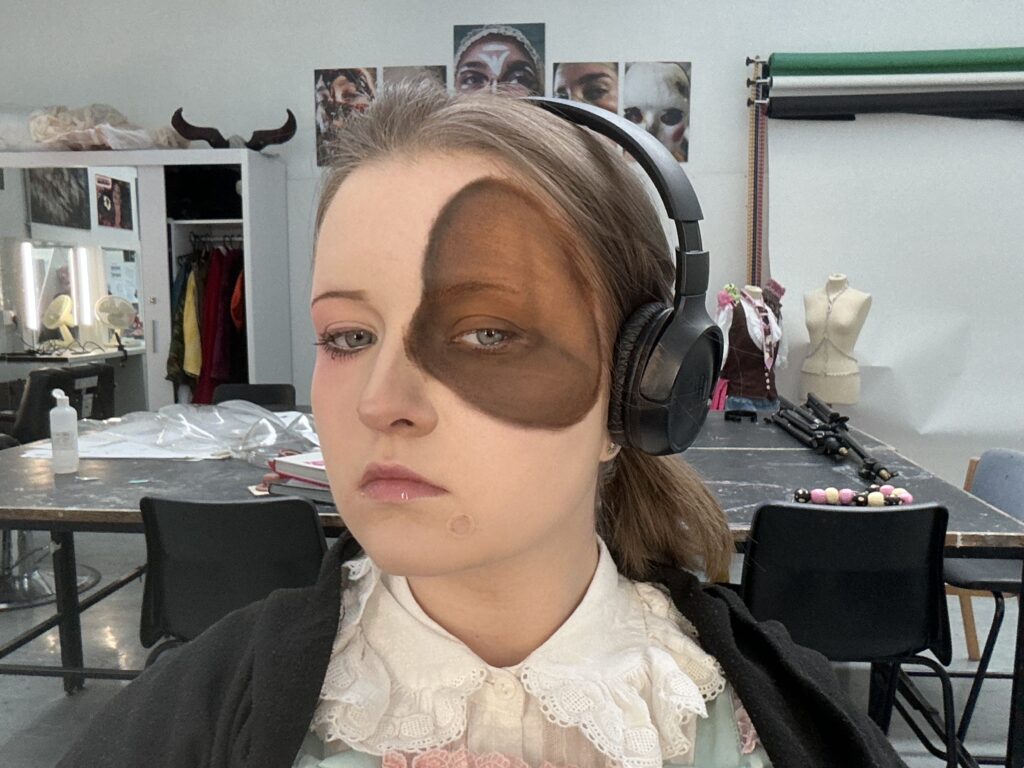
For my next practice I attempted the face makeup for my assessment, these are the products I used in this particular practice:

I used most of these products to create my base, I used a thin brush to create a winged eyeliner and I think this worked well. I also used a brown mascara which also looked better than black mascara would have:
I then used the same technique as my first practice to create the cake effect:
From this practice, I learnt that I definitely need to use another product for the icing effect. I think that I can complete this look to a high standard once I practice this with the right products. I also learnt that I will need to edit out/ have the eye in the cake edited out after the photos of my assessment are taken.
I asked one of my tutors and some of my classmates what they thought of these practices- this feedback would allow me to improve and adapt my later practices before my assessment. The feedback from my tutor was I needed to work more on the depth of the cake slice as well as experiment with different methods of adding texture. The feedback from my classmates was that I should use a stipple sponge to add more texture to the cake so that it looked like dough.
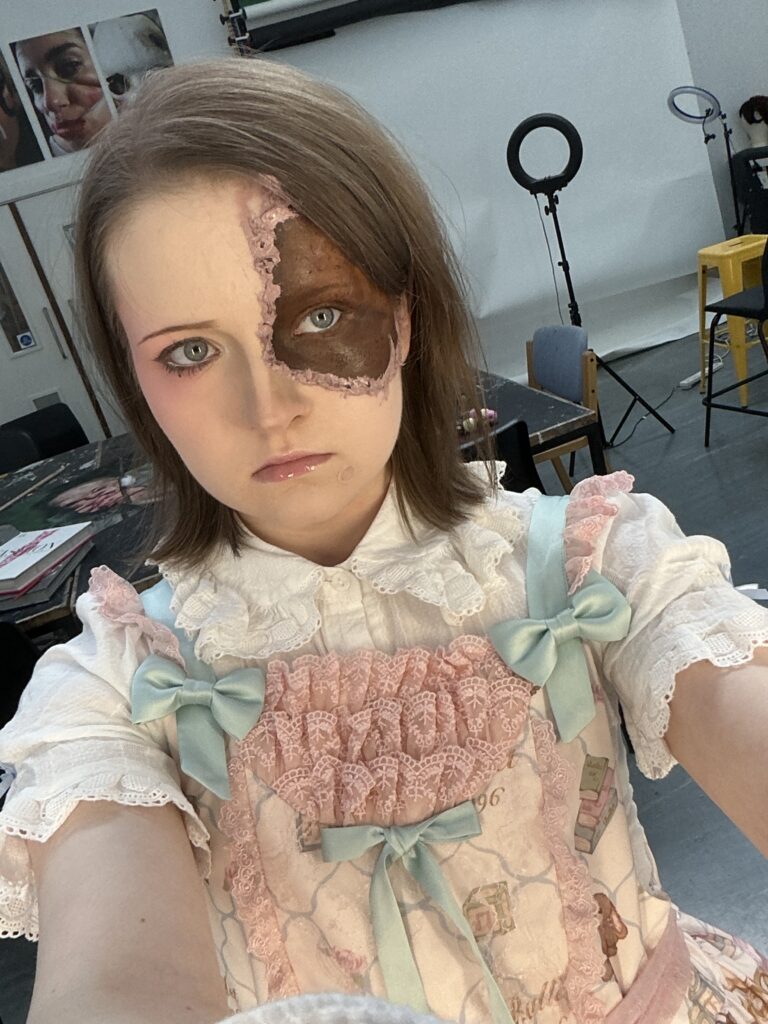
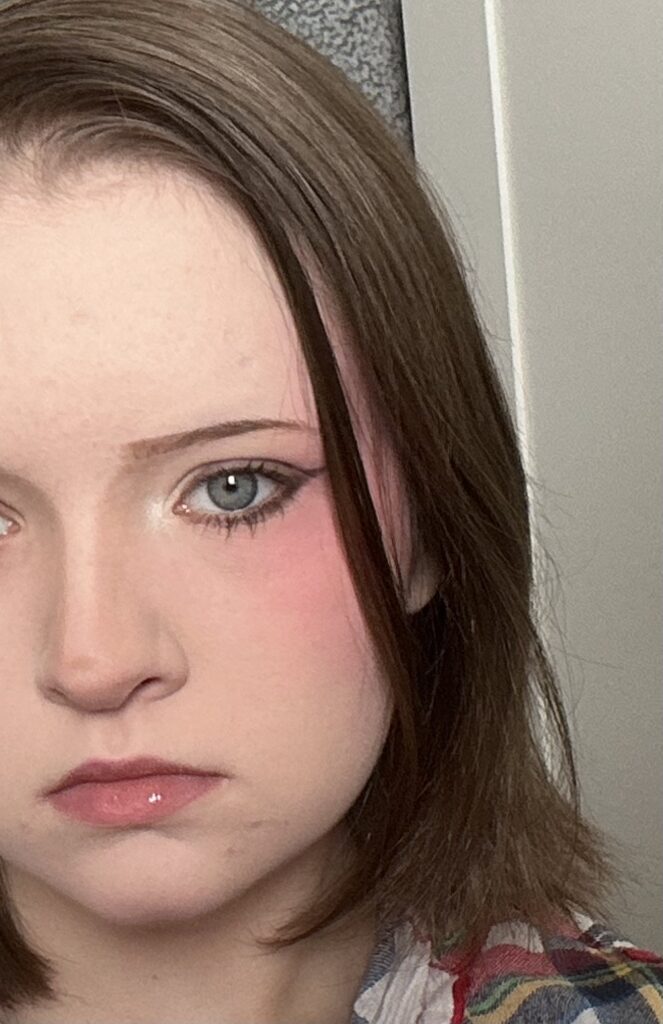
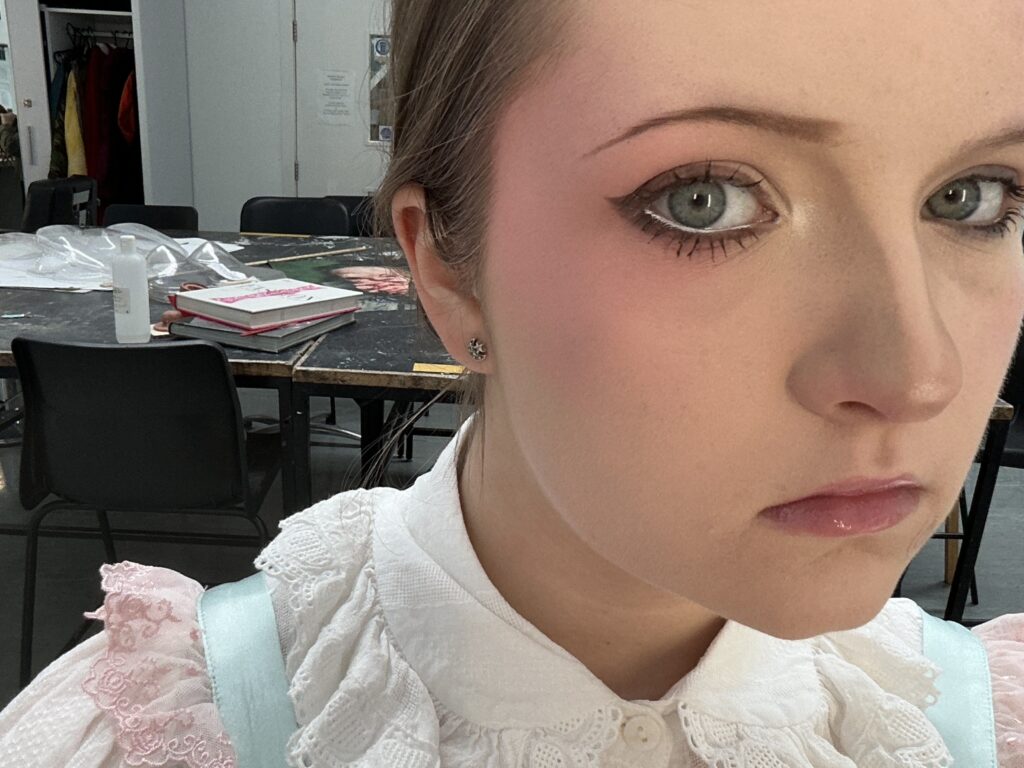
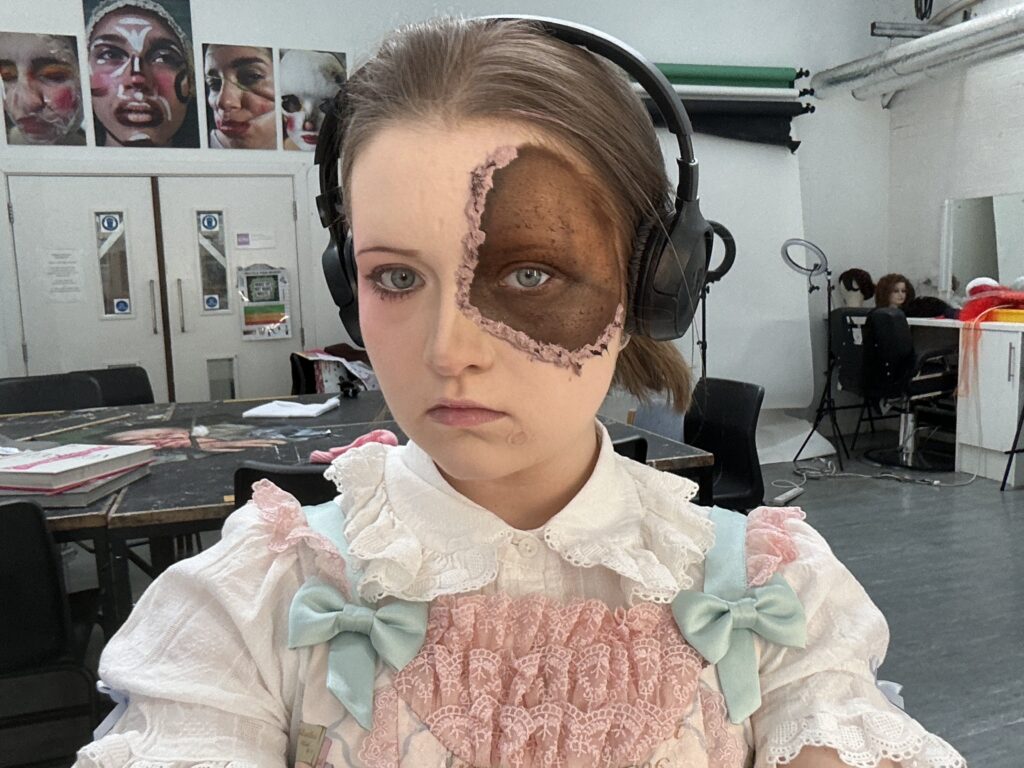
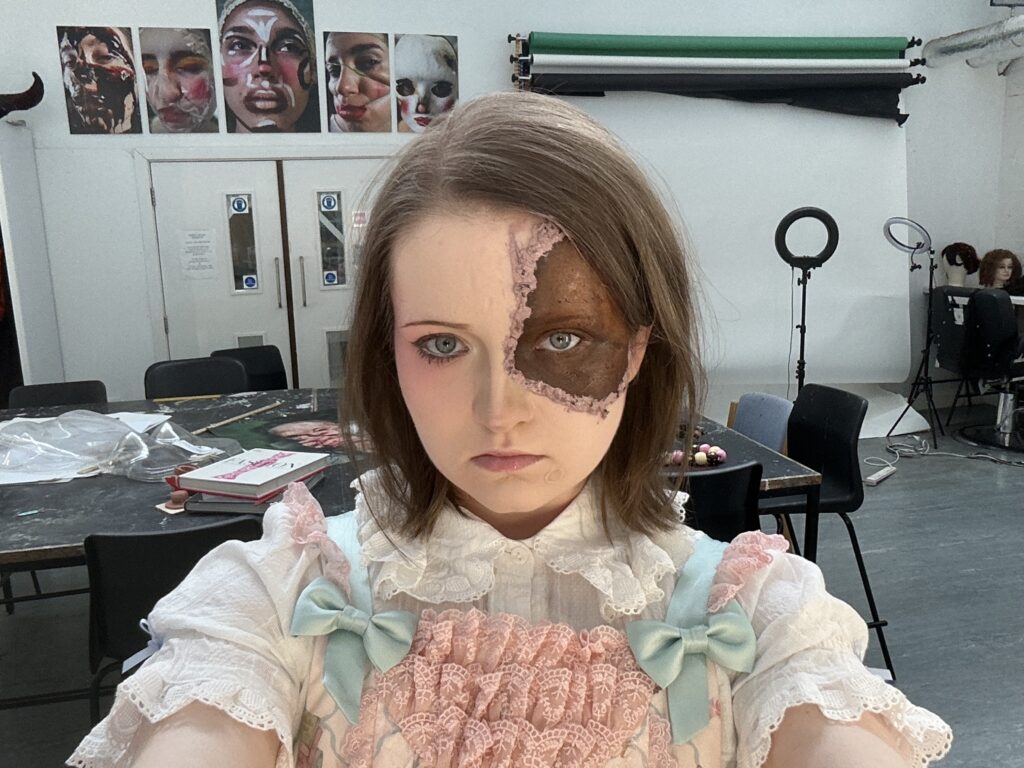
For my third practice, I took on the feedback from my tutor and peers. I started by using a crème concealer stick to do some under painting- by doing this I can conceal any blemishes or dark spots without needing to use a colour corrector. I then used a liquid foundation, crème blush and setting powder to create a base on three quarters of my face:

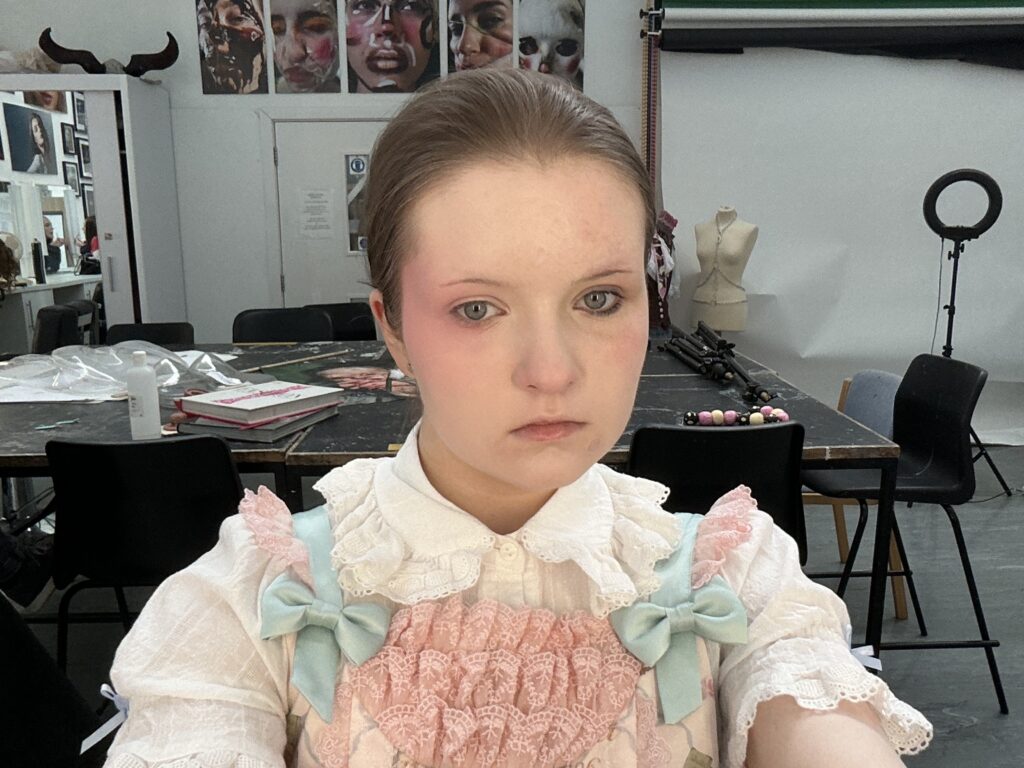
I then completed the base by adding powder contour, eyebrows, powder eyeliner, mascara and lip gloss. I also added white along my waterline:

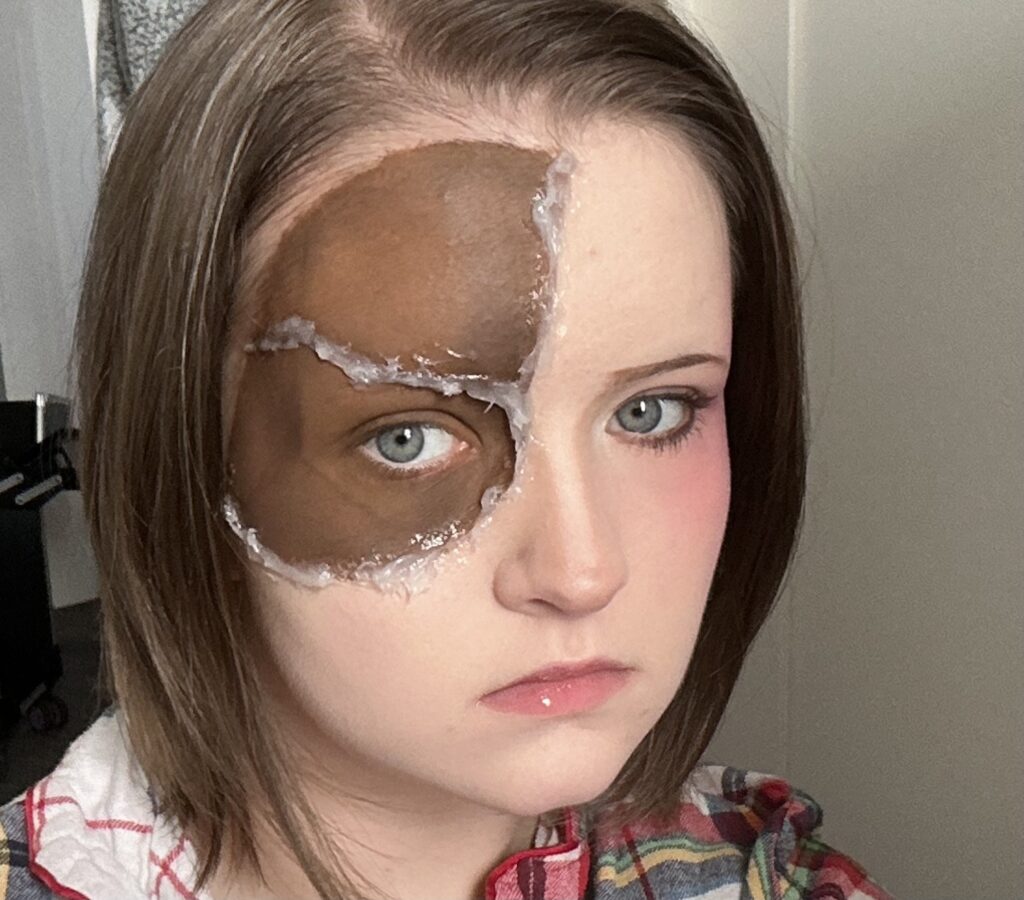
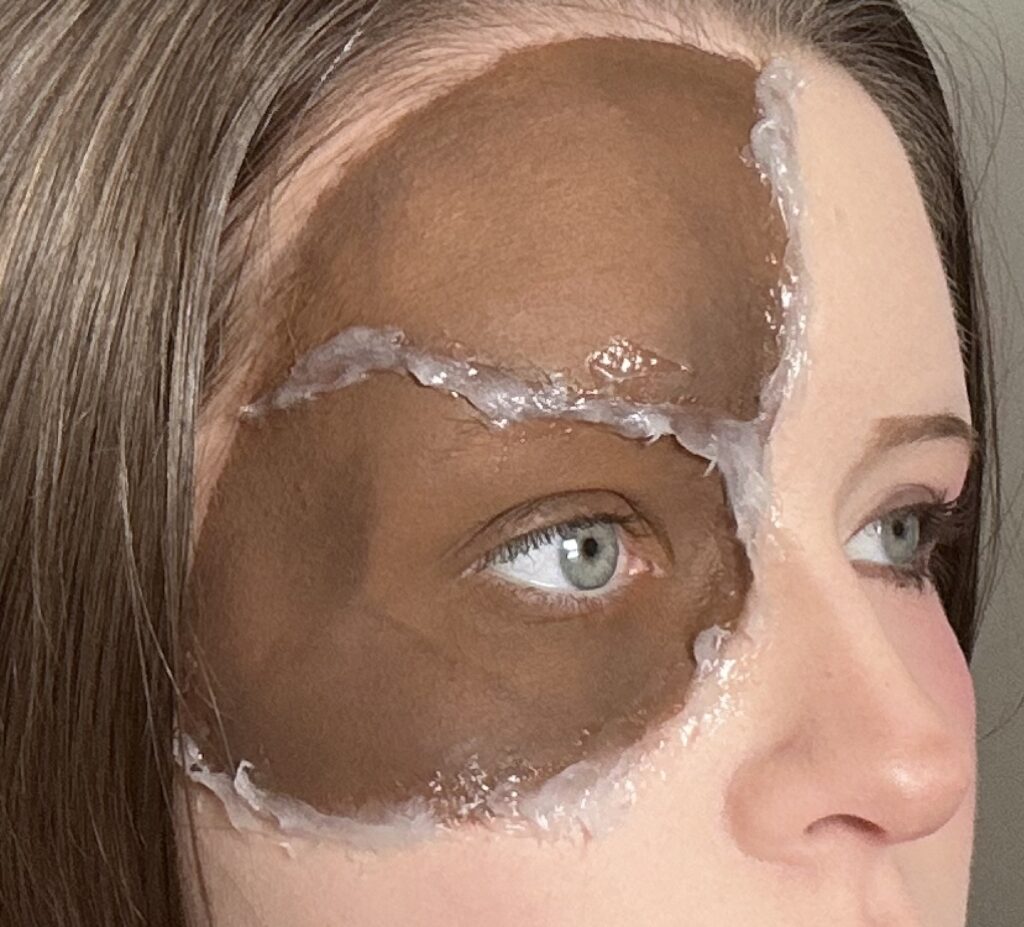
I then created the cake slice by using brown face paint and brown/black eyeshadow to create the depth:
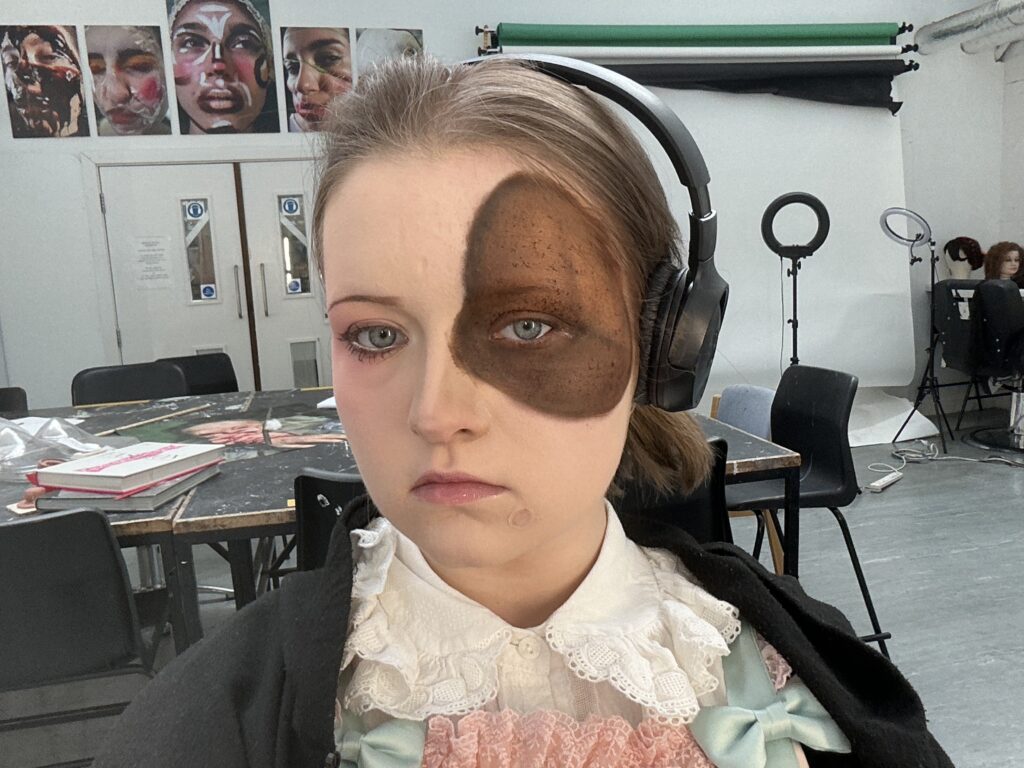
To create the 3D effects, I mixed together white, cream and brown grease paints to create my frosting, I also mixed brown eyeshadow with vasceline to create the cake effect:
I then added these to my cake slice, I added some excess vasceline mix to the frosting to add more colour- after this my practice was finished:
Wig Making Research:
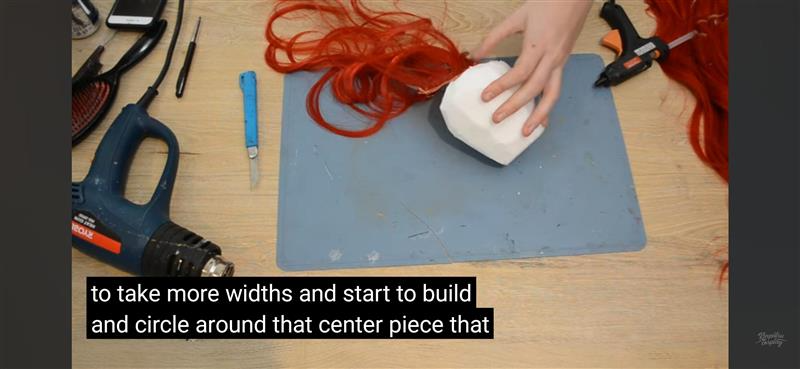
To research into wig making techniques, I looked at a few videos on YouTube that described building a wig from wefts and styling the font of the wig:
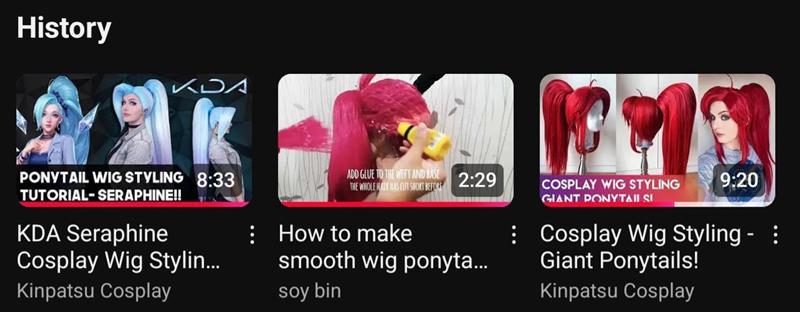
Cutting wefts:
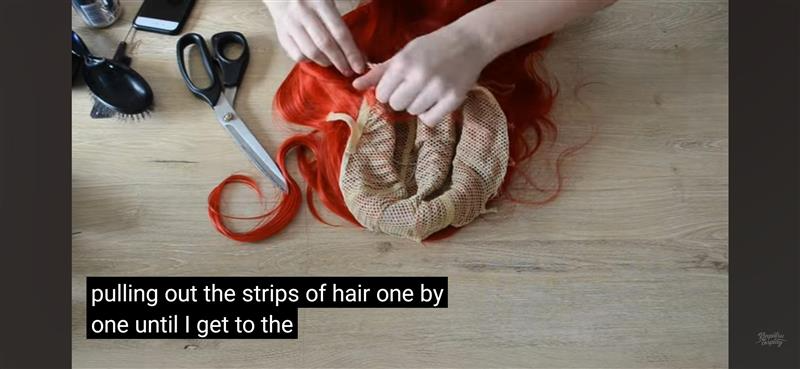
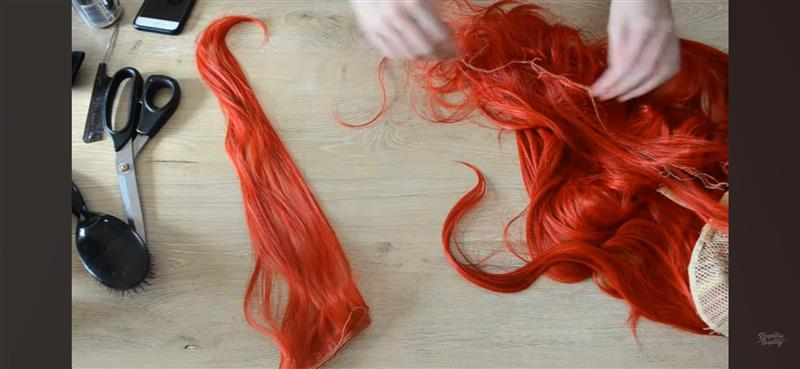
Building volume (this video showed the process of making a ponytail but the principles were the same):
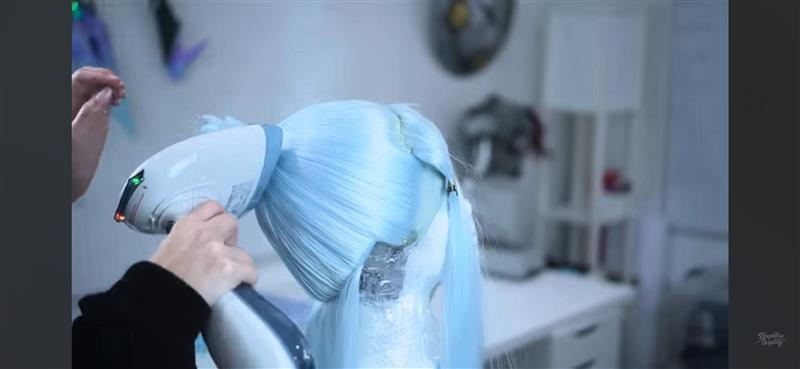
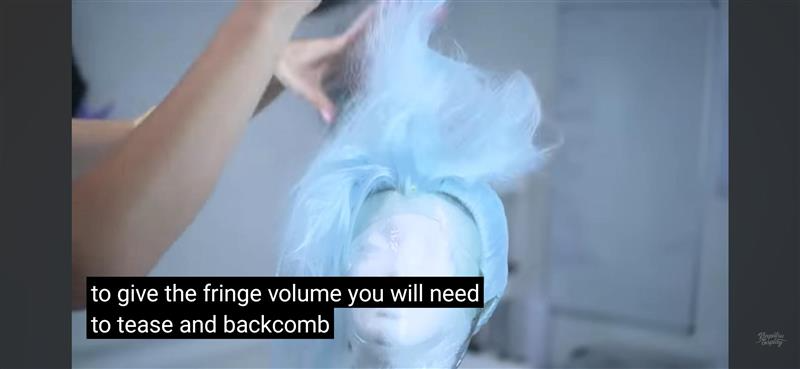
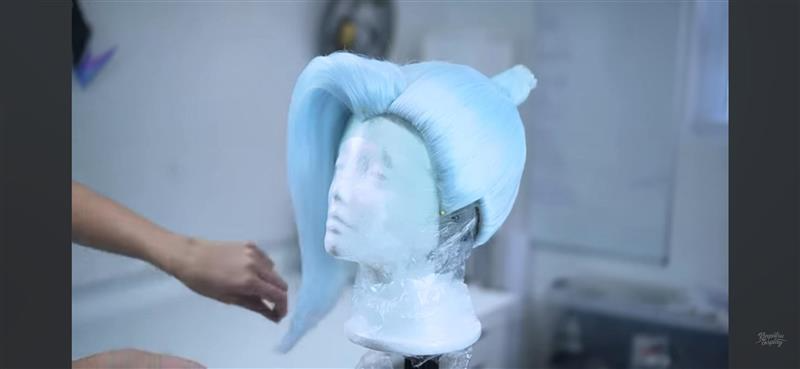
Building the base wig and styling the front of the wig:

Prices:
| Wig | £20 |
| Brown Fabric | £20 |
| Skirt | £15 |
| Lace | £5 |
| Chicken Wire | £10 |
| Plaster Cast | £20 |
| Fasteners | £4 |
| Buttons | £3 |
| Charms | £25 |
| Spray Paint | £7 |
| Styling Gel | £5.50 |
| Ribbon | £9 |
| Foam Sheets | £7 |
| Glue Sticks | £21 |
| Mod Podge (paint sealer) | £5 |
| Paint | £2 |
| Socks | £4 |
| Leg Warmers | £14 |
| Shoes | £10 |
| White Fabric | £10 |