Makeup Design Progression:
The first design I made on ProCreate was a classic theatre/ballet style doll-like makeup.
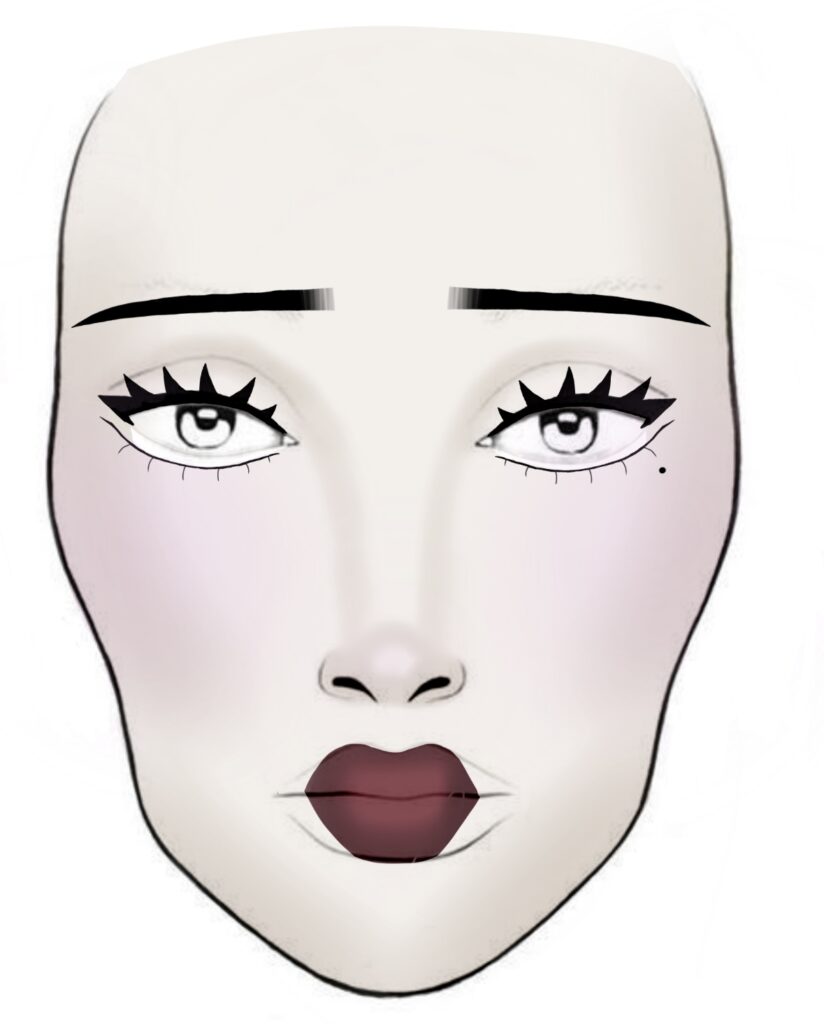
I liked this design, but it was too similar to a look I did in my first year for a Film and TV assignment. I decided to do another look based The Nutcracker and different short videos that I have seen online of ballerinas doing their own makeup.
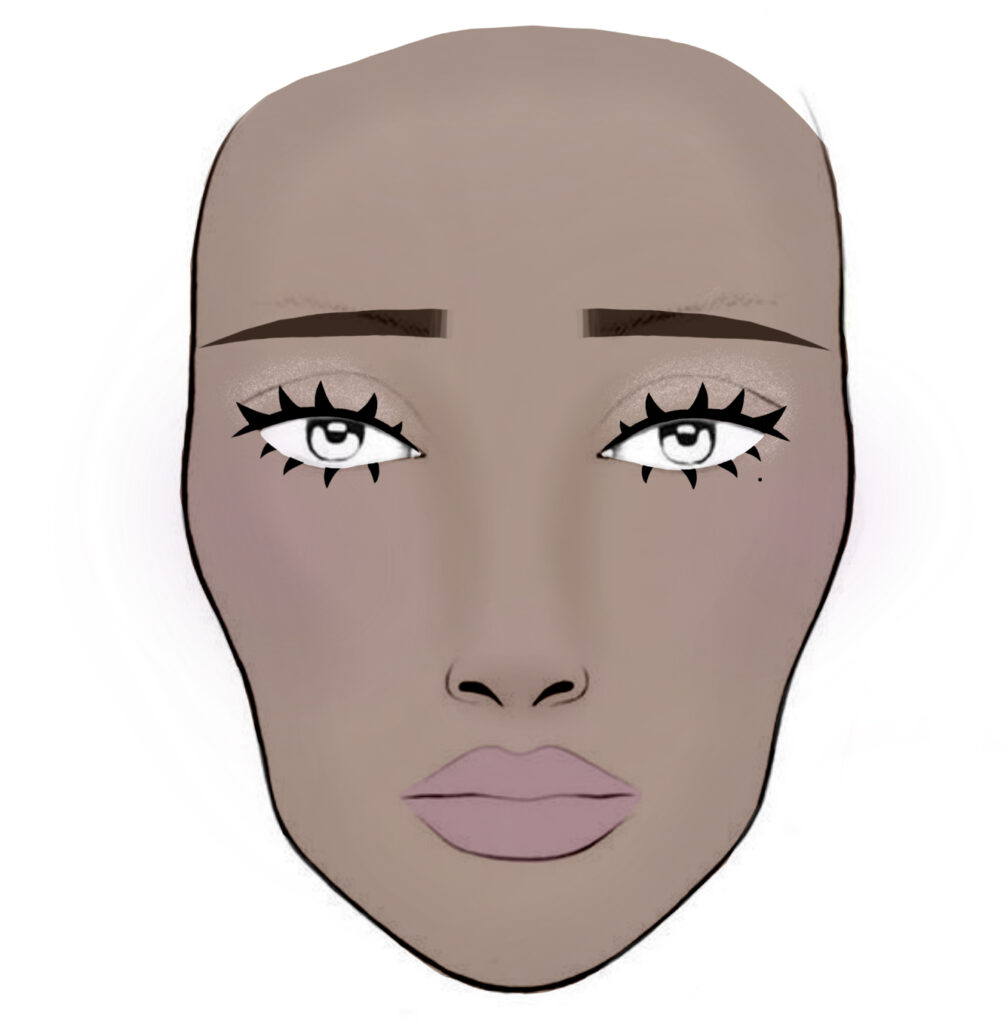
I liked this design as well, I can adapt it to any skin tone/type and it could work well for Theatre. However, I decided to change it again because I didn’t feel challenged enough. I made a third design based on the idea of clown makeup that I had in my first spider diagrams.
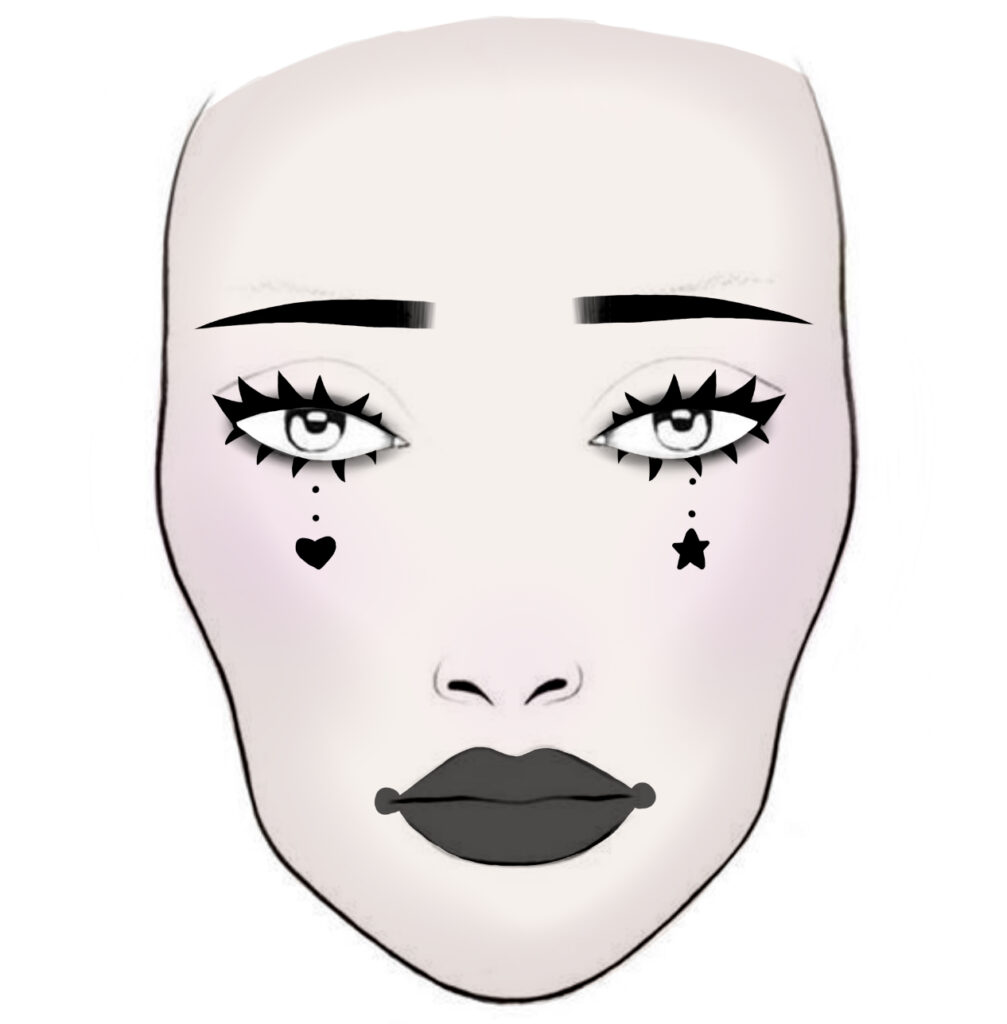
I like this design but it doesn’t fit with the brief, I could adapt this design for a different assignment but this design isn’t one I will use for this project. I decided to adapt my first design to better fit the “forgotten understudy” concept. I would use spirit gum to apply a woven fabric across the eye (the spirit gum would be away from the eye itself- around the brow bone, bottom of the eye socket, the side of the nose and away from the outer corner or the eye for the models safety) first:
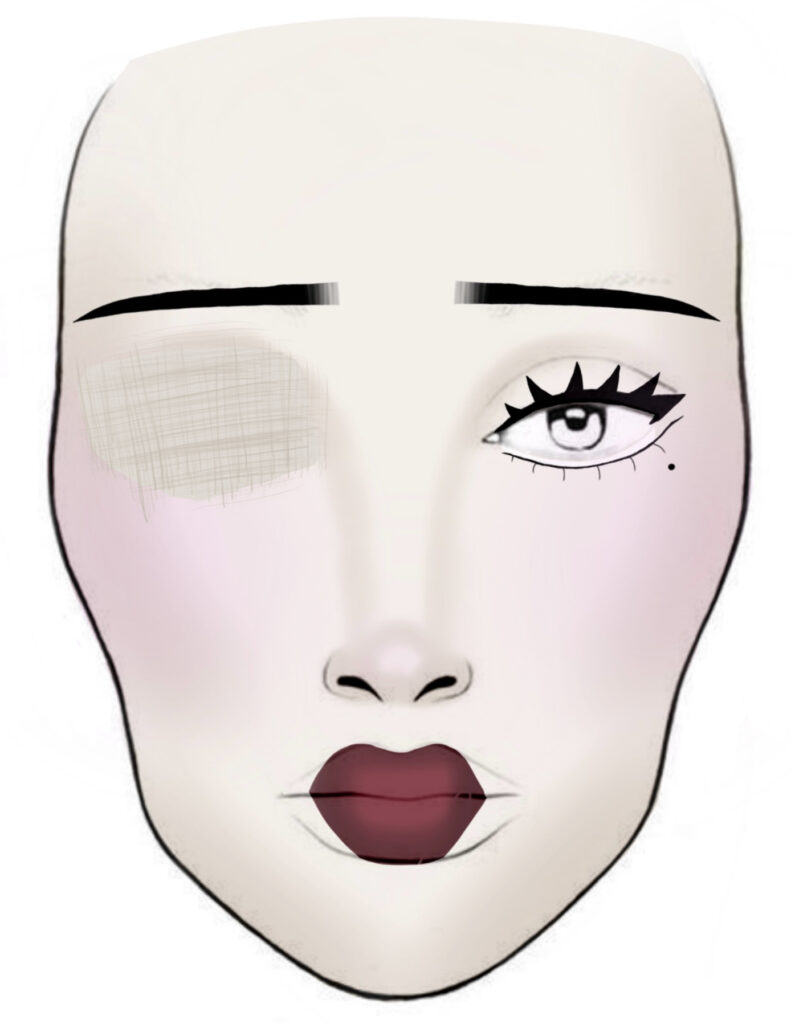
I would then use grease paints and fake blood to make the eye look like it is missing. This idea came from the theme in Bad End Night where all the previous leading ladies in the play died tragically due to the play being cursed.
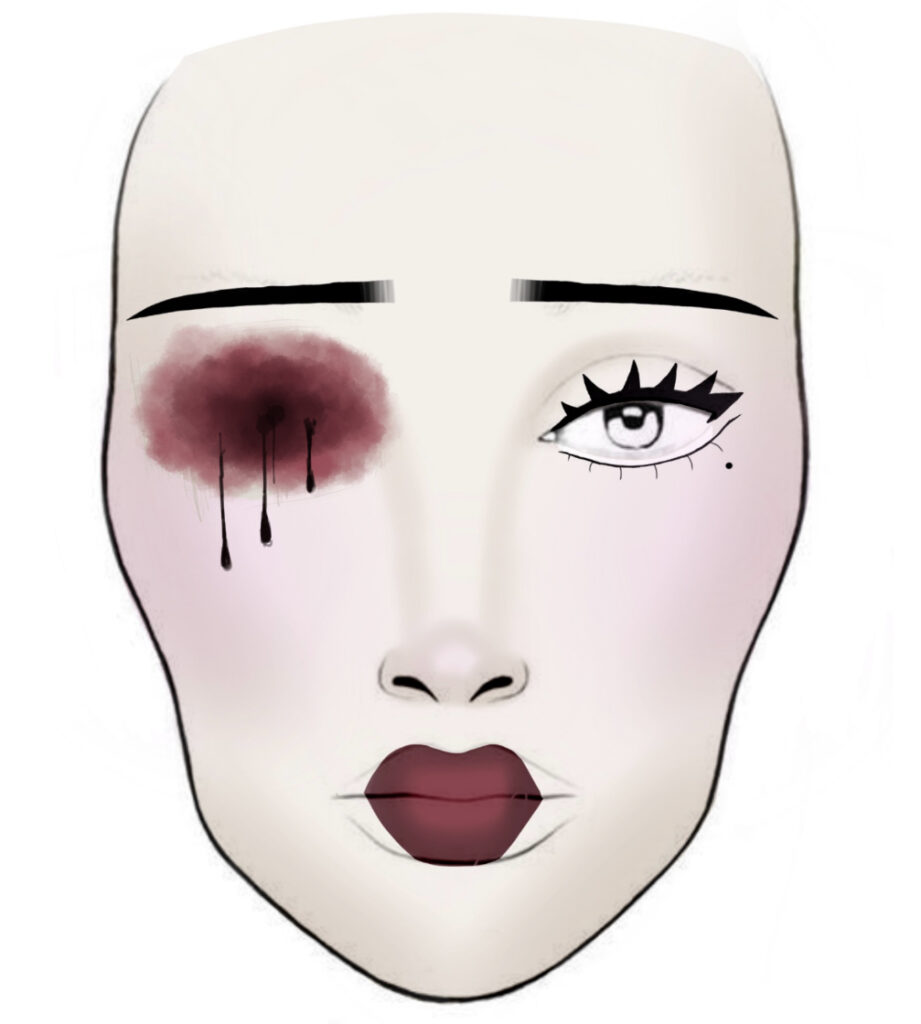
I think this design would work, but I learnt that using spirit gum near the eye can be quite dangerous if not done correctly. At my current level, I decided that it would probably be best to change my design to something that still fits my theme but is safer and more responsible of me to do.
I changed my design again to something similar to what I did for the fashion show in my first year:
I made sure to ask my tutor if this was ok and she said that it was fine as long as it wasn’t a direct copy. I kept the broken porcelain and ribbon concept but changed the rest of the look.
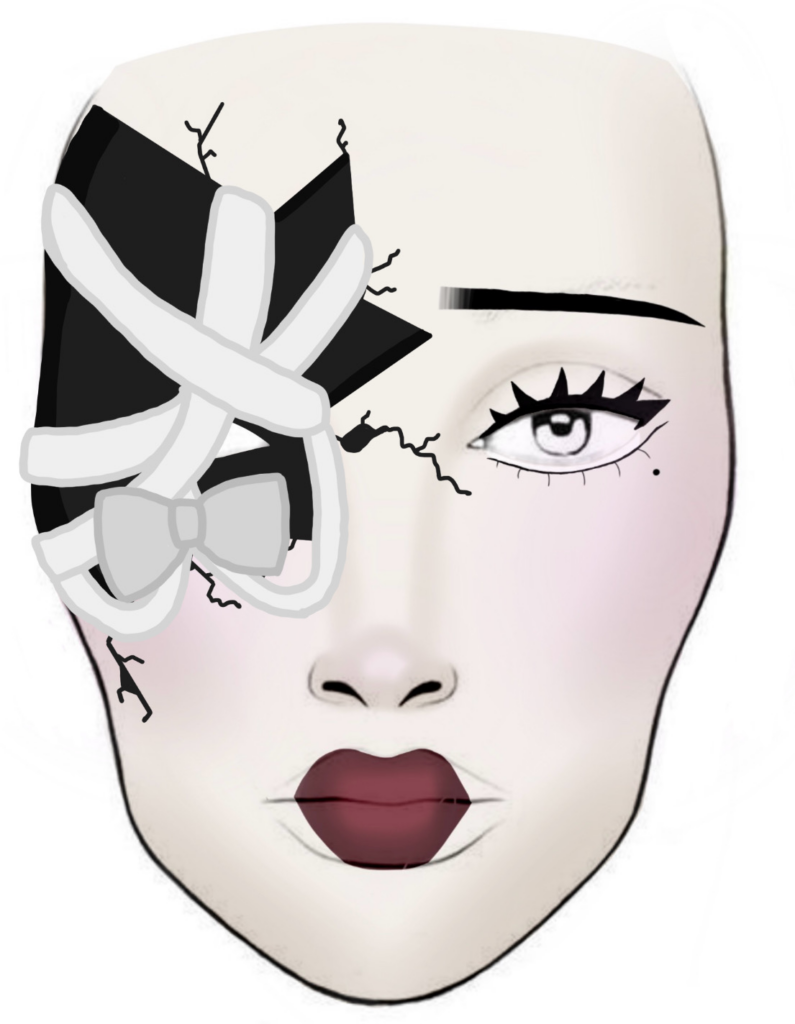
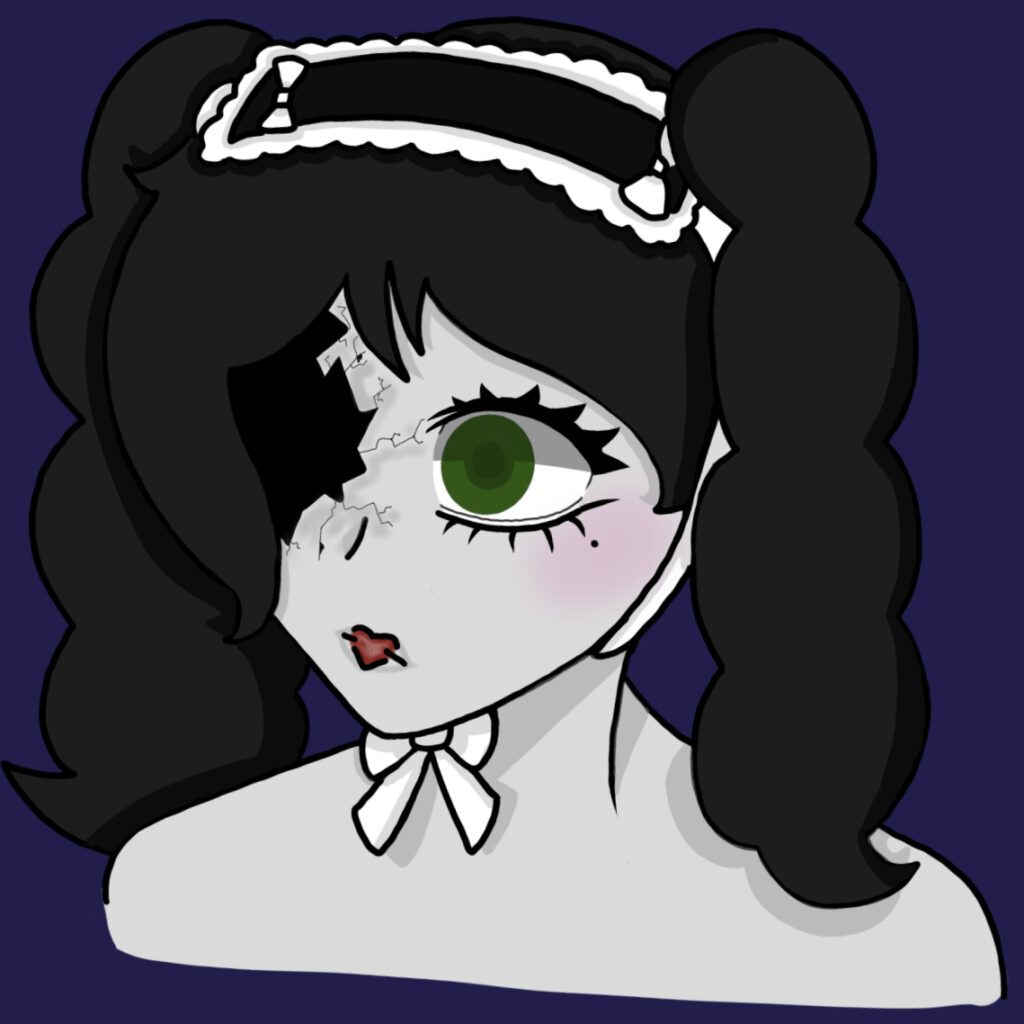
I liked this design the most and decided to work with this.
Hair Design Progression:
These were my first basic hair charts that I would adapt and annotate once I was certain what wig I would be using.
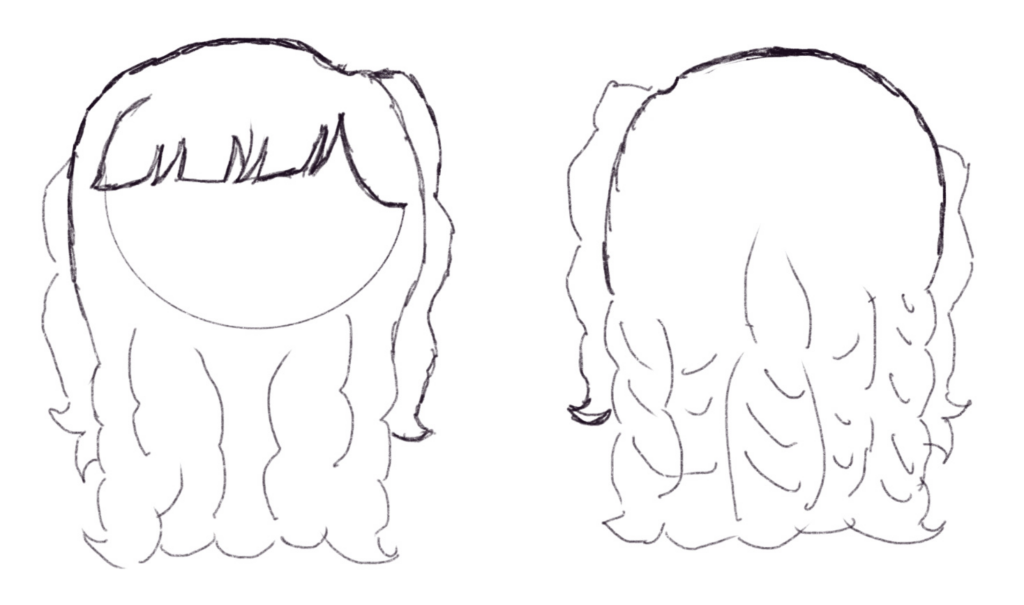
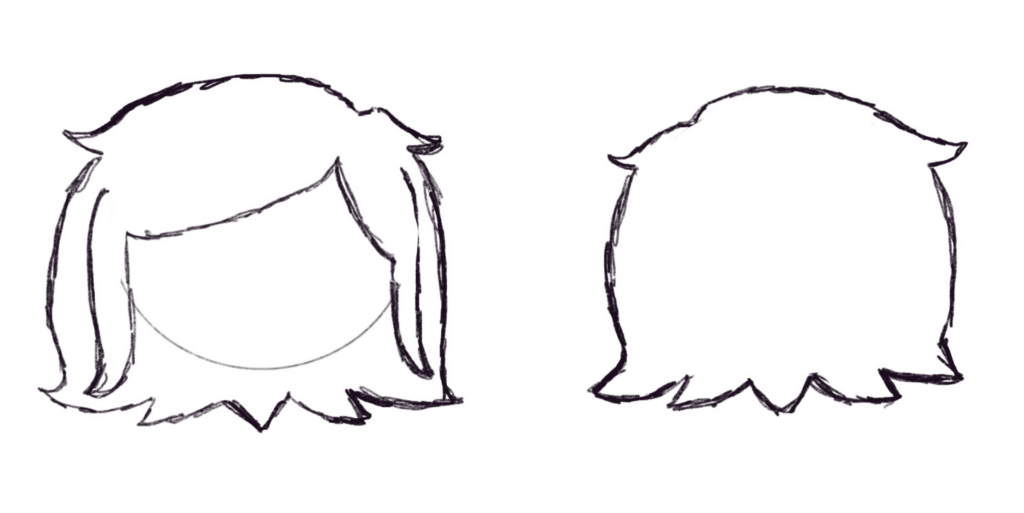
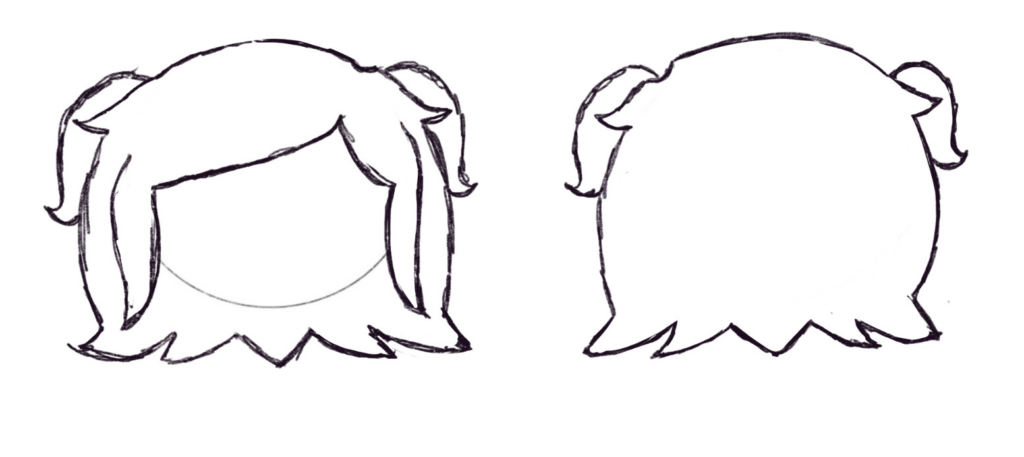
Final Hair Design:
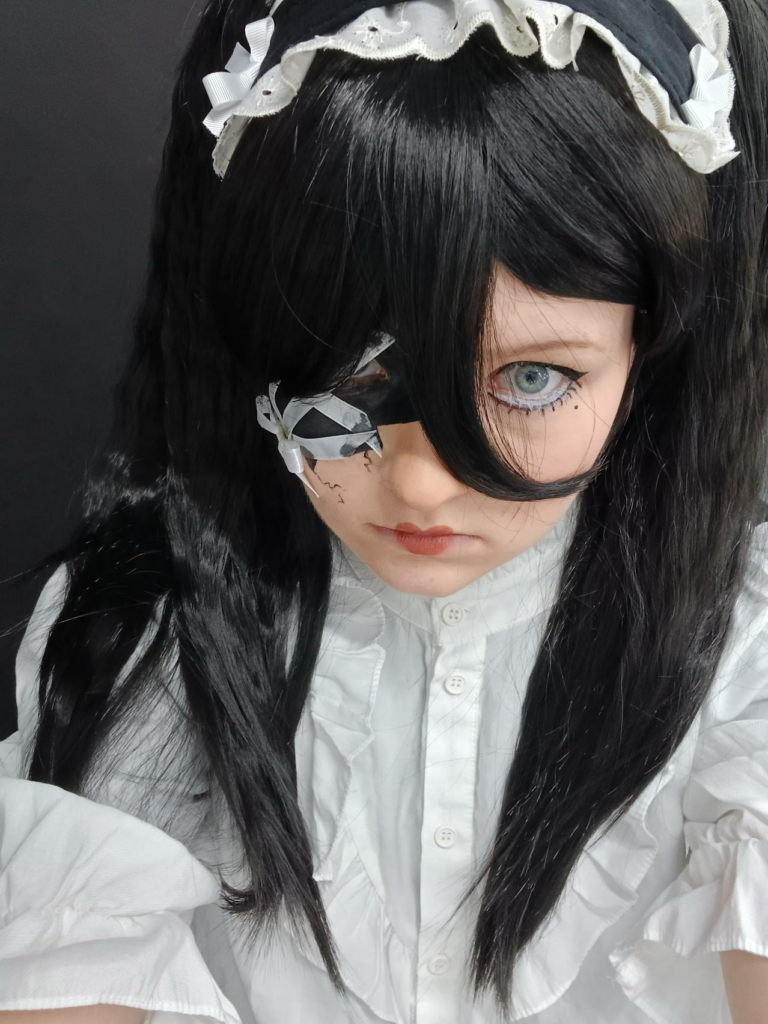
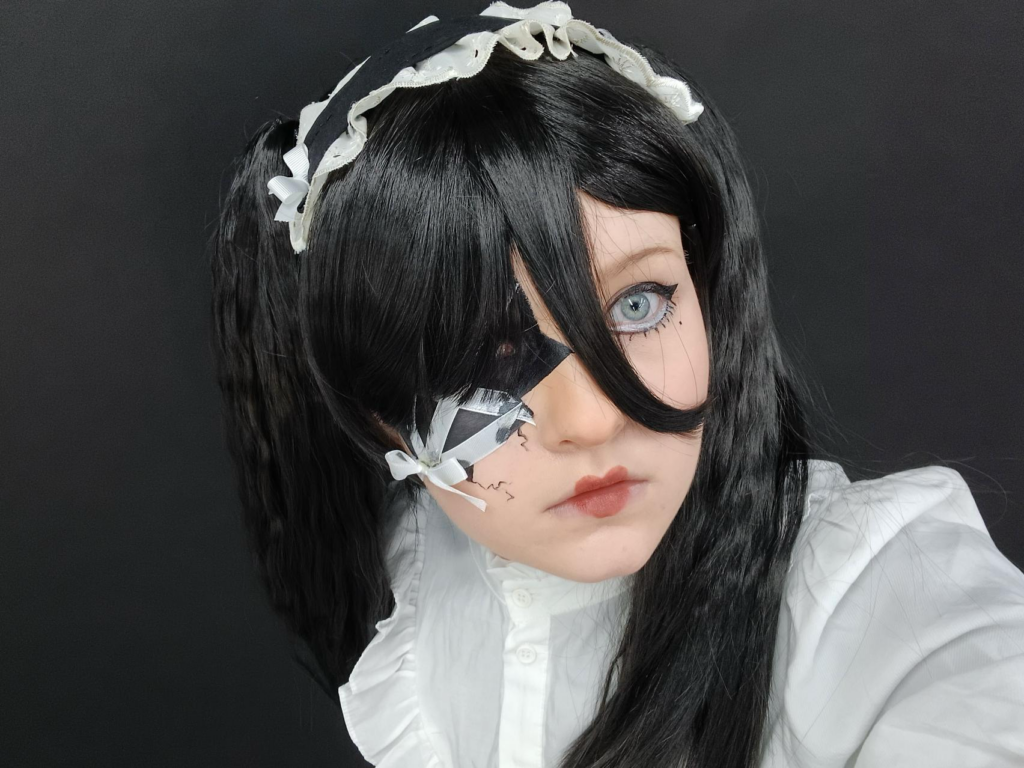
These are different experimentations of wig styles after I had bought my ideal wig:
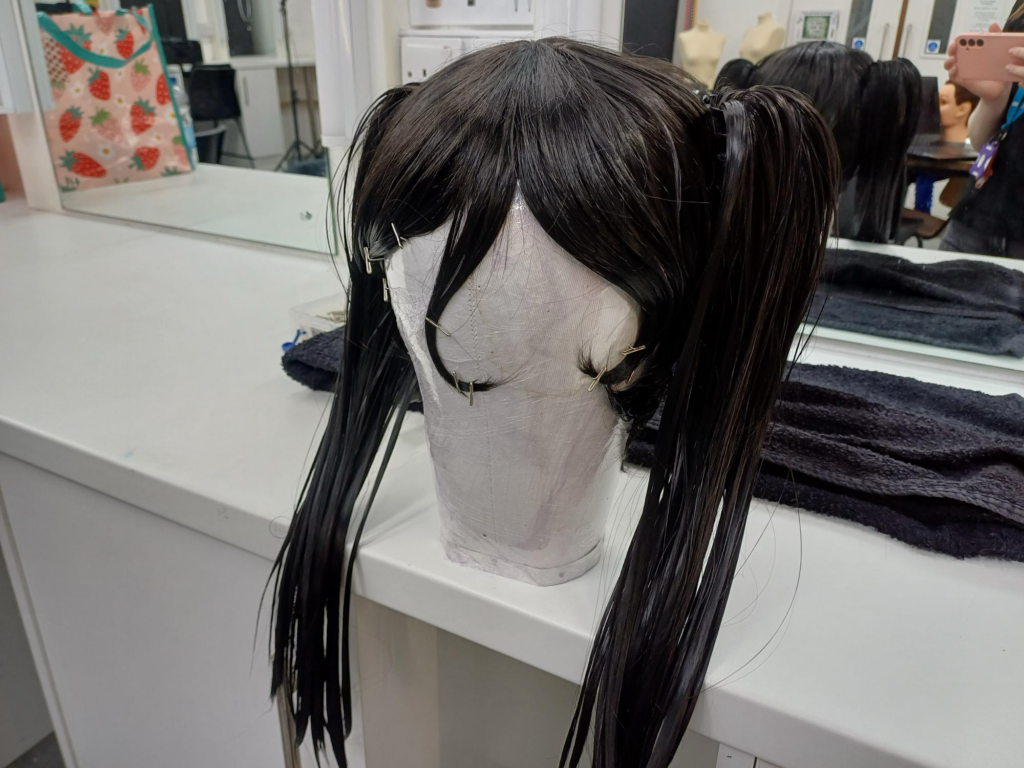
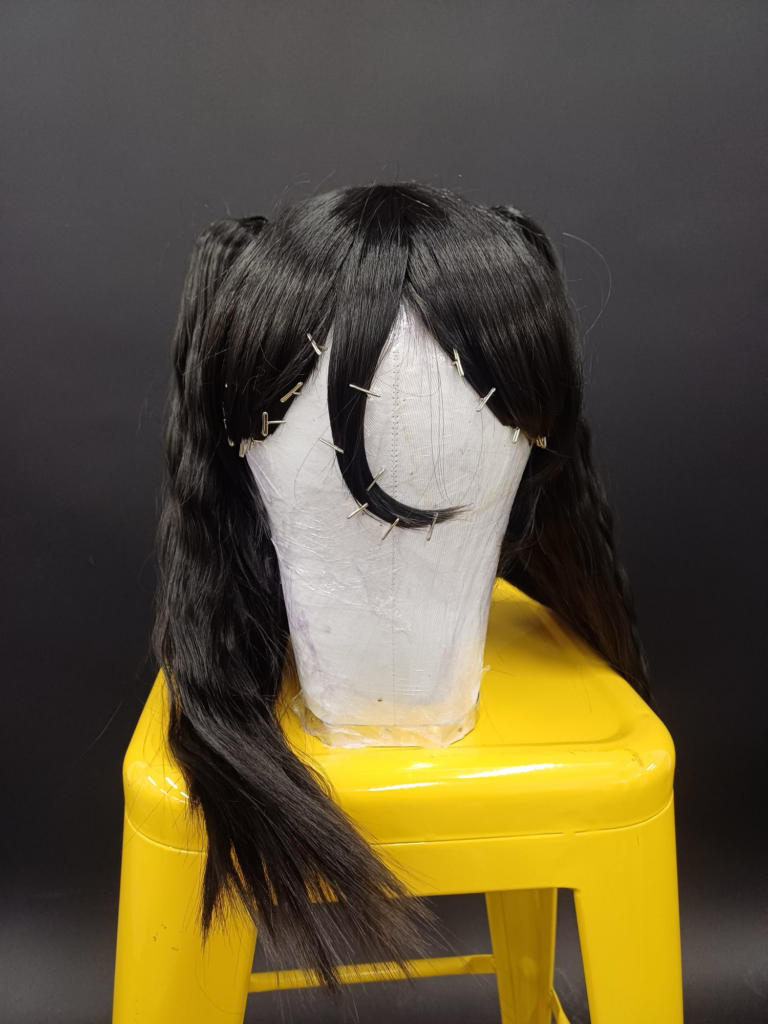
This is how my wig will look for my assessment:

Presentation:
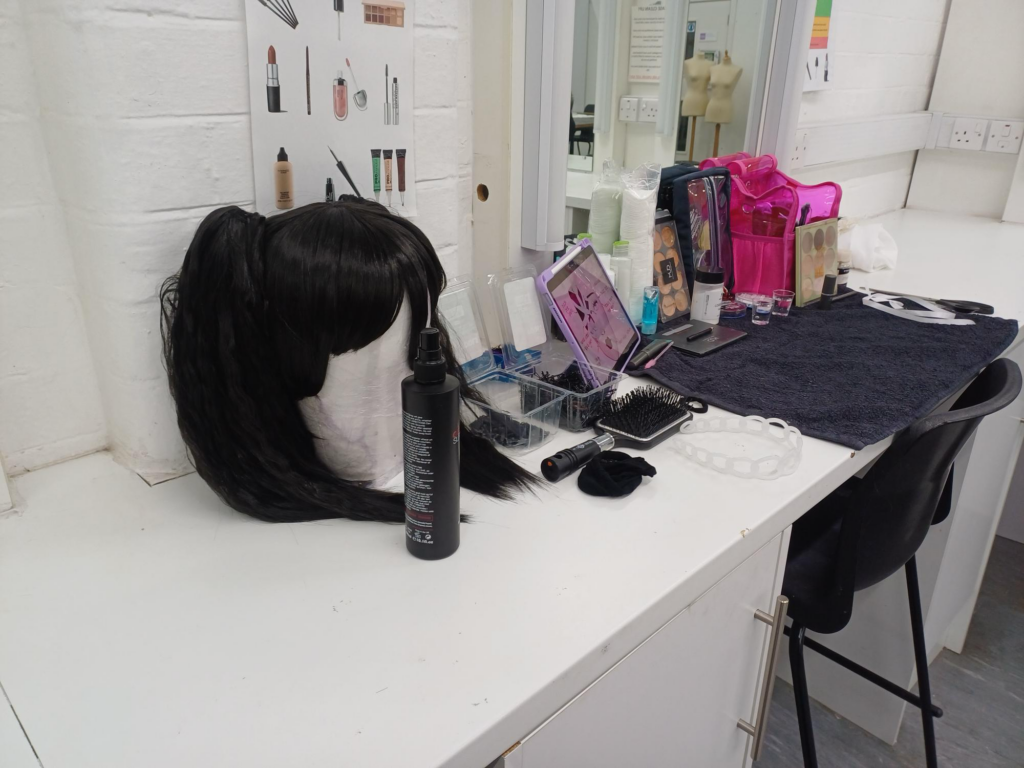
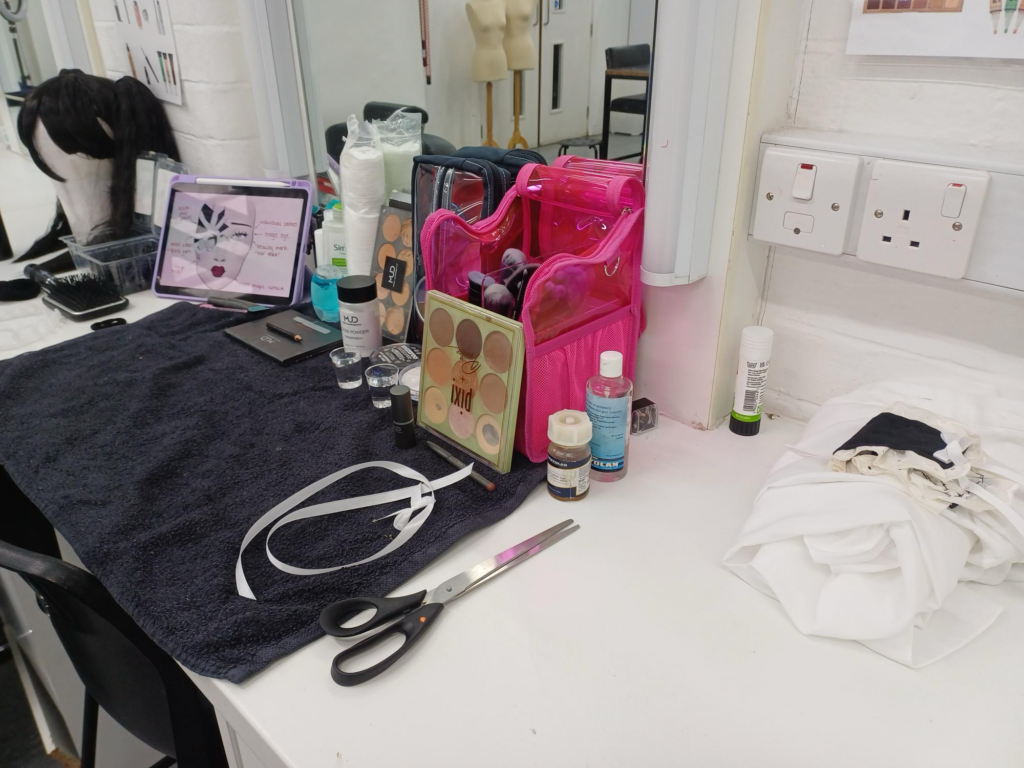
My station before my assessment,
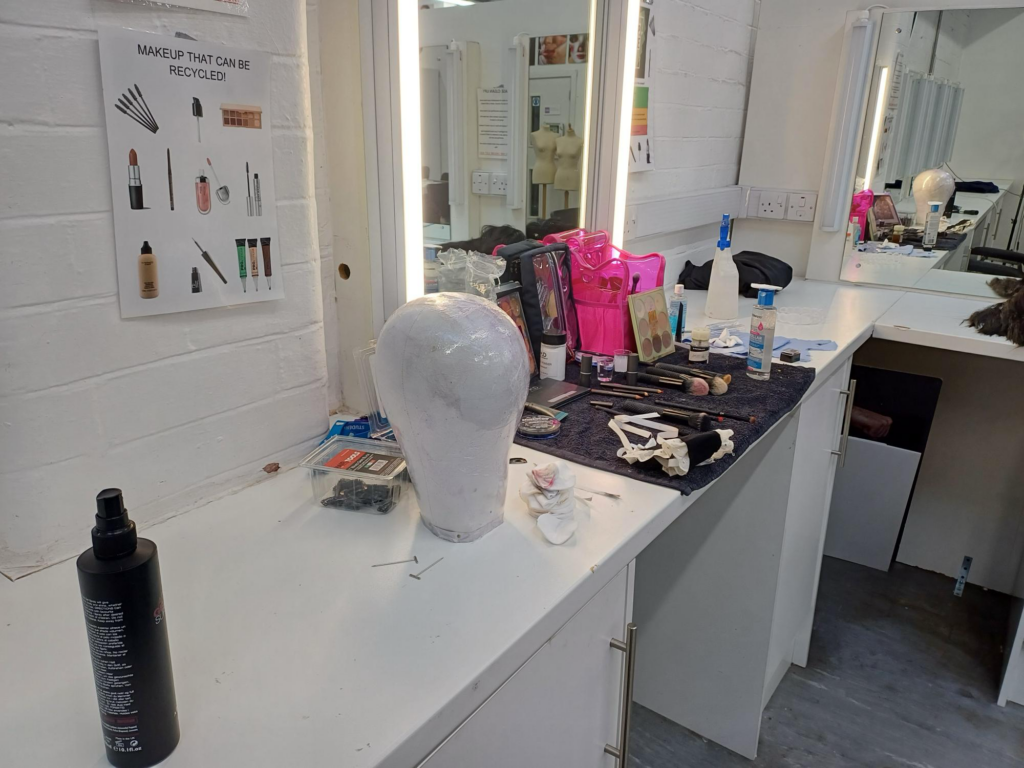
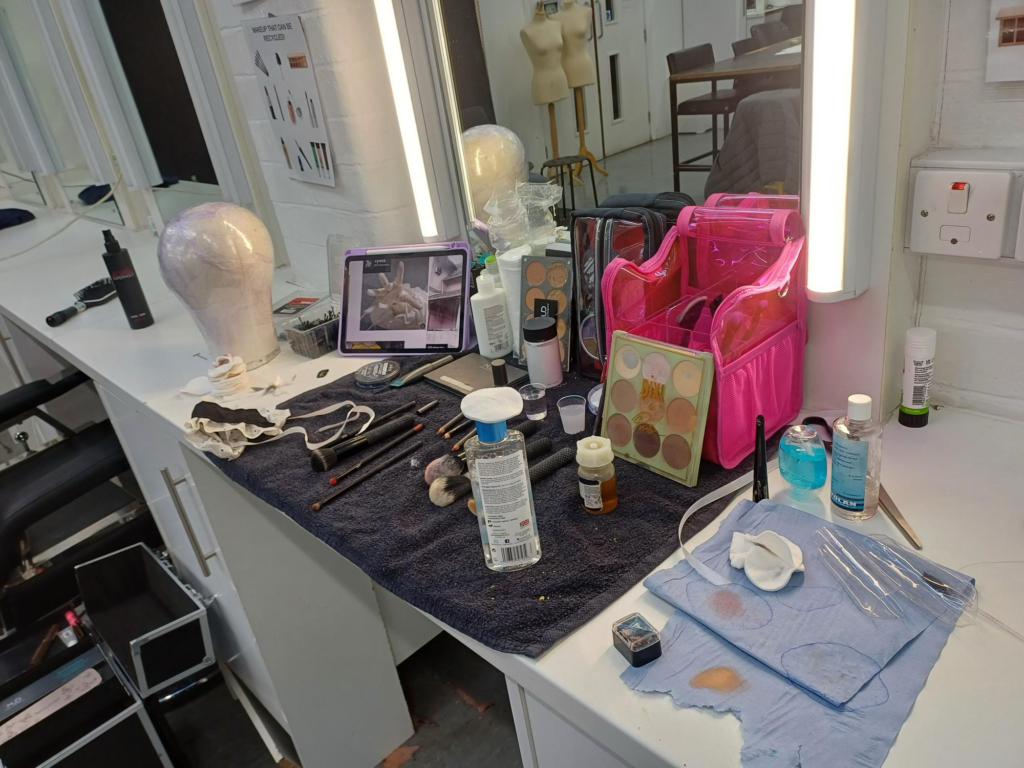
My station after my assessment,
Planning And Production:
MY PRACTICES:
PRODUCTS I WILL USE:
FROM MY KIT:
. Creme Foundation, Contour and Concealer
. Translucent Setting Powder
. Powder Blush
. Black Face Paint
. White Face Paint
. Lipstick
. Lip Liner
. Mascara
. Black Eye Pencil
.Headdress
. (Pre Styled) Wig
. Moisturiser
FROM COLLEGE:
. White Ribbon
. Spirit Gum
. Hair Pins
. Wig Cap
. Weft Clips
. Neutral Eyeshadow Palette
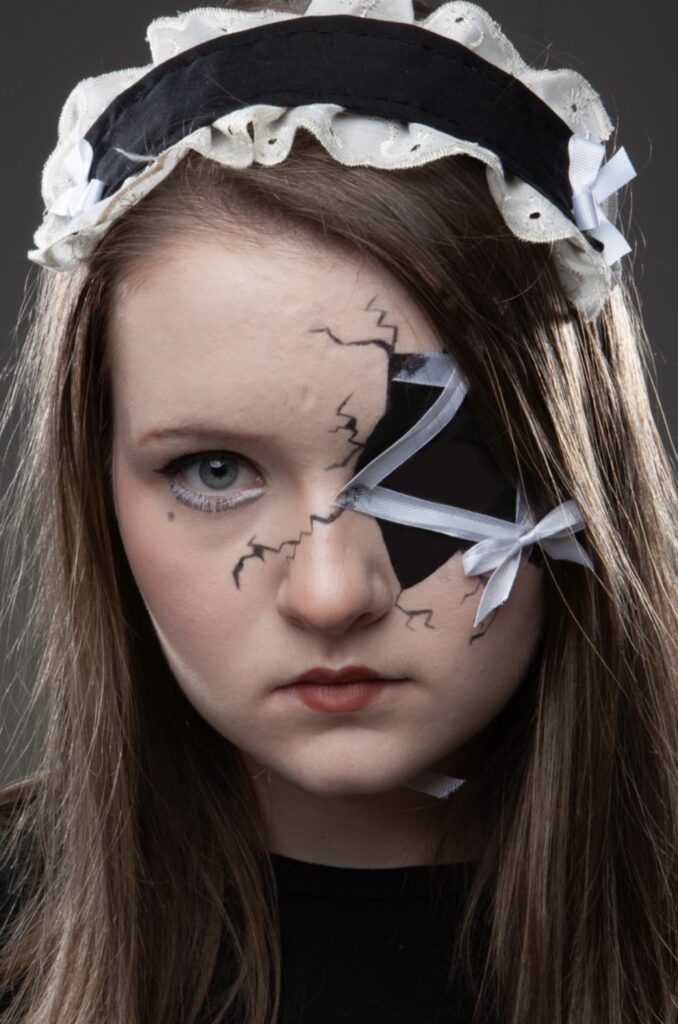
To start, I will prep the skin and add a base of creme foundation on three quarters of the face.
Before I add setting powder, I will add black face paint to the quarter of the face that doesn’t have any product on it and make it look like broken porcelain (straight lines and triangles). Then I will add setting powder and blush to complete the base. I won’t add any highlighter because a matte base will make the look more doll-like, which is the effect that I want.
Then I will use a black eye pencil to add extra cracks around the “broken porcelain” and add the eyeliner.
Afterwards, I will use white face paint underneath the eye to make them look bigger and go back in with the black eye pencil to add the bottom eyeliner and “tear” beauty mark.
Then I will add mascara to the eye.
Then, I will add the lip liner and lipstick to the lips in the shape of a heart. To finish the face makeup I will use spirit gum to add strips of ribbon and a bow across the “broken porcelain”.
Then I will add the wig wrapping and wig to my models head before securing the headdress to finish the overall look.
Afterwards, for the hand makeup, I will use an eyeliner pen/pencil to make the shapes of a dolls ball joints around the natural hand joints and use neutral shades of eyeshadow to add shading and dimension to the joints.
PRE PHOTO FEEDBACK:
Before I took my photos I showed my tutor my work. I was advised to change the colour of the lipstick from a more pale colour to red because the pale lipstick blended into the skin tones of my model and the heart shaped lipstick became lost. I was also told to add the ball-joint makeup to the hands to challenge myself and bring more to the look as a whole, I had also completed the look very quickly which is another reason why I was given these instructions.