Context:
For my second assignment, I was able to chose a topic from either a Media Makeup Specialisation or a Special Effects Specialisation. I chose a topic from Media Makeup that was “Theatre- Full Character Creation- must include wig and wig styling”. I decided to base my look around the graphic novel/manga series “Bad End Night- Insane Party” by Hitoshizuku-P and Yama
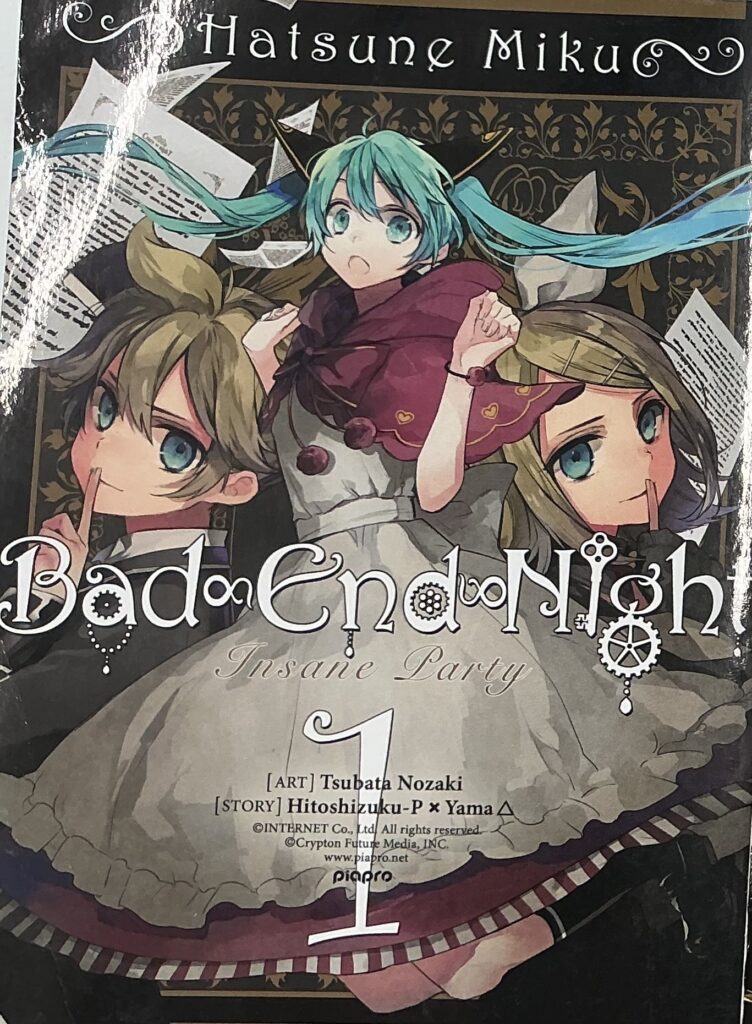
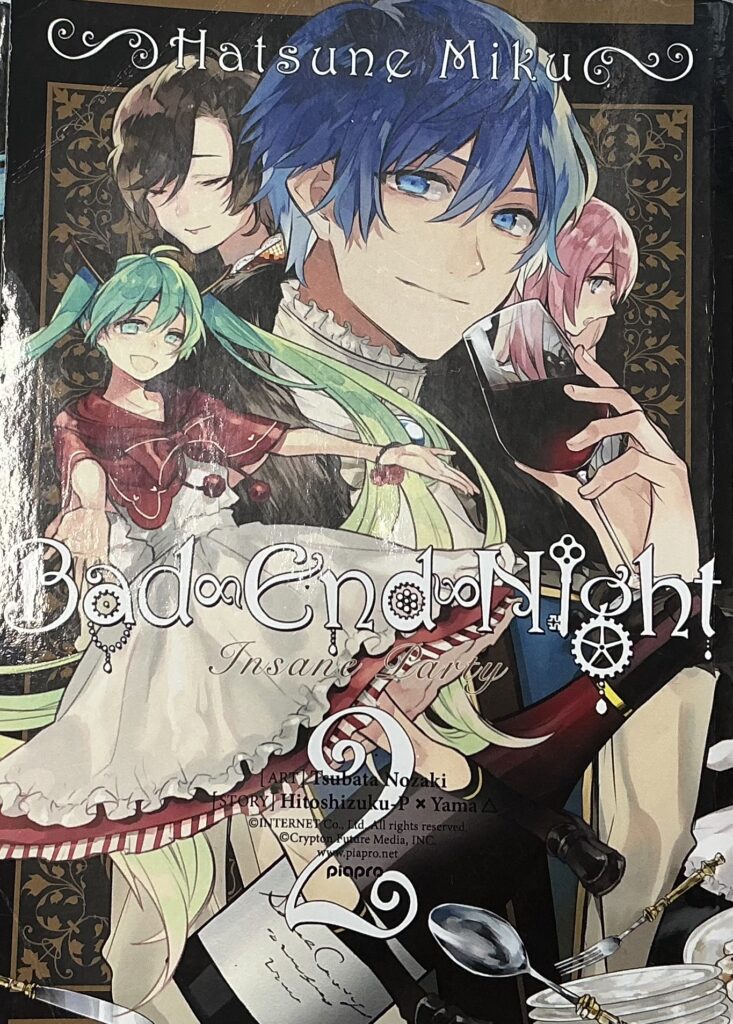
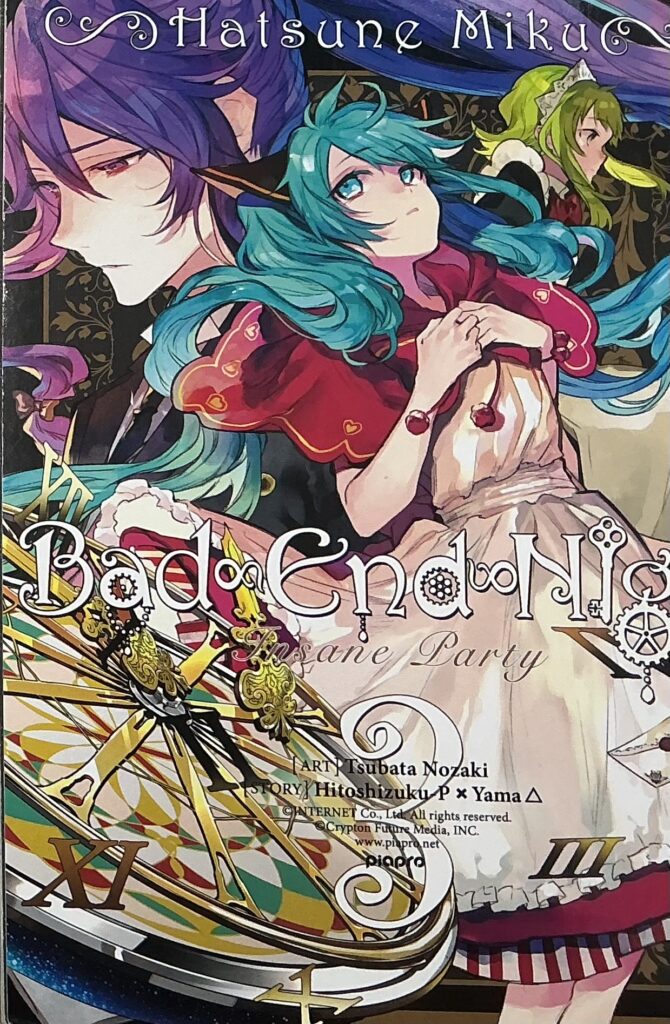
The story follows a group of actors that are trying to stop their company from closing- they happen upon a play that had never been performed before but they end up becoming the characters that they play and have to perform the play over and over again until it is done right in order to return to the real world. The protagonist gets the lead role of “Miss Villager” despite being a novice and thinks she is the only actor aware that they have been sucked into the play, but as the story progresses she learns that the other actors are desperately trying to escape the curse. Throughout the books, the protagonist learns that there have been several previous leading lady’s that have died during the play and as the cast look for a missing piece of the play in order to perform well and escape, the main character starts to lose her mind. Eventually, the main character does something that no other lead has done before and afterwards the manor they are stuck in is set ablaze. The cast escapes the fire and then the playwright appears and allows them to escape the curse.
In my assignment, my character will be based on the character “Rin” or “The Girl Doll” from Bad End Night because I really like her design and using her has my inspiration will allow me to easily create the full character.
(all pictures are from either the first, second or third volume- Art by Tsubata Nozaki)

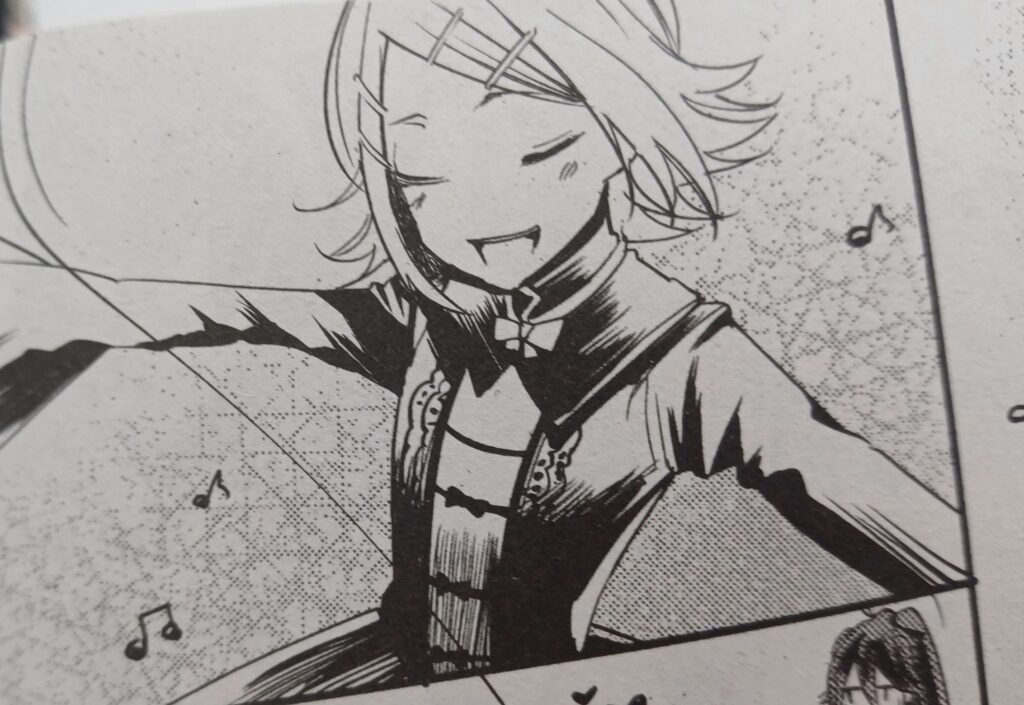
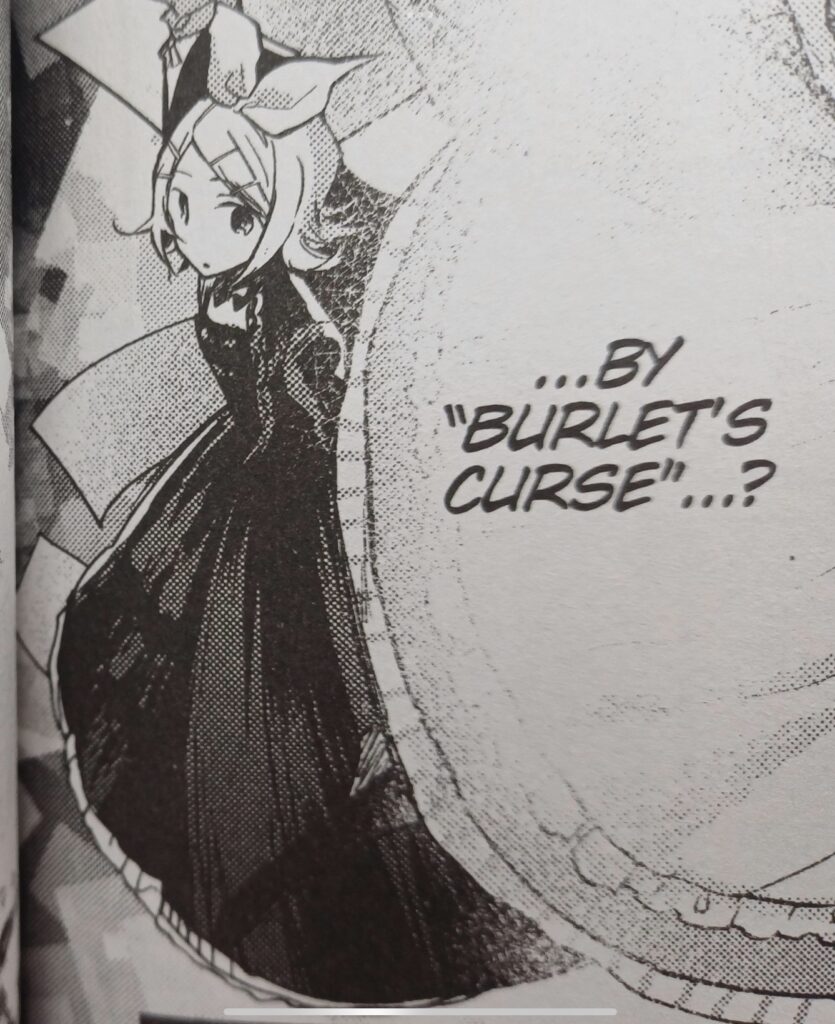
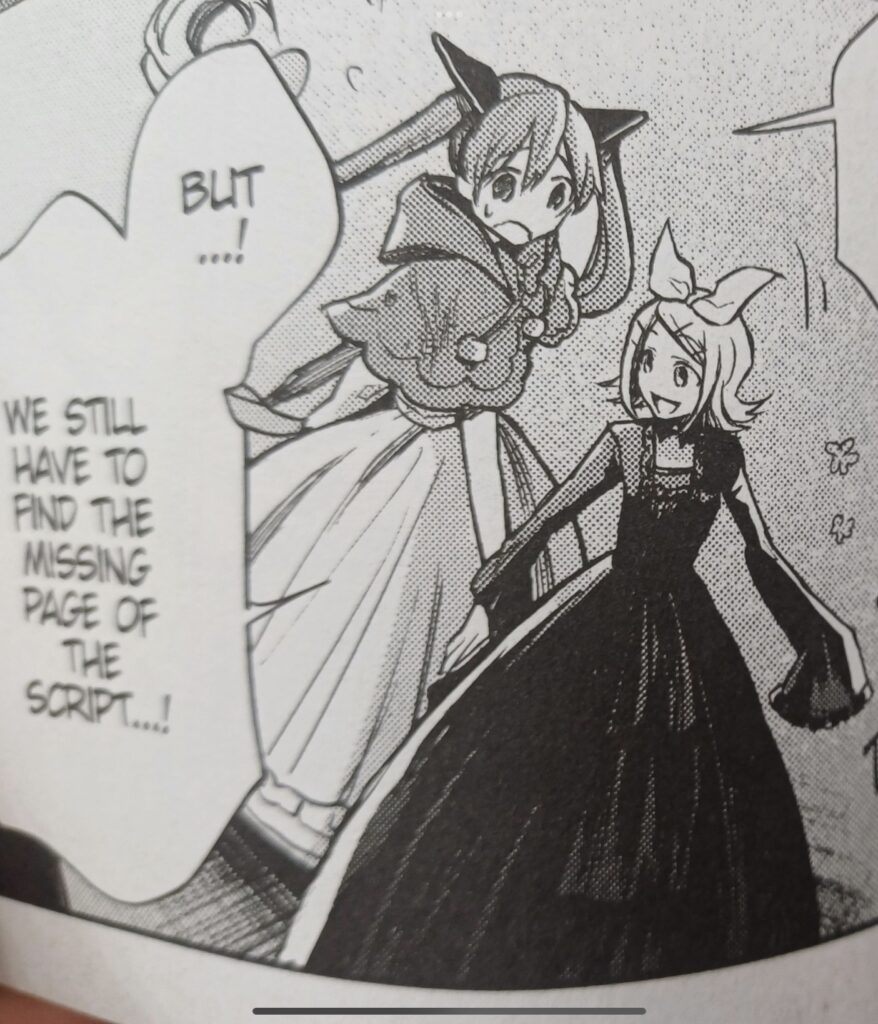
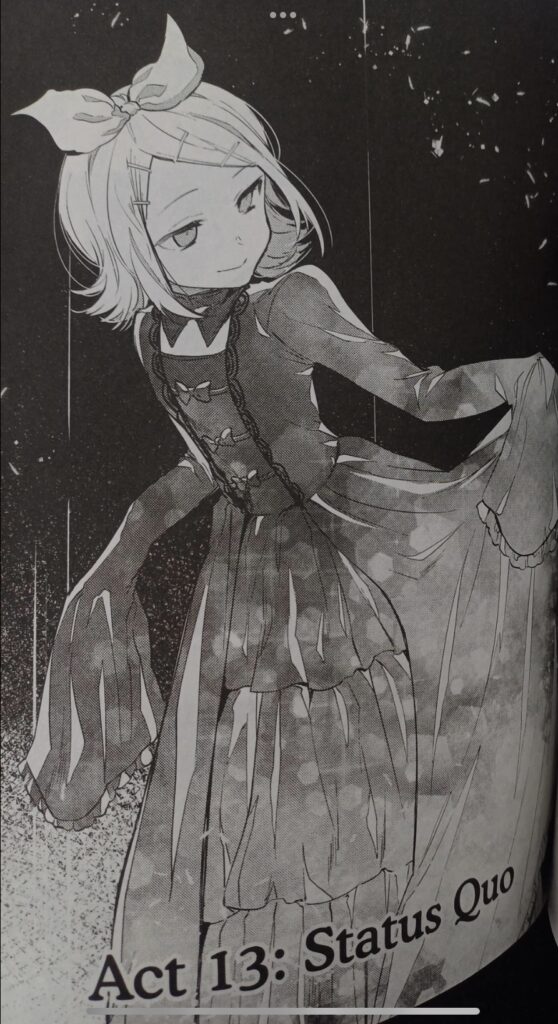
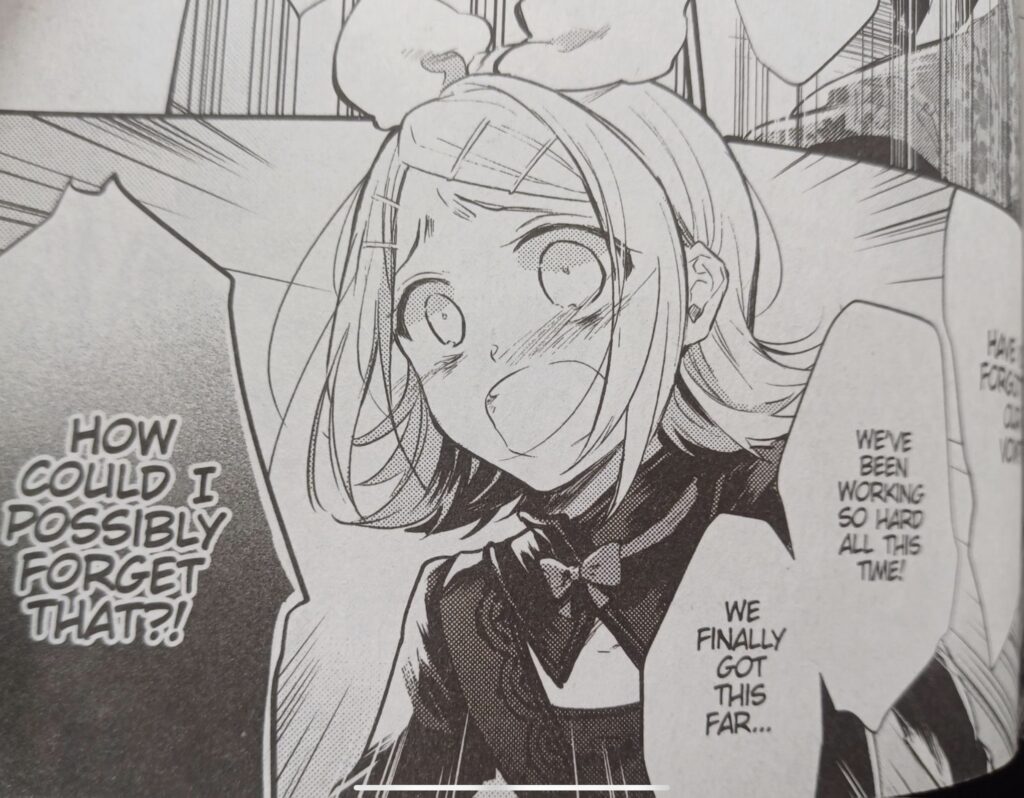
The concept for my assignment will be a “forgotten understudy”, an actor who worked closely with the cast as a back-up but died before they could complete the play. I will make my character a doll like Rin as this will allow me to incorporate makeup onto the hands as well so that my work looks complete. Part of the design/ story of the character is that Rin tried to put her back together with ribbon but was unsuccessful, thus why my character became a forgotten understudy and has ribbon incorporated in her design.
Research:
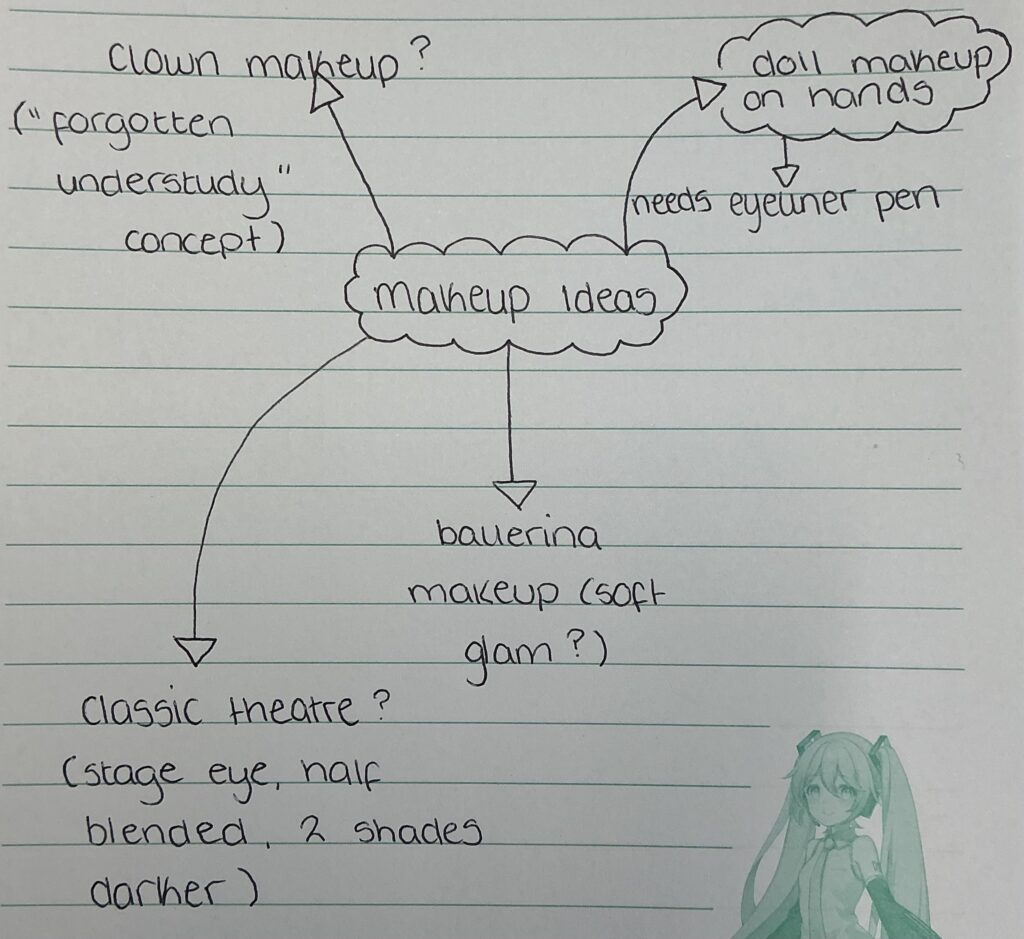
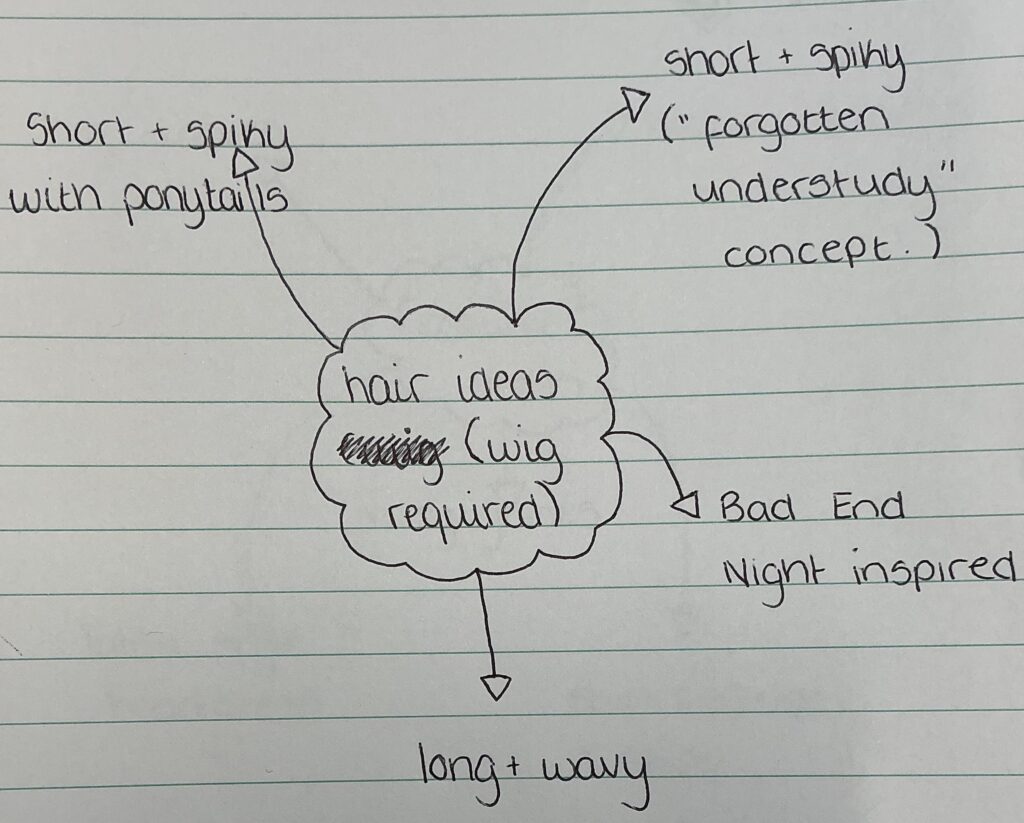
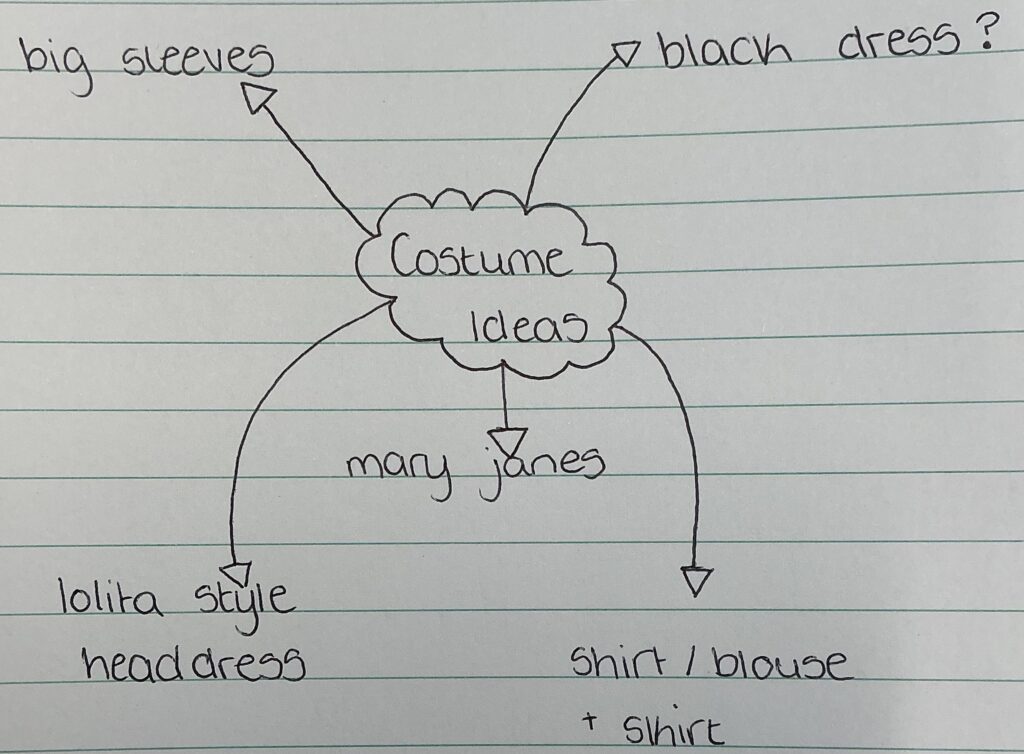
The first thing I chose to do once getting my brief was to make spider diagrams of my makeup, hair and costume ideas:
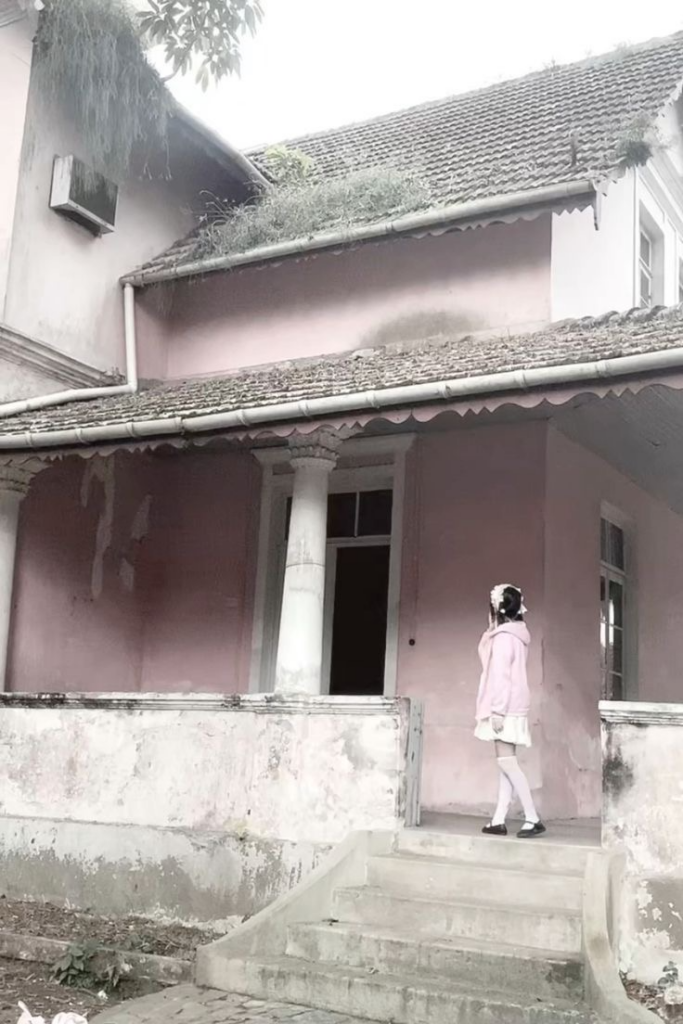
When I knew what kind of character I wanted to create, I immediately thought that I wanted to make my character fit into the “morute”/”gloomy coquette” aesthetic. Here are some examples of this aesthetic from Pinterest (usernames provided):

For my makeup, I originally wanted to research into makeup worn by ballerinas in productions like The Nutcracker for inspiration but in the end I decided that using a more theatre style makeup design would be better because it is linked to the actual title of my assessment (“theatre- full character design including wig and wig styling”). I then made multiple design charts to adapt as I progress through this assessment. I did end up making my first and second face chart more ballet inspired just in case it worked but neither design really appealed to me- my first design especially because it is far too similar to a design I used in my first year for a Film and TV project. My third is an extra design that I wanted to make to see if it would work (it didn’t really work for this specific assessment) and the fourth and fifth are my final designs that incorporate theatre makeup and the story of my character.
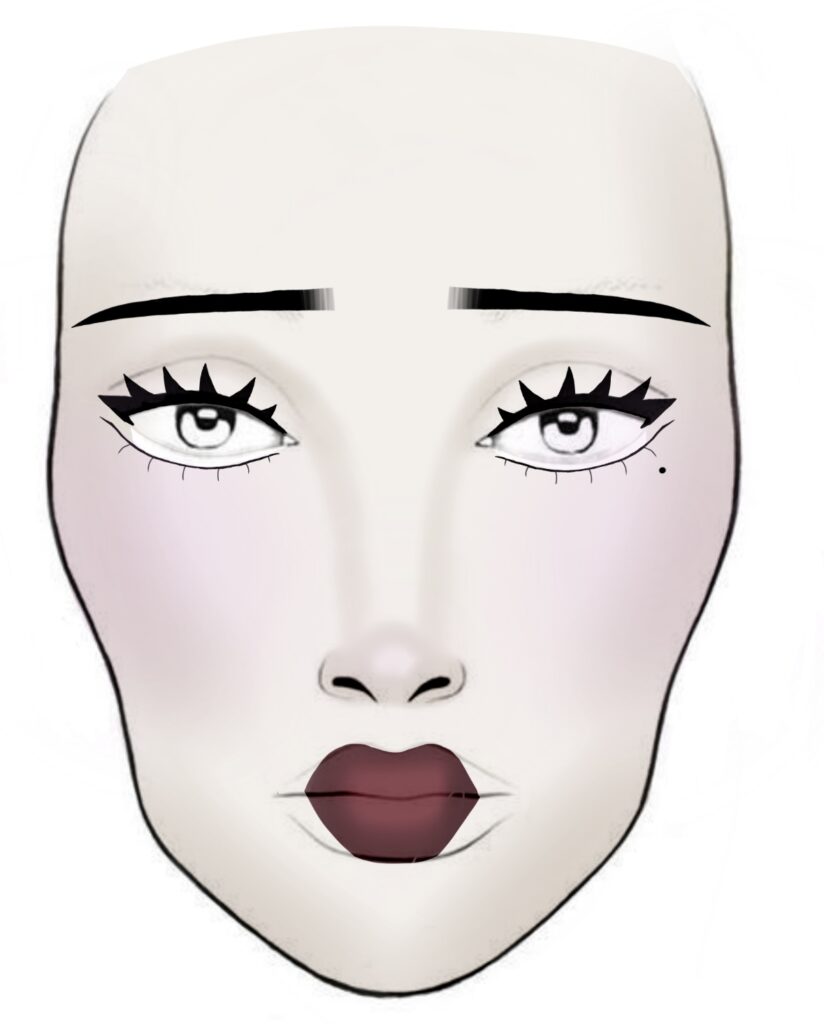
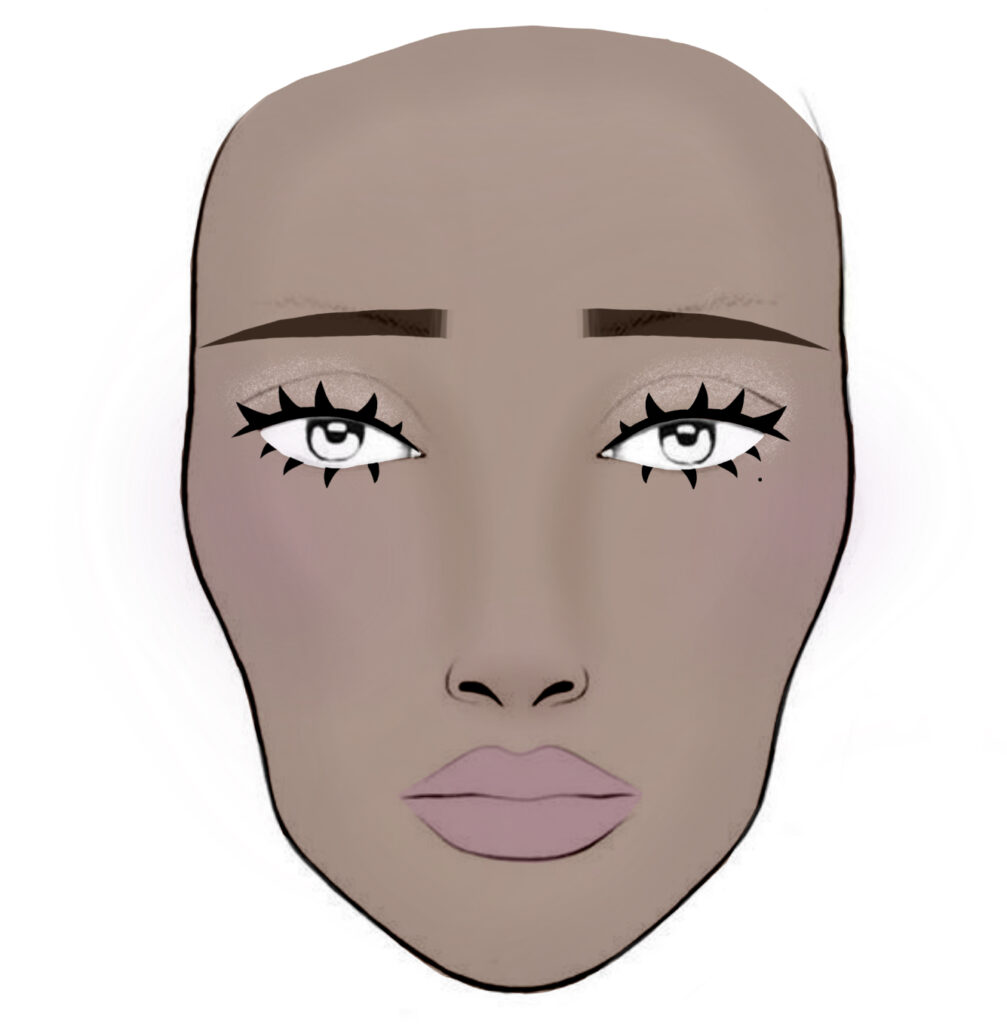
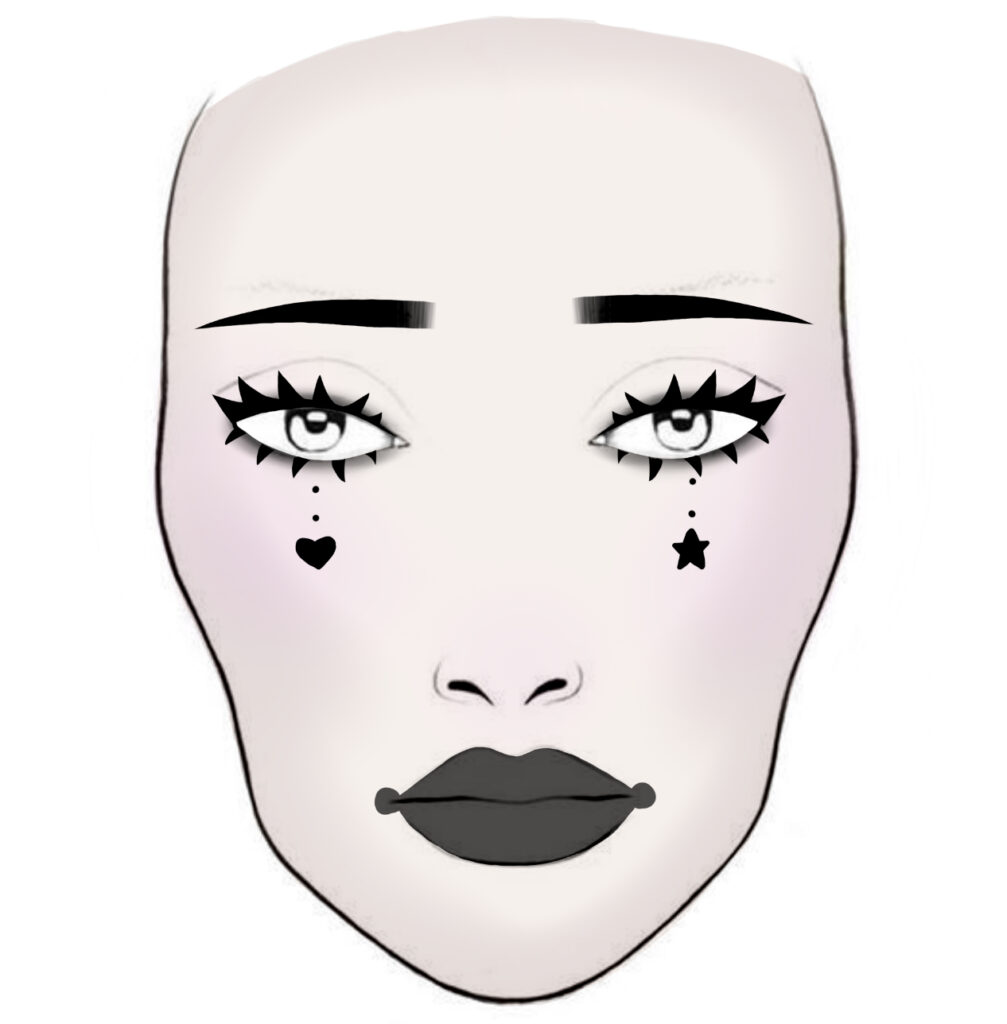
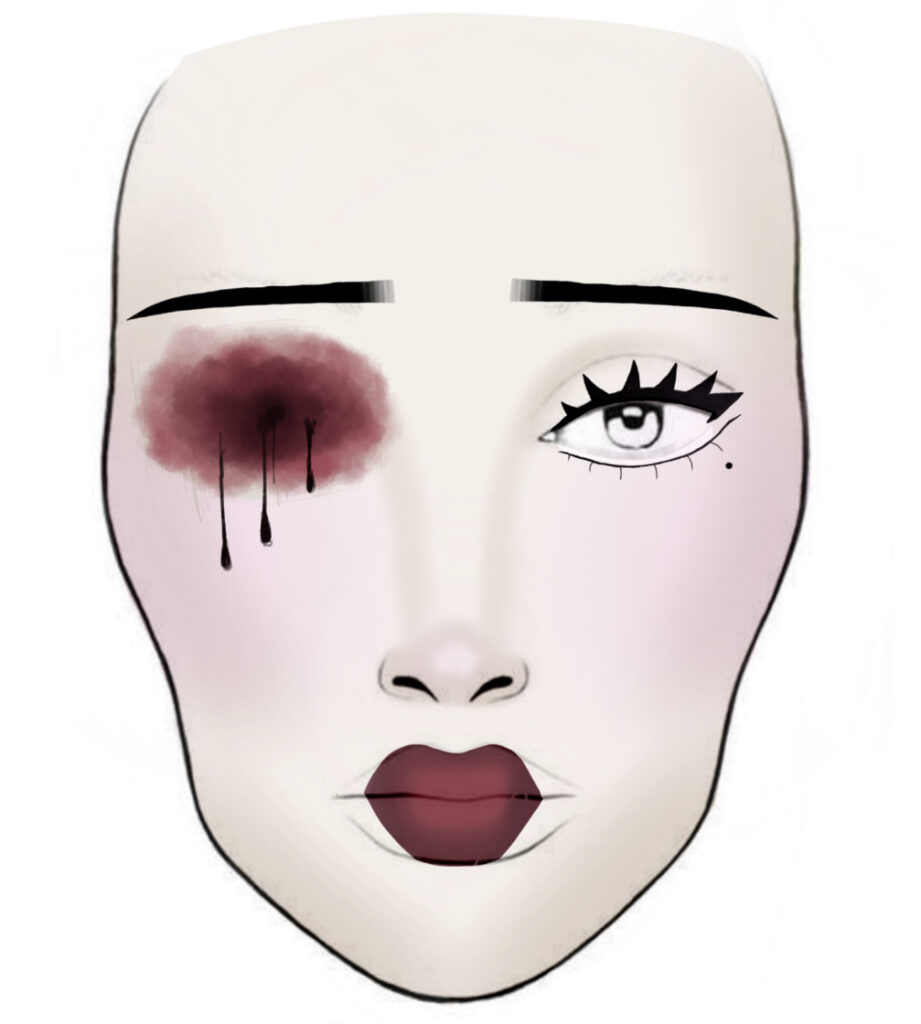
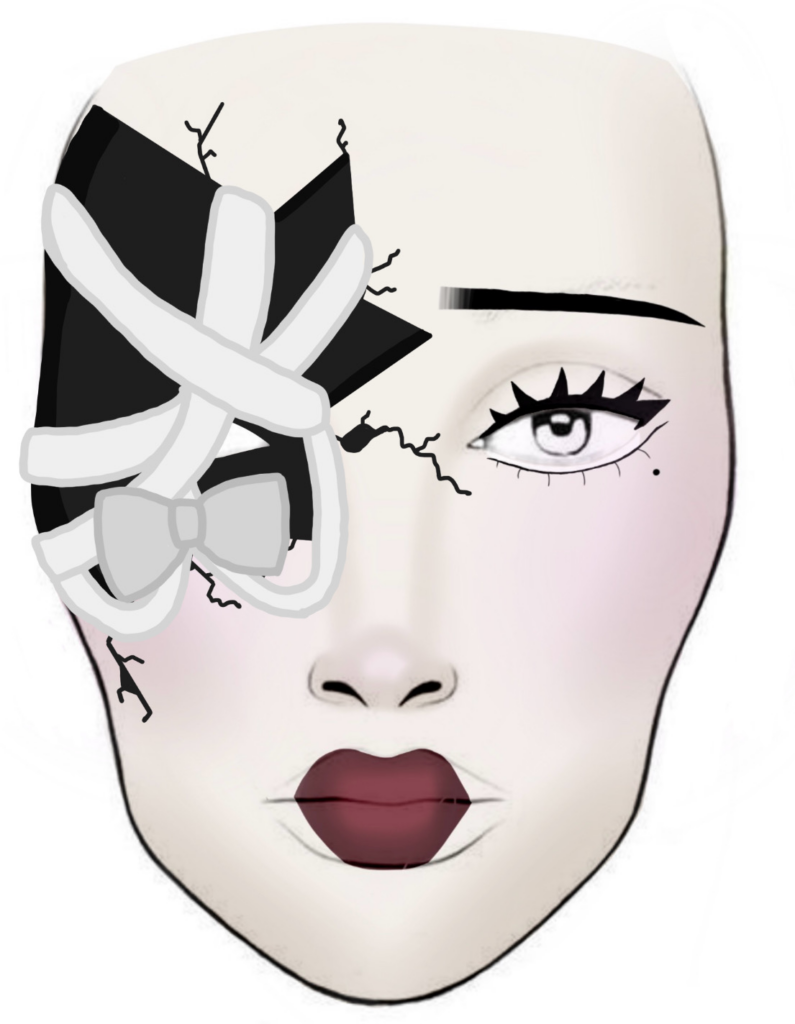
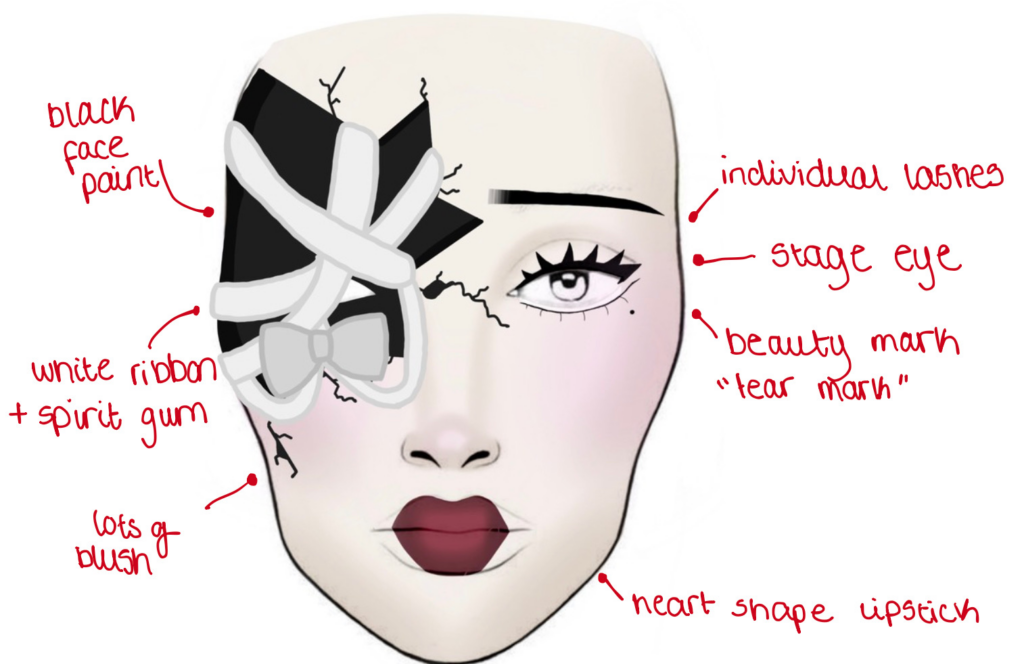
I decided to use the fifth face chart that I made because it is safer for my model. If I were to use my fourth face chart, I would need to use a woven fabric and spirit gum near to the eye to get the best flawless finish. However, I know that using spirit gum near the eyes can be extremely dangerous if something goes wrong as it can be irritating to the thin skin even after a previous patch test. Even with the skills that I have learnt about special effects makeup it would be responsible or safe of me to use a chemical like spirit gum near anyone’s eyes, for this reason alone I decided to change my design to be similar to a look I made for the 2024 summer show (the ribbon over a quarter of the face). That way I could still keep the story of my character the same, the broken, forgotten doll effect would be more obvious and it is safer for my model- which is always my top priority.
I had the opportunity to have one of my makeup practices professionally photographed.
(Once I got the photos back, I had to edit the photos to hide my open eye behind the ribbon)
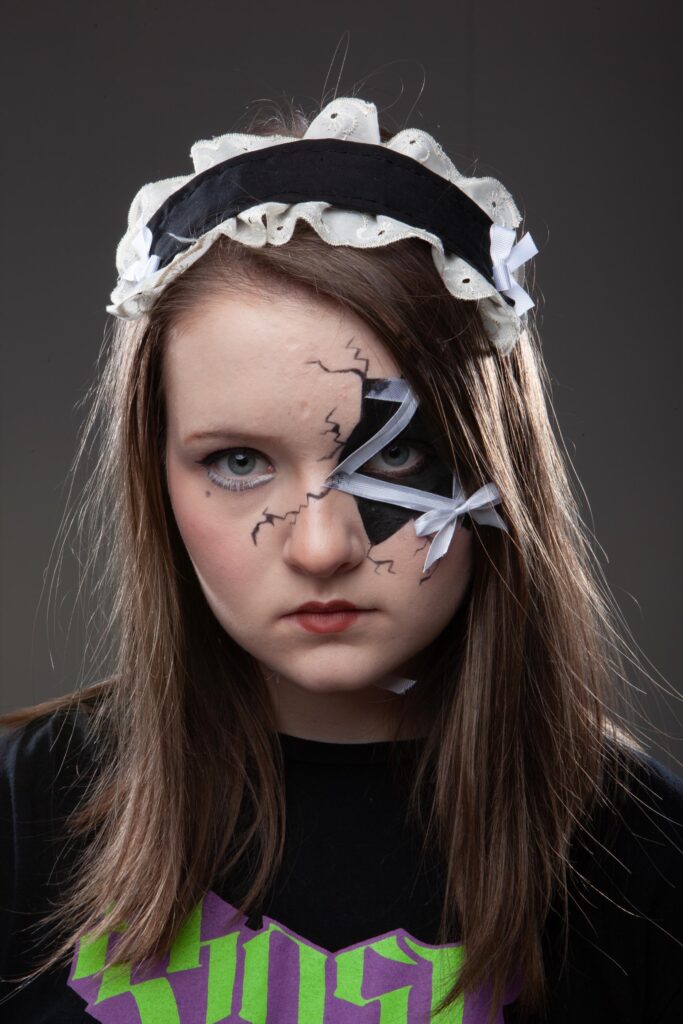
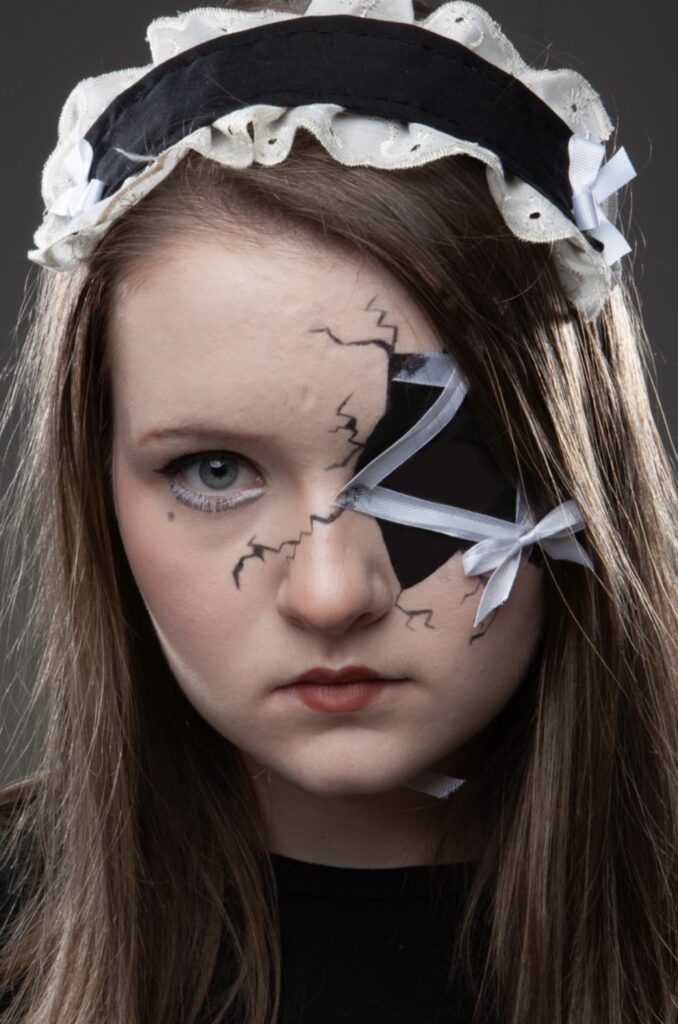
I really liked how this practice turned out and it really boosted my confidence in completing this look to a higher standard.
Problem Solving:
In my practices, I noticed that the foundation I used was too sheer and took a lot of layering to get the porcelain effect with the skin that I wanted. To fix this, in my assessment I will use a creme based foundation because they are thicker and have higher coverage.
For the wig, I designed three basic hair charts for this assignment that I would adapt with colour after I was sure of what I wanted to do:
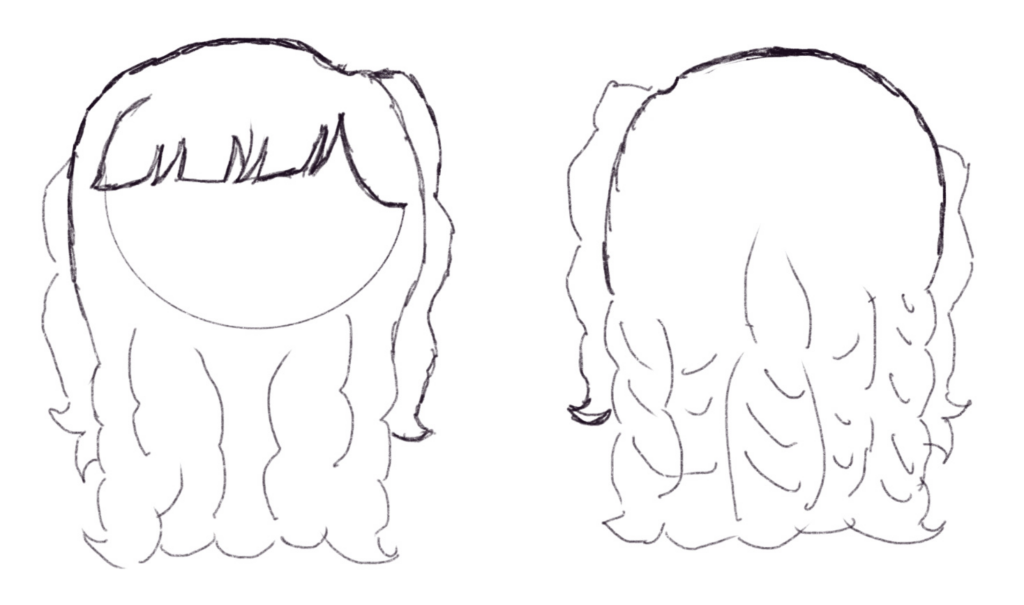
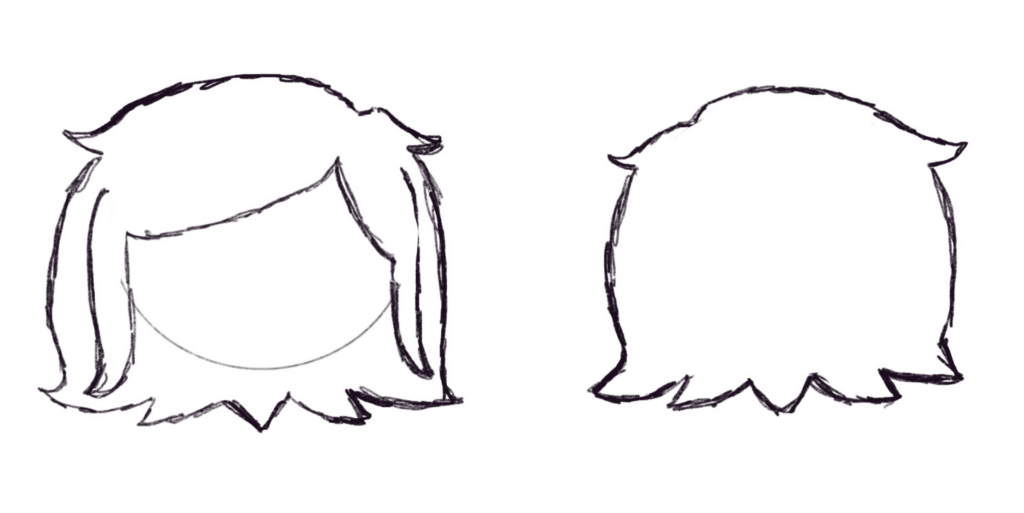
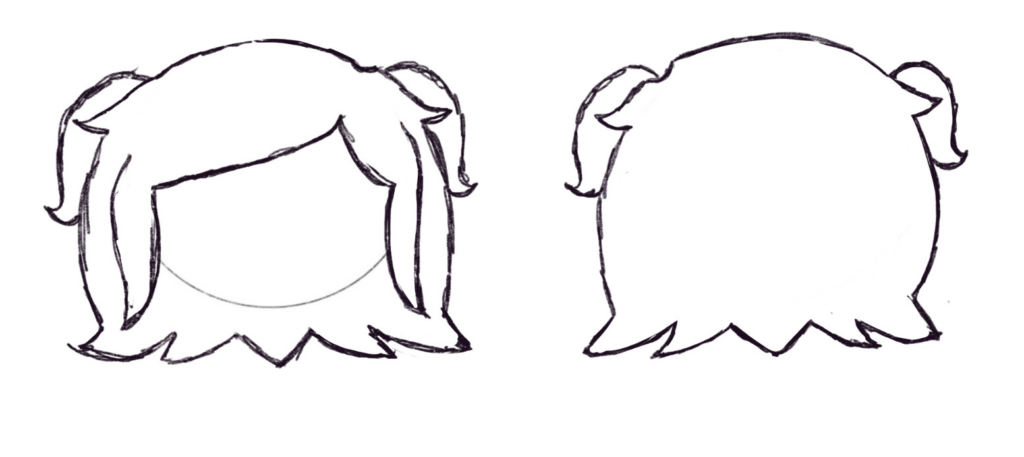
I liked my third design best and it would also be relatively easy to style if I were to buy a wig with clip on ponytails. Most cosplay wigs that you can buy online come with clip on ponytails for the best effect so I tried to look for one like that.
Problem Solving:
Unfortunately I could not find a wig like what I needed in such a short time, I decided to find a compromise so that I could get a wig and style it in the time given before my assessment. This was the wig that I found on Amazon, which I will style before my assessment:

I drew up a design on ProCreate of what I want my final design to look like. It is mainly to display the placement of the wig and head dress.
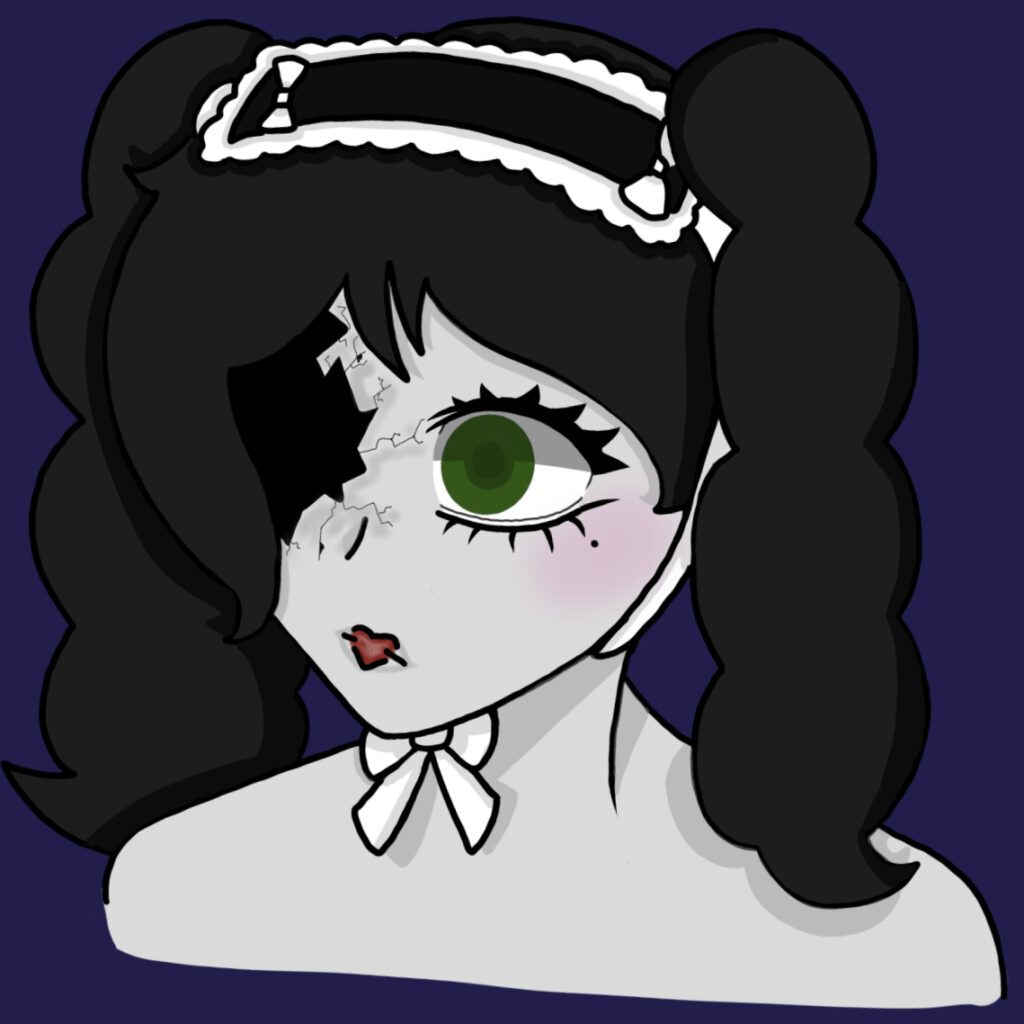
For my costume, I will look in various charity shops to find a dress/ skirt and blouse that are black, white or pink. If this isn’t possible I will ask my model to wear something with lots of frills.
I also designed a head dress that I will make:
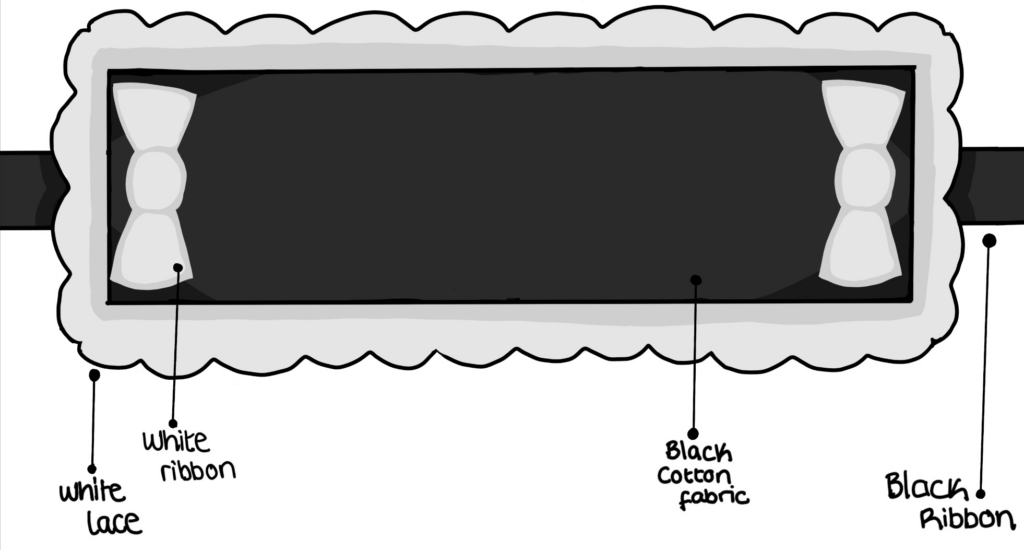
(I did end up changing my ribbon colour from black to white because I liked the contrasting colour scheme more that way)
In my practical classes, I washed a wig and put in bendy rollers to add curls. I wanted to do this to the ponytails to add dimension and have my final design more doll-like but I had some complications with the hair slipping out so I didn’t end up doing this.
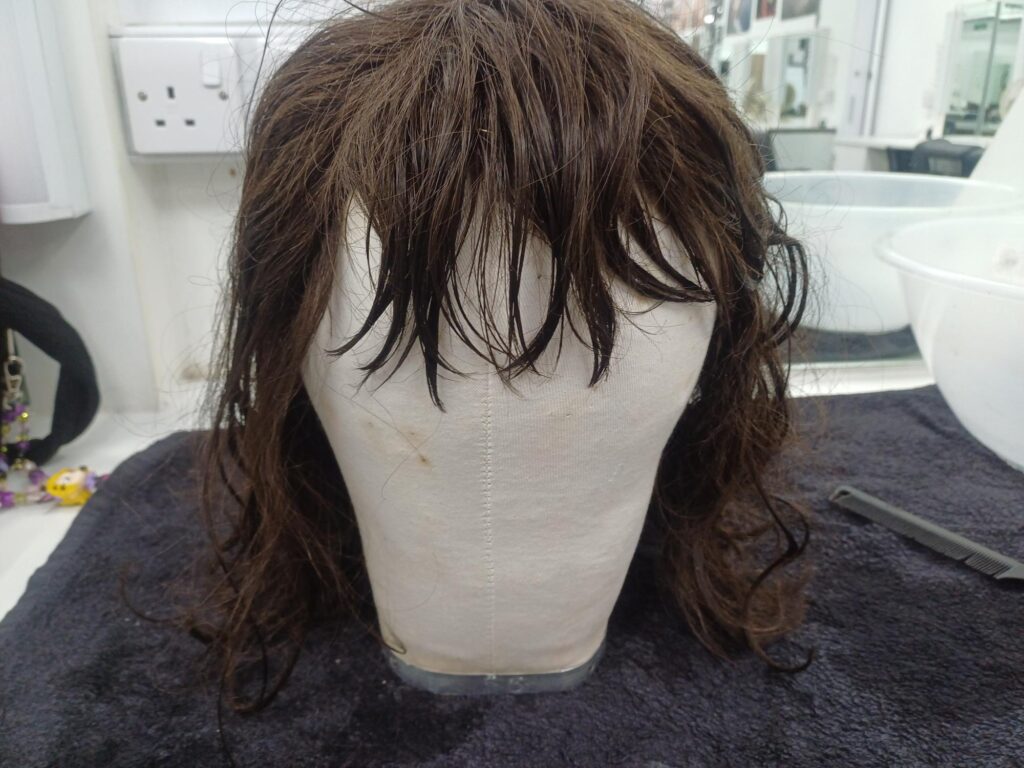
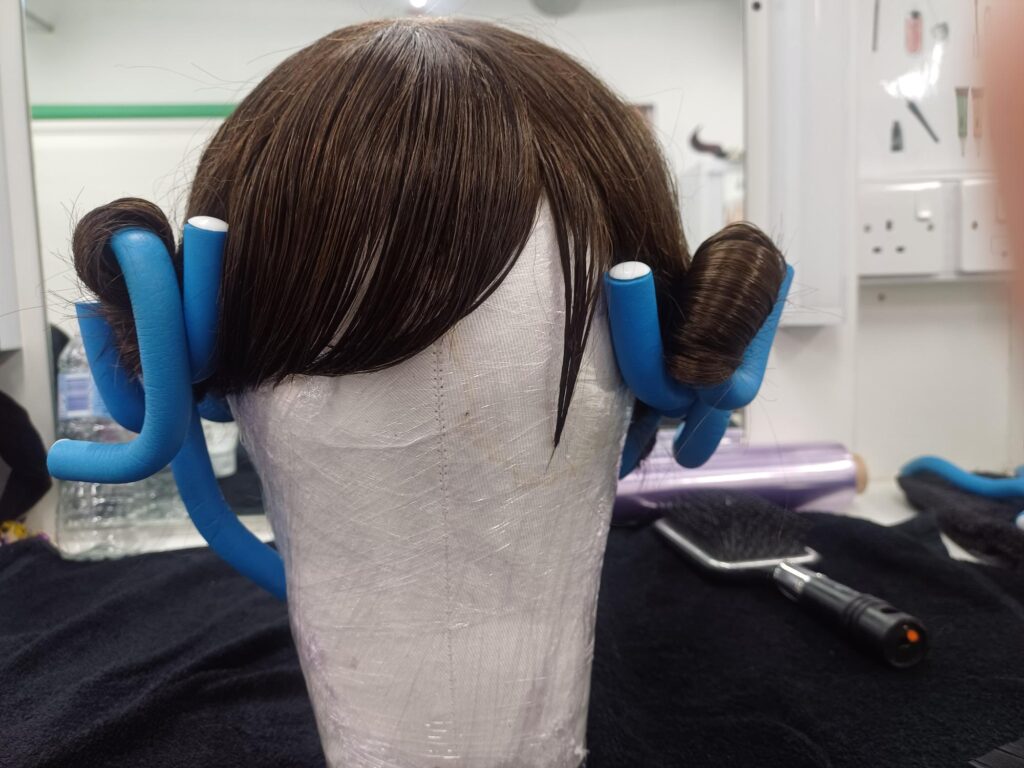
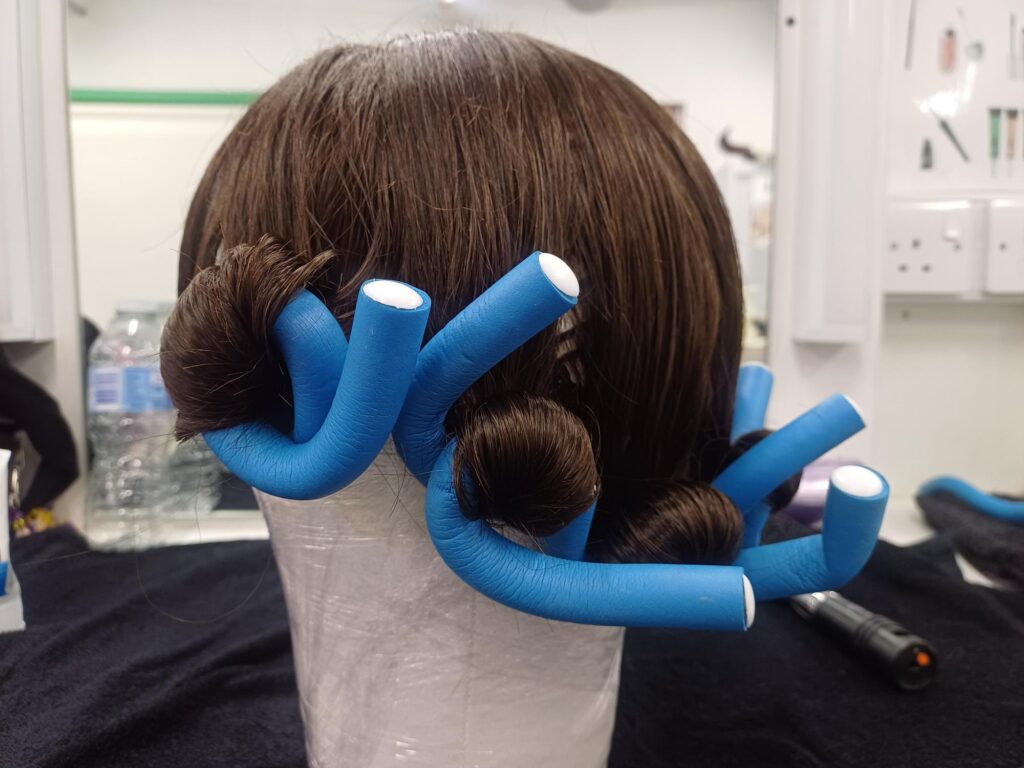
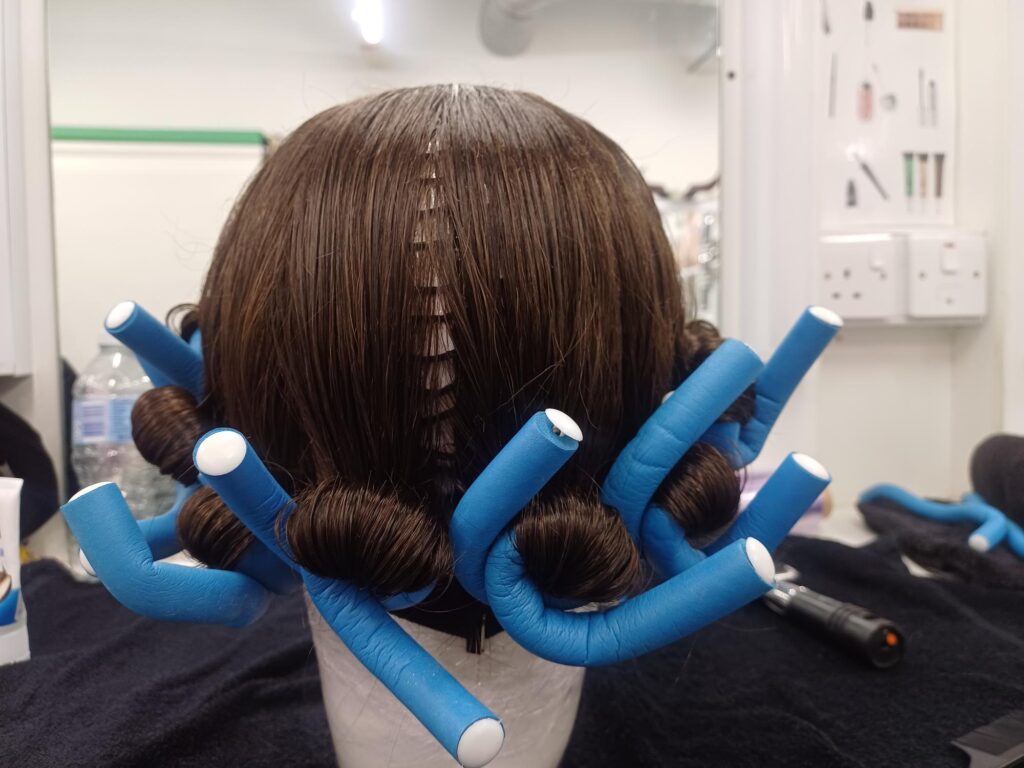
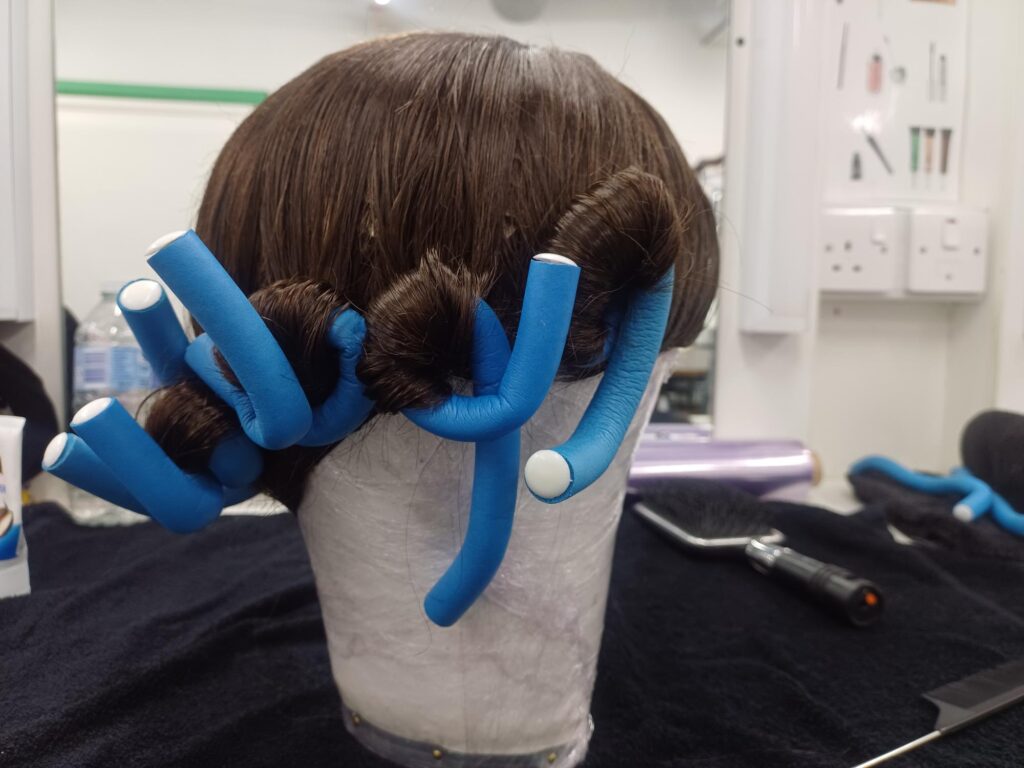
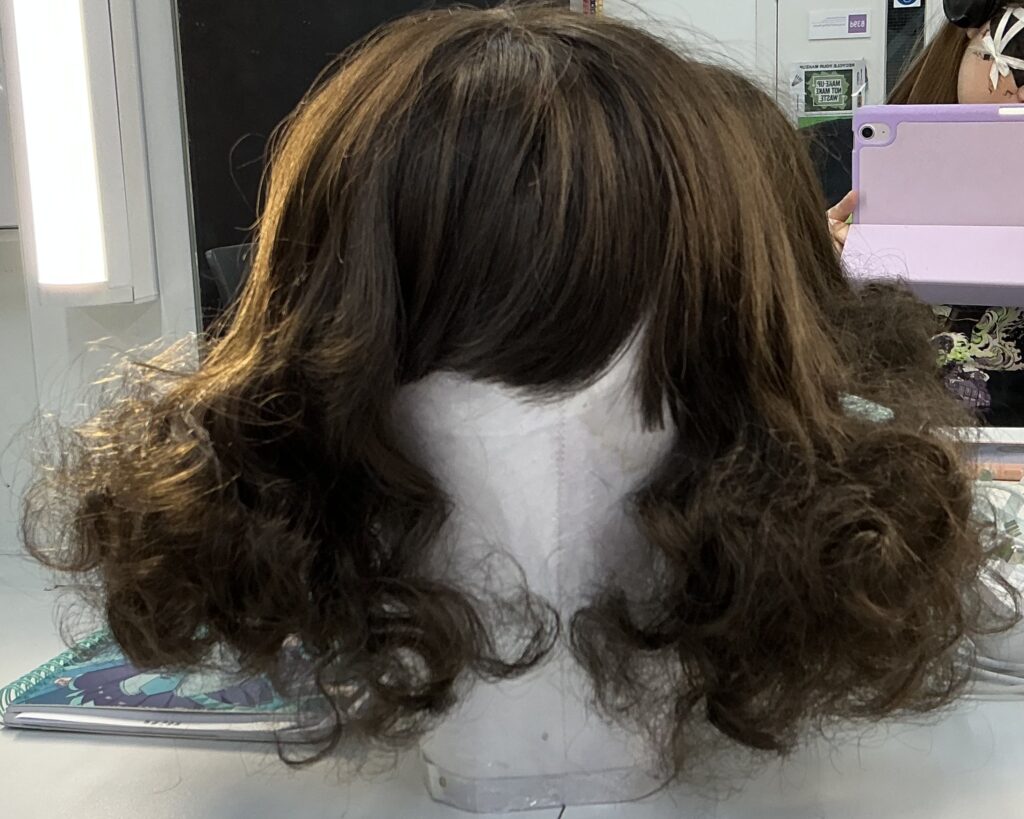
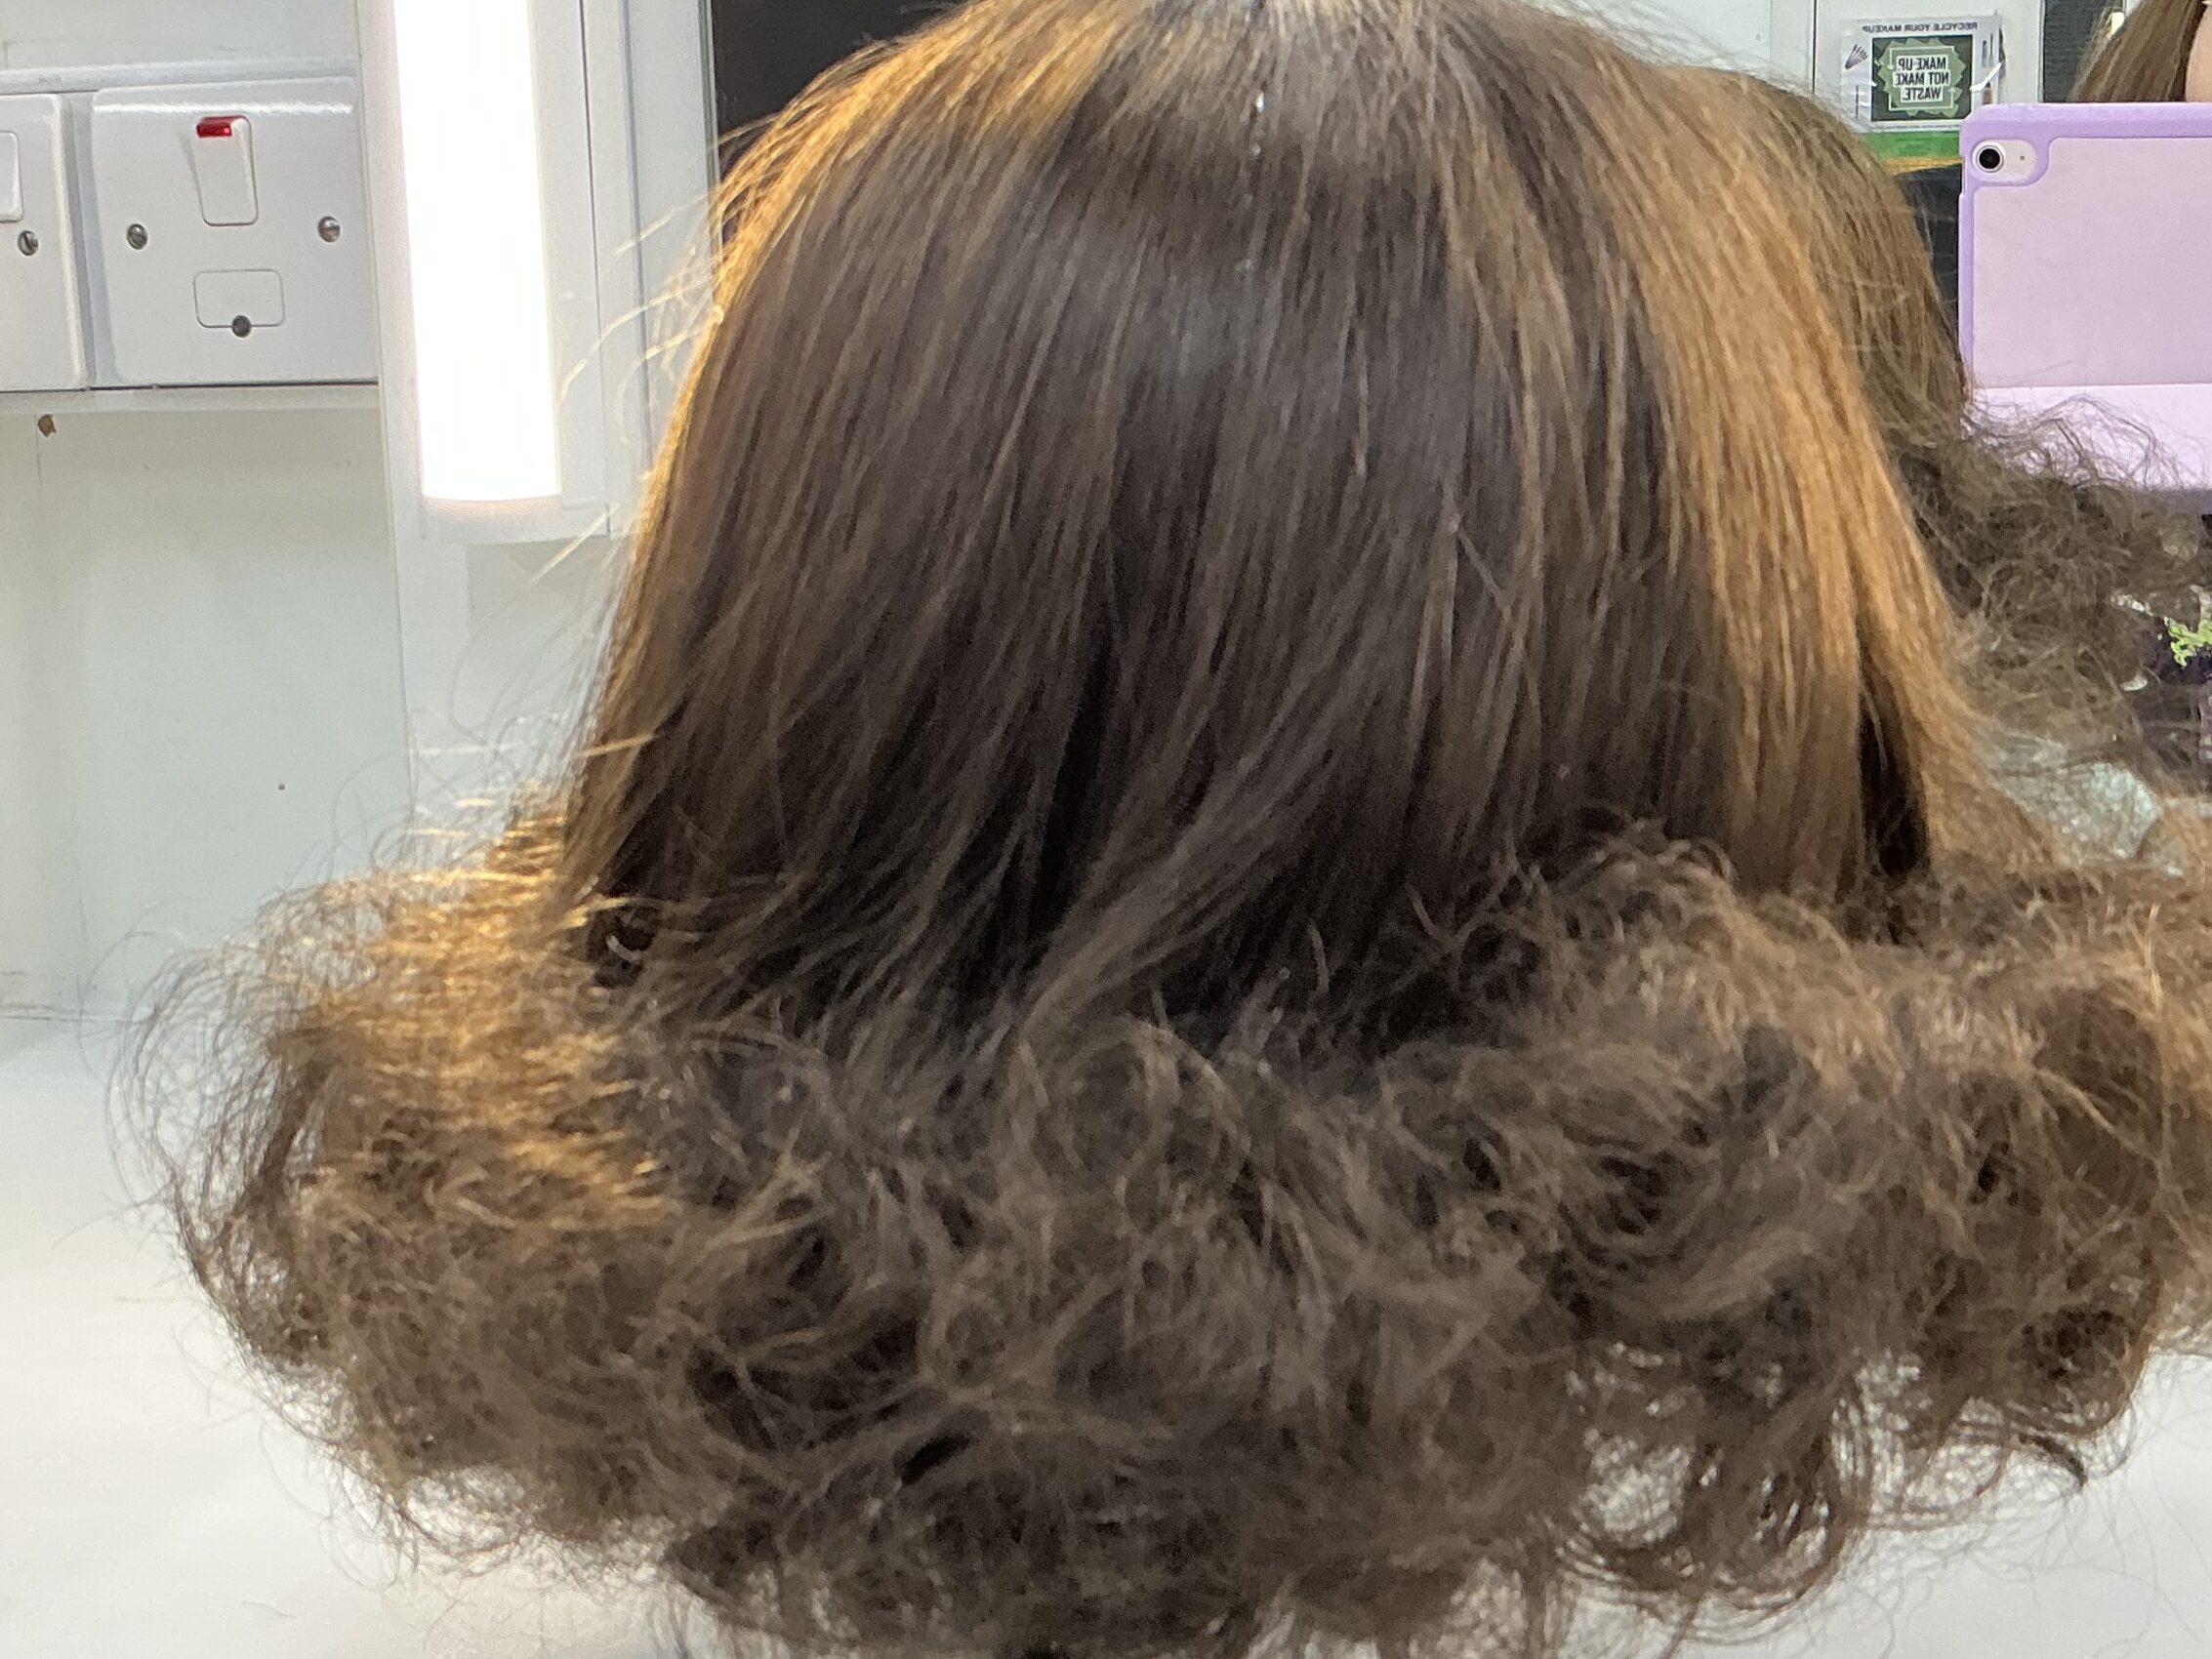
These curls are an example of how I will style the ponytails that clip onto my wig. However for my wig I will make the curls bigger and looser if possible.
There are a few products that I would need to buy for this project:
| Product | Price |
| Eyeliner Pen | £3-£15 |
| Neutral Eyeshadow Palette | £5-£15 |
| Wig | £15.99 |
| Costume (?) | £5-£15 |
| Headdress Fabric | £5-£15 |
| False Lashes | £5-£10 |
My reference for making my look more doll-like is this example of ball-joint makeup that I did on my hands in class once. I originally saw a video of how to do this on TikTok posted by user “@bigstupihead”
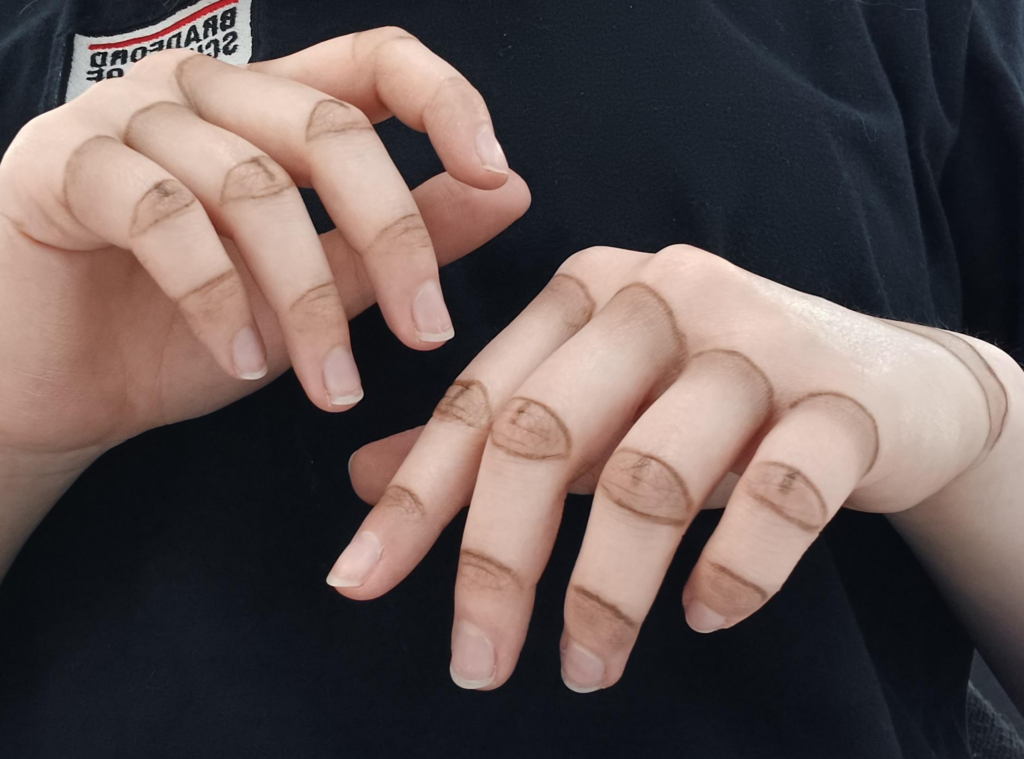
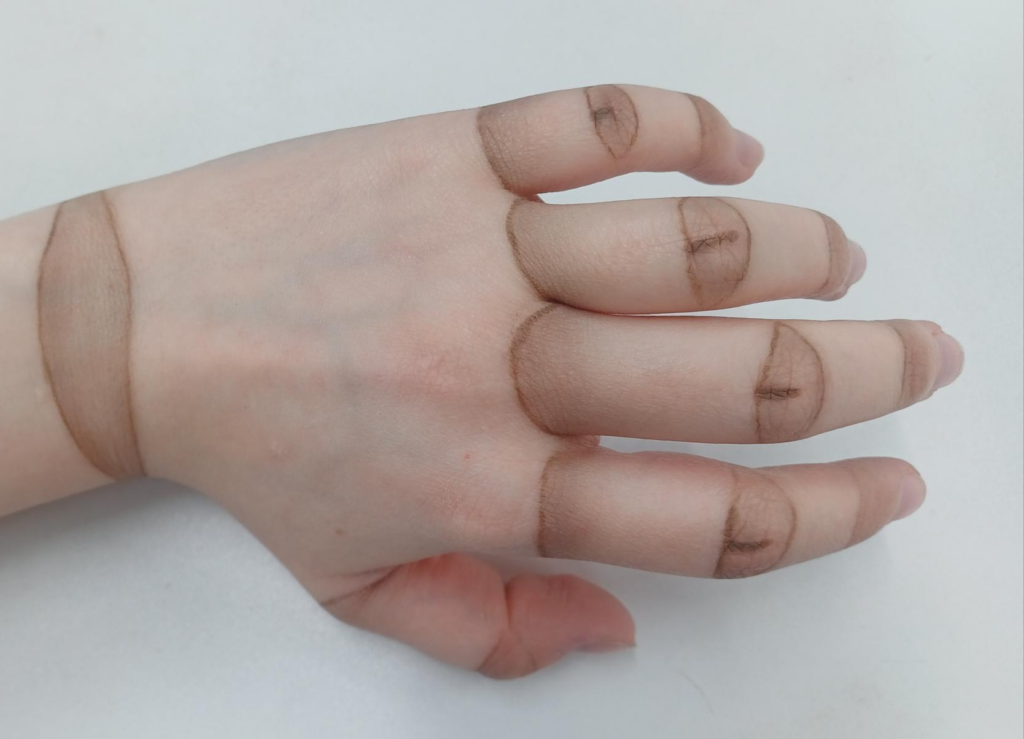
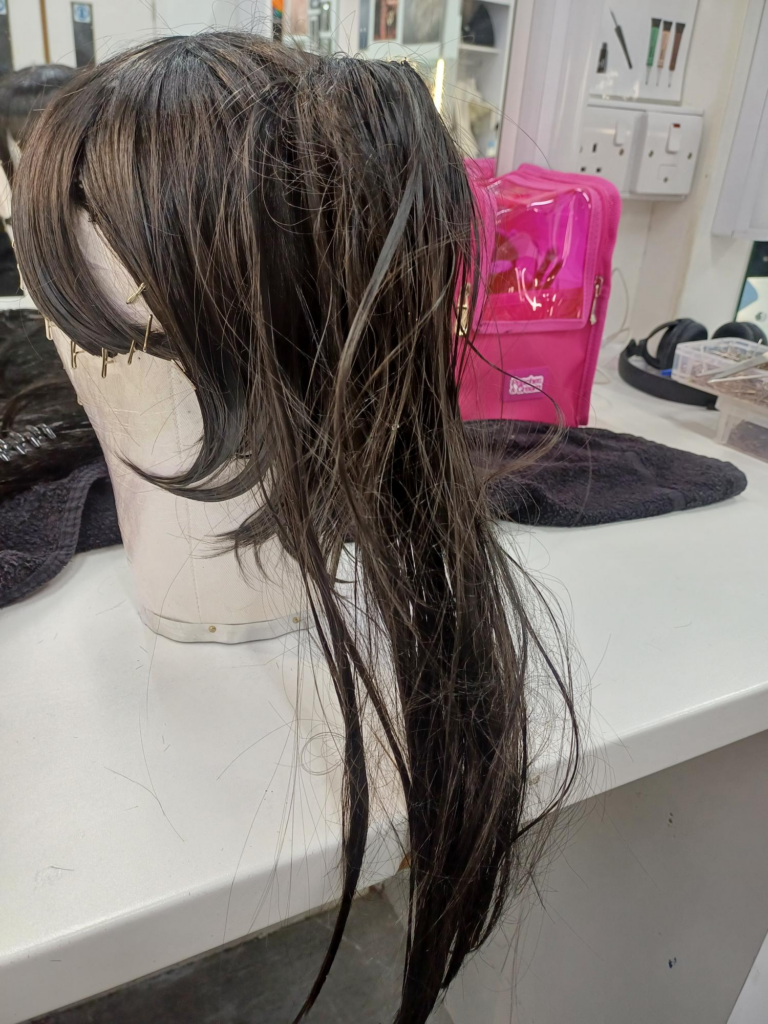
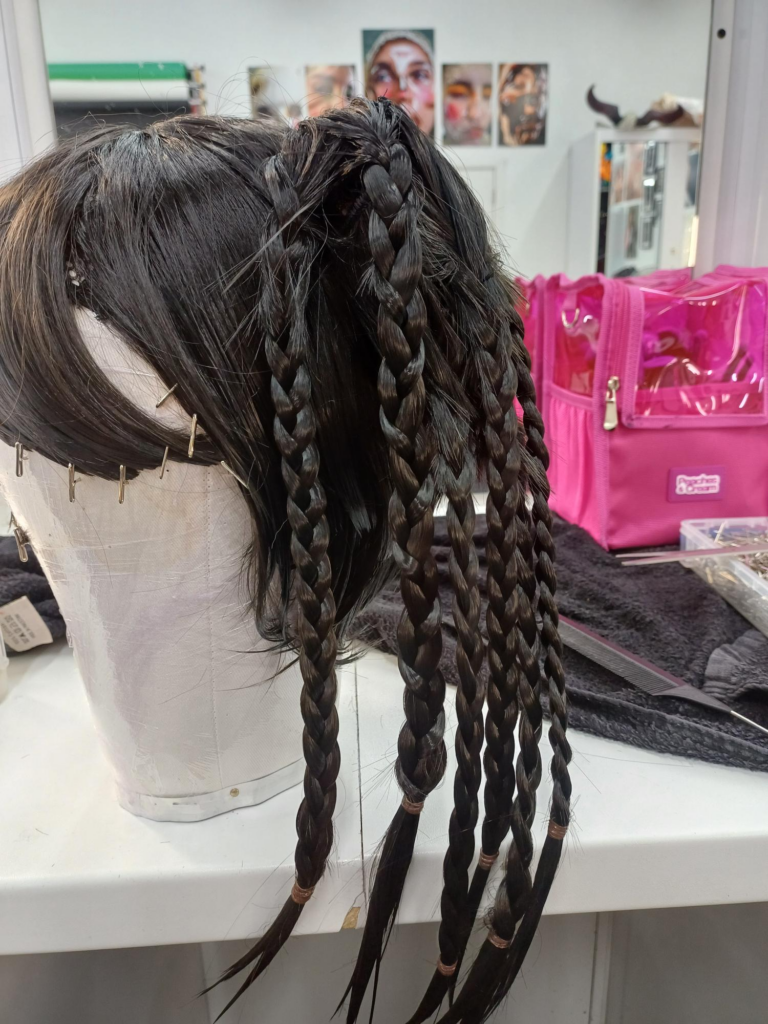
To style my wig, I struggled at first to get the bendy rollers into the ponytails because the hair kept slipping out. To work around this, I decided to experiment with the wig being either straight or curly to see which one I liked the most. I also decided to cut the front of the wig because it was very thick and braid the ponytails because it was the quickest, easiest way for me to make the wig curly.
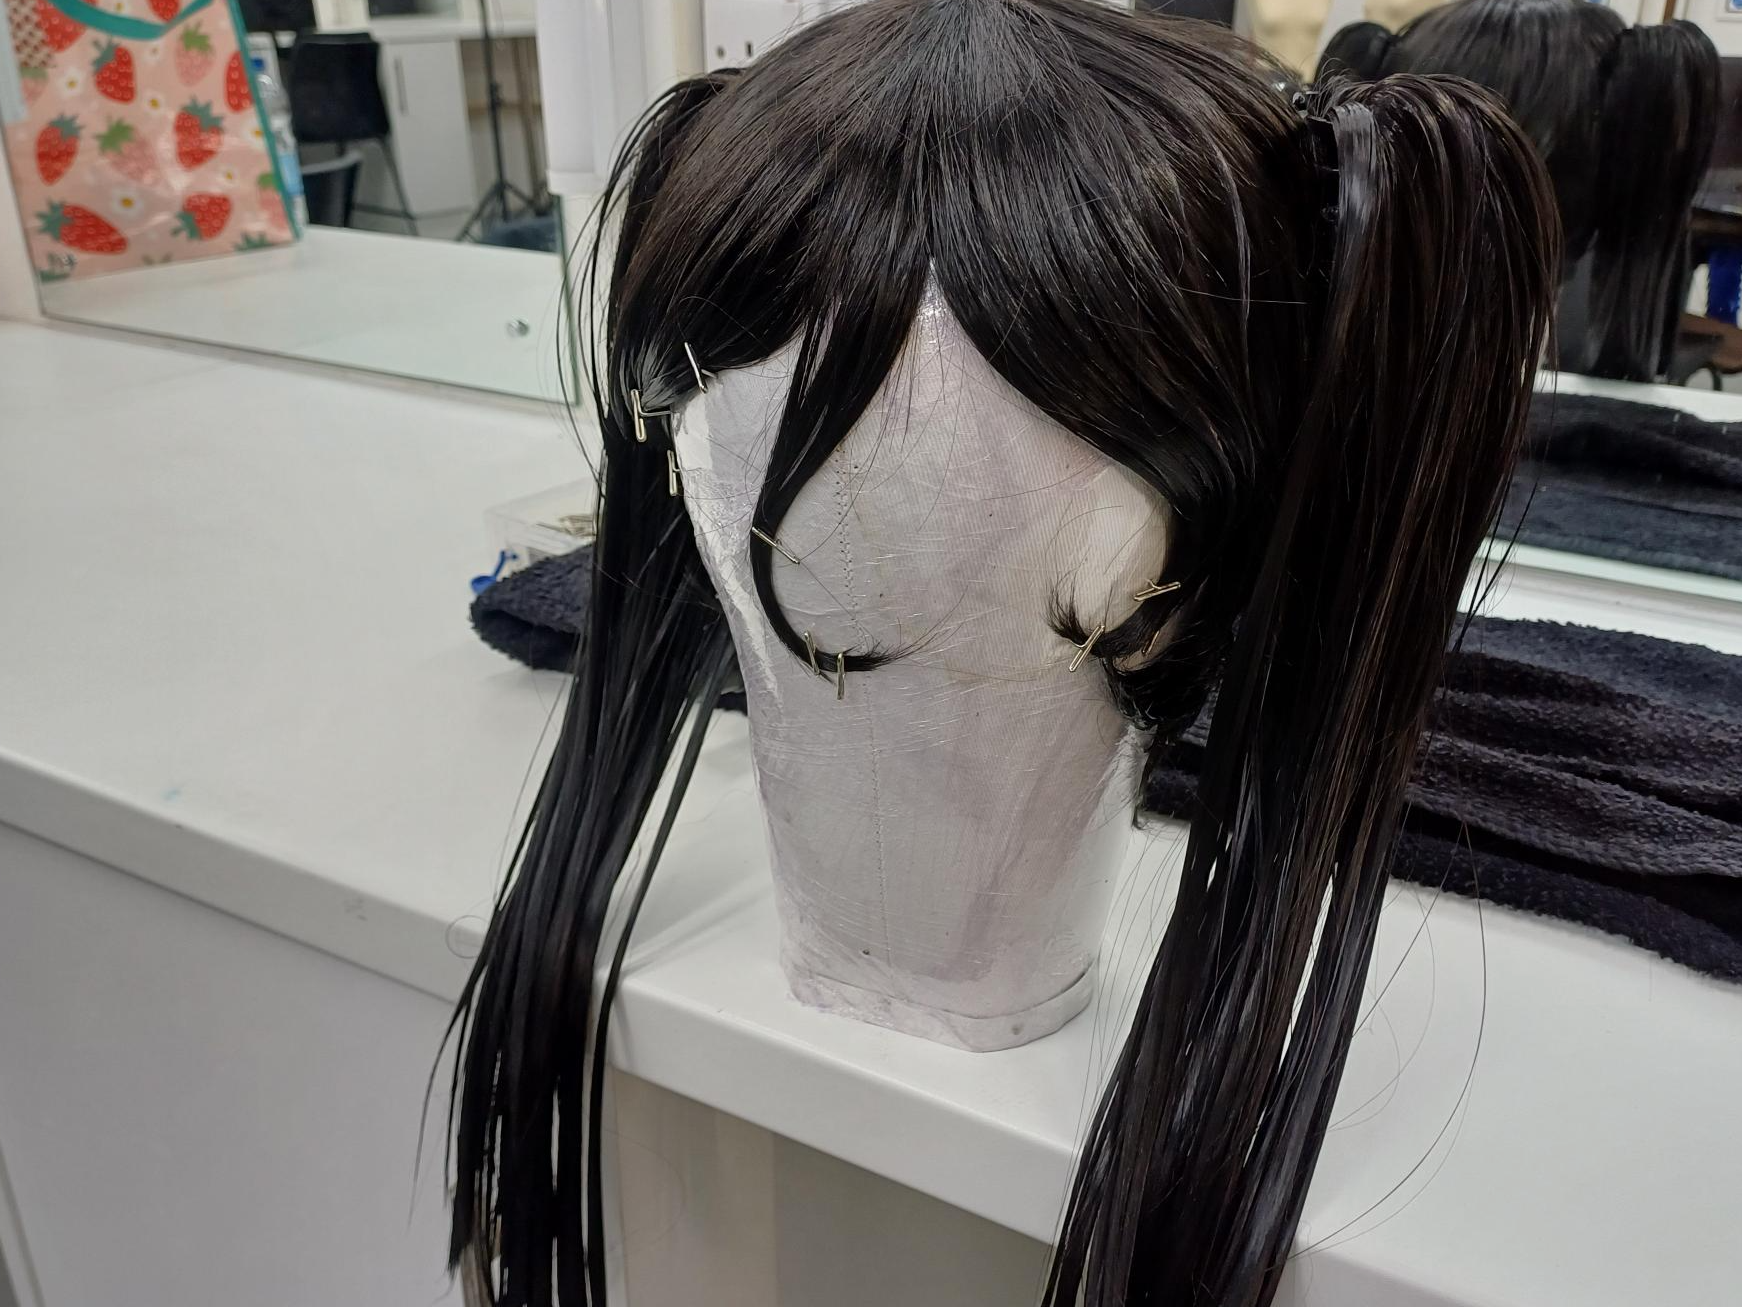
This was what the wig looked like straight. I felt that it looked far too shiny and basic.
I also cut the front of the wig to make it thinner:
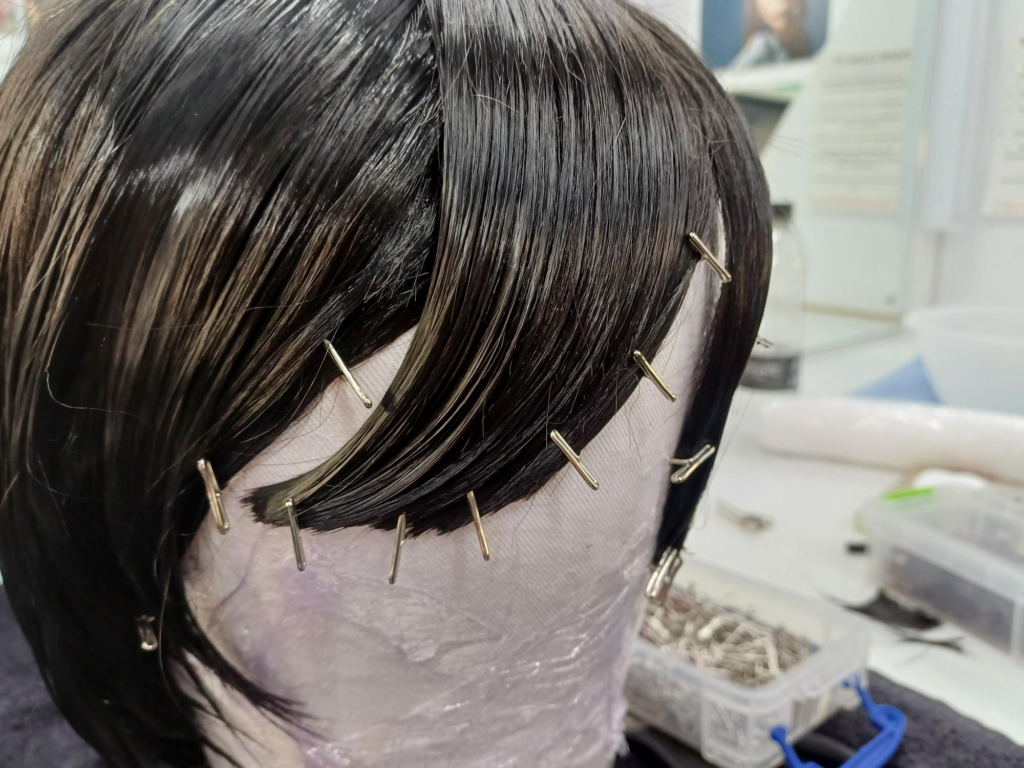
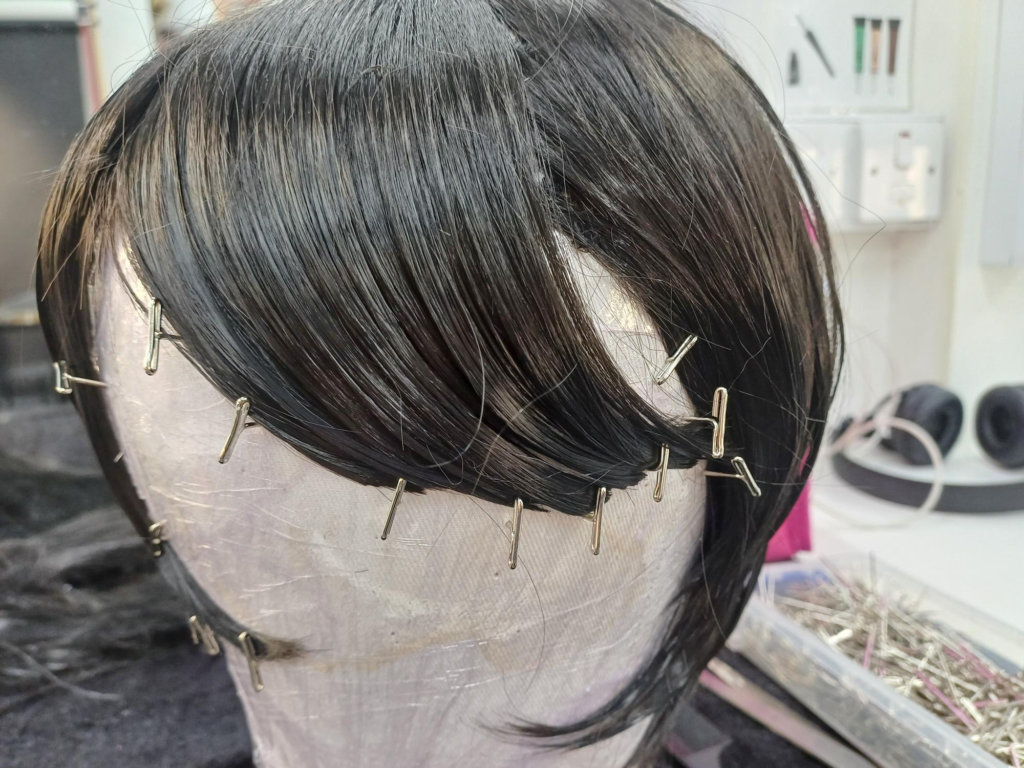
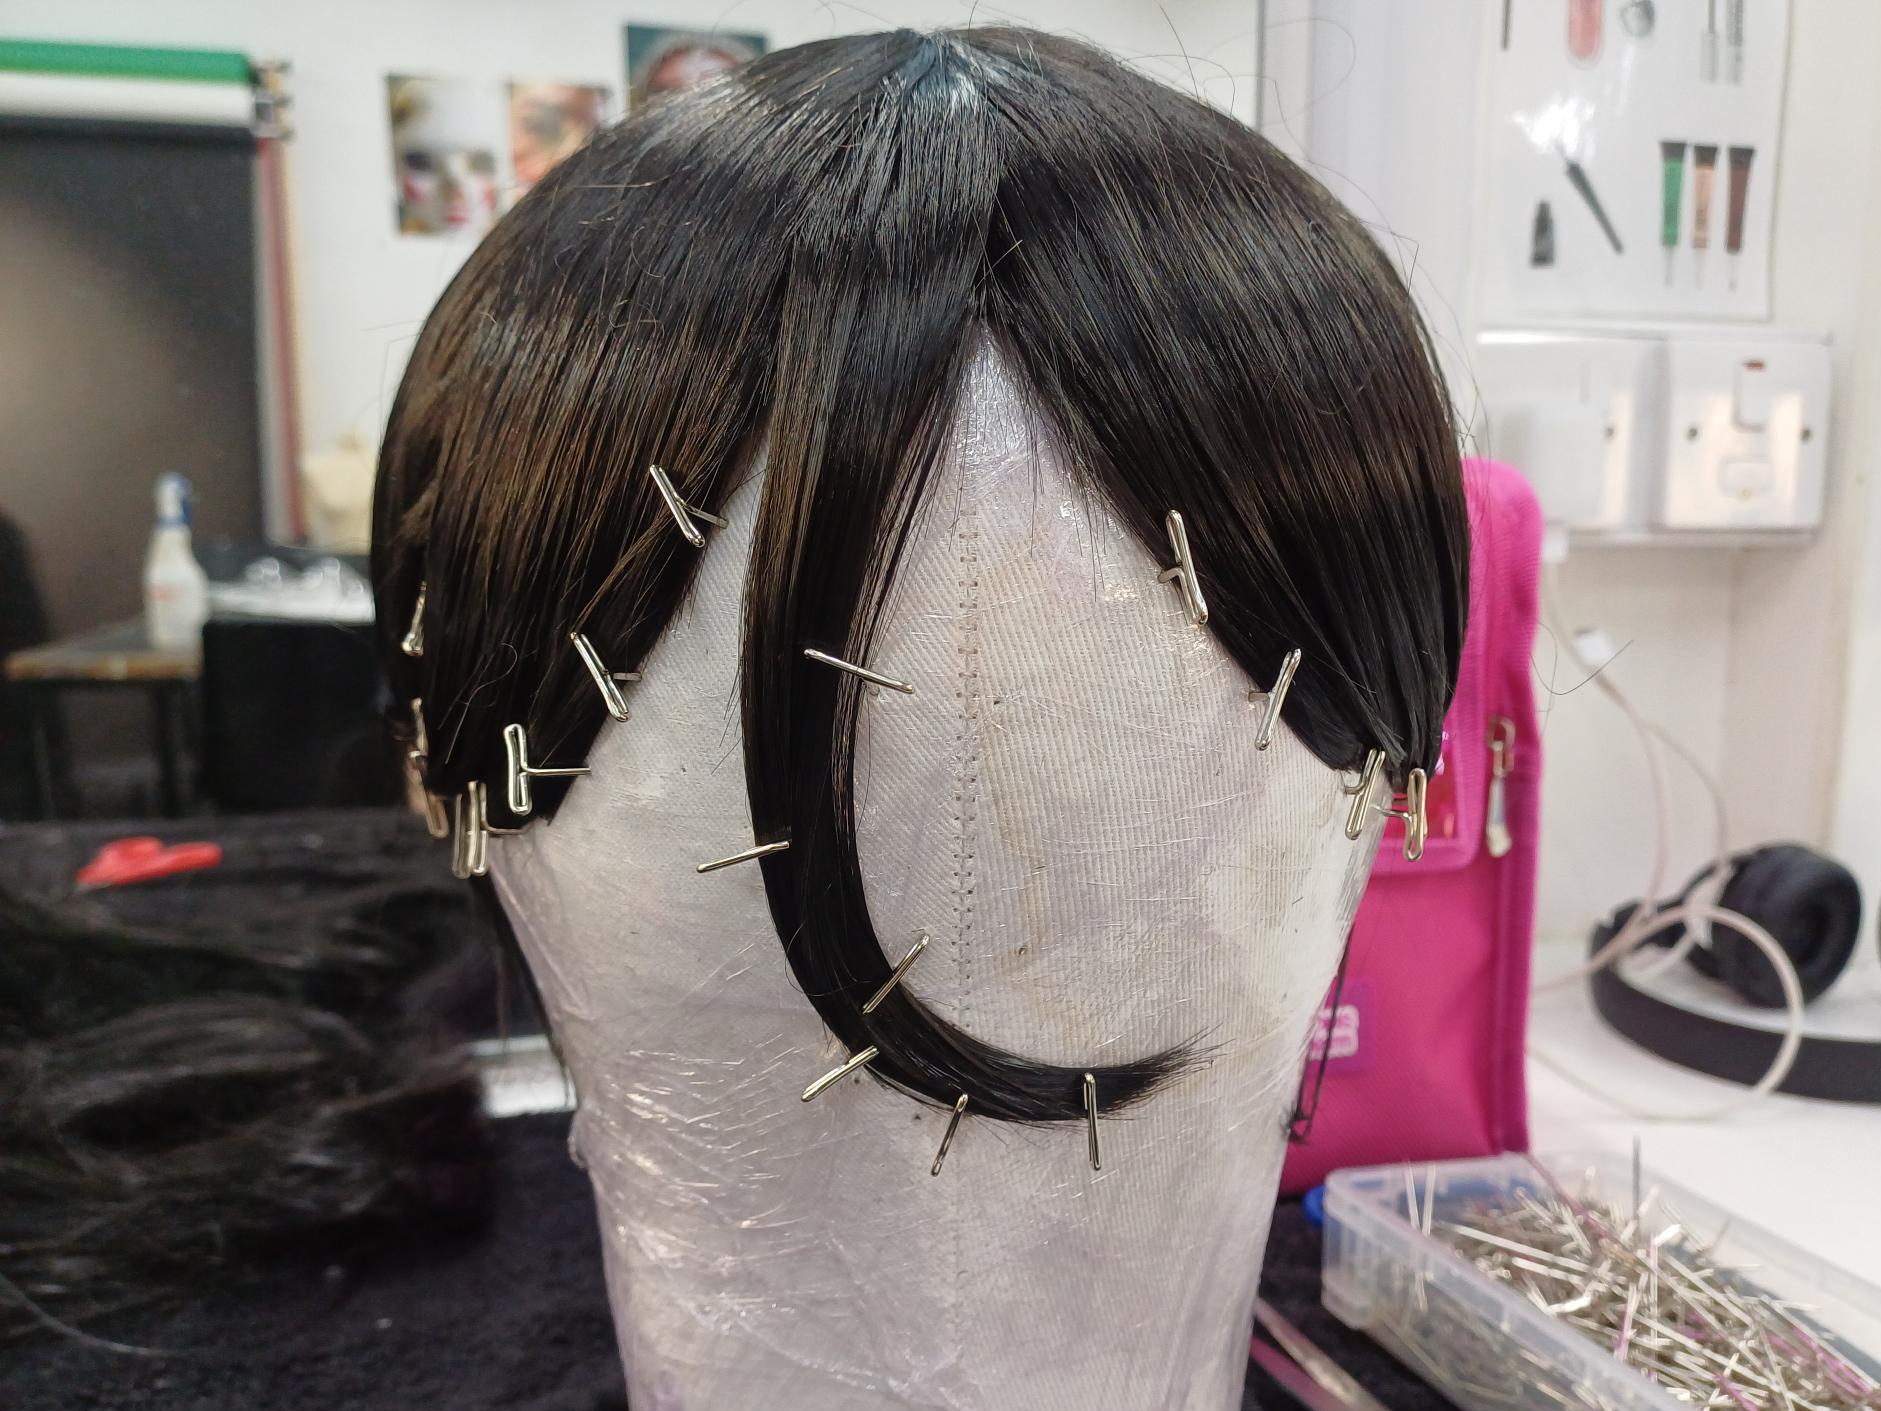
This was my process and results of braiding the wig to make it curly. I started by washing the wig and then brushing it out before adding in the braids.
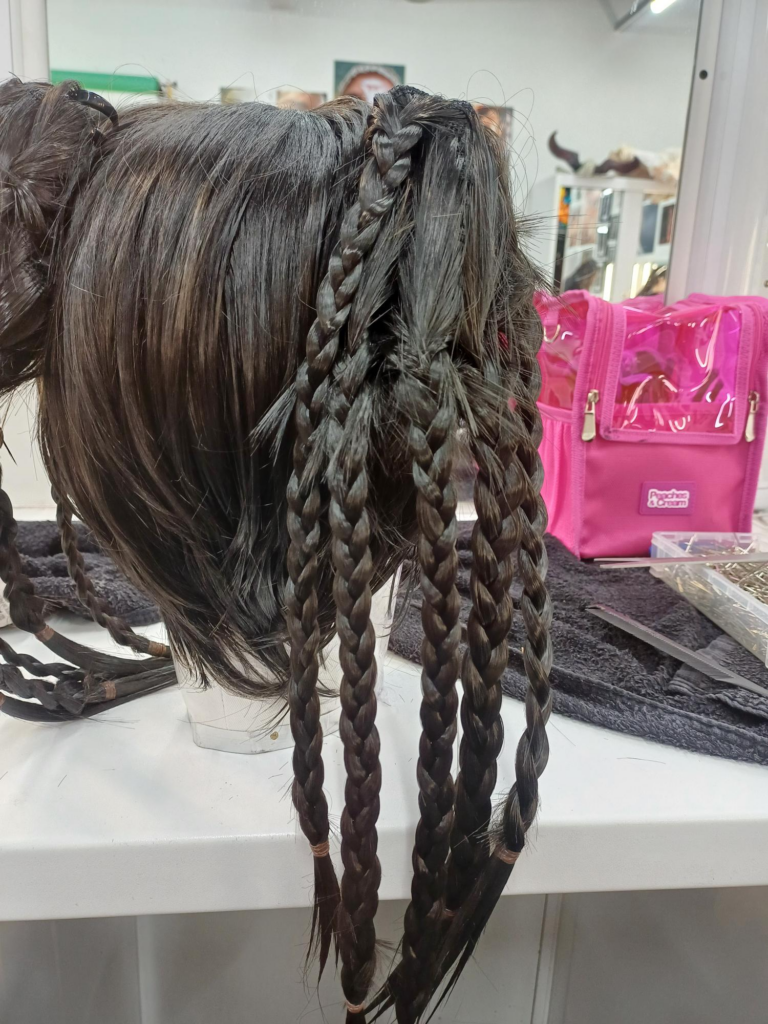
I sat in with level 2 and 3 when they had a class on wig wraps. I thought this was very informative because it reminded me of the importance of good wig wrapping- makes the hair smooth so that the wig lays flat and it also protects the hair. However, in high end theatre productions for example, actors will tend to pre wrap their hair and do their own makeup.
Examples of wig wrapping includes the washing machine method, hair wraps, cornrows, braids of pin curls. The type of technique you use depends on the length and type of hair.
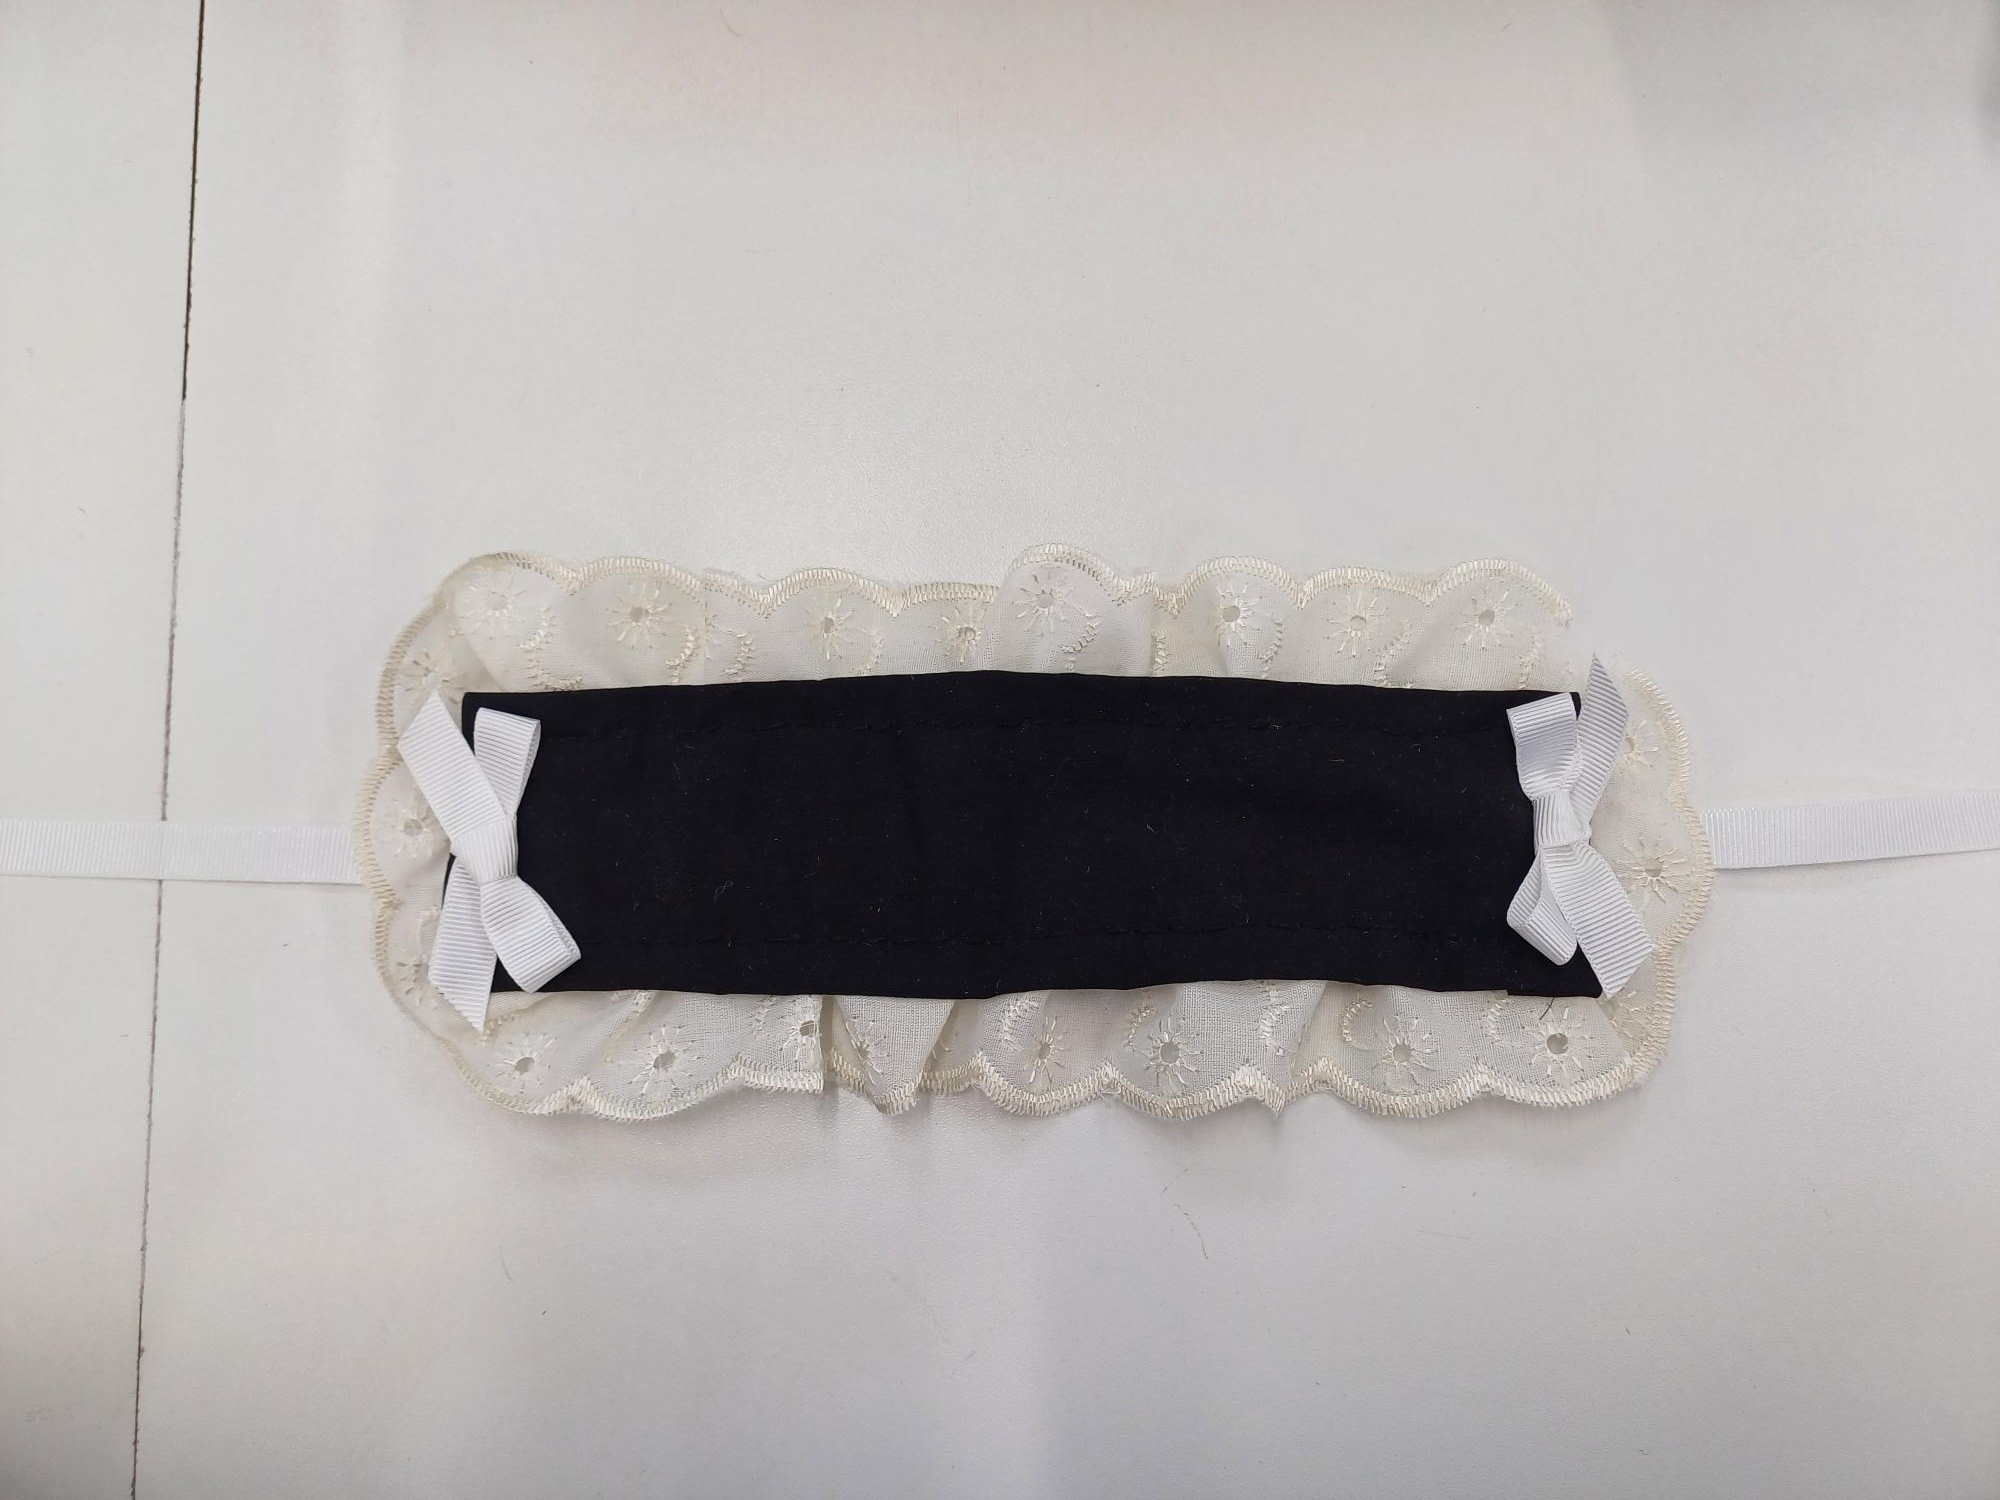
I also hand-sewed a Gothic Lolita style headdress to fit the aesthetic of my look.
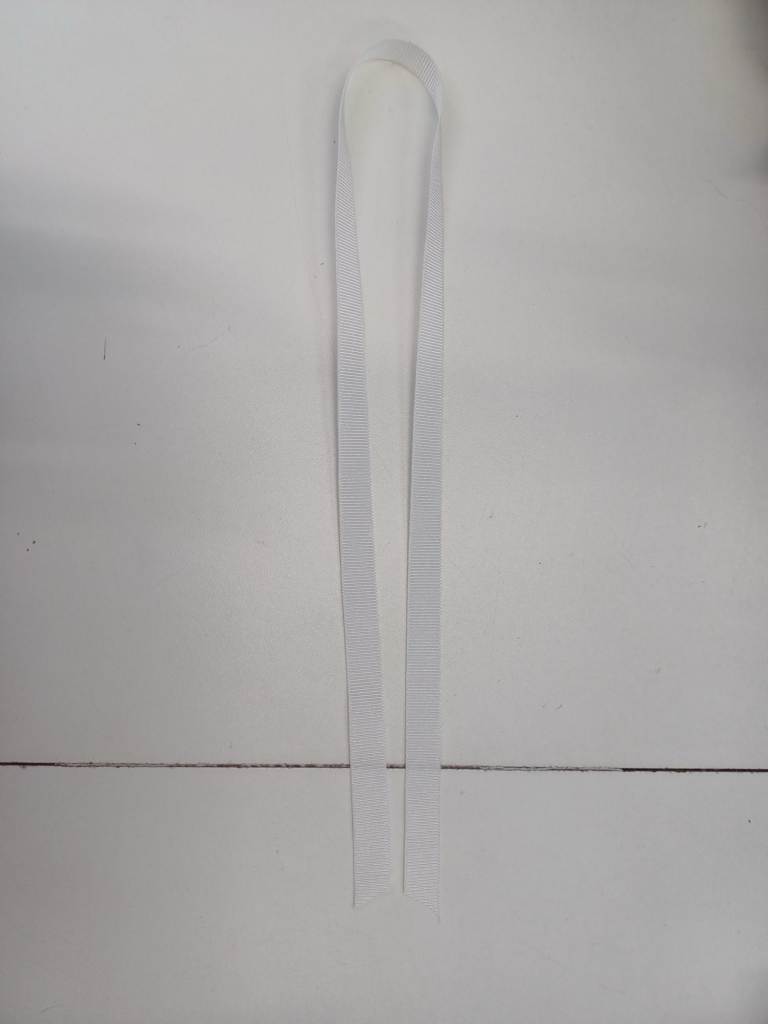
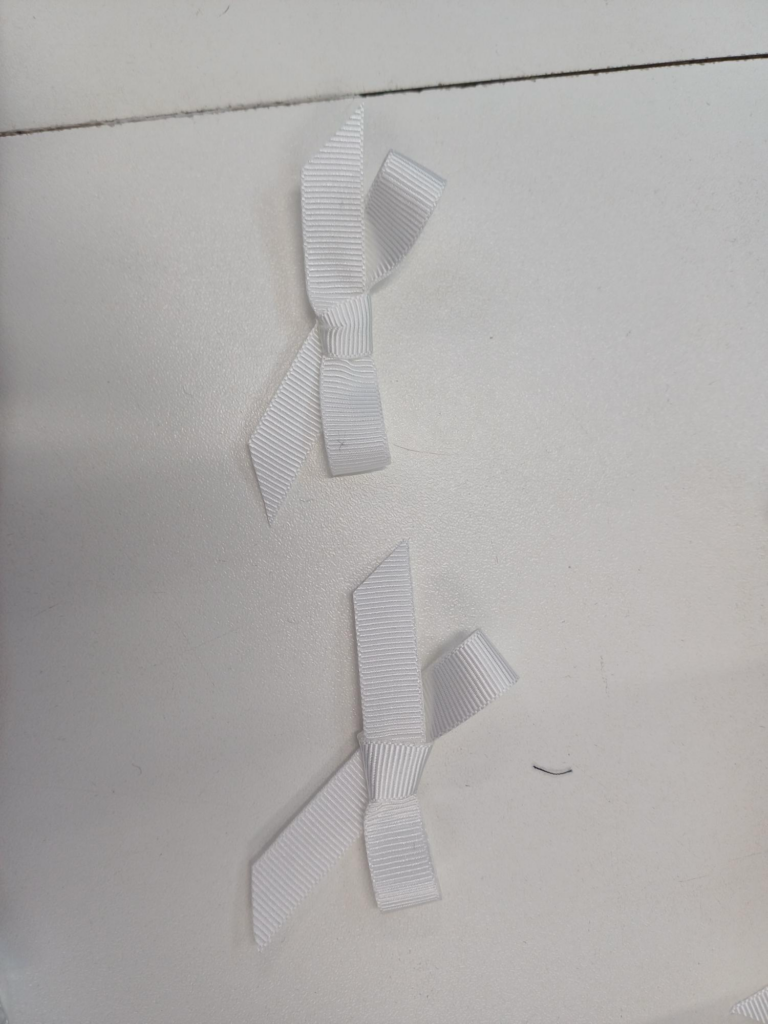
I started by cutting my white ribbon to just over the length around my head and turning the remainder into two small identical bows:
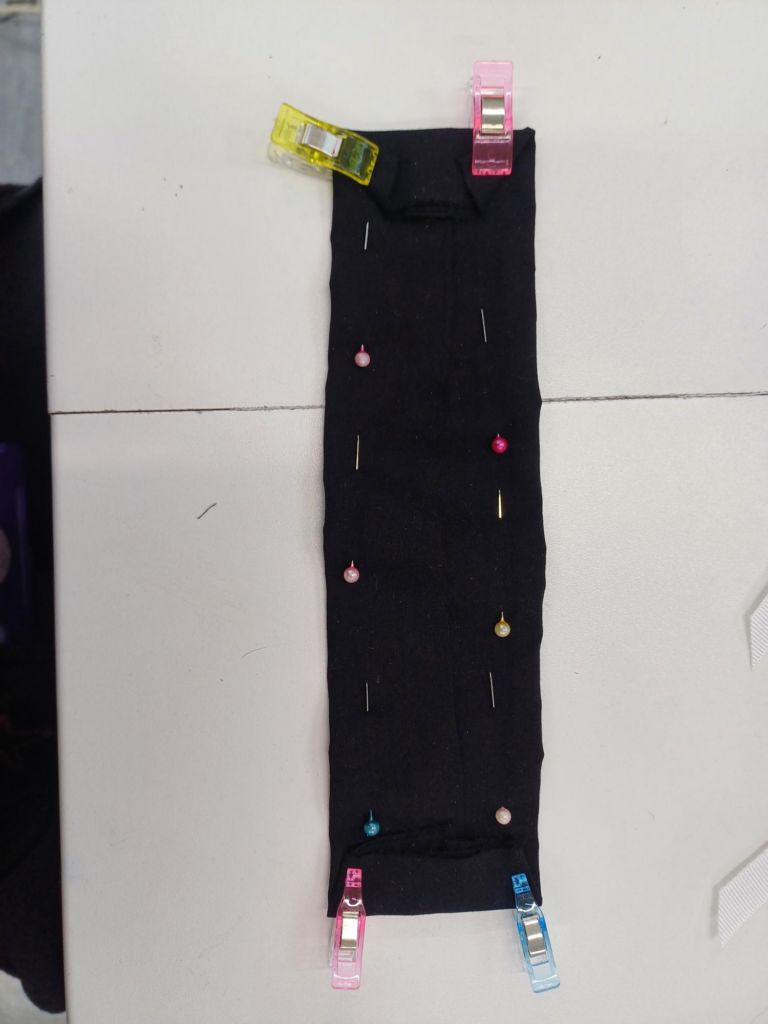
I then cut out my black fabric into a large rectangle and sewed down the edges to prevent any fraying:
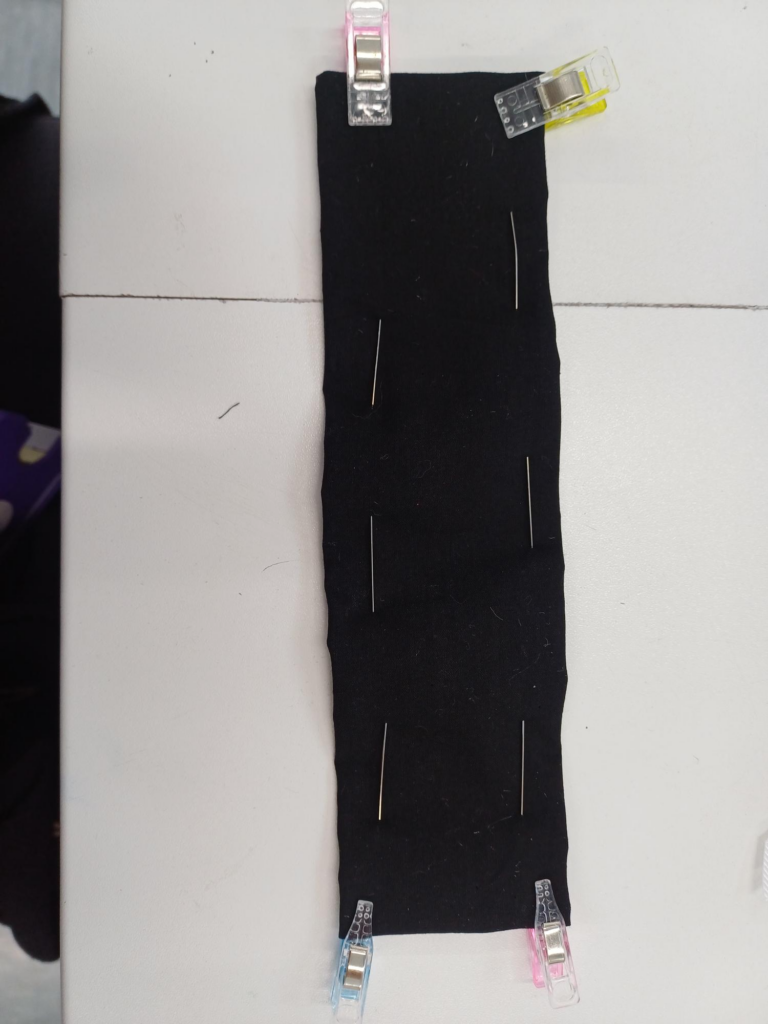
I then sewed the white lace to the edges of the black rectangle to complete the base:
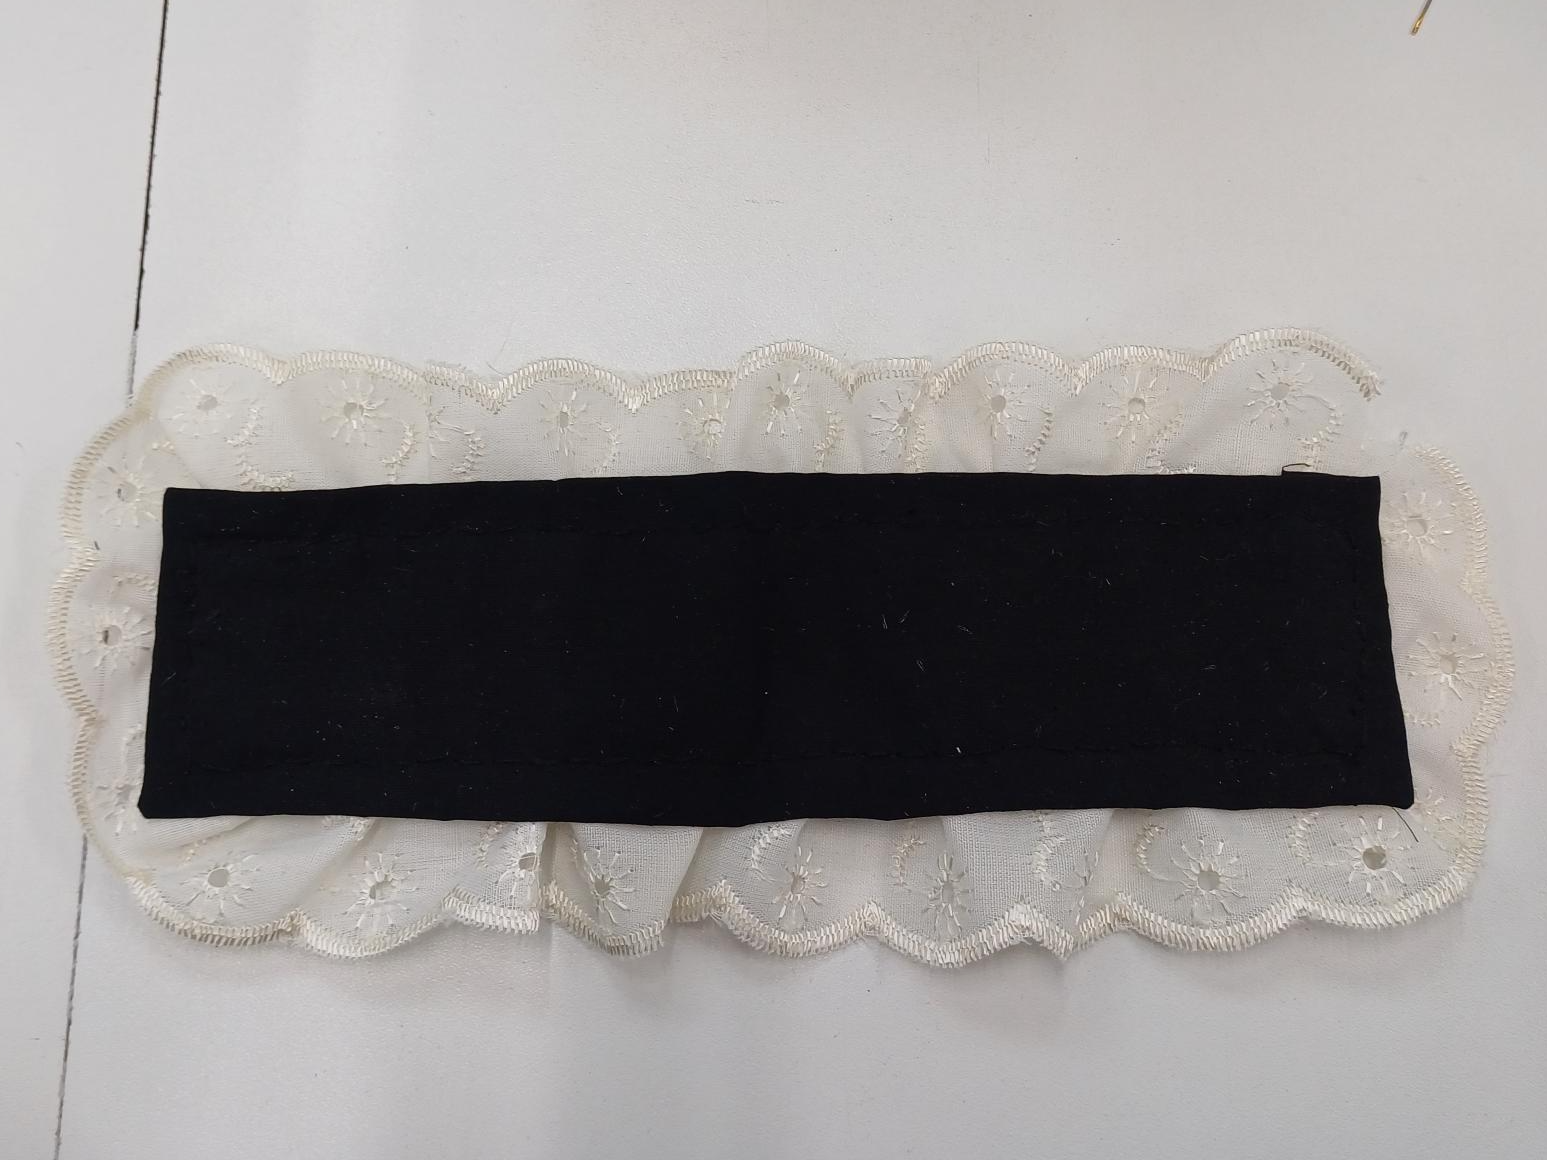
I then sewed the long piece of ribbon to the underside of the base and sewed on the two bows onto the headdress to finish it:
I created my face chart on ProCreate, but I labelled it and made my mood board on Canva, using the pictures I took of different panels featuring Rin and images that I found on Pinterest (usernames provided):
