Problem Solving:
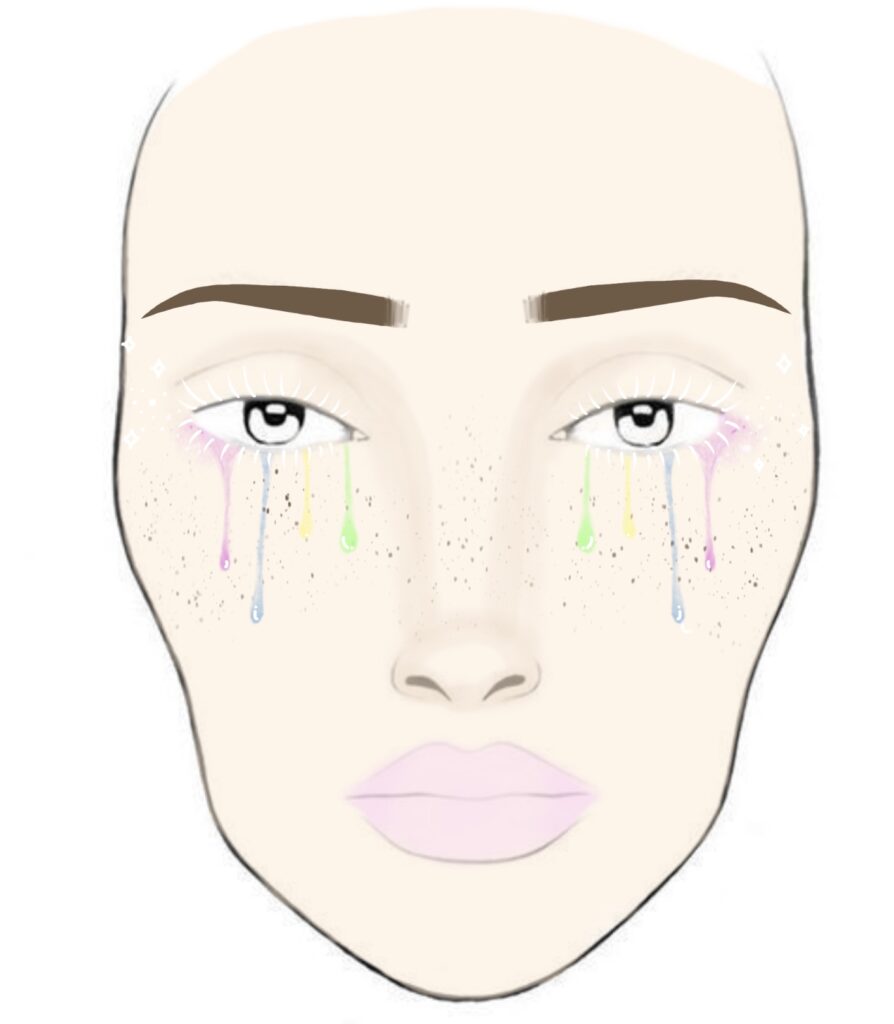
This was my first design, I didn’t like it that much because it seemed too basic.
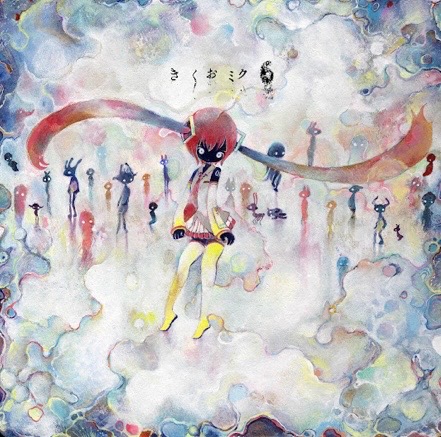
When I first started to change my design I used all the reference images I listed in the context part of my Research page. This only ended up in me getting very overwhelmed, to fix my problem I decided to chose one reference images and build my design from there.
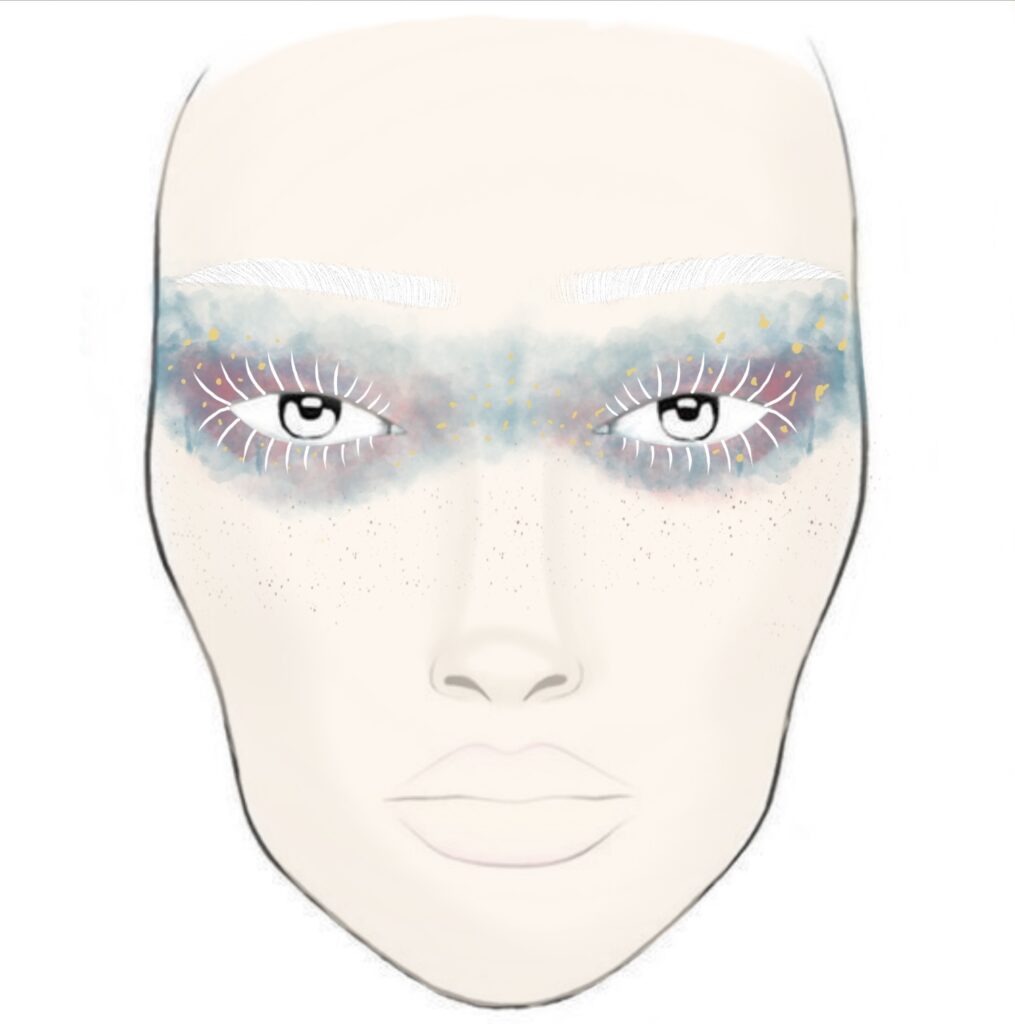
I changed my design for a second time, but I had another problem because I still didn’t like how it looked.
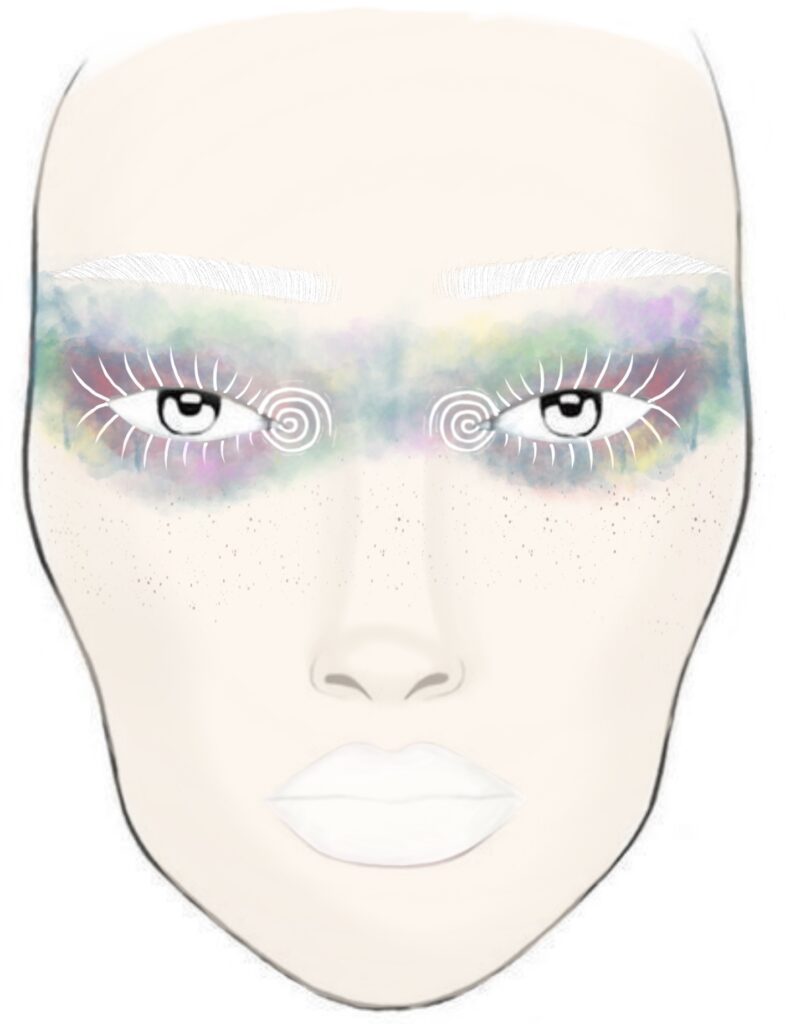
To fix my problem I decided to listen to lots of Kikuo music and use it to imagine what I really want my work to
After facing the previous problems, I used the solutions to come up with my final design:
Presentation:
My station before my assessment:
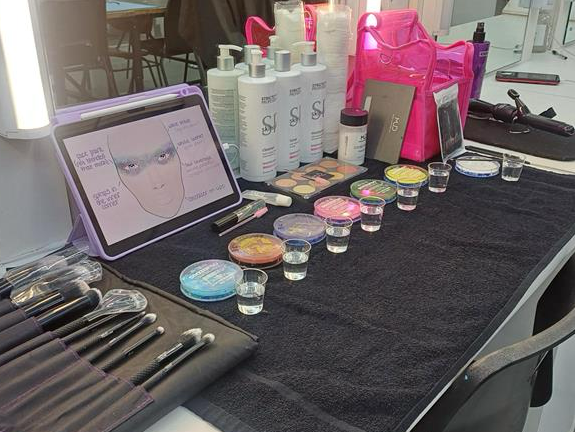
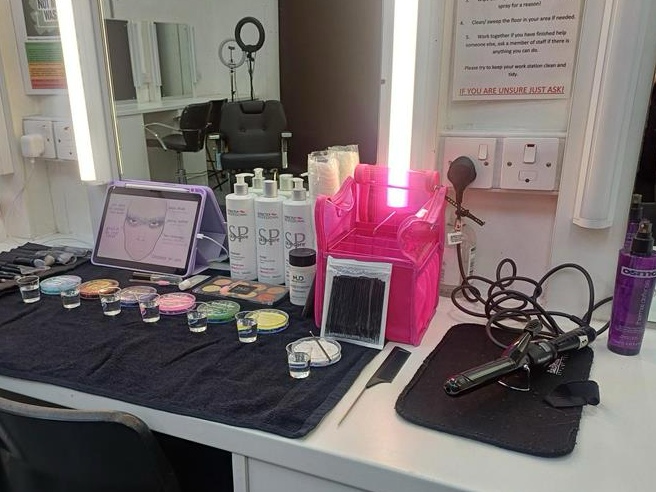
My station after my assessment:
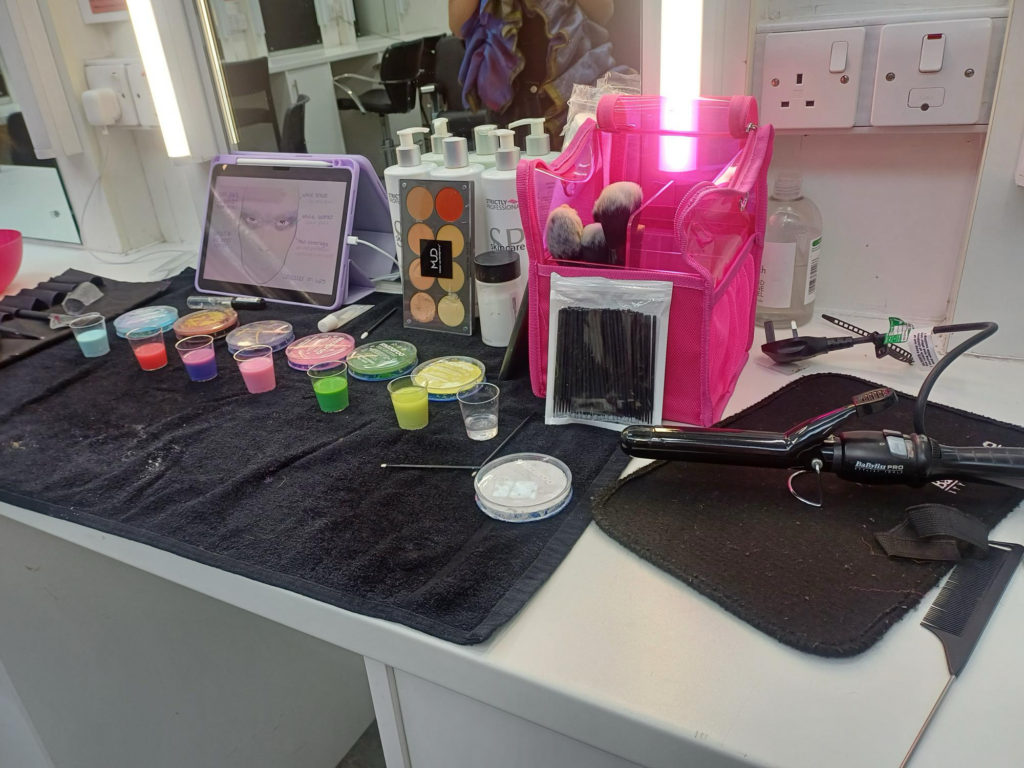
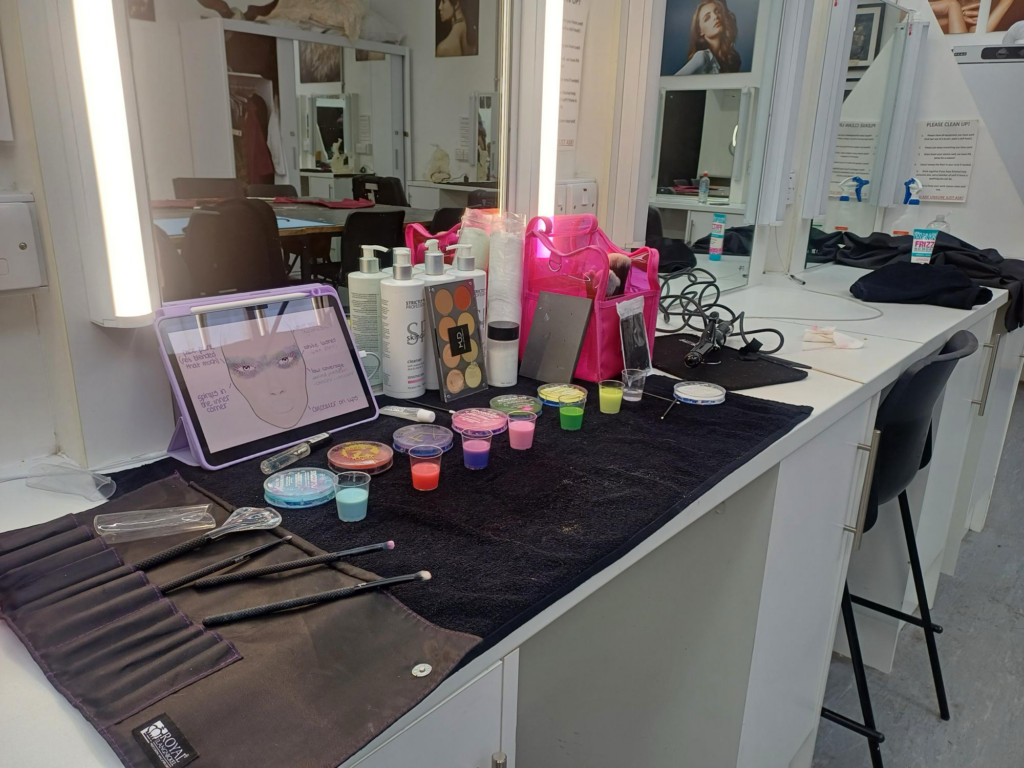
Planning and Production:
PRODUCTS I WILL USE:
(FROM COLLEGE)
. Sensitive Skin Skincare
. Red Face Paint
. Purple Face Paint
. Blue Face Paint
. Spoolies
. Heat Protection Spray
. Heat Protection Mat
. Hair Curlers
. Frizz Cream
(IN MY KIT)
. Yellow Face Paint
. Pink Face Paint
. Green Face Paint
. White Face Paint
. Crème Foundation
. Crème Contour
. Translucent Powder
. Powder Blush
. Mascara Wands
. Clear Lip Gloss
To start, I completed the skin care on my model. I found that their skin was very scratchy and dry around their jaw so I made sure to add multiple layers of moisturiser.
Then I used a green tone from my colour corrector to cancel out the redness on my models face. Afterwards I added my crème foundation (which was another shade in my colour corrector palette) but I found it was too light for my models skin; to fix this problem I added contour to fix the shade mismatch at the cost of not having as airbrushed and light a base. I also used the foundation shade on the lips.
I then added translucent powder around the eyes so that they were primed for the face paint and added a stone-pink blush as well. After this the base was completed.
I then used a small circular makeup brush to add the different face paint colours across the eyes and nose bridge.
After that, I added water to my brush and used it to blend the colours together slightly and get the watercolour effect I wanted. I found that the green became too overpowering over the other colours, so as I was layering on more colours I made sure to add more around the muddier green areas.
I then used spoolies to add the spirals on the inner corner and mascara with white face paint.
I then curled my models hair and added frizz cream to finish the look.
FEEDBACK:
After my assessment, my tutor said that I needed to add more to one of the spirals to make it neater and even. I also needed to clear lip gloss to make the lips go better together with the rest of the look.