Context:
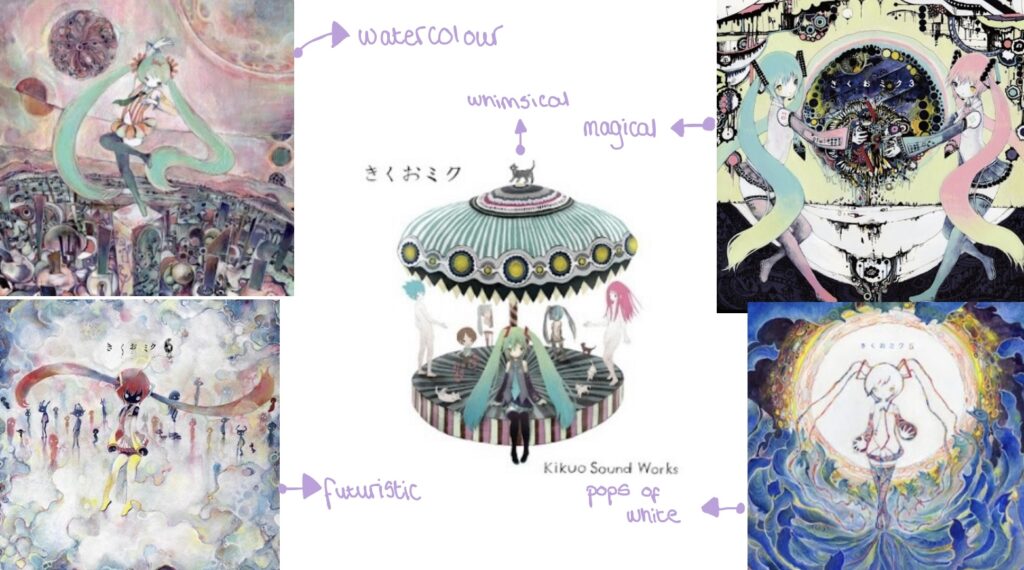
My fourth look is inspired by the Japanese songwriter and producer Kikuo and the art featured in some of his album covers.
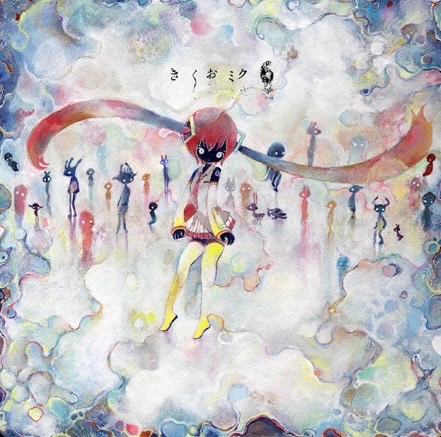
Picture from the album cover for Kikuo’s “Kikuo Miku 6”
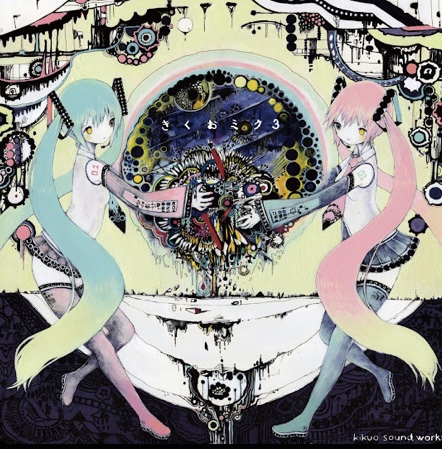
Picture from the album cover for Kikuo’s “Kikuo Miku 3”
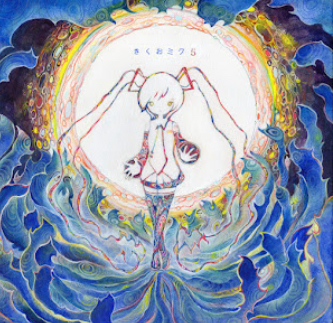
Picture from the album cover for Kikuo’s “Kikuo Miku 5”
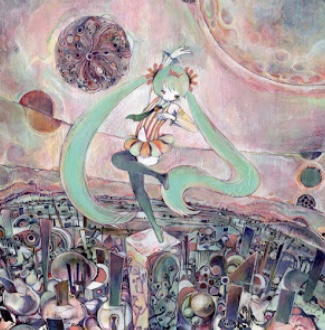
Picture from the album cover for Kikuo’s “Kikuo Miku 4”
Kikuo creates all of his songs independently under his label “Kikuo Sound Works” but has had lot a lot of separate collaboration projects over the years. His songs often have very upbeat and fun background music but have darker themes in the lyrics. Despite this, Kikuo’s fans find his music comforting and enjoy what he does. Inspiration for my look also came from the instrumental song “sorrowful spaceship” because I thought that the song sounded magical and as if you would find it in a futuristic fantasy game.
YouTube Music (a link to the song on YouTube Music)
I wanted to use the futuristic and “watercolour” imagery as my main inspiration in my work.
Research:
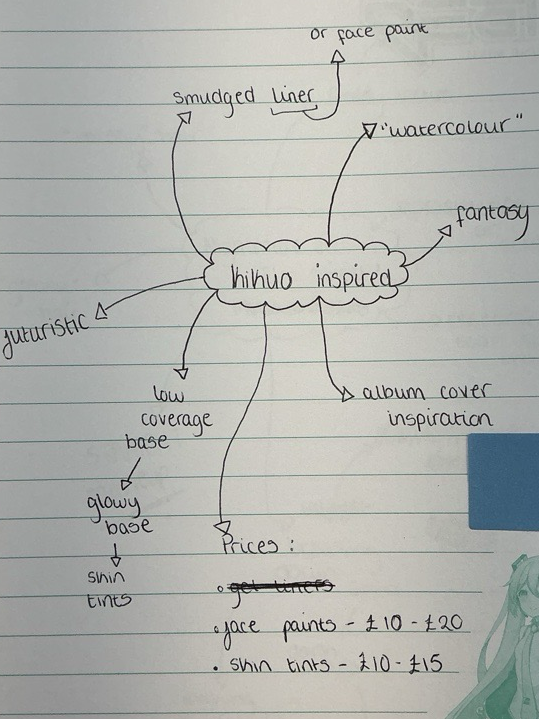
As well as having my spider diagram to build my look on, I was also advised to look into Bob Ross videos to gather techniques that I can use in my fourth assessment. The techniques that are used in painting can also be used for makeup, which is going to be very useful in the long run.

This is the video I watched, I learnt that layering the colours is a good way to get a vibrant finish. I also learnt the right way to blend the colours together is to use light brush strokes so that it won’t result in a muddy, messy eye look.


These are screenshots from the video that detail layering the paints like I could do with the face paints in my assessment.

This screenshot from the same video shows that I do not have to only use my brushes to apply the makeup. I could also use my fingers to smudge and blend the colours.
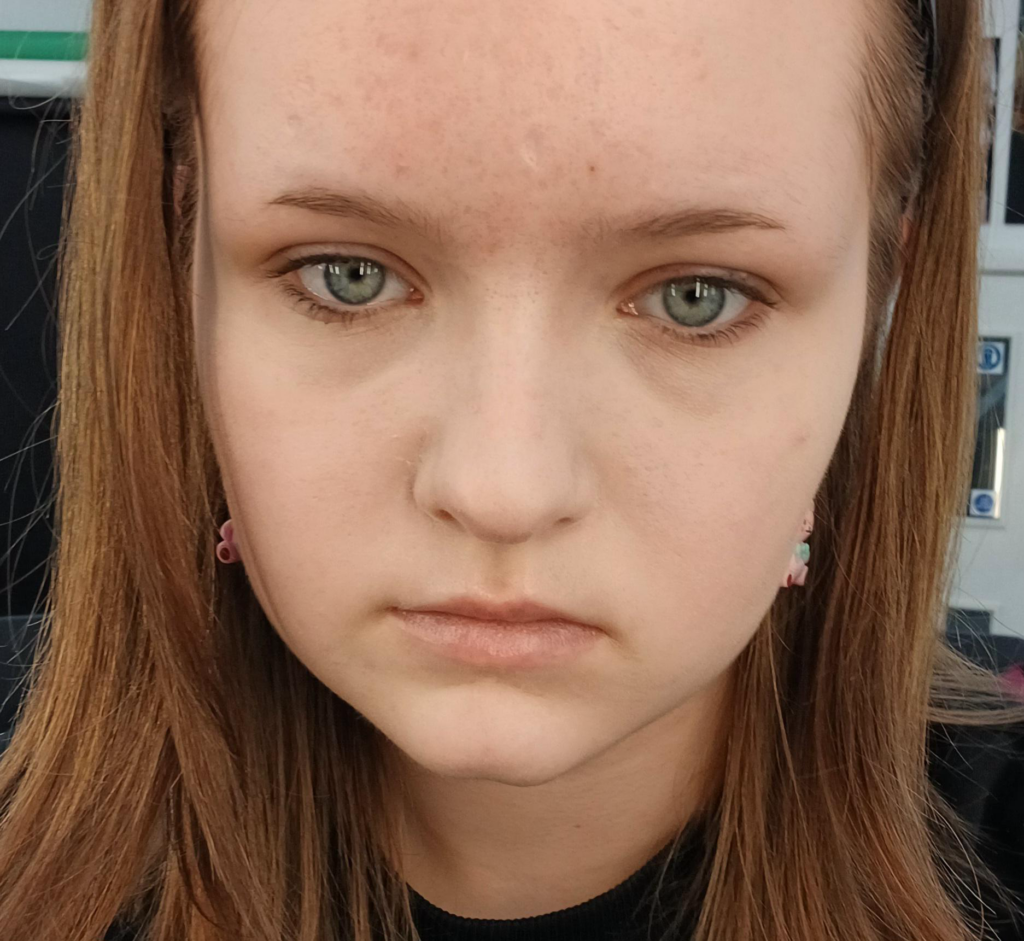
Before my assessment I practiced my look on myself, I would have practiced on my classmate but we both needed to practice our looks and we wouldn’t have had enough time to efficiently practice on each other;
The first thing I tried to do was colour correct the redness I my skin using green tones from my colour corrector palette.
Problem Solving:
However, when I tried to apply the foundation the corrector started to smudge off so I decided to take the makeup off and start again. During my assessment I will be sure to use as little as possible to avoid this happening again.
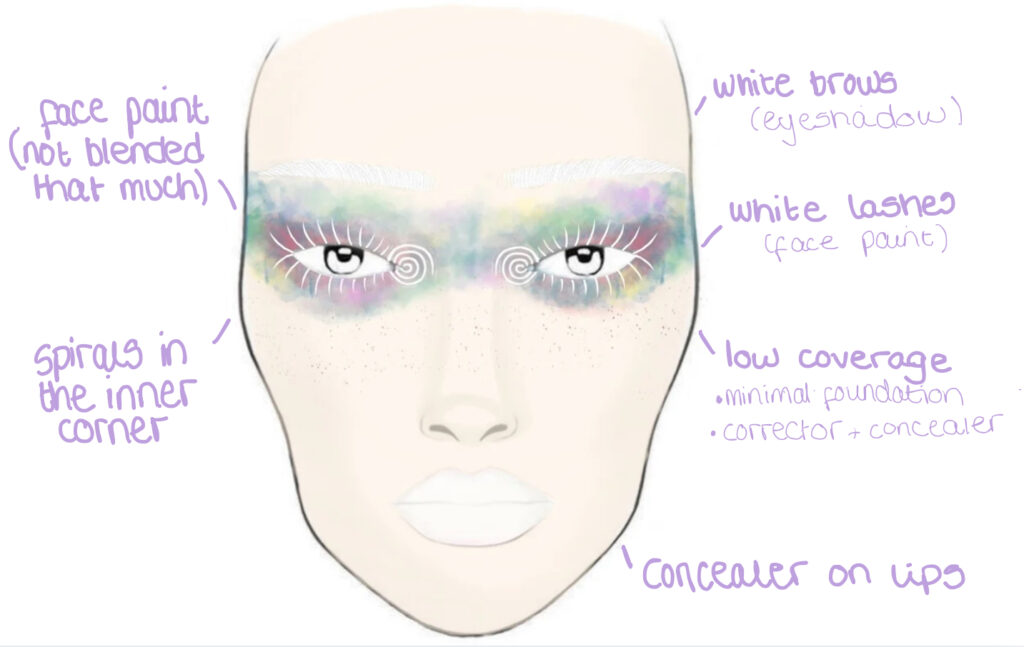
To complete the look, I used a liquid foundation to create a low coverage base. I don’t think the base of the product (liquid, crème etc) matters particularly during my assessment because I feel confident enough creating low coverage bases with most products. Afterwards, I set underneath the eyes and the eyelids so that my eyes were primed for the face paint.
I used a small circular brush to add pink, yellow, red, green, blue and purple face paint in random places across my eyes and the bridge of my nose. I used a lot of water so that I get the watercolour paint effect I want, I also used my fingers to blend out the face paint as well. I then used a spoolie, thin brush and white face paint to add mascara and spirals in the inner corner to finish the look.
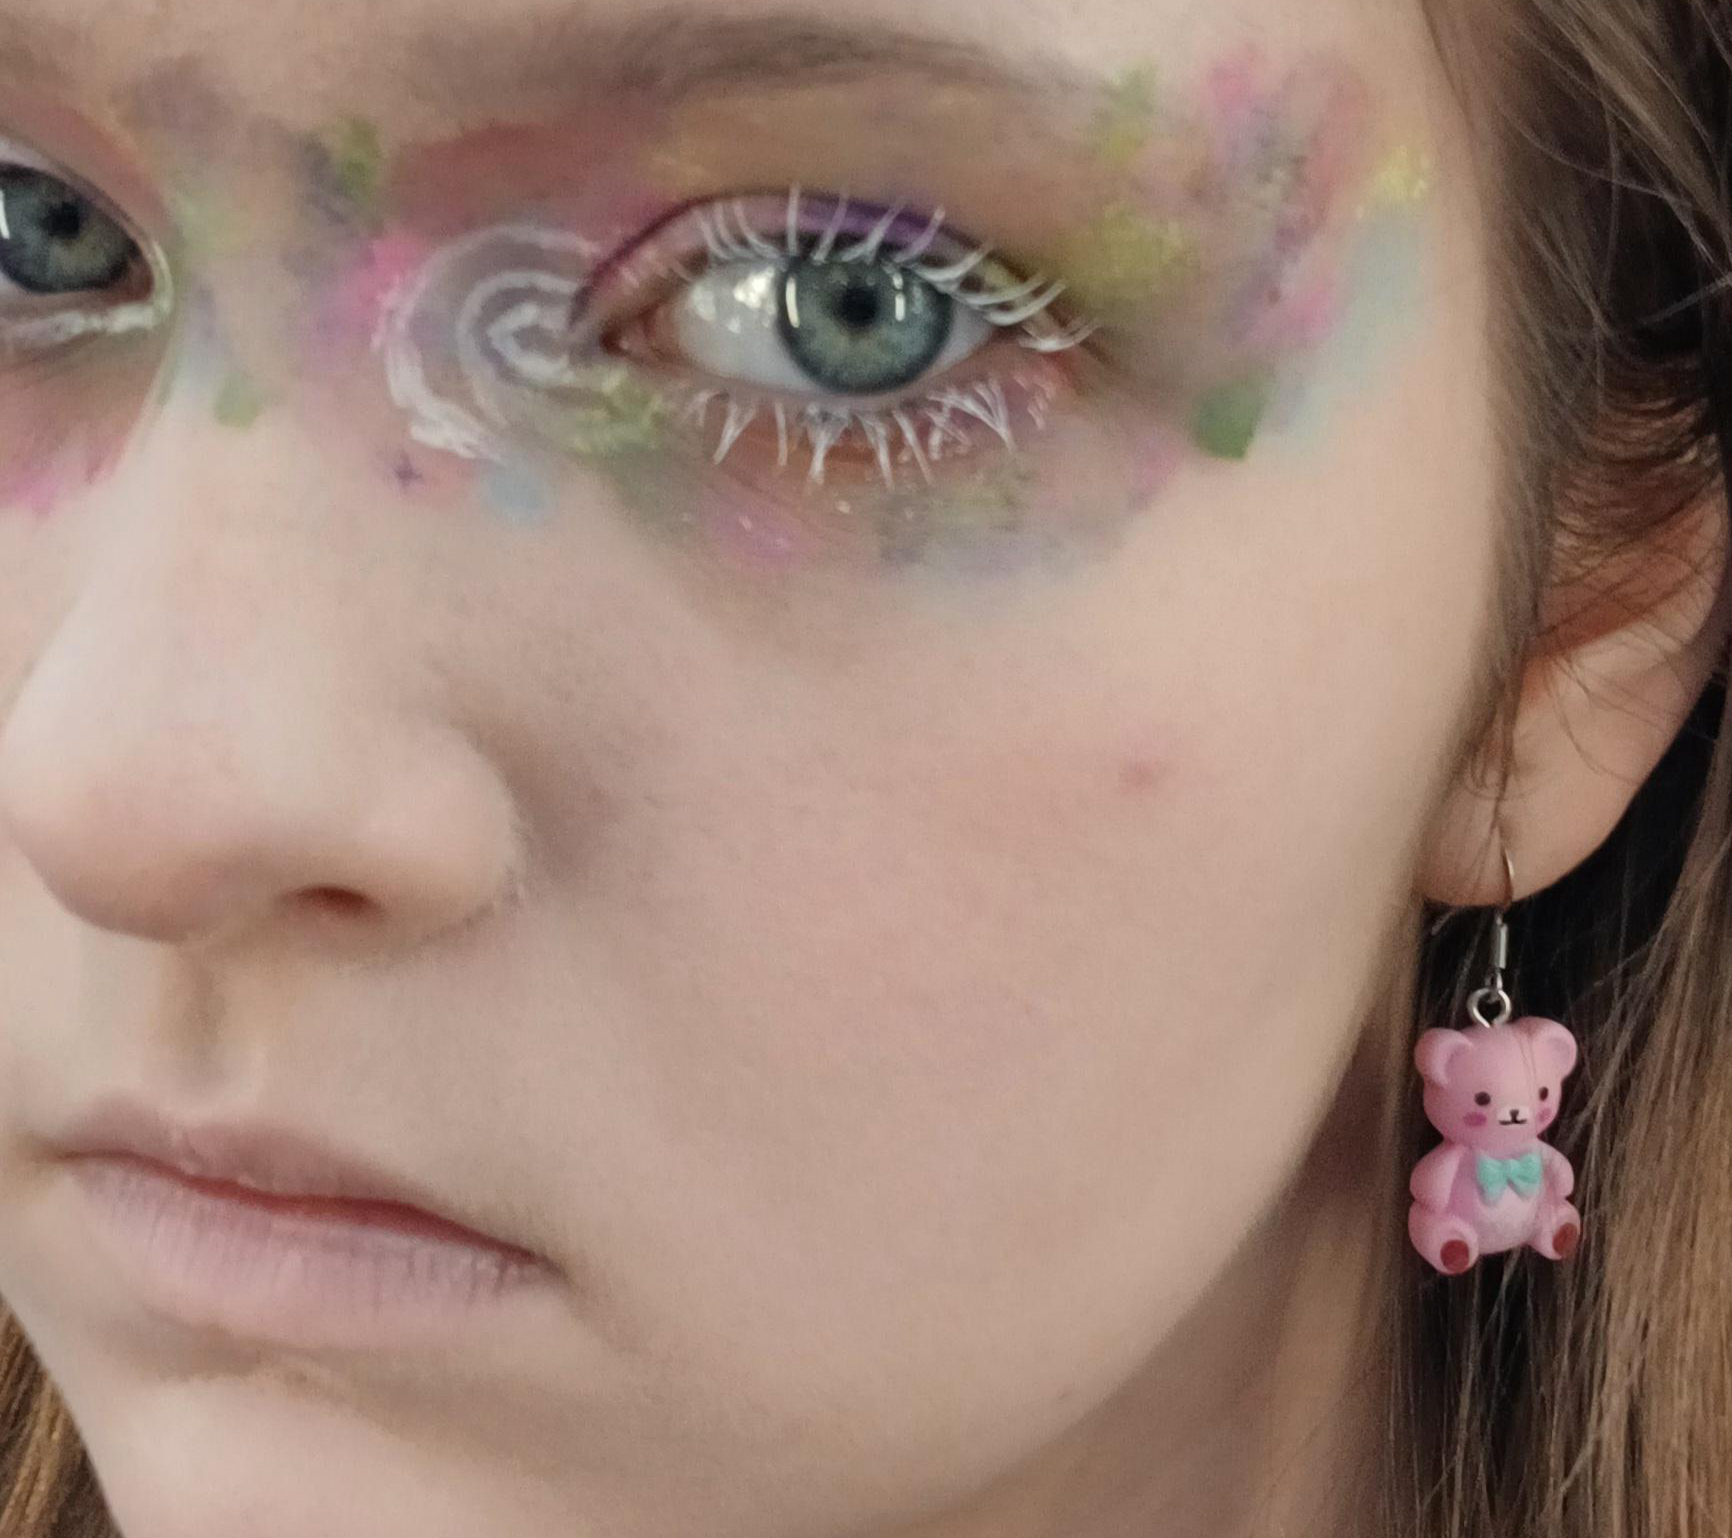
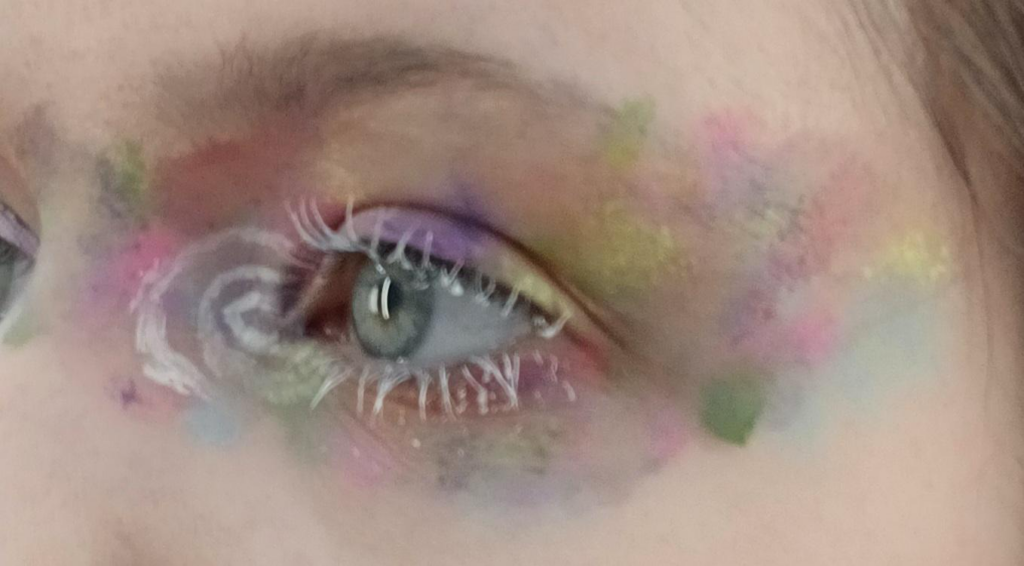
I think this practice went ok, but the face paint looked a bit muddy. I think to fix this I will layer the colours on like in the Bob Ross video I watched. I will also use a thinner brush to add the spirals to make them look neater.
(I didn’t buy anything for this assessment so I don’t need to add a product price table)
These are my final face chart and mood board for my assessment:
