Context:
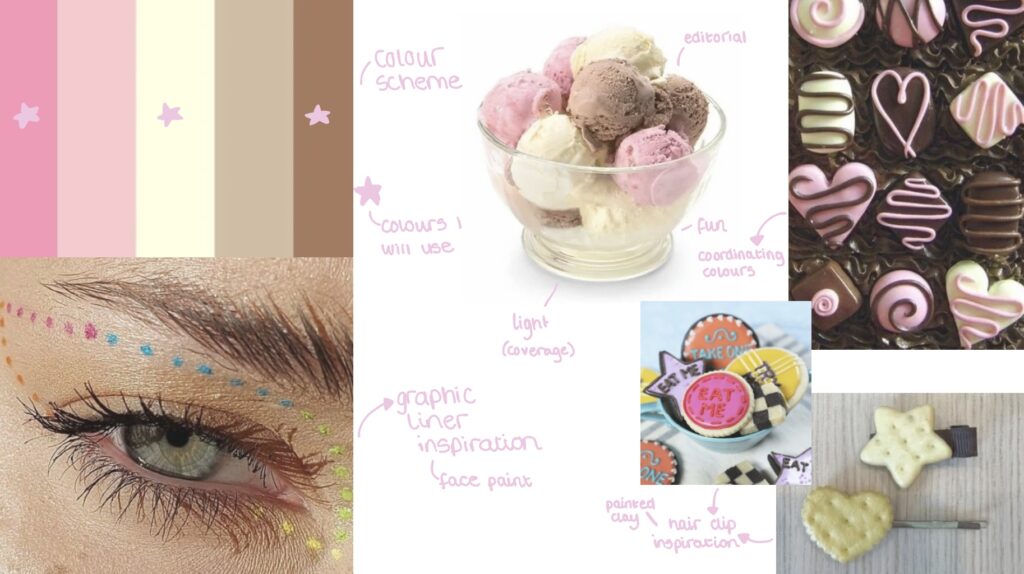
My second look will be an editorial piece inspired by Neapolitan ice cream.
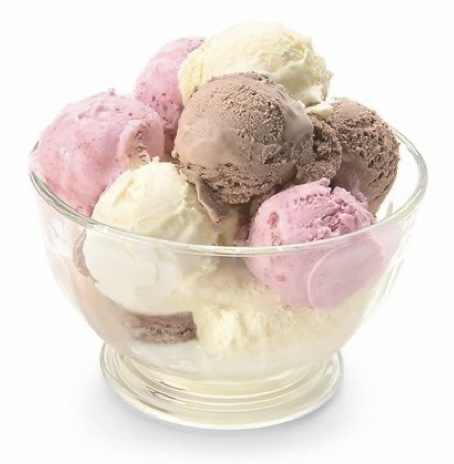
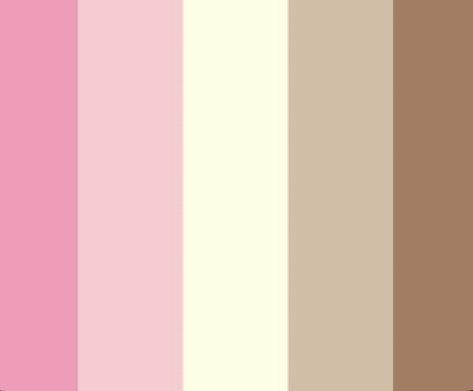
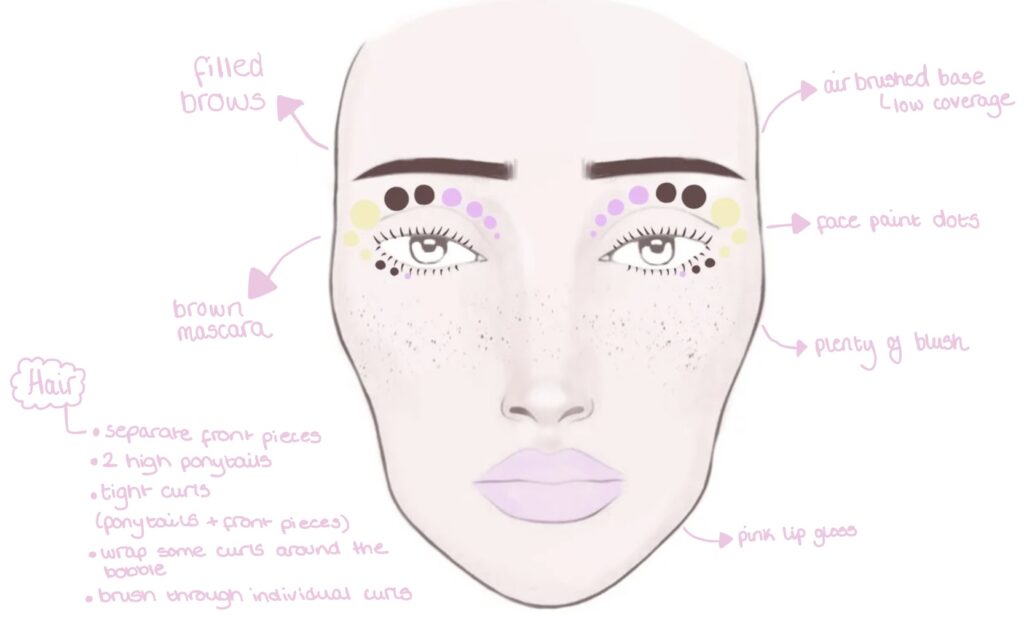
I want to create an editorial look featuring a Neapolitan colour scheme that if fun and exciting through the use of graphic liner. I will also try new techniques like airbrush makeup and tight curls in the hair.
Research:
In a few of my classes, I was given refresher tutorials on editorial hair and colour correcting. I learnt that the right colour corrections limit the amount of concealer you will need in the long run. In our tutorial we had to colour correct and then add a base, in this class I added colour corrector to the left side of the face (right side in the pictures):
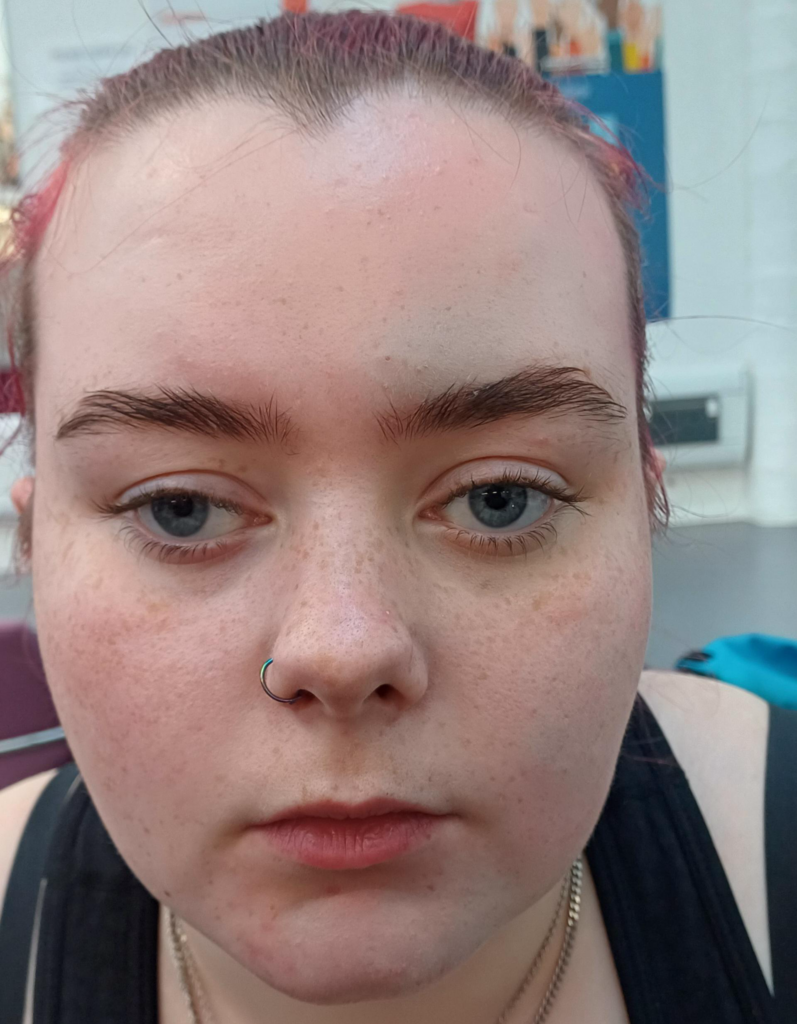
I added green from the colour corrector to cancel out any redness and yellow/orange to cancel out purple/blue. This first picture was after I had blended out the colour corrector- but I still think that there is a visible difference.
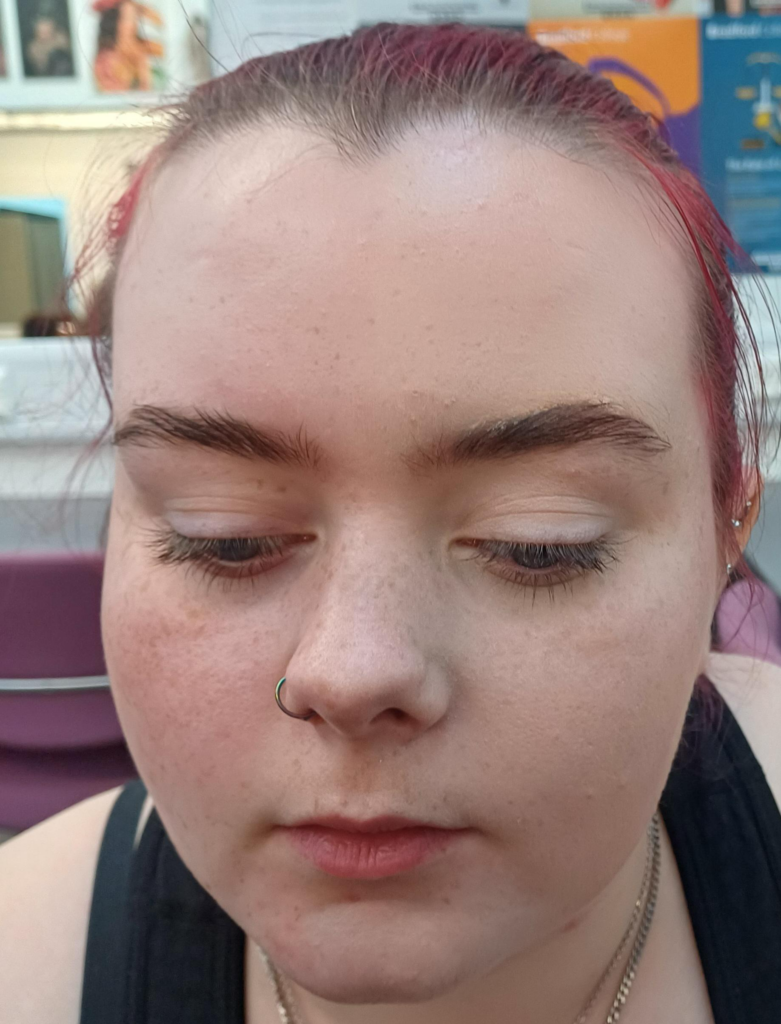
I then added a thin layer of foundation, I actually used a shade from my M.U.D colour corrector palette as it matched my models skin tone.
I made another spider diagram for this assessment so that I have something to build on as I create my look.
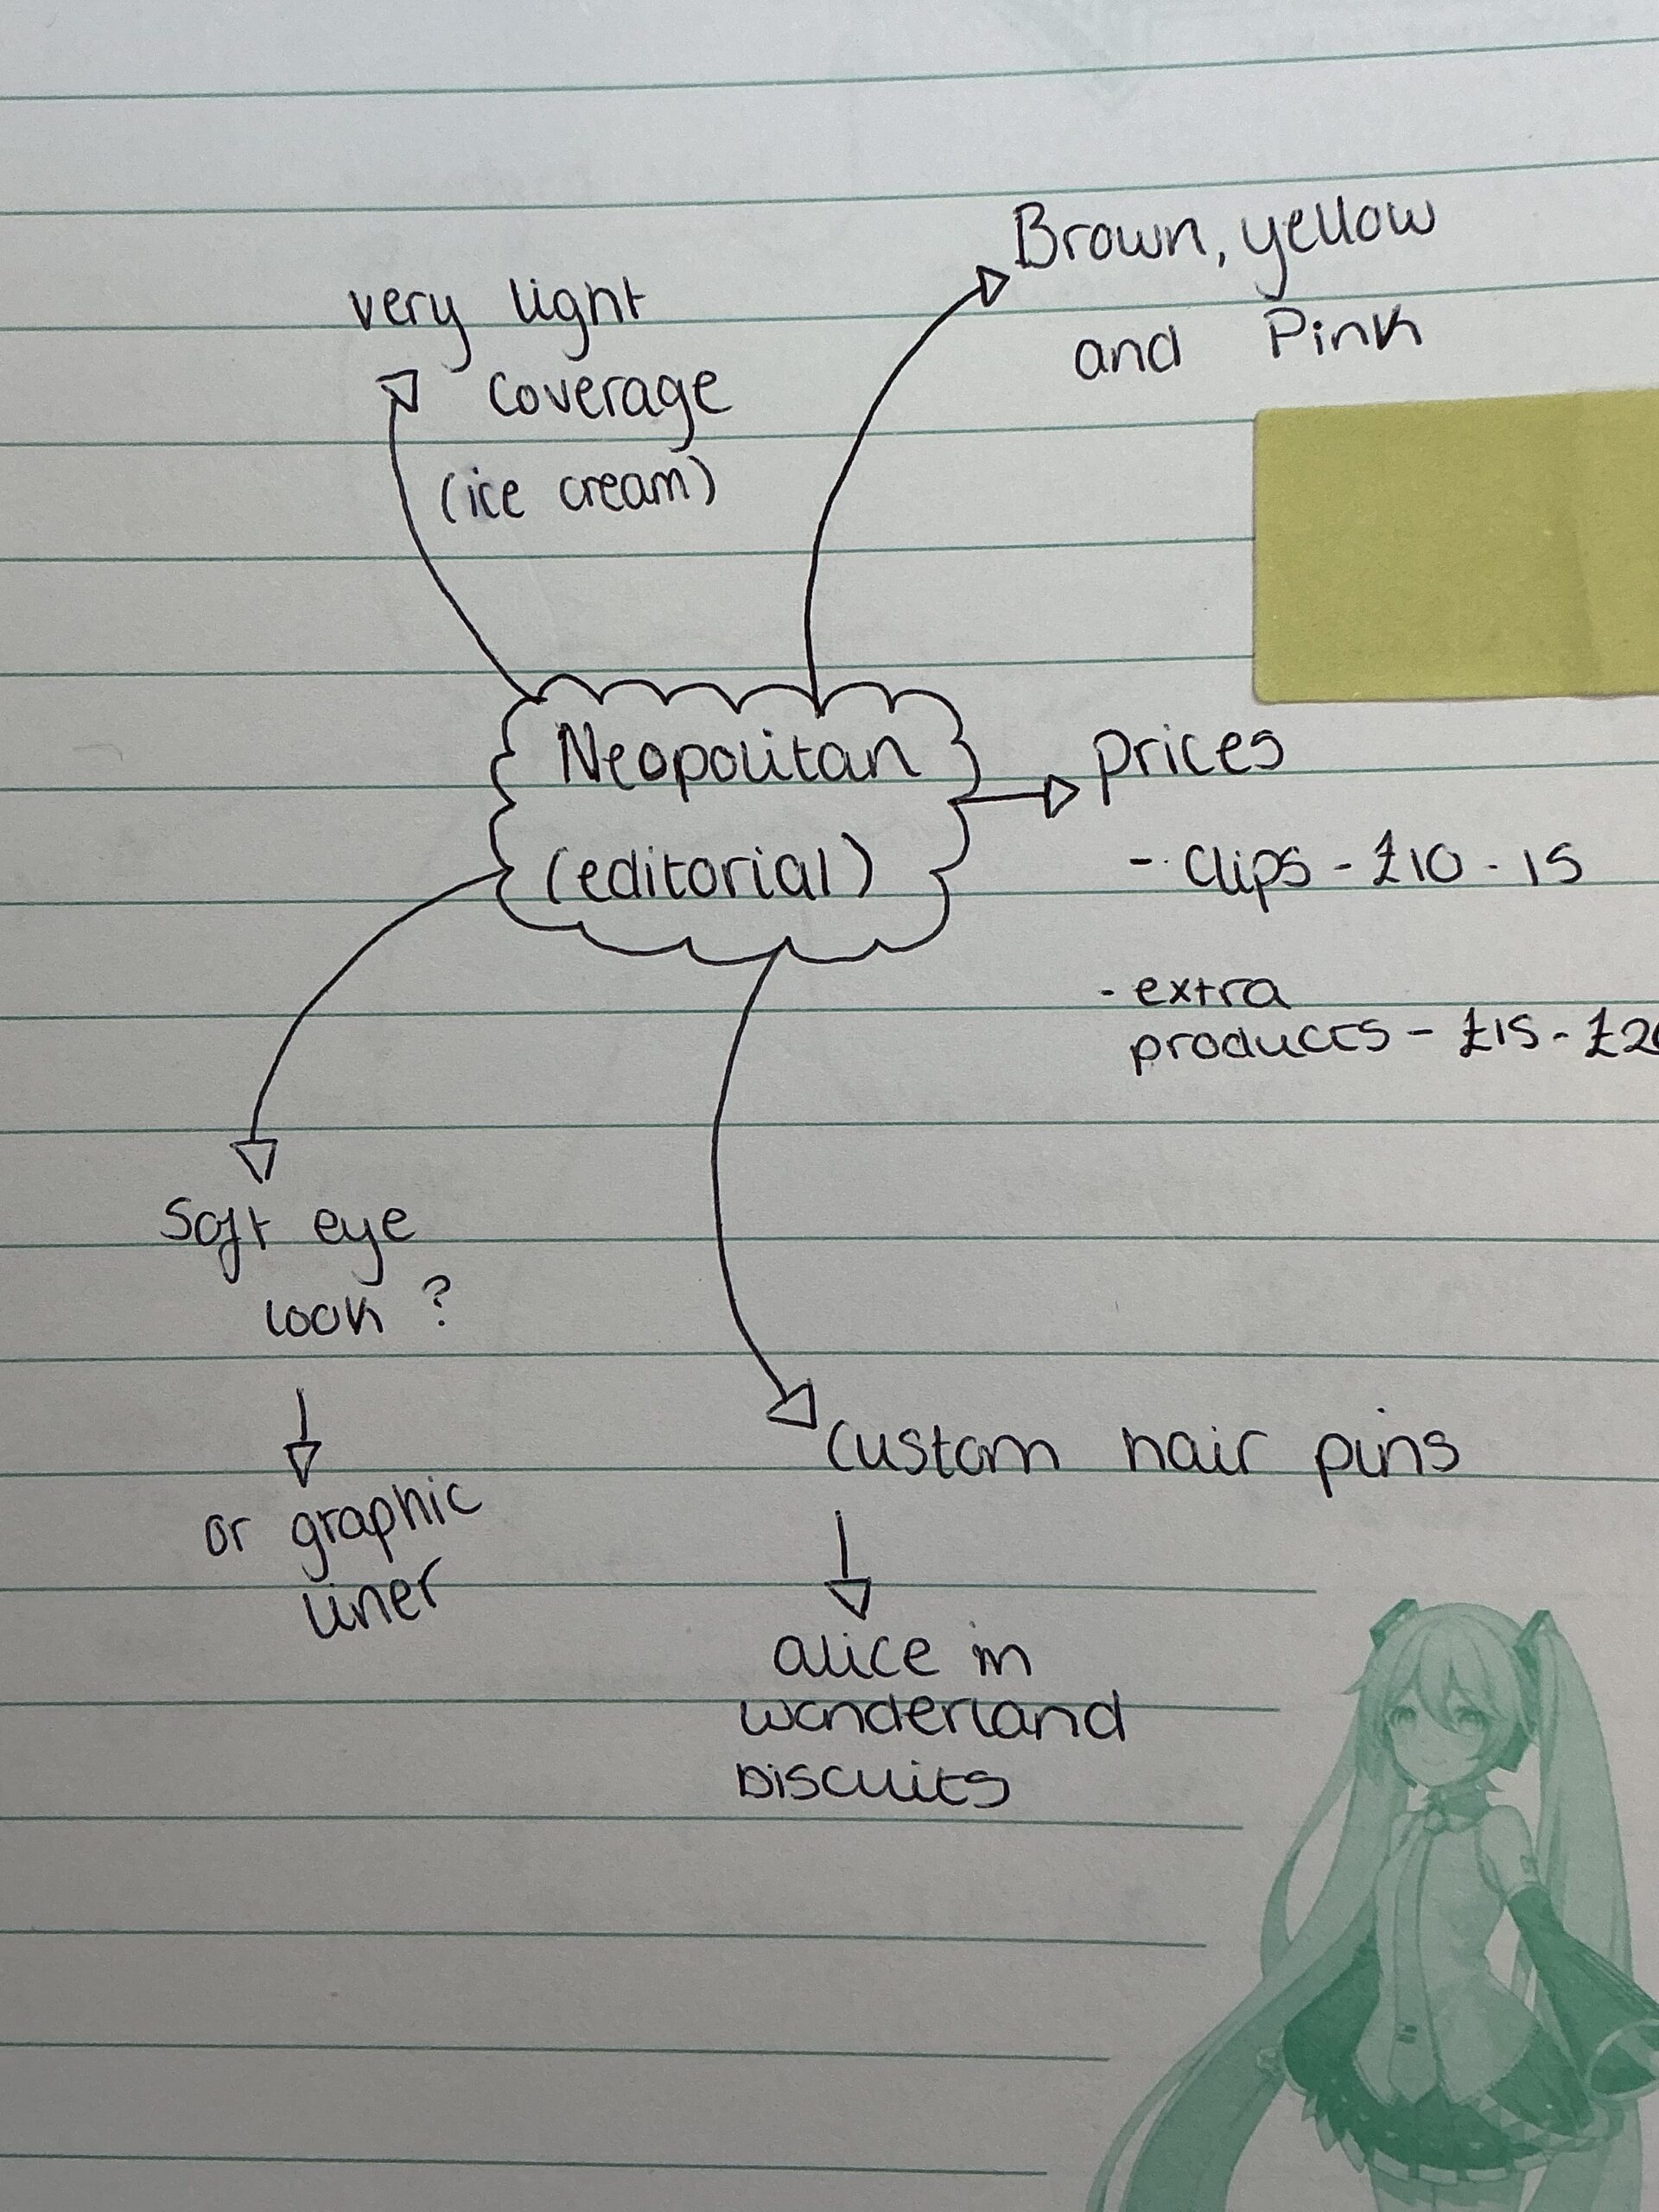
In my look I want to create a light coverage base. My tutor advised me to airbrush the base, so I decided to watch a tutorial on YouTube on how to use an airbrush for makeup.
This video taught me that airbrush makeup is always buildable and that mistakes that I might make when airbrushing can be easily fixed by blending out any excess makeup. I also learnt from my tutor that I still may need to mix some products together depending on whether the makeup is alcohol or water based; I would need to mix alcohol based products with IPA and water based products with distilled water. I think that on the day of my assessment it would be far easier to get products that are either one or the other to avoid any products accidentally mixing with the wrong thing.
For editorial hair, my tutor advised me to do two ponytails with lots of tight curls. In my tutorial, I tried this and was very happy with the result. I did need a bit of help with it because as I tried to wrap hair around the bobble to hide it you could see the hair pin or when I tried to use a clear elastic band it would have tangled the hair. My tutor showed me that I can use a hair pin to thread the wrapped hair through the bobble and hold the wrapped hair in place before photos (I would use gel spray on the hair wrapped around the bobble and use the pin to temporarily hold the hair in place). My tutor also showed me that brushing out the individual curls adds more volume and depth, it makes the final look fun and lively which is what I’m aiming for with this look.
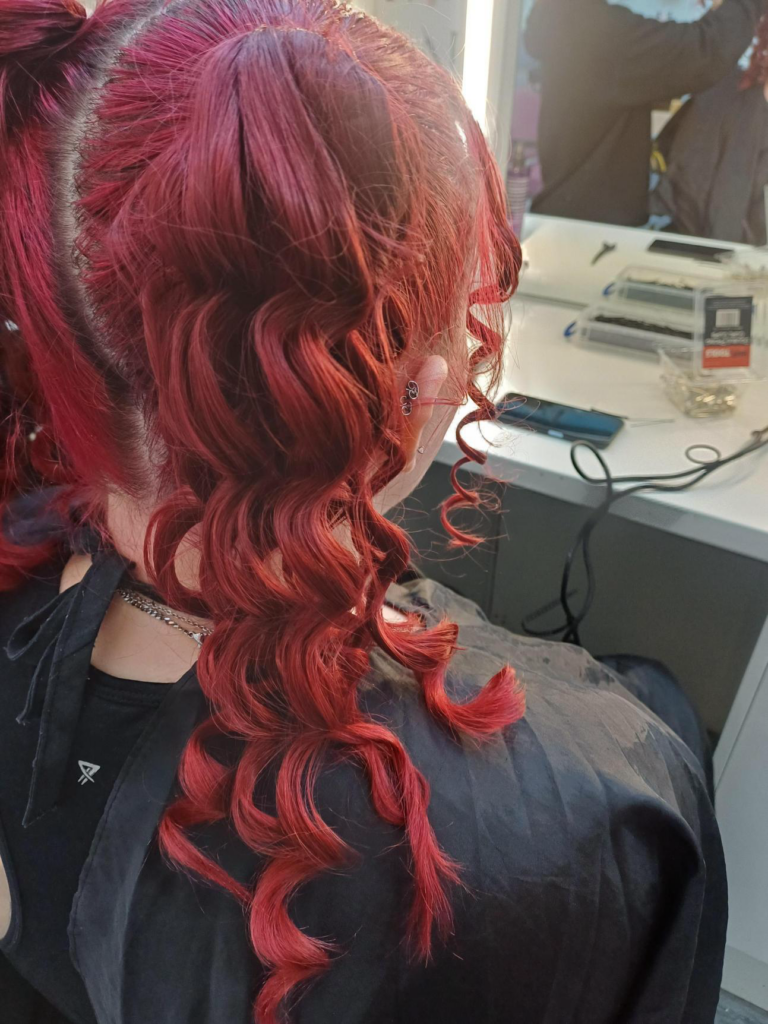
This was before I brushed out the curls. They were quite flat and I had learnt that if I curl the hair while the heat protection spray is still wet then the curls won’t be as bouncy.
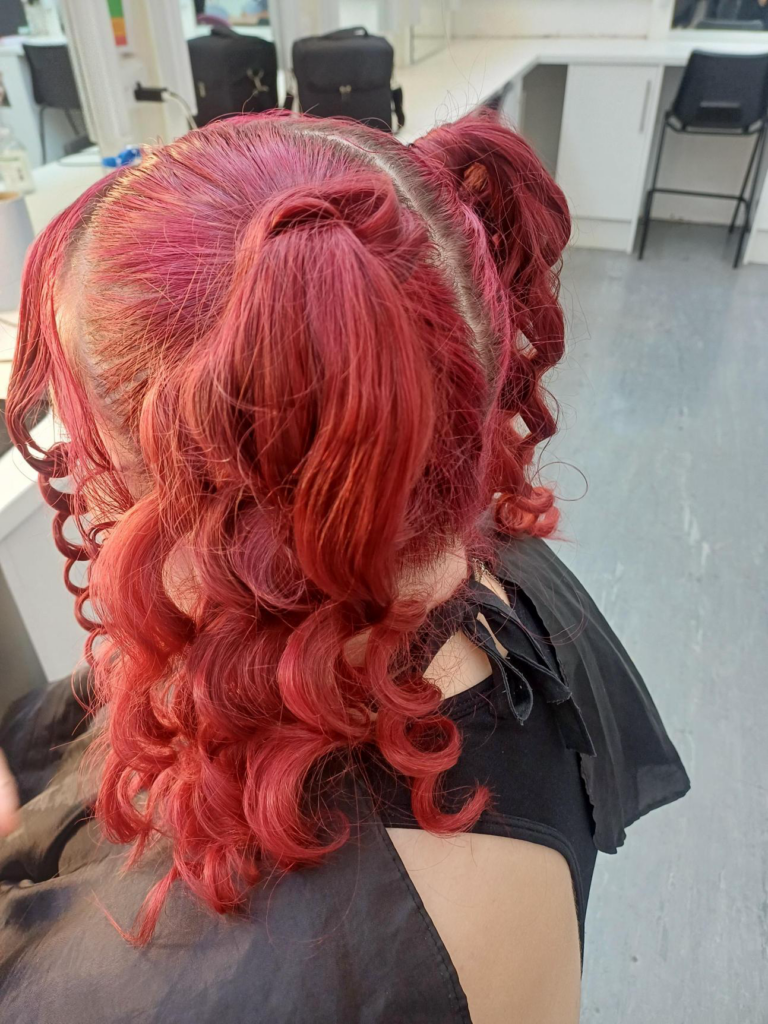
This was after my tutor had brushed out the curls during my feedback. It definitely added more volume to the hair and is something I really want to achieve in my final look.
As I was researching into how I can make the dots as circular as possible, my tutor told me that using the bottom of a paint brush and a q-tip can help a lot. I found this very useful and something I will use in my assessment.
PRODUCTS I NEED TO BUY FOR THE ASSESSMENT:
| Product | Price |
| Yellow Face Paint | £5 |
| Brown Face Paint | £5 |
| Brown Mascara | £2-£5 |
| Hair Clips (for the custom clips) | £3 |
Overall, this project should cost me around £15-£18, but I also might make bracelets to match so this assessment will cost me a maximum of £25.
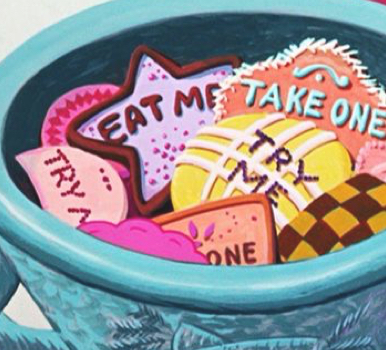
For the hair clips, I was inspired by the biscuits from the 1951 film Alice In Wonderland:
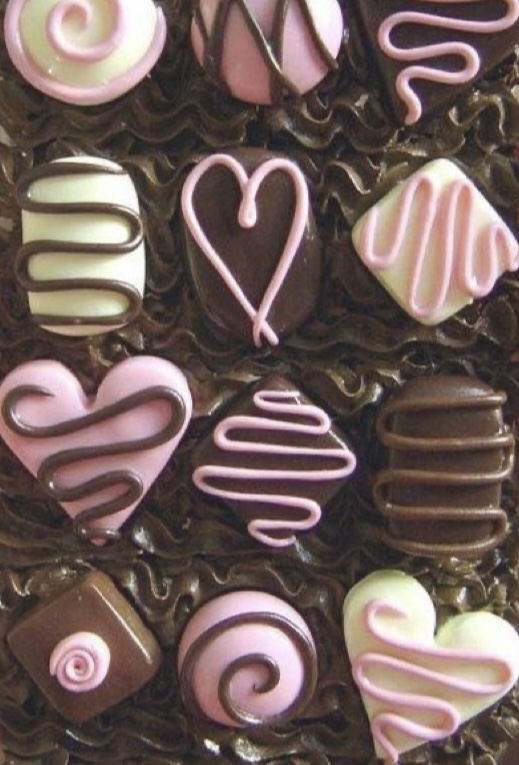
I was also inspired by this image of Neapolitan chocolates the I also found on Pinterest:
To make these hair clips, I used procreate and my reference images to design what I want the clips to look like:
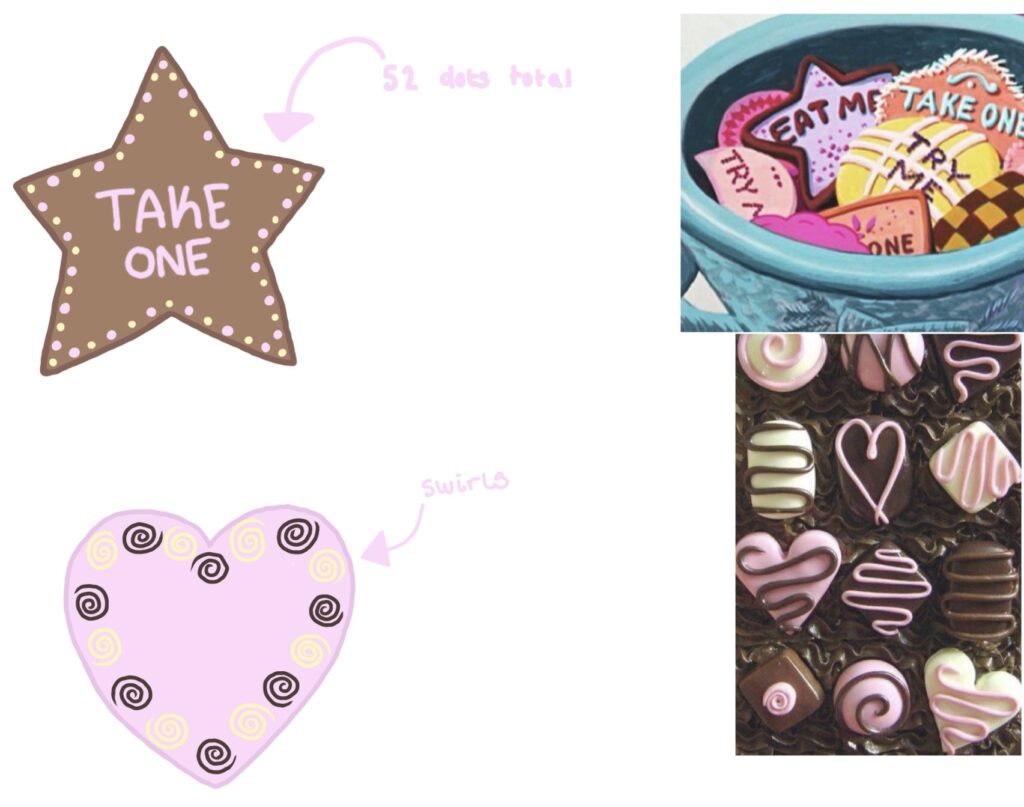
I made the shapes out of oven bake clay and then painted them before using superglue to add the shapes to the clips,
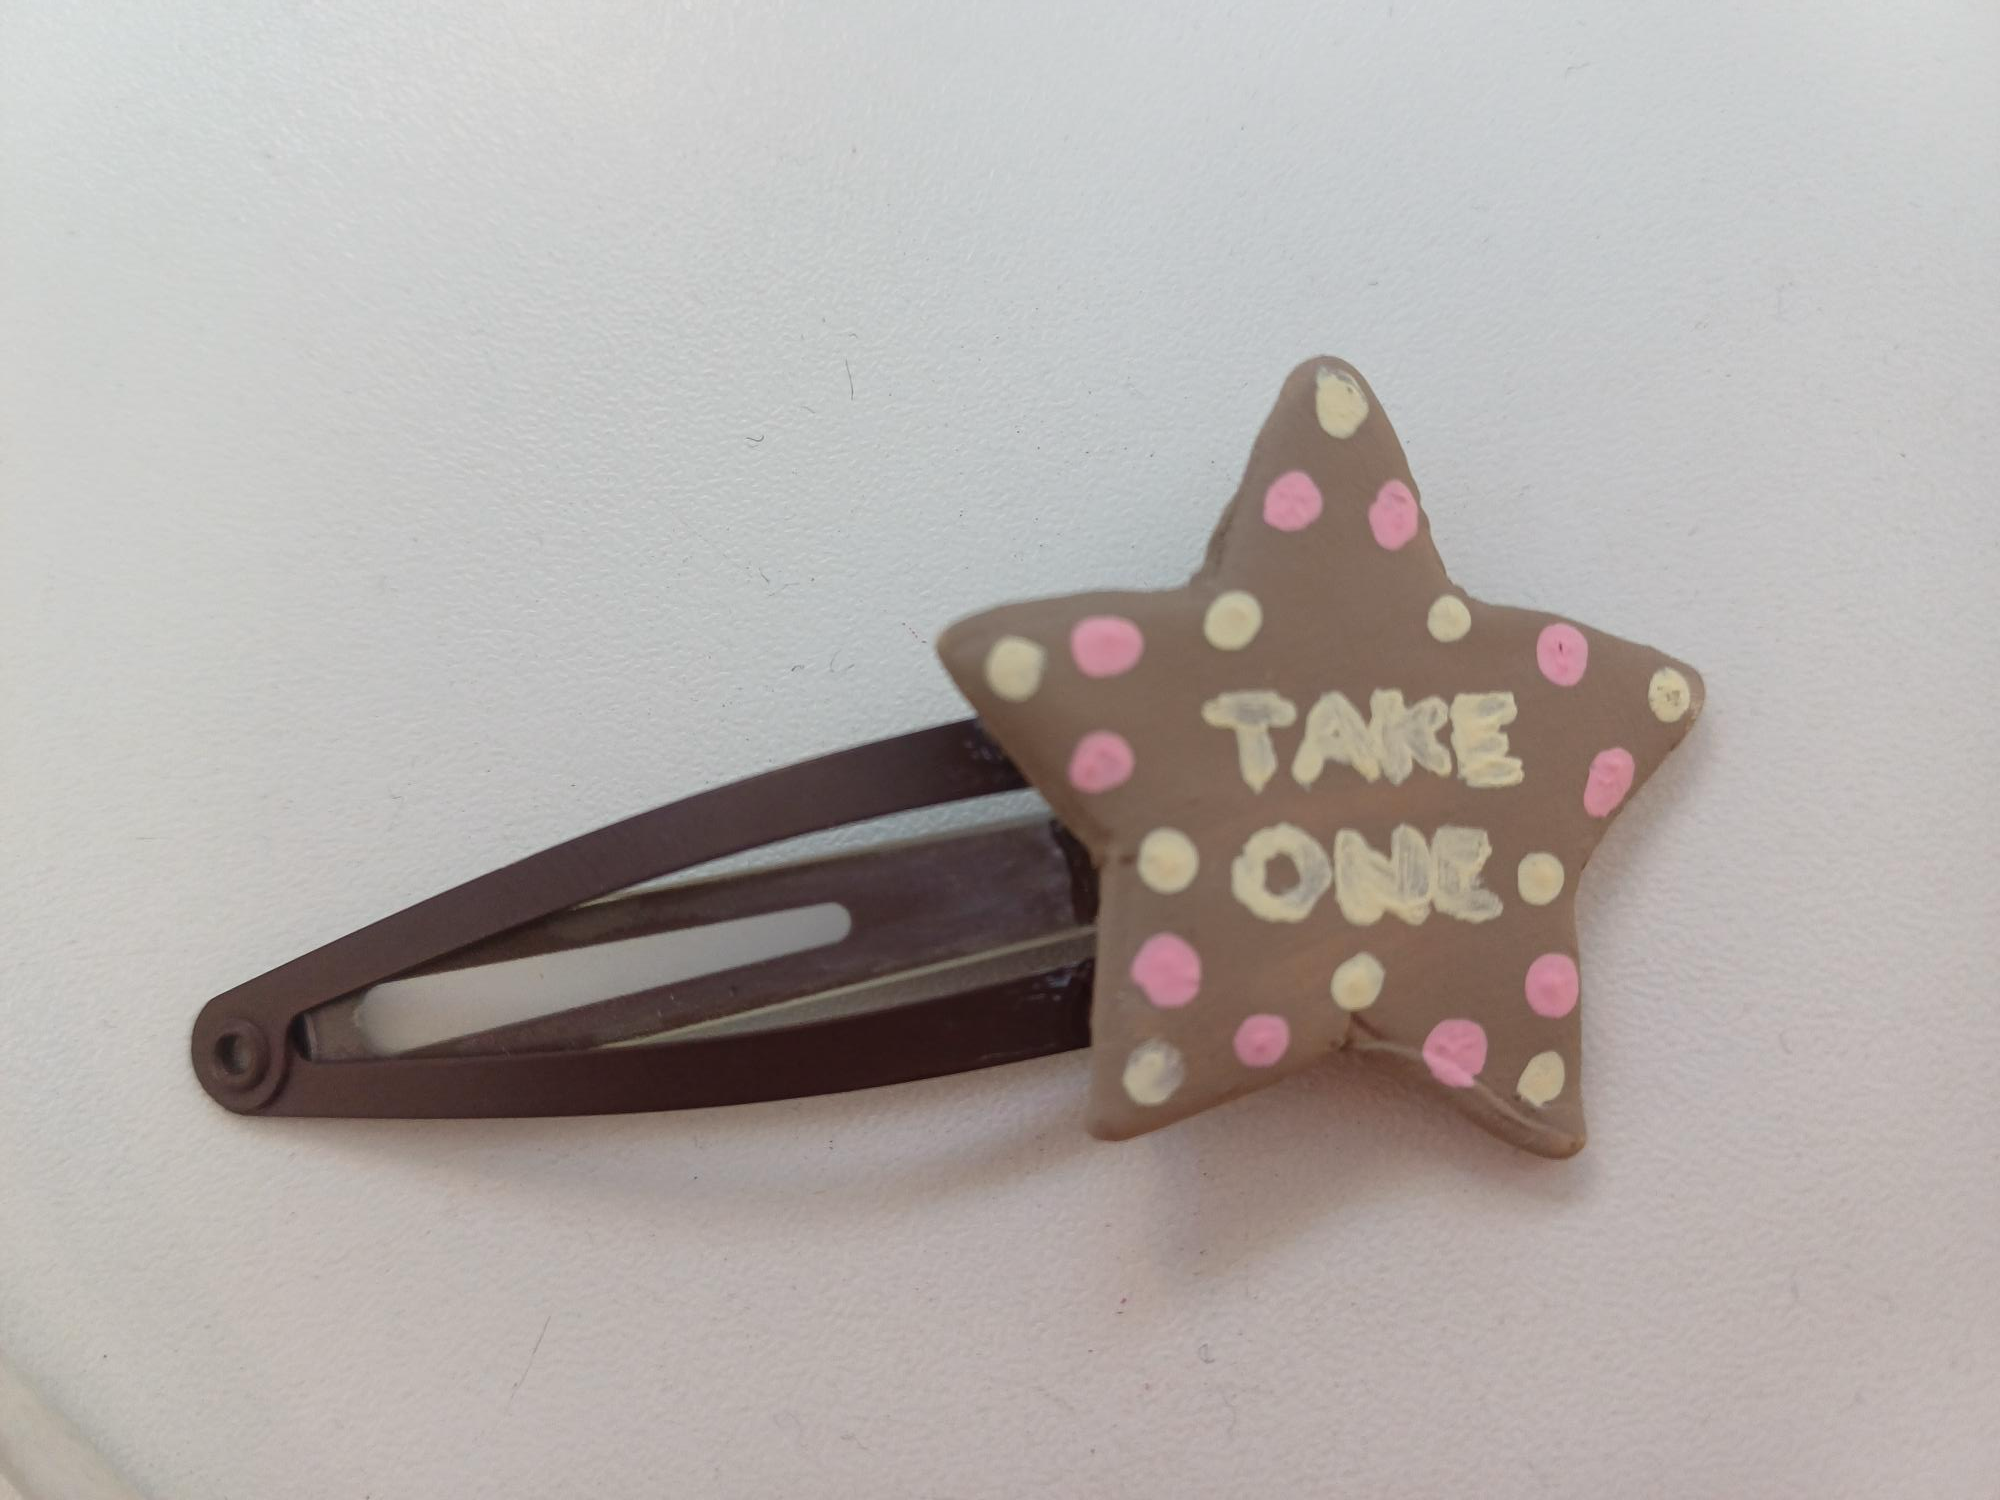
Problem Solving:
I originally wanted to create the 2 clips, but I couldn’t get the painted swirls right so I decided to keep just one clip. I also had a problem with the shapes breaking off of the clips, to fix this I made sure to add more superglue to underneath the shape as well.
I also came across a problem when I couldn’t find the right shades of airbrush makeup for my model. To fix this I decided to just use my own creme palettes and still make sure it was low coverage.
These are my final face chart and mood board:
