The day before my assessment, I had asked a photography tutor if she could help me take my photographs. She doesn’t work on Thursdays, which is completely understandable, and she was very helpful by saying that she’d put a message out to the photography students asking if any of them would take my photos. She also mentioned that “their tutor said that there is a good chance someone will be able to do the shoot for you this morning” however when I went and asked after my assessment the tutor said that it couldn’t happen as the studio was being used. I could not re do my assessment on the day afterwards because I didn’t have supplies to make a new prosthetic but also because my model has classes all day the day after my assessment, meaning I would miss the deadline for my assessment. I had to take the photos on my phone because it was almost time for my model’s class to start and I also had another student coming in for a patch test.
Presentation:
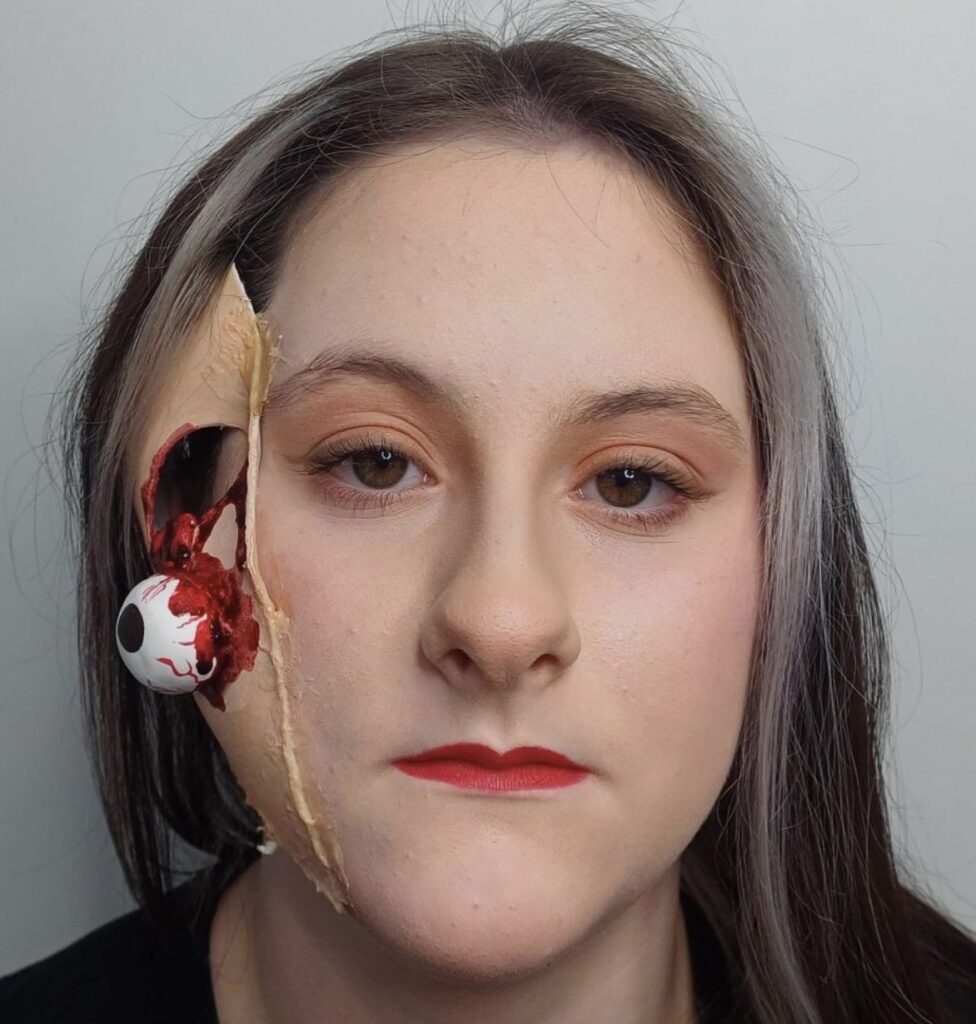
This is my first final image taken before my adjustments. I don’t think this was good because it looks half done;

FEEDBACK AND CHANGES:
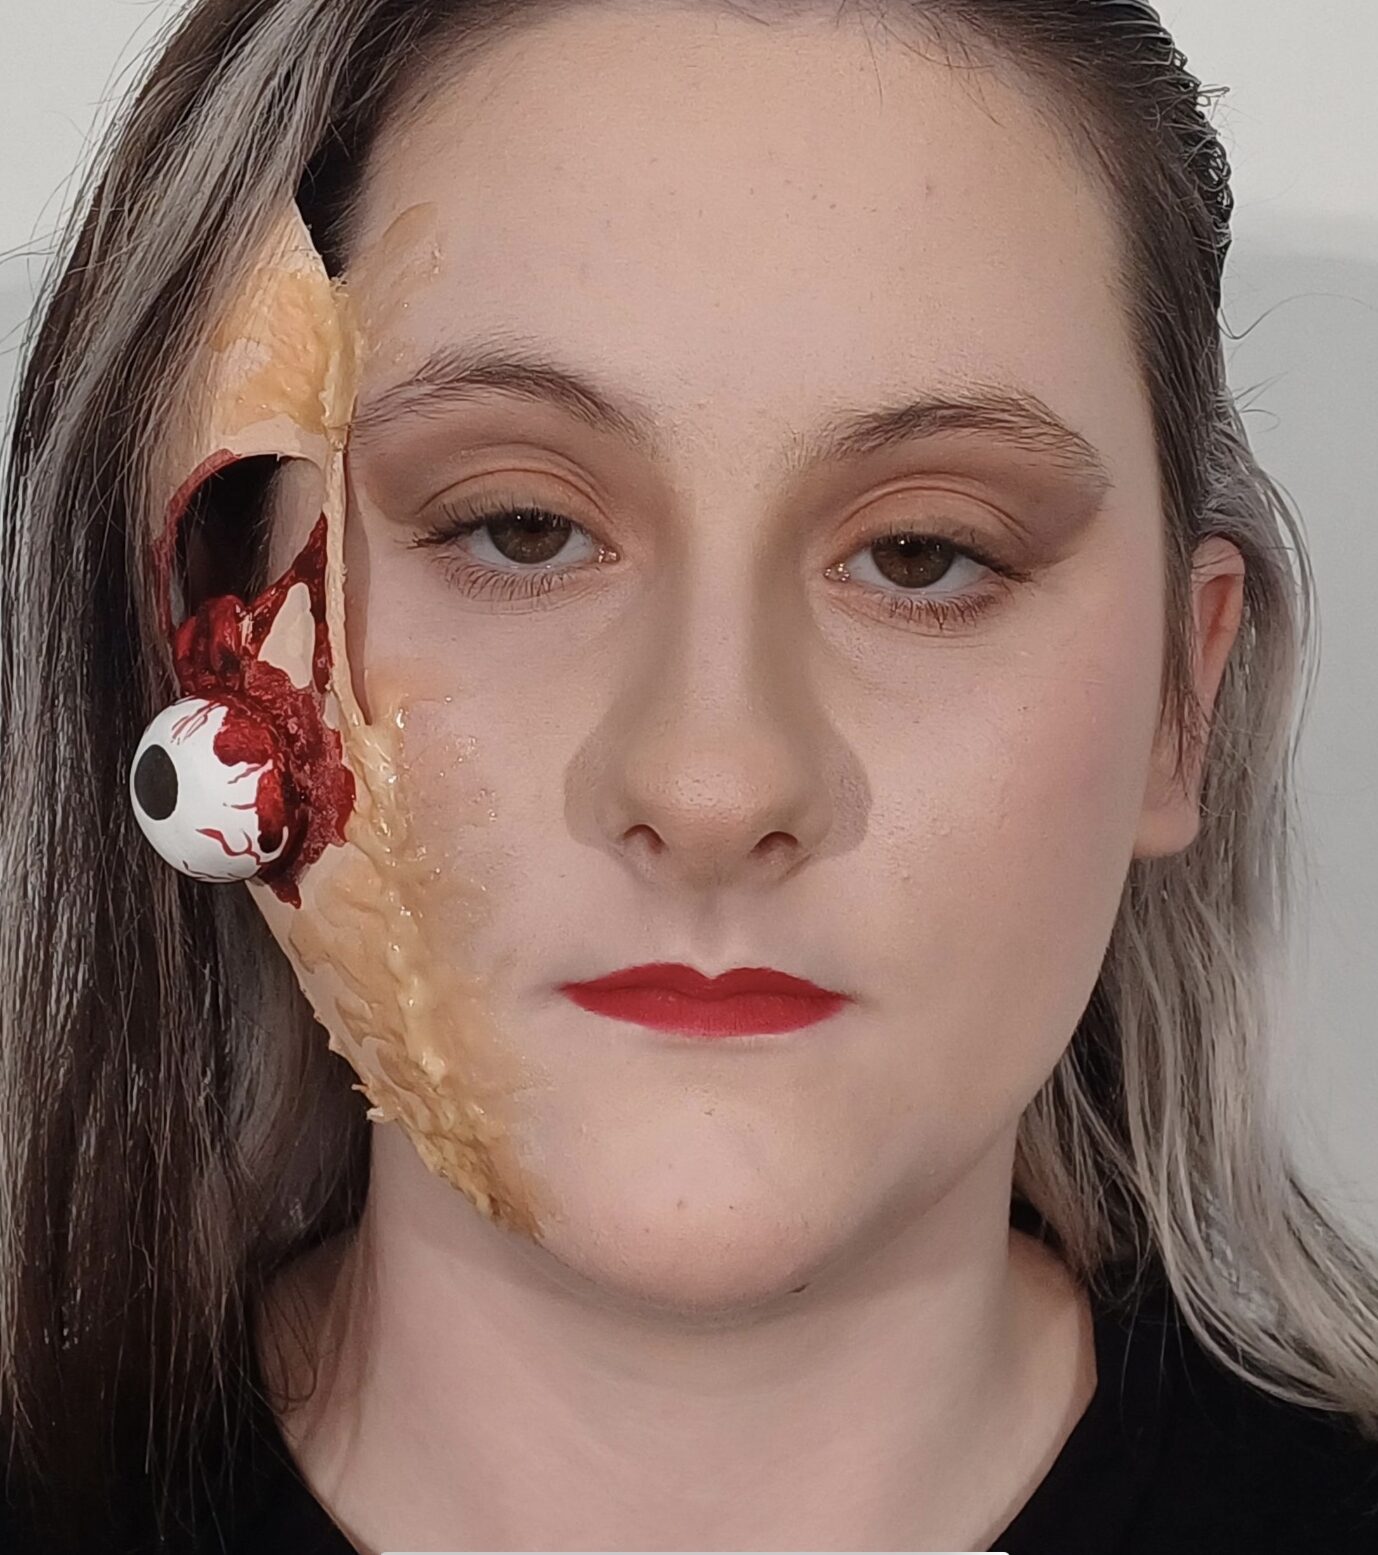
After I received my feedback, I used one of my Revolution eyeshadow palettes to add more depth to the eye.
I then used a q-tip and lots more liquid latex to hide where the prosthetic was applied to the face and create the melting skin effect I wanted.
To finish, I used gel spray and a small comb to slick back the hair on the editorial side of the face.
This is my second final image taken after my adjustments (adding more latex, adding depth to the eyes, slicking half the hair). I think that there is a visible difference and the improvement is very clear.

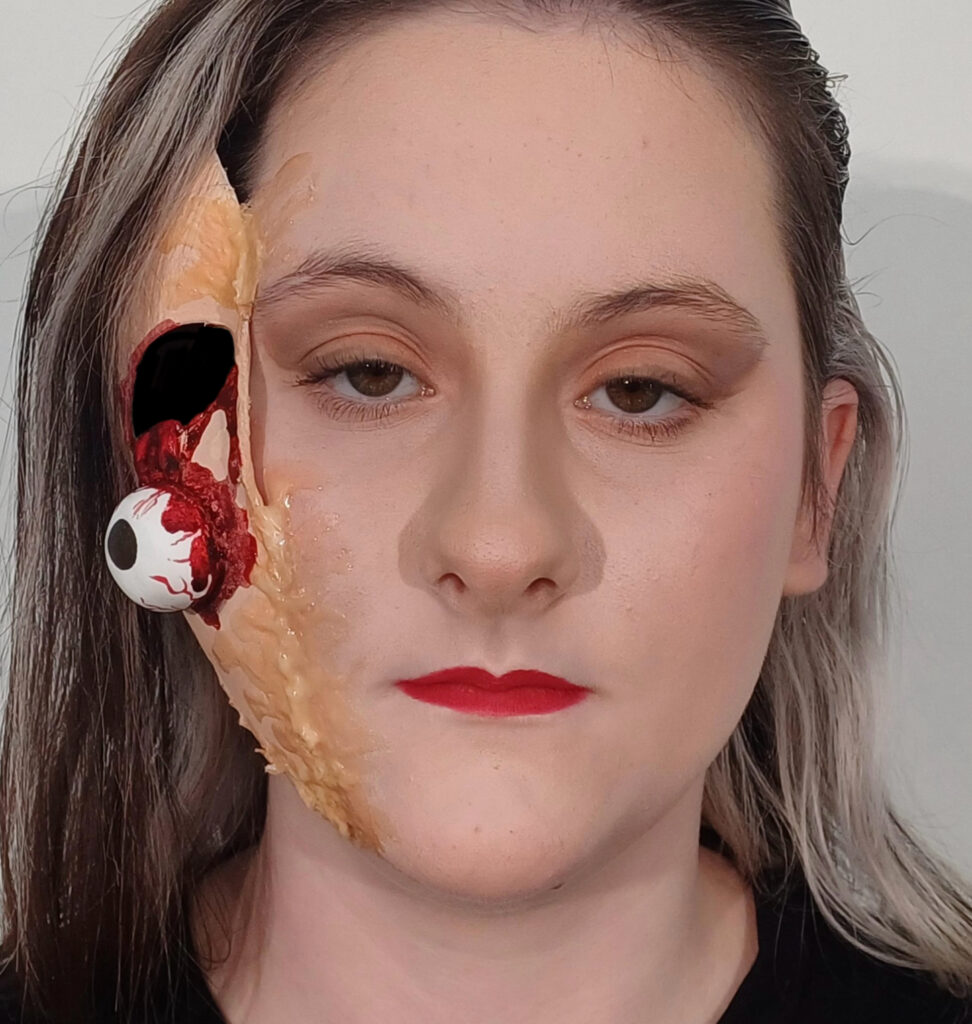
This is my final image again after I edited it so that the eye socket was blacked out.
