Light painting has become a popular technique in the age of digital photography. Virtually any type of light sources can be used for light painting photography, from something as simple as a torch, to bigger things like moving cars and even airplanes in the sky.
Artist Research- Hannu Huhtamo
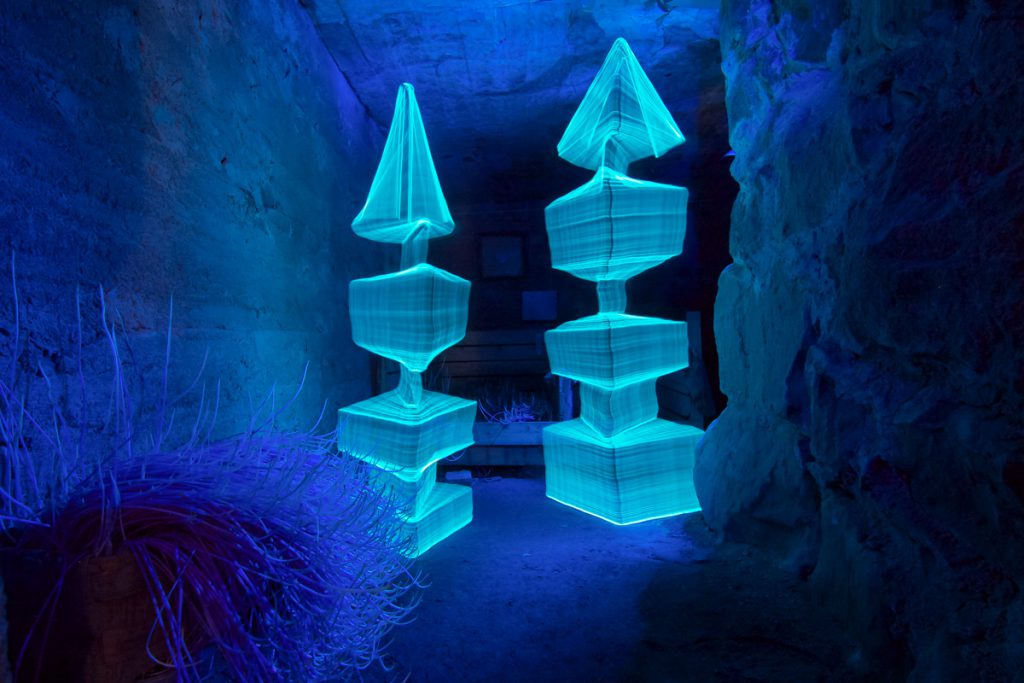
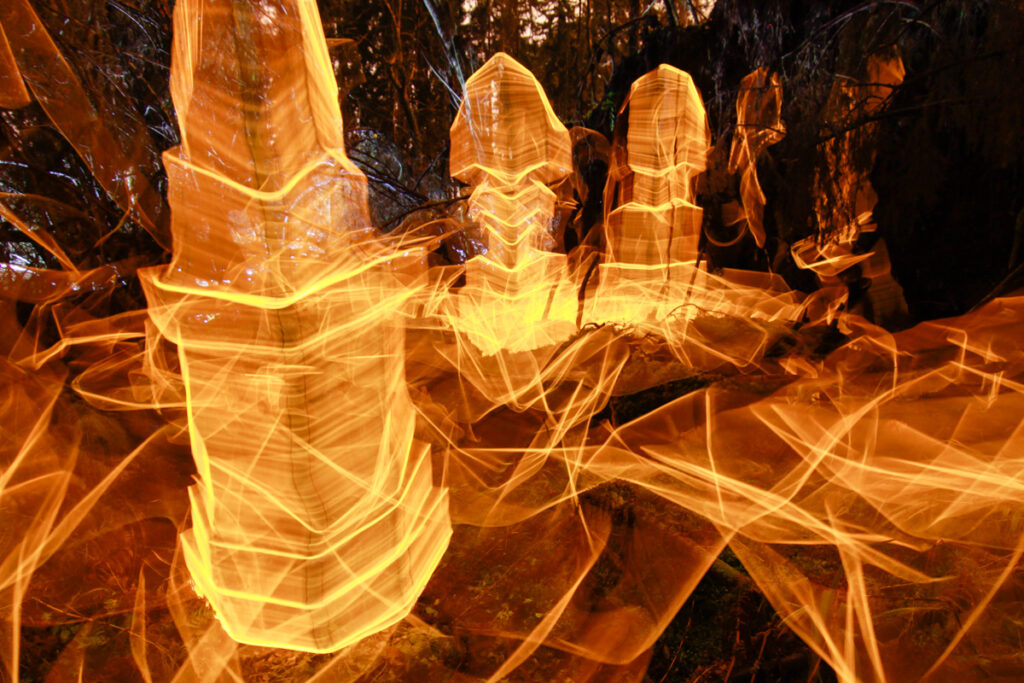
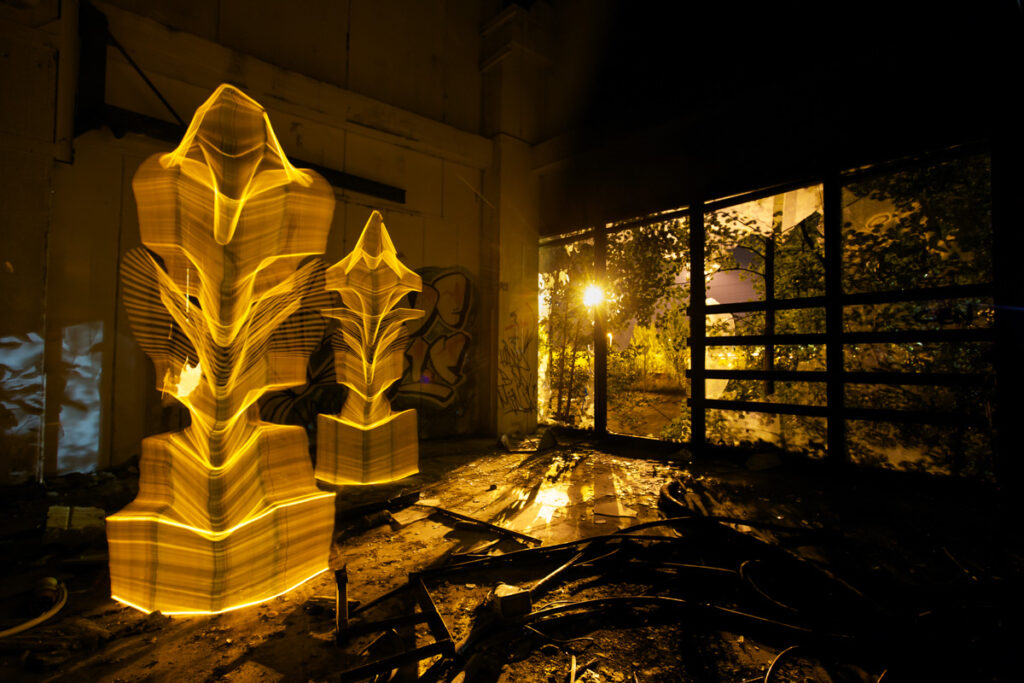
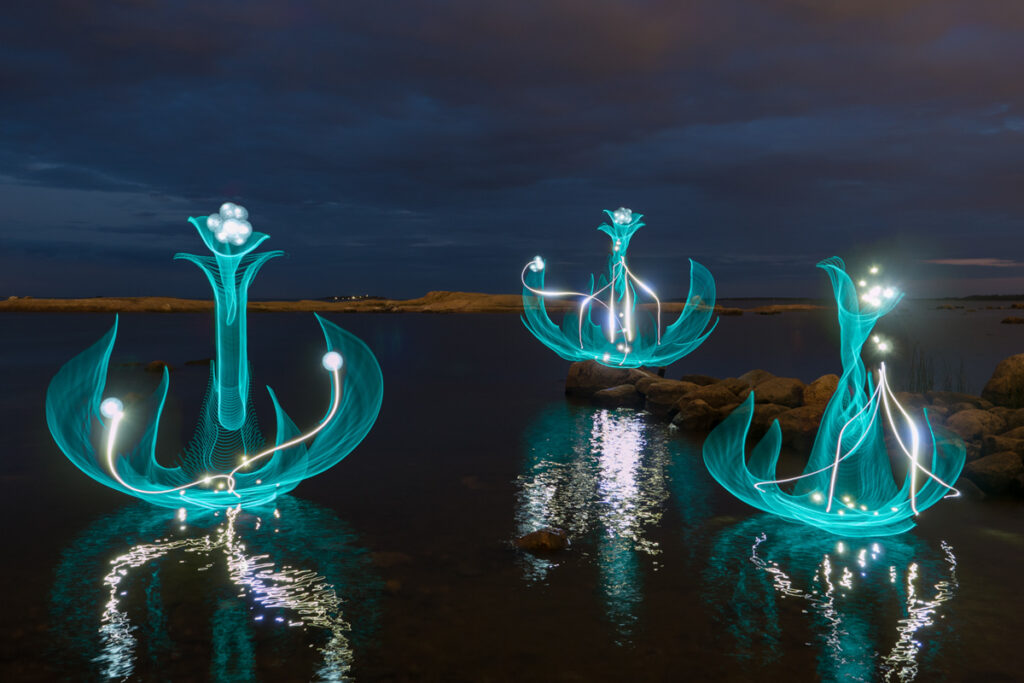
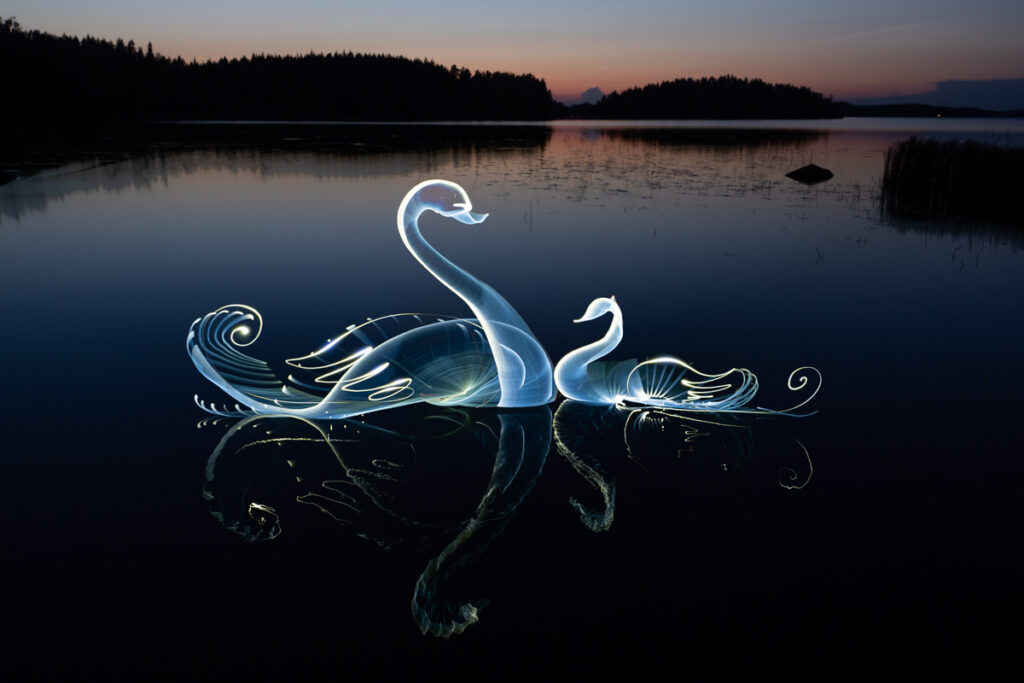
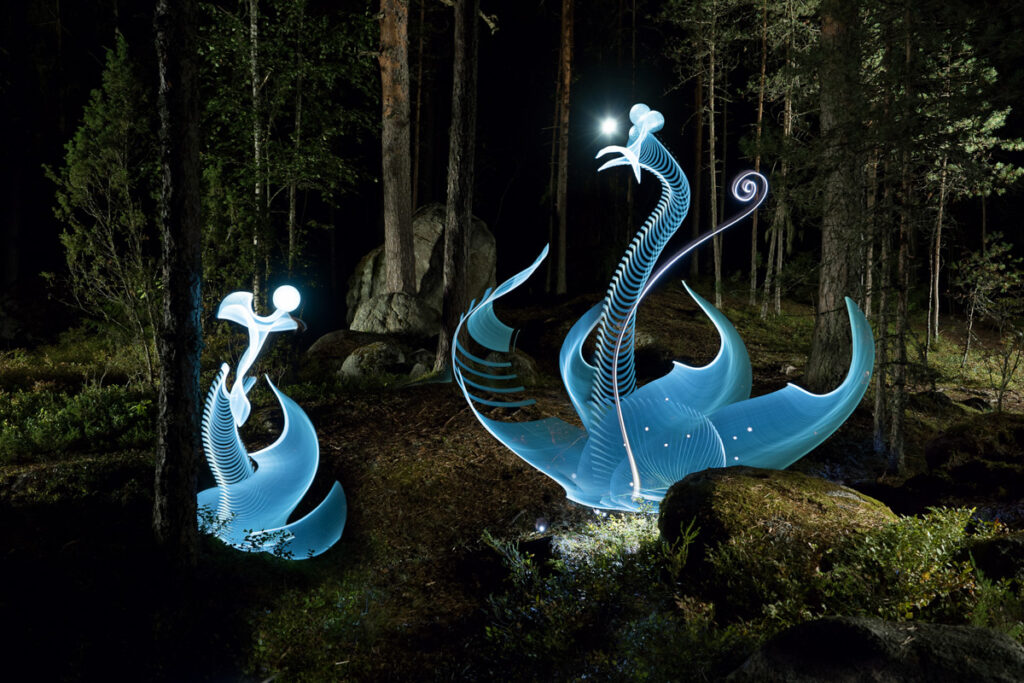
Hannu Huhtamo is a visual artist and photographer from Helsinki, Finland, known for his light art and long exposure photography since 2009. He uses light painting techniques to create luminous and floral shapes- often against northern landscapes or city outskirts. Huhtamo’s work has been featured on international news channels like CNN, Discovery Channel, MTV3 and other places like in magazines, books, blogs and music videos.
Hannu Huhtamo Photography. (n.d.). Hannu Huhtamo • Light Painter by night, photographer by day. [online] Available at: https://www.hannuhuhtamo.com/.
I’m really fascinated by Huhtamo’s work. In my opinion, quite a lot of it actually looks 3D. It looks like he achieved this effect by using different types of lights (some moving fast and some slow) in a carefully calculated order and at different ‘depths’ away from the camera. A piece of equipment the photographer used to create these types of images would definitely have been a tripod- used to keep the camera completely still- so the backgrounds of the images aren’t blurry and so he doesn’t have to hold the camera while moving the lights around. Something I noticed about all these pictures was that they were all taken in dark, unlit settings. This is likely due to the fact that Huhtamo would have used a very long exposure time (along with a large F-Stop number) for these photos to be possible.
Light Painting Shoot Plan
To link this photographers work to my theme, I am going to use a similar technique to Huhtamo’s to form images which illustrate how memories can ‘hang’ in places (which I think could slightly link to Jason Powells work as well). To do this, my plan is to carry out a shoot at night, taking pictures in locations were people usually walk (paths, pavements etc). I will then use a torch to ‘draw’ a vague outline of people while the photos are being taken. Reflecting on my own past experiences with long exposure photography like this, I have noticed that trails of light show up more transparent when the light is moving around quickly and more opaque when moved slowly. This is something I will remember to take into account while I am shooting. The equipment I will need for this shoot is my camera, a tripod, a torch (or two) and something transparent and colourful (like clear coloured plastic) so I can experiment with different light colours. Additionally, I will make sure to wear dark colours such as black, so I am as ‘invisible’ as possible in the images. In post processing, I may attempt to experiment further by trying out motion blur, to sort of give the impression that the light figures are walking or just moving around).
Light Painting Modified Shoot Plan

After attempting this shoot the first time, I realised that I need something to ‘trace’ the shape of to make it look like the silhouette of an actual person. My plan now -using the same equipment as before- is to have a model stand still in the frame of the photo so I can use the torch to trace around them. This shoot will still take place at night and they will need to wear dark clothing so they are as invisible as possible in the final photos.
Light Painting Second Shoot Attempt
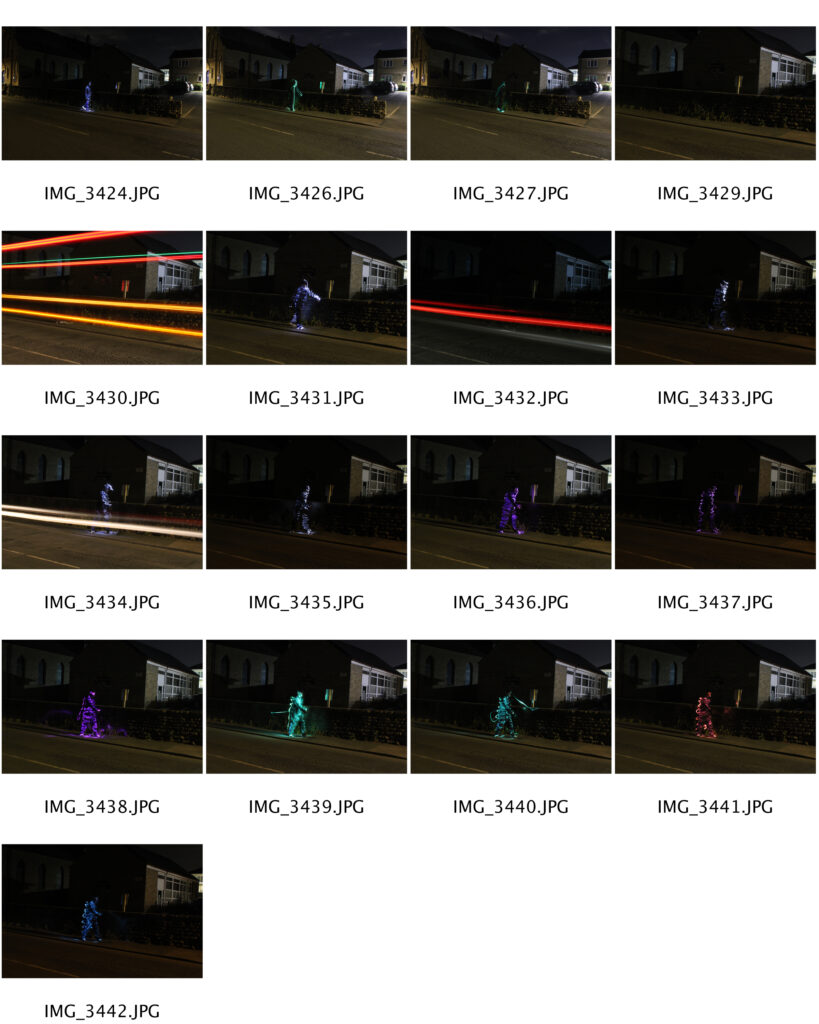
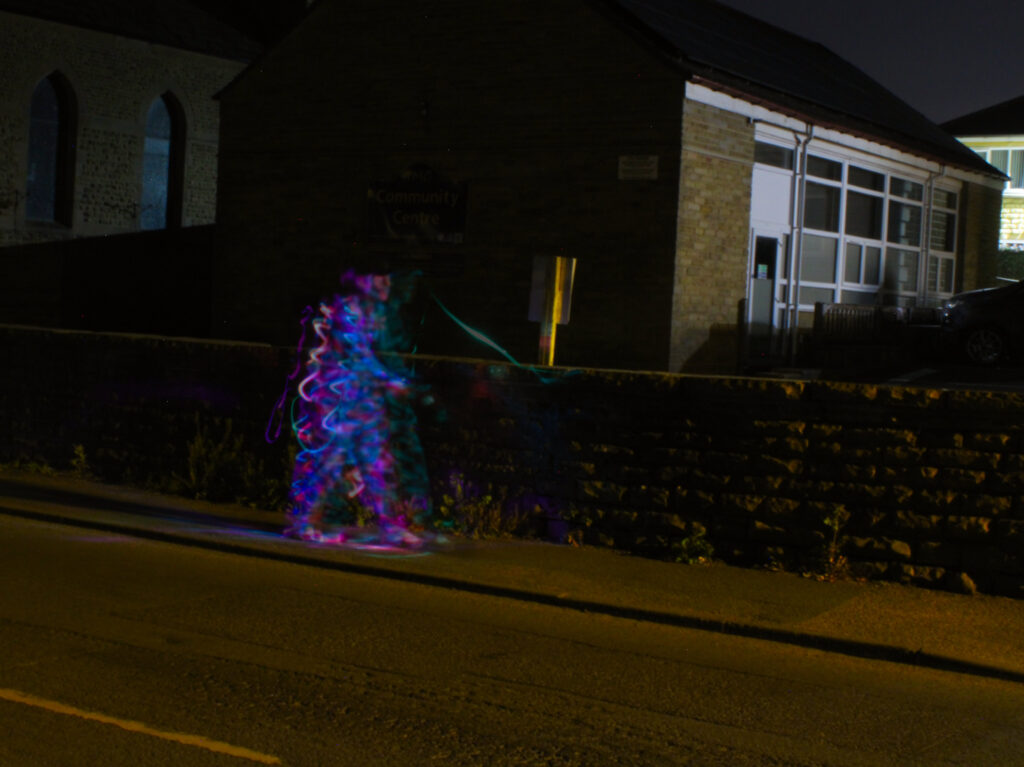
My second attempt at this shoot still didn’t turn out as well as I had hoped, but it is definitely an improvement from how it went last time. The use of a model gave me something to trace around so the light looked like a clear figure of someone walking on a dark street. I used cling film and markers to make a set of DIY light filters to experiment with different colours, which I think was a good choice as it gave my images a bit more variety. My main issue that occurred whilst shooting was the fact that I only had 30 seconds to run across the road and trace the light around the model. This was because if I made the exposure time any longer, the surroundings would be too bright, which wasn’t a look I was going for.
With safety in mind, this shoot was carried out at around 3am so I could freely run across the road without having to worry about many cars although there still were some.
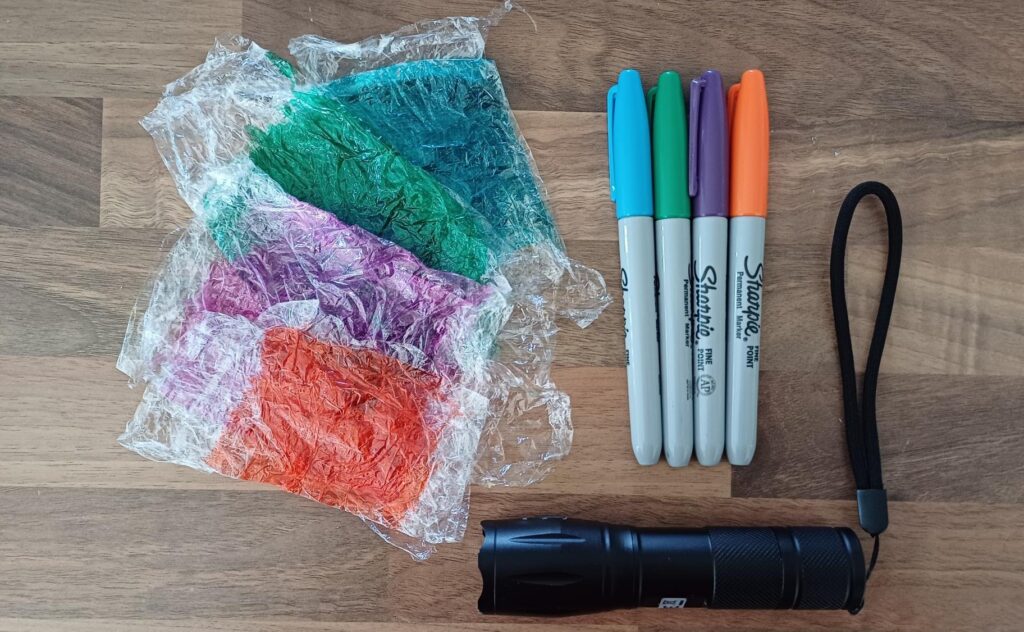
This is what I used to make the light shine different colours. I am going to keep these as I may decide to use them again for future shoots during this project.
Editing
To improve the look of these photos, I started off by using the eyedropper and paintbrush tools to select different shades of coloured lines from the photo to add more light trails. I then used the blur tool to make the lines I drew blend in more with the real ones, which made the walking figures shape more full and clear. I wanted all of the colours I used when shooting to be shown in the photo so I decided to crop all four of the images to be the same size and shape (making sure the figure was in roughly the same place for all) before altering the opacity of all of them. Finally, I flattened all the layers before heightening the vibrance and saturation of the whole image.
My aim as a final outcome for this shoot was to have a blurry figure walking in the street, however I thought this image looked too clear as I wanted it to look more like a distorted memory. Because of this, I decided to use one of my bin bag scans from my Karen Rohee based shoot to overlay on top of the photo using the ‘divide’ blending mode. I then adjusted the curves and reduced the vibrance and saturation completely.
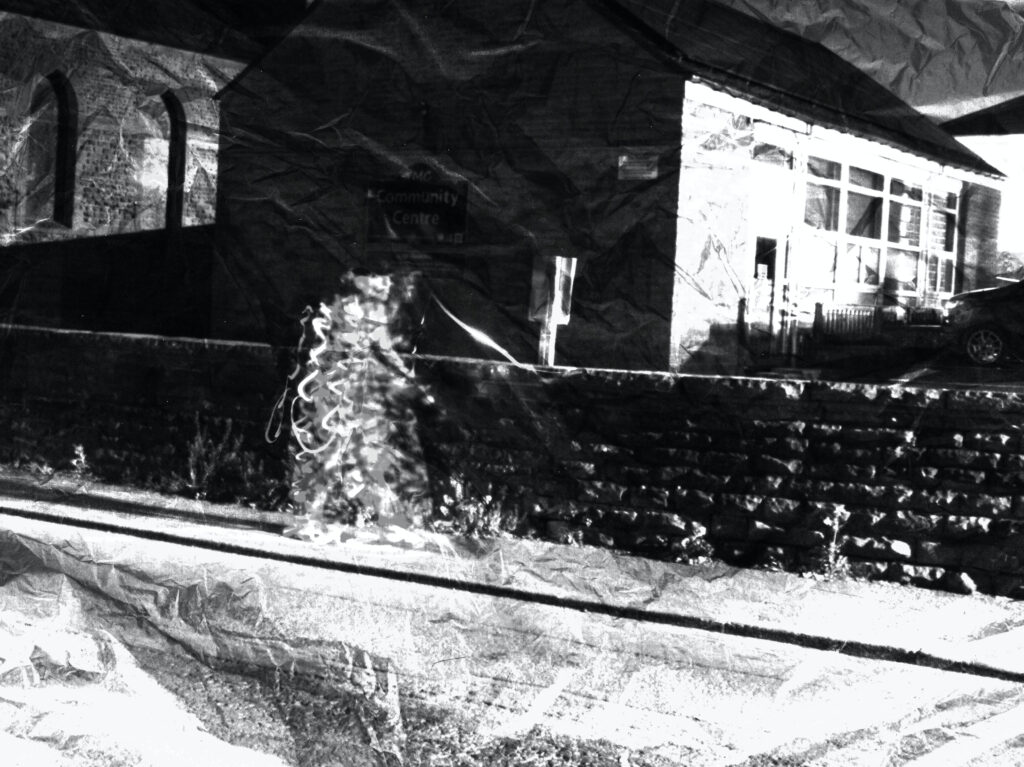
I feel that this decision was great for this photo as to me, the final image -due to it being black and white- looks as if someone has almost drawn the picture from their own memory. Also, the fact that the layers of light trails don’t completely match up, really makes it look like the figure was moving, which was my goal during this shoot. This re-attempt has definitely been successful.