Plan:
To develop my Hockney Joiners further, I have decided to do one last one where I make the picture look really distorted by putting together multiple pictures but making sure they don’t join up correctly at all; Only enough to be able to make out what it is.
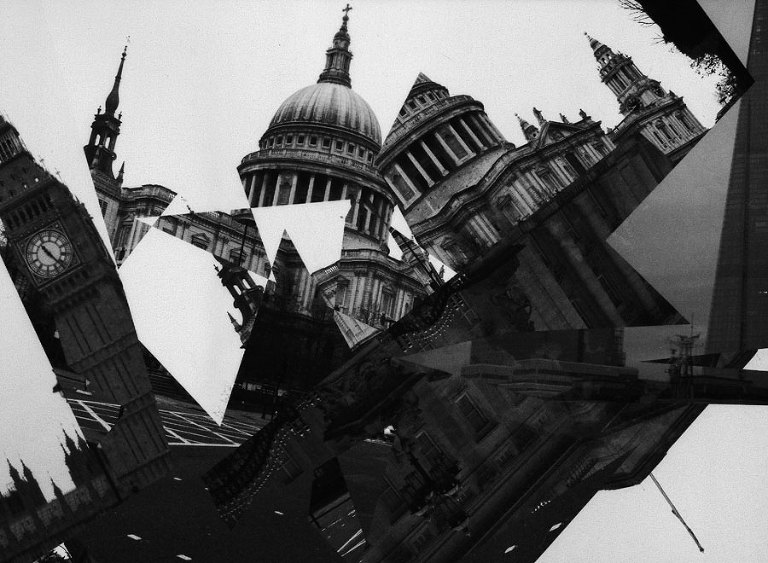
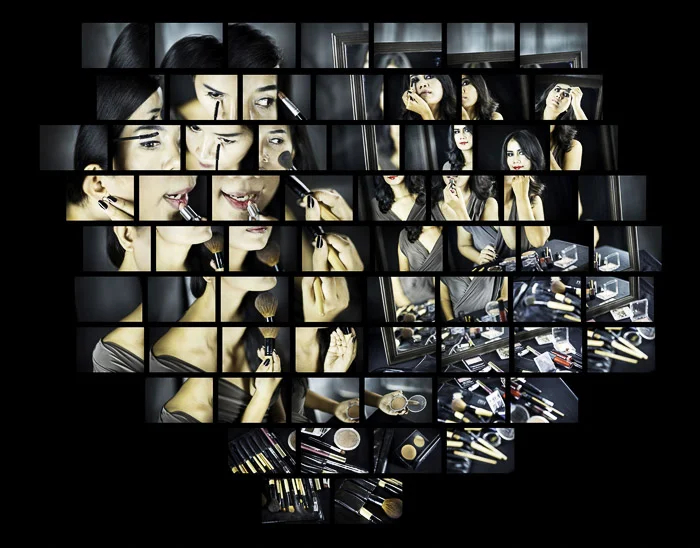
I found some examples of what I am going to attempt to do on Google. One of them has most of the pictures slanted which I may try to recreate in Photoshop as I have already made Joiners where all the images have been kept straight. I am also thinking of experimenting further by editing some of the photos in different ways such as making some black and white and/or some with more vibrant colours.
Shoot:
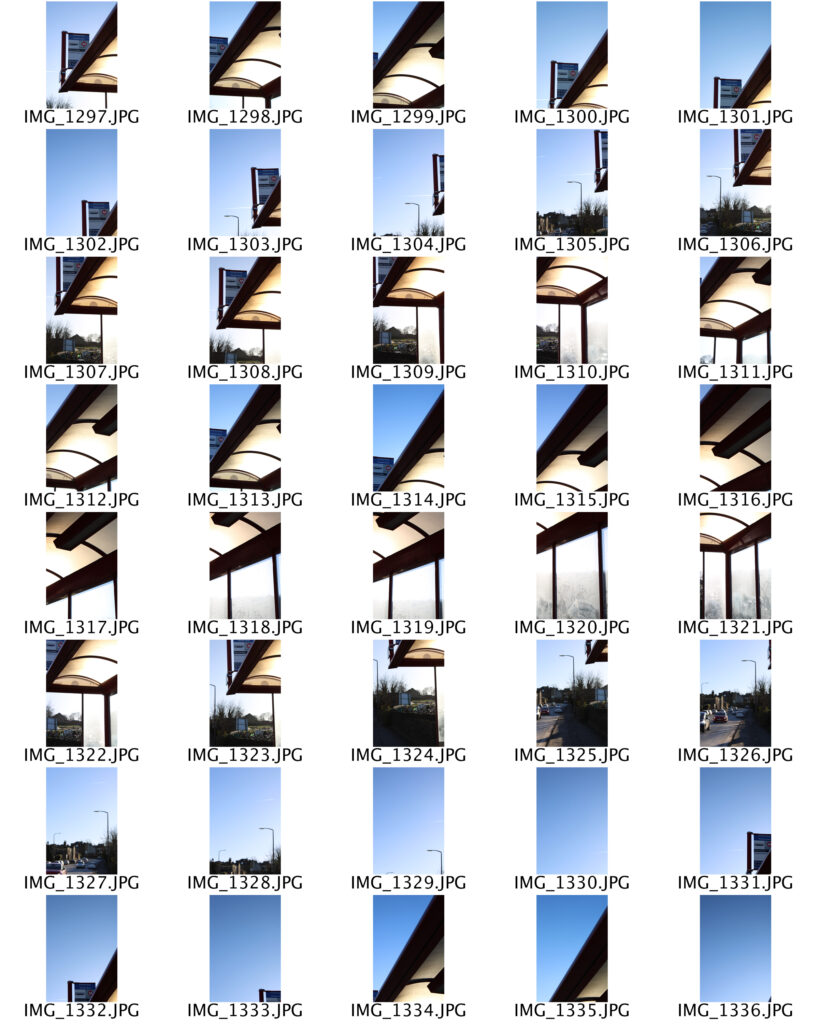
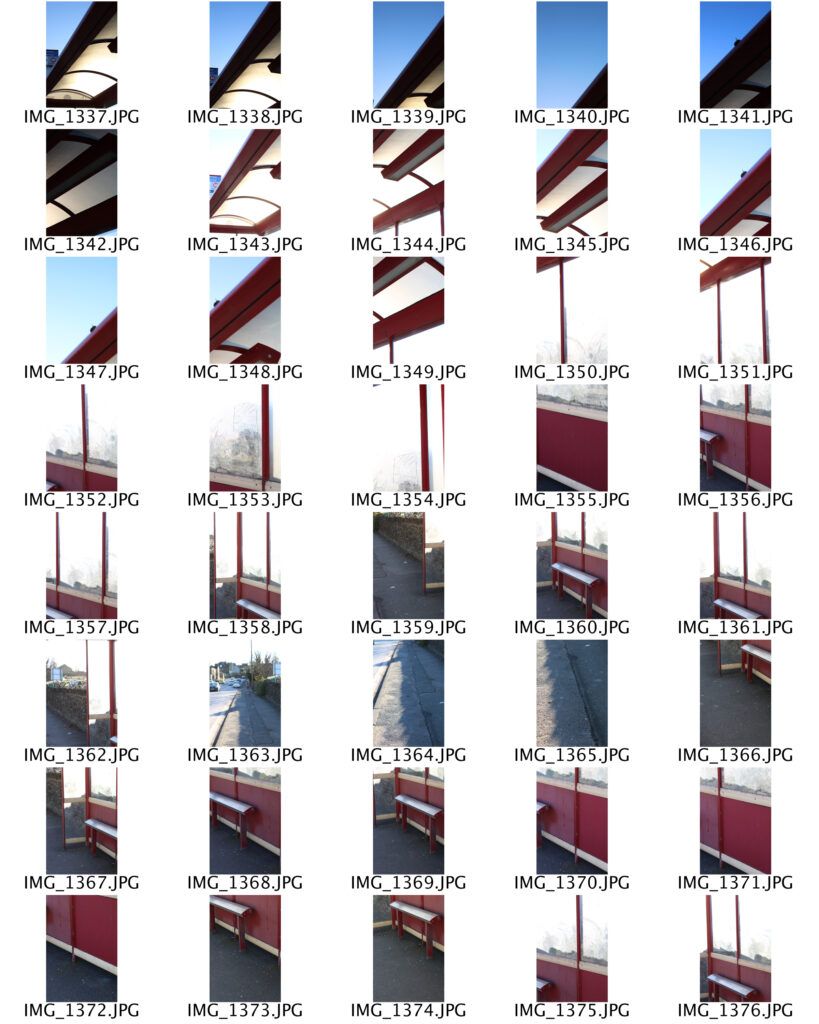
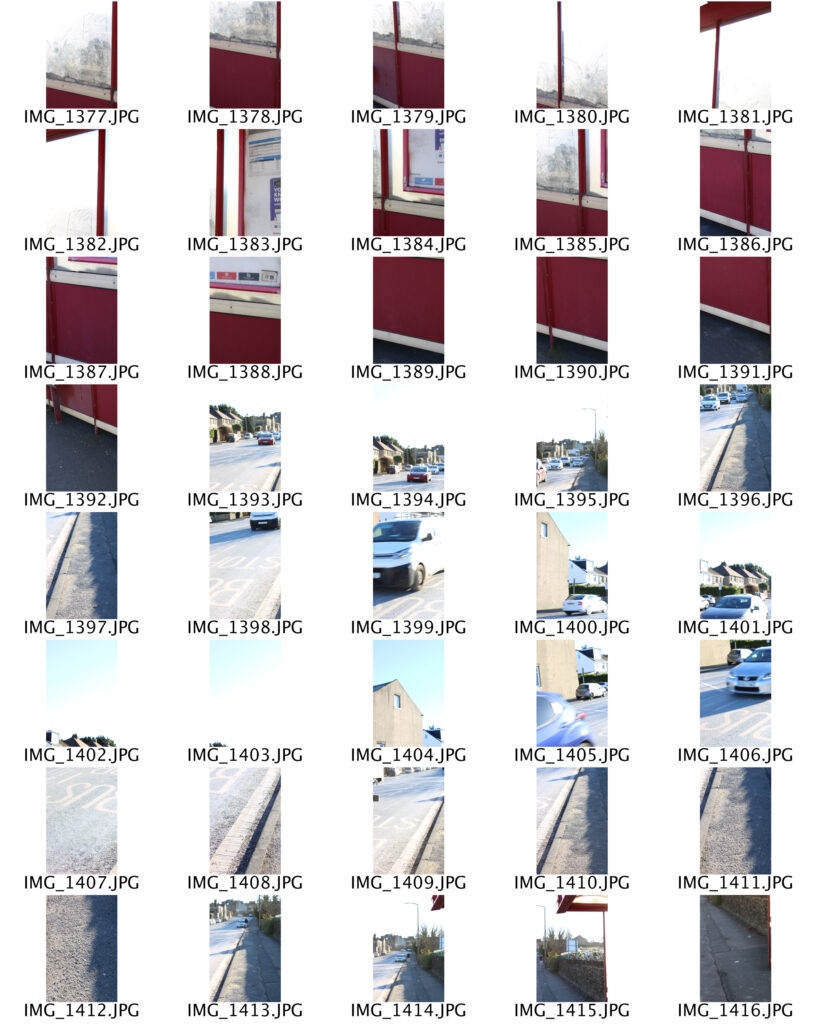
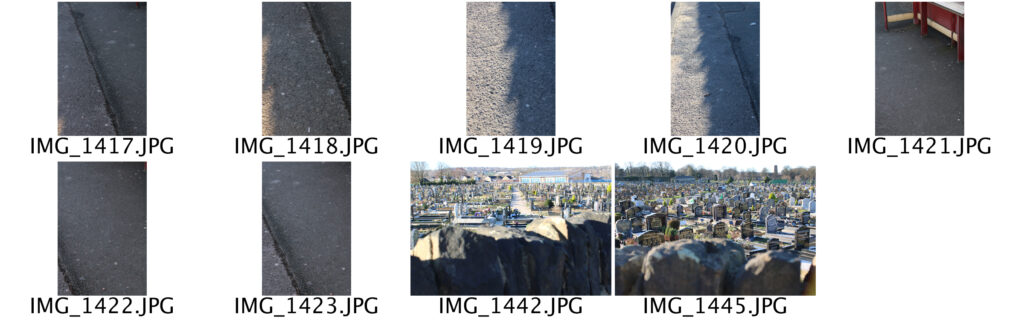
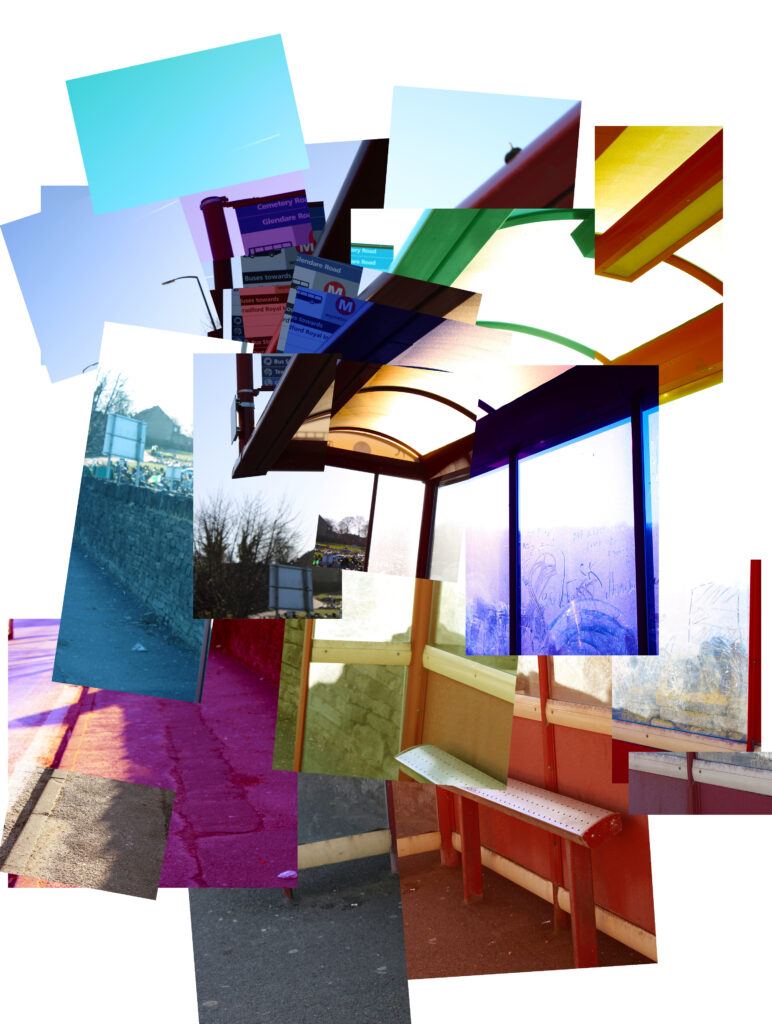
I went to a bus stop on Cemetery Road and took pictures from a little underneath it. I took a lot more photos than I needed, all with different parts of he scene I was photographing in the frame. This was so I had a larger variety of photos to chose from to add to the Joiner. When editing, I cropped the majority of the pictures I was using into different sized rectangles before adding them to the Joiner; Some thinner or wider than others. I slanted many of the photos using free transform so the pieces of the frame didn’t really match up with each other. I like how slanting many of the images impacted the shape of the final Joiner.
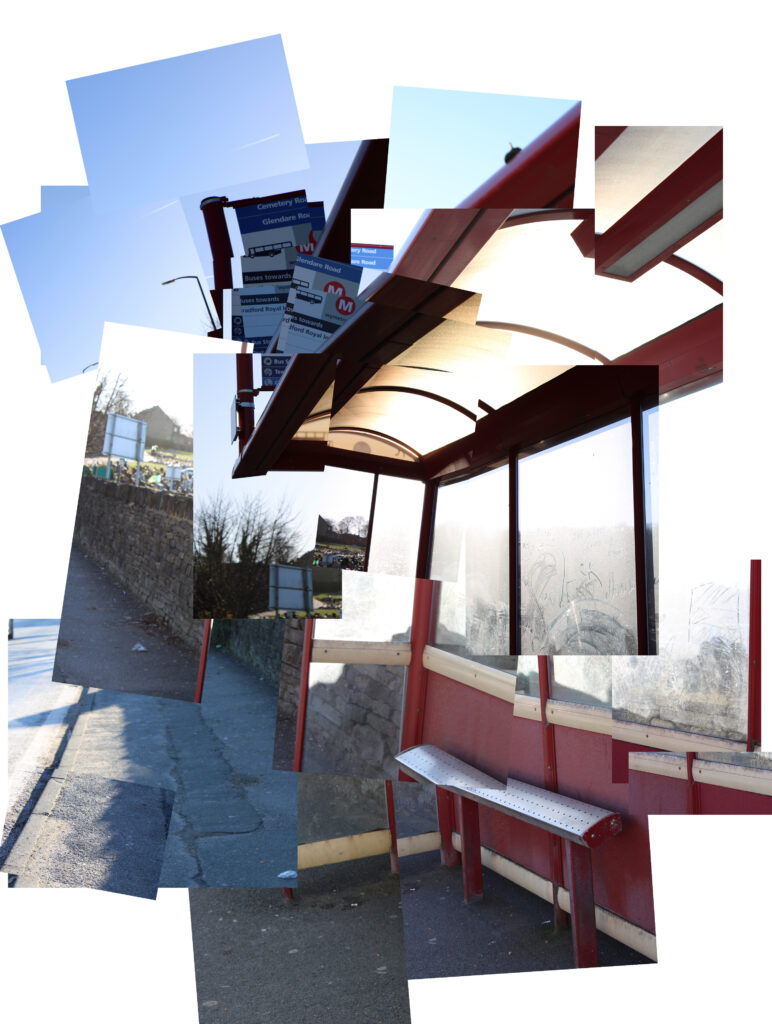
To experiment a little bit further I decided to add more colours to the Joiner by using colour balance, vibrancy and saturation to make some of the pictures have a more colourful hue. I like this one slightly more than the one without different colours because it makes it look a lot more distorted and cooler to look at. I still like how in both of them it is clear that the photos were taken at a bus stop as it relates to my theme of public transport.