Plan:
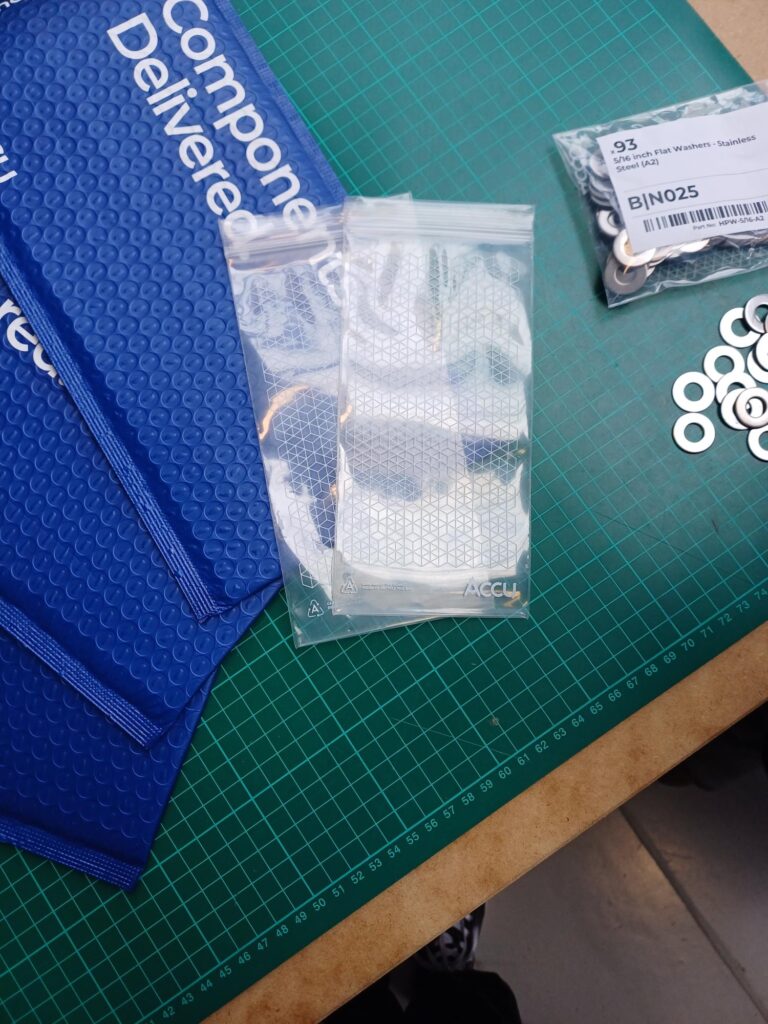
When I visited ACCU I found some clear plastic bags that the company packs orders of engineering components into. I have decided that I am going to incorporate these bags into this shoot by overlaying the cube-like pattern over my pictures. I am going to do this using the darkroom, then I will scan the photographic paper images to use as overlay.
What I want as an outcome for this shoot is a portrait of someone surrounded by metal nuts with the ACCU pattern overlayed over the whole photo. My plan is to use one nut and take pictures of it from different angles so it can look like more than one was used for the pictures. I want to create the effect that the nuts are falling or hanging in mid air when I edit the photos from this shoot together in Photoshop.
Shoot:
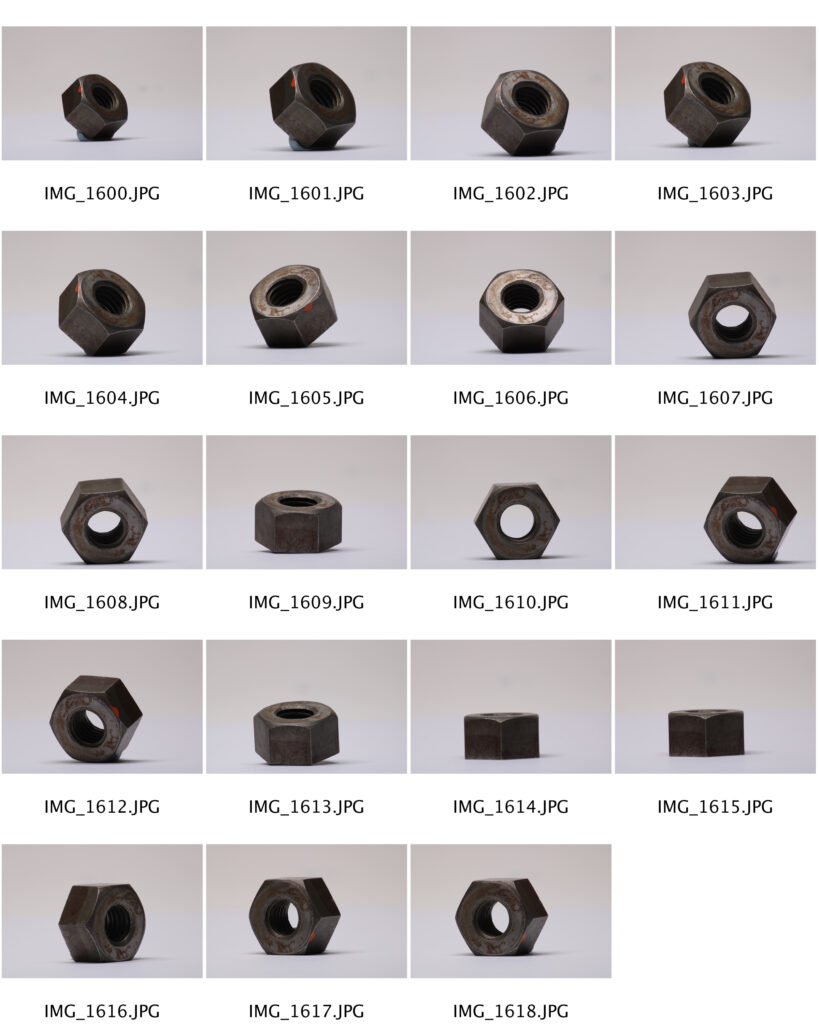
I started off by taking pictures of a metal nut using a macro lens and a tripod. I used blue-tack to hold the nut down on a sheet of plain white paper, in different positions so it could be seen from multiple different angles.
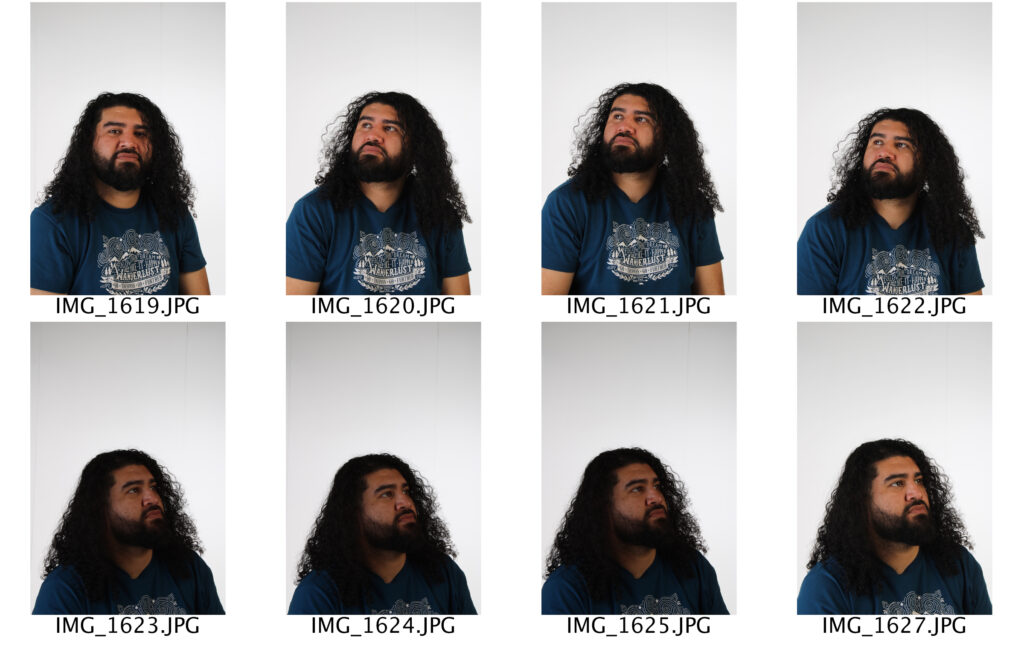
When I took the portrait photos in the studio, I made sure that there was quite a bit of blank white space above the models head as I was going to fill this space with floating metal nuts. I also made sure to direct the model to have a facial expression as if they were in thought, as I think this works well for the type of image I want to create.

To edit each of the nuts into the picture, I used the magic wand tool to select it from the image and get rid of the white background. I then used free transform to position them in different areas of the photo. Originally, I was only going to position about 4 metal nuts in an arch around the models head; However, while editing, I then decided to play around and experiment with the sizes of most of the nuts and used the field blur filter to add some depth to the photo, which I believe made the whole picture look significantly better.

This is an image I created in the darkroom using the plastic bag from ACCU. I scanned the photographic paper and used it to overlay over the picture. Because I already liked the original picture without the patterns on it, I decided to only add the overlay onto the edges of the photo-wherever there was empty space-to make sure that the portrait and the metal nuts were still the main subjects of the image. I used the colour dodge blending tool first, then used the eraser to remove most of the ACCU pattern.
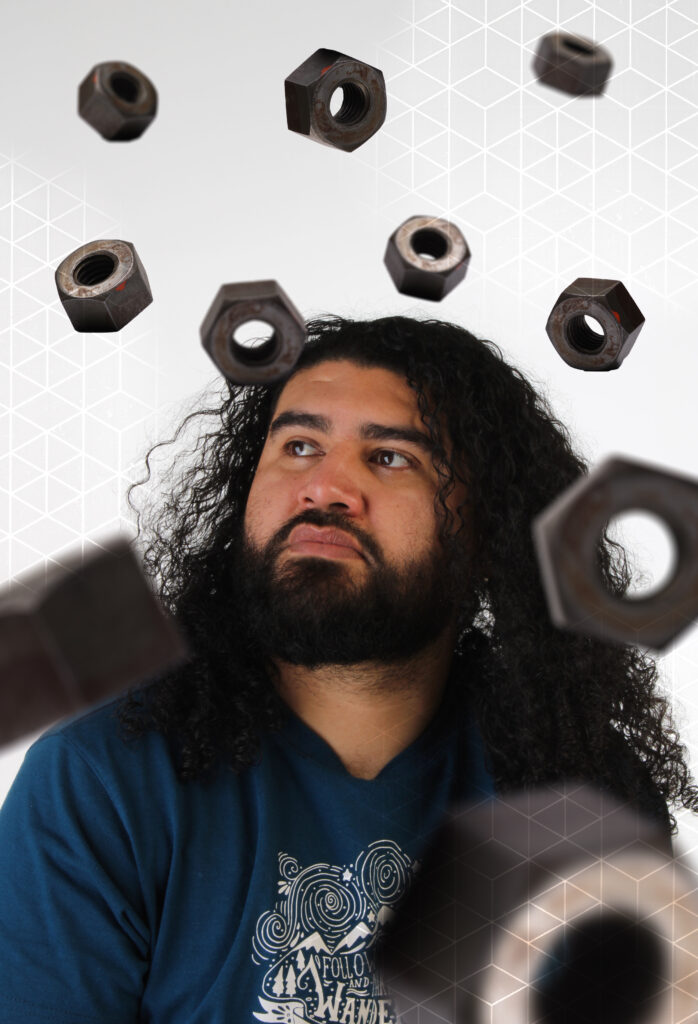
Overall, I think I like the version of the image with the ACCU pattern on it more than the one without, as I feel it looks less plain with not as much completely empty white space between each of the metal nuts. In addition to this, I like how the pattern somehow balances out the colours in the image better, as it seems to make the darker areas of the photo look slightly lighter.
For these photos, I made objects look as if they are floating in mid air using Photoshop. In my next shoot, I would like to develop this technique so it focuses more on my own main concept, which is the relationship between people and technology.