First Shot
My first shot involved placing the male model onto the chair and adding the cybernetic eye.
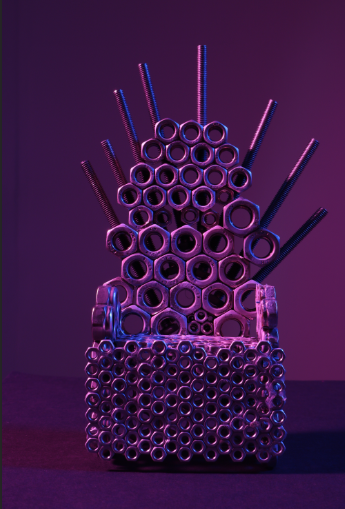
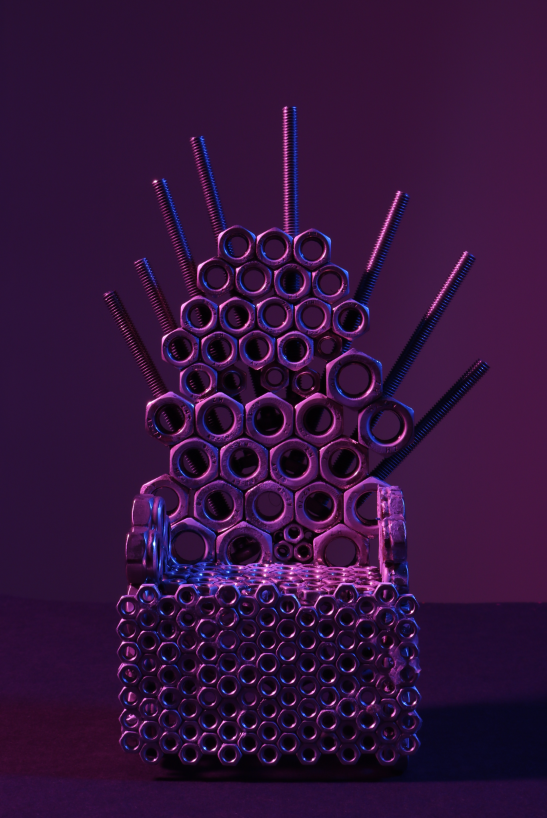
This was the image of the chair I decided to use. I used this one because it was going to look very natural for a full body seated position image.
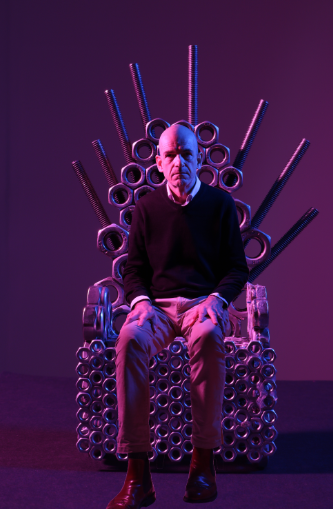
To start with, I cut out the model and placed him on the chair. However, this didn’t have much depth to it and it was quite obvious it was edited from the position of the right leg.

I added drop shadows to the bottom of his feet and added a small shadow behind his back leg for the effect of the light hitting it.
I then burned the shadows on the picture and slightly dodged the midtones to create a bigger contrast between the light and darkness.
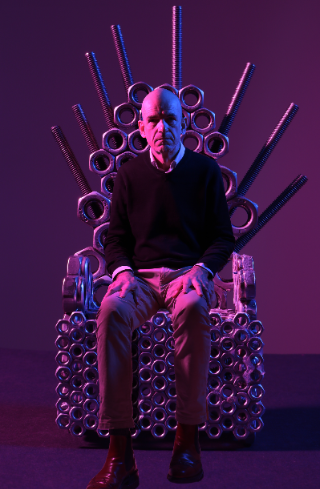
I slightly cropped the image to make it more central. I was going to use the rule of thirds but I wasn’t able to because I didn’t have enough space.

To add the mechanical eye, I used the same process used in my test shoot. This created my final image shown below.

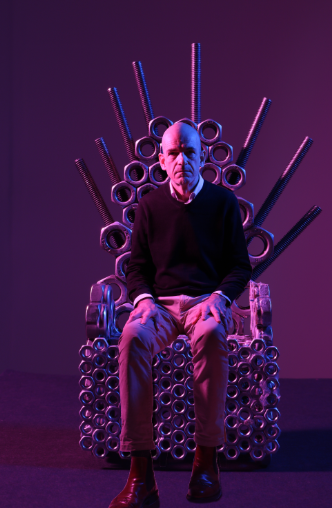
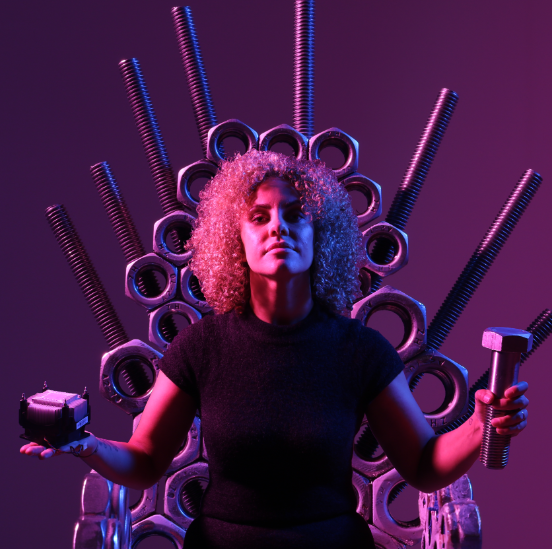
Second Shot
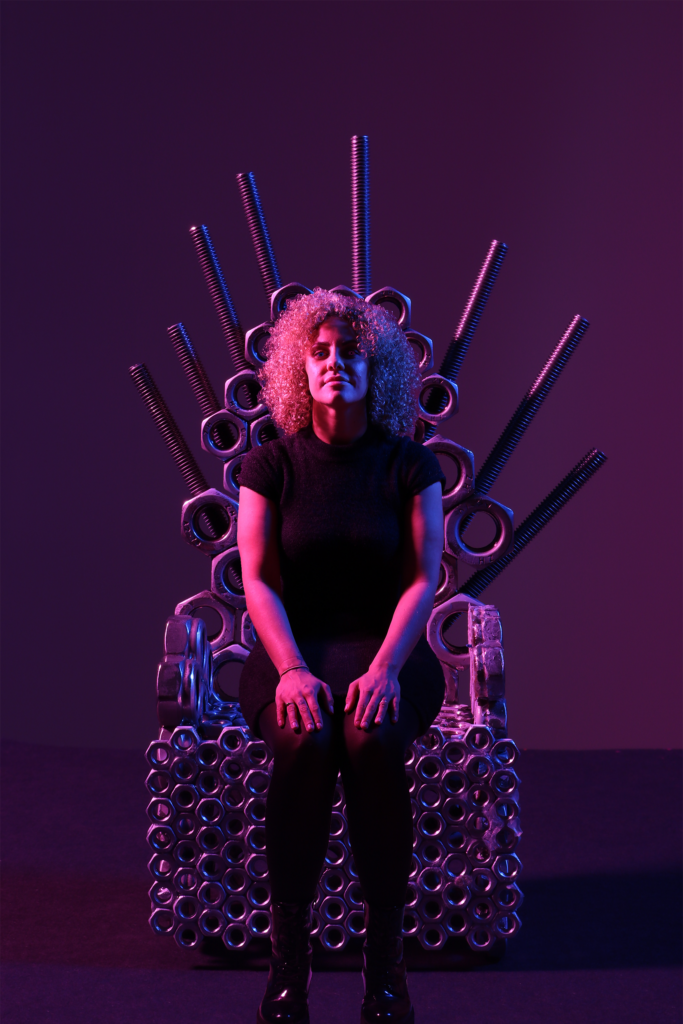
For the second shot, I decided to use the same image as the first shot but just swapped out the model.
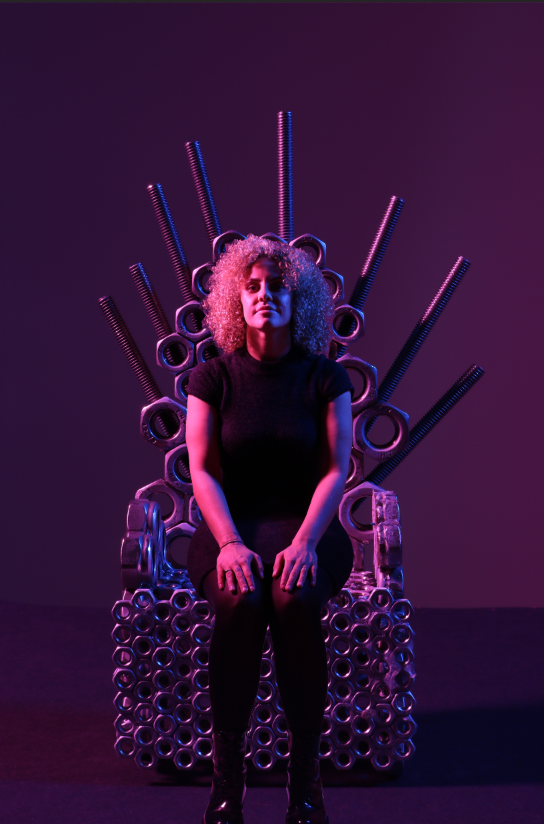
I cut her out and placed her on the chair and it fit very seamlessly. This meant that I had to do no drop shadows to compensate for the light.

I used the “Selective Colour” tool to alter the magentas in the picture, making them slightly darked. This meant that it wasn’t as white and was more deep
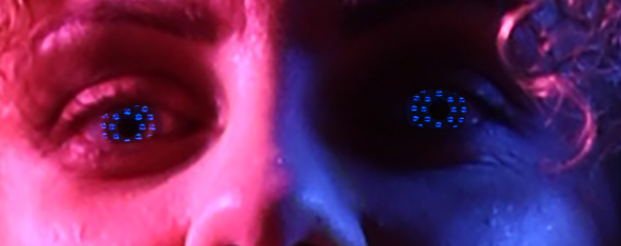
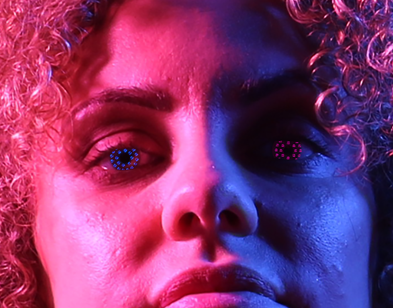
I used the same process as I did in my test shoot, but instead applied one to each eye.
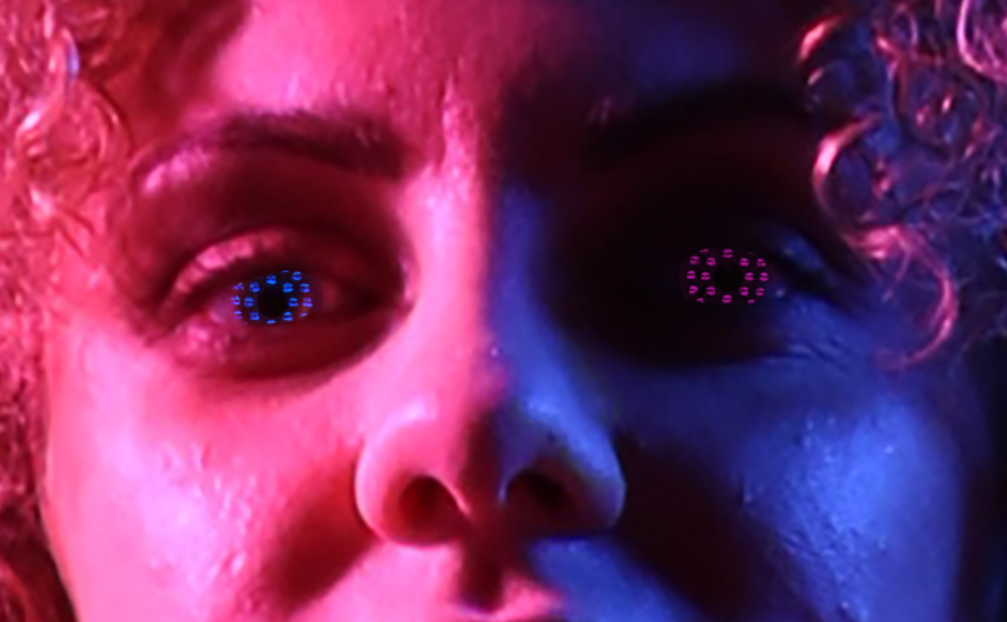
To create a cool looking effect, I used the “Hue & Saturation” adjustment to shift the left eye to be pink. This created a cool look of having the pink eye on the blue side and the blue eye on the pink side. This created my second final image, which is shown below.
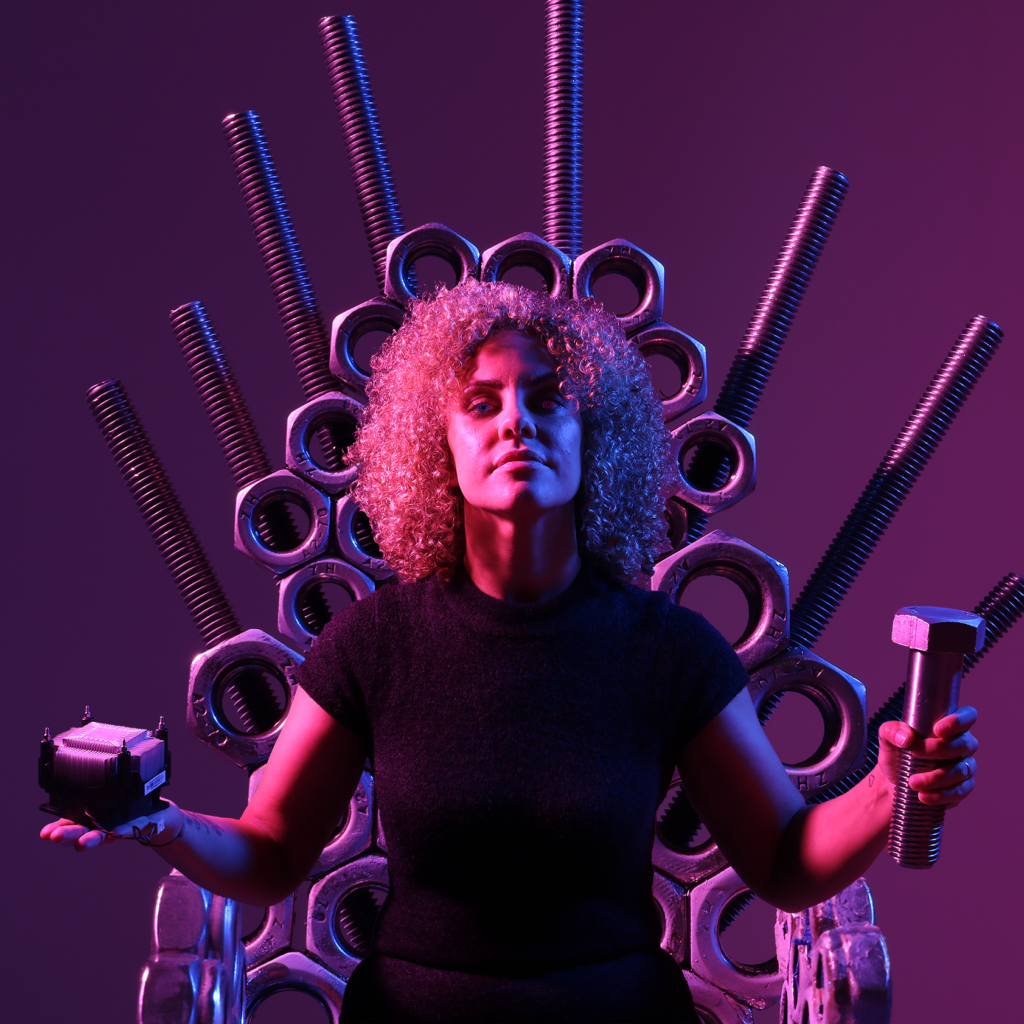
Third Shot
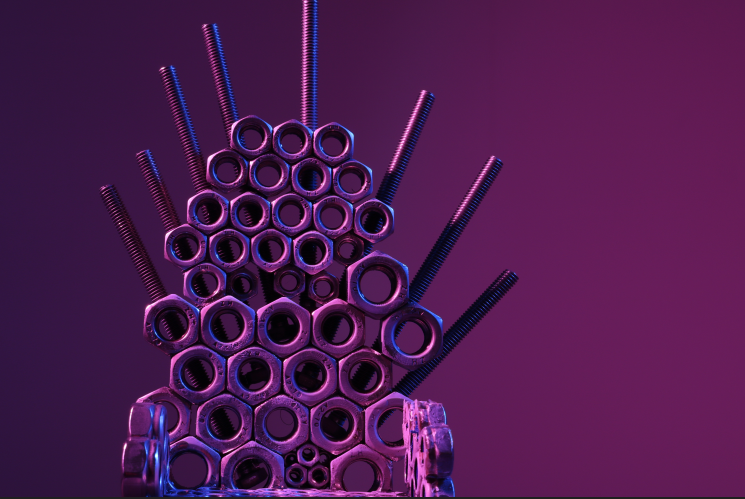
For this shot, because it was from the waist up I could use a closer picture of the chair.
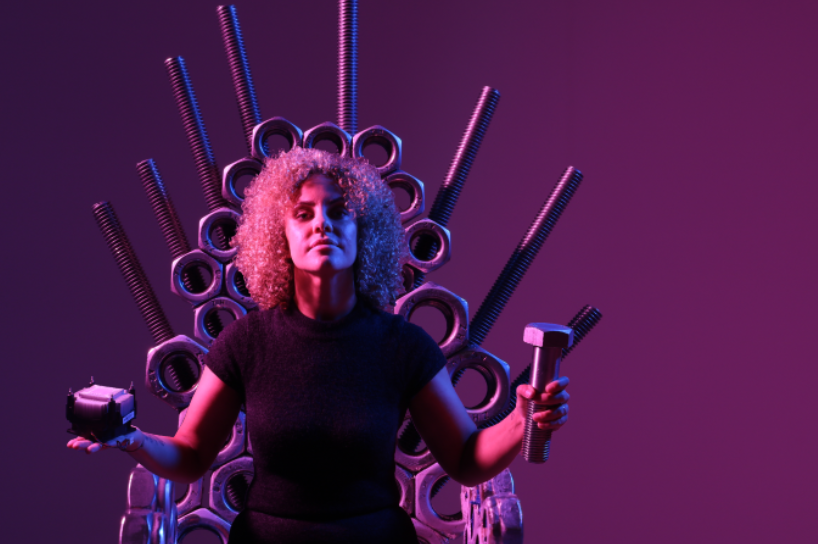
I cut out and placed the model on the chair, sizing them to the chair.
I then cropped the image to be a square format. This looked better because there wasn’t a lot of extra space on the side. I also used the “Selective Colour” tool to increase the blacks on the magentas, creating a more deep neon pink.
I then used the same technique shown in the second final image to create the matching eyes for this picture. This created my third final image shown below.