
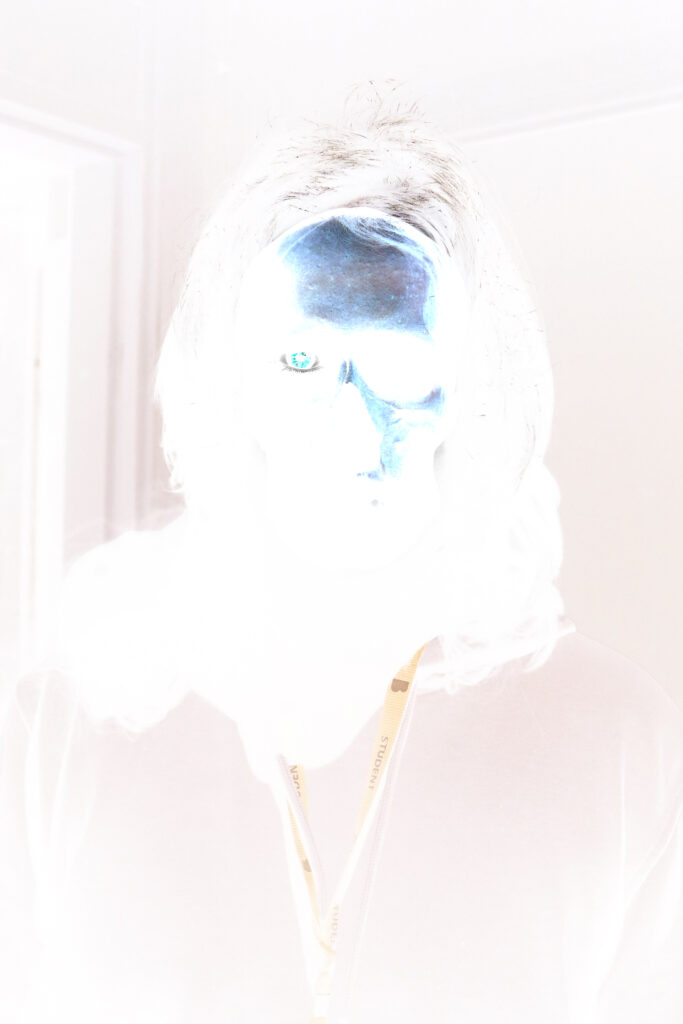
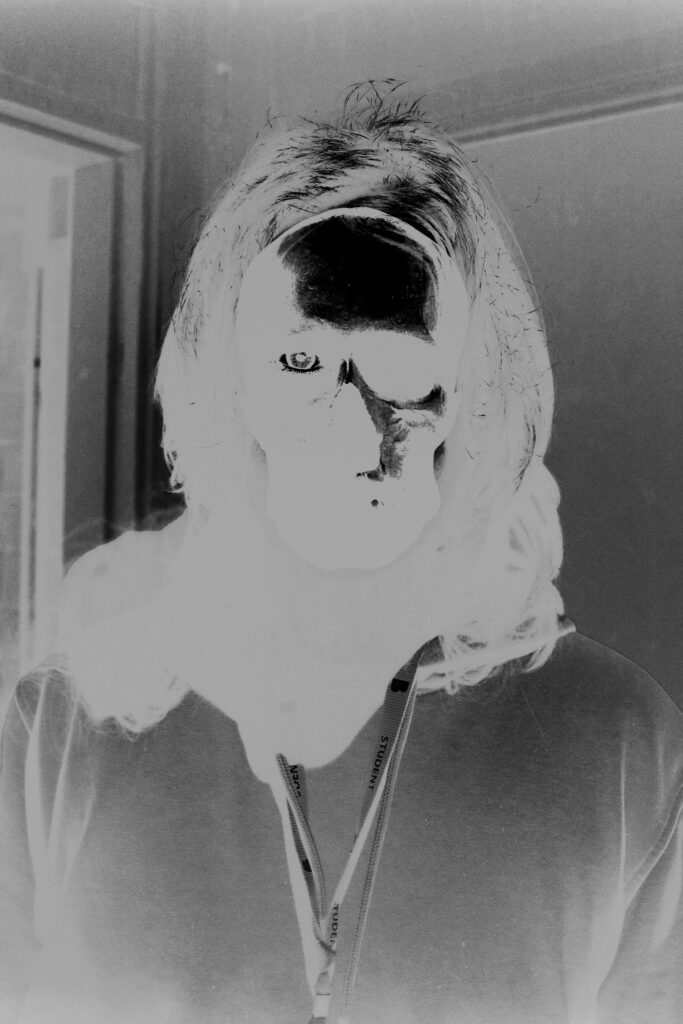
For my experimentation in the darkroom, I decided to use the previous picture of the skull and eye of my model shown in the layering process. I inverted them and set them to two different levels with the burn tool; a darker version with more contrast and a lighter version with less contrast.
I did some attempts with solarisation, which is a process where you blast the image with light and put the image in the developing fluid. After it has just started showing up, you take it out of the developer fluid and blast it with more light, then put it back into the fluid and complete the process as usual. This process is typically described as a “tone reversal” by making the white on the images look more grey.
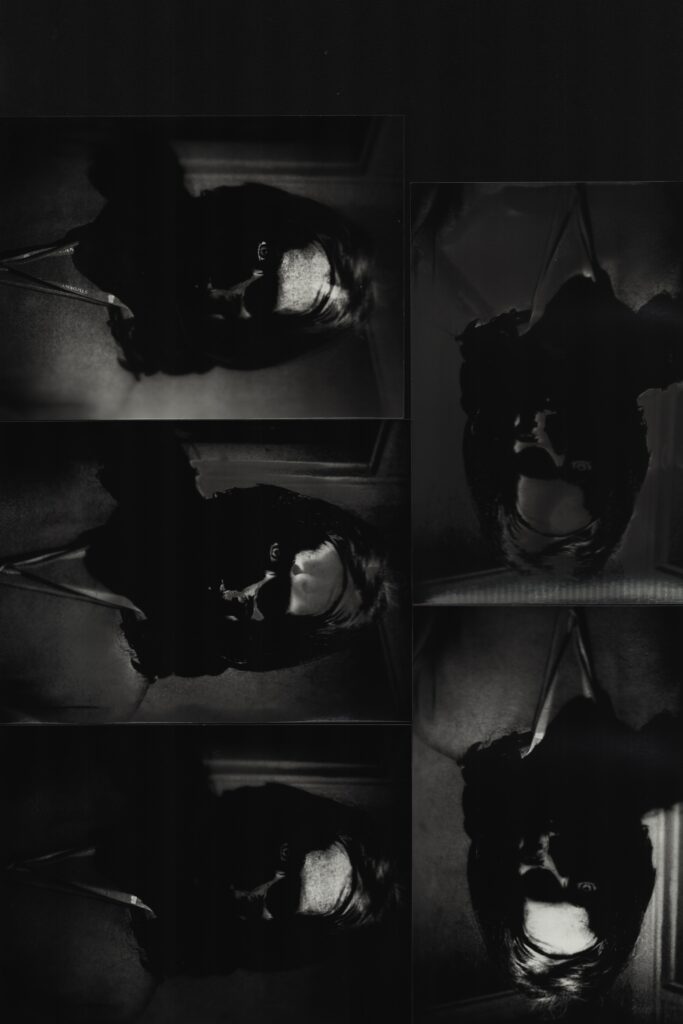
These are the finished products. As you can see, they are a little dark but that is mainly because of the scanner I used. The actual images worked quite well. The distinctions between the dark and light areas of the image were very prominent.
Conclusion
Overall, it was fun to experiment in the darkroom, but for my specialist practice I don’t think there is much application.