
To begin, I will be doing some simple aqueous shots to get myself back into doing this style of photography. I start by using the setup described in my test shoot page.
Test shoot 1
Setup
I decided to use green for this first test shoot on a white background. I had no reason to do this because I was just getting used to doing it again and green is my favourite colour. I used 1/200 shutter speed to freeze the pictures aswell as using a simple f5.0 and 800 ISO. This created images that looked like this.
Thoughts
These shots were ok, but I had numerous issues with them that I wanted to fix. The first issue was the background. I much prefer using a black background for a few reasons including that it makes the colour pop more, the depth is much better and that a dark background complements the feel of the clouds not being made with water. I also made the consistency a bit too thin, so near the top of the clouds you can see some fraying. I think that my use of space could’ve been better by putting the camera closer. By putting it too far away, I was making the usable area smaller so my picture would have less quality. I also had to place the container far away because I was using a 55-250mm lens, which would only focus at large distances. This meant that although I was using the small box, I still had to use the self timer mode which meant I could only get 10 shots each time.
Plans for the next shoot
Overall, it was a good shoot to get back into things, analyse and move forward with these plans in mind. I will be using a different colour, changing the background to black and switching my lens to try and improve the images.
Test Shoot 2
Setup
To follow this shoot, I decided to take the advice and things I had learned previously and apply them. I switched up the background which complemented the colour better, I used an 18-55mm lens so I was able to place the camera closer meaning that I was able to use regular continuous shooting and I framed the pictures better so I was able to get a higher quality image. I switched to using red this time because I find that the a deep red can produce some very nice silky looking clouds that would be quite good in advertisements, such as the Loreal advert produced by Mark Mawson. This produced the following images.
Thoughts
This shoot went much better than the shoot before it. Using the black background with the red made a much better contrast and the red looks nice. The focus leaves a bit to be desired, but it isn’t awful. The reason that the focus can be off is because you have to use a separate item to focus on in the water before you fire off your paint. This is because autofocus does not like to work well when doing this style, so focusing before is your best bet. However, the focus can be fixed by simply doing more shots. I also would like to fix the bubbles that were appearing on the tank. This is caused by the process of emptying and refilling the tank. If the tank is wet before you fill it, air pockets can be created which can show up on the front and back. This can be fixed by using a dish sponge and gliding it across the walls of the inside of the tank to clean them off. In my next shoot, I will be experimenting with using multiple colours in the same syringe and seeing what effect that can create.
Plans for the next shoot
In my next shoot, I will be experimenting with using multiple colours in the same syringe and seeing what effect that can create. I will be using colours that are follow by colour theory to make them look as appealing as possible.
Test Shoot 3
Setup
For this shoot, I will be using multiple colours in the same syringe. I decided to use red yellow and blue, the primary colours for this because those are the acrylic colours I had available. Unfortunately, my focus was not very good during this because I misplaced the thing I normally use for focus so I had to eyeball it. This produced these shots.
Thoughts
As you can see, the colours did not blend very well together. This is because the blue was much darker and more dominant, so it was the main colour that was showing. It did not create a progressive ombre, instead mushing together in a very unappealing way. Because of this, I will instead be keeping colours separate. This allows me to keep them clean looking. However, I will be experimenting with using multiple colours in separate syringes in future test shoots.
Plans for the next shoot
For my next shoot, I will be attempting to use a different technique for capturing the clouds. My camera has a video function and I will be using that to capture the clouds. This is because my camera is able to take about 5 pictures a second whereas it shoots video at about 25fps. This means that I will be able to get many more frames for use because I will be able to use the stills from the videos I get for the final product. I will also attempt to slow these down in an editing software to get a better look at the individual frames.
Test Shoot 4
Setup
For this shoot, I decided to use the video camera function. I did this in portrait mode because of the shape of my tank and changed the orientation in editing later. I used a black background with red paint for this shoot because I know it works well. After shooting the video, I put it into Adobe Premiere Pro where I would be editing it to alter the orientation and slow it down.
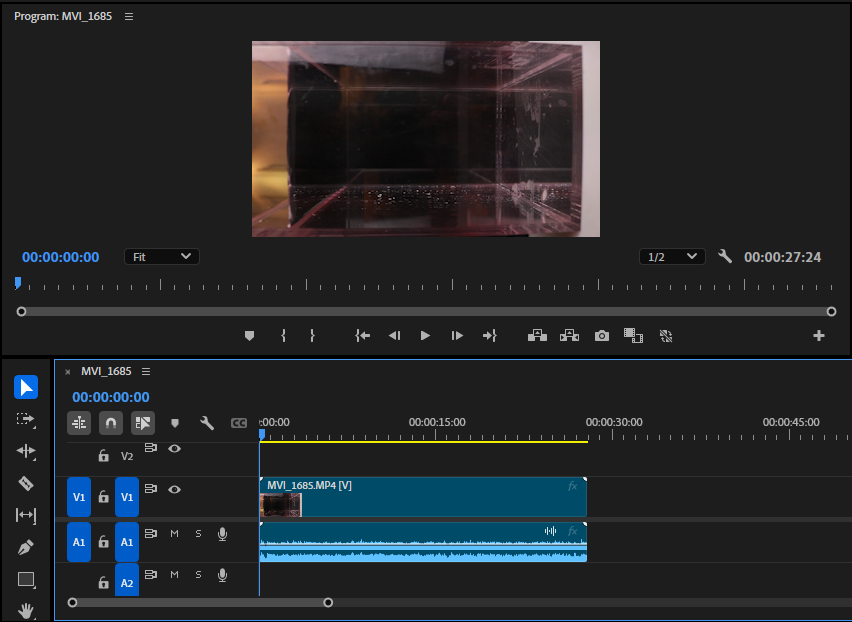
I started by highlighting just the audio track with Alt-Click.
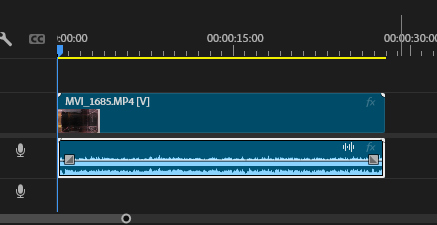
I then removed the audio. This is because I will be experimenting with creating my own audio at a later date.
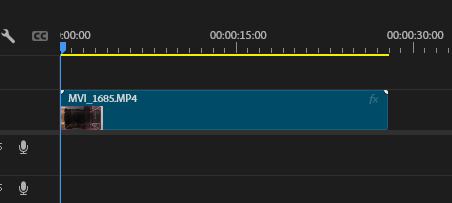
I then used the Cut tool to cut my video to the desired length and removed the excess.
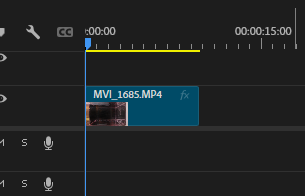
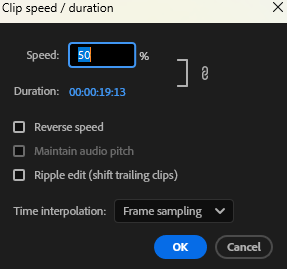
After this, I went into my Speed/Duration settings to alter the video speed.

I then changed it to 50% so the video would move at half speed.
To rotate the image, I needed to do some calculations to make it fit. To begin, I went to the Sequence settings to find the current aspect ratio and pixel count.

After this, I used a ratio counter to find how to alter the dimensions of the video in relation to the golden ratio.

I then used this information to create the bigger video area for my cloud.
After this, I used the Rotation alteration in my Effects panel to turn the image.
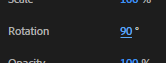
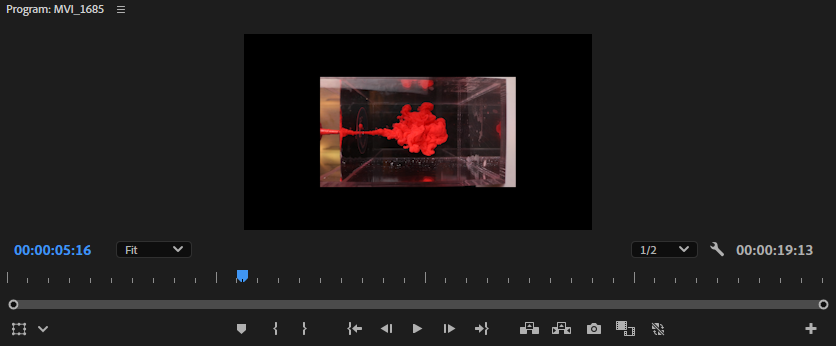
This made the video look like this.

After all of this, I exported the video. This is how it turned out.
This shoot went quite well overall. I was able to get a lot more range of the clouds because of the higher fps. This meant that there were more overall shots
Test Shoot 5
Setup
For this shoot, I changed the setup by using a bigger tank shown in Aqueous: Test Shooting. I stuck with using the video format because that allowed me to take advantage of a higher FPS, albeit with diminished quality because of the limits of video with my camera. However, I plan to get a higher quality camera that will be talked about in Aqueous: Main Idea. For now, I used a Monster can I had on hand and some acrylic paint I had to create this shot. I slowed it down to 50% to see every frame, but when I shoot on a higher FPS camera this will not be an issue.
This shot came out very well. I was able to use the stills I got from it to complete some edits shown in Aqueous: Test Shooting. I will be continuing to use this technique for my shoots going forward.