
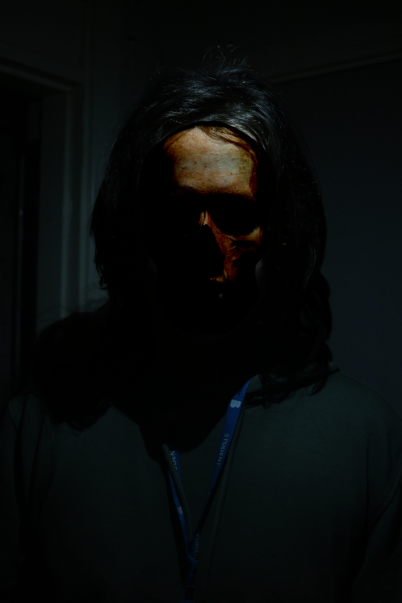
We practiced doing layering with putting animal and human skulls over images since they are usually associated with being creepy and associated with death and fear. I chose a human skull to match with the model because I thought it would be more appropriate than an animal skull.
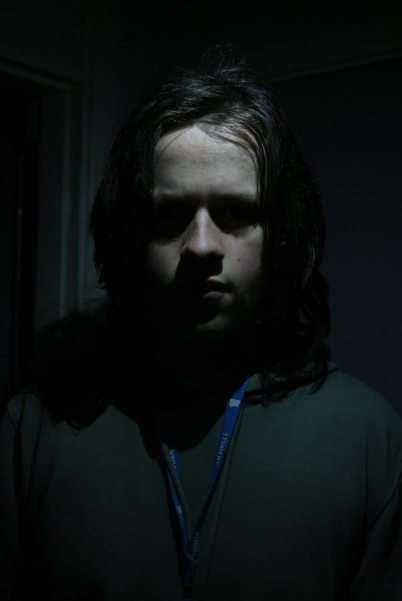
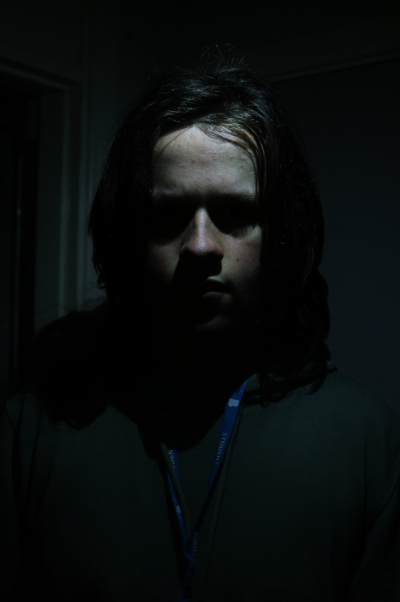
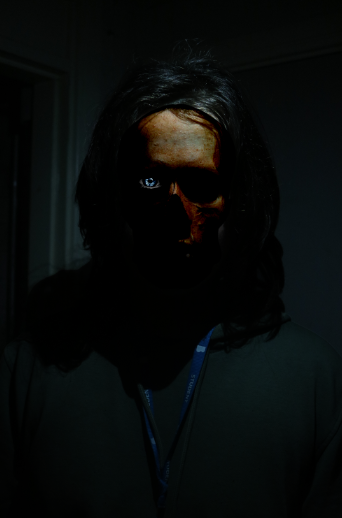
I first cut out the model burned the shadows of the model to make him have more depth and to make his eyes fully concealed.
I then found a high definition skull and cut it out. This was then placed on the image with the “Linear Burn” setting on to make it stand out, but still blend into his face with the shadows.
After seeing this, I decided that it could be cool to light up the side of his face mostly concealed with something. Instead of this, I decided to place an eye in the slot where the skull would be. To do this, I cut out the eye from a male model that I desaturated to make it easier to edit. I kept a separate copy that was saturated for later.
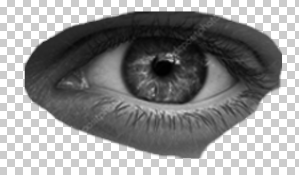
I then added this to the image in the location that the eye would be if it was seen.
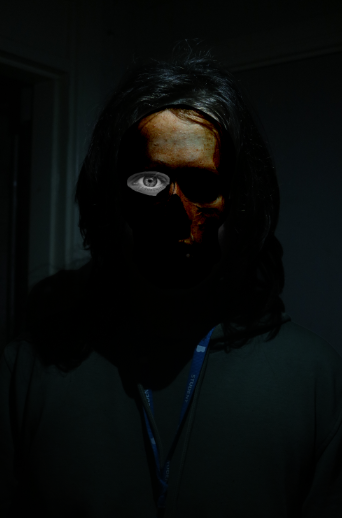
I then checked what blending option would work best and landed on the “Linear Light” option.

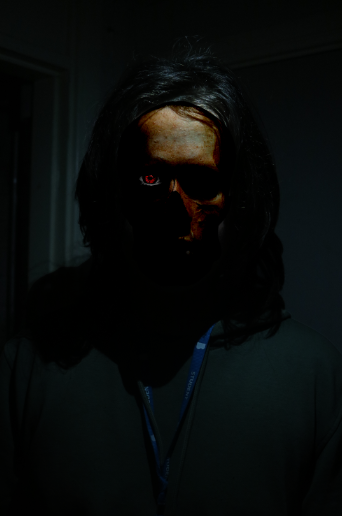
After this, I copied the coloured version from before in and cut out the iris and placed it a layer beneath the eye.
After messing with the saturation and hue, I decided that the colour red would work best. This created this image below.
Conclusion
Overall, this technique has helped me improve my photoshop skills. I tried something I have never done before and it was quite successful. I don’t have any ideas of how to incorporate this at the moment, but I may use it in the future if I come up with any.