
For part of my experimentation, I will be doing pinhole photography. I will be doing this to try and discover ways I can create outcomes using out of camera techniques.
What is Pinhole Photography?
Pinhole photography is a style that uses a pinhole camera, categorised by its simple design of essentially being a lightproof box with a small hole to function as the aperture. This allows you to use multiple different forms of recording, such as using 35mm film or a form of darkroom paper to create your image. The pinhole camera itself can also be created using a multitude of methods, the most simple being to lightproof a coffee tin or some other tin with black paint, poke a small hole in the side and placing a piece of light-sensitive paper inside. This will allow you to expose the paper to a form of light that can then create an image.
How does it work?
The basis of a pinhole camera comes from the concept of camera obscura. This is a natural phenomenon in which the rays of light passing through a small hole (aperture) into a dark space form an image where they strike a surface, resulting in an inverted (upside down) and reversed (left to right) projection of the view outside (Wikipedia Contributors, 2019). This is also used in digital cameras and film characters, but the pinhole camera uses the bare principle of camera obscura.
What do they look like?
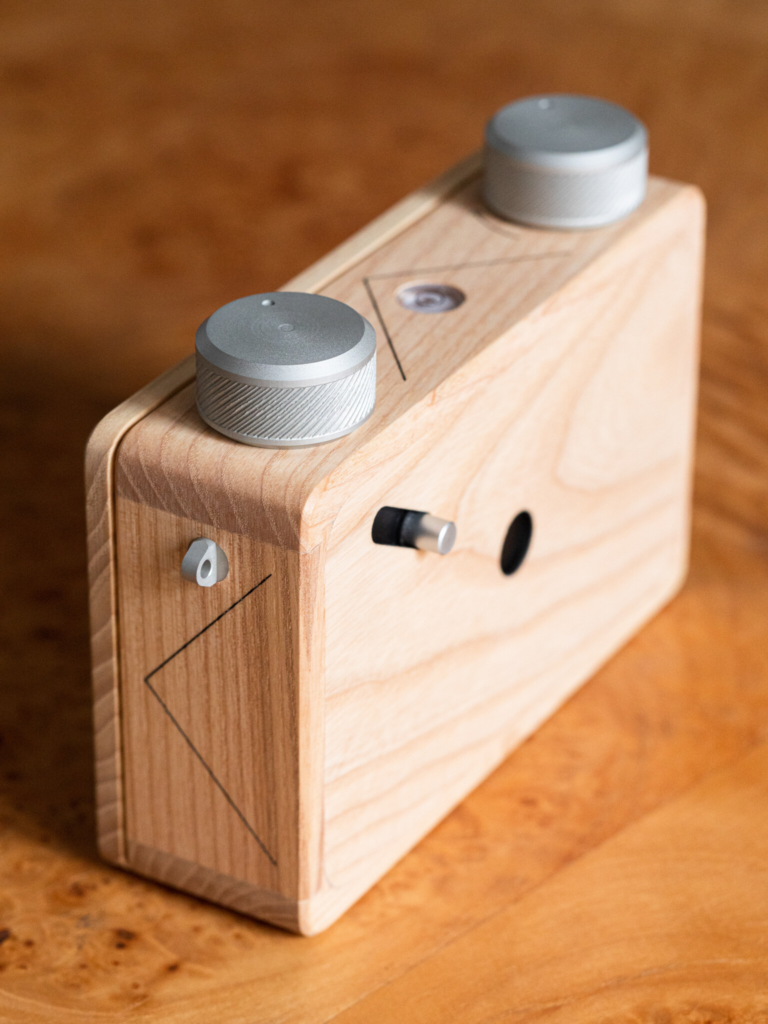
This is an image of a well made pinhole camera. It was designed by Ondu Pinhole, a camera design company that specialises in pinhole. This is the Ondu 6×6 Mark 3 Pinhole Camera that uses 120 format film to expose the image. As you can see, the designer has used a box of similar size to a small camera body to keep the weight down for the camera, weighing just 350g.
Why Pinhole Photography?
I decided to use pinhole photography because it creates some really interesting looking landscapes that can be used for things such as fashion advertising or backgrounds on bottles. It also can link into using cyanotypes by inverting the image back and cyanotype it onto something like a tshirt to advertise.
My Attempt
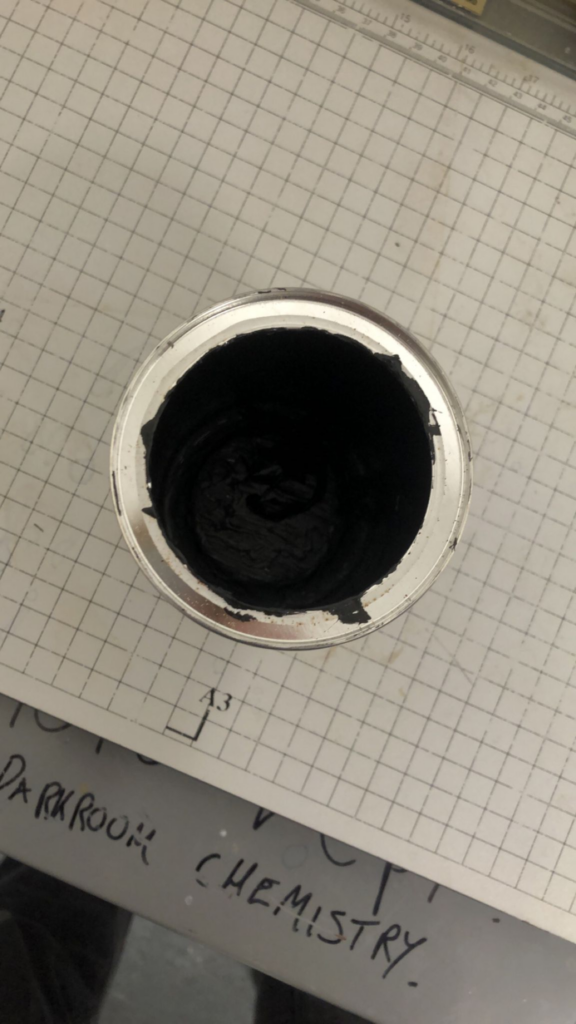
To start, I needed to create the pinhole camera. I first removed the coffee and painted the inside black. This made it so that the reflective colour on the inside would not disturb the image.
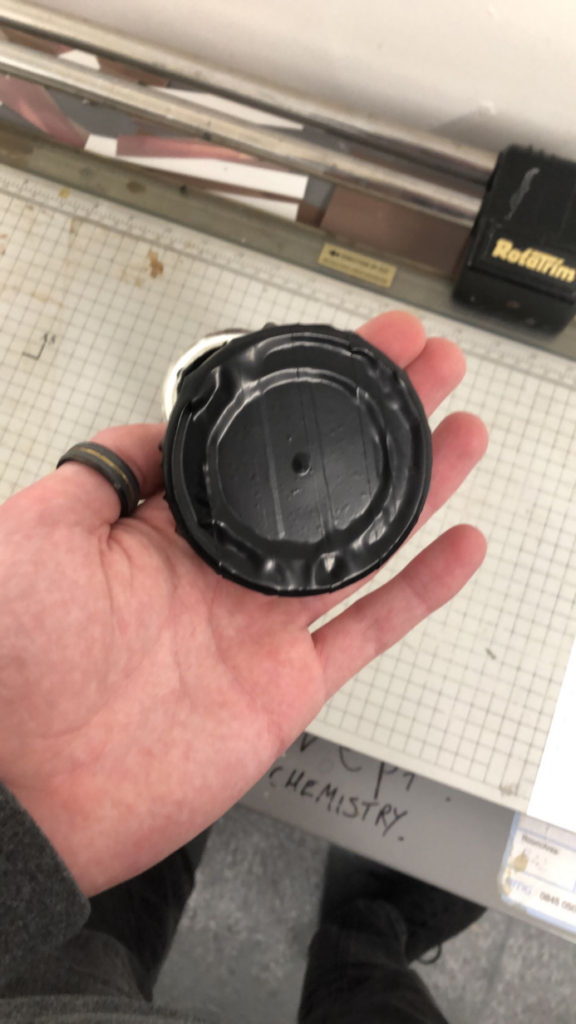
To make sure no light could come through the top, I taped the lid of the container with electrical tape.
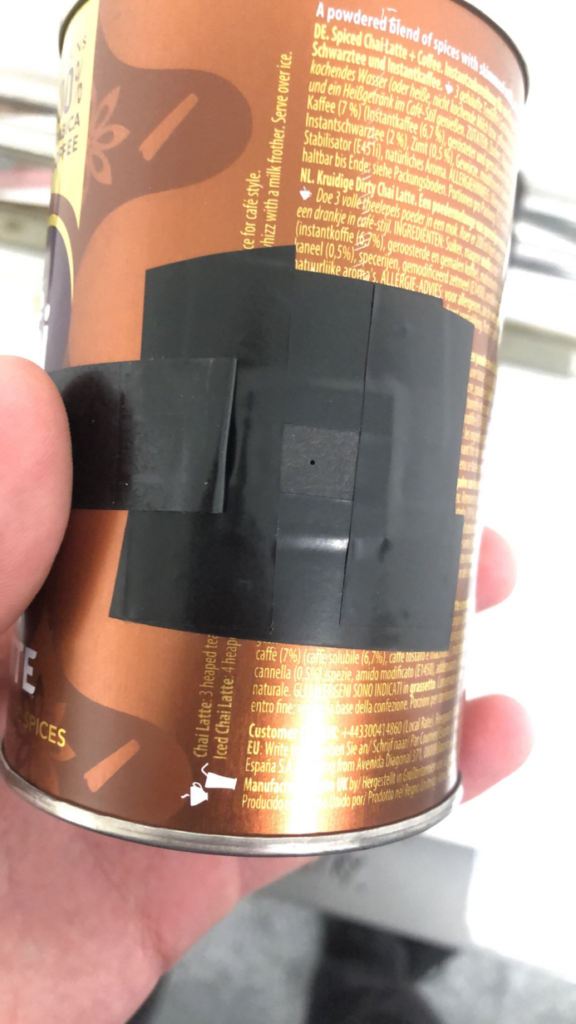
Now to create the pinhole, I bored through the container on the side with a hand drill. After carefully removing the sharp metal, I placed a small piece of card that I would use for the hole. I taped it to the container and poked a small hole using a pin, hence the name “pinhole”. After this, I added a piece of tape I could use to cover and uncover the hole to mimic a shutter.
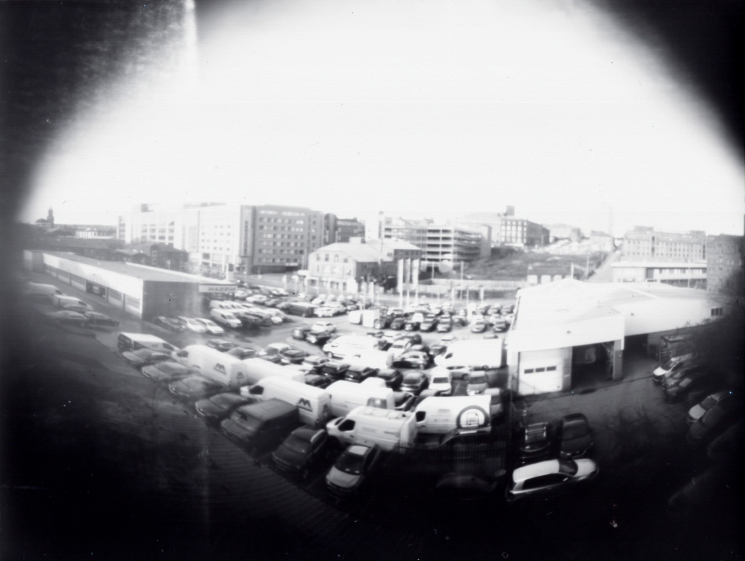
Now, it was time to shoot. I decided to test, I would use a space just outside of college that had a wall with a view of the city. I did this because there was a lot of variety. There were signs, cars and buildings with intricate details which allowed me to see how much detail the pinhole camera could capture. I decided that timing the shots was best, so I used a 15 second, 20 second, 30 second and 40 second shutter time.
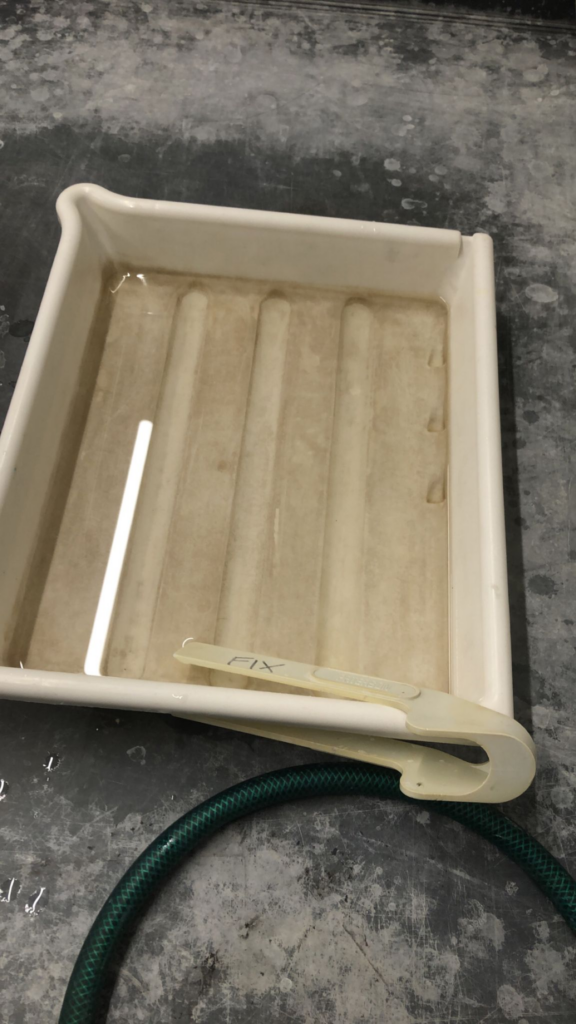
After I took these pictures, I developed them in the darkroom. The process for developing is fairly simple. You first use the developing fluid for about 30 seconds to a minute. This reacts with the paper to turn exposed parts of the image black.
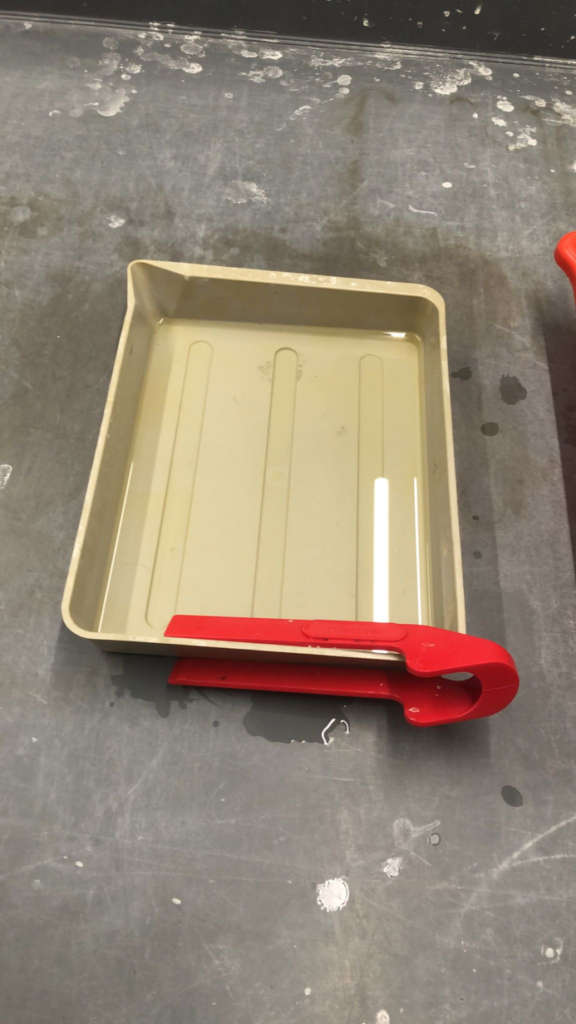
Next is the stop bath. This is used to prevent the image from further developing by halting the process. The image is usually left in here for about 2 minutes.
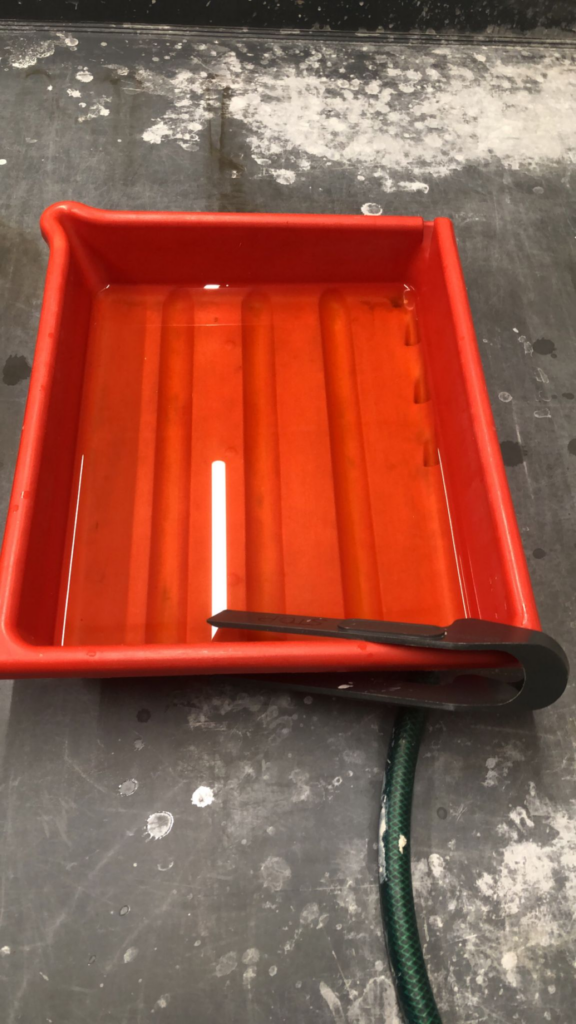
The final liquid is the fixer. This prevents further exposure and protects the paper, making it permanent. You would try and leave this in for a while, so I left it in for about 15 minutes.
After this was done, I put them in a water bath and left them for about an hour. I then put them on the drying rack and left the finals to dry overnight and collected them the next day. These are the images from top left to bottom right.
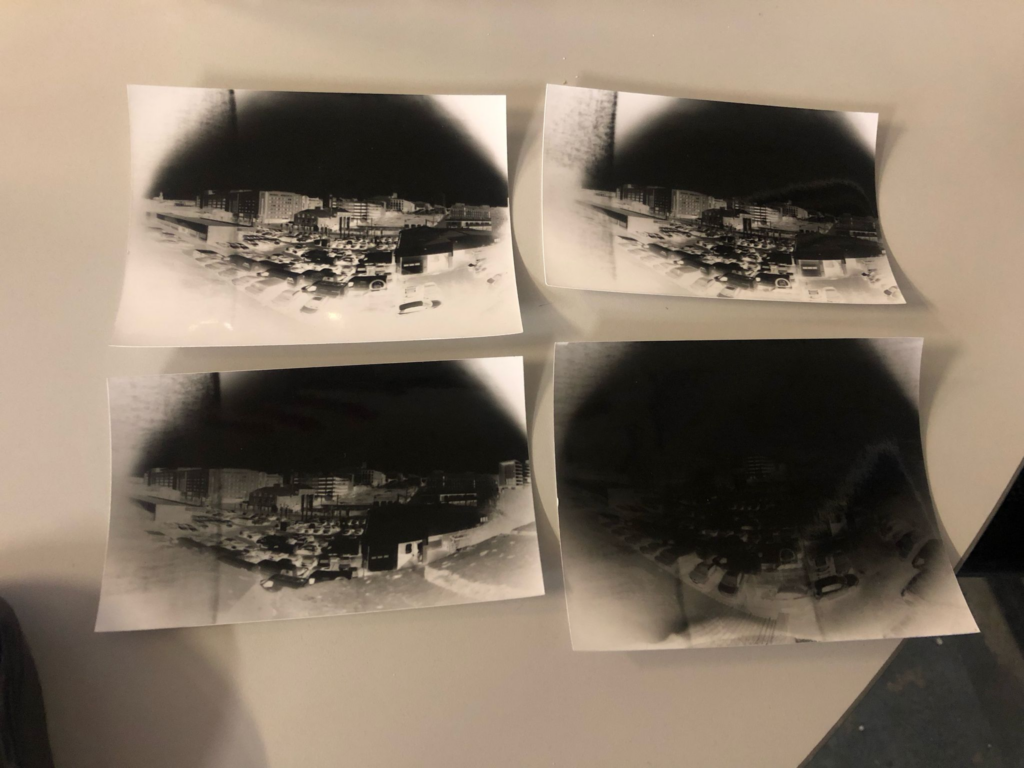
Because of the sunny conditions, I did not have to activate the shutter for long. The 40 second one was way overexposed, the 30 second one was still quite overexposed and the 20 second one had bad framing due to the placement being slightly off. This left the 15 second one, which had the best exposure of the bunch. It managed to capture a surprising amount of detail, down to the windows, the logo on a van and signs. To further develop this idea, I scanned the best one and put it into Photoshop to invert it.
This created an effect similar to old film cameras and reminds me of a style you would see in a locket your grandma owns.
Conclusion
Overall, this was an interesting experiment to do, but I do not think it has much application in the style of photography that I want to do. To link to advertising, it could be interesting to advertise a shirt with these style of pictures pressed onto them, but I am not focusing on fashion style advertising, so I will not explore this further. However, this could be interesting to explore if I was going into fashion.