Covering multiple mixing techniques and understanding the importance of each.
Depth is created by introducing lower volume and reverb as this combination creates the effect of an instrument being distant. I used this on drums and extra parts that consisted of some synth, vocal improvisation and sound effects and small drum parts.
Levels are vital to take note of as extended exposure to high volume can damage your ears. Ideally the level should be no higher than 0dB as anything above will sound distorted and create a risk of hearing loss. If you need to hear bass, raise the volume for short amounts of time and be sure to turn it back down to a reasonable level afterwards.
Panning allows audio to be heard in specific directions. It creates a nice effect when identical tracks are lined up in time and panned to opposite directions. From what I can remember from my own music taste, panning is used often on backing vocals and occasionally guitar. The Beatles often panned their audio to create an immersive experience.
EQ frequency allows specific frequencies to be boosted or reduced either for creative or corrective purposes. Corrective EQ balancing would consist of cutting out static in vocal recordings or boosting the bass in bass tracks. Creative EQ would be dependant on the style of music and personal preferences.
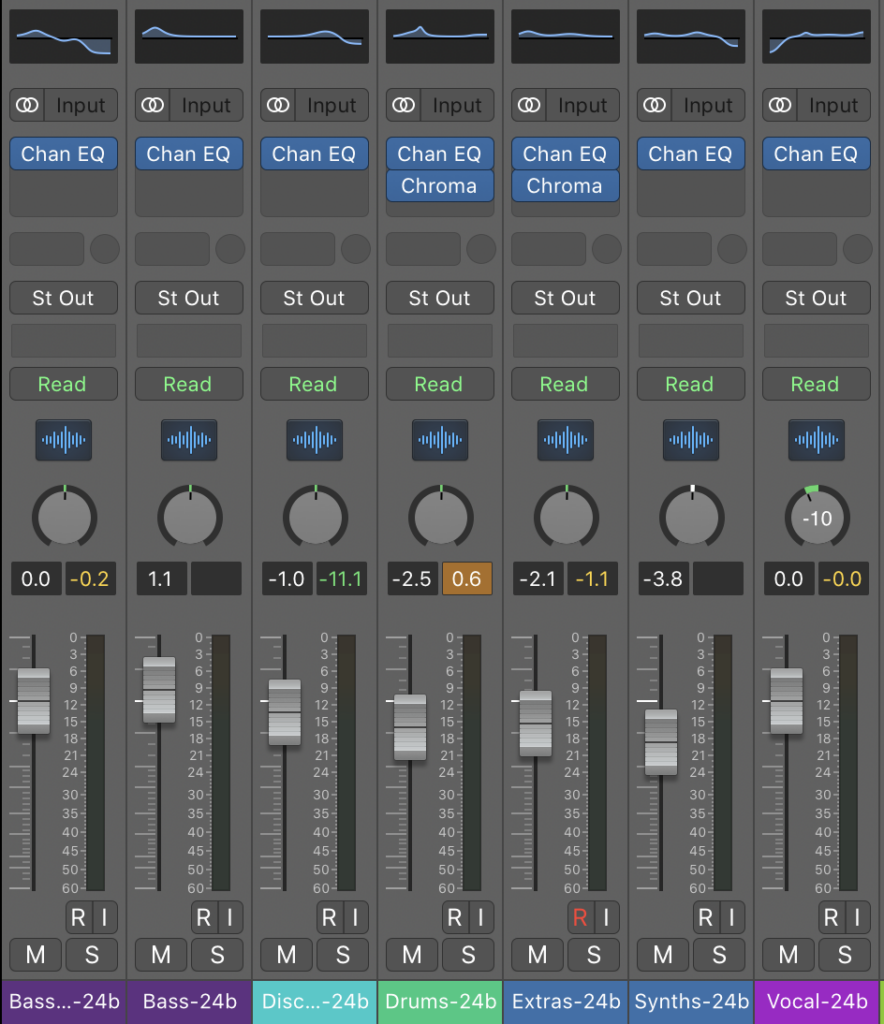
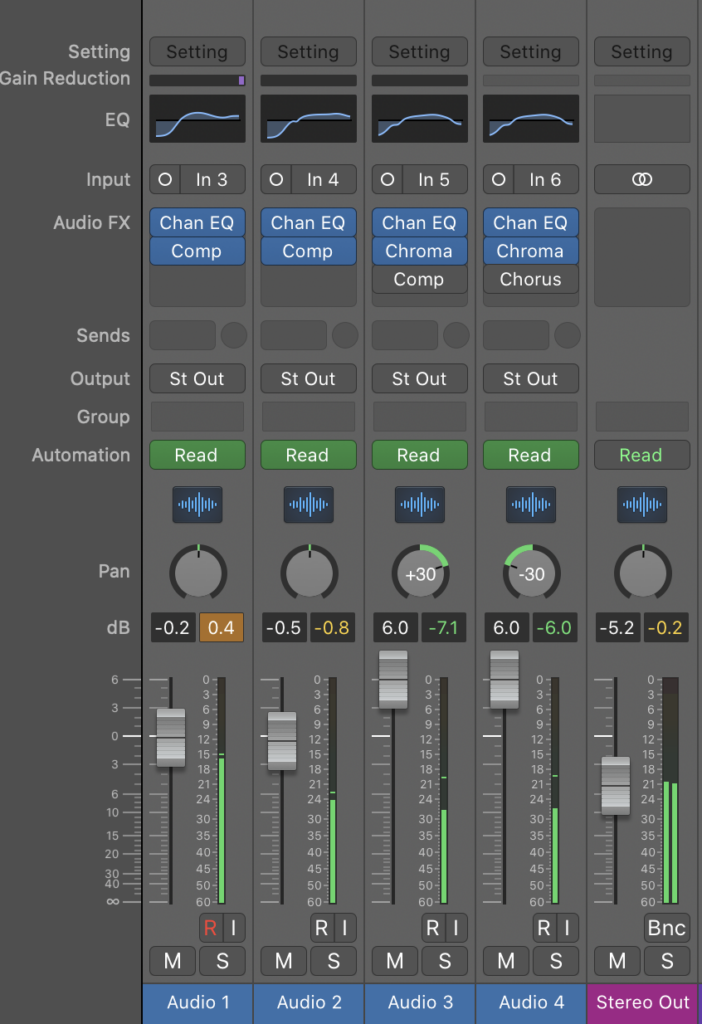
Above is the work I did on the third of January. I was given advice on vocal EQ balancing as human vocals don’t usually go below 200Hz so I could cut that out completely to reduce static.
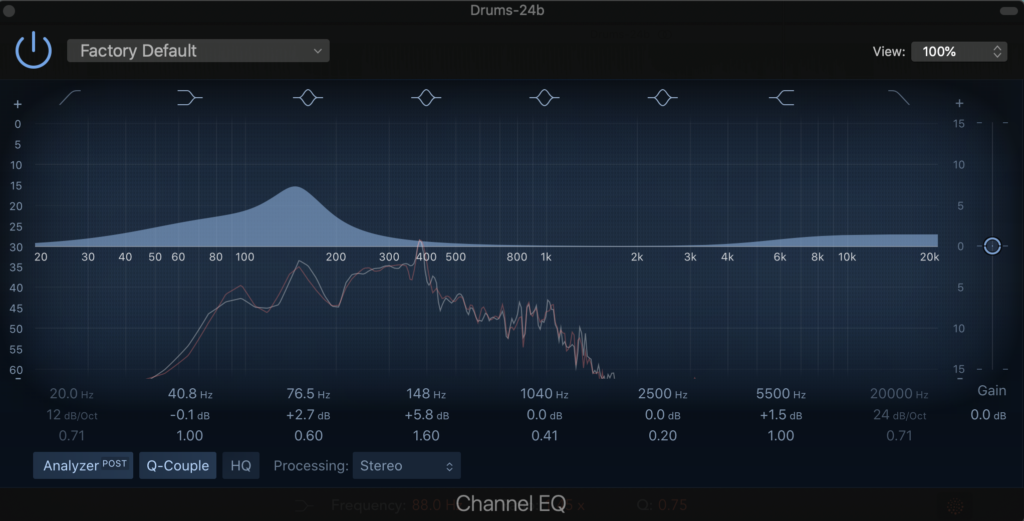
I experimented with EQ on the drums and decided to enhance the bass in the kick drum and raise the brightness slightly from around 4000Hz.
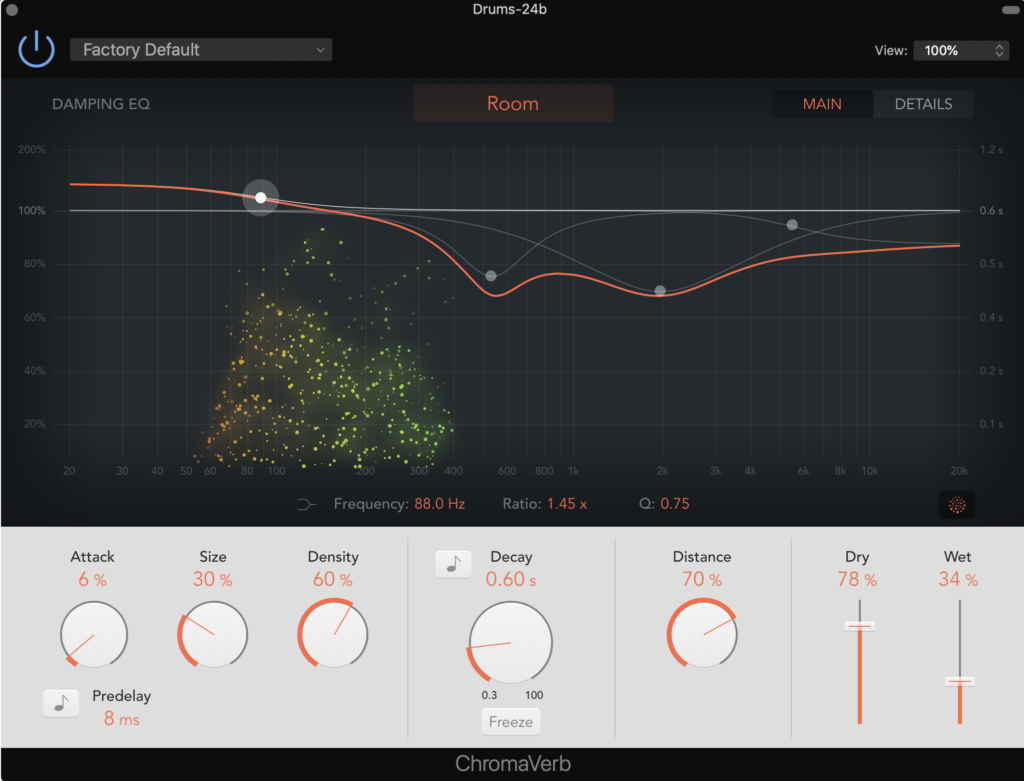
Additionally, I used reverb and played around with different settings to understand what different things do. I didn’t have much time on this so I probably couldn’t explain each different part.
The afternoon consisted of mostly dynamic control and learning about compression on logic.
We were shown how to use compression and what level everything should be at, as well as what compression to use on Logic depending on what it’s used for.
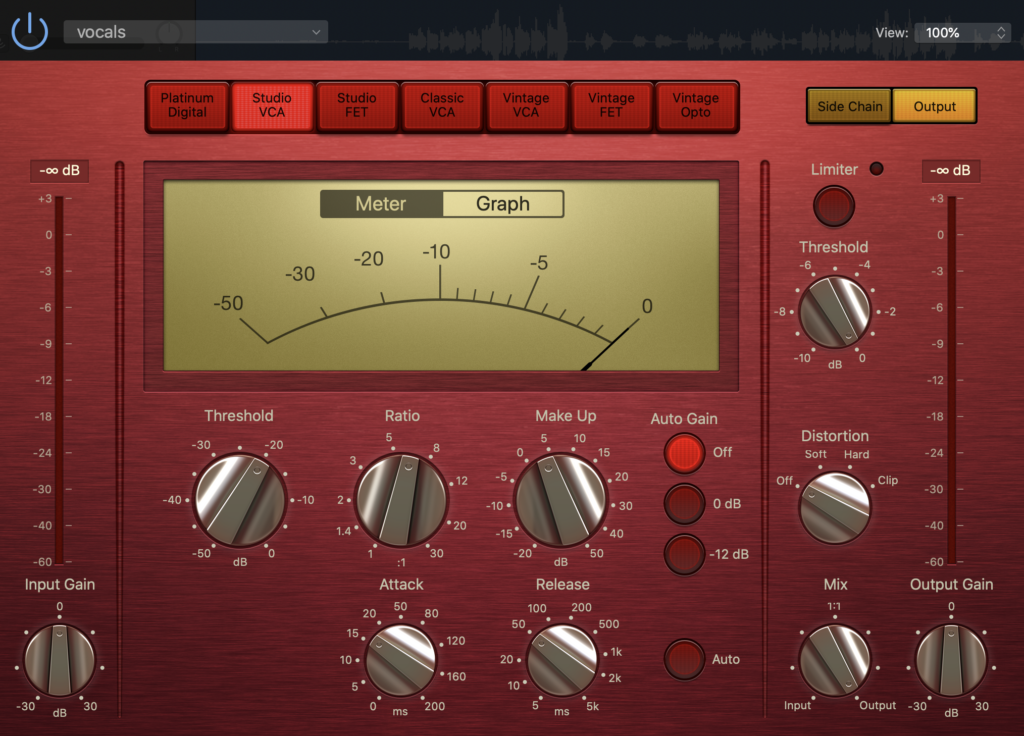
I learnt that auto gain should be off and that the meter should hit about -6 at dynamic peaks to ensure that the compression is effective enough. Later on I learnt about how to use ratio to navigate compression intensity. The higher the ratio, the more compressed the audio will sound. Moderate to low compression would be anywhere from 1 to around the 5/6 mark.

I used automation to change the dynamics throughout the song and chose to raise the volume during the chorus and dip down again during verses. I also muted sections that could have contained noise.
Peer Assessment (Cody-Jay Wilson)
The mix had a good use of compression within the mix which made it feel more dynamic within the tracks. There was also a good use of automation within the mix to maintain a constant level of volume with slow increases and decreases of audio.