Week 14: Assembling Final pieces
After not finding any baby pink fabric, I went out and bought the fabric and mesh for my final piece.
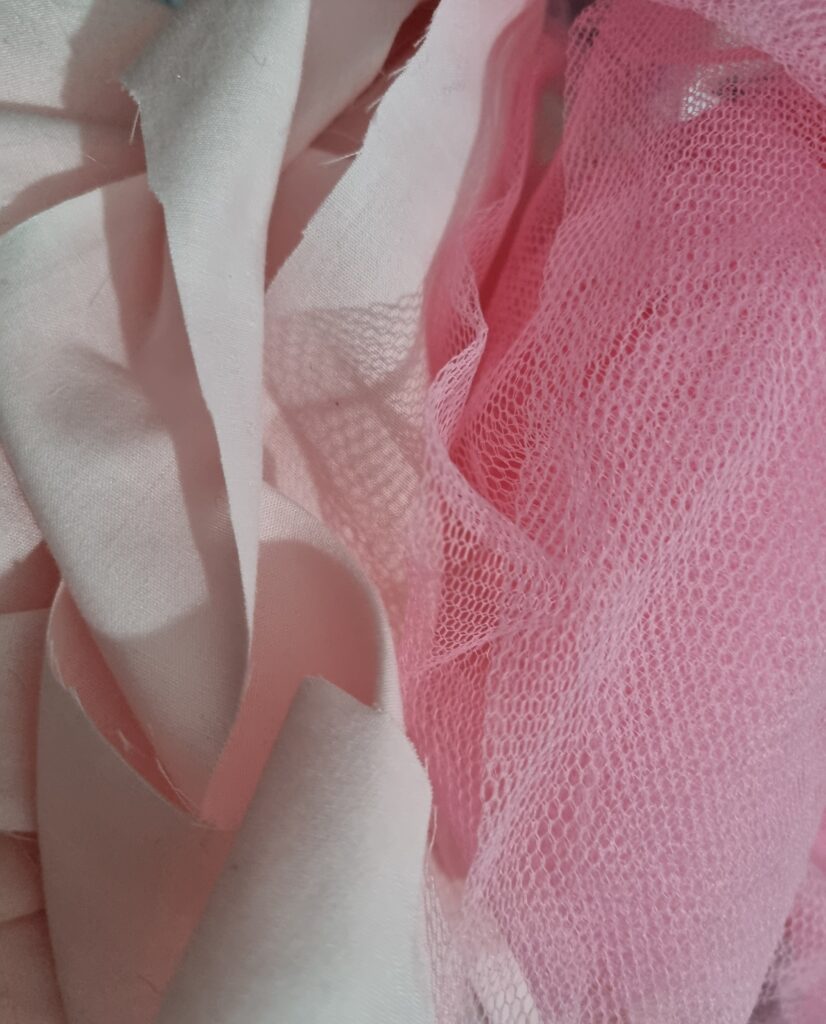
Putting fabric around the plinth
After going back and forth and discussing with my parents on how to make the corners more round, my dad suggested using toilet rolls and cutting them in half making these round edges with them to stick onto the plinth. I decided to try it out and I made 8 of these. 4 for the top and 4 for the bottom.
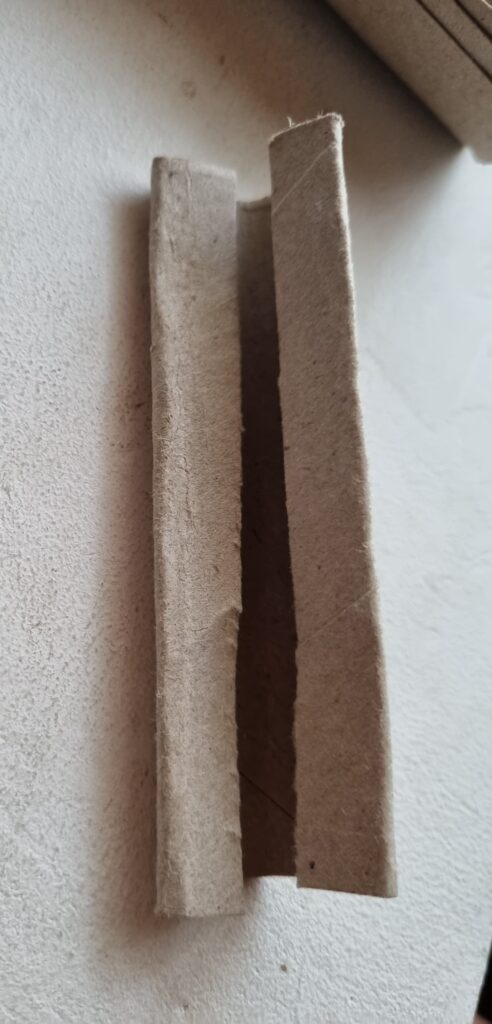
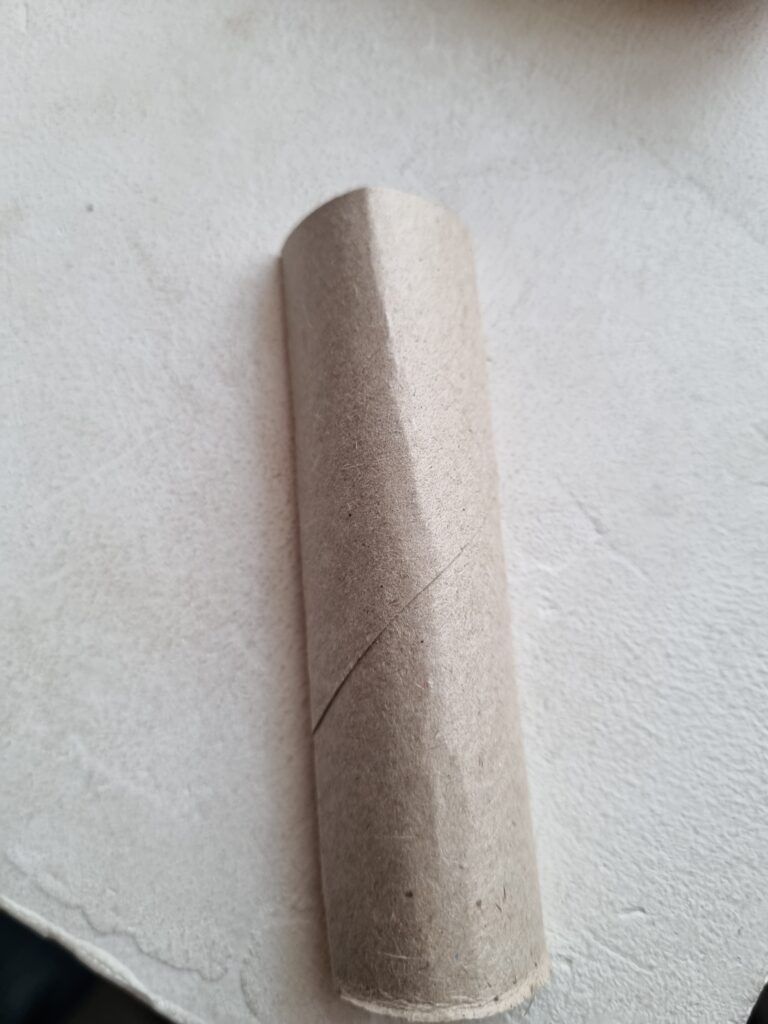
Here is where I began hot glueing them down to the edges and safe to say it’s working out well on how it’s making the edges more curved. I finished all the edges with it and it turned out good.
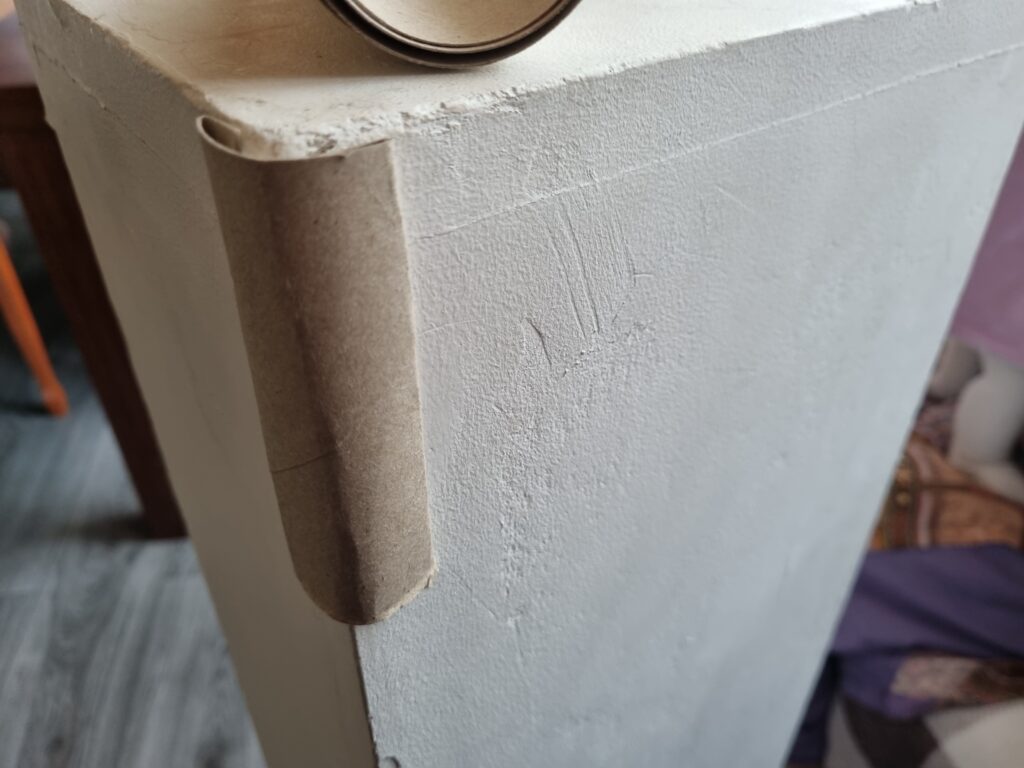
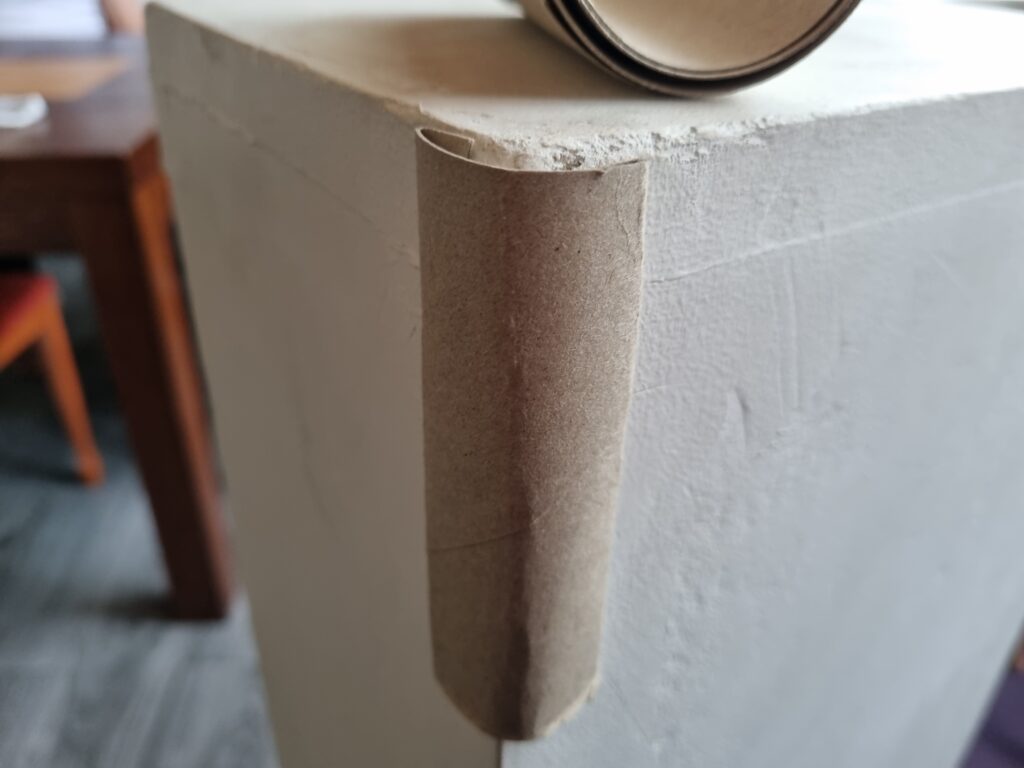
Here is the finished product of assembling these pieces together to the plinth.
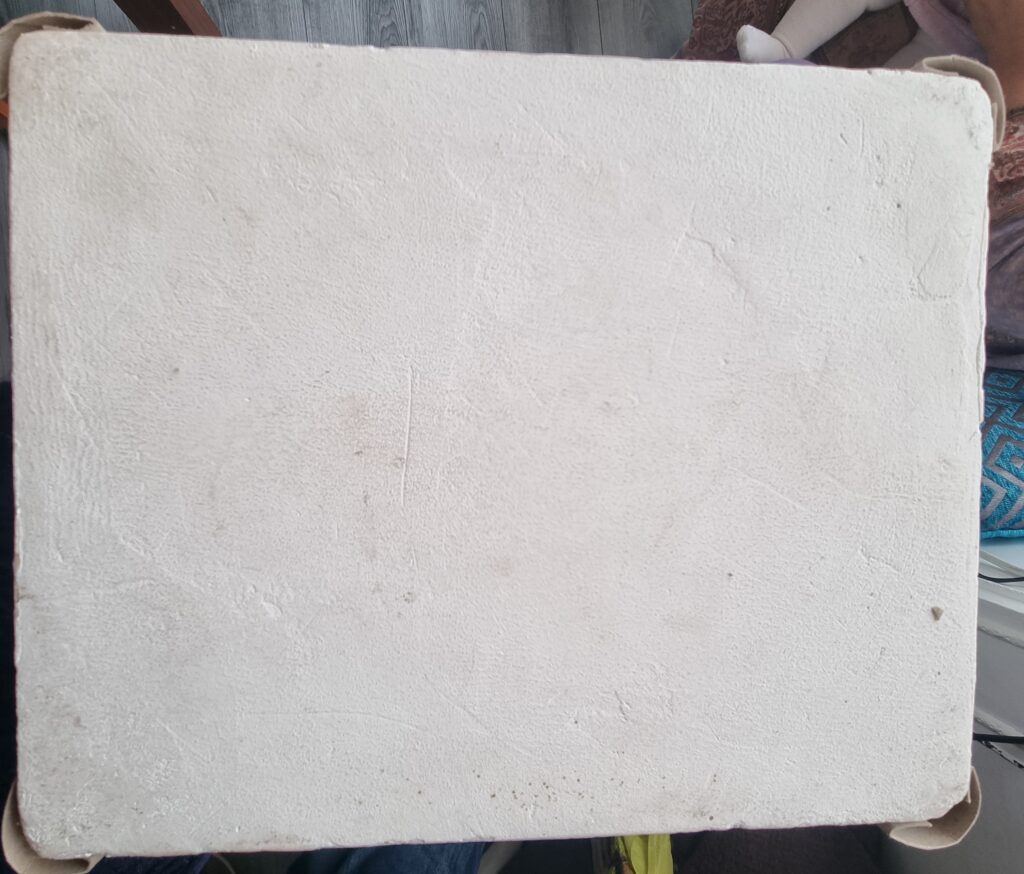
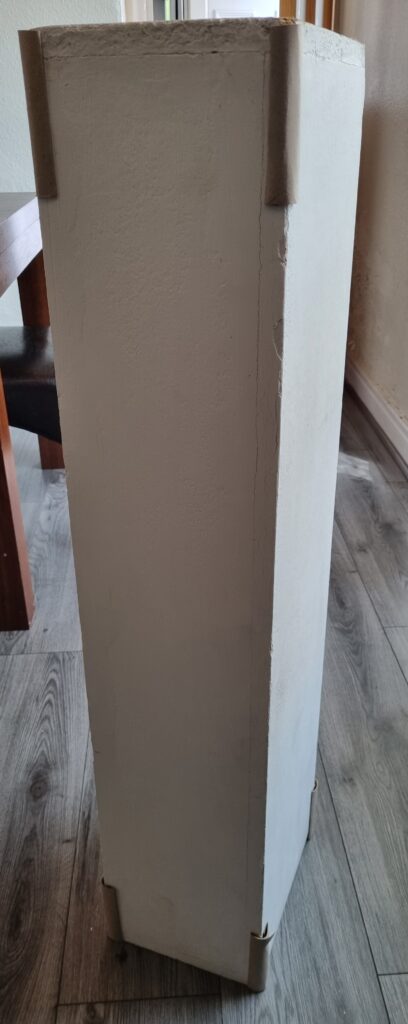
After successfully gluing the toilet rolls to the edges, I finally began wrapping the fabric around the plinth. I decided to do 2 layers of this fabric and then cut the remainder off. I then decided to only sew the top and bottom edges of the fabric to secure it more in place. After sewing it together, I used super glue and glued it down in place to the bottom and top of the plinth securing the position.
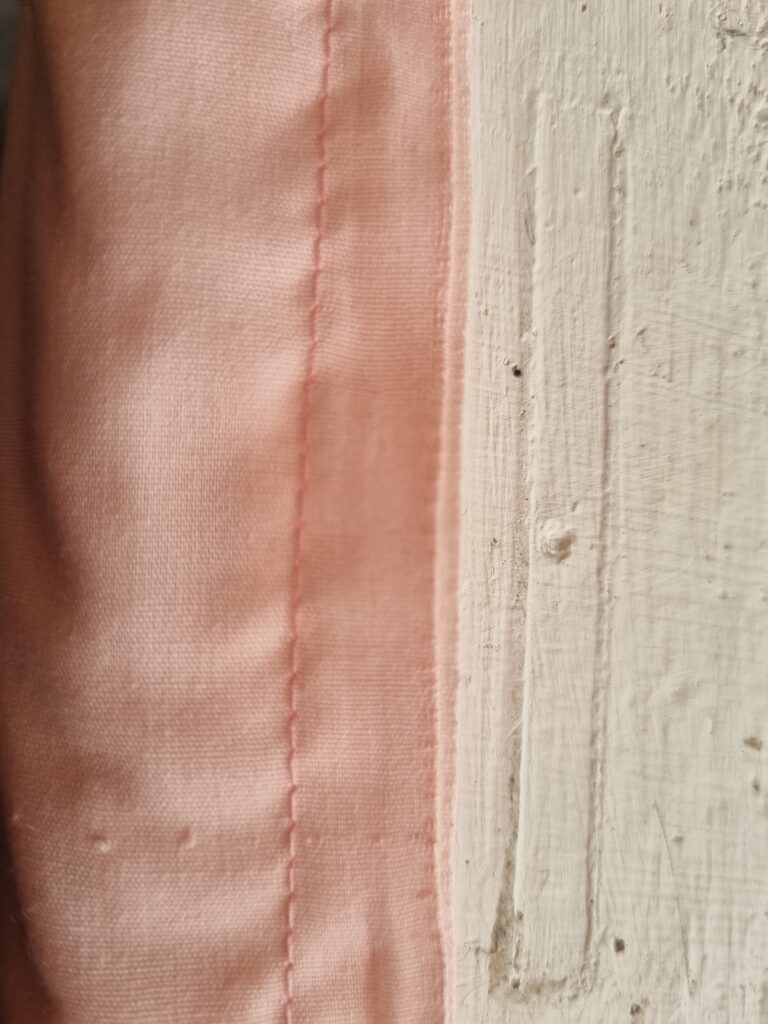
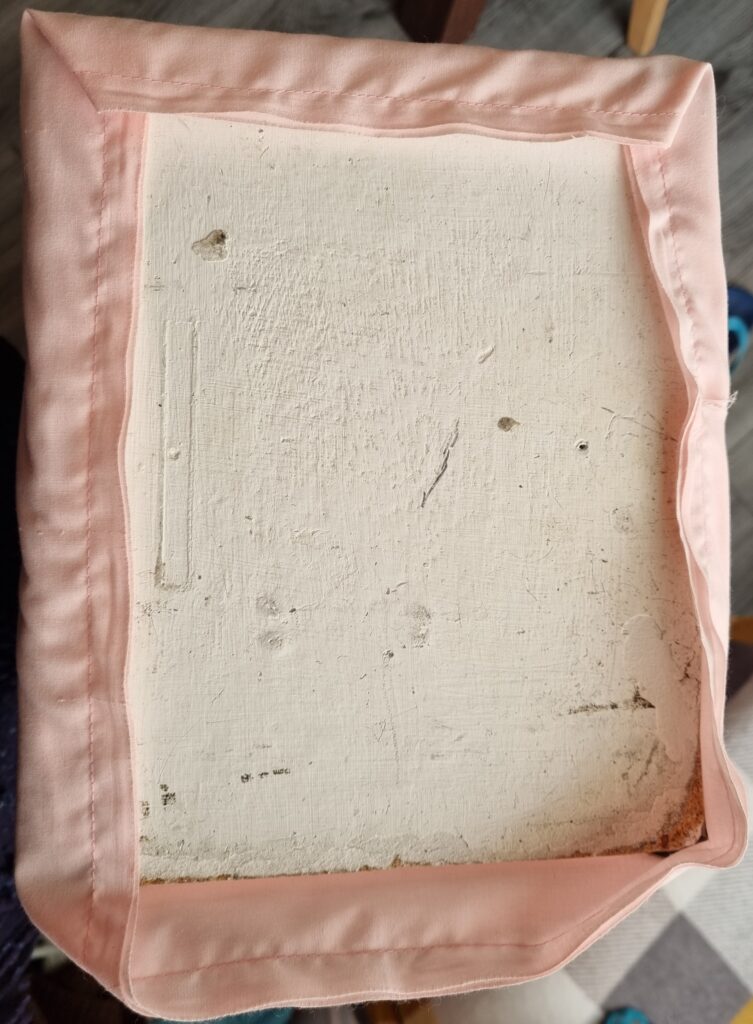
This image shows how the fabric looks on the side of the plinth. I decided to use super glue down the middle to secure the fabric together.
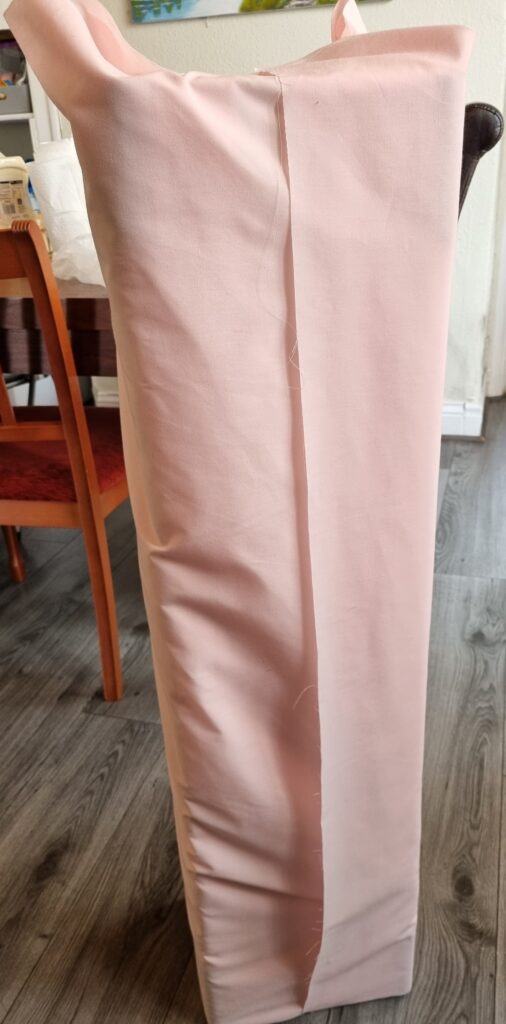
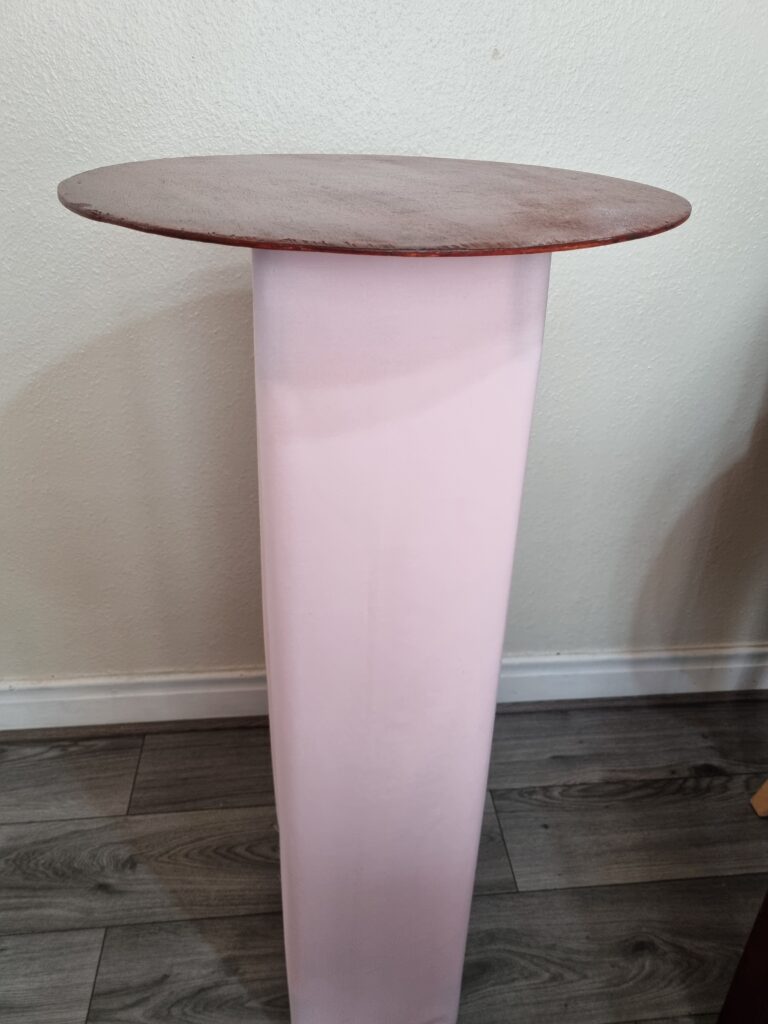
Here is the finished product of the fabric wrapped around the plinth. In the end, I think it worked out really well and all I have to do now is glue down the cylinders to the ends and then wrap thread around it. I am happy with this result.
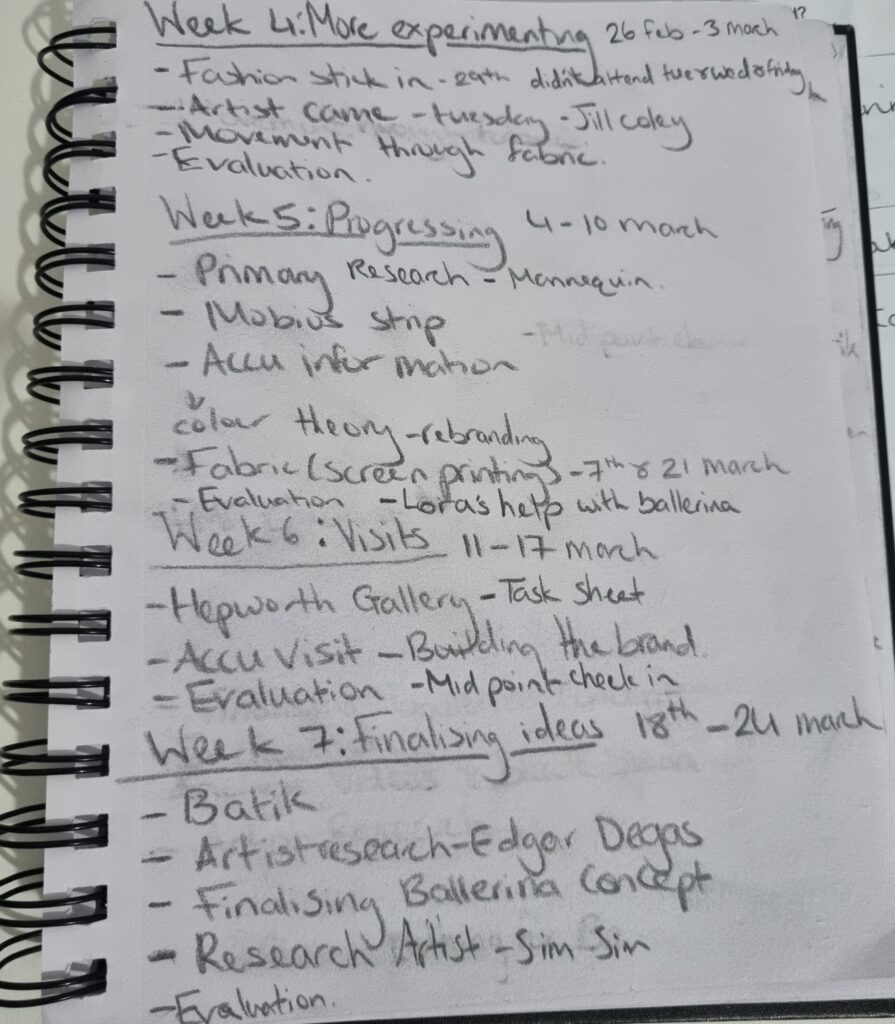
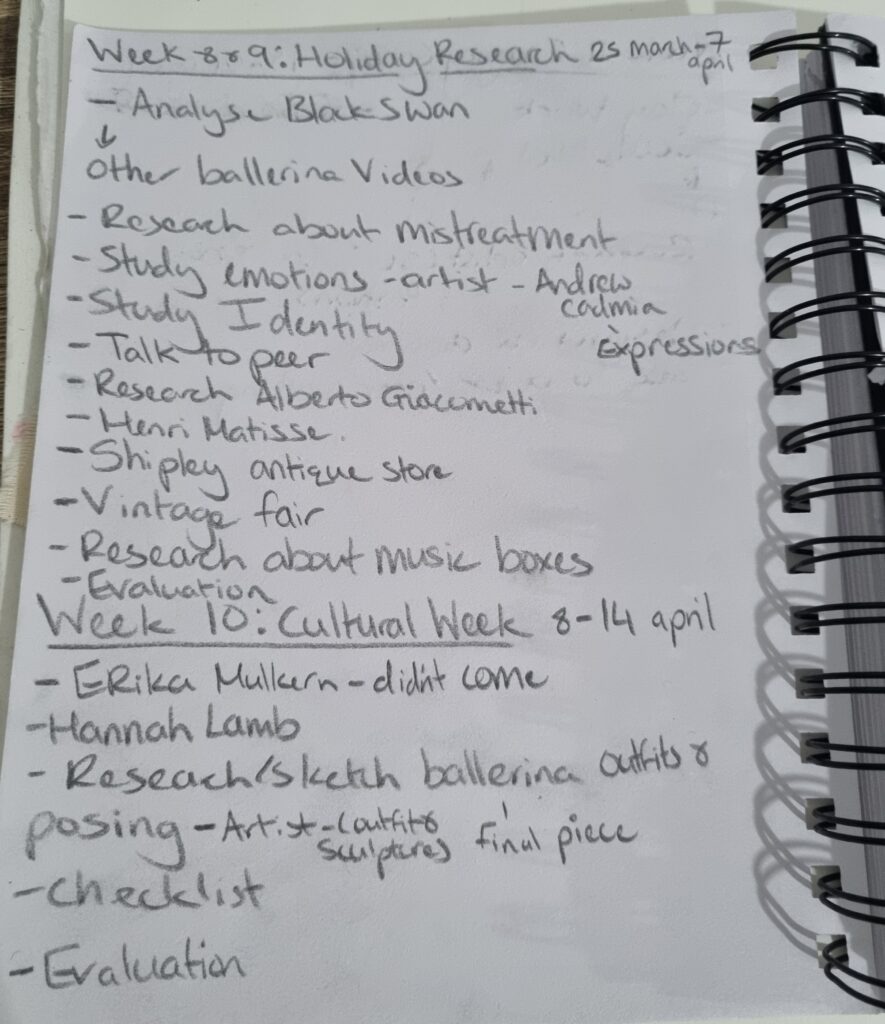
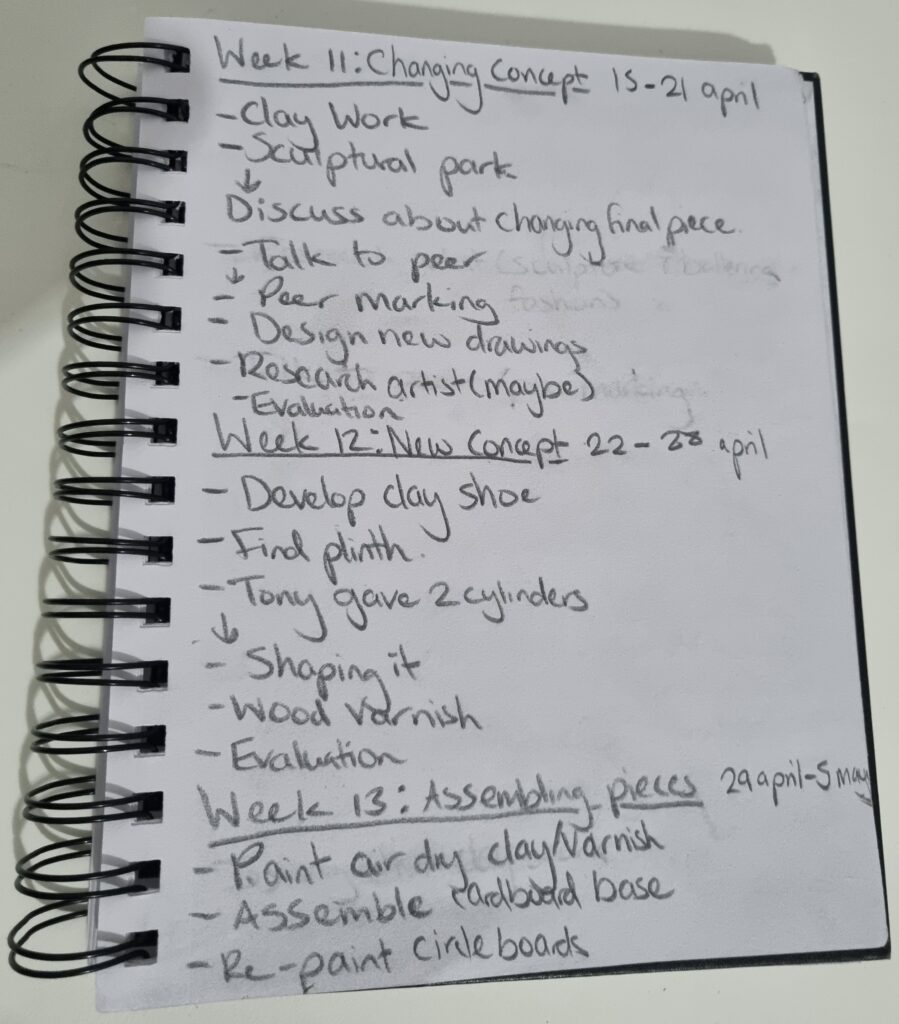
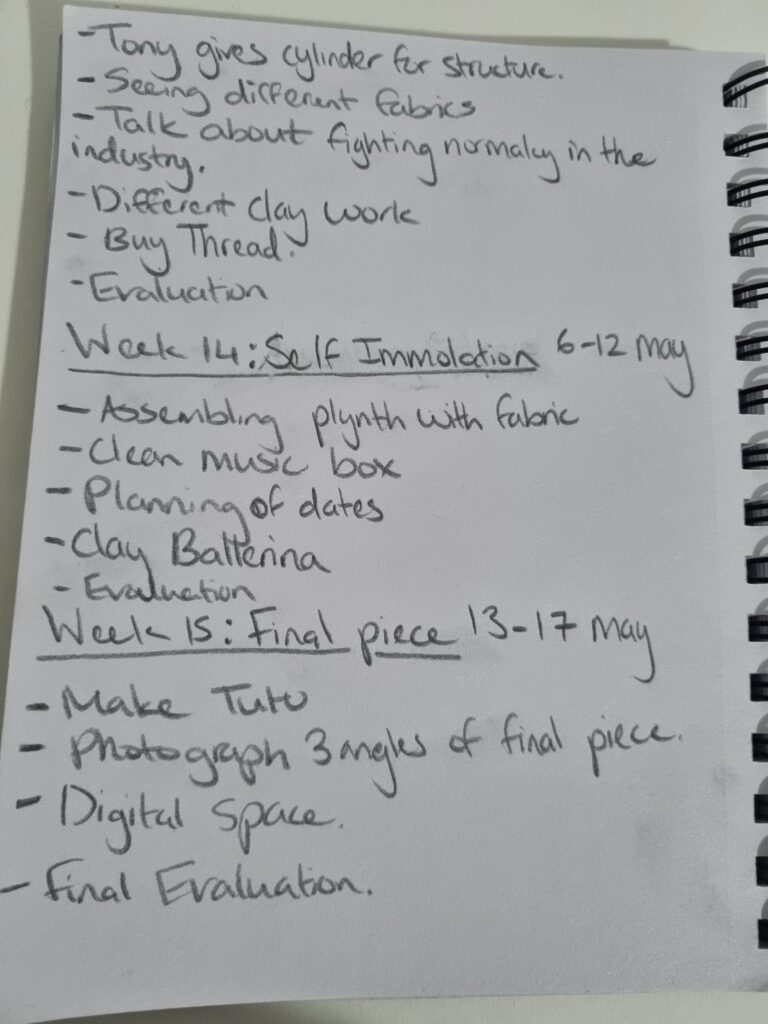
Planning of dates
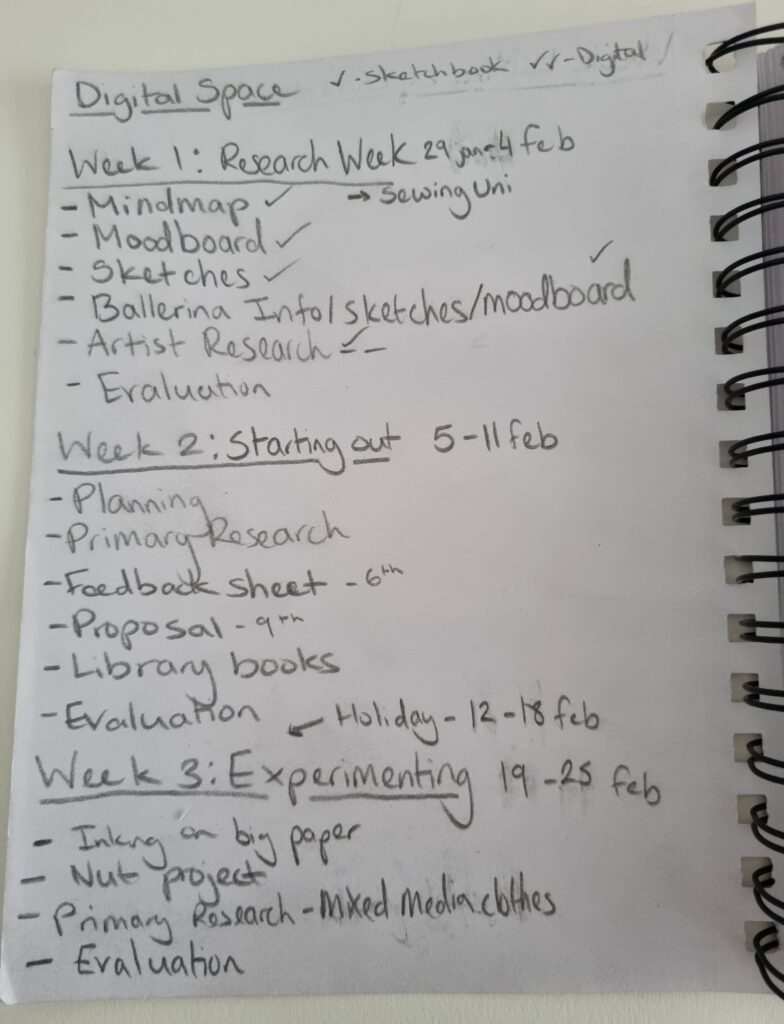
I decided to make a plan to keep a check on my work. I will add more in my own time if needed but this is just the gist of it.
Final Piece drawing
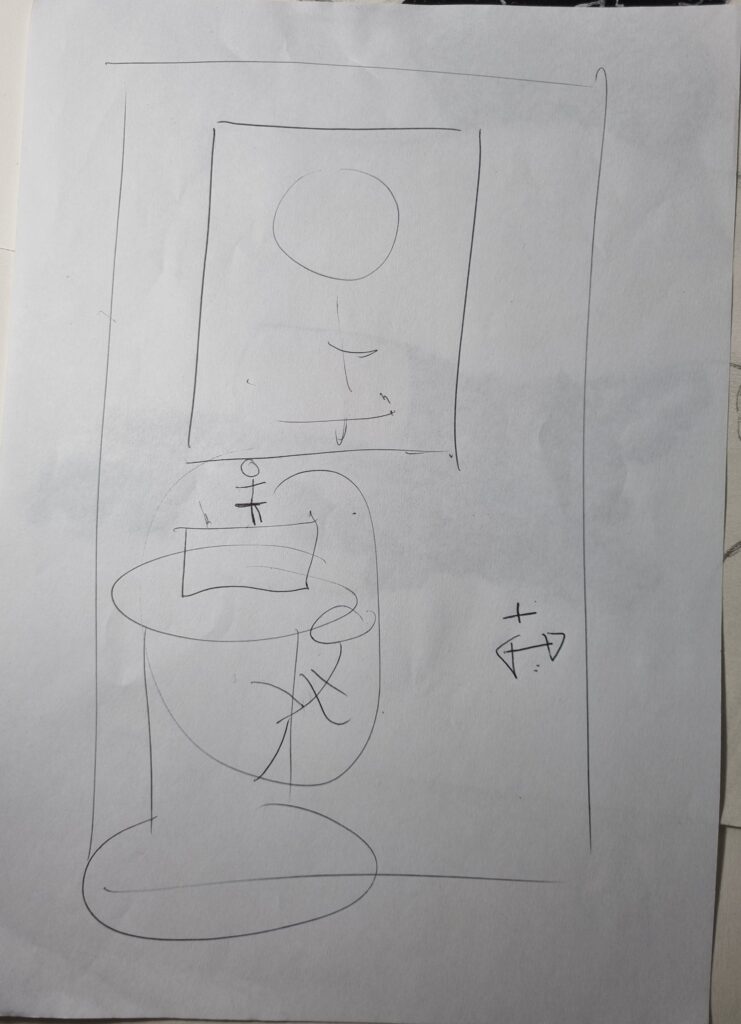
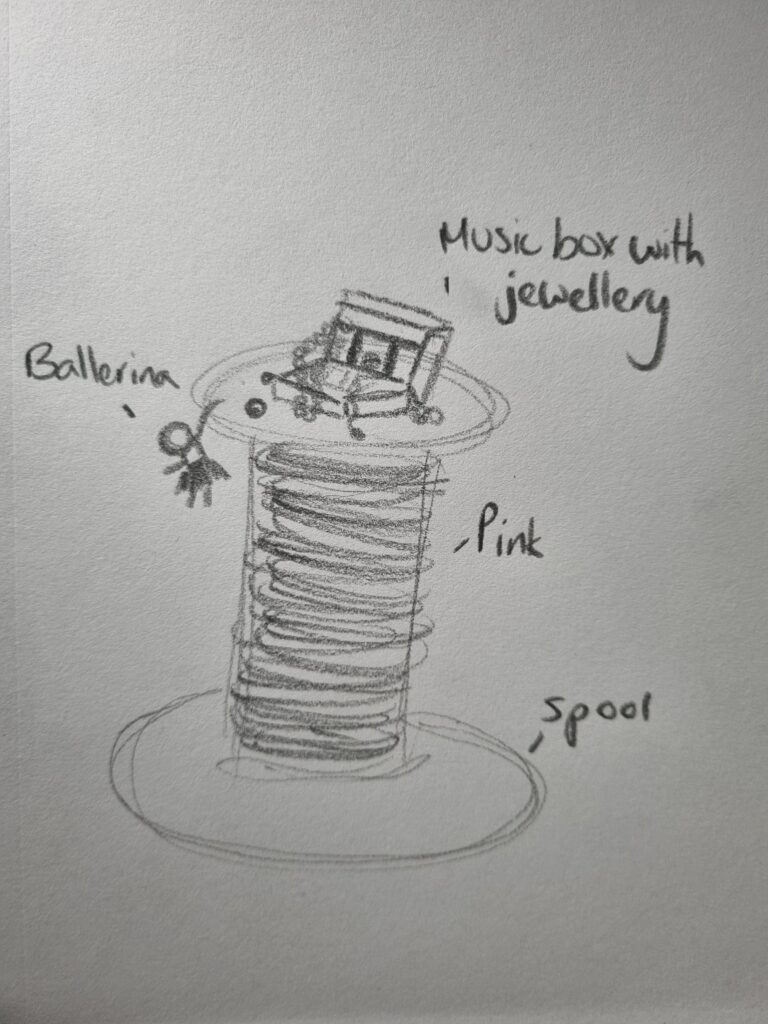
The left image is the sketch when me and my tutor discussed my idea and how we decided to have a photographed version behind it. The right image is the sketch I did of how my final piece will look like.
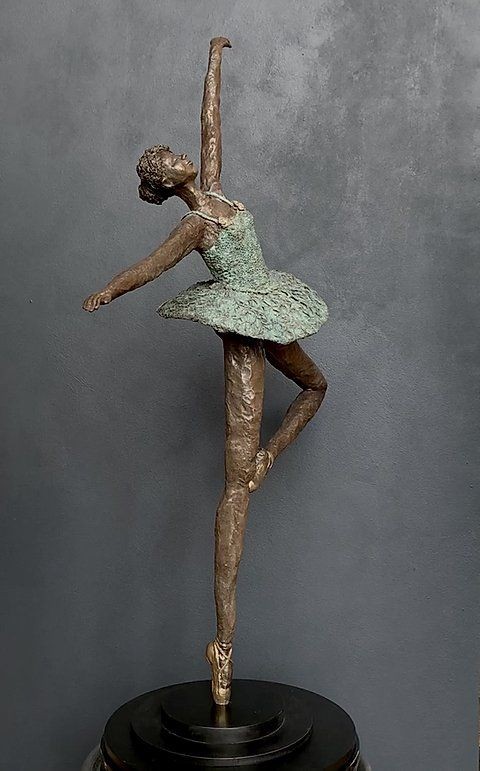
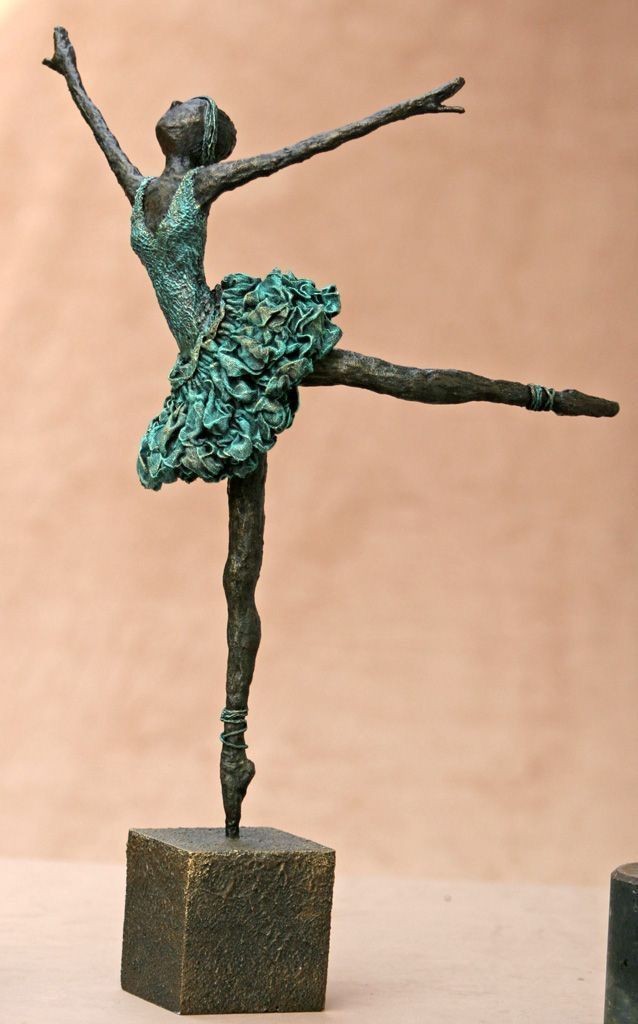
These images were the ones that I liked the posing from and I decided to do a tally on what pose the viewers liked so I would do that for my final piece.
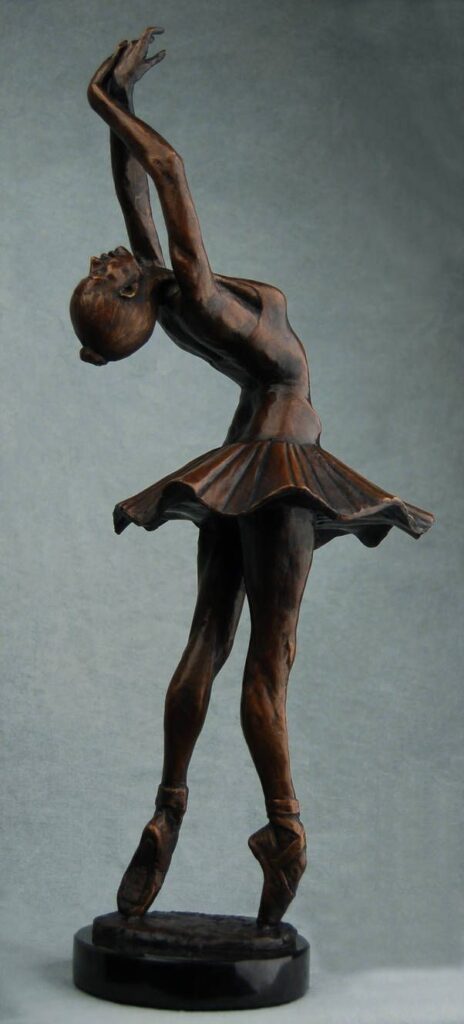
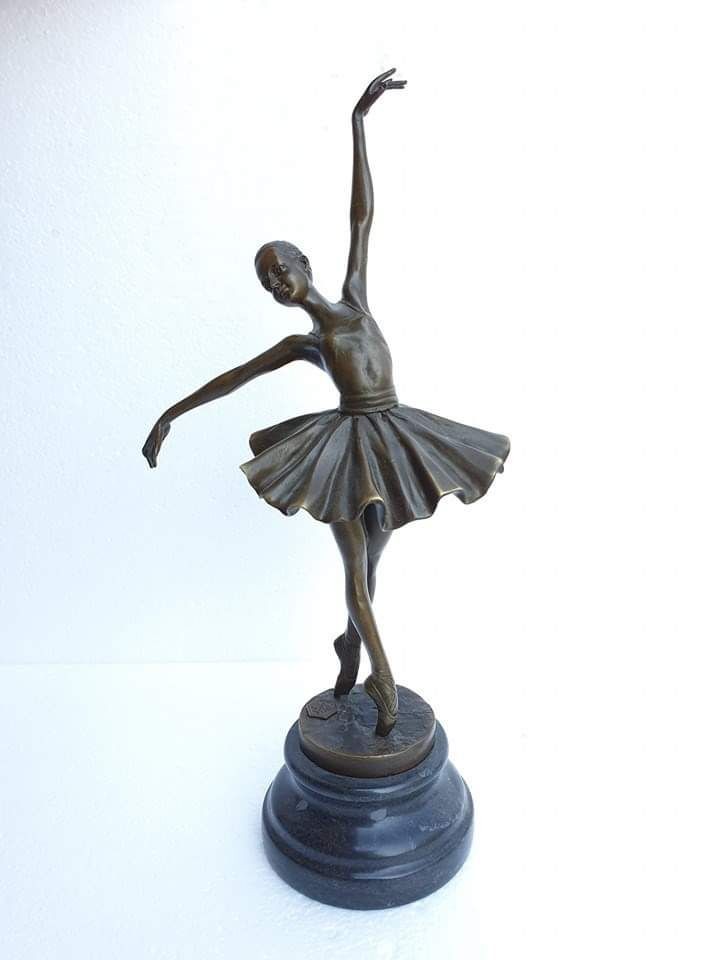
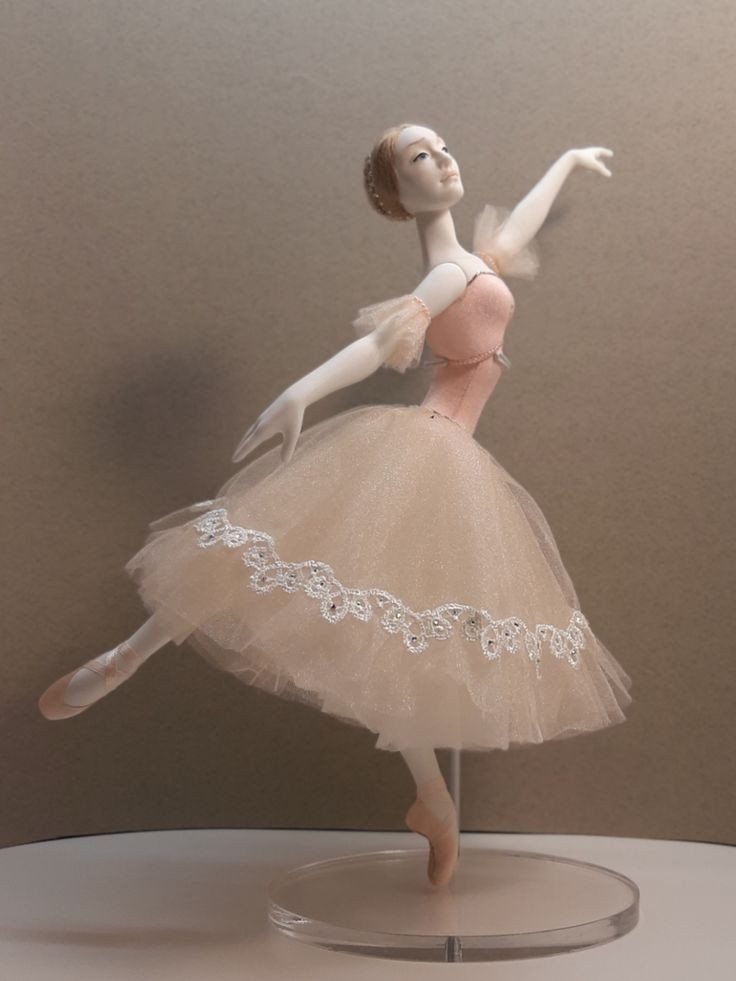
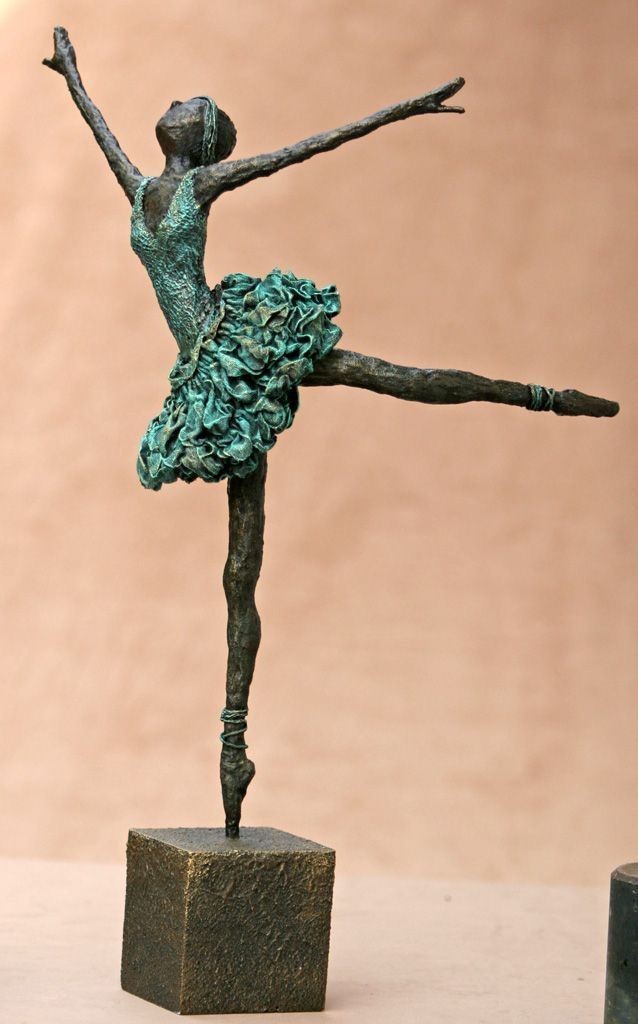
This is the pose that everyone ended up liking so I will be doing this for my final piece.
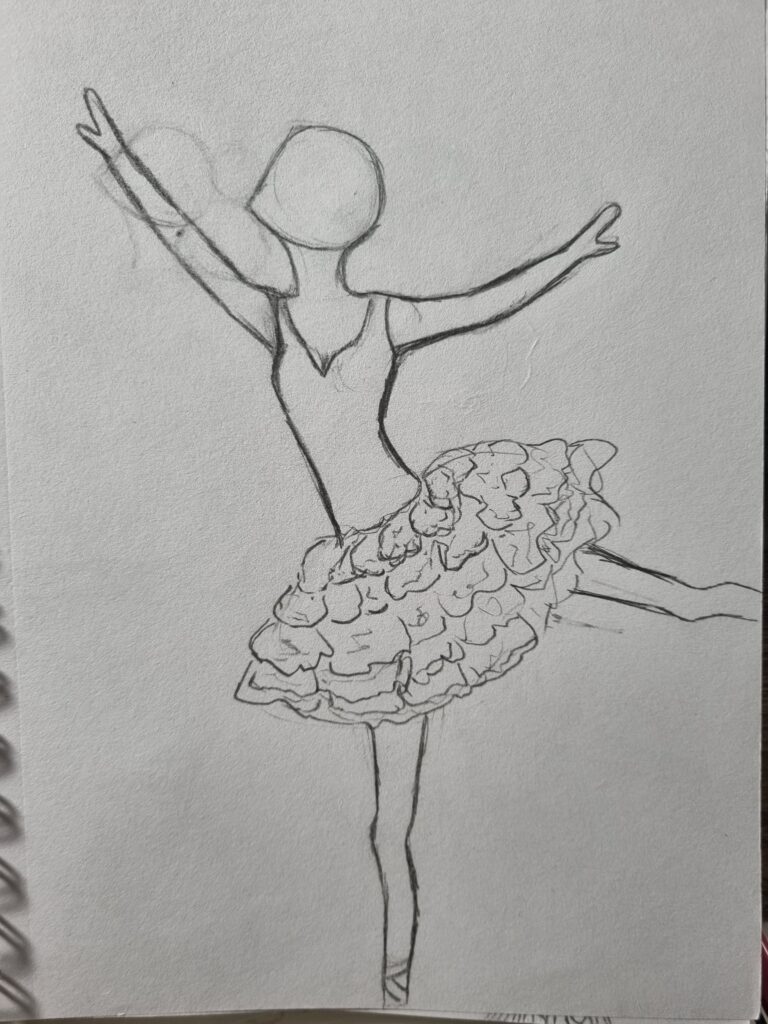
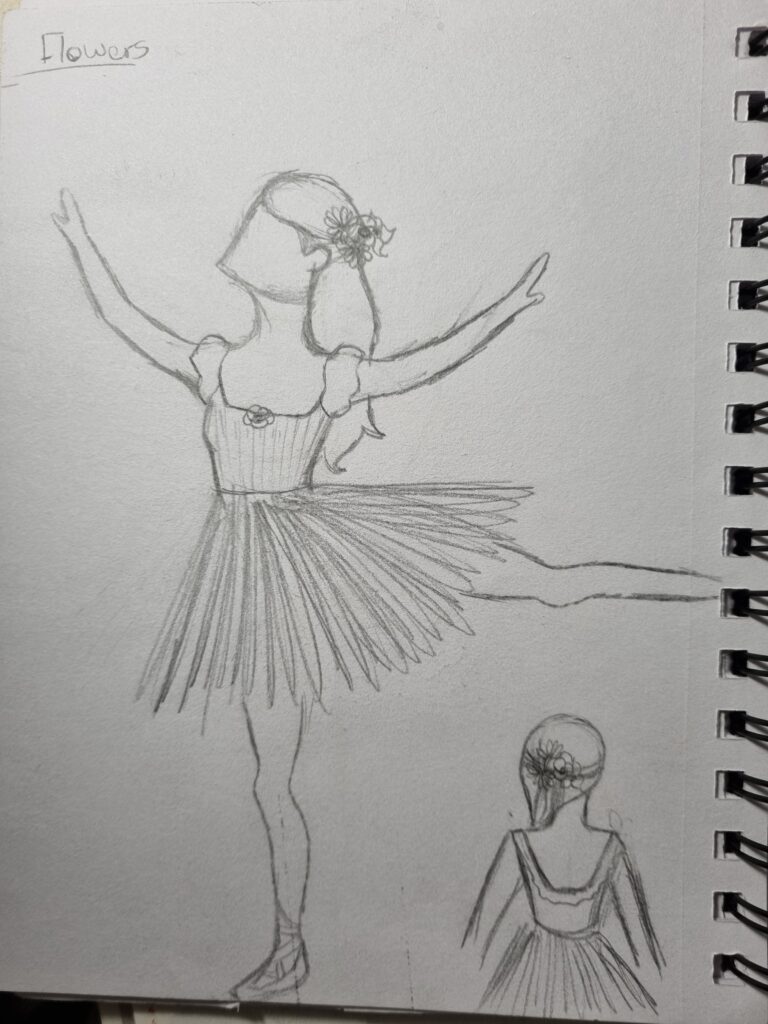
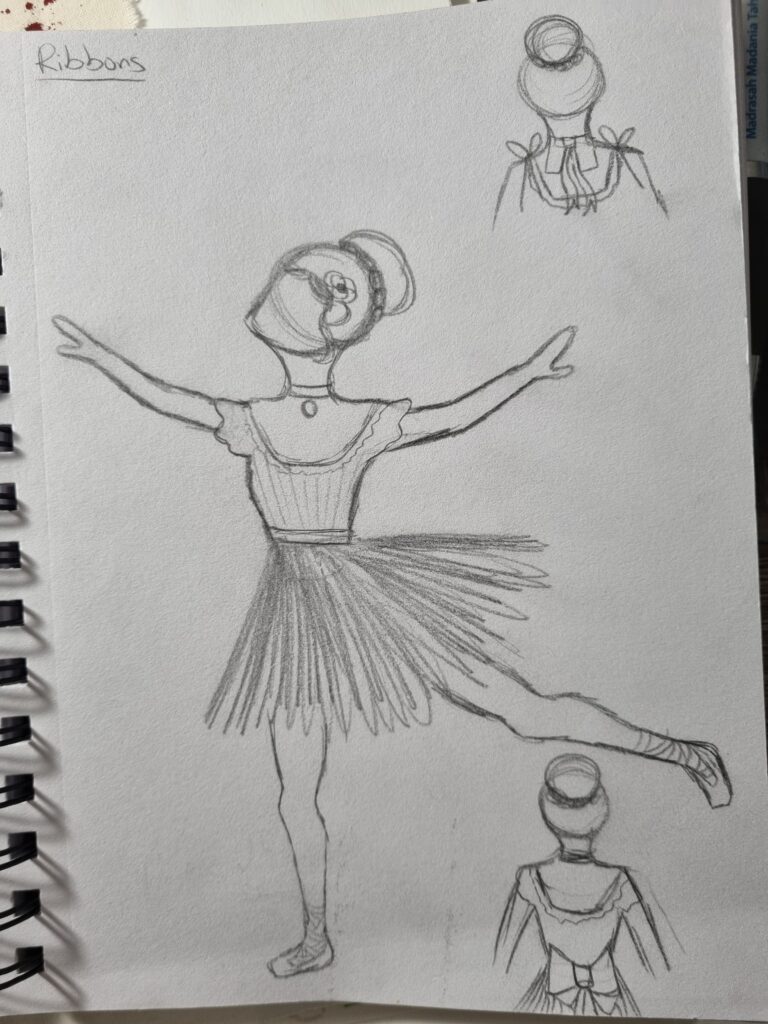
Here are the images I drew using Edgar Deag as my inspiration for what outfit I wanted to go for. In the end, I chose the ribbon outfit.
Starting the structure of the ballerina
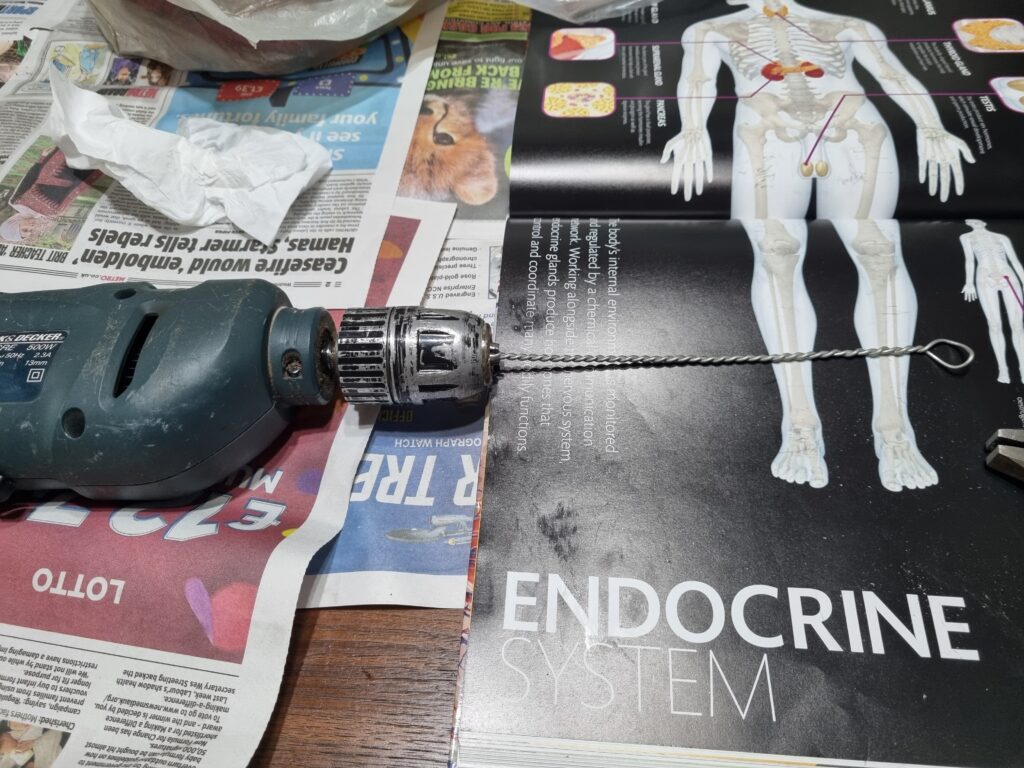
I looked on YouTube for tutorials on how to start off my sculpture, even though I had a lesson with my tutor and made a pointe shoe out of clay, I still wanted to explore my options and see what would work out best for me. I found out that if I intertwined 2 wires together the structure would become more sturdier so that’s what I set out to do so I followed the tutorial on YouTube which told me how to intertwine the wires. At first, it was hard for me as I’m a beginner and had no idea how to use a drill but after some testing and getting help, I finally made the wire spin creating all 5 limbs with it.
Here is the YouTube link to the tutorial: https://youtu.be/js1_4ehETxI?si=Tzukc4lKyvIubK_A
I took pictures of the first 3 wires I intertwined together. I found the first 2-3 attempts quite hard as I was still learning how to do the process. I eventually switched one of the wirings out as it was too intertwined at the ends and I couldn’t bend it to the shape I wanted however I am pleased with this easy hack and how I didn’t need to do it by hand as it would have been a long and hard process and it wouldn’t have been as sturdier as how the drill had made it.
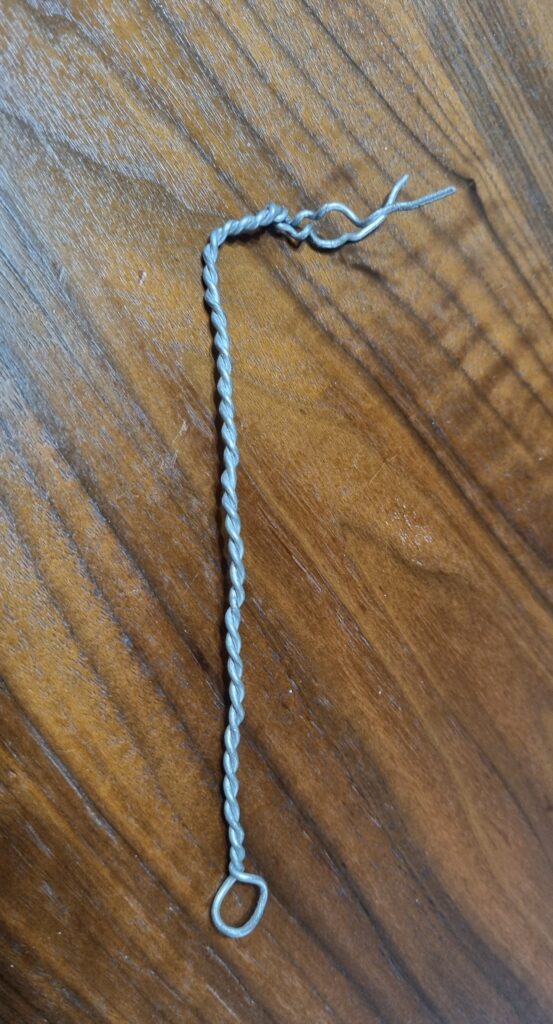
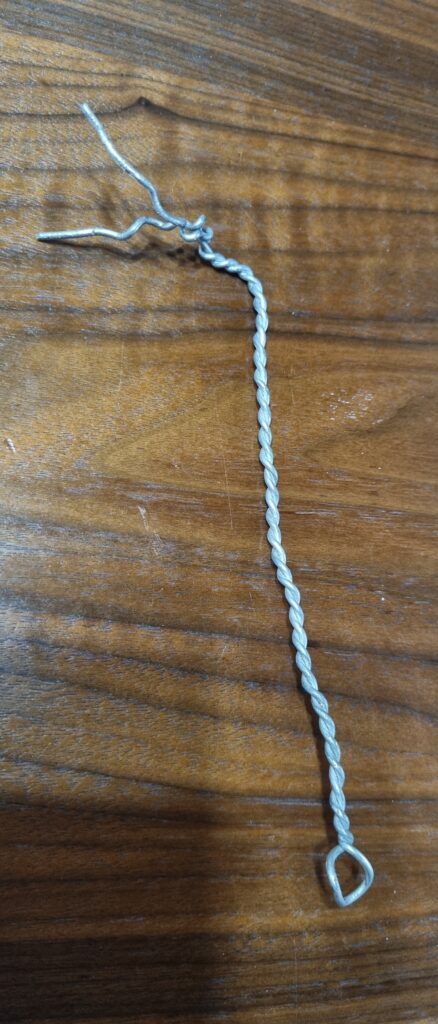

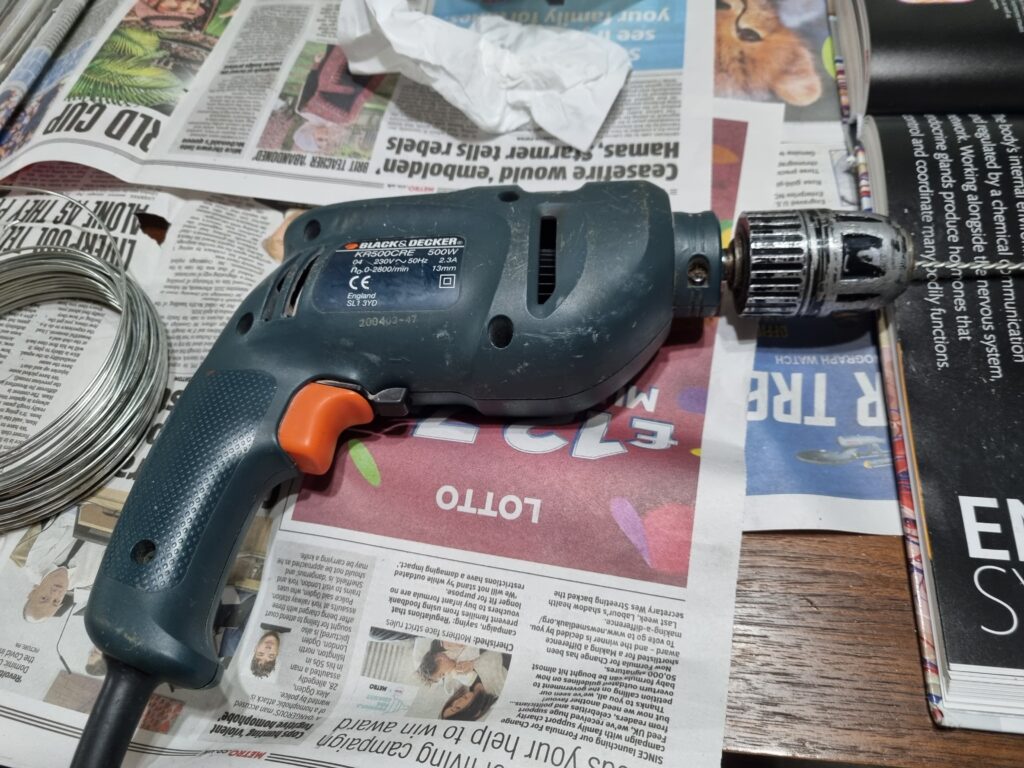
This is the drill I used and how it intertwined the wires. I folded 1 big wire twice and put it inside the gap in the drill where the different types of pieces normally would go. I then made sure to spin the ends around on the drill which can either tighten the grip on the wire or loosen it. I tightened it and I then just held the end of the wire starting the machine which efficiently intertwined the wires together making it sturdy and hard to break.
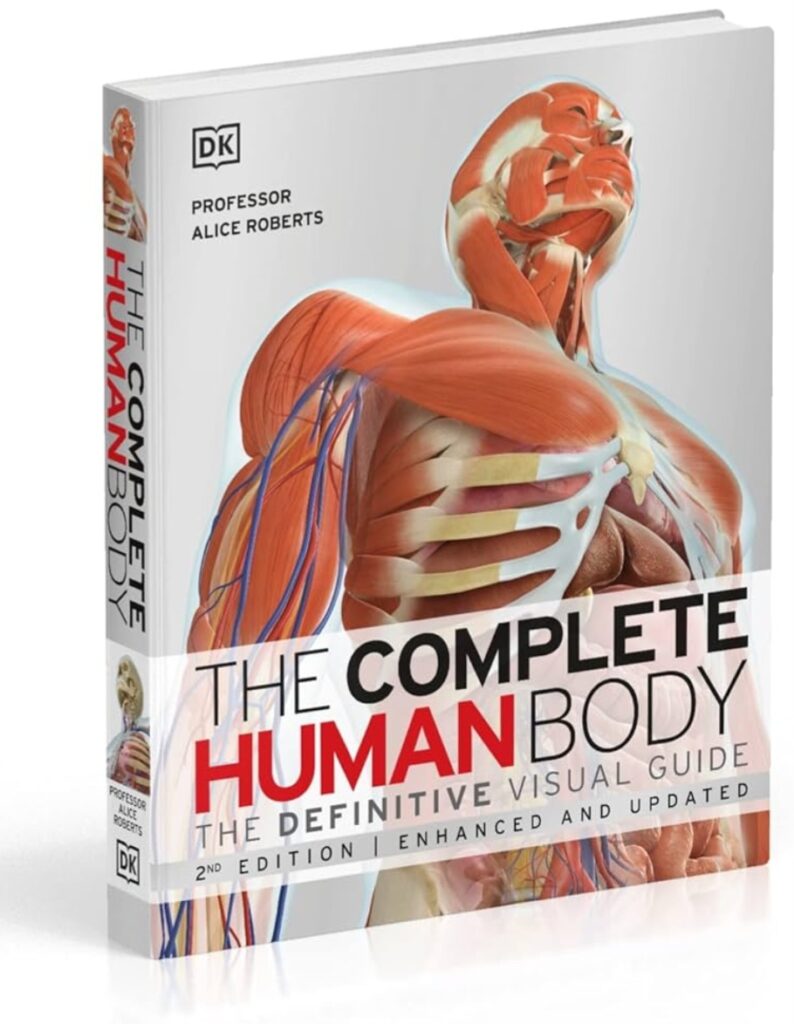
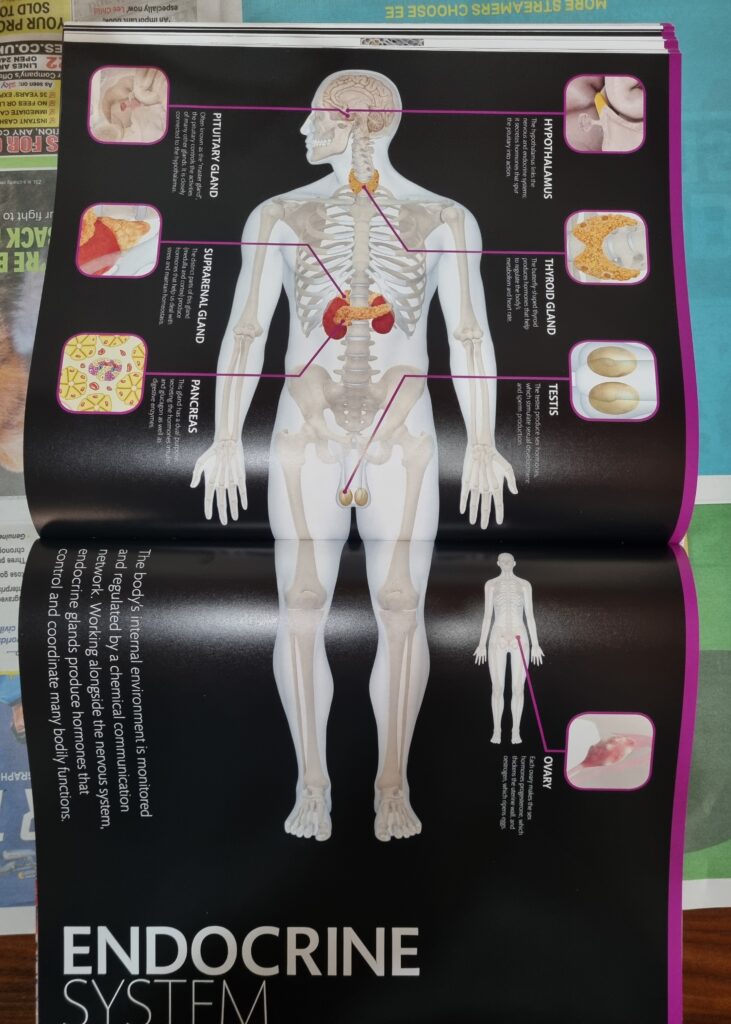
To really help with the anatomy proportions for the structure of the body, I found a library book which was about anatomy and found different pages that show the body making it a perfect template to use for the wiring and to assemble the body. I had to find a page where the body wasn’t too big nor too small and in the end I found the perfect size for the ballerina I was going to assemble together.
Here I began the process of bending and aligning the wiring to see where it would go. The reason I’m bending it is to show the clear definition of the shoulders and thighs as leaving it straight would look abnormal and won’t fit a normal human anatomy. After putting the wires in place, I used masking tape and began taping the body parts together. It was quite fiddly as the tape couldn’t fully go around it and how holding the wire and taping at the same time made it even harder, but eventually, I got it done.
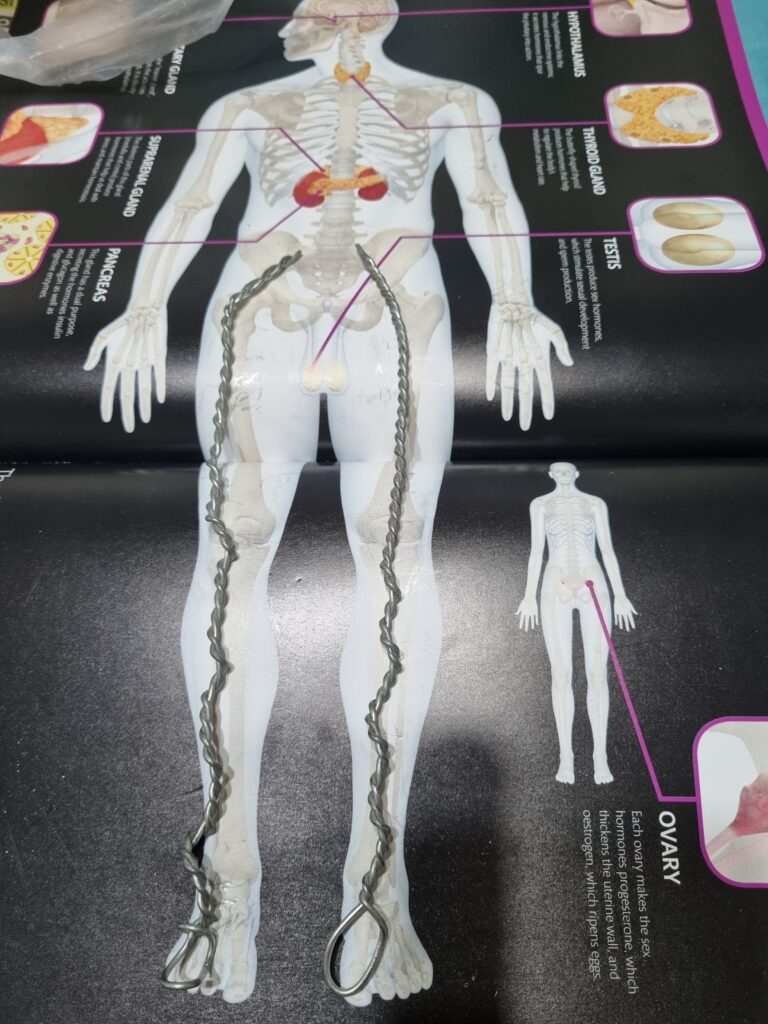
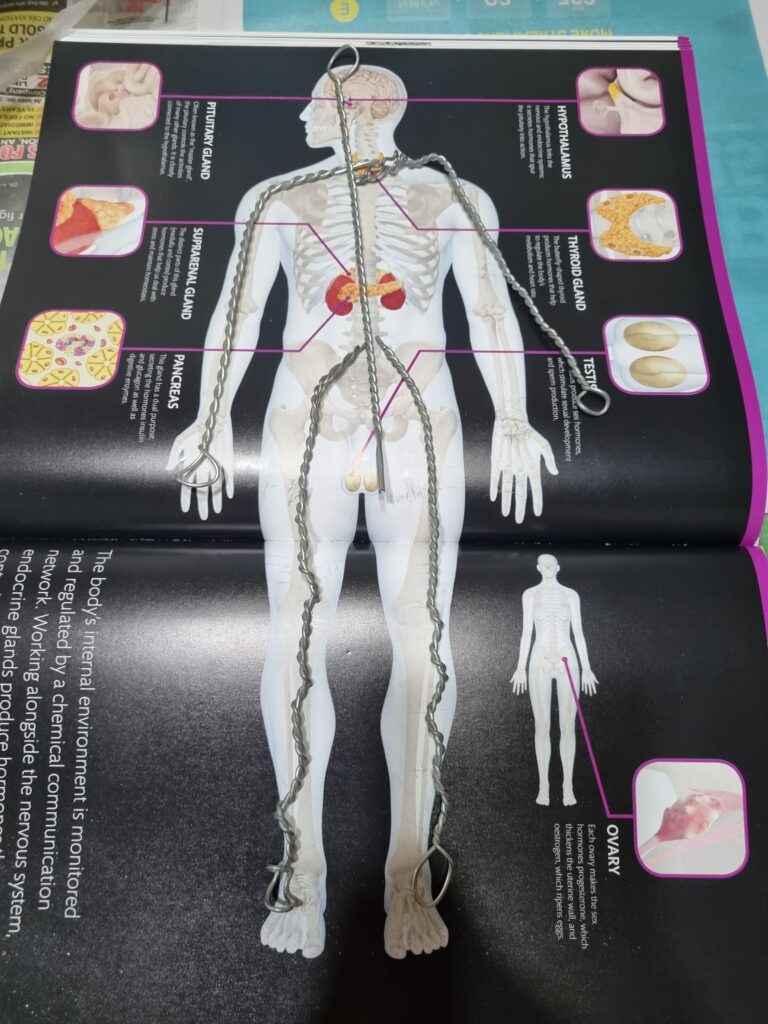
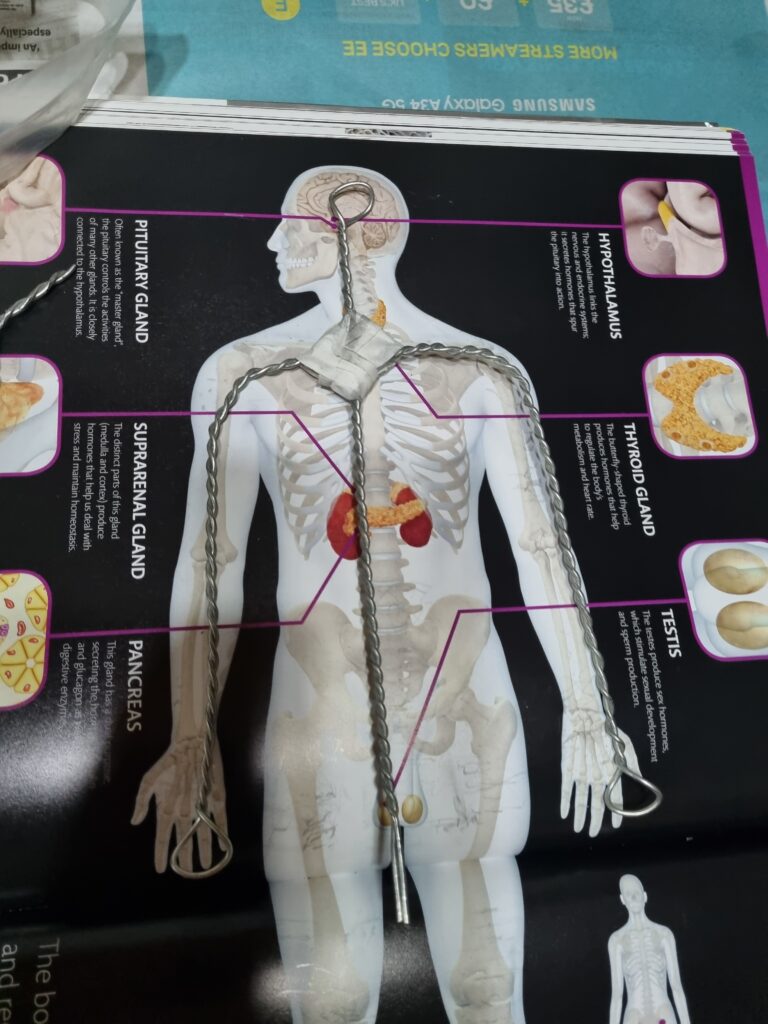
Here is where I finally taped all the wires together, I took 1 picture with the book behind it and the other without to show what it clearly looks like. I am happy with the result and will further begin the process of wrapping foil around it. As you can see the left leg is a bit mangled up however that was my first try at doing the wiring and I found that the little hoop at the end of the leg served well for how I am going to make the pointe shoe so in the end I decided to keep it and began foiling over it.
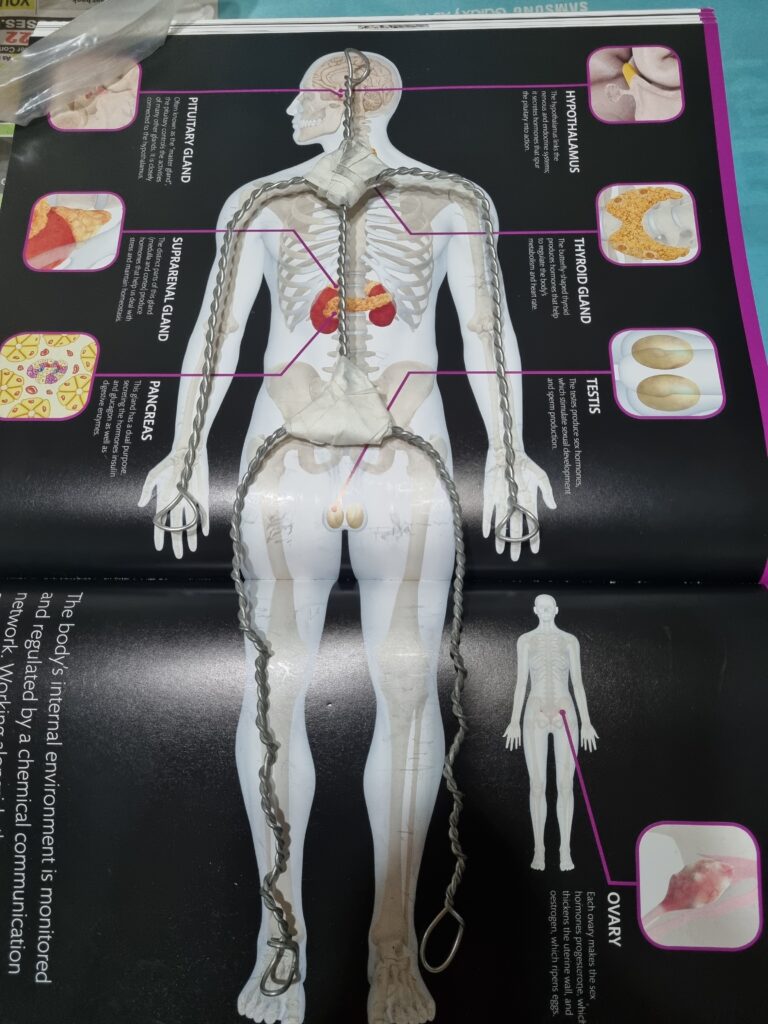
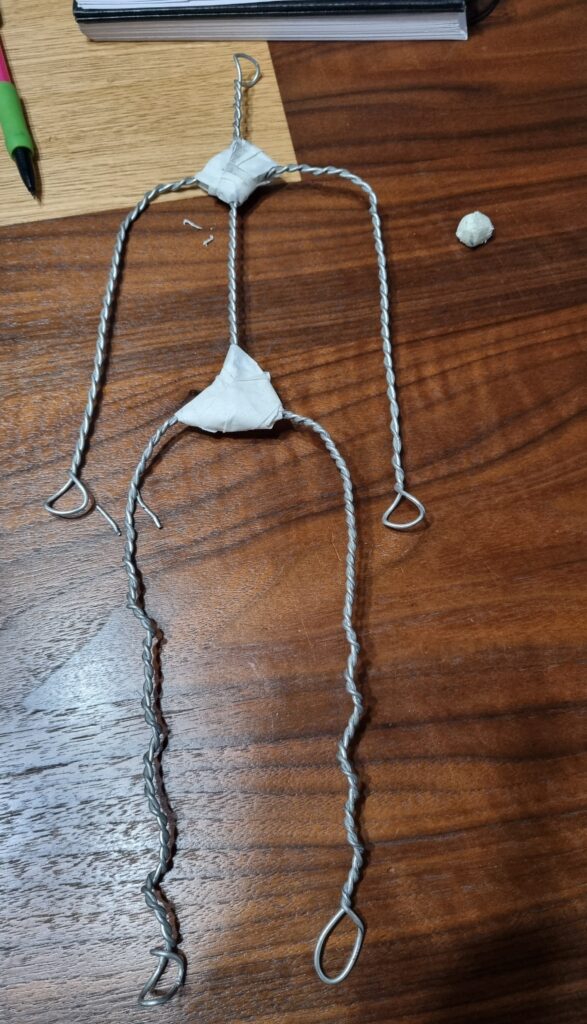
Before I began the foiling, I hung the wiring onto the spool and began bending it to the shape I wanted it to bend. I followed the exact drawing I had done for my final piece and bent it into the pose I had chosen for the ballerina. I tried my best as I didn’t know if the clay would fully follow the shape of the wiring however I am content with how it looks from these 2 angles so I’ll begin foiling over it.
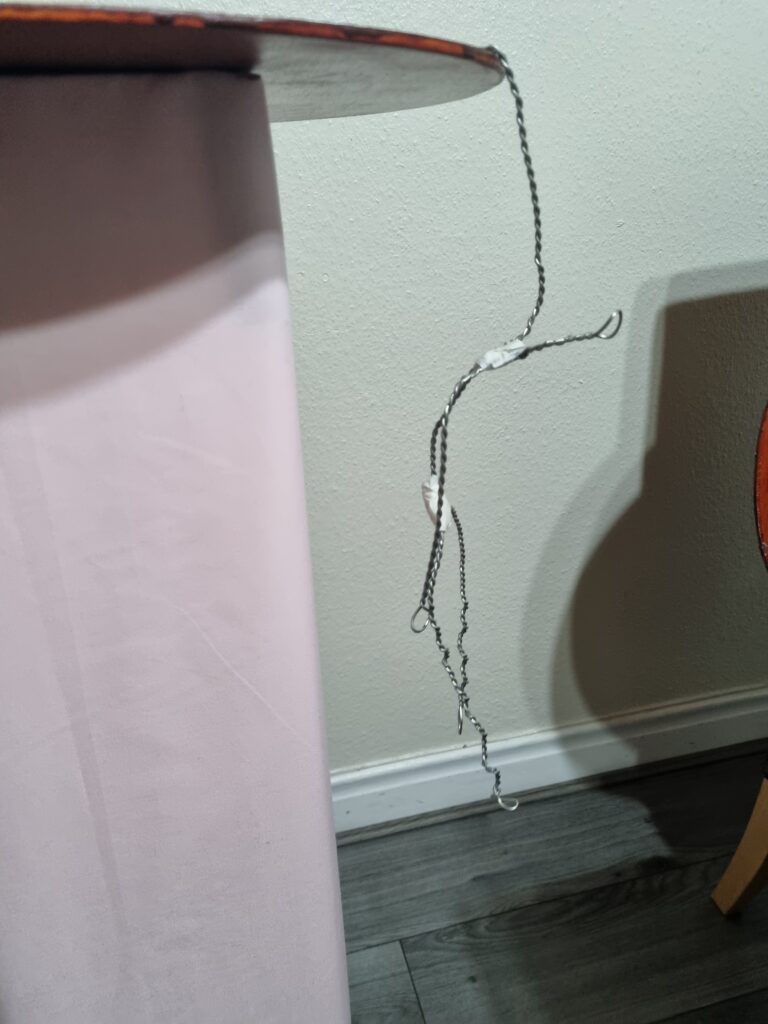
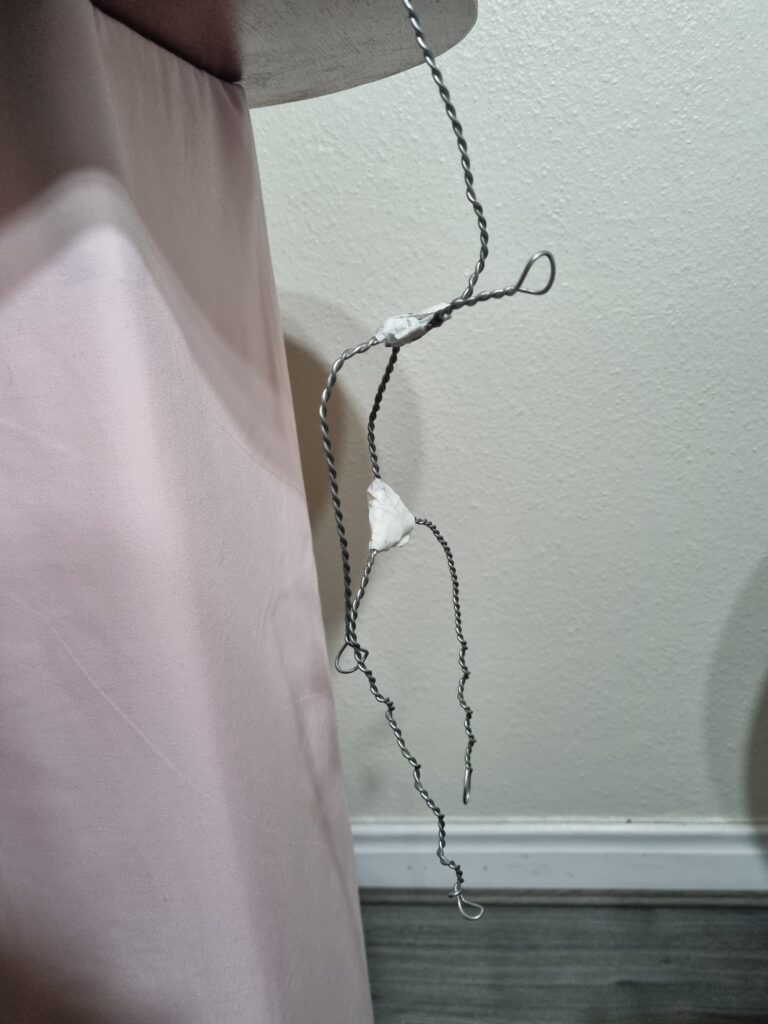
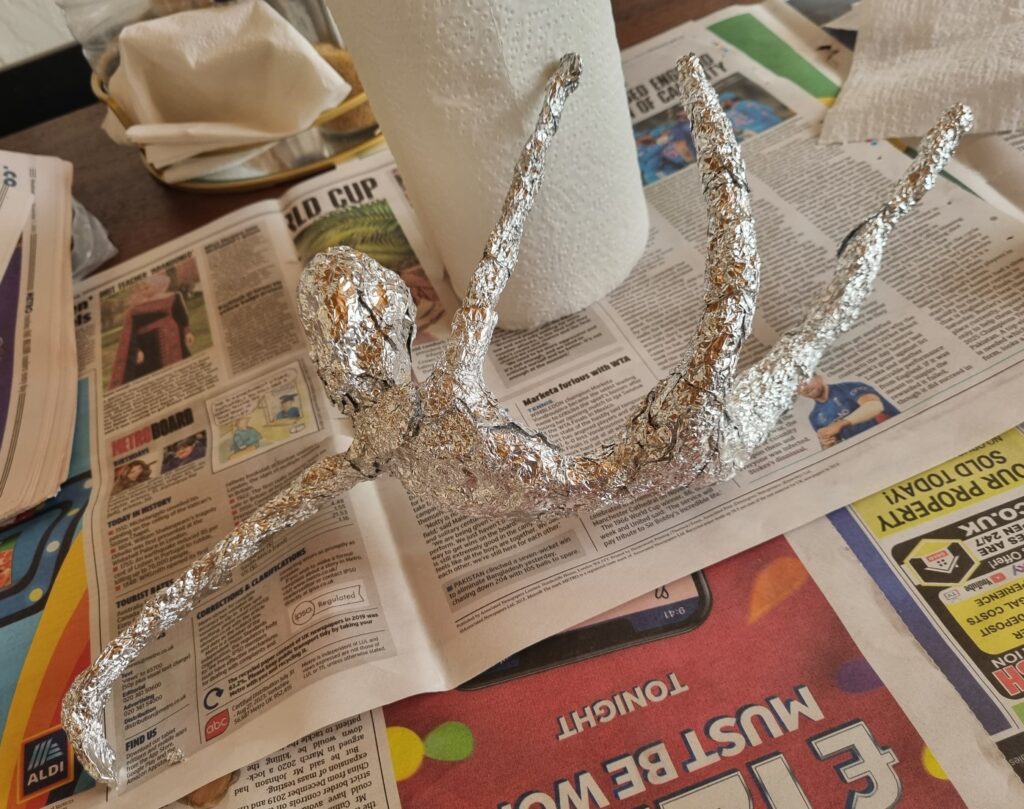
Here is where I began wrapping foil around the wires. It was quite hard as it did not have anything to latch to but as I began shaping it to the way I wanted it to look, the pressure I put on the foil made it stick together. I started with the head first, then the body, then the arms and legs. It began taking shape however I realised when doing the neck it wasn’t really there as the body and head are too close to each other. As I already started the foiling, I didn’t have a choice but to move forward and to adapt to this mishap. In the end, when wrapping foil around the wiring, I tried to keep the artist I researched in mind, Alberto Giacometti, as I am going to make my ballerina follow his art style. He typically makes large and elongated sculptures where the ballerina is typically skinny and the features of his ballerina aren’t really defined. That is the type of ballerina I want to make as I feel like his way of sculpting links into how I want my ballerina to struggle with her identity and having her a bit disfigured like Alberto does intentionally to his clay work, will benefit my concept.
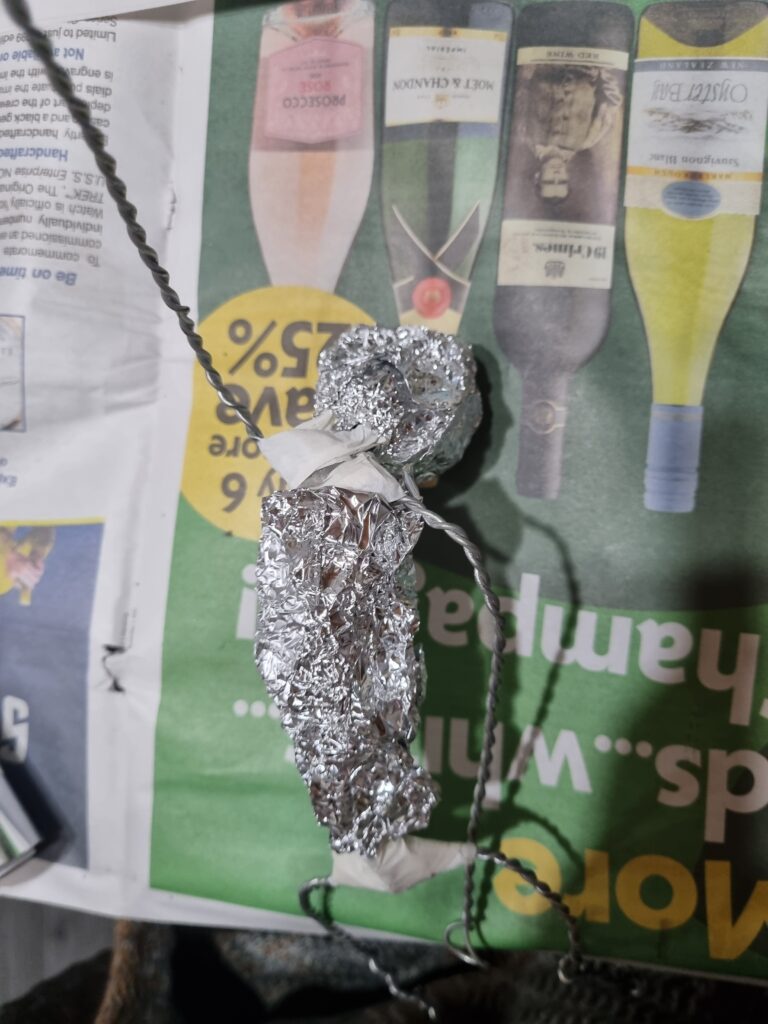
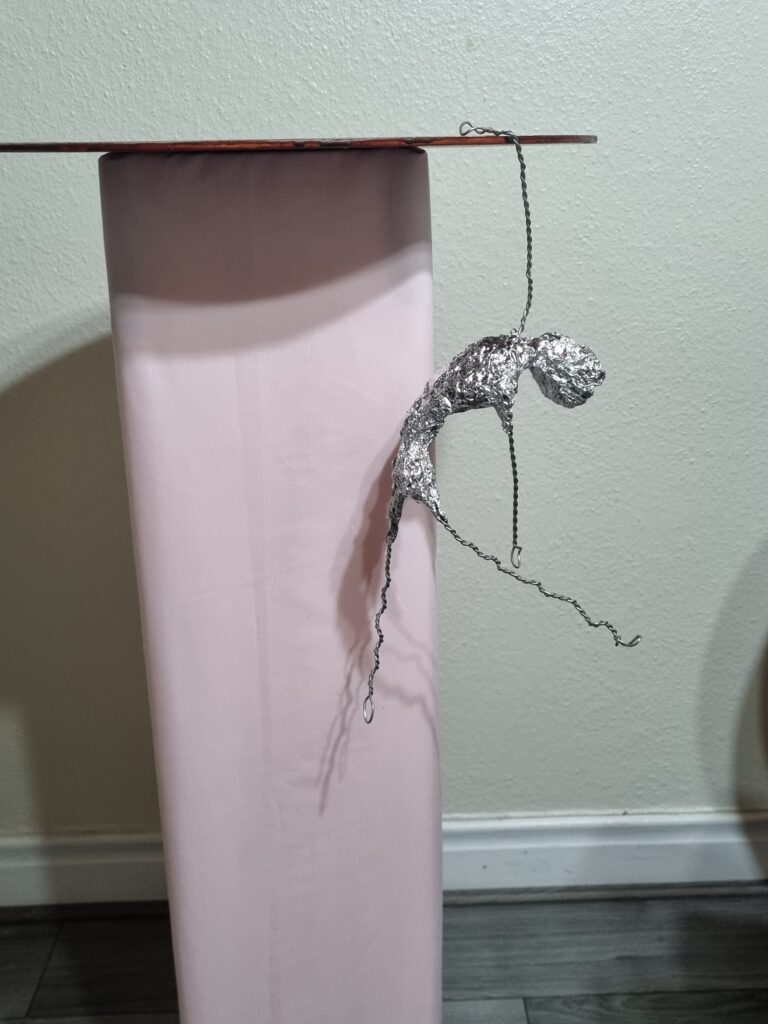
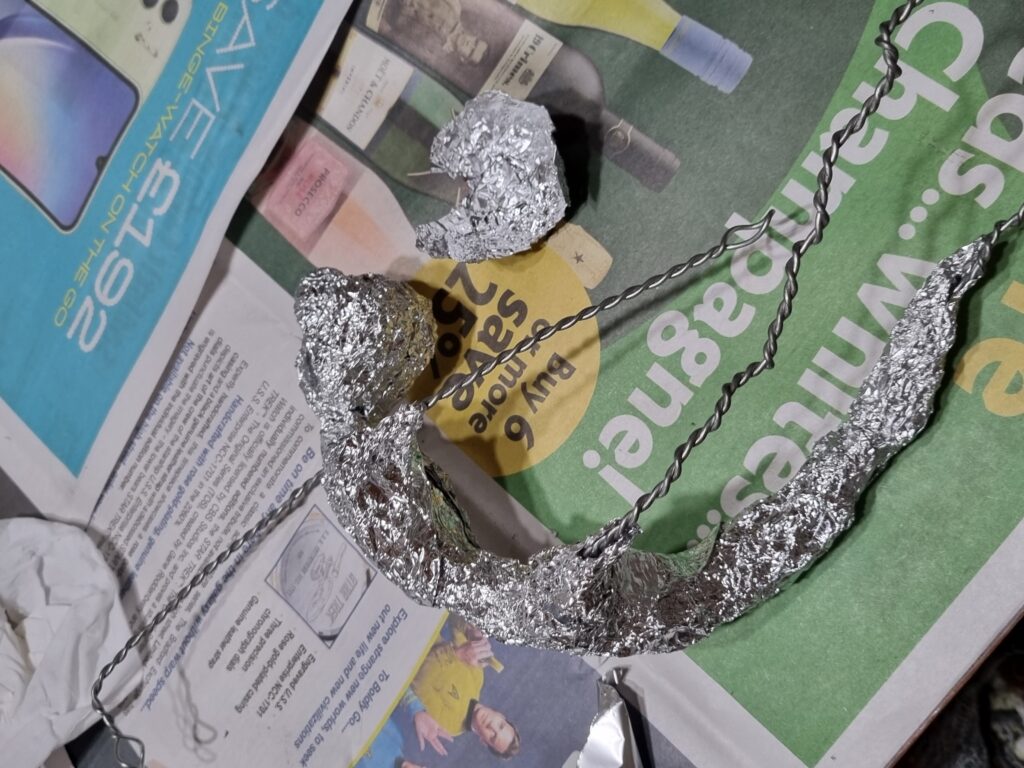
Here is the time-lapsed video of me doing a bit of the process: 20240513_141717.mp4
As I kept wrapping foil around the wires, I kept checking to see if it looked ok by hanging it onto the spool. This helped me see it from a different angle and to show me how its supposed to look like when hanging. I made some little alterations wherever I thought needed them however I slowly got the hang of shaping this ballerina.
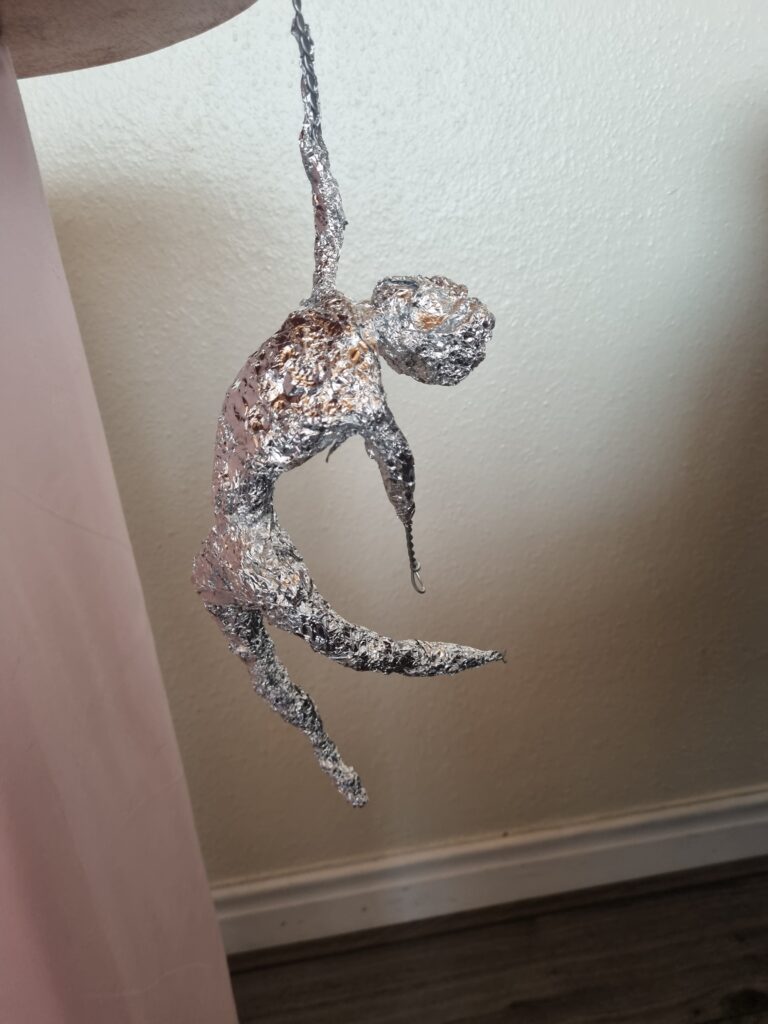
After ages of typing to make the figure of the ballerina come to life, I was finally done with the foiling. I am happy with how it looks especially as it looks like Alberto Giacometti’s sculptures and how it’s disfigured and elongated at the hands and legs. There isn’t anything I disliked or really thought I could improve on as I was quite happy with how it turned out. Tomorrow I’ll be doing the clay and making sure I follow Alberto Giacometti’s appearance of his sculptures to embed his art style into mine.
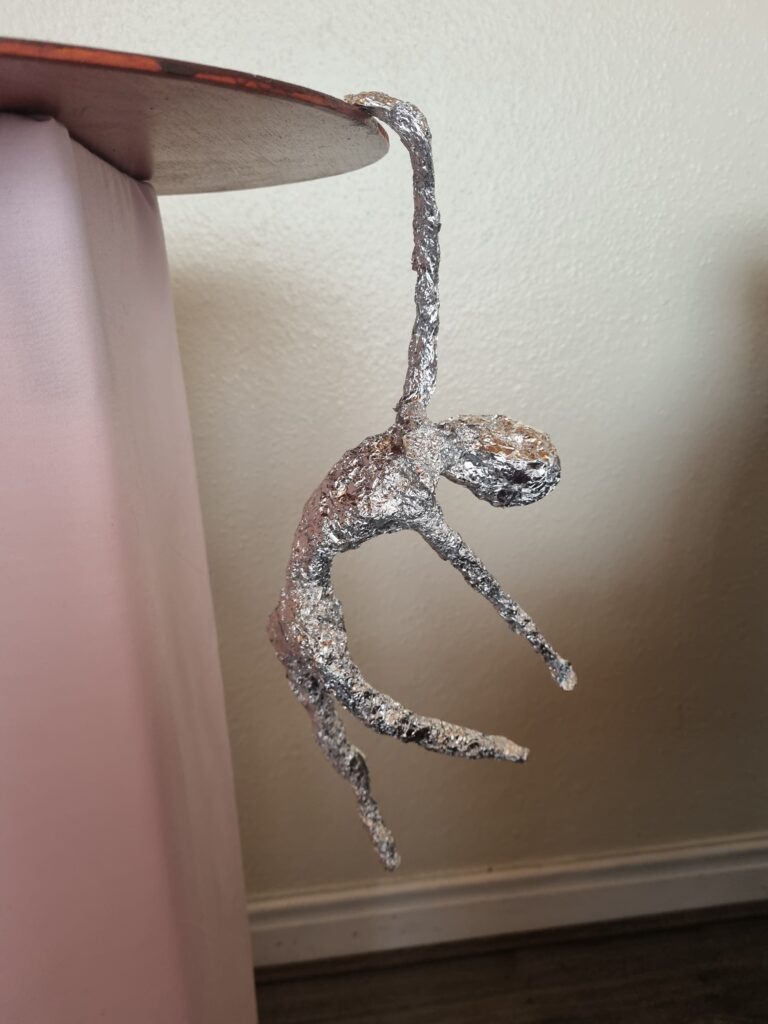
This is the pose I was initially going for. I wanted viewers’ opinions on what posing would look better so I asked most of my friends and showed them a select variety of poses. The one that everyone liked was this pose so I decided to replicate it and take everyone’s opinion into consideration.
Week 14 Overview
I’m glad that I have started with my final piece now with the base of the ballerina and how I’m also building up the big spool. Everything is slowly coming together however I still need to remind myself I’m on a time limit and I need to be done as soon as quickly on this. Next week I hope to achieve being done with this and begin putting everything on digital space.
Week 15:
Applying clay onto foil
I began applying clay onto the foil using the same methods my tutor had told me. First, I flattened out the air-dry clay and then applied it to the foil, smoothing the edges out. I then began scoring at the edges and applying other layers on top embedding them into each other. I began this process and tried covering the full area of foil so no foil could be left visible.
Here is the video I watched which helped me with the foiling and with the air-dry clay: https://youtu.be/1WyT5gbpPiw?si=EKLtucszcInd7C67
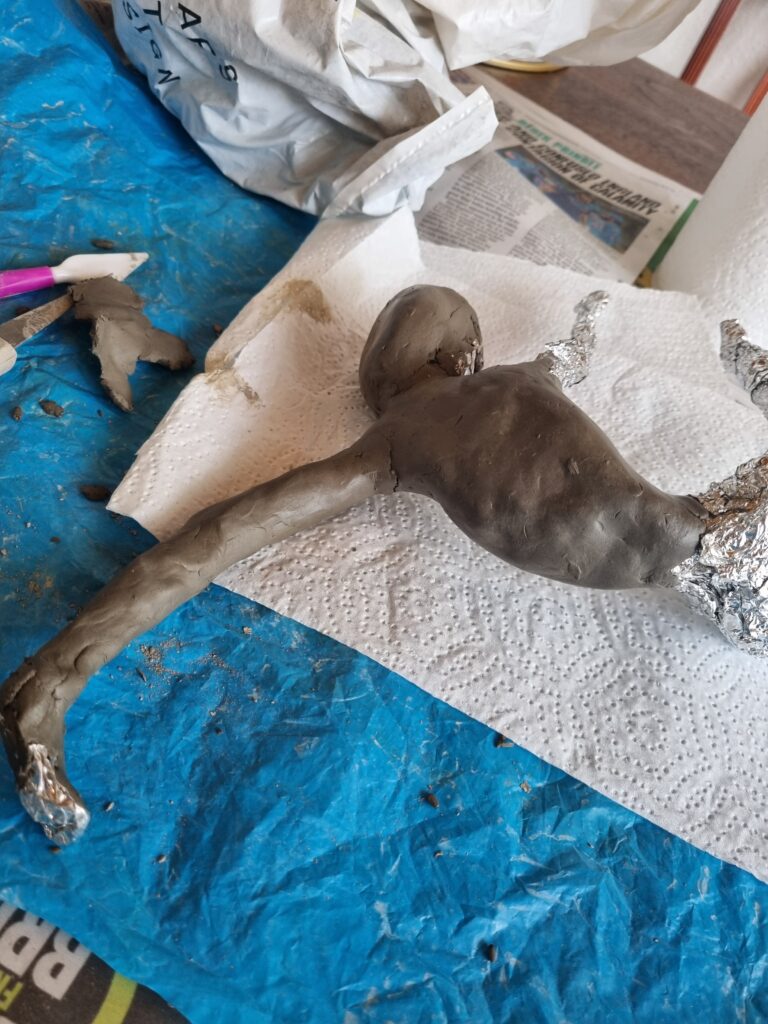
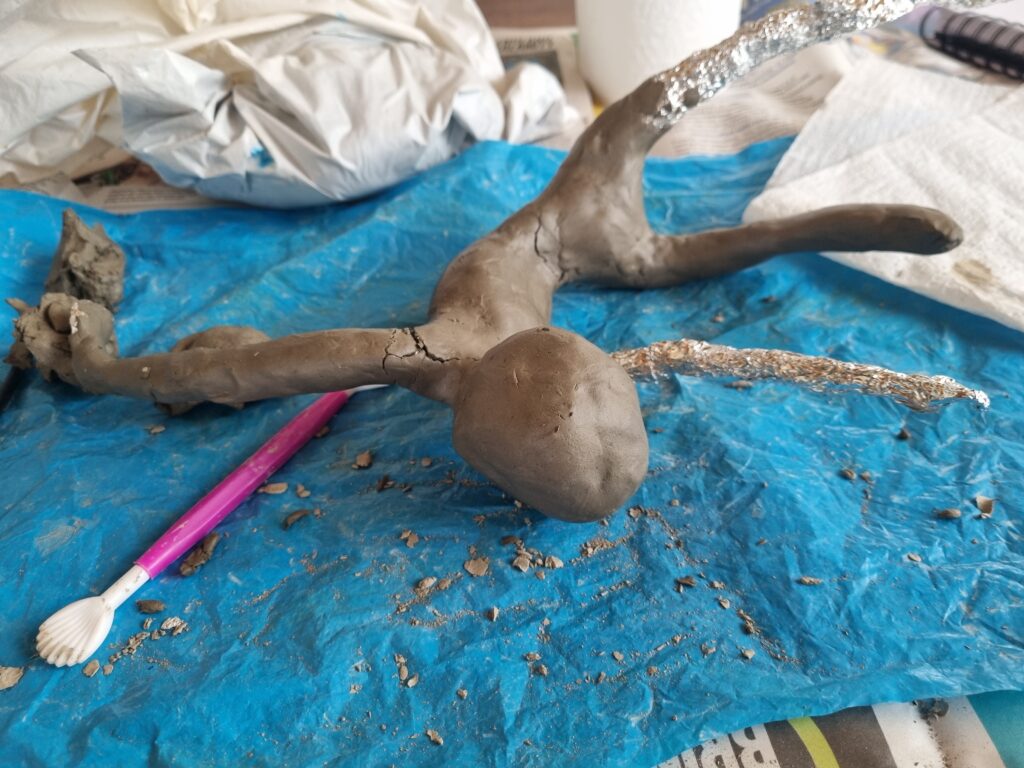
After applying the clay to the full body, I began focusing on each limb at a time. I focused on the leg first and getting that typical leg shape. Although I am following Alberto Giacommetti’s art style, I still want to add some humane parts to the girl as she has not fully lost her identity yet. This also can link to my other artist Tanya Gomelskaya as she likes to create most of her sculptures with realism but have some parts disfigured or out of place. I quite liked how the leg had turned out and was pleased with the result.
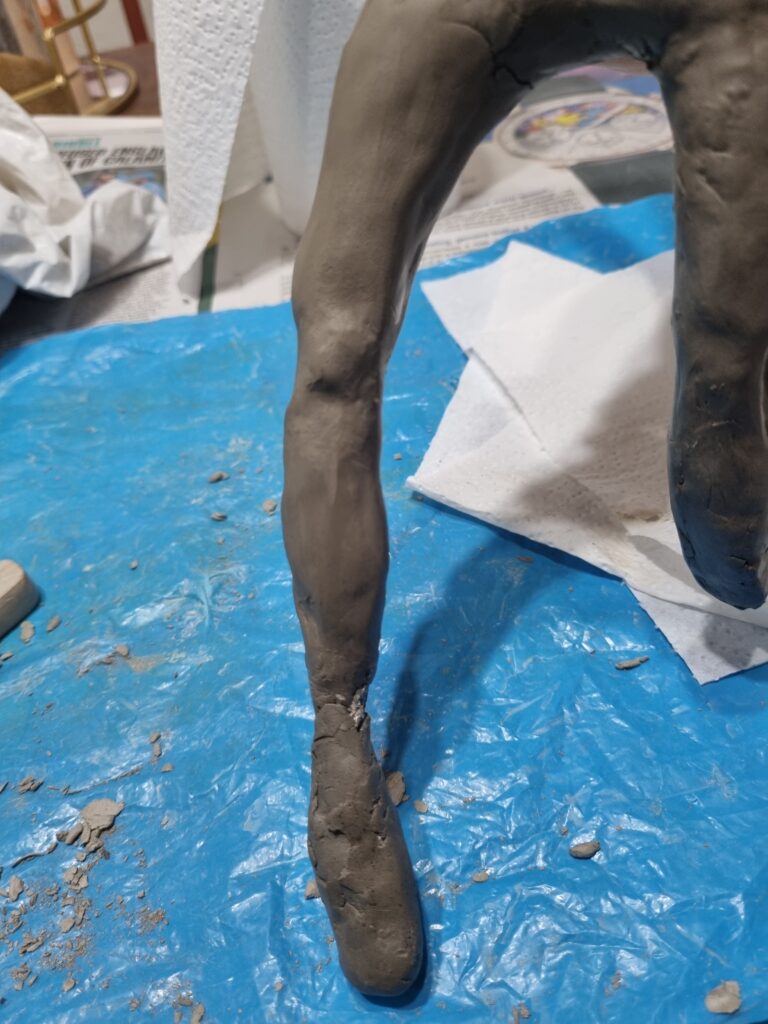
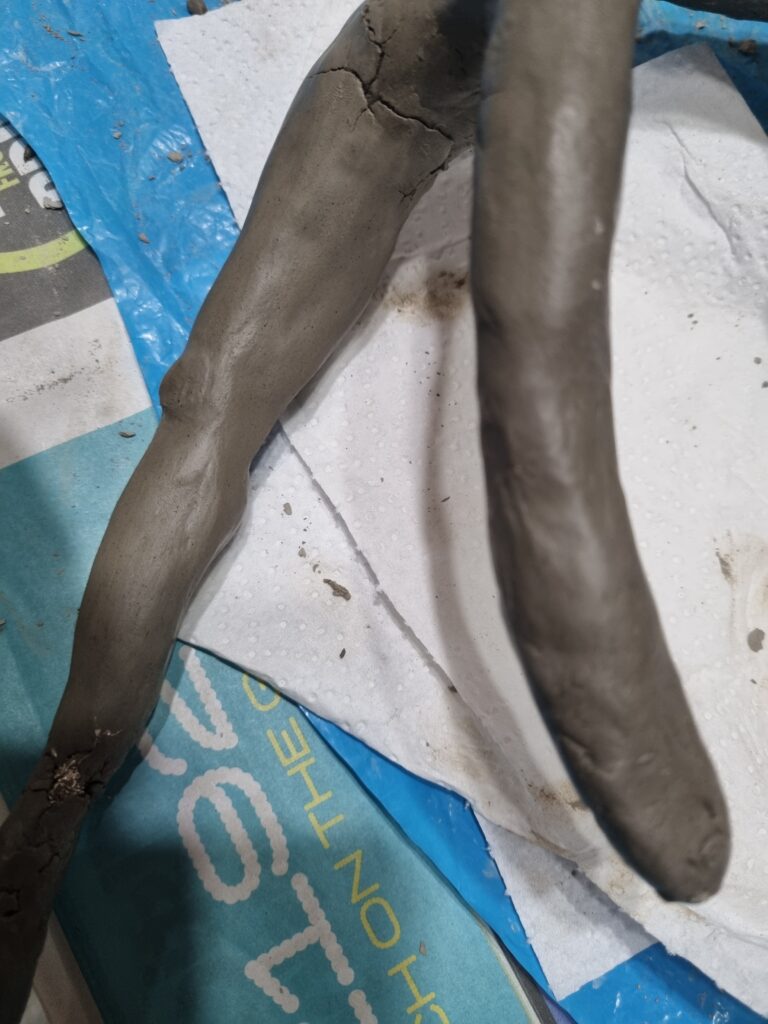
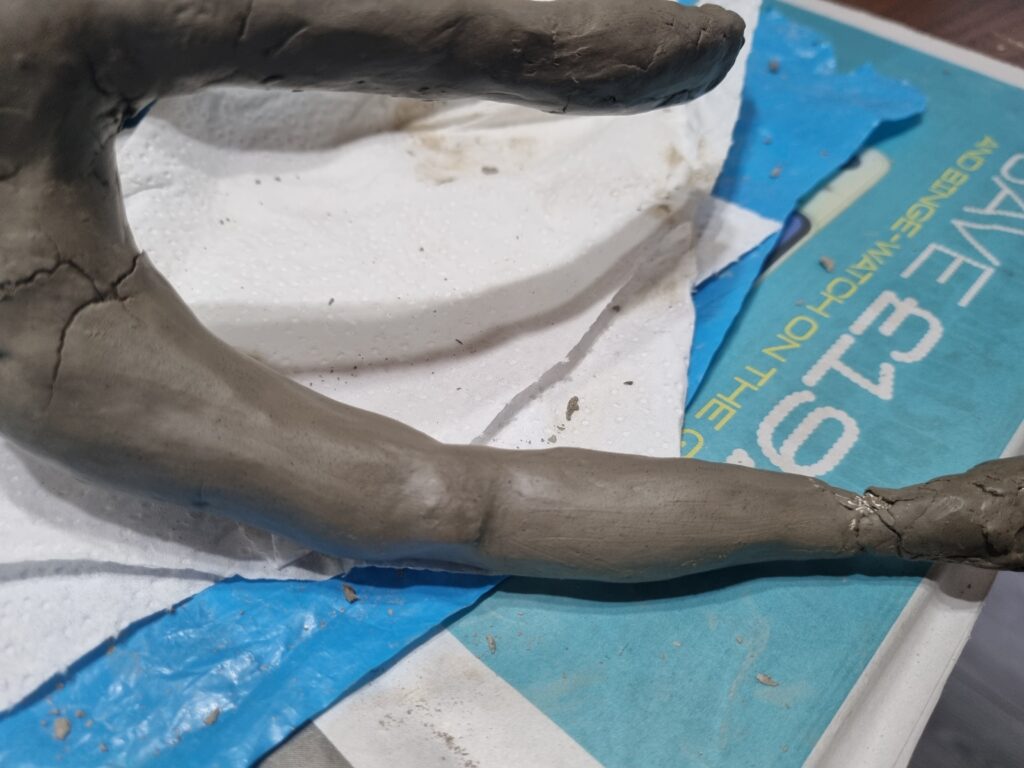
Here is where I began laying clay over her leg with no shoe and the bottom part of her leotard. There’s not much to say as I’m still building upon the work.
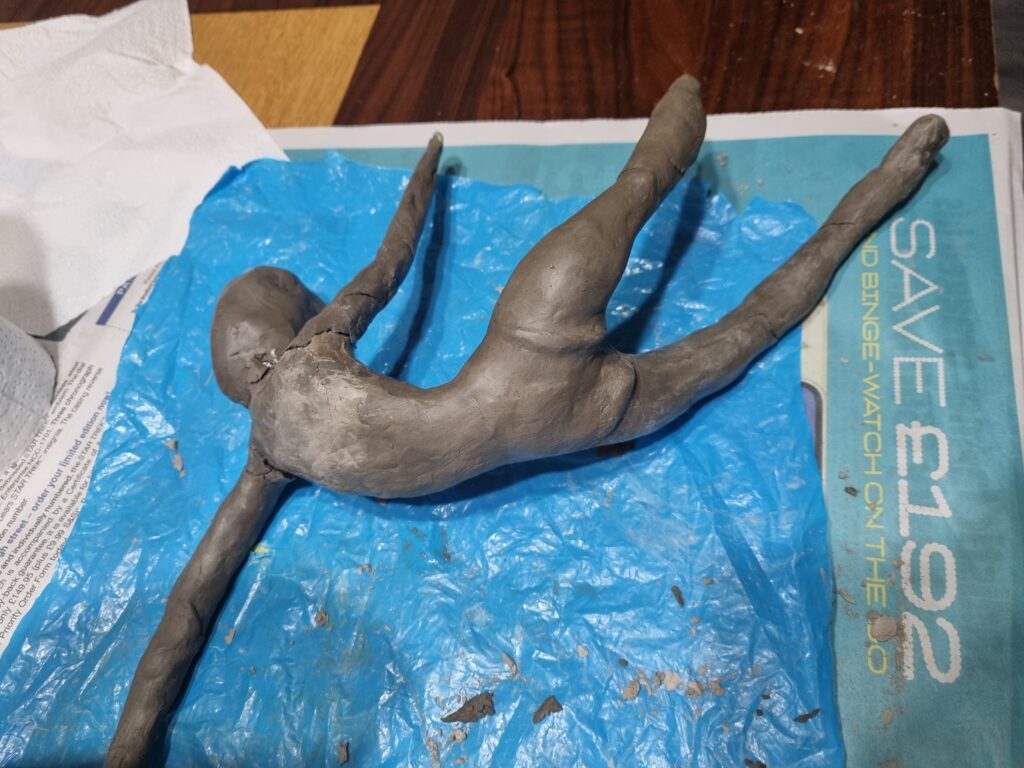
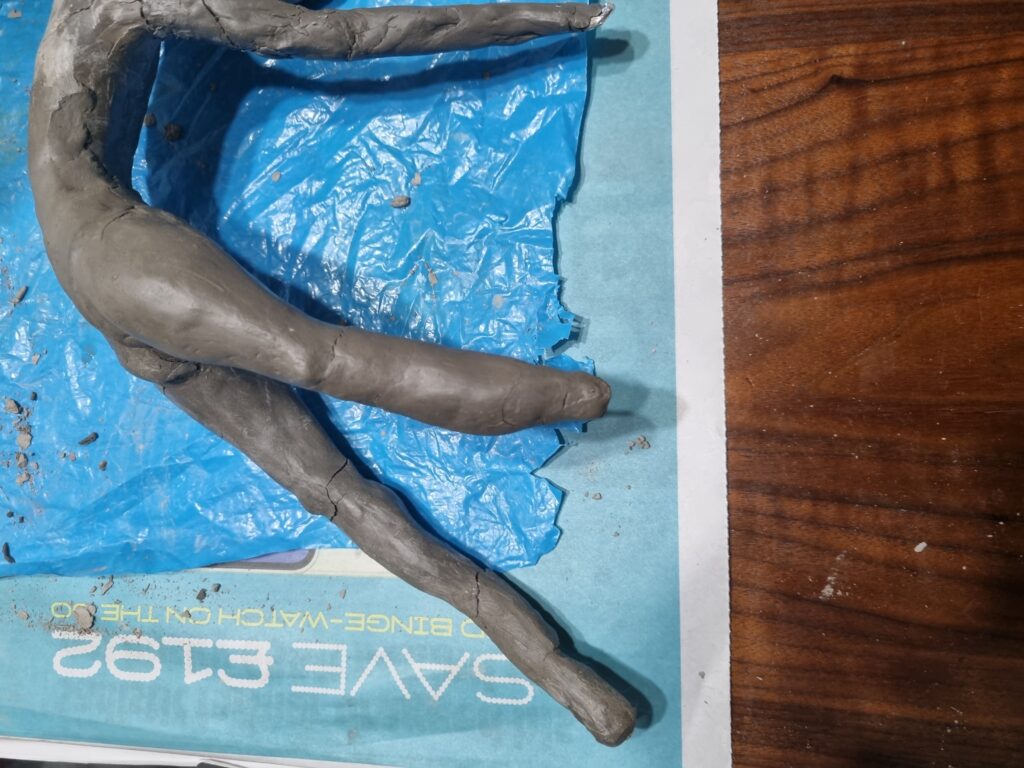
I decided to focus on the pointe shoe in these 2 images as I skipped over it to do the other leg so I went back to complete it. I like how I made the shoe and it’s not round at the ends but flat to really resemble an actual ballet shoe.
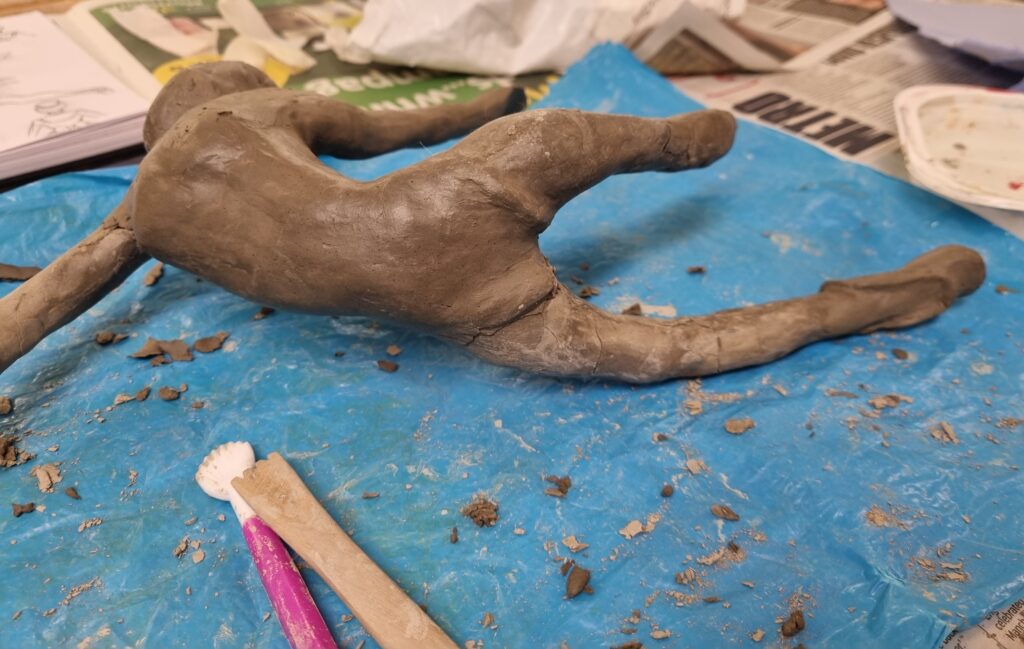
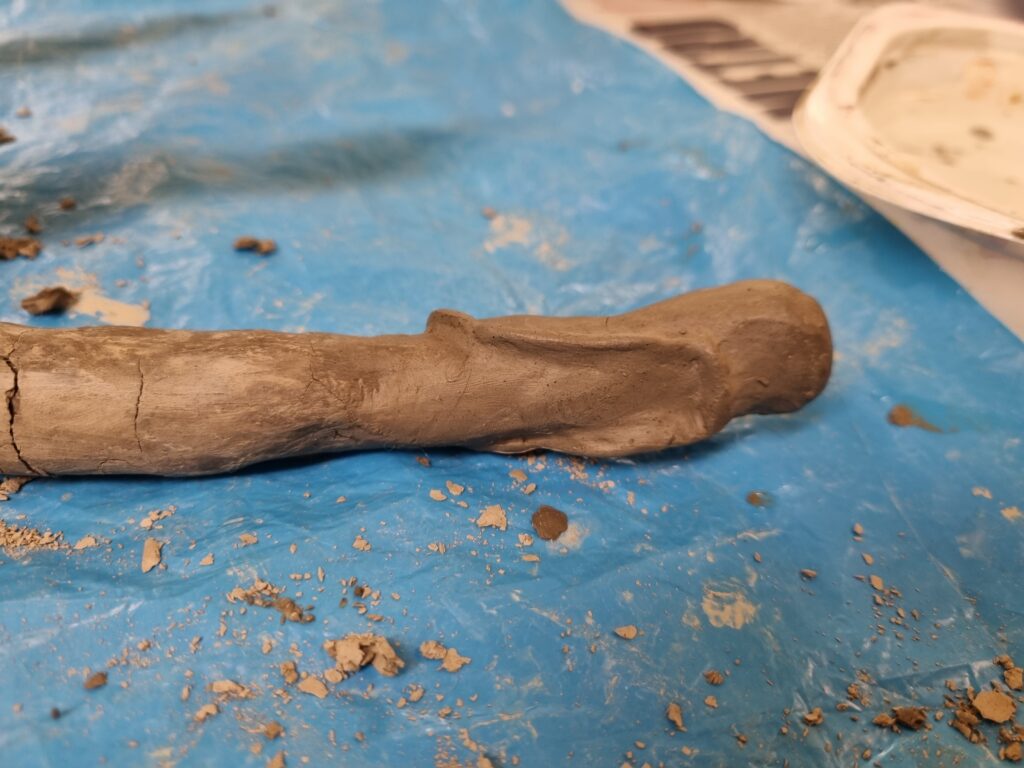
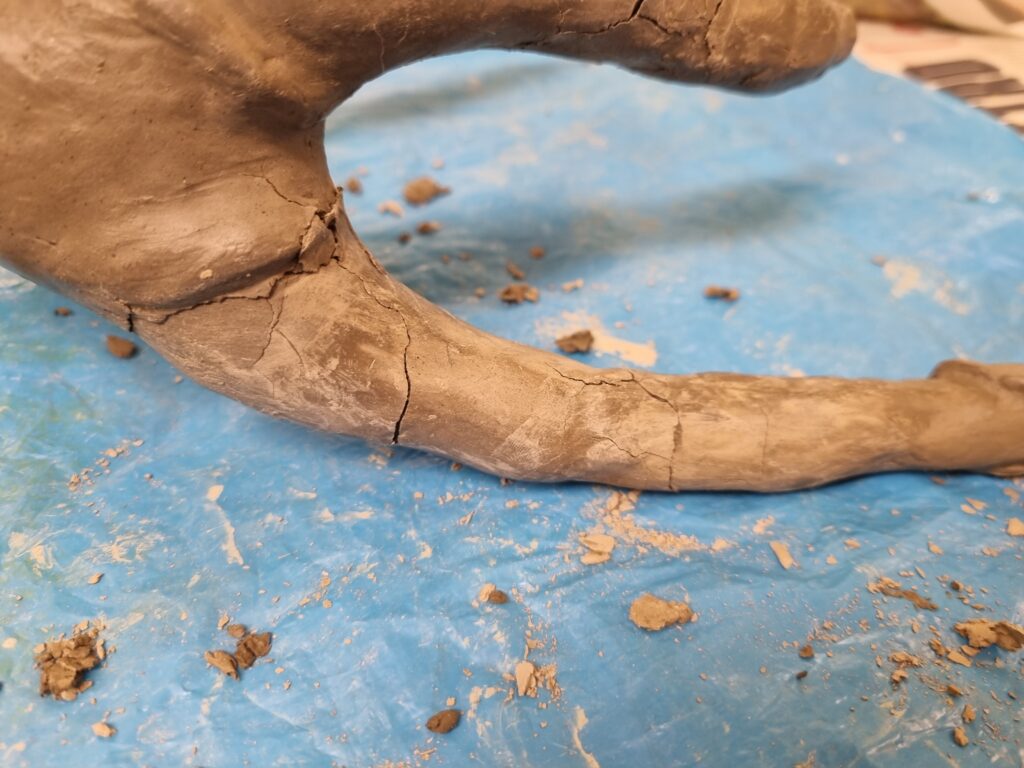
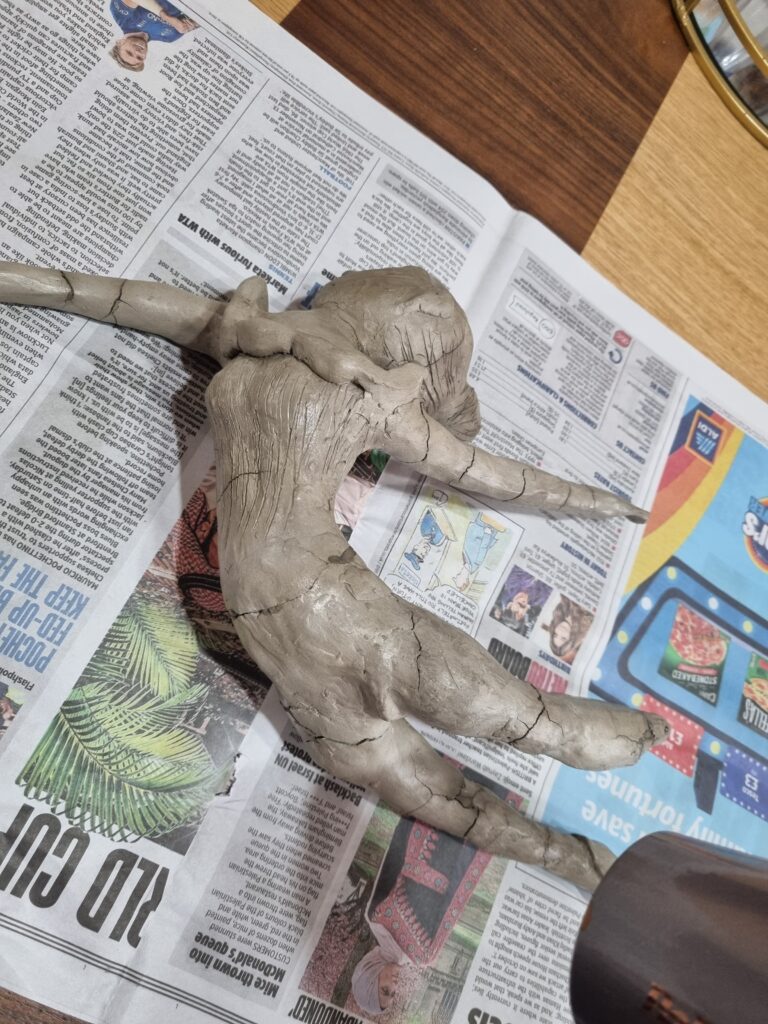
Here I zoomed into the cracking parts of the body. I realised that for some reason a lot of the body parts kept cracking and I kept covering it up however the cracks kept resurfacing again. I didn’t know what the issue was as it could have been because of the foil, the way the posing is, or even the clay. I was confused and had no idea how to really see what the problem was. In the end, I did want it to have some cracking effects but I feared it was too much cracking and could chip off at any moment. I decided to just continue with the ballerina and see if the cracking becomes more severe.
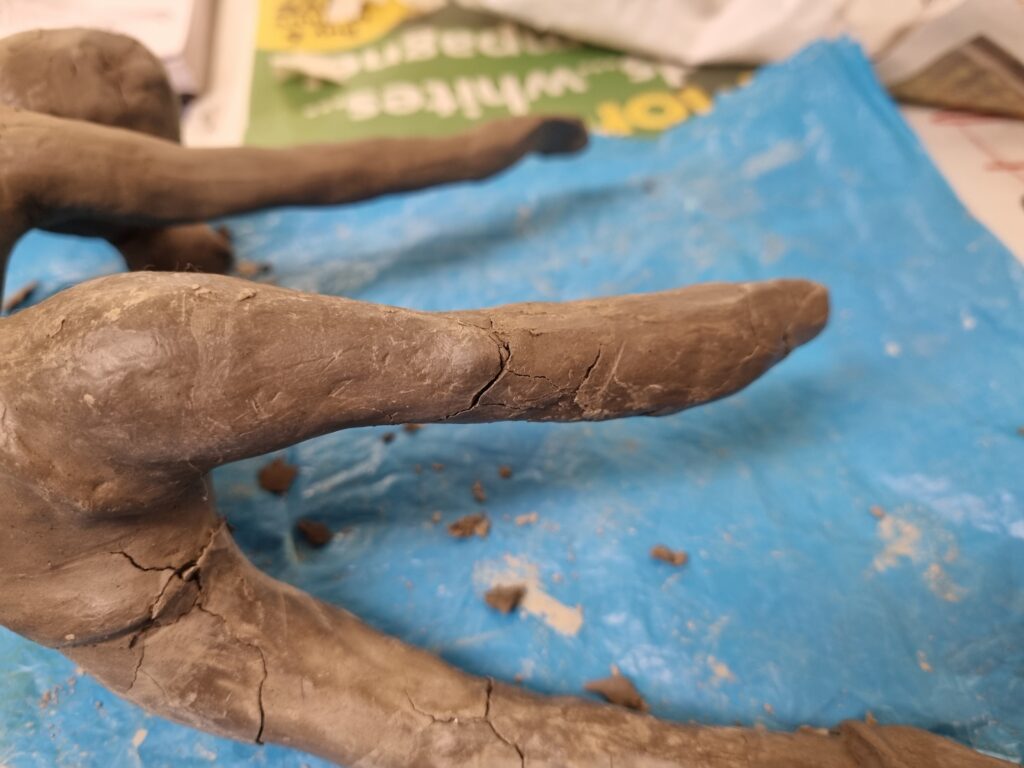
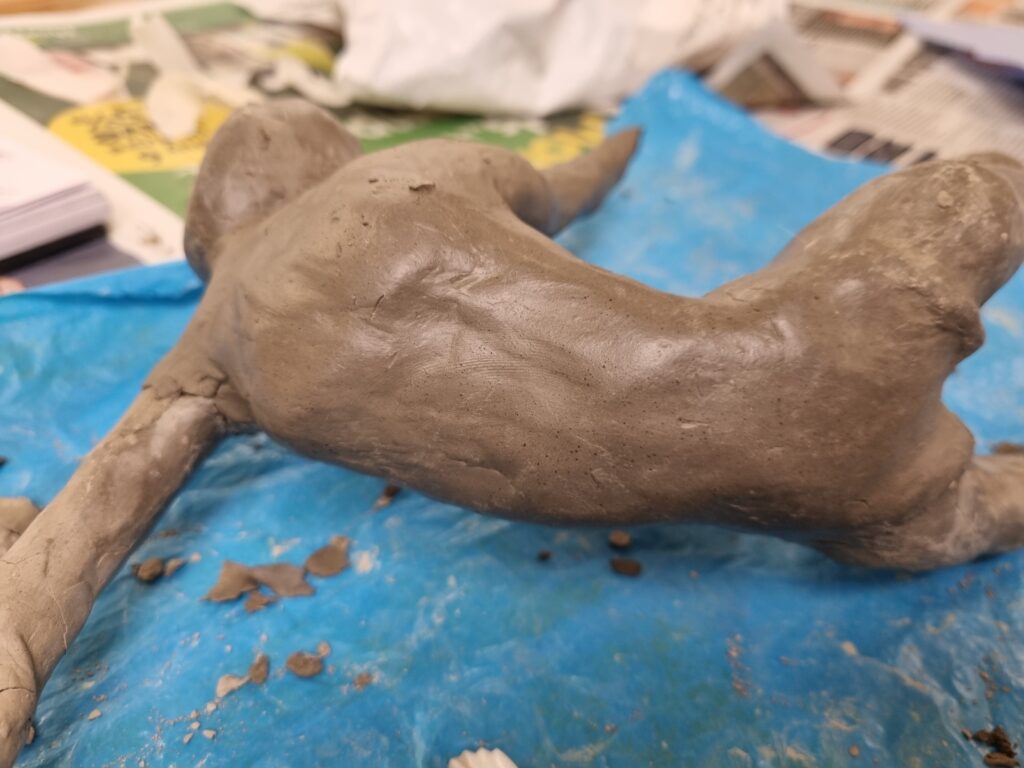
Here I began working on the arms and face. I used a YouTube tutorial just to see how I can make the features more prominent but subtle as I won’t be adding in any physical features. I made the hands just like how Alberto Giacometti makes them in his art piece and even got 3 references below to show how he normally makes the hands. He makes them big and rounded at the ends. I am quite content with how the hands came out and even the face follows his art style too with how he only adds the nose and a bit of the eyebrows.
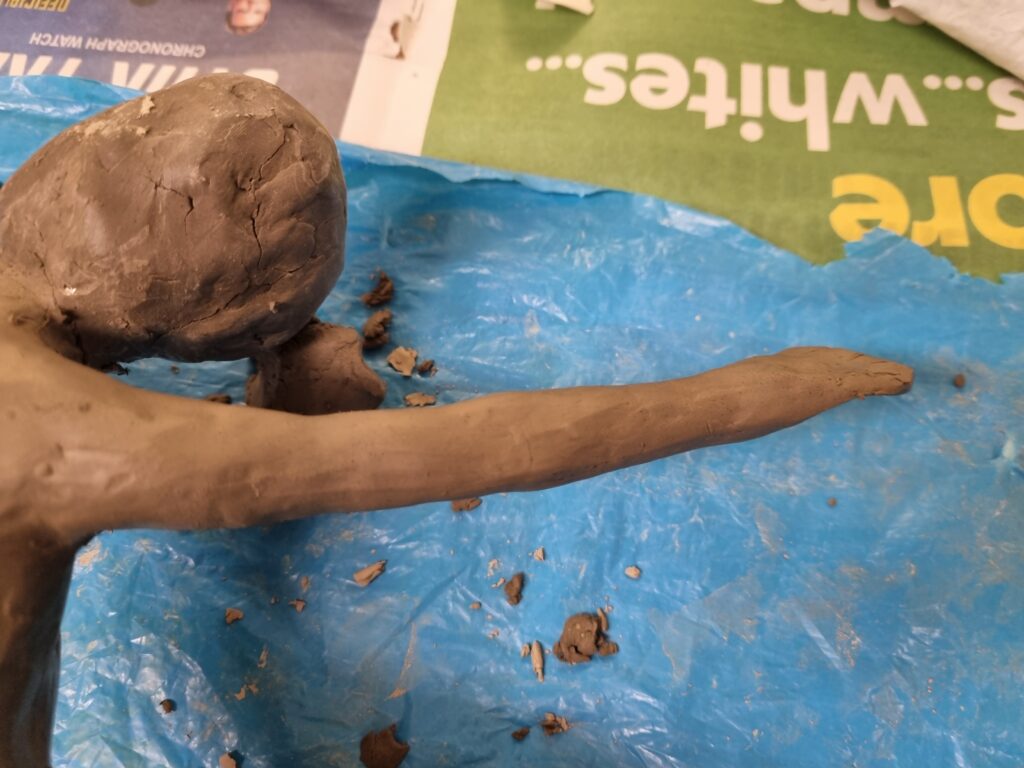
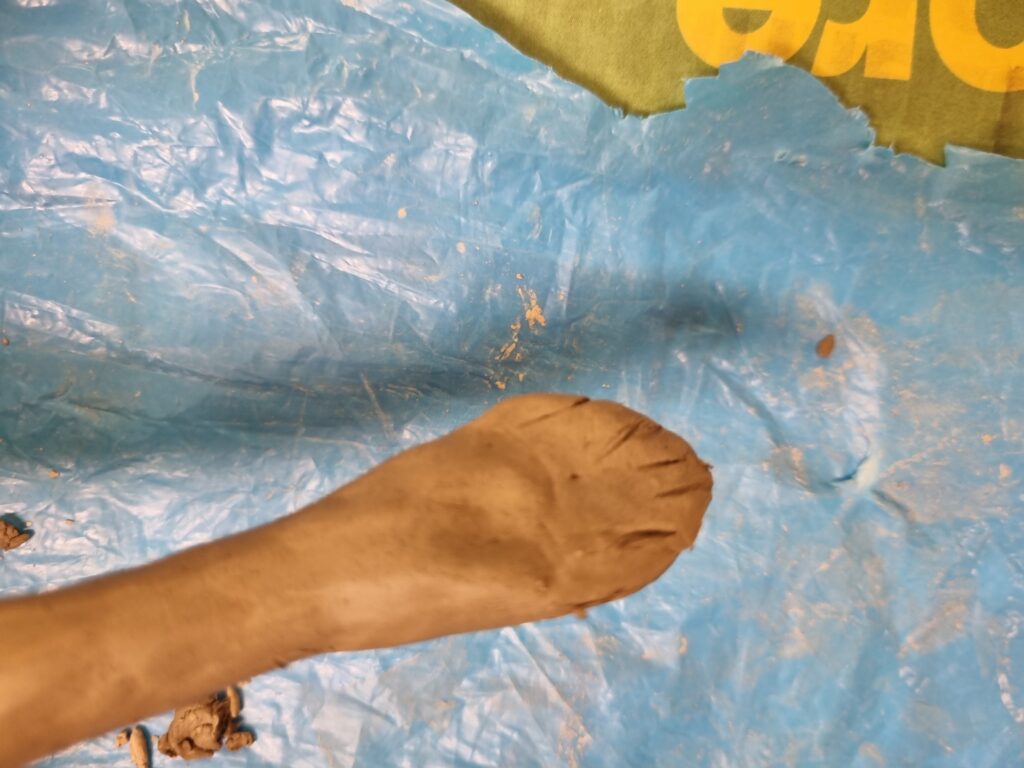
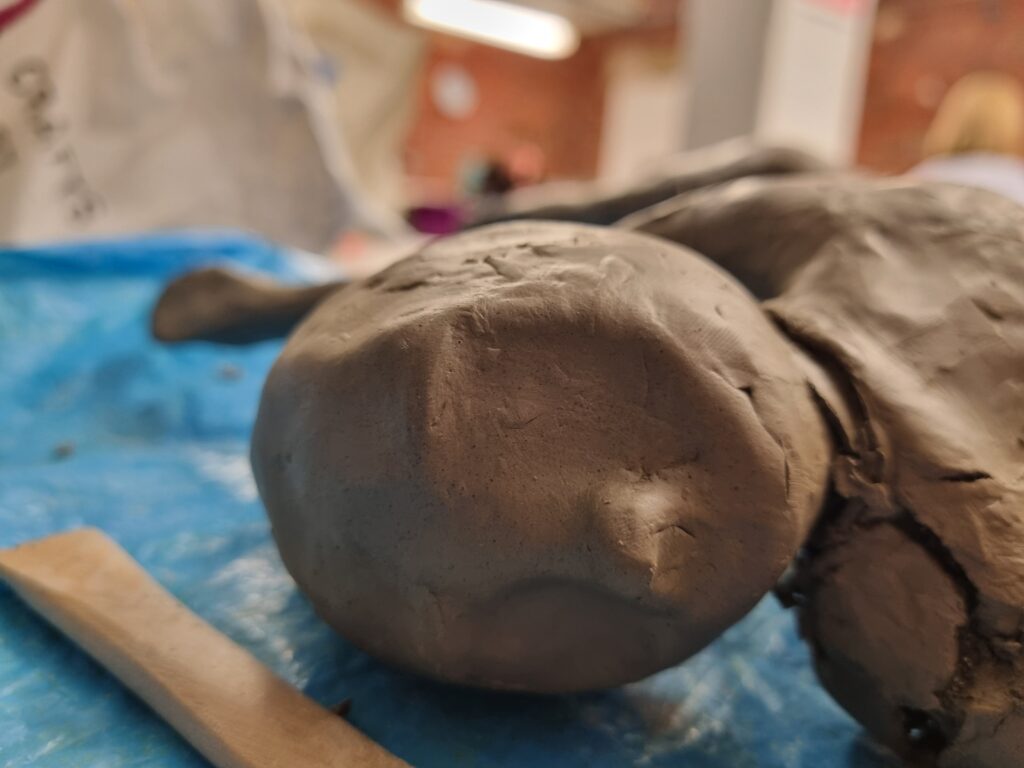
Here is the video I watched to create the dents in the ballerina’s face: https://youtu.be/zLpaTC_p4YU?si=I4h0jMQzJ4K7cU5j
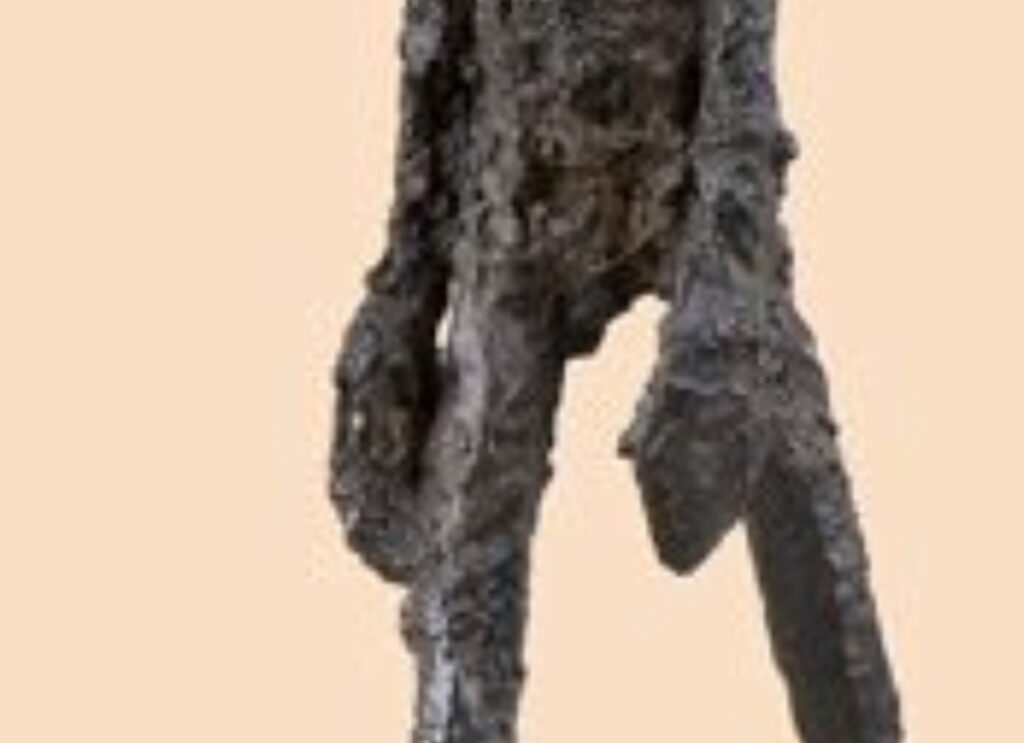
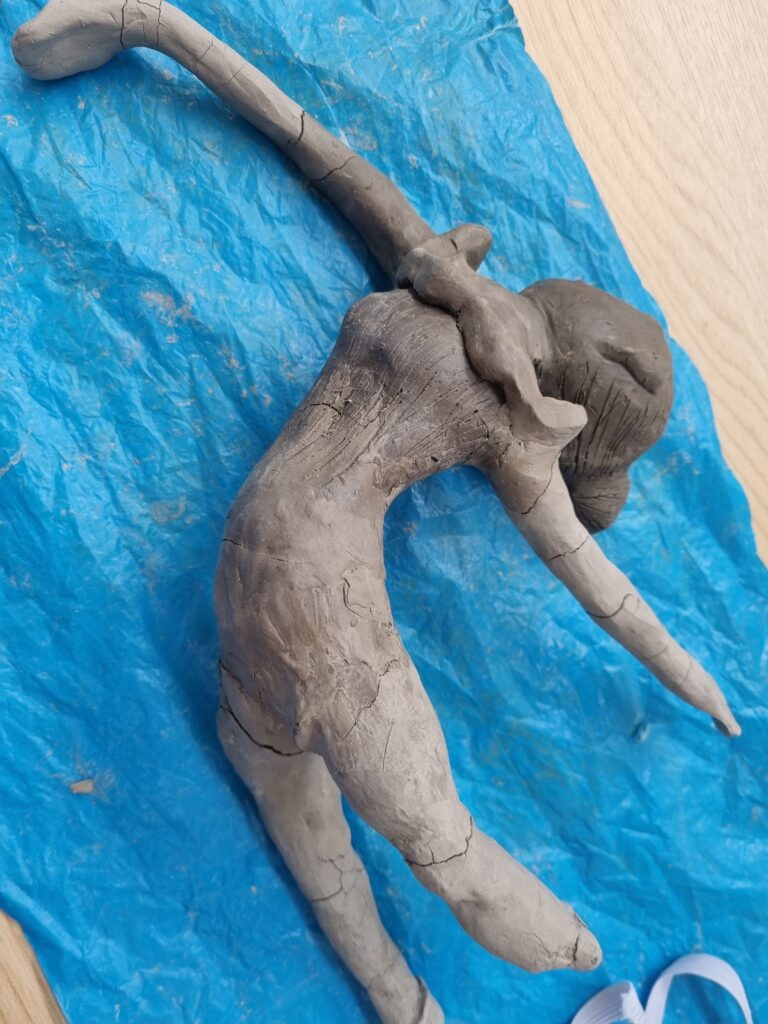
Here are the final results of the clay ballerina. I added the puffed-up collar at the top and even added a bun to the girl’s hair, scratching the details in her hair to show the strands. I also added scratched lines for the creases at the top part of the dress. The cracking did get worse so I had to keep layering clay on top and had to be very gentle with it. I like the cracking effects however it was too much and I’m afraid it will fall apart. I’ll have to see after it dries how it holds up. I like how the ballerina looks as she’s quite disfigured with her arms and how she’s figuring out her identity so shes got no facial features. I am also pleased with how I interpreted Alberto Giacometti’s artwork into mine showing how I embed the artists I have researched throughout my final piece. For the dress, I was influenced by Edgar Degas’ artwork and how he created the ballet outfits for each ballerina. I searched for pink dresses for his artwork and saw he had made loads of paintings with girls in traditional pink clothing. I noticed he likes to have the sleeves puffed up and have them hanging typically from their shoulders and how the back part of their dress is lowered so a bit more of their back shows. He also loves to adorn them with bows and flowers however I focused on the bow theme and only will be adding bows.
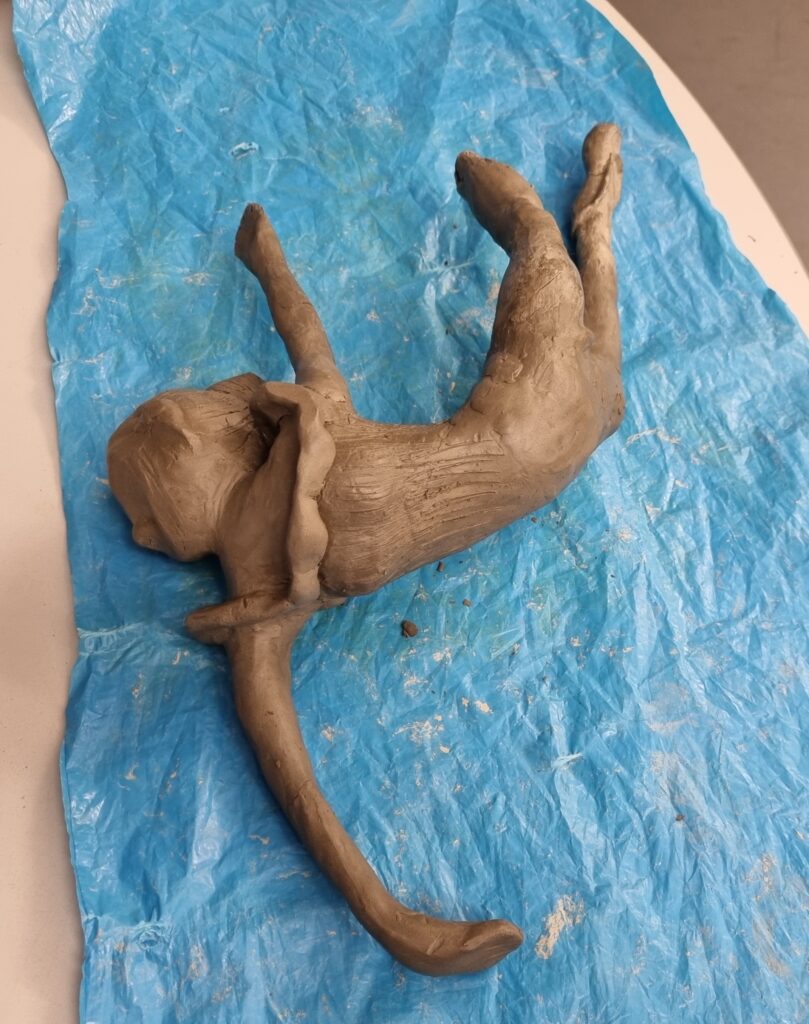
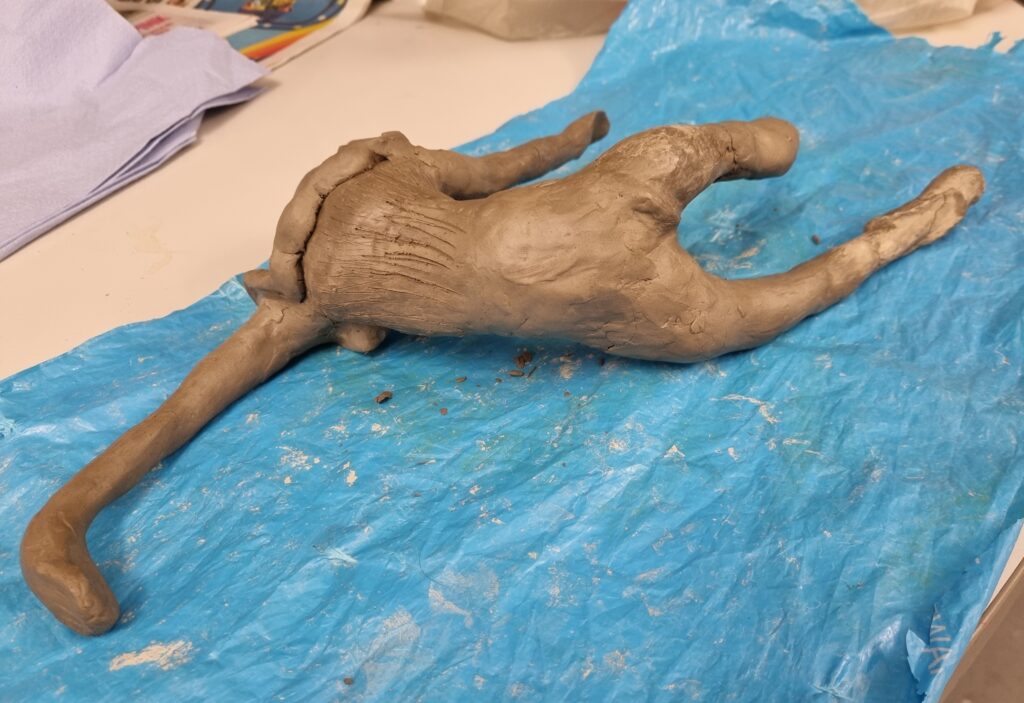
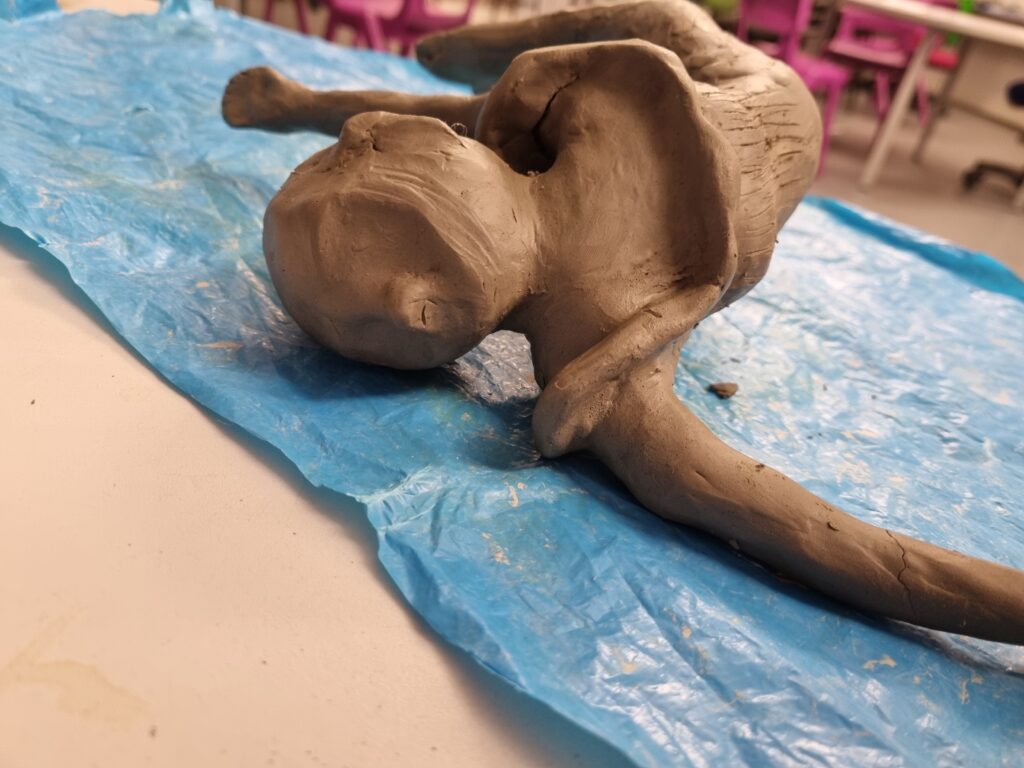
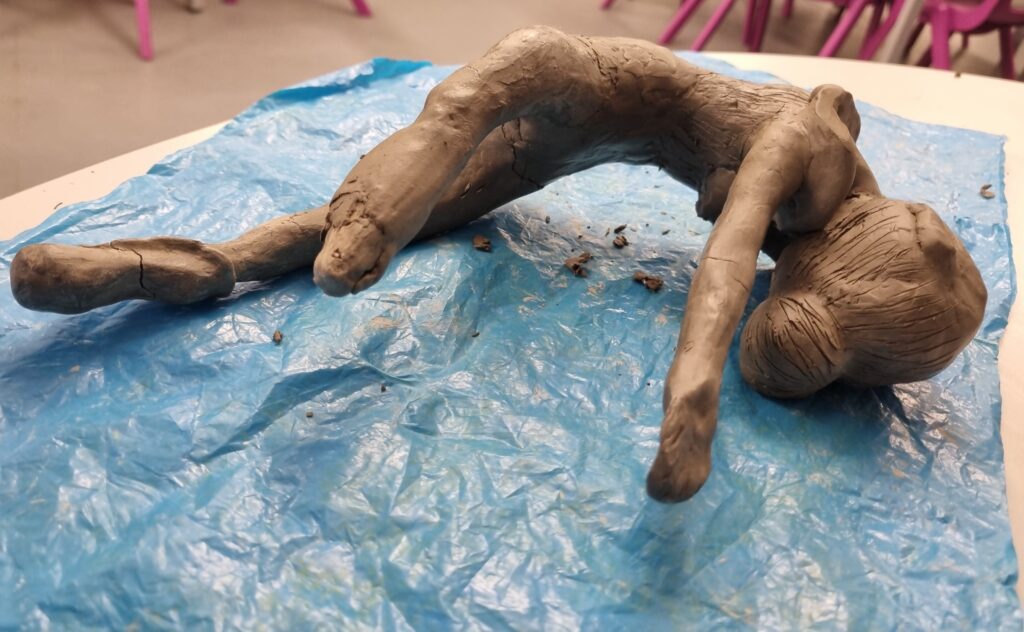
This is how it looked like when it dried up. It became harder and my concerns about the cracking falling apart weren’t a concern. It became firm and in the end, the cracking benefited me as I wanted it to show how she’s falling apart. There isn’t anything that I didn’t like about the clay process however I hope that next time I’ll be able to figure out why the clay was cracking this much and see what had caused it.
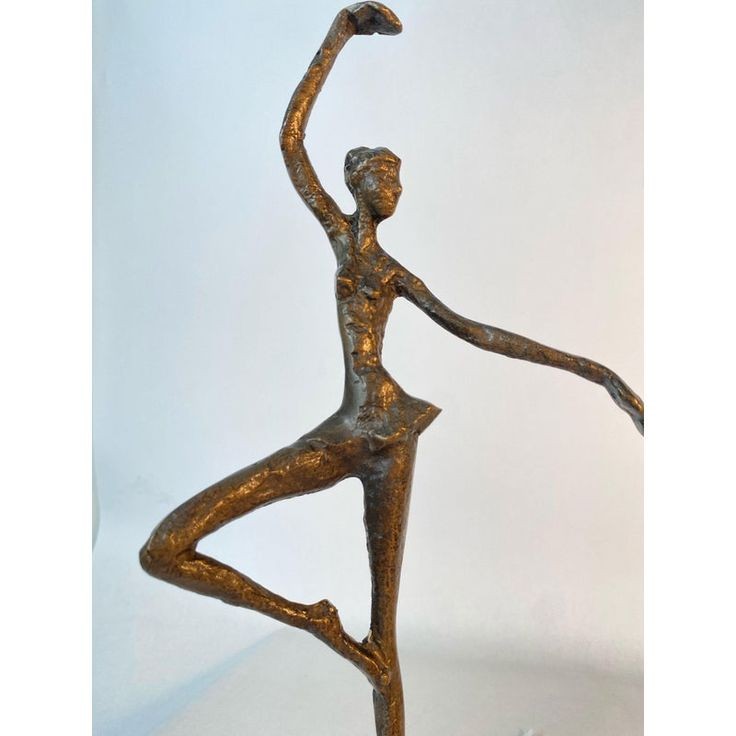
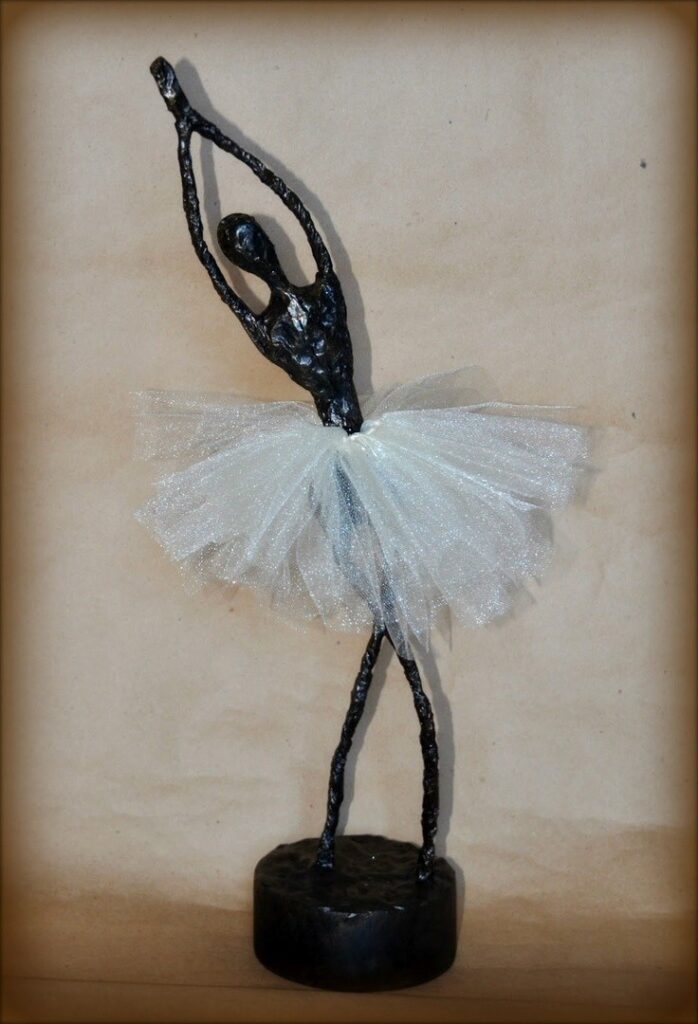
Here are the 2 references I used that are Alberto Giacometti’s work. I copied its slender like look and especially focused on the hands too.
Assembling the base
Here is where I glued down the cylinders with silicone for wood. I had to leave it to dry overnight however one side of the plinth was crooked so it didn’t stick on well so I had to be careful moving it around. I didn’t know how to fix this issue so I’ll be talking with my tutor about it.
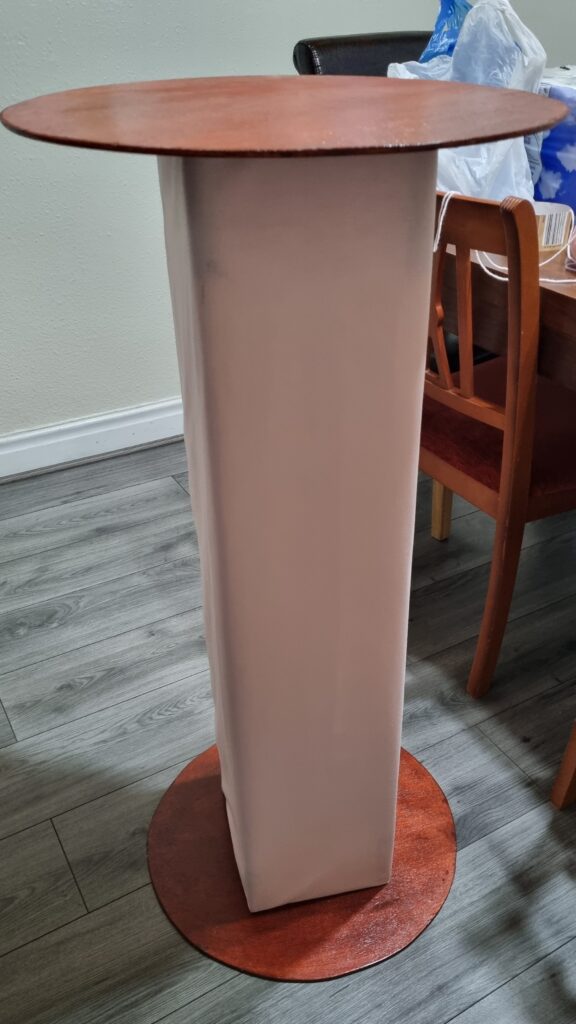
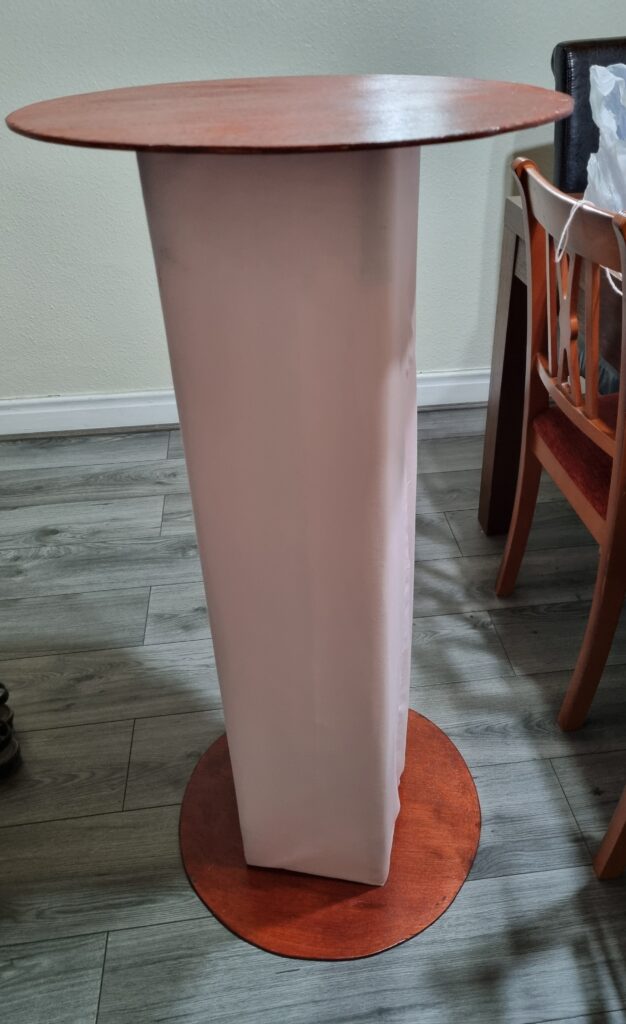
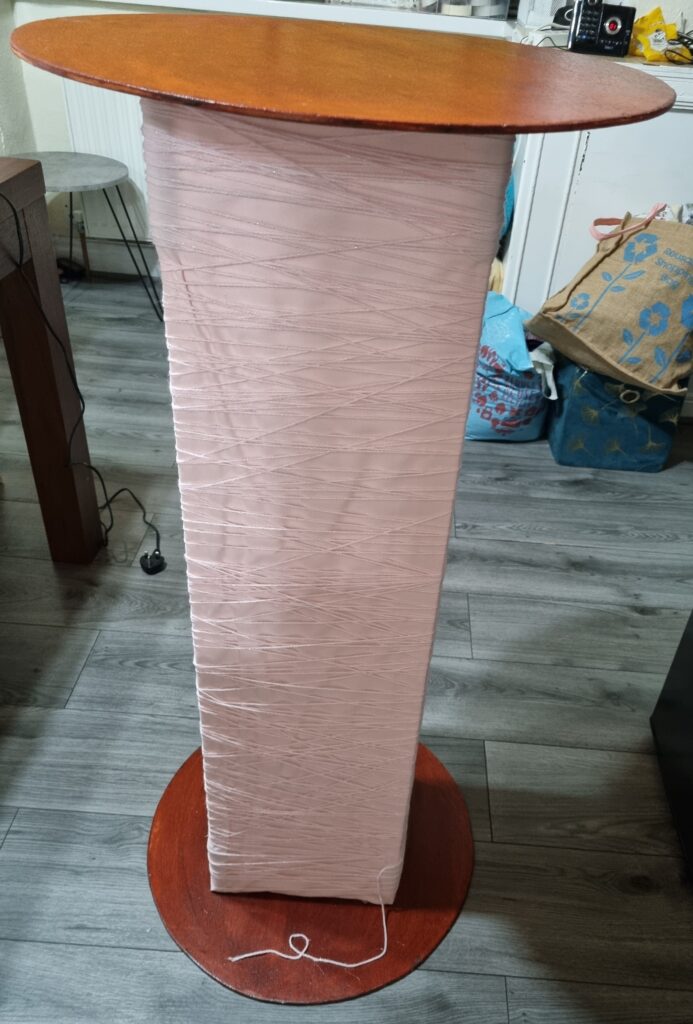
Here is where I began wrapping the 2 different coloured threads around the plinth. I tried not to overlap the strings and to use both types of string. One string had sparkles on it the other did not. I kept hot-gluing it down after 4 spins or wherever I felt like it needed to be glued down. I tried mixing and matching it. In the end, I’m content with how it looks and happy with the result of how it turned out to look like a big spool.
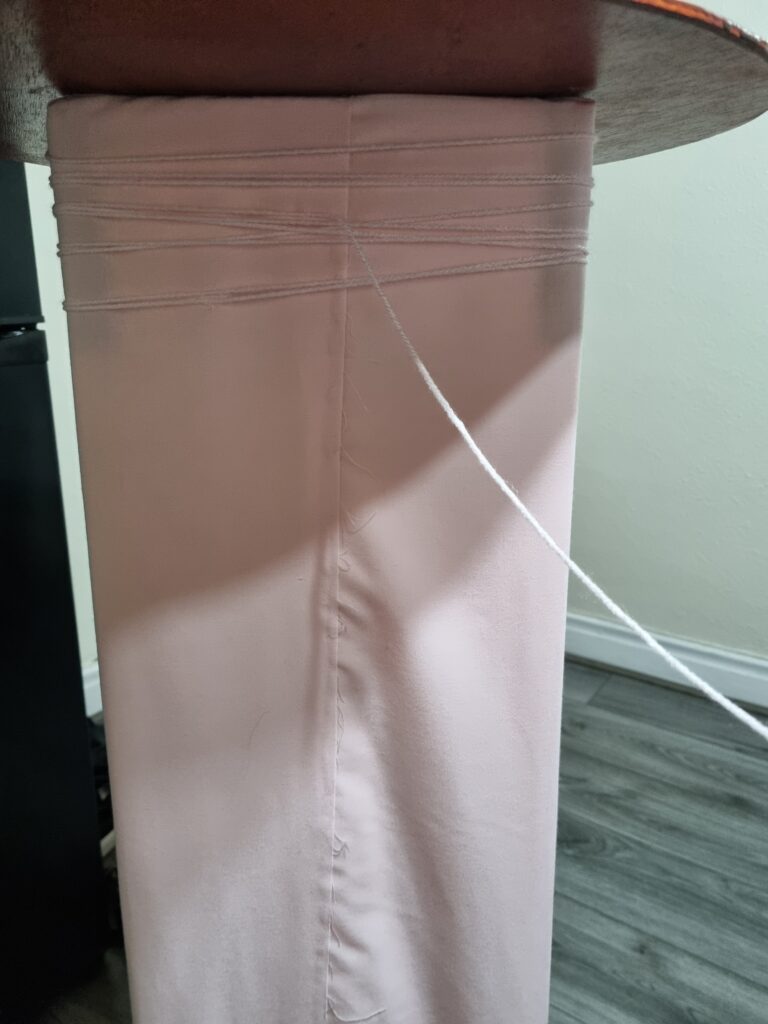
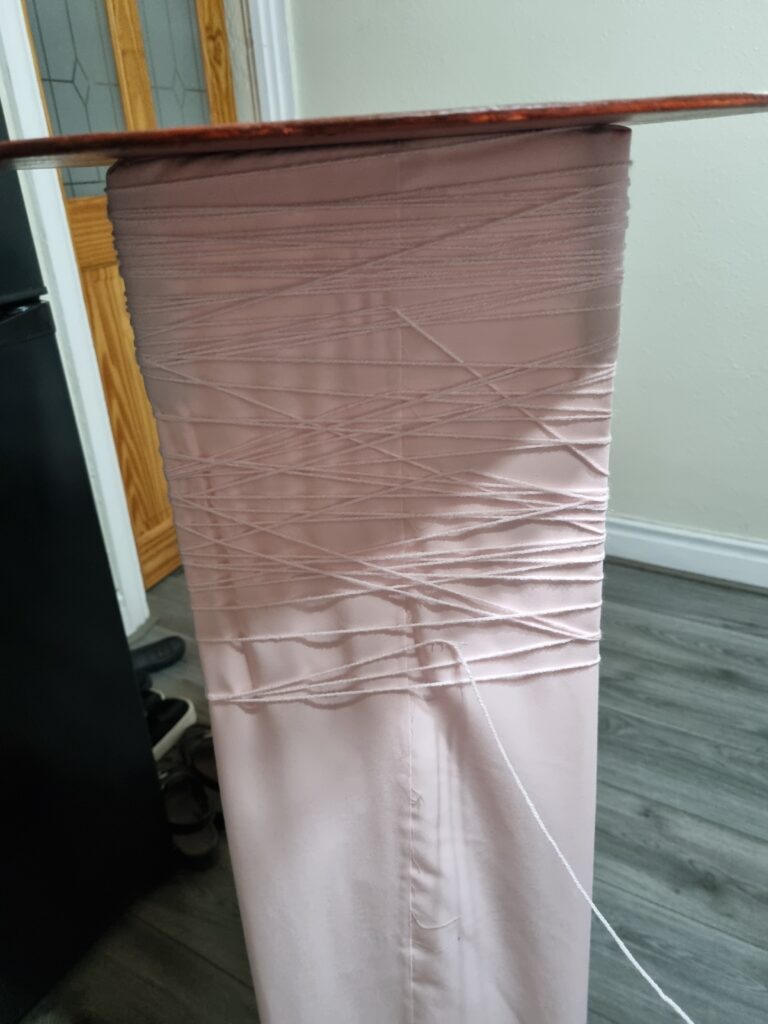
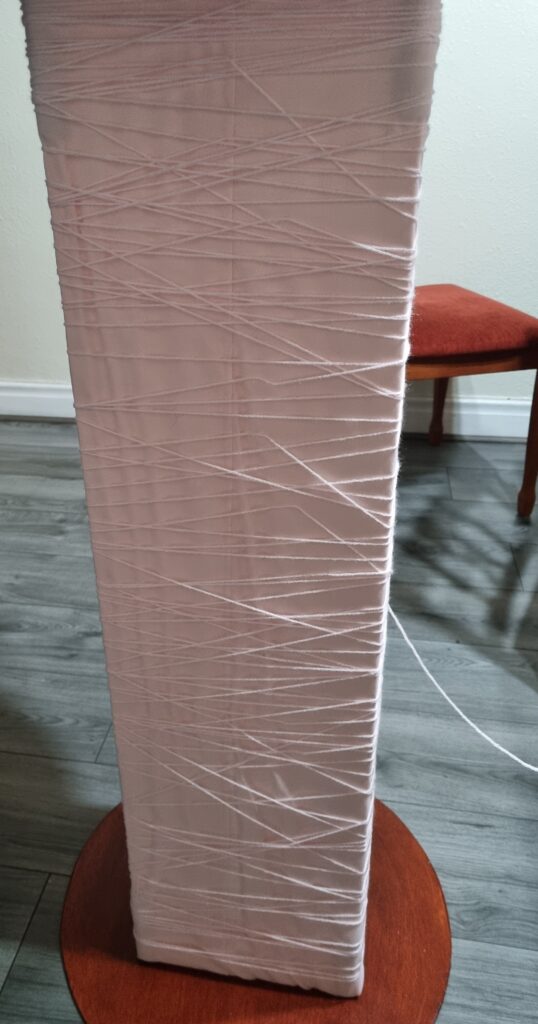
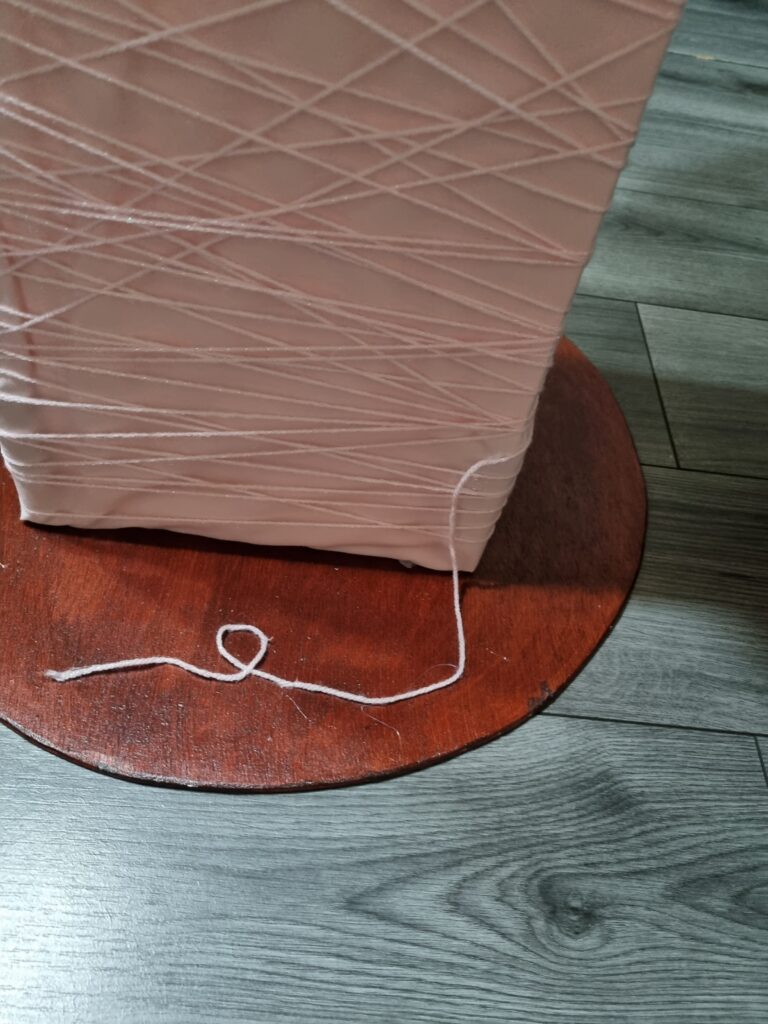
Here is the end result of how it has turned out. I also decided to hot glue gun the end of the string to the wood cylinder to show that it’s unraveling by the minute.
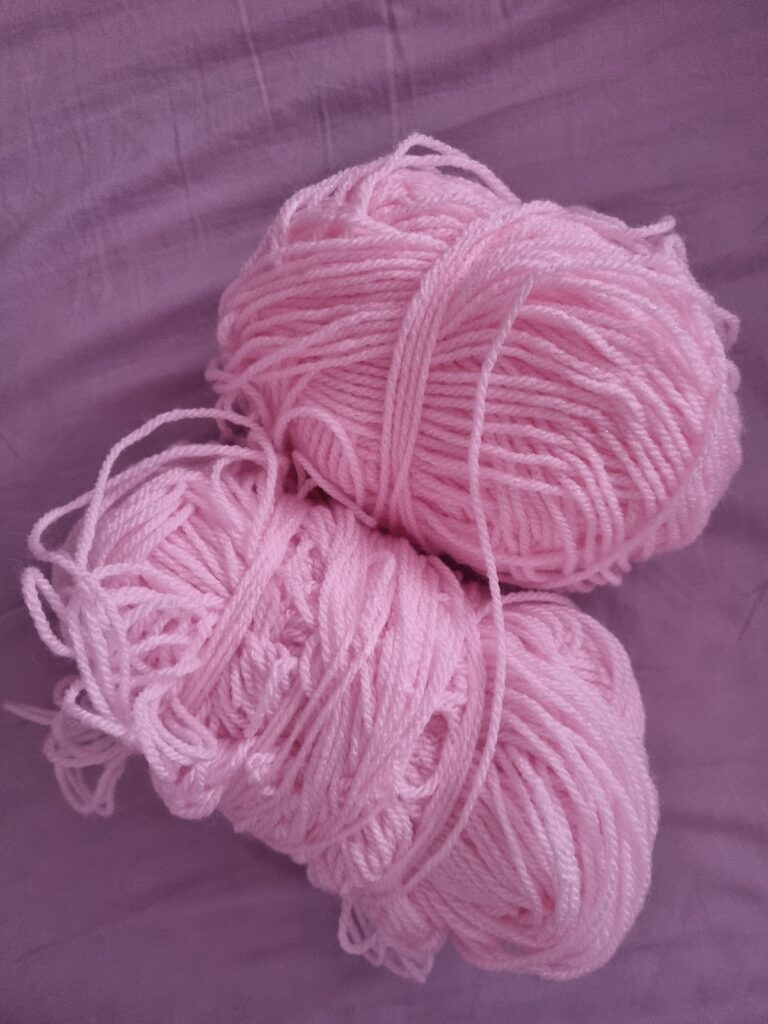
These are the 2 types of yarns I used. One sparkly and one a plain baby pink yarn.
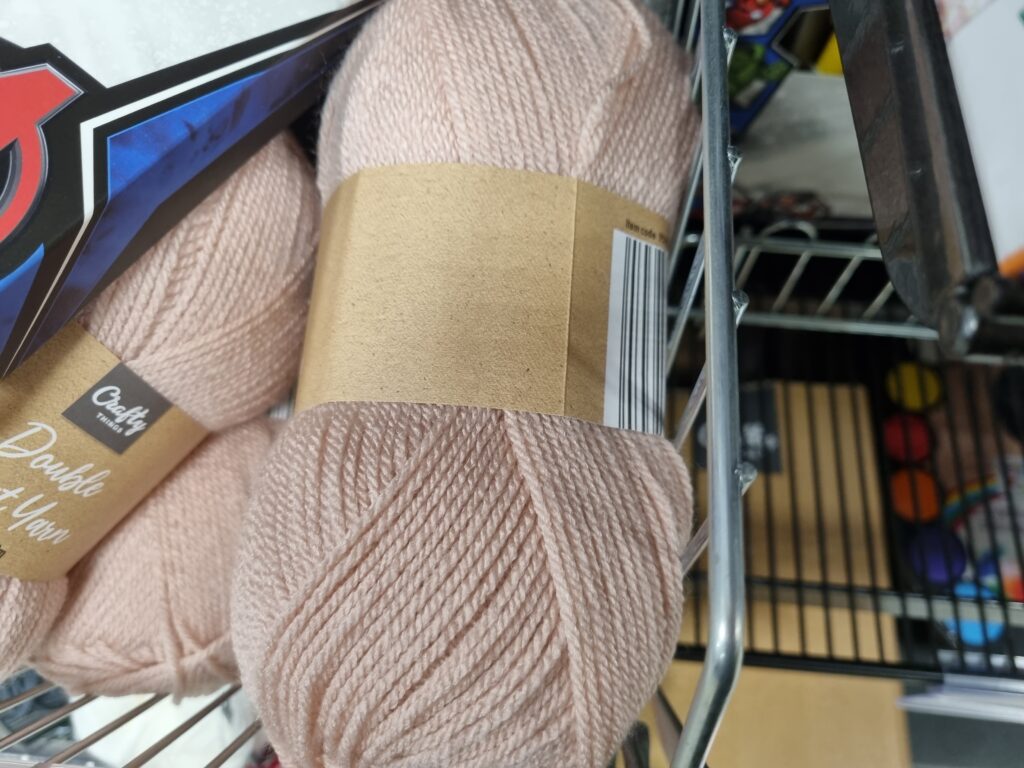
This is the thread I didn’t use. It was too dark and didn’t fit with my baby pink background.
Placing the music box on the spool
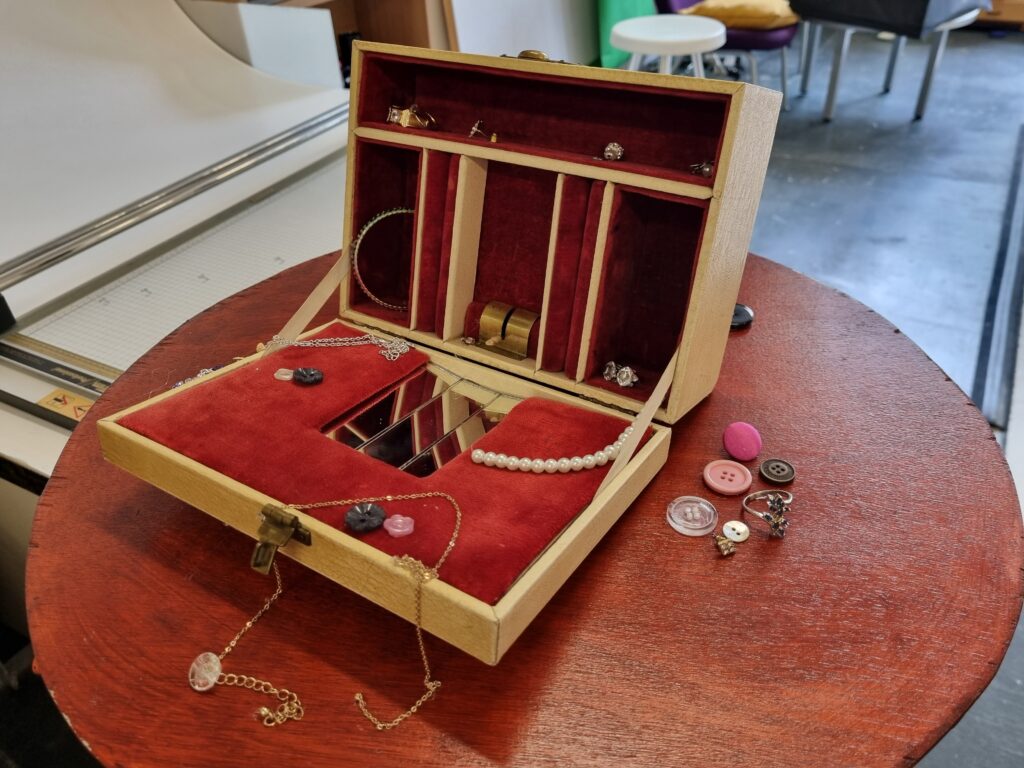
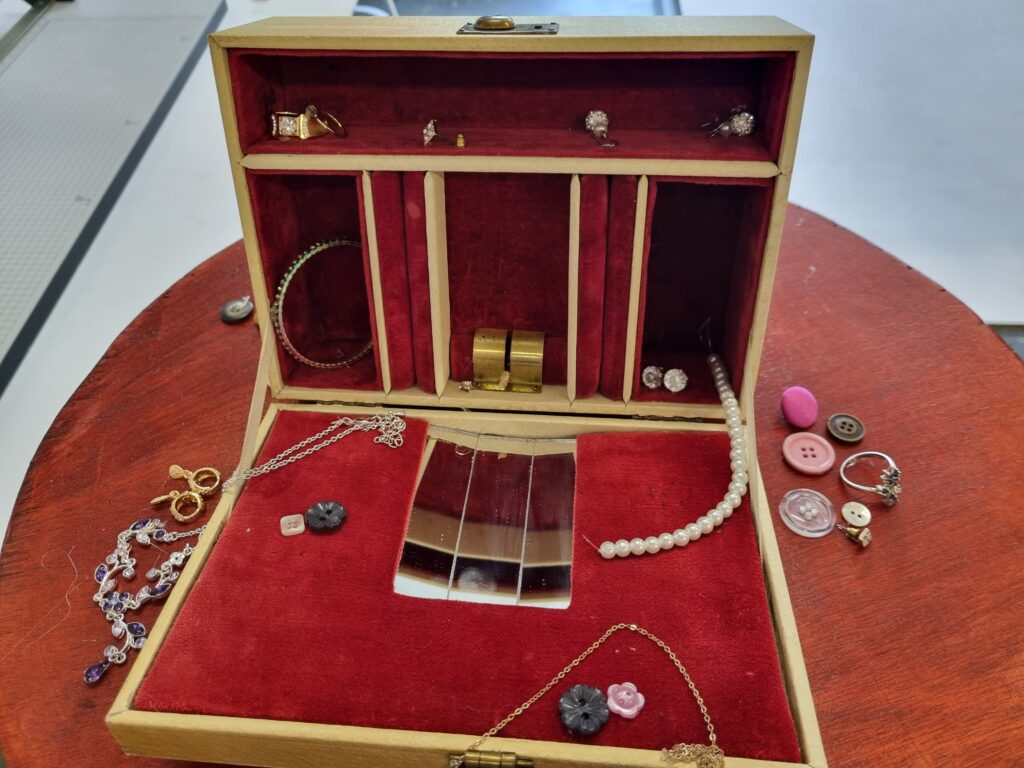
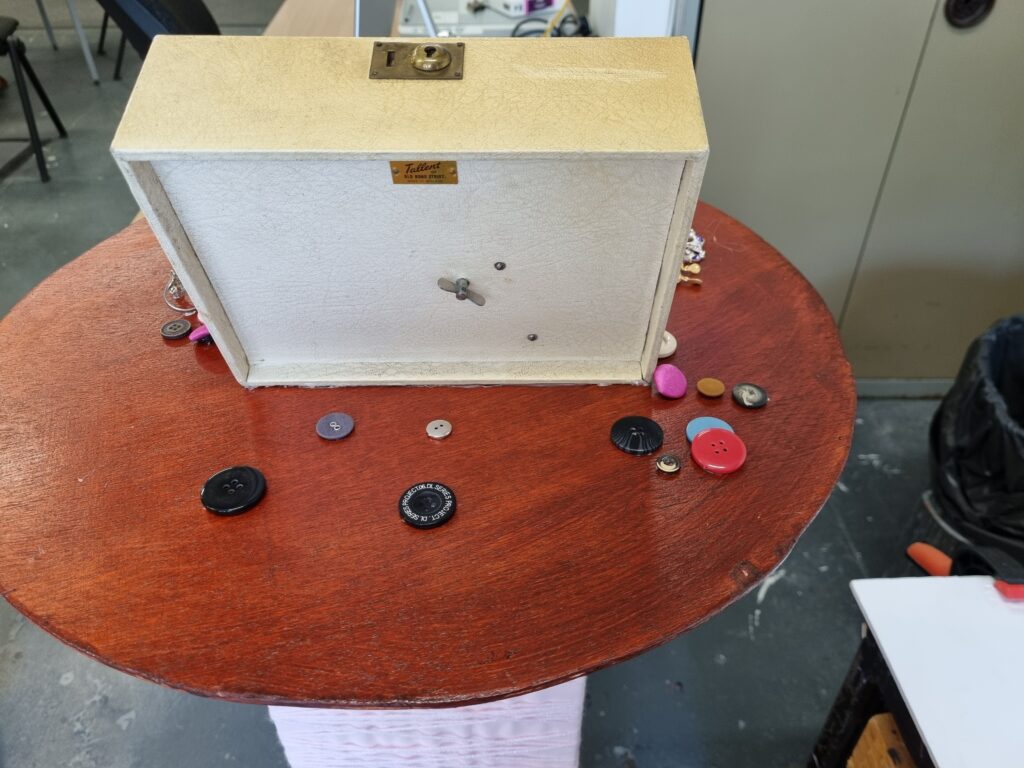
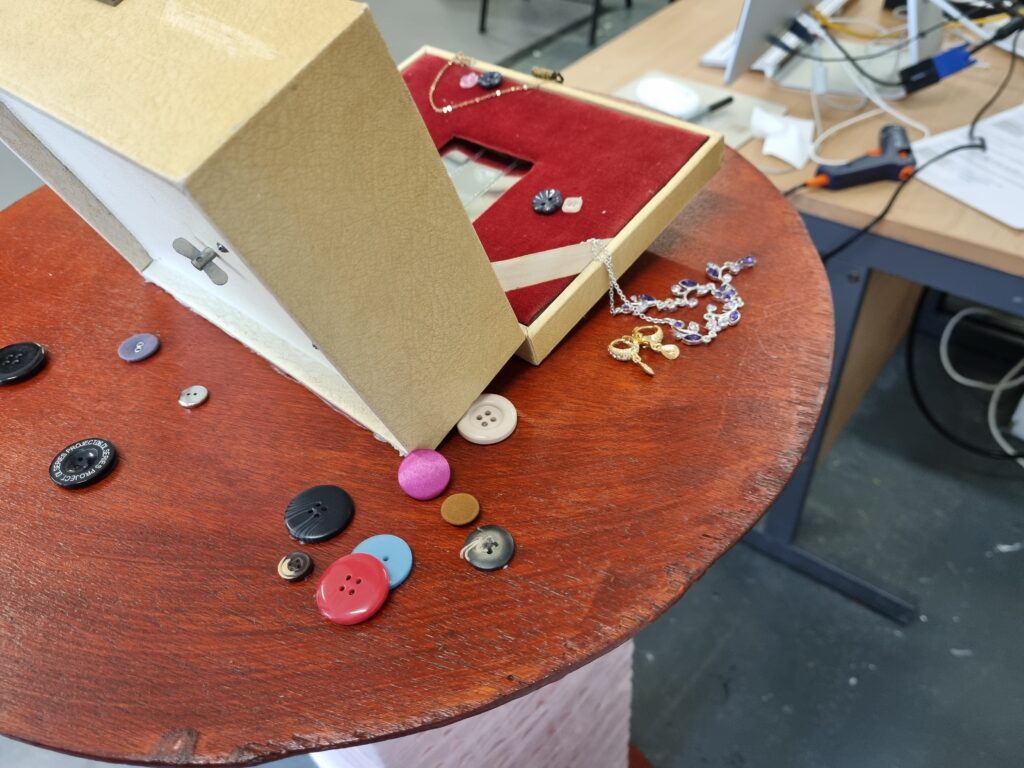
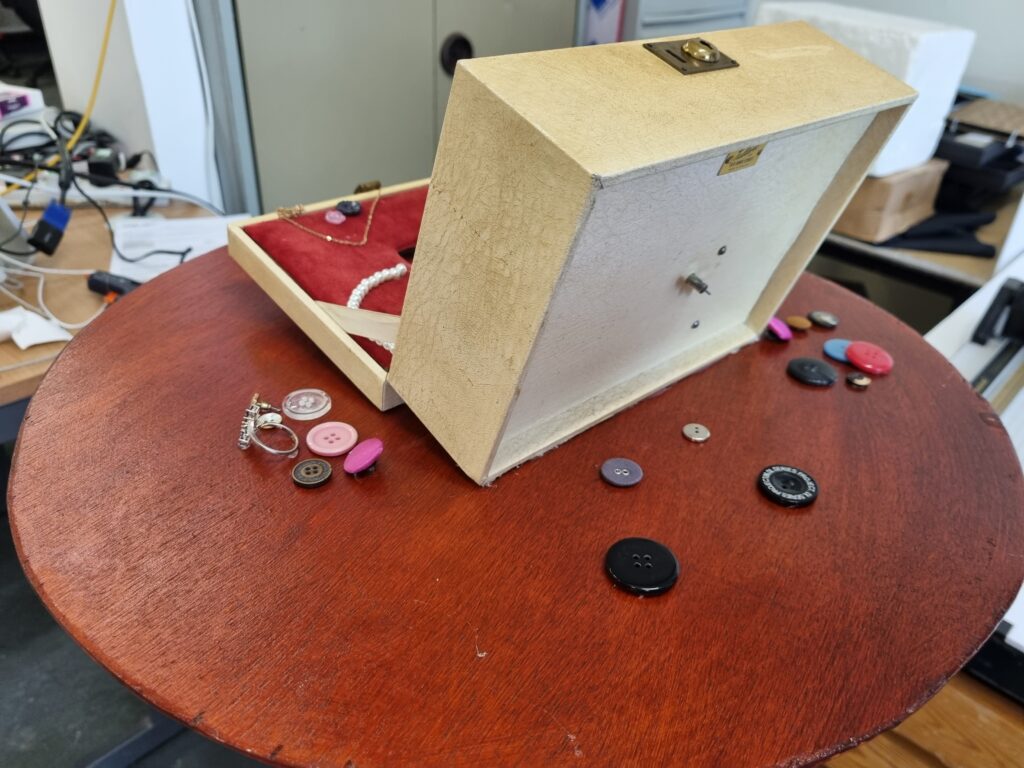
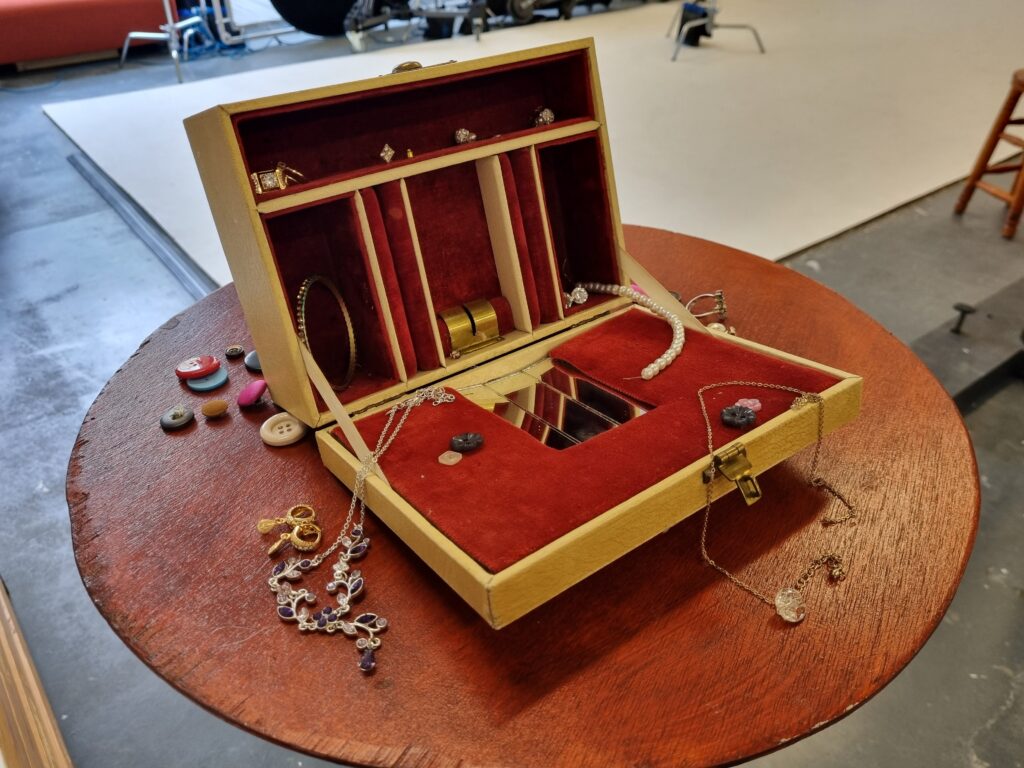
Here is where I began hot gluing down the ballerina box to the top of the spool beginning to put jewelry in different places with the buttons. I got these jewellery from my family members as they didn’t need them anymore. I placed them in any position and took a picture however I decided to move them around more and began placing the buttons and hot glued it all down.
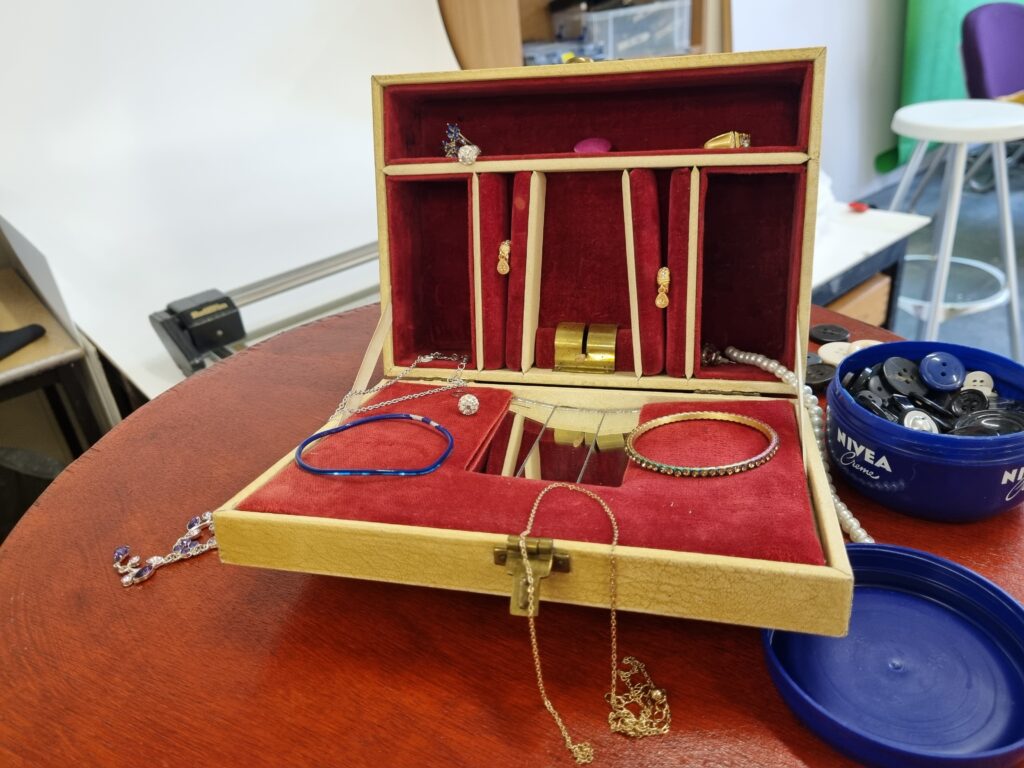
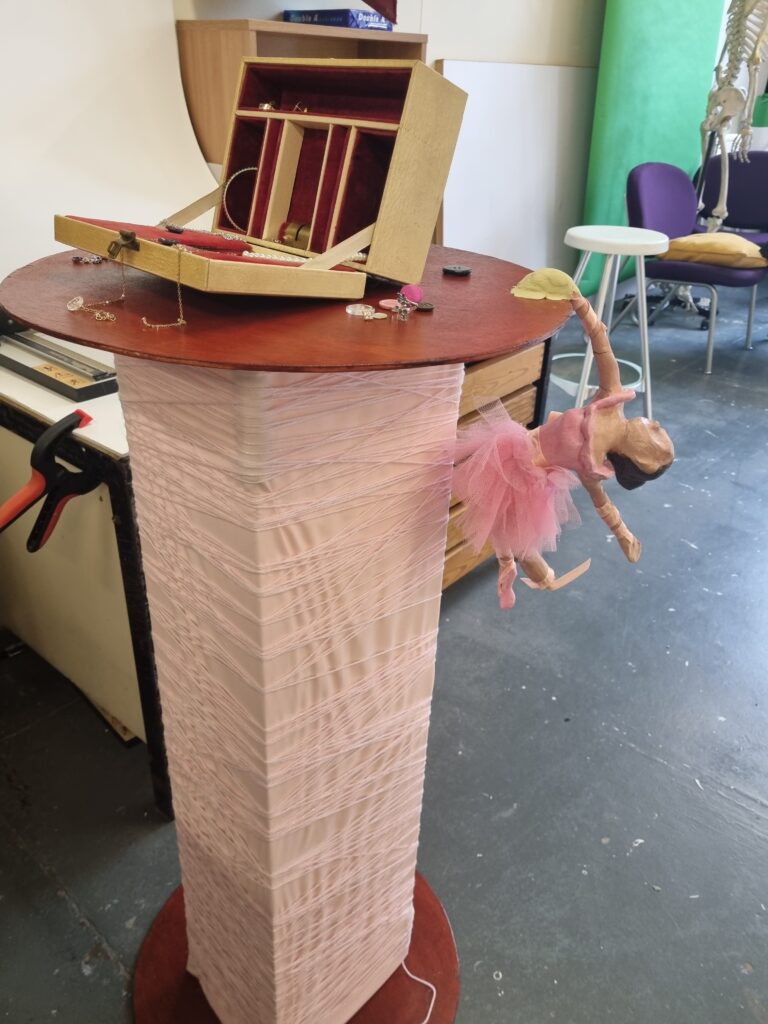
Here are different angles of where I positioned all the jewelry and buttons. In the end, I like the placement of all the jewelry/buttons and how it’s fallen from its place in the music box. I’m happy with how the base turned out and will begin to finish my ballerina.
Assembling the ballerina
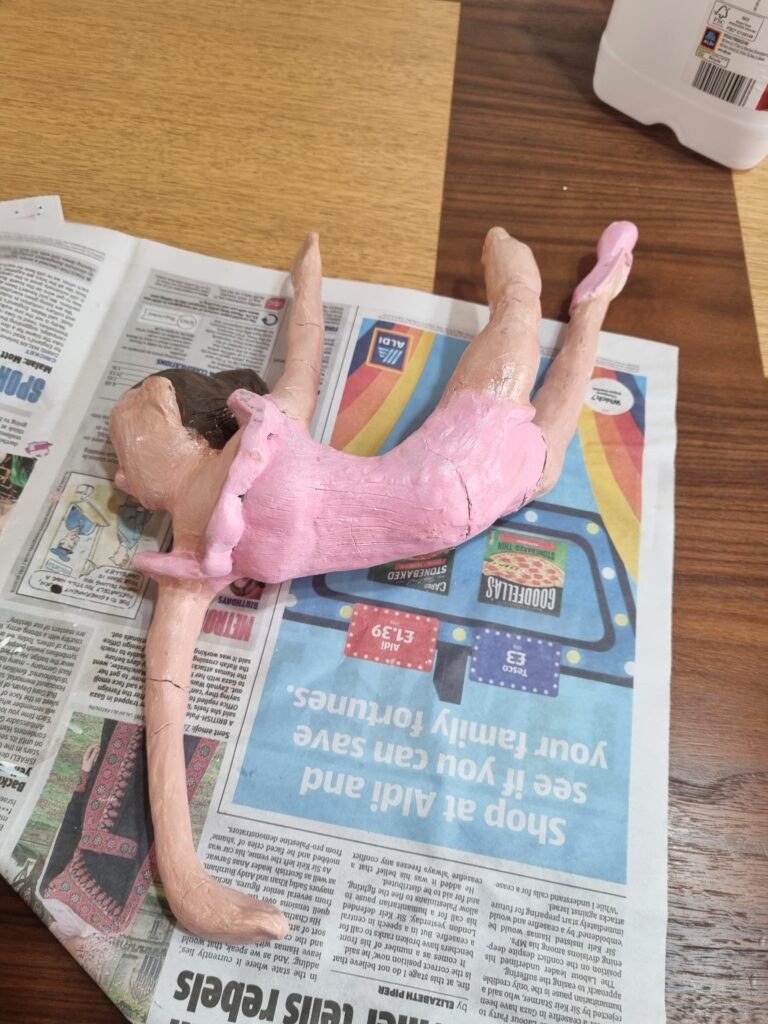
After the clay had hardened, I applied a watered-down PVA glue on top of the ballerina and used a hairdryer to dry it. This helps the paint so it won’t absorb into the clay and will make it come out vibrantly.
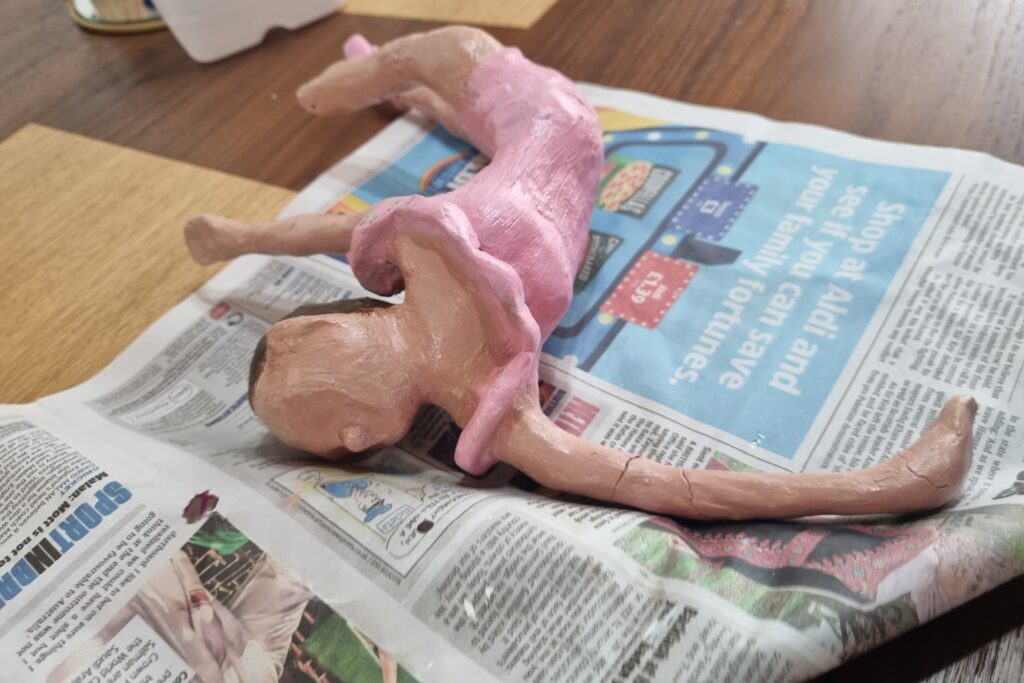
I had my own acrylic paints lying around so I got busy mixing them and painting the colours on but I first painted the ballerina in all white. The reason I did this was because the colours I’m going to paint the ballerina will be light so adding a white under base helps the colours stand out more. For the leotard, I wanted to stay with the traditional baby pink colour theme I’m going with and for the skin, I made it light-skinned as back in the day’s white people had more privileges, especially in the ballerina industry. For the hair, I decided to paint it a dark brown to match the mahogany spool. But I didn’t want to make the hair a reddish brown so I made it a more natural colour. For the one shoe, I also painted it pink. I’m happy with the colours and how they turned out especially as I had my doubts but in the end the white under base was a good idea as it made the light colours stick out more. In the end, it followed Edgar Degas’ colour pallet just like in his oil paintings.
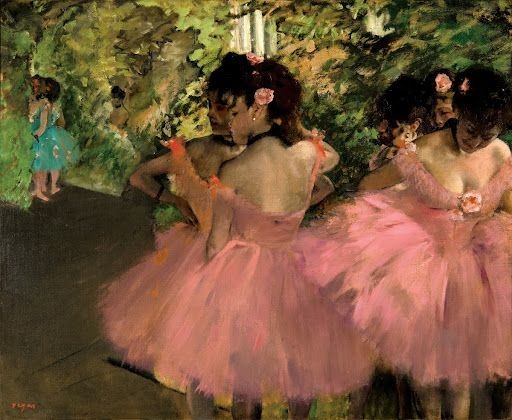
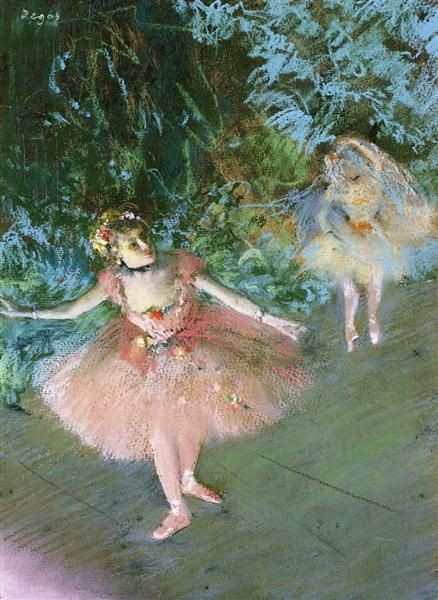
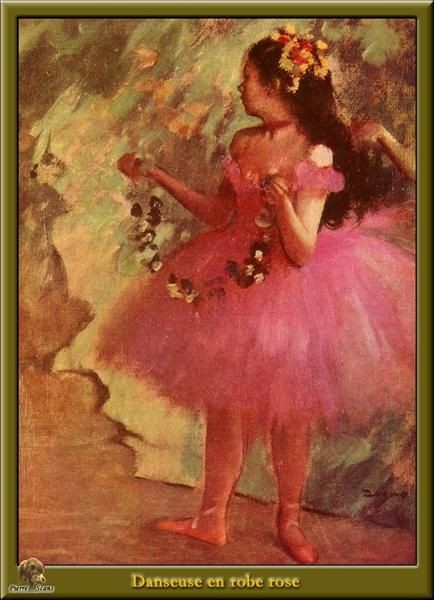
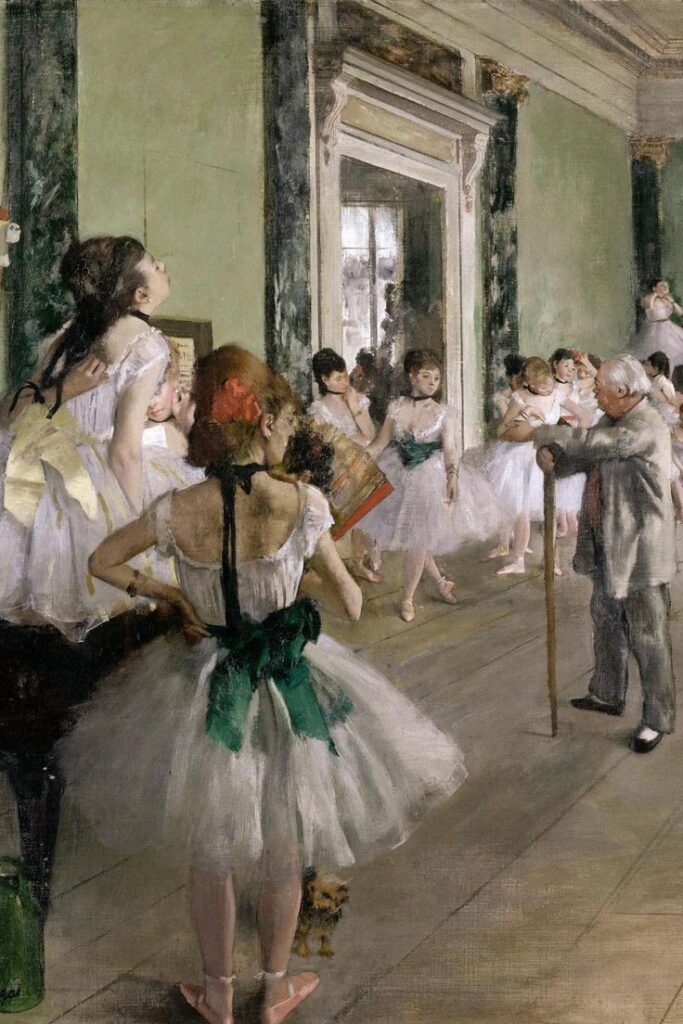
These were the references I used from Edgar Degas for my final piece. The first 3 images were for the outfit design such as the puffed-up collar and the colour scheme and the last reference was for the bows as he uses a lot of bows to accentuate the waistline where the tutu is.
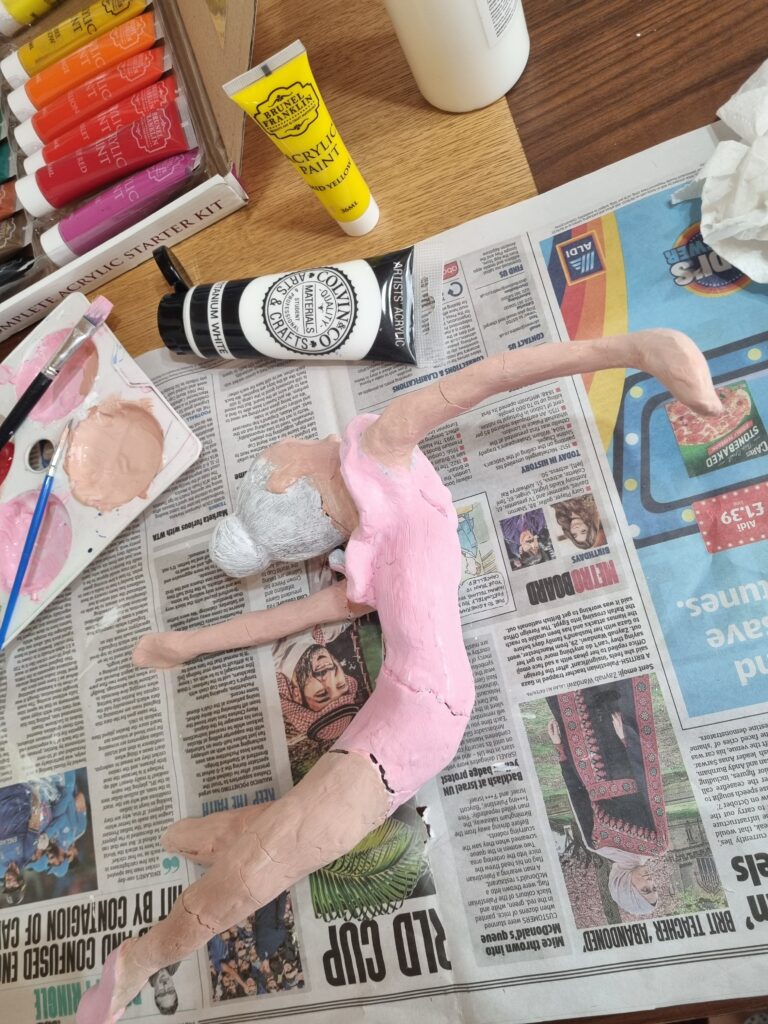
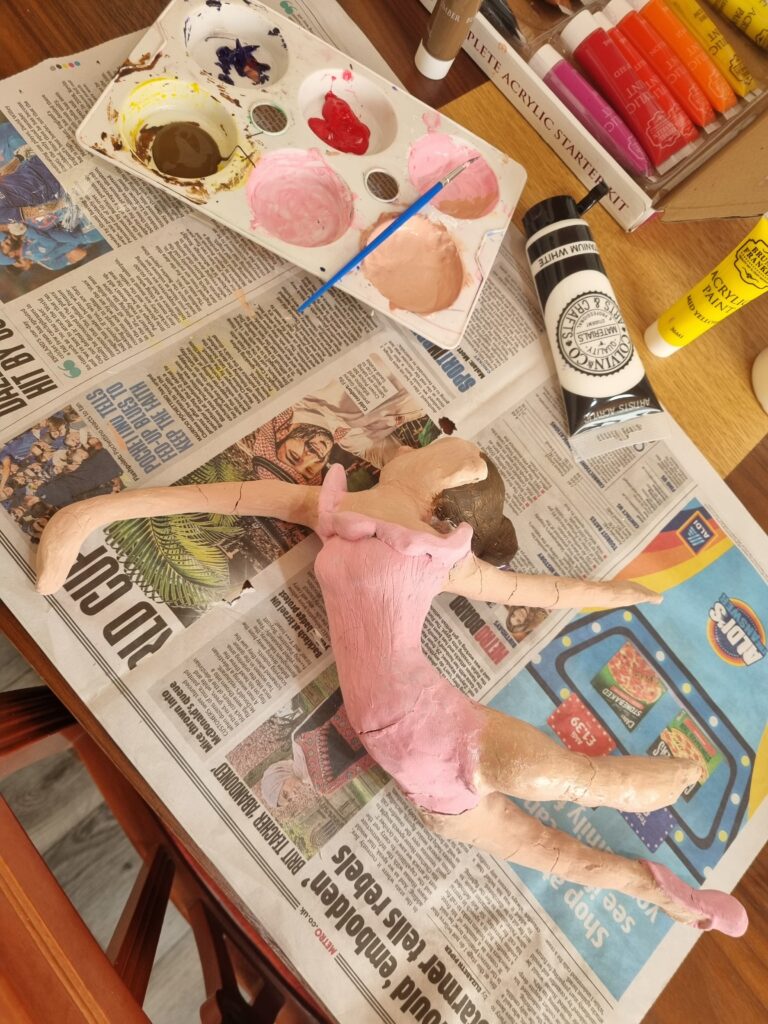
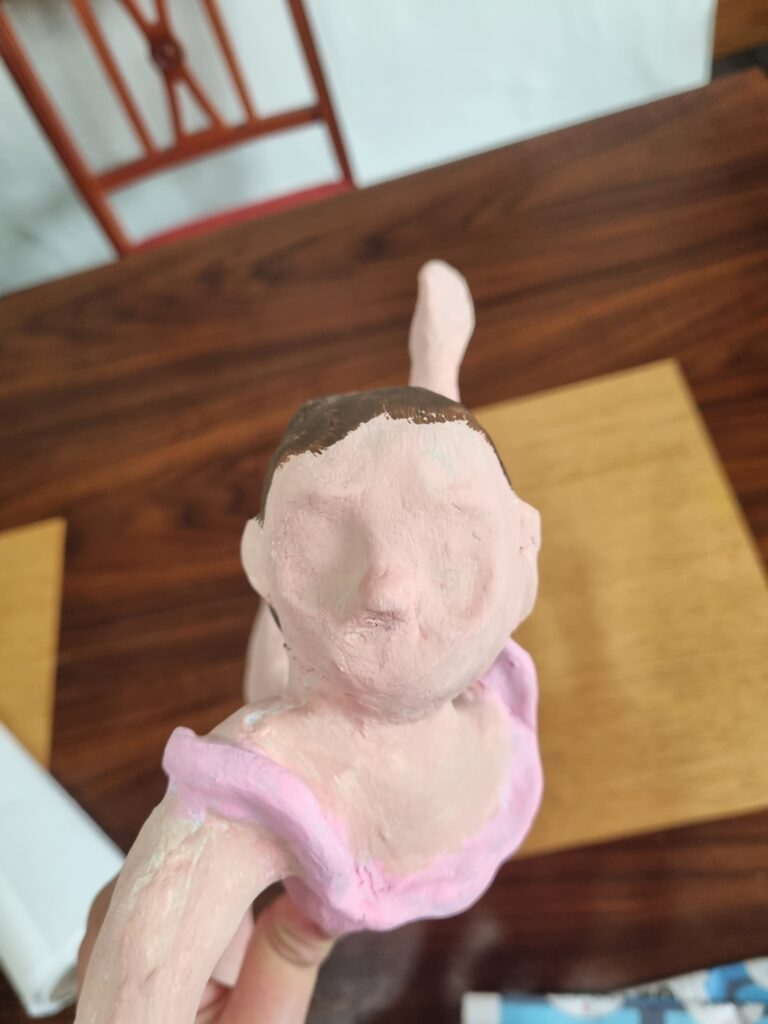
Here is a close-up of the face which I painted too.
After painting the ballerina, I used this gloss varnish that I had bought and glossed the full ballerina in it. This made the ballerina have a shine to it and imitated fragility with how it looked to be easily destroyable.
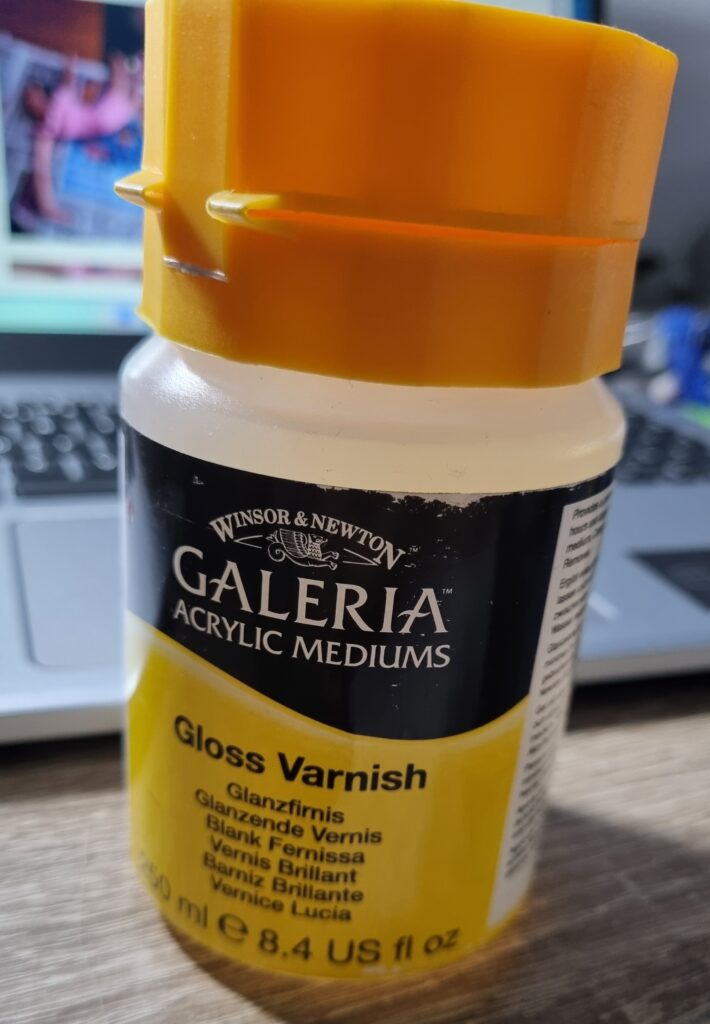
The gloss is barely visible here but you can see the shine on it. The gloss initially imitates sort of a glazed-over finish on fragile items which shows that the girl is in a fragile mental state and is slowly losing herself. I liked how the gloss looked on the ballerina and I am glad I chose to use this instead of the PVA glue.
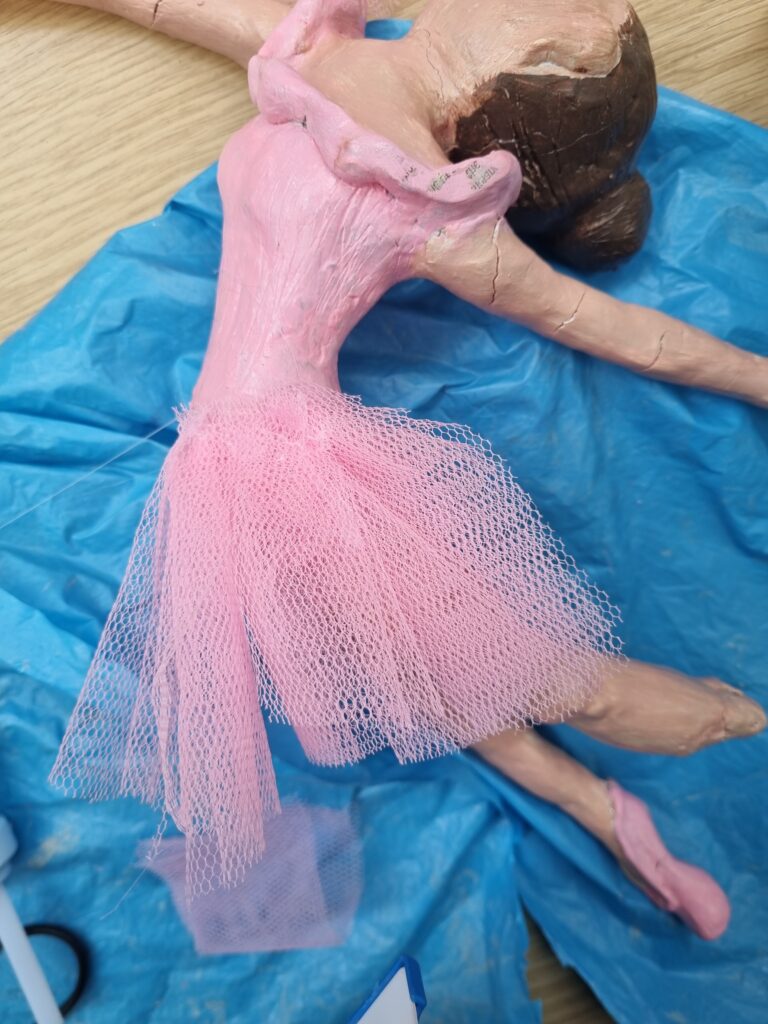
I didn’t have time to make a tutu as I was on a tight deadline so I used a hot glue gun and layered bits of the mesh, sticking it onto the girl’s torso. I then glued down the ribbon around the top of the skirt to cover the messiness and to complete the skirt. I also made a little bow at the end as my final sketch had ribbons mostly everywhere. I love the end result of the tutu as that’s what really brings the ballerina to life however next time I should remember the deadline and should have been making an actual tutu instead of gluing mesh down and especially not doing it last minute.
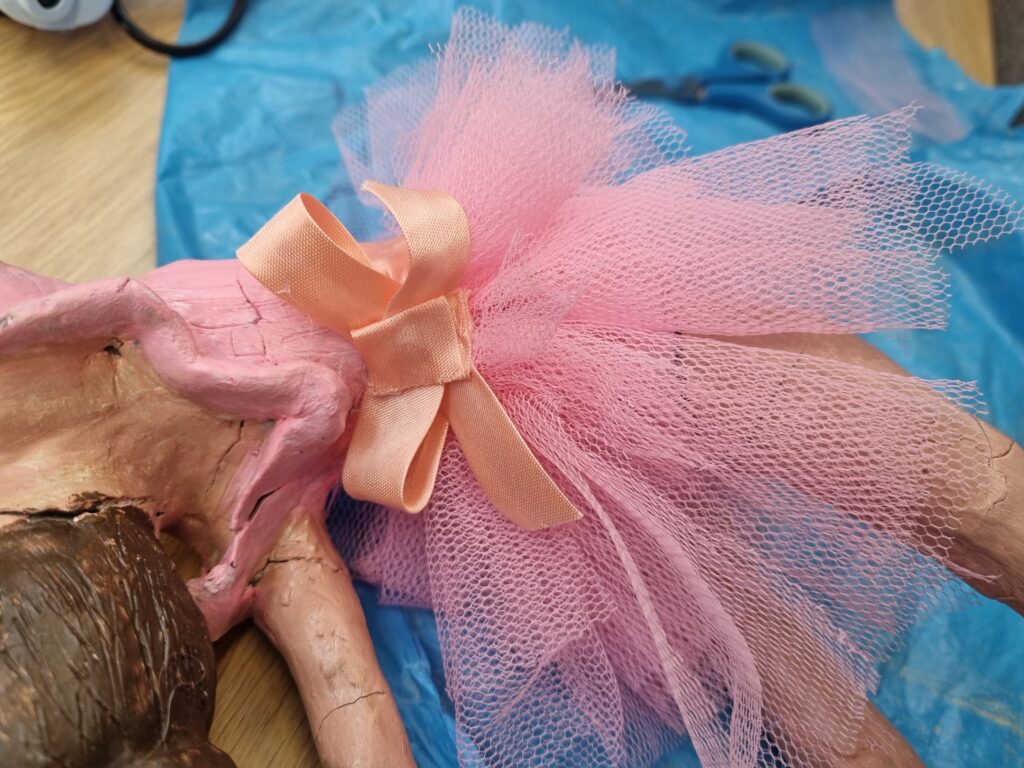
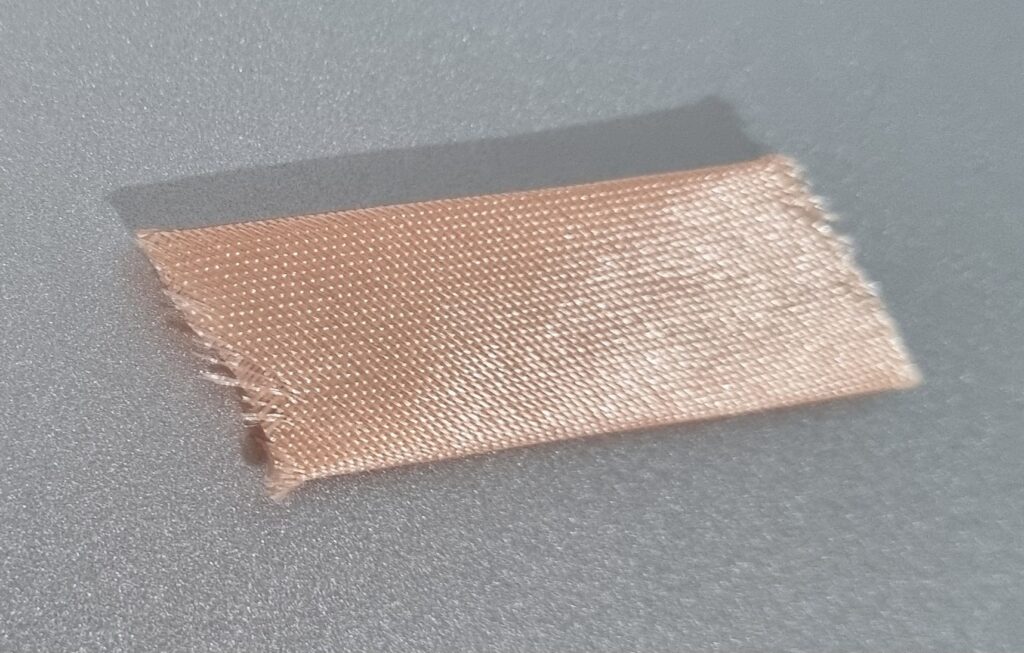
Here is the ribbon up close to see the detail and what colour I have chosen.
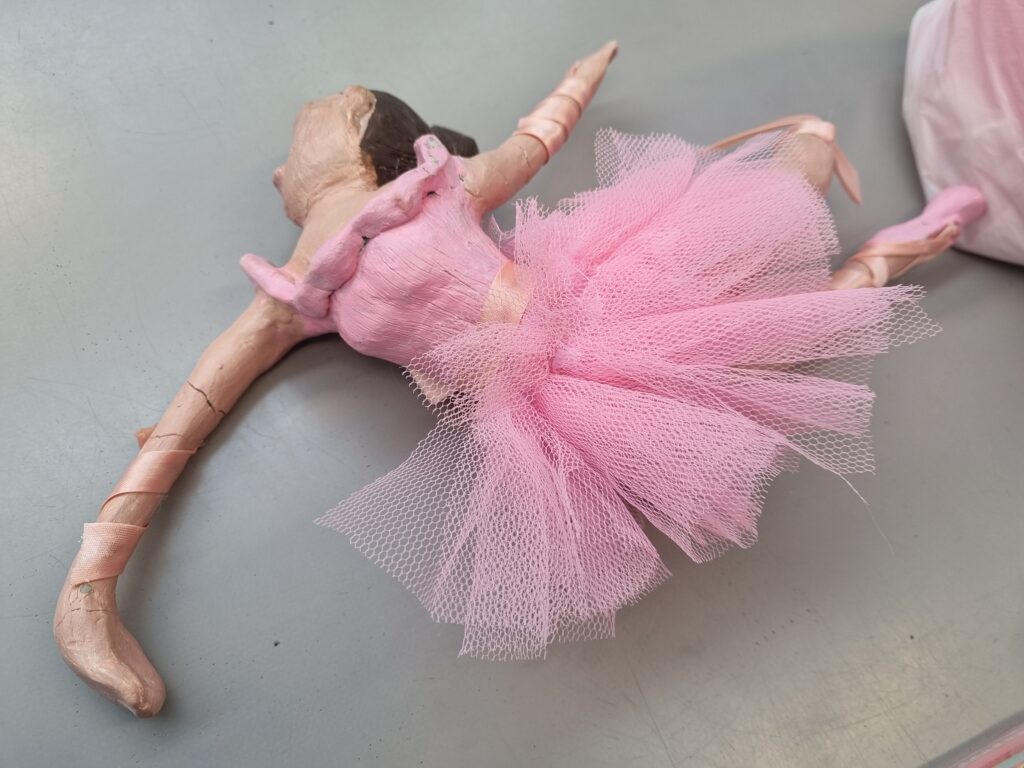
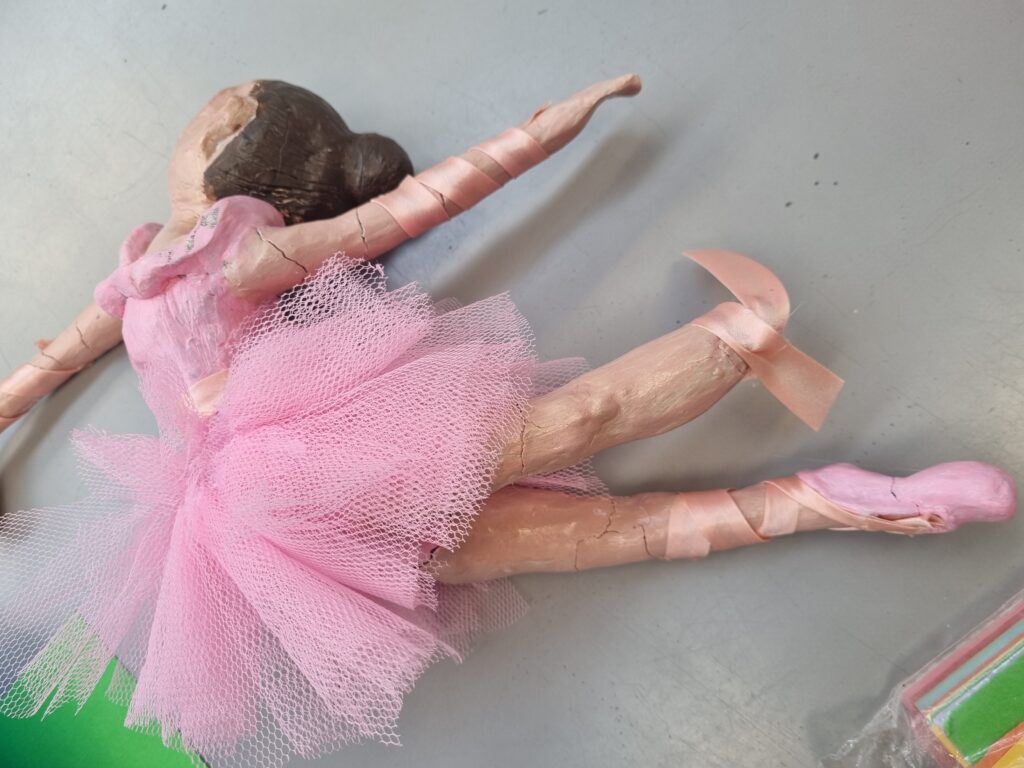
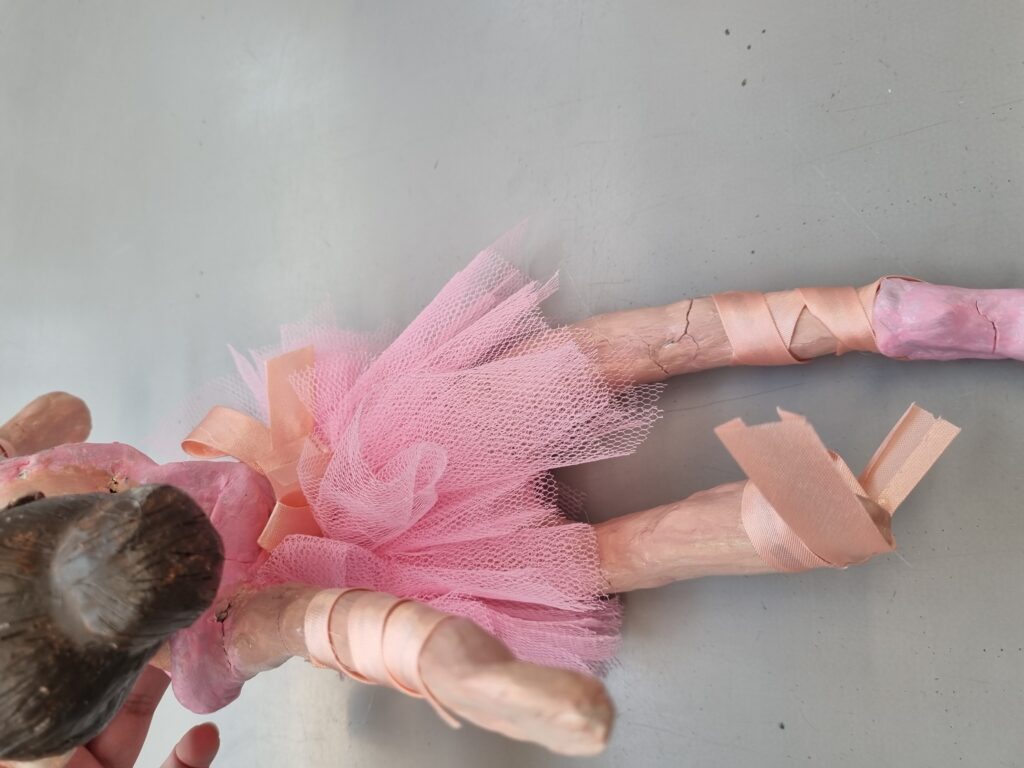
Here is the finished result of the ballerina. I added the ribbons around her legs and arms as the finishing touches. I am happy with how the ballerina turned out and had no issues about it however I stated before I should have already made a tutu but I also think I should have made the clay ballerina not last minute as I’ve caused myself to rush for unnecessary reasons. There is 1 thing that I didn’t like about the ballerina and it’s the leg with the missing shoe. The ribbon seems too rigid compared to how I wanted it to hang loosely but in the end, not everything will be perfect and I’m happy with the result anyway as it really links in with my 2 artists Alberto Giacometti and Edgar Degas. The build of the sculpture follows Alberto and his techniques and the physical appearance follows Edgar and his colour palette.
Attaching the ballerina to the spool
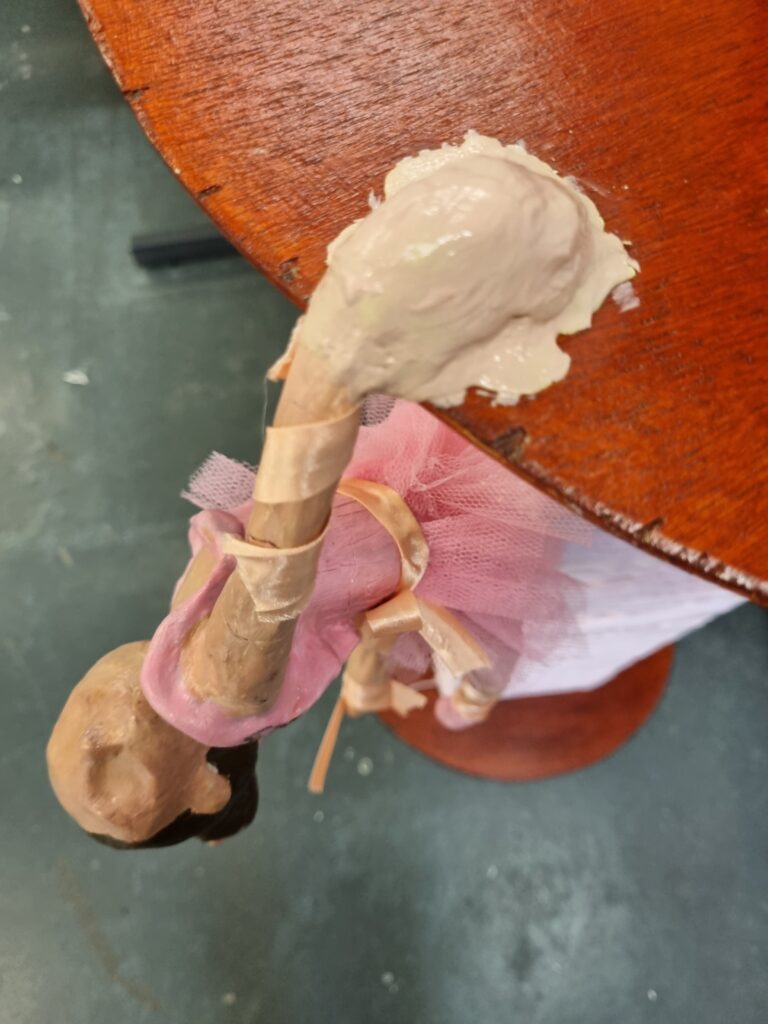
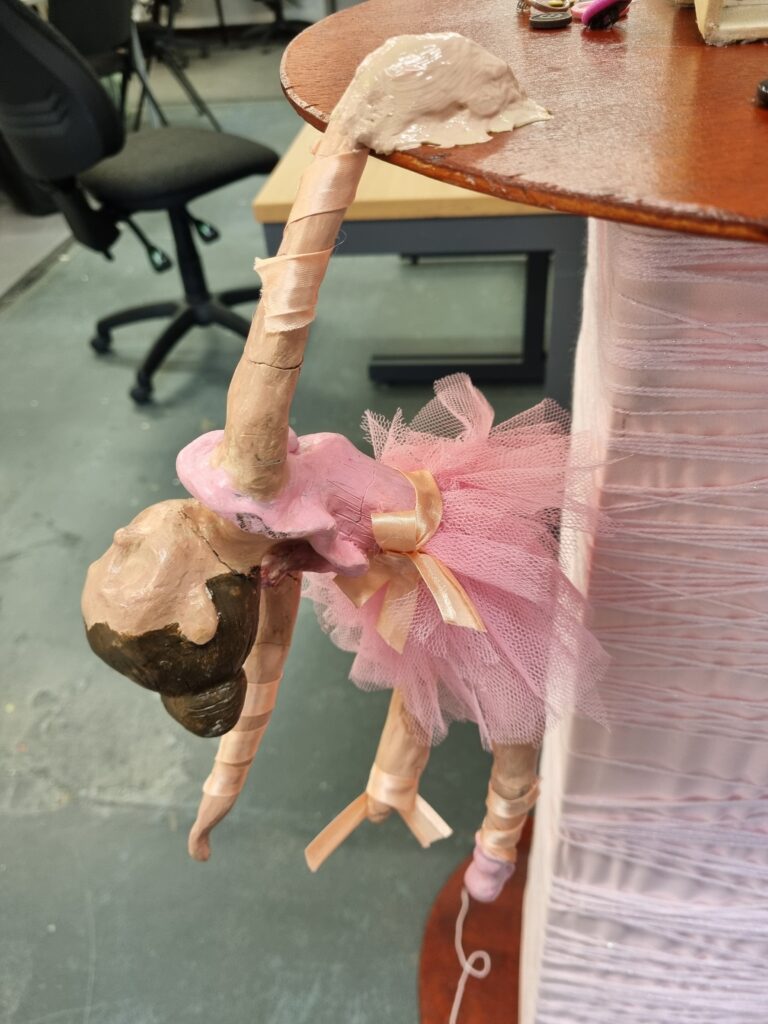
I talked to one of my tutors about how I can attach the ballerina onto the board which led him to helping me screw a nail through the board and the girl’s hand putting the putty over it to secure it. For the putty, I had to mix 2 different colored ones together until it turned this green colour for the reason being that a chemical reaction occurs so it can harden later. I then smoothed down the putty onto the hand and waited till the next day as it takes 4 hours to harden.
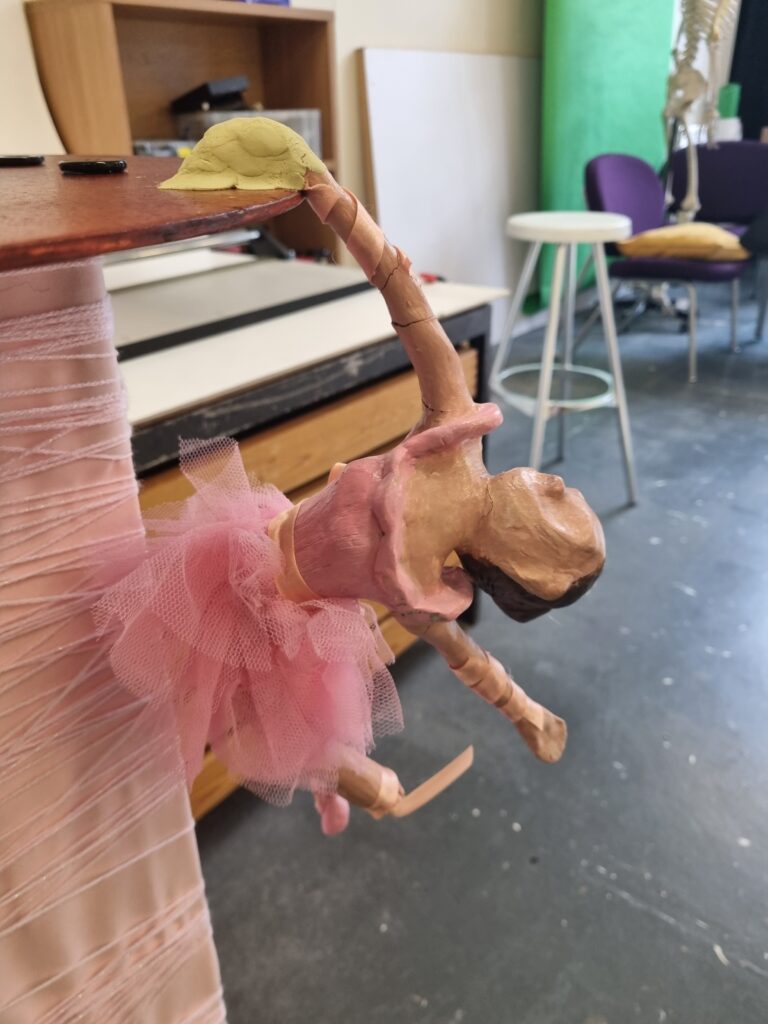
The next day I came and quickly painted over the putty so it could finally be taken to be photographed. Even though the putty covers the hand and the original shape of it, there wasn’t anything I could do so I had to leave it like that however it isn’t a big deal and in the end, it secures the ballerina to the board which is more important than the hand being deformed. It also sneakily links into Alberto Giacometti’s art style even more.
Interactive Sign
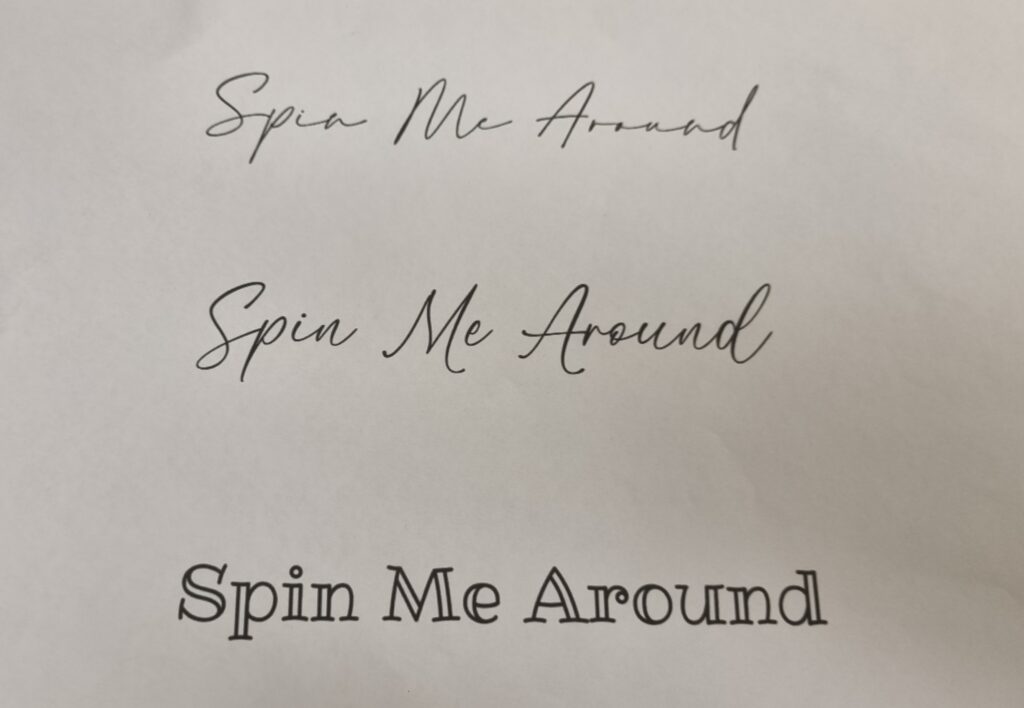
As my final piece is interactive, I had to put up some sort of sign on the piece to show that they could wind up the back of the ballerina box. My tutor printed different fonts out for me with the words I had chosen saying “Spin me around”. The reason I chose this quote is because of how ballerinas typically spin especially in the music box so it seemed fitting. I decided even though the fancy ones seemed more appropriate, it wasn’t readable as much and didn’t stand out so I chose the last font. The last font kind of reminds me of Alice in Wonderland with the words that are imprinted onto the food and drinks. I find that eye-catching and another resource that links to my final piece.
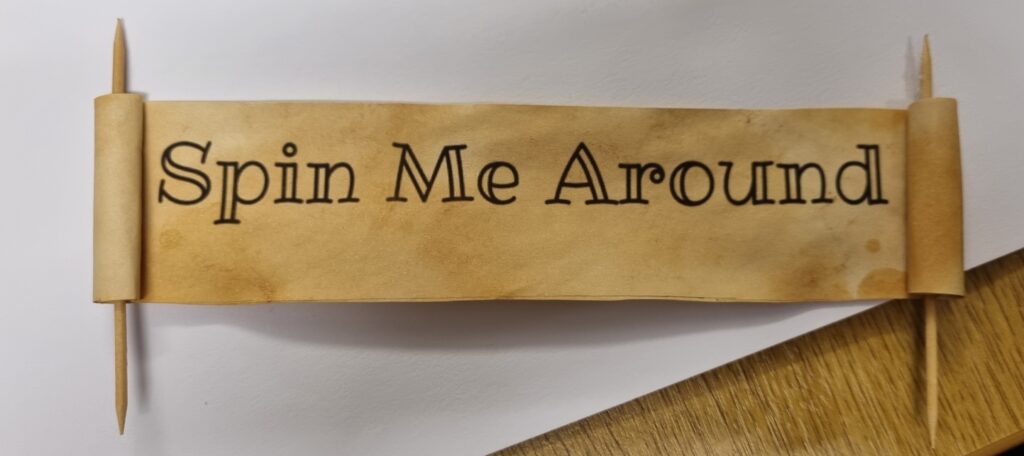
After choosing the font, I cut it out and then used water and a teabag to create this old effect which resembles the antique music box. After it dried, I used little toothpicks to turn it into a scroll, and in the end, it created a sign to let the viewers know they can play the music box.
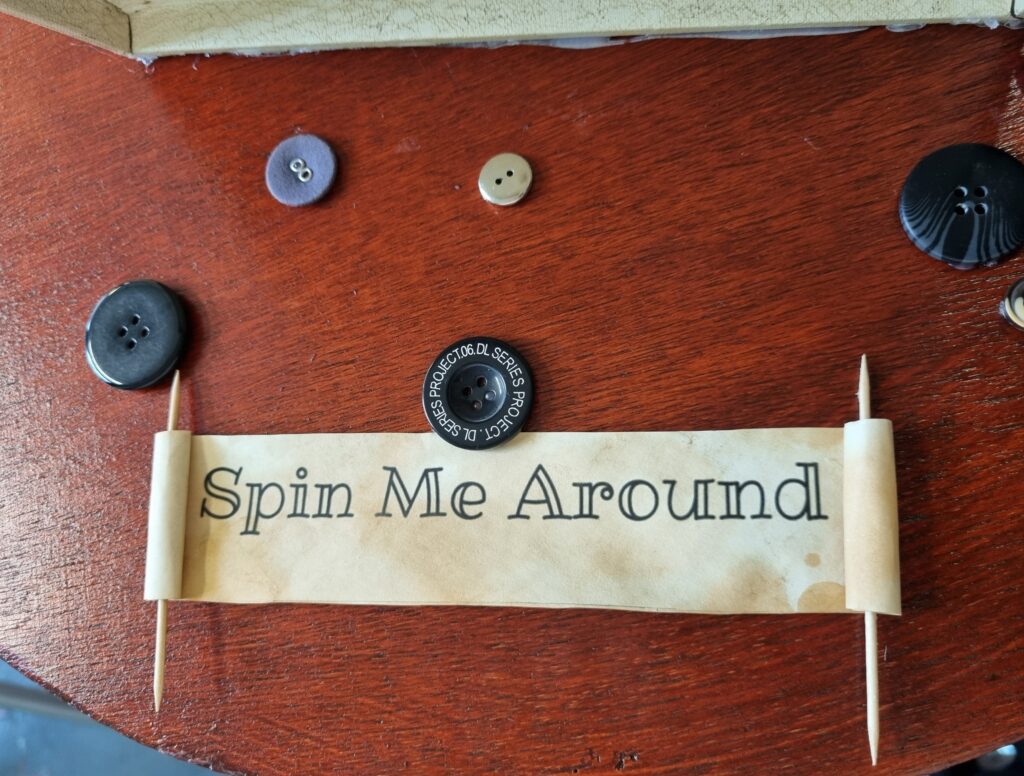
Here is the little scroll behind the music box tucked under the button. The button kind of reminds me of Caroline how the main character wanted a new life but once she saw the new life she wanted her old one back. My ballerina kind of resembles that. Once she got too caught up in the industry she couldn’t turn back at all as she was trapped so she slowly lost her identity and mainly herself and became an empty puppet for the perpetrators who made her forget who she was. In the end, I am happy with how this sign turned out and how my final piece had turned out too.
Artist Research: Richard MacDonald
Although I have finished with my final piece, I have come across this sculpture artist who makes these expressionist ballerinas. I thought to show some of his work as it intrigues me.
Link for the information I gathered: Dawson Cole Fine Art. (n.d.). Richard MacDonald. [online] Available at: https://lagunabeach.dawsoncolefineart.com/artists/richard-macdonald/.
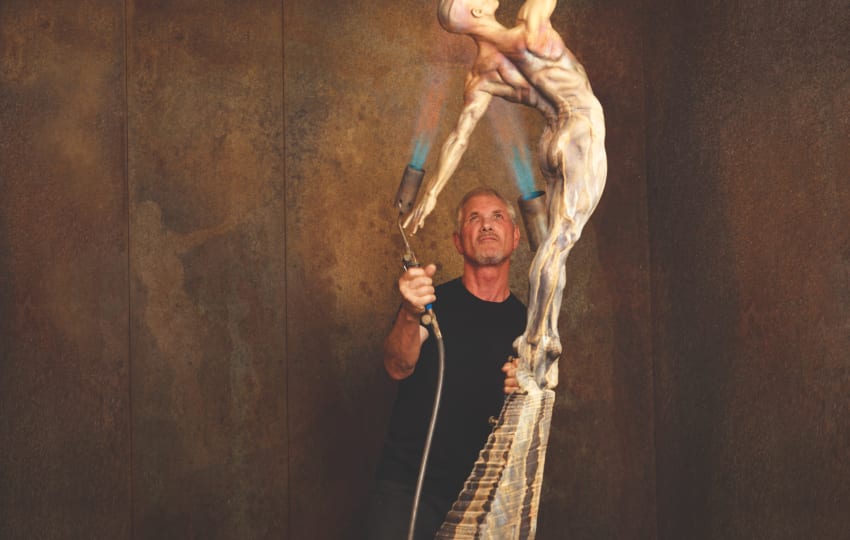
Here is a video explaining about him and his art.
Richard Macdonald was born in California and spent over 25 years creating a body of work that features a contemporary understanding of figurative sculptures. He is best known for his sculptures but he has also won as a painter for his broad range of mediums and for creating several different genres within his artwork. He even does mentoring programs to educate underprivileged children.
This is the quote on quote on what the website had said about how he creates his artwork.
As a true visionary, Richard MacDonald emerged from a century that avoided the realistic depiction of the human form, not by returning to the past understanding of figurative sculpture, but by synthesizing modernist principles with the timeless human desire to understand ourselves. Richard MacDonald has approached the human form as a way to make expressive statements about the human psyche, by creating imaginative metaphors for states of mind: states of “being”. What is “real” to us as human beings has many dimensions: there are spiritual realities and emotional truths that can best be expressed through the beauty of the human form, and Richard MacDonald is master of this new visual language. To paraphrase Picasso: there is no such thing as “abstract” art; everything starts from what is known. Richard MacDonald is one of the few post-modern figurative sculptors to go back to this essential truth, and create imaginative metaphors of the human psyche through representation of the body.


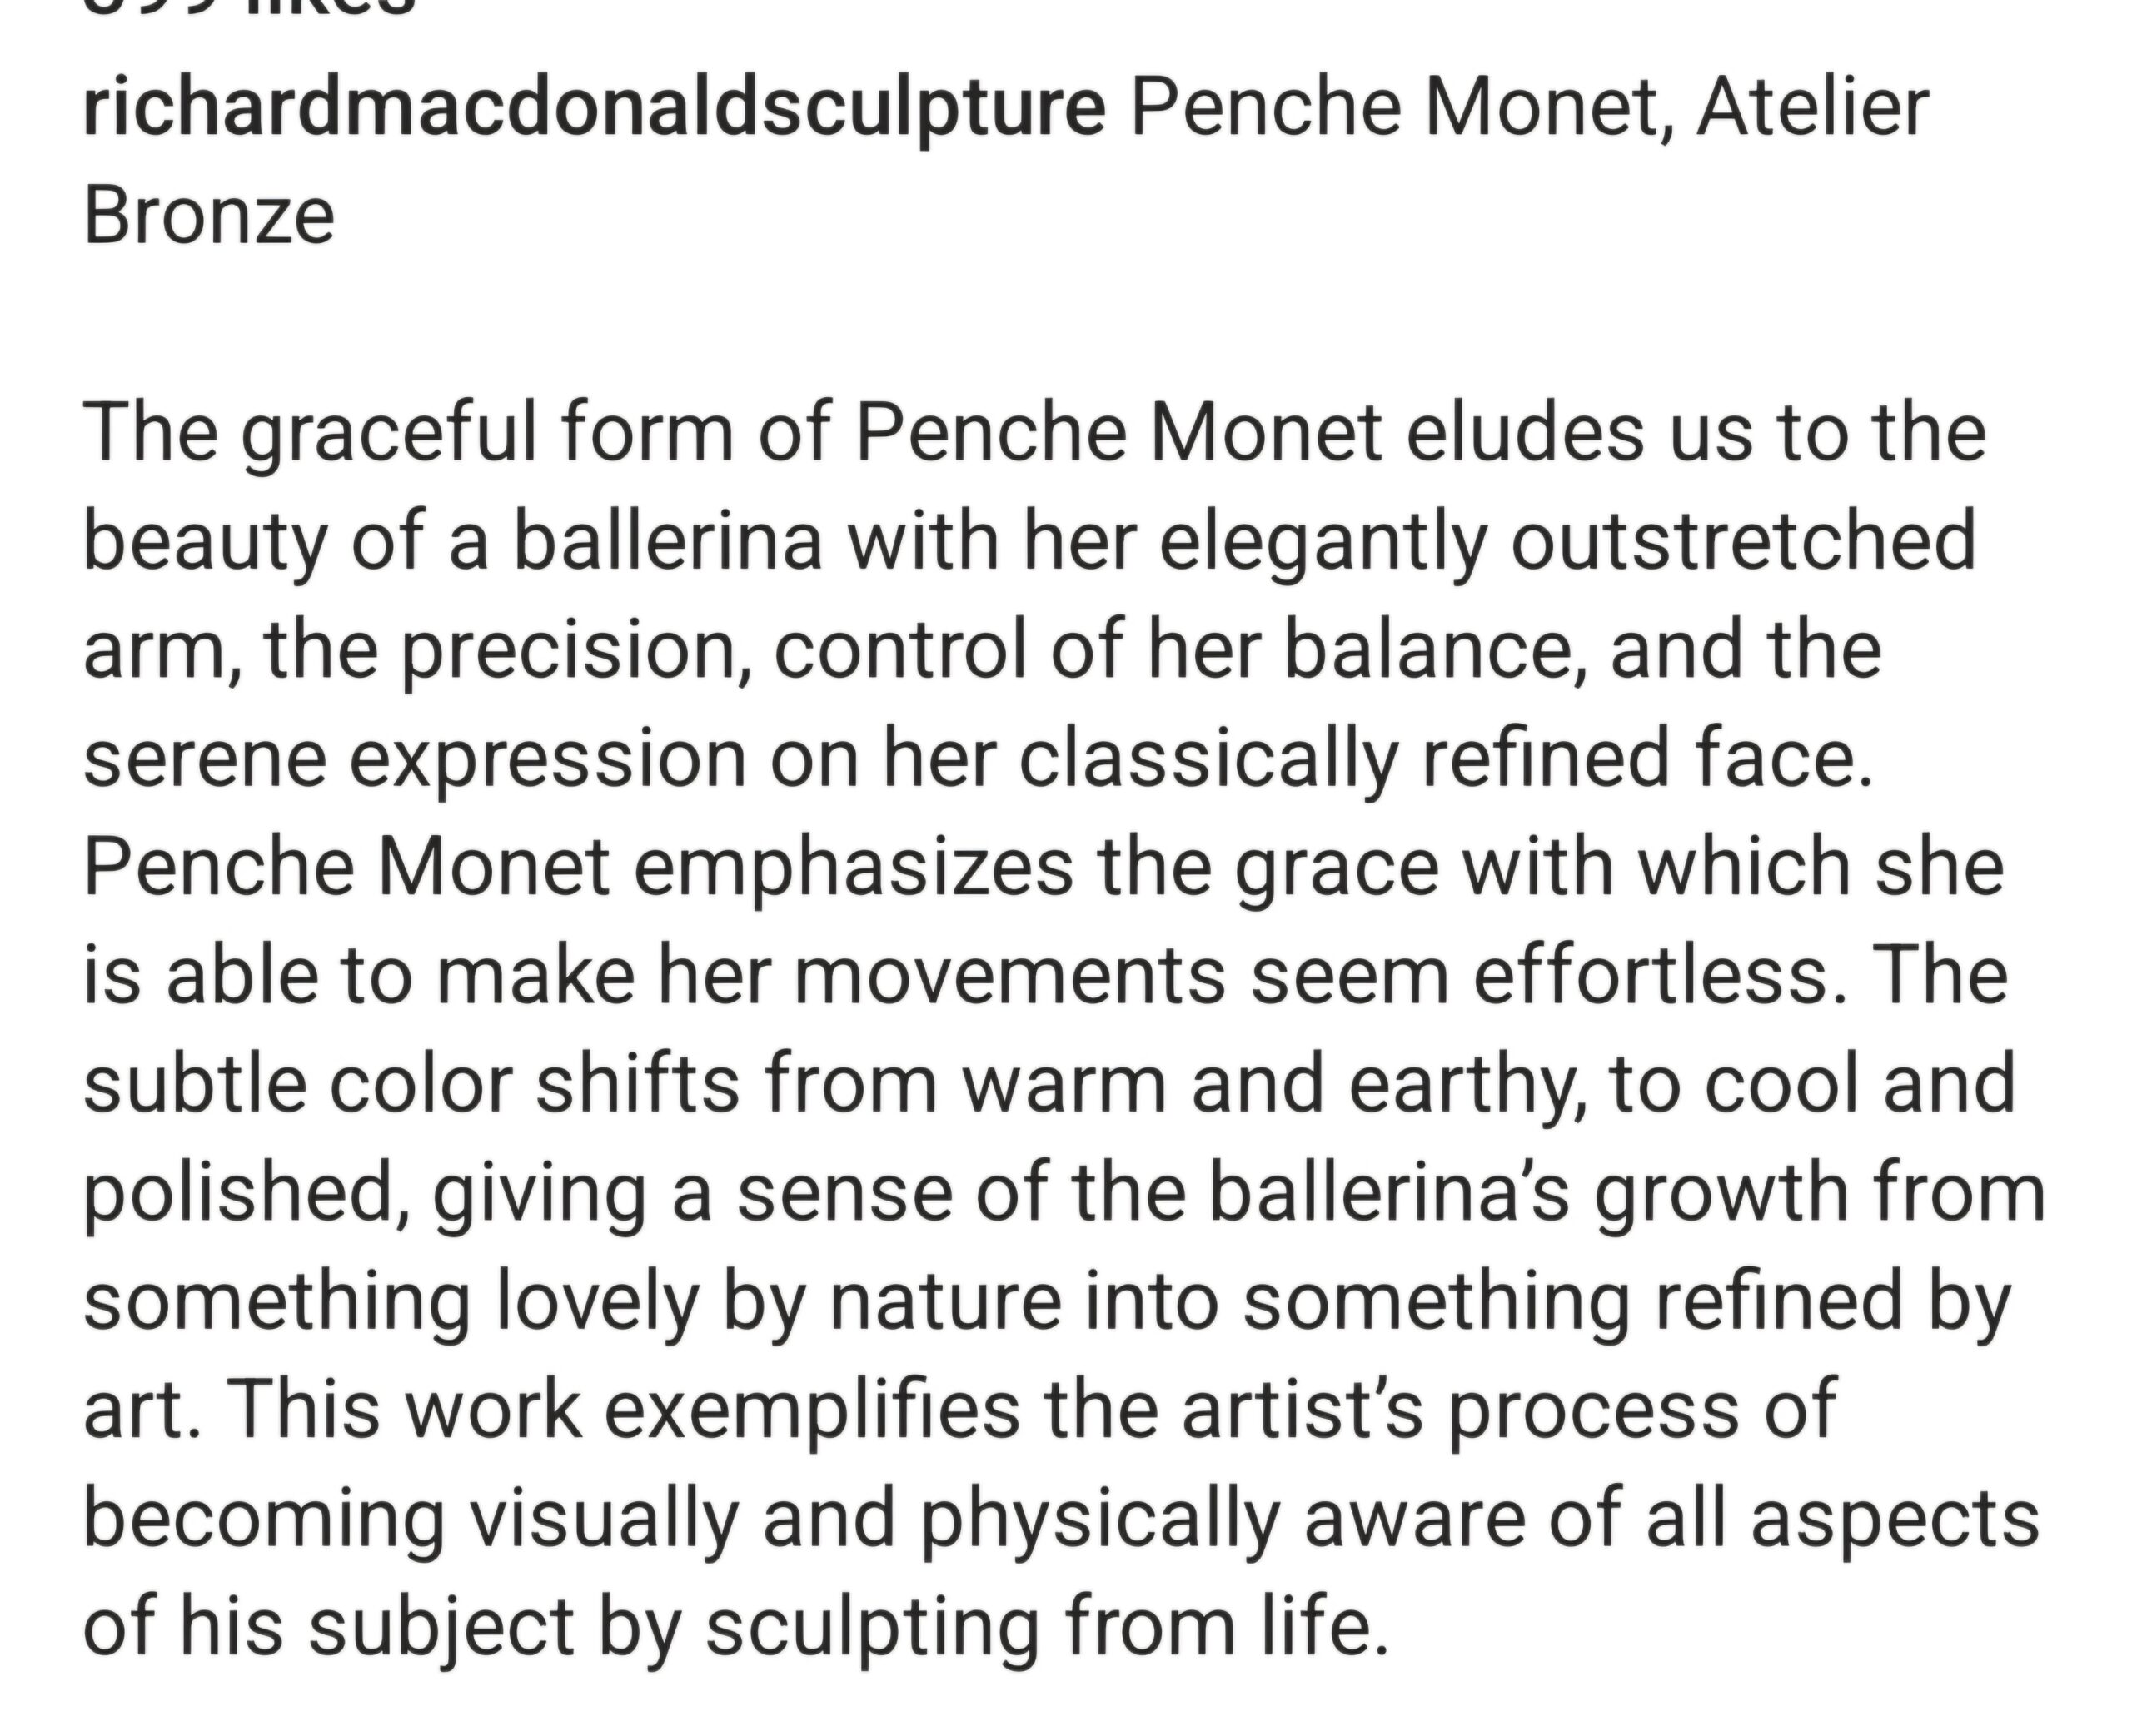
For this artwork on his Instagram, he has explained why he made this sculpture.



FINAL PIECE
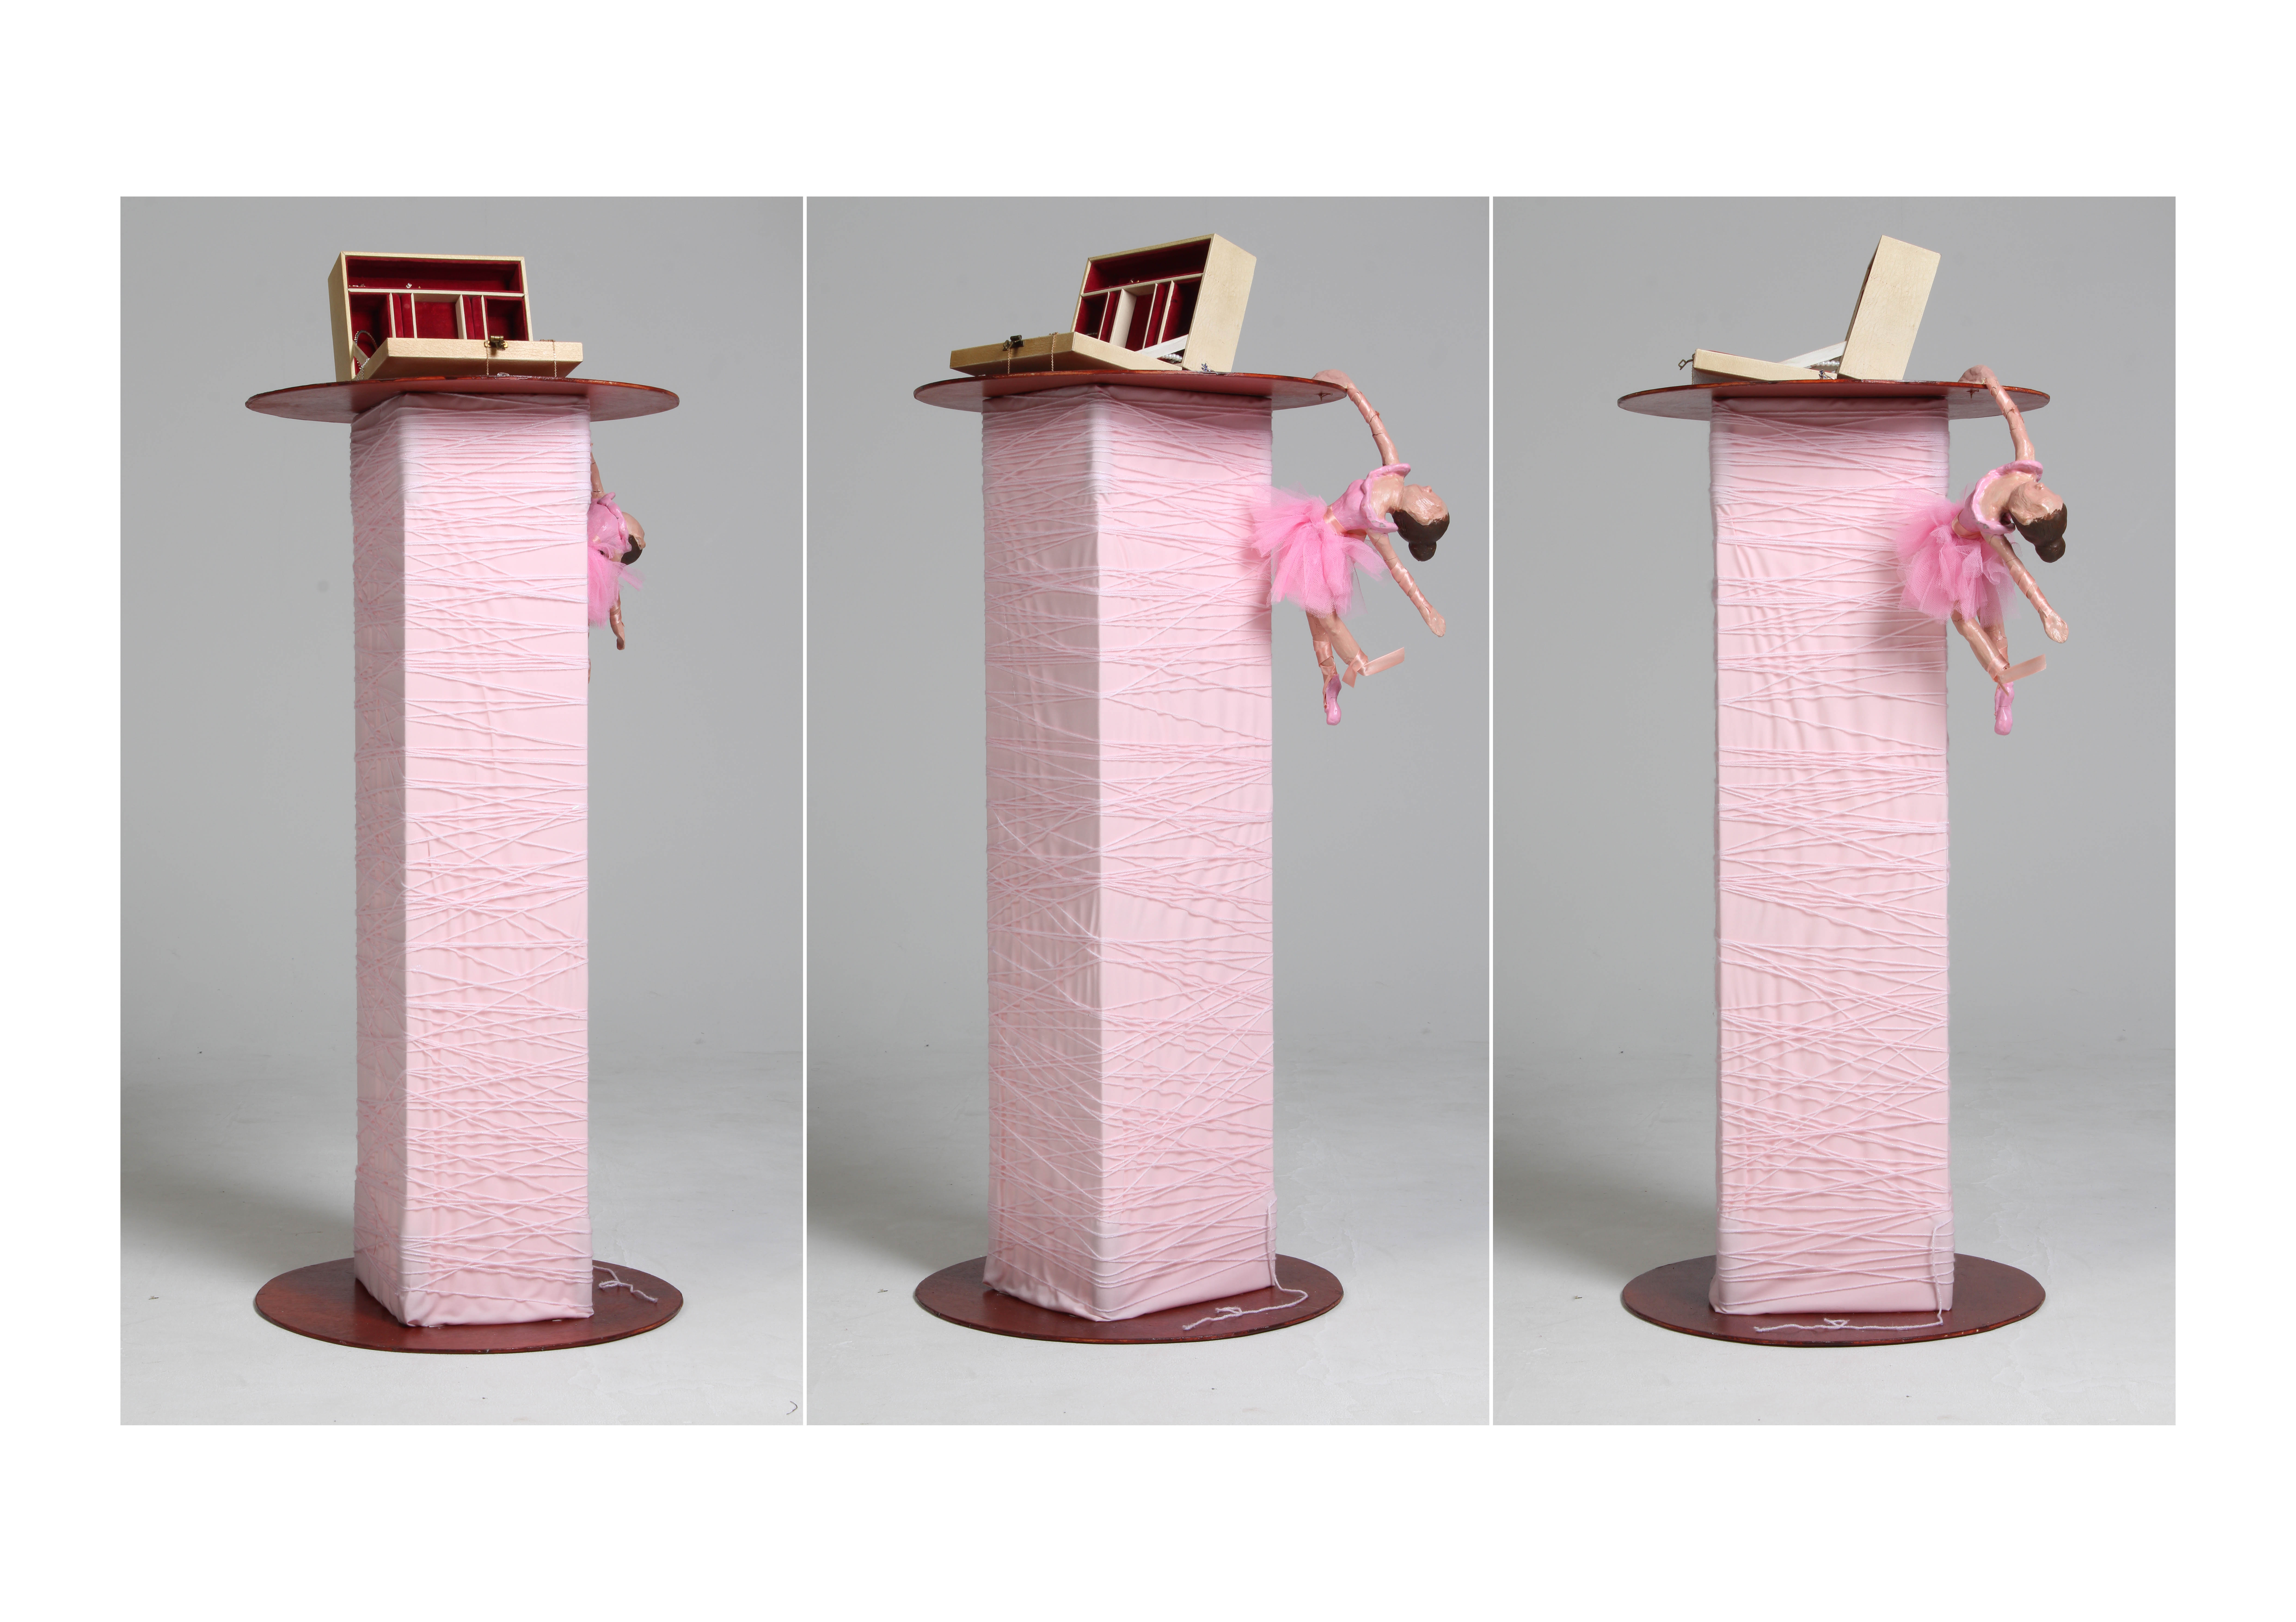
Here is the final piece photographed. The reason I photographed 3 different angles of the same work is to replicate the 3 mirrors inside of the music box linking it into each other and to give Accu an option to take the final piece to their site or the photographed version. I am happy with how my final piece had turned out and hope whoever sets their eyes on it likes it too.
Evaluation
UAL Level 3 Diploma in Creative Practice Unit 6 Evaluation Template (1).docx