For my final piece I decided to do Batik and a collage of fabrics. I explored different techniques and dresses which led me upto this point. My ideas flowed well together from Mixed media to batik to generating ideas to looking at floral backgrounds and more. I really thought about my idea and what I would want to do but this floral background and a Victorian dress in front stuck to me like glue and I really loved this idea. From the mixed media I knew i wanted to do a collage of a dress and I thought about how James Owen Thomas and Viktor & Rolf used recycled materials and interpreted that into my final piece.
Planning/Sketching
For the sketching of my final piece, I took inspiration from the dress I made in one of my workshops for The Blotted Ink Drawing and used some of my idea from it as my own. I also used ideas from my mixed media piece and my batik piece and even my past postcard. I took ideas from anything that had a floral background to it and a Victorian dress from my workshops I did. I also scrounged around pinterest to find outfit ideas and floral backgrounds.
Here are the images I used:
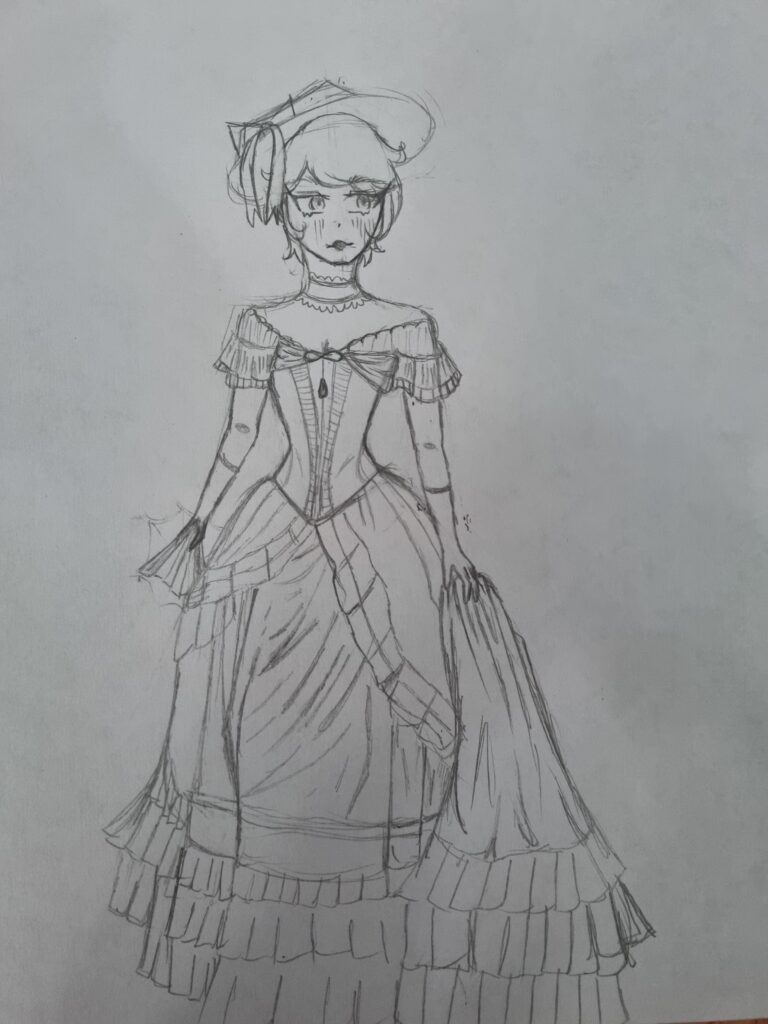

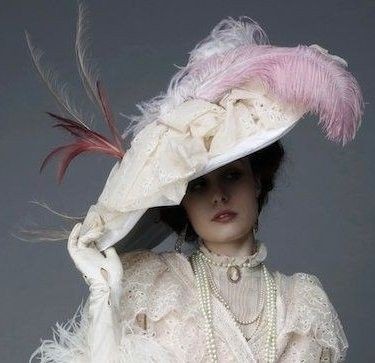
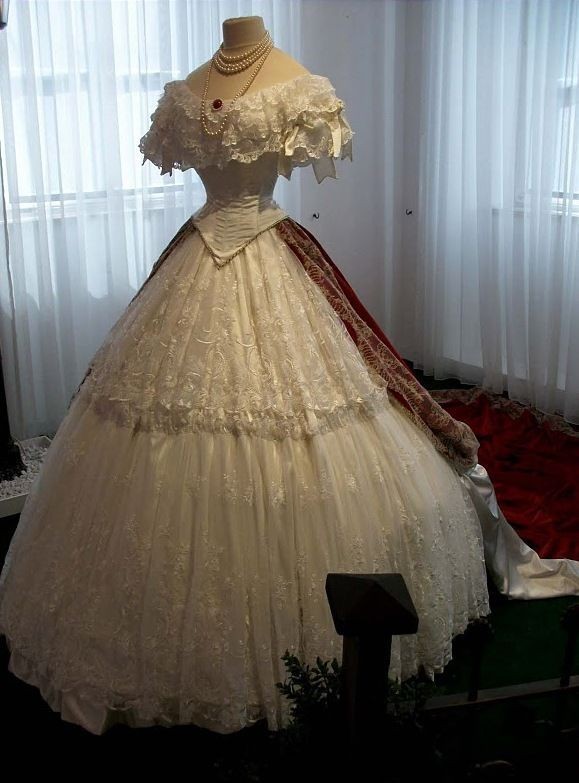
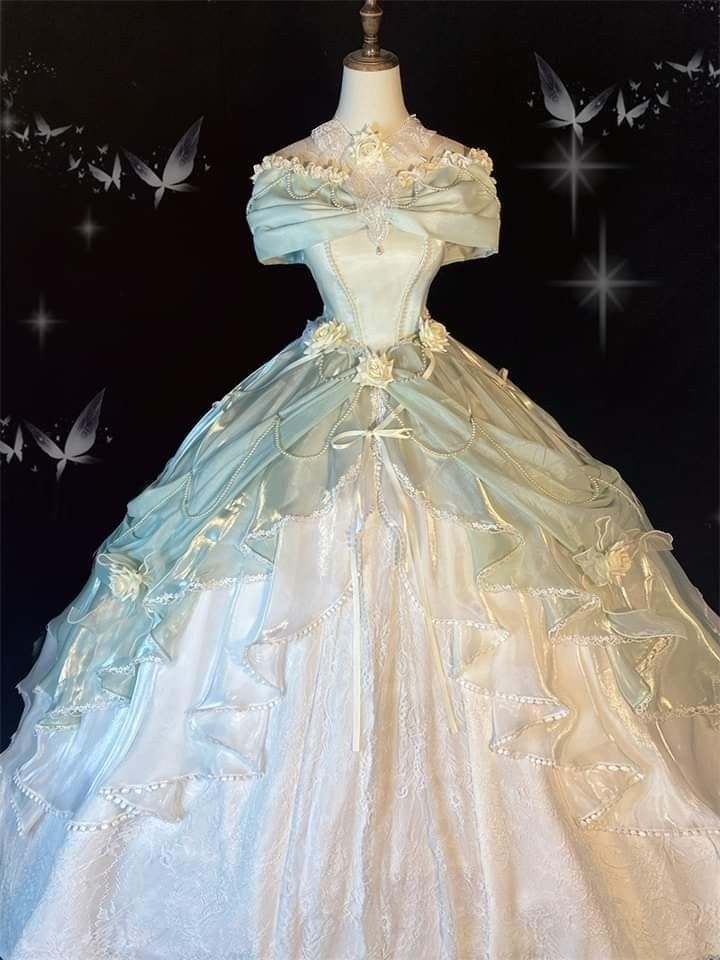
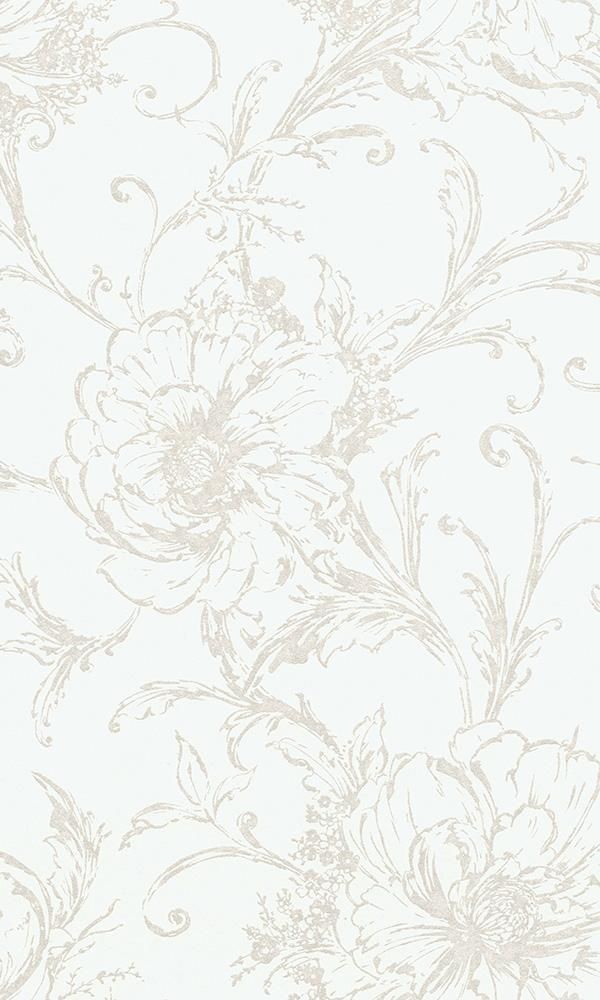
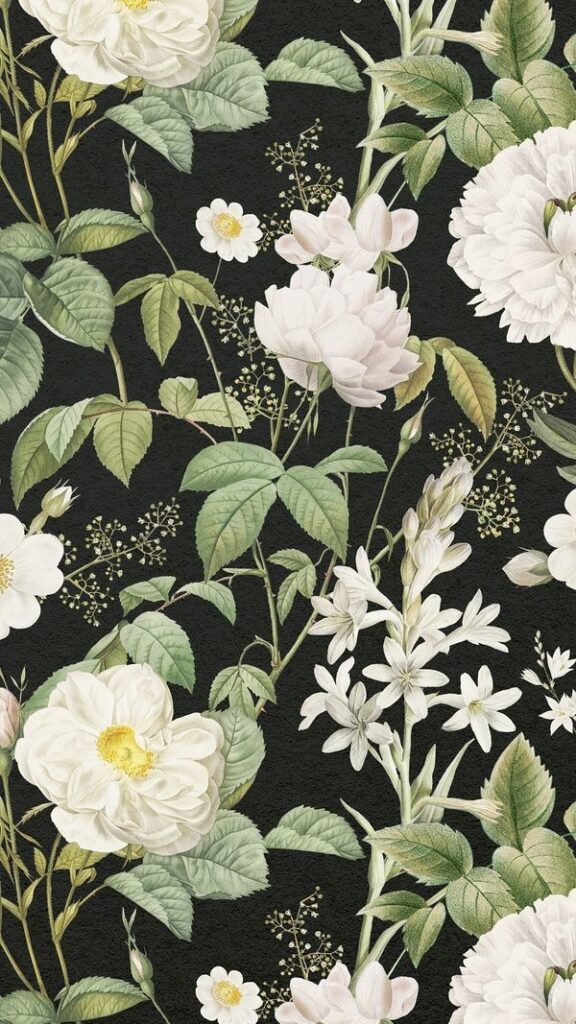
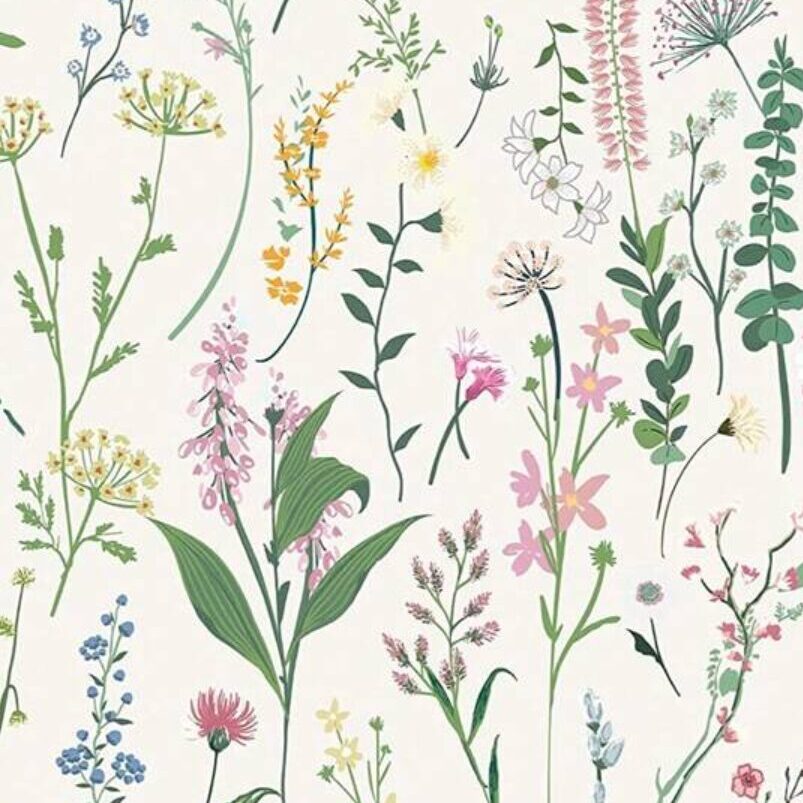

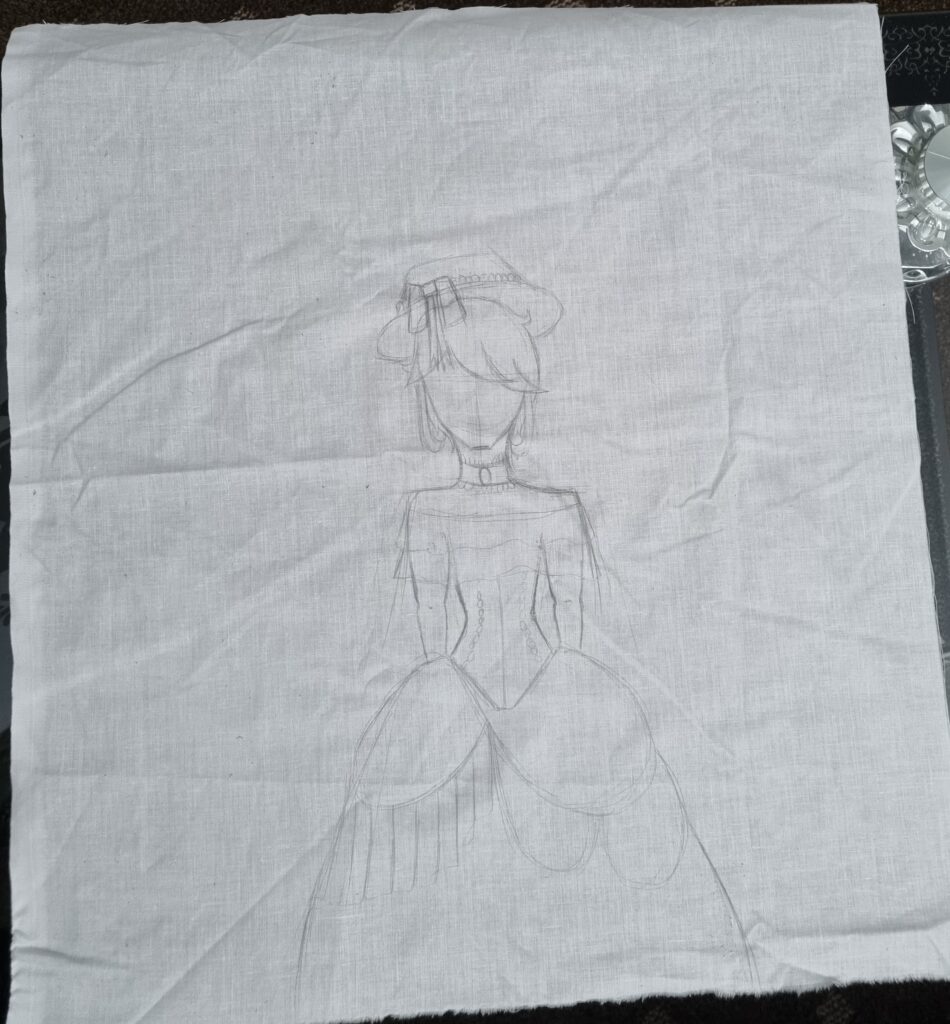
I combined my ideas and different images I took reference from and came up with this sketch.
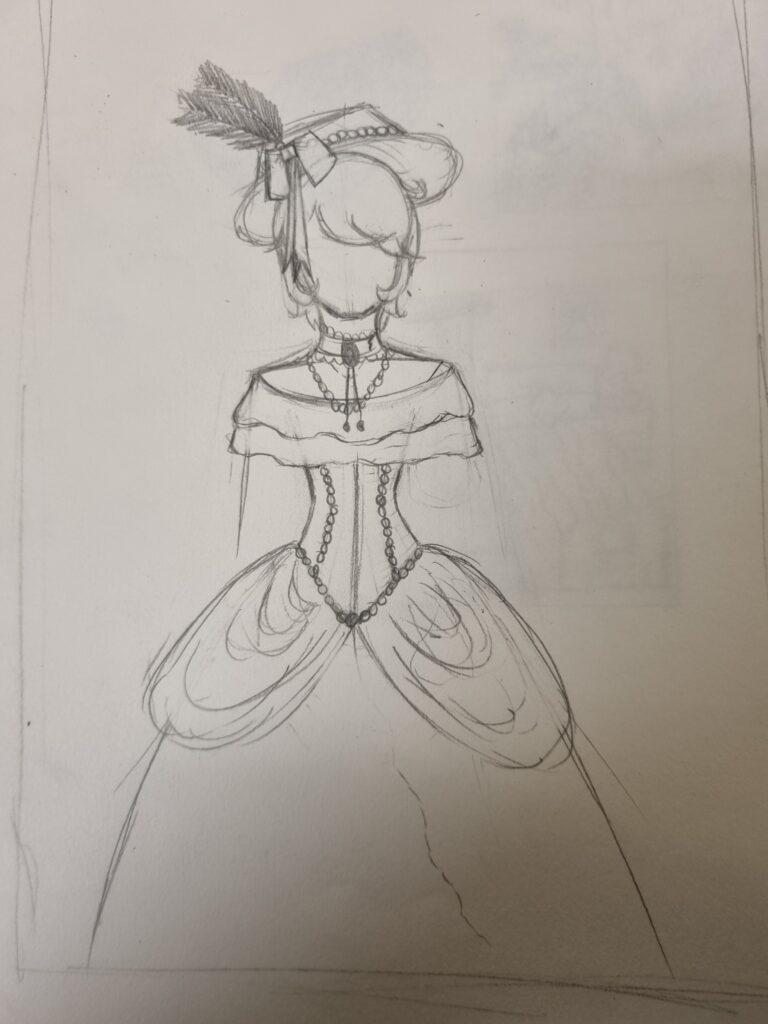
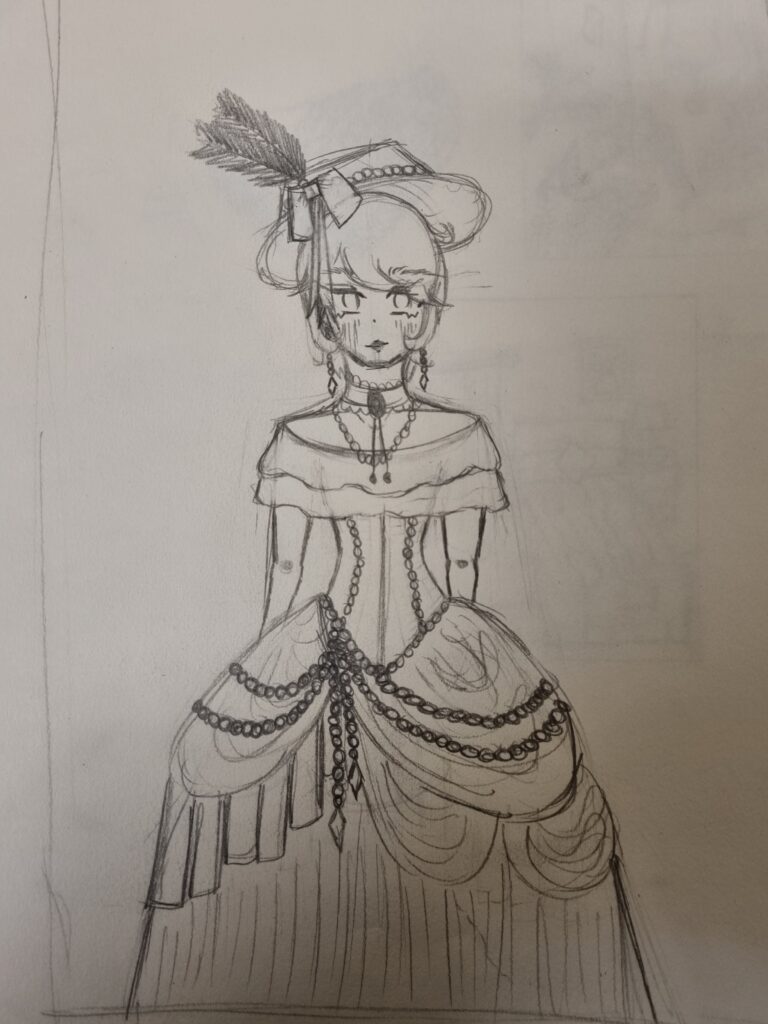
I made sure to take a picture in between my design to see if anything changes or needs to be changed that didn’t fit the dress that well. After combining all the images I took reference from for the dress, this is what I came up with. I quite liked the design and how the Victorian dress came out. I also like how I surrounded the dress with beads and adorments like jewellery and such. If I redid the dress, I would maybe explore more with the different types of ruffles and skirts or change my design up.
After I had sketched the dress out, it was now time to do the background. I took all those images and ideas from previous workshops and came up with 2 ideas.
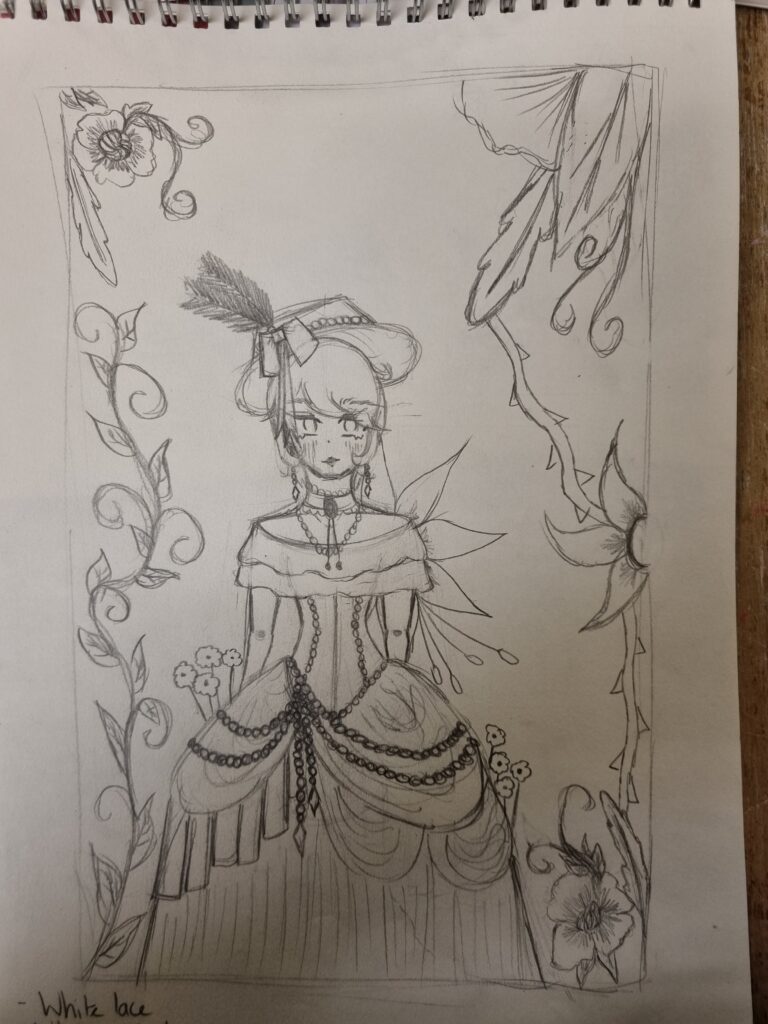
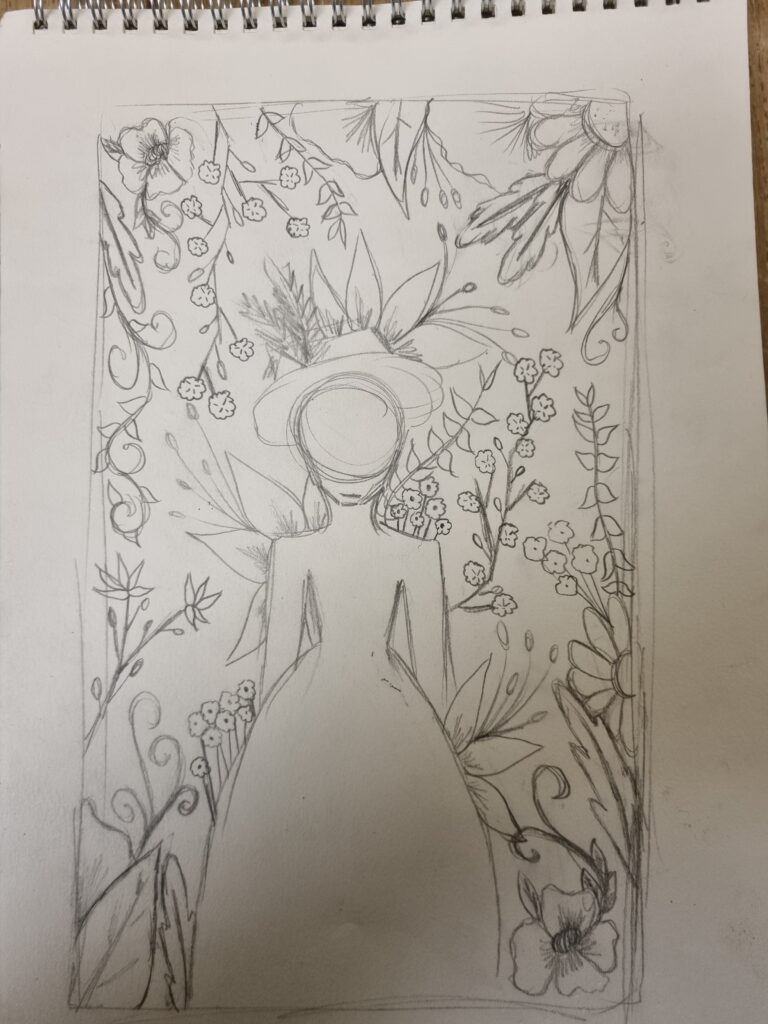
The reason I came up with 2 ideas depended on how the ink showed through the batik as I didn’t want to make the background over shine the dress. However, in the end I chose the more busy design as it accentuates the dress more and how it really gives a floral print background.
Dress Making
This is where I got the recycled fabrics and used it for my piece.
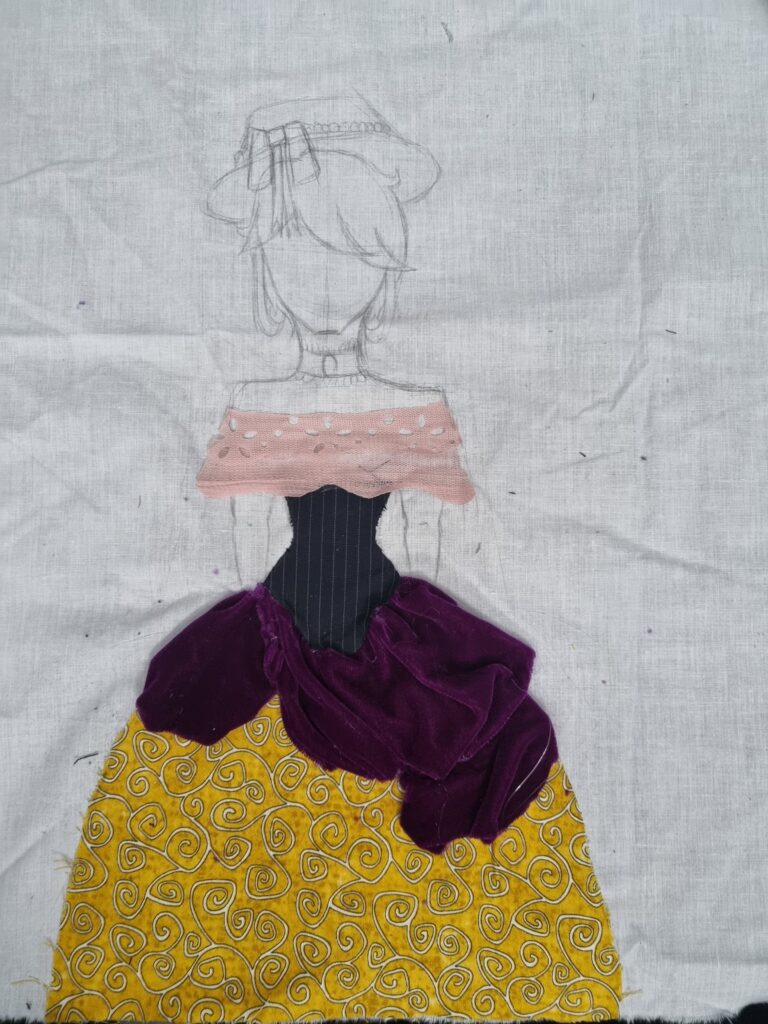
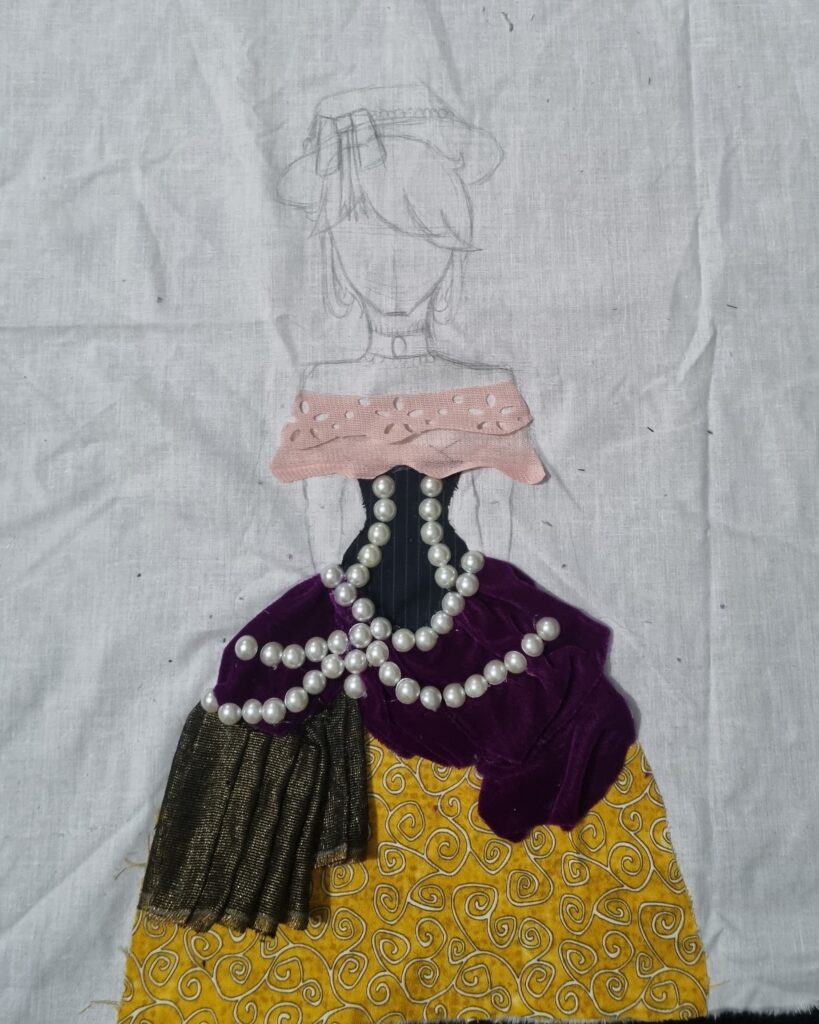
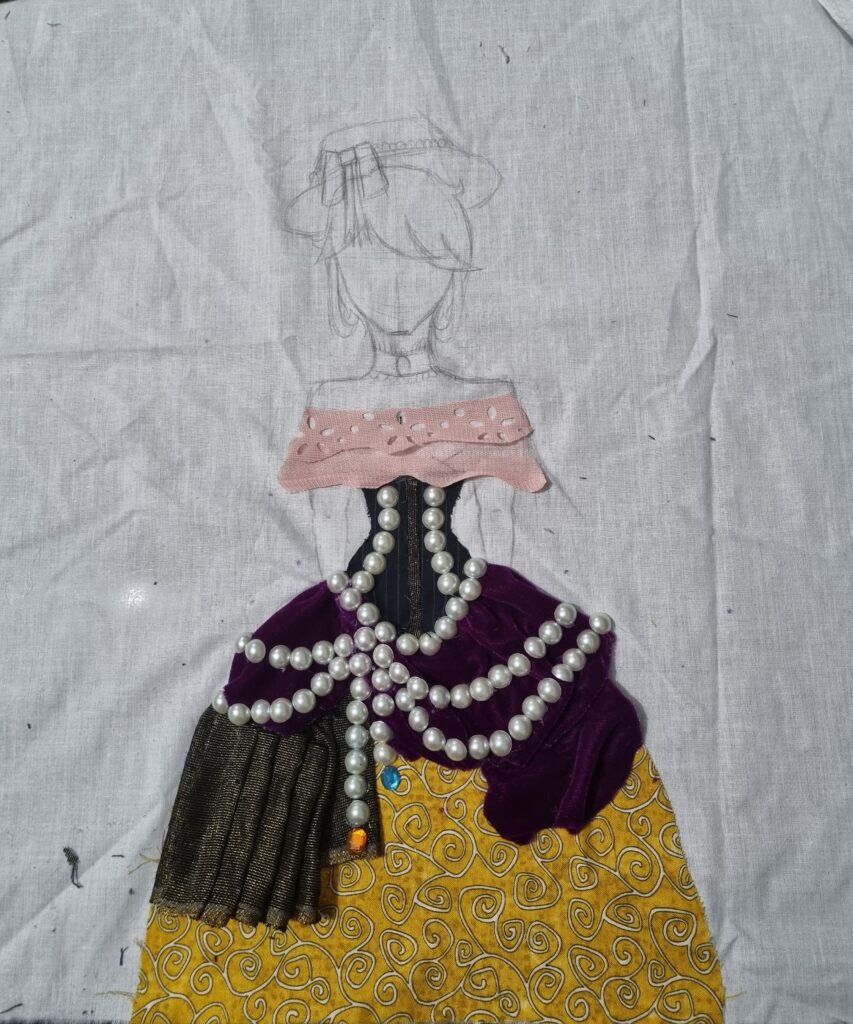
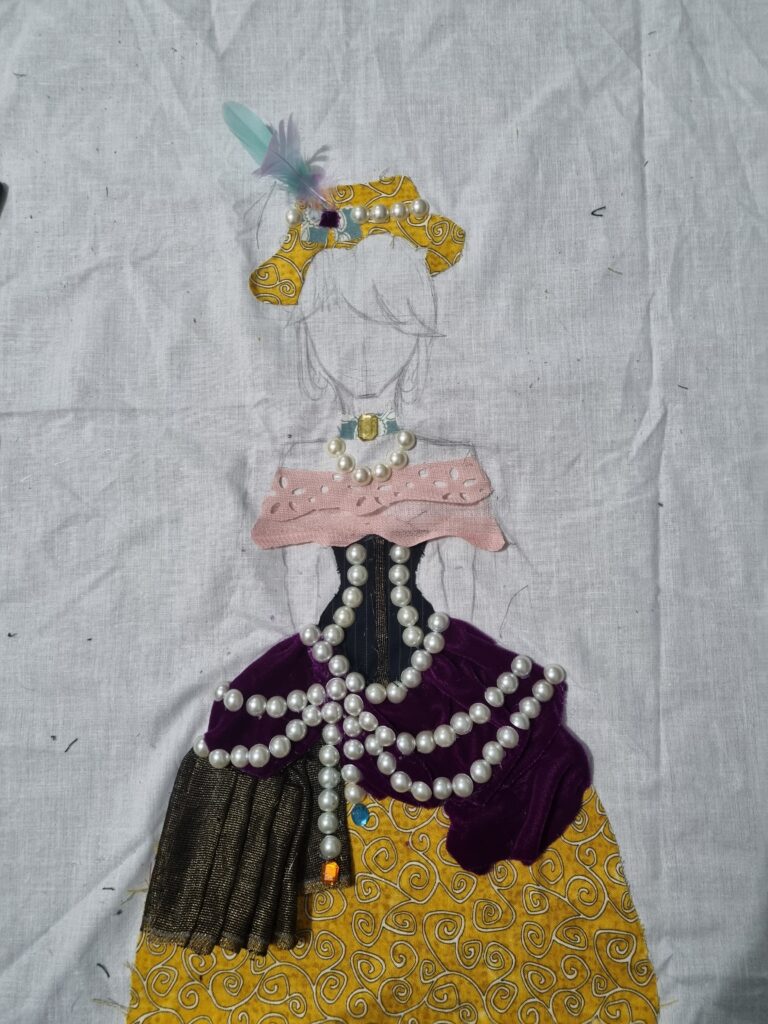
If I were to change or think about anything differently, I would change up the frabric and try using different materials or maybe change the placement of the fabric. Also with the gathering of the purple velvet you can see that it blends in well with the ones underneath it. I could have used a different fabric for that and gathered that one instead to really show it’s different.
Batiking
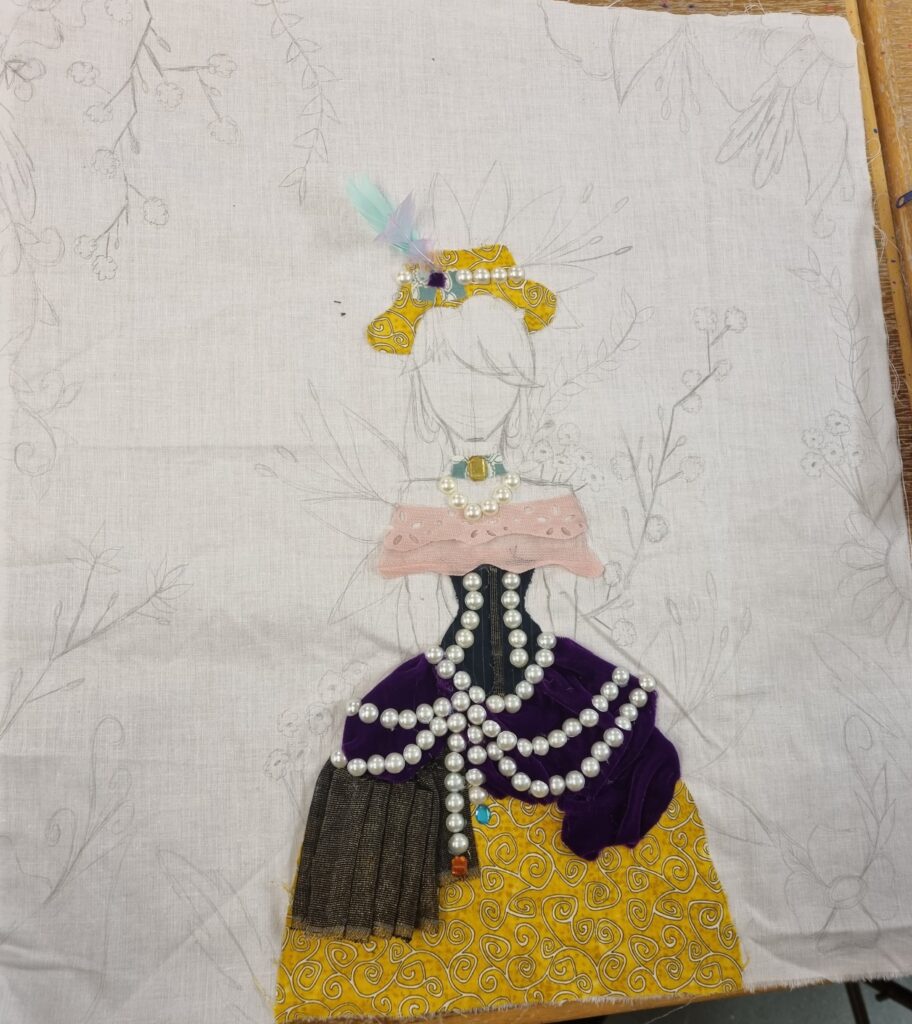
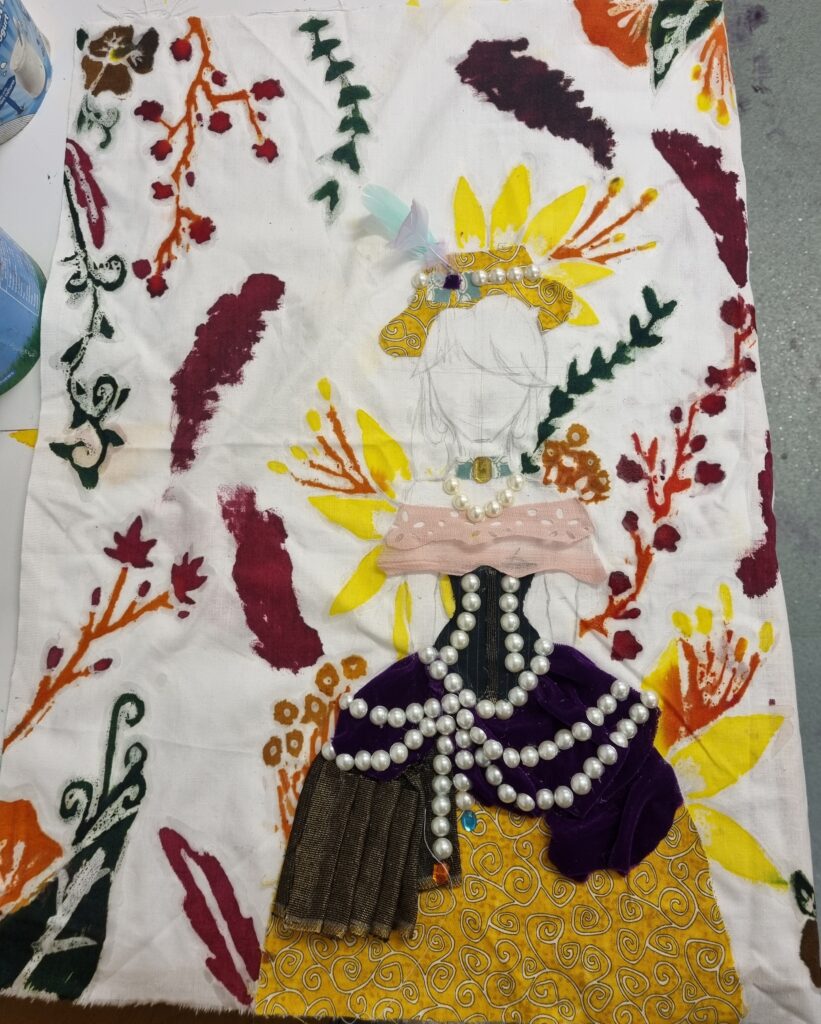
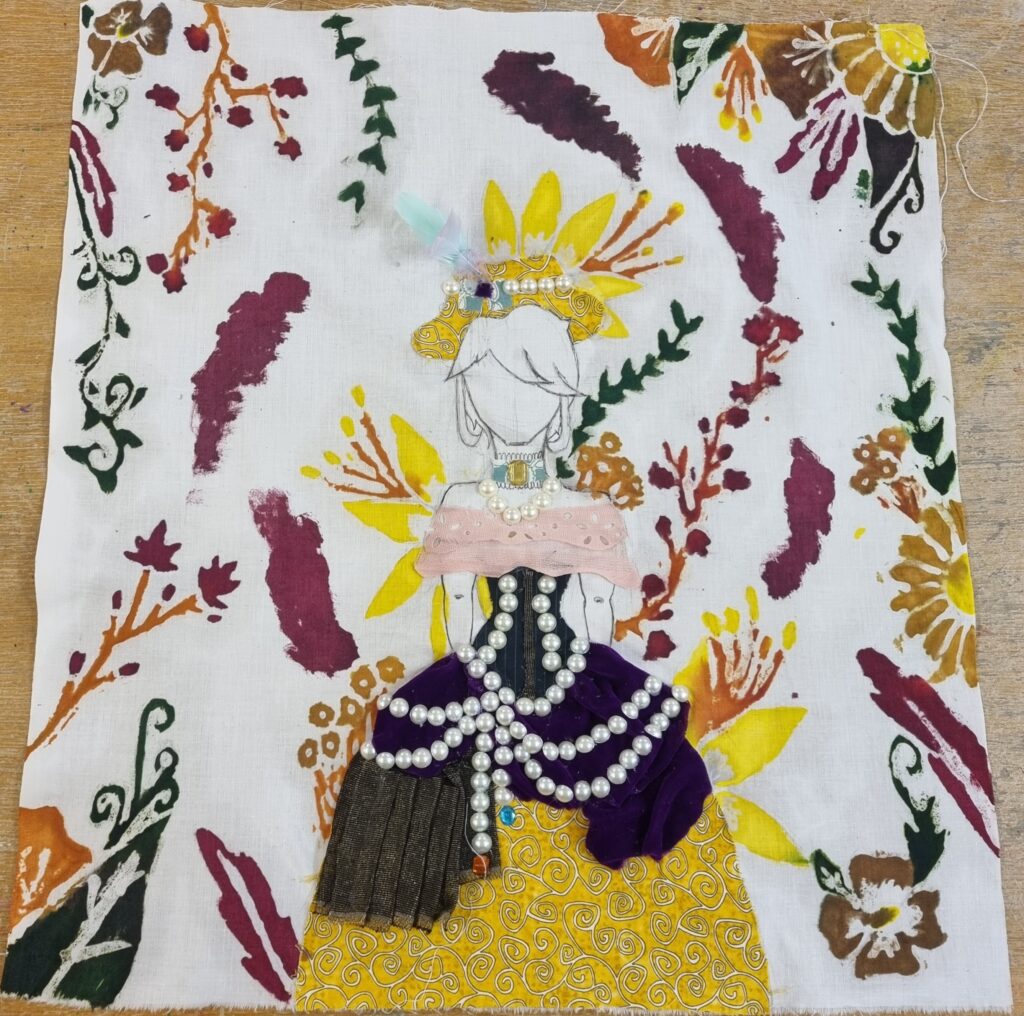
In the end what worked was how the ink stuck to the fabric and how it was nice and bright and the wax came off nicely and kept the ink in the design. I also like how the dress came out and the nice different fabrics were well put together. What didn’t work was how the wax left the ink seperated from eachother and how it looks messy and not neat at all. What I could improve on next time is actually do a test for it beforehand on a different fabric or further experiment more with batik. I could also try to use a different tool to make sure the wax doesn’t become thick on the tool and that it lets the ink settle down instead of the wax overpowering it due to the tool holding too much wax. However I also had made the girl herself outlined in pen and no initial detail to her. Next time I could add features to her, paint her or also use fabric to create her skin. I could also try using different materials such as tissue paper or newspaper. Overall I think even though there is alot to improve on and test beforehand before I do my final piece, it came out nicely and still looks good and has a meaning to it in the end.