Week 11: Changing Final piece
Clay work
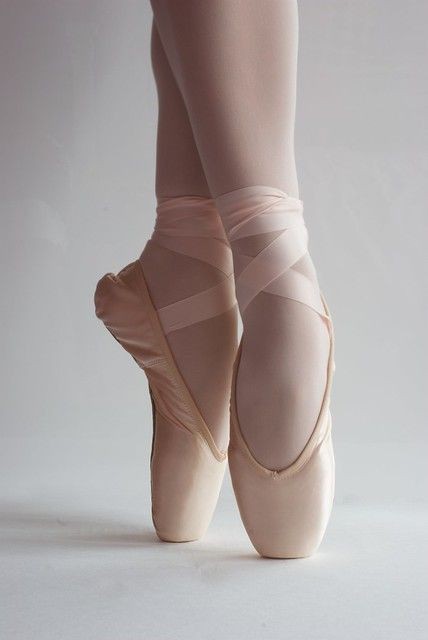
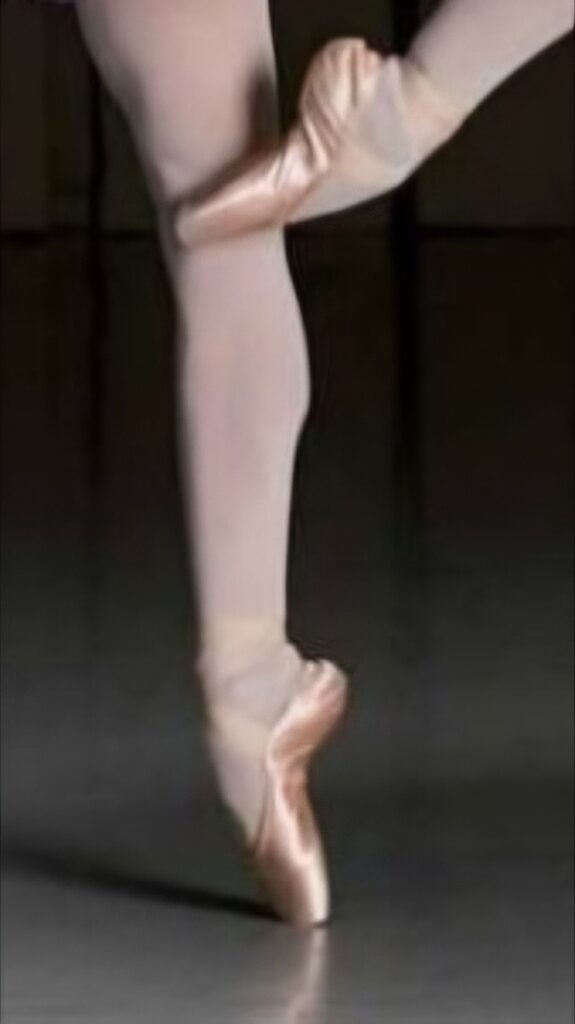
Before the holidays, I talked to my tutor about how I would go about making my ballerina out of clay as I was new to working with it. She said when we come back from the holidays we could have a go at air-dry clay which I never have used before so it would be a first for me. After coming back, we got out the air-dry clay and began discussing what I wanted to create and how to go about it. First, we began scrunching up the newspaper into balls, then using masking tape, we wrapped it around the newspaper so it wouldn’t move out of place. I then began assembling the different balled-up newspapers together using the tape to squish it all together. I then tried bending it to the shape of the shoe and even used wire to closely create the shape I wanted it to be. Unfortunately, I forgot to take a picture of the process however I’ve taken pictures of when I start using the clay. I found newspaper to be harder to control as it’s quite firm and not shapeable however, due to the shoe being big and how I can build upon the clay, it didn’t really do much to sabotage how I’ll be making the pointe shoe. After that, I gathered 2 types of references to see how I would make the pointe shoes. Below are the 2 references I’ll be using. The reason for this is that the left-hand image has a clear shape of how the side would look like and how the back is supposed to be shaped. The right-hand image also helps me with the shaping of the pointe shoes. I feel like the newspaper is too tough to create the shape I want when I make my lifesize ballerina and due to how the masking tape would hold it up, I fear it will be too flimsy so I might try to find an alternative or stick with newspapers as I’ll be covering it in clay anyways to help the structure and create my ballerina. I also need to plan out how I’m going to make the body of the ballerina and what will hold it up which might be done with wire as it’s solid and can be bendable to the shape I want it to be. I’ll get my pointe shoe test done then I’ll decide if I’ll be taking it further or not.
Here is when I began assembling the clay together to make the shoe. I was told by my tutor that I needed to flatten out the air-dry clay into a thin layer before applying it on top of the newspaper. This way it will stick on better and won’t be chunky. I applied the clay on top of the molded shoe shape and began smoothing it out onto the surface to make it stick to it. I even used a bit of water to help smooth it out. I then began scoring (a method where you use the clay tool and do some cross-hatching so the clay will gently embed itself into the gaps and stick together) and flattened out another piece of clay before layering it on top of the scoring and the unclayed bits of the shoe. This helped me join the clay together and to build the shoe shape like I wanted. I kept layering clay on top of each other to cover the newspaper and the wiring so it’s not visible anymore. After I had done this I kept glancing at my references and to see how I would form the shape of the shoe. I decided to start with the heel as it was more prominent and began layering on top of it. After I had clearly made the heel I began to start to make the shoe shape and tried adding the line around the shoe on top to differentiate between the shoe and the girl’s skin.
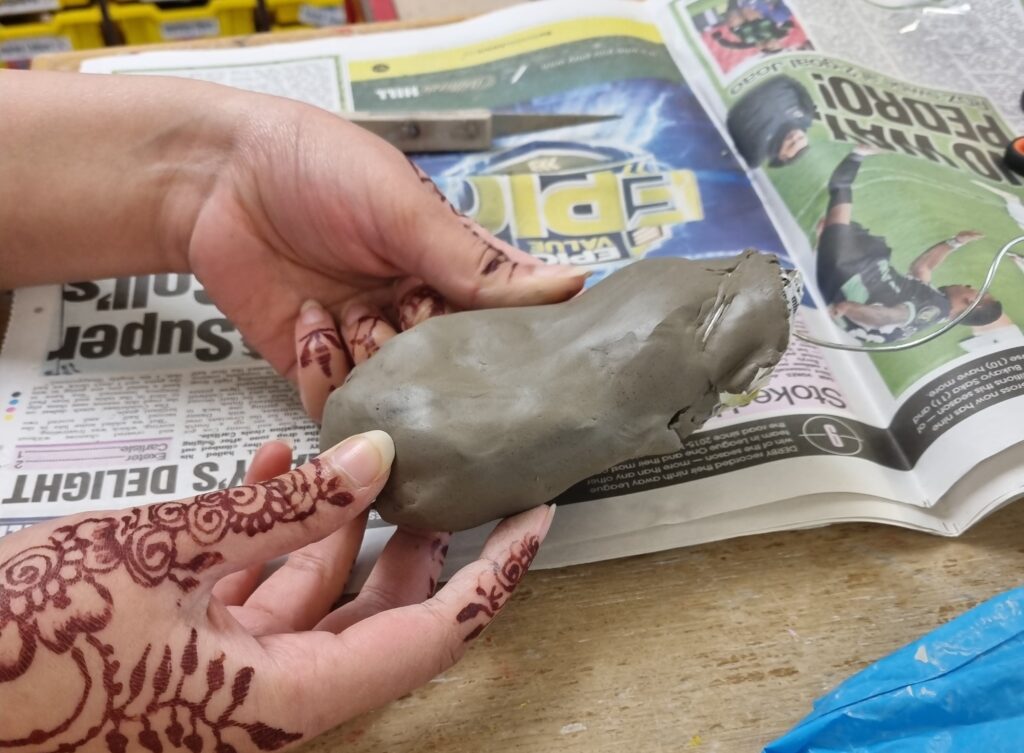
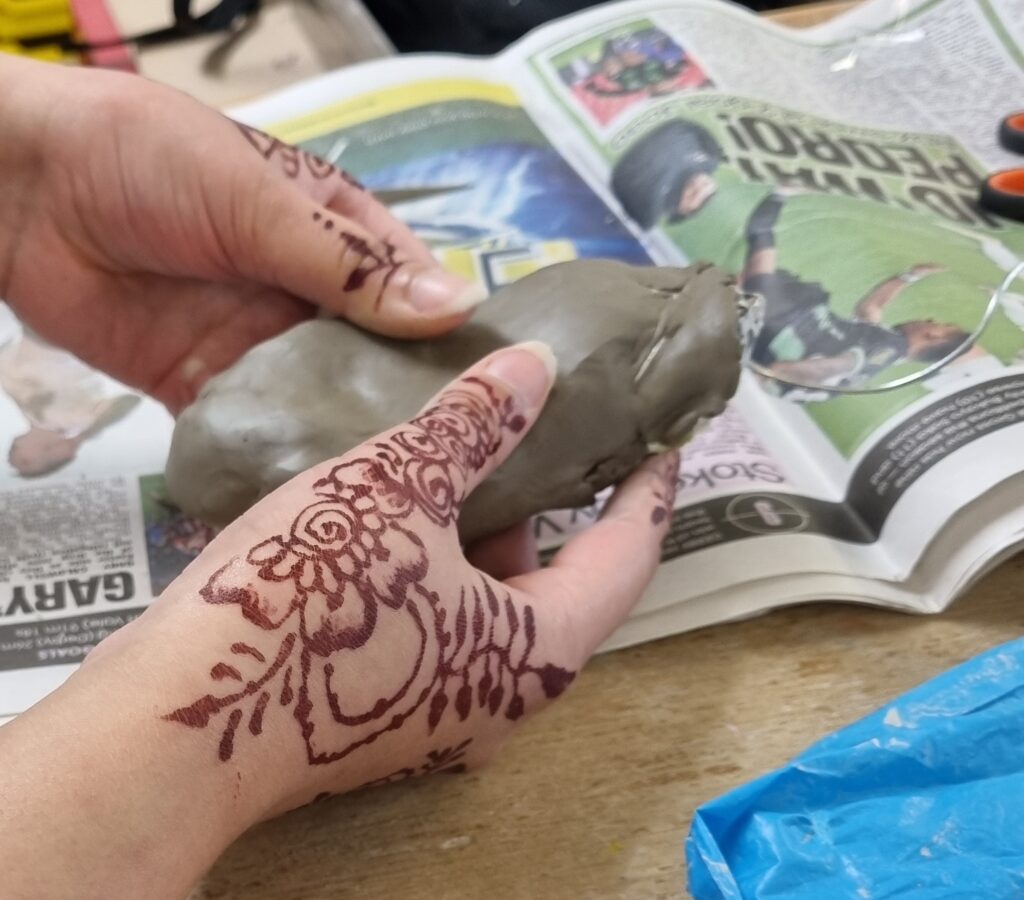
Here is the finished result on day 1 as I didn’t have enough time to complete it. I will be completing it after our trip to the sculpture park and begin painting it and seeing if it holds up. However, unfortunately, an issue had arisen. There wasn’t enough clay to make a lifesize sculpture, even though I was going to downsize it, there still wasn’t enough to make a human figure. I contemplated on what I wanted to do as I felt really compelled to use clay for my final piece as it shows the fragility of the ballerina and how clay is easy to crack to show that she’s losing her identity and she can’t keep the facade up any longer. I thought about other different methods such as modroc like I did for last year’s final piece and I even tried asking if the college was able to buy more clay which my tutor said that this clay was the only clay left and they would buy the next clay for next year. I was heavily conflicted and the tutor also told me if I wanted to go through with clay I’d have to order it myself.
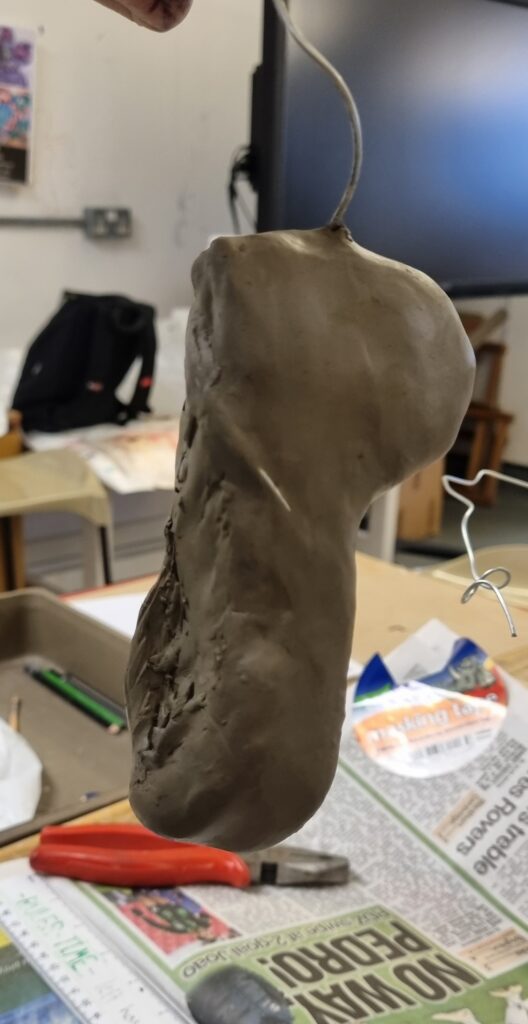
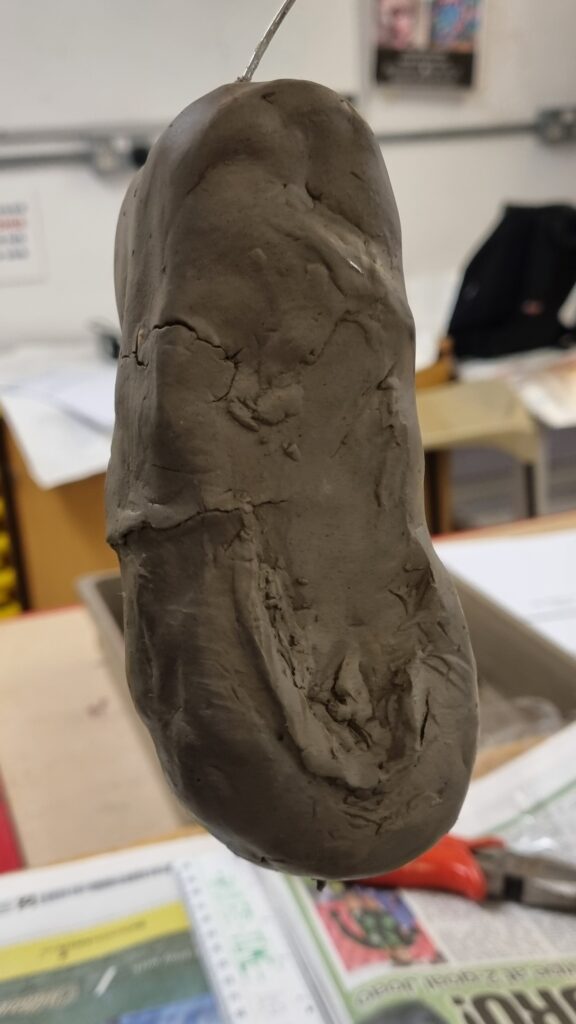
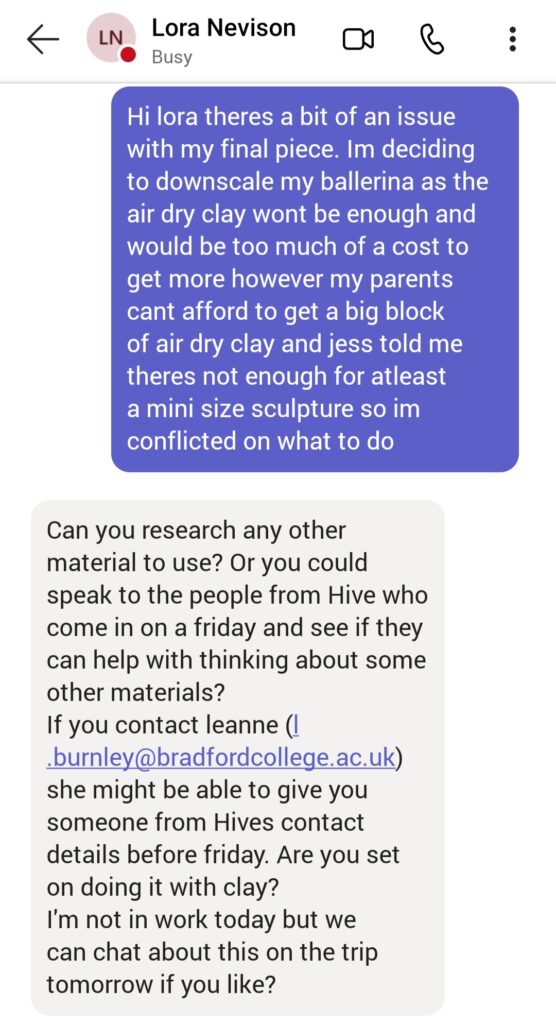
I couldn’t buy clay as it was expensive especially if I was to make a life-size sculpture so I decided to ask another tutor for help on this matter.
Sculptural Park
After having taken pictures of the sculpture park, I went to find 2 of my tutors who said they would be able to discuss my final piece. We went back and forth on ideas which got my fashion tutor to say that I should just make a tutu itself and maybe embed words into it that link to the mistreatment of ballerinas which I thought was a good idea as it links to the fashion aspect of my project however I was very adamant on using clay for my final project especially because I love working with 3D elements. In the end, even after discussing ideas, I hadn’t come up with a new concept so I’ll further expand on this and sketch out new designs seeing what would work out best for me and how I can use the remaining clay to make my ballerina.
Here is the PowerPoint where I put all the images I have collected on. sculpture park.pptx
Talking to peer
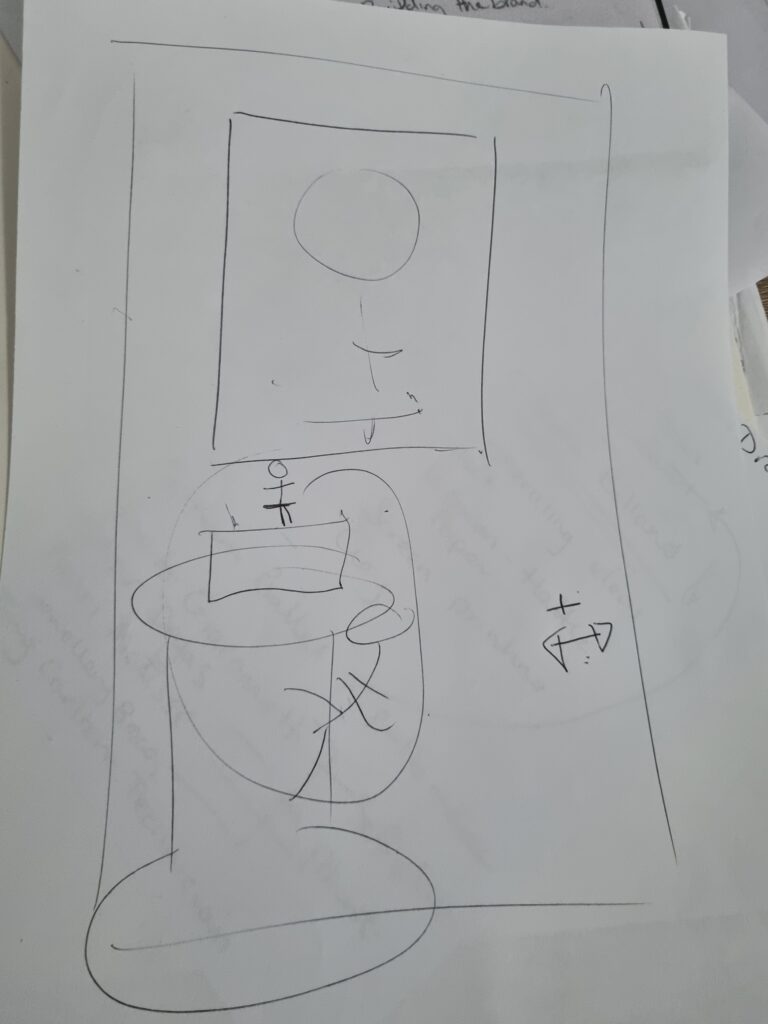
Due to having to change my final piece as there wasn’t any clay left and I couldn’t afford to buy more, I had to create more ideas and change my final piece. I decided to discuss with one of my peers about my artwork to gain ideas. We went back and forth with ideas and eventually, I came up with an idea and will sketch it out and talk more about it separately.
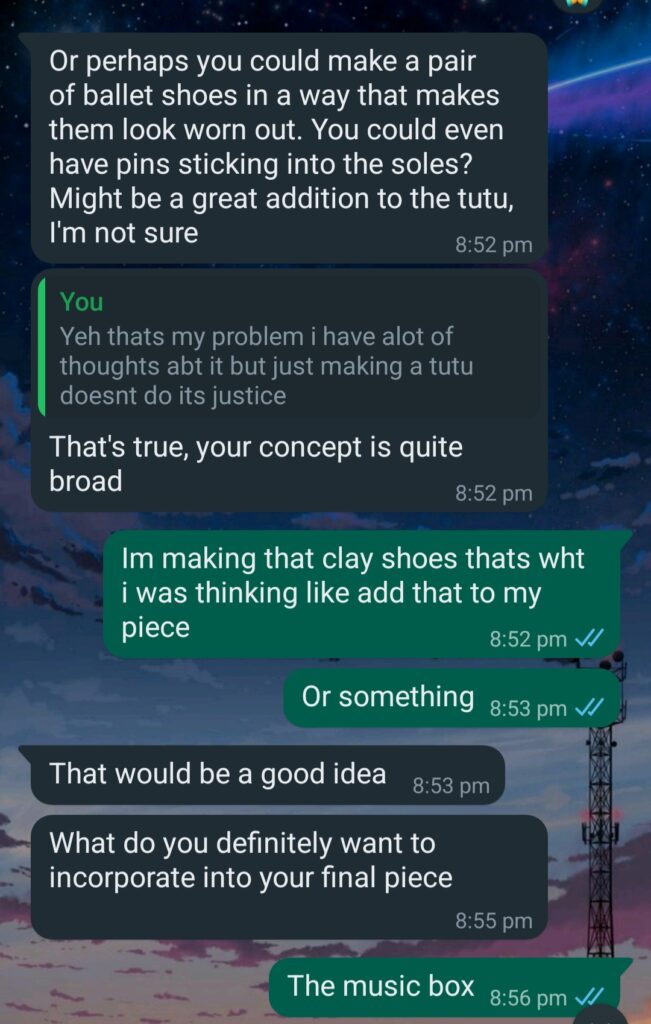
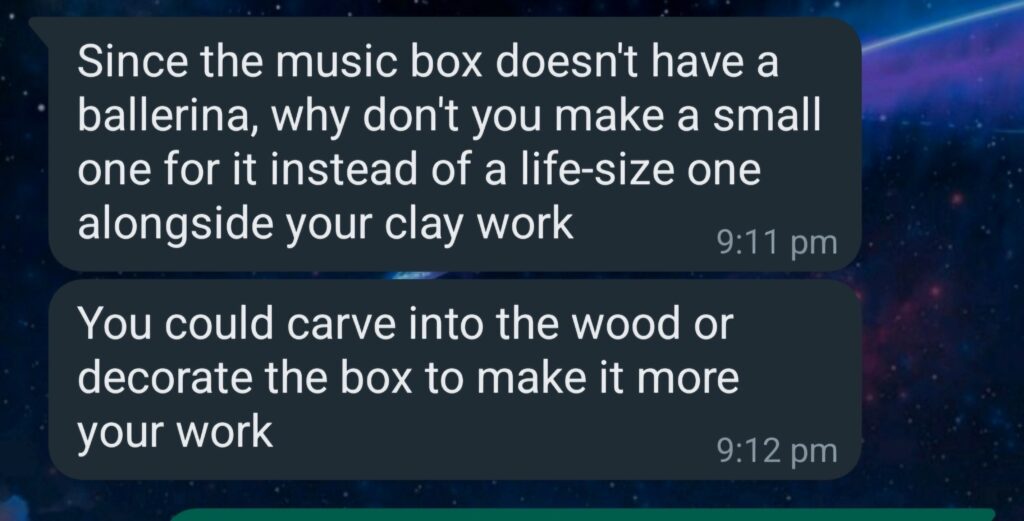
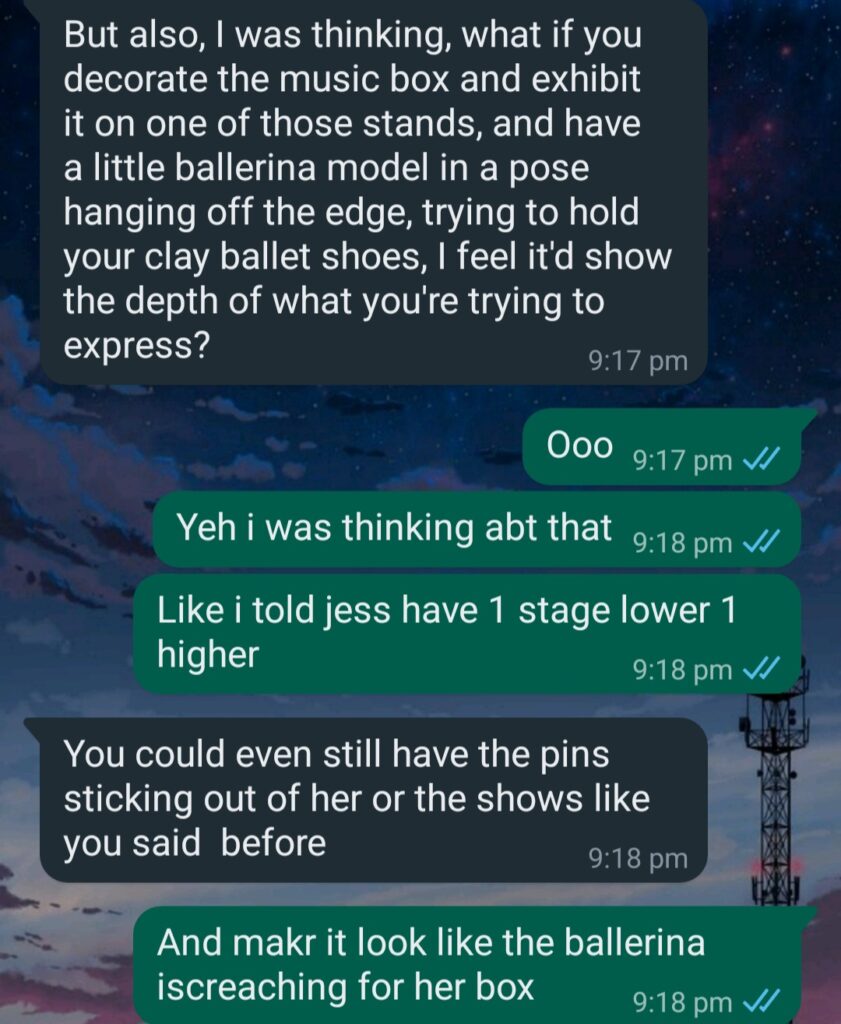
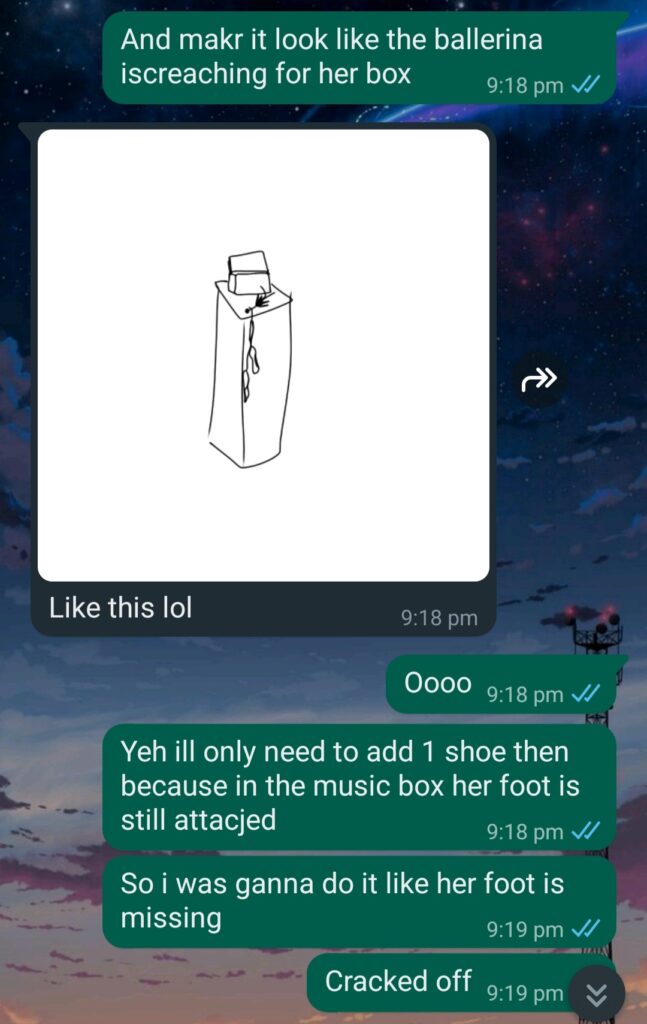

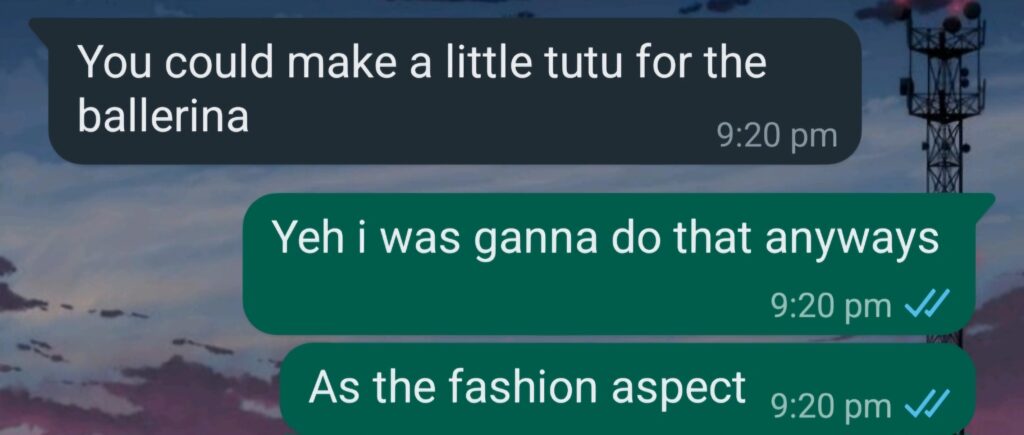
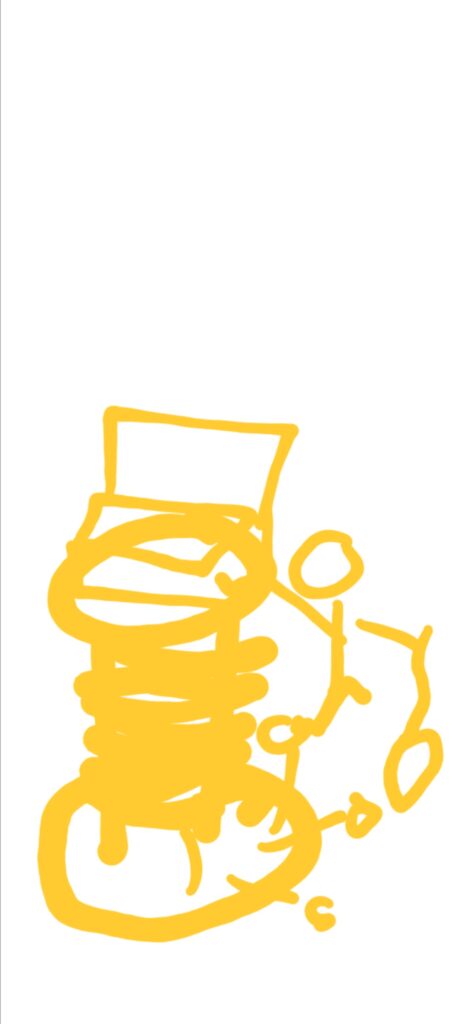
This was the quick sketch I did for my new concept just to show my peer what ideas I had come up with.
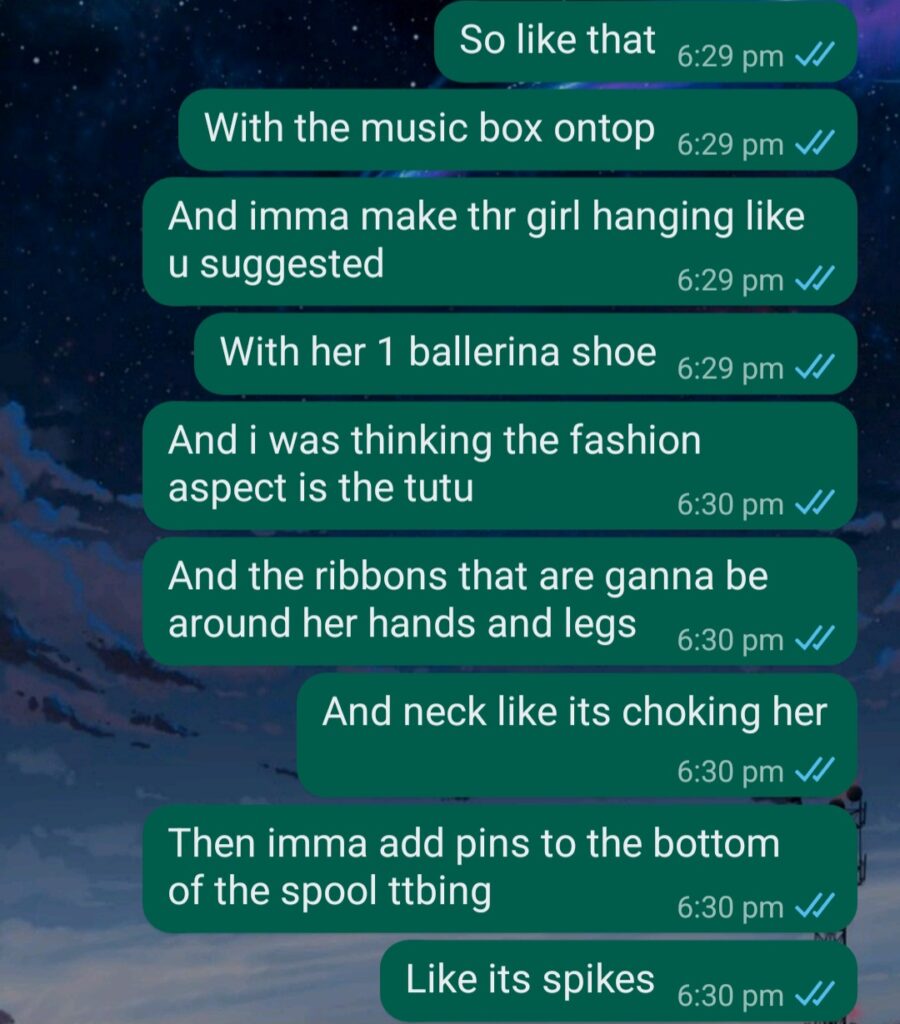
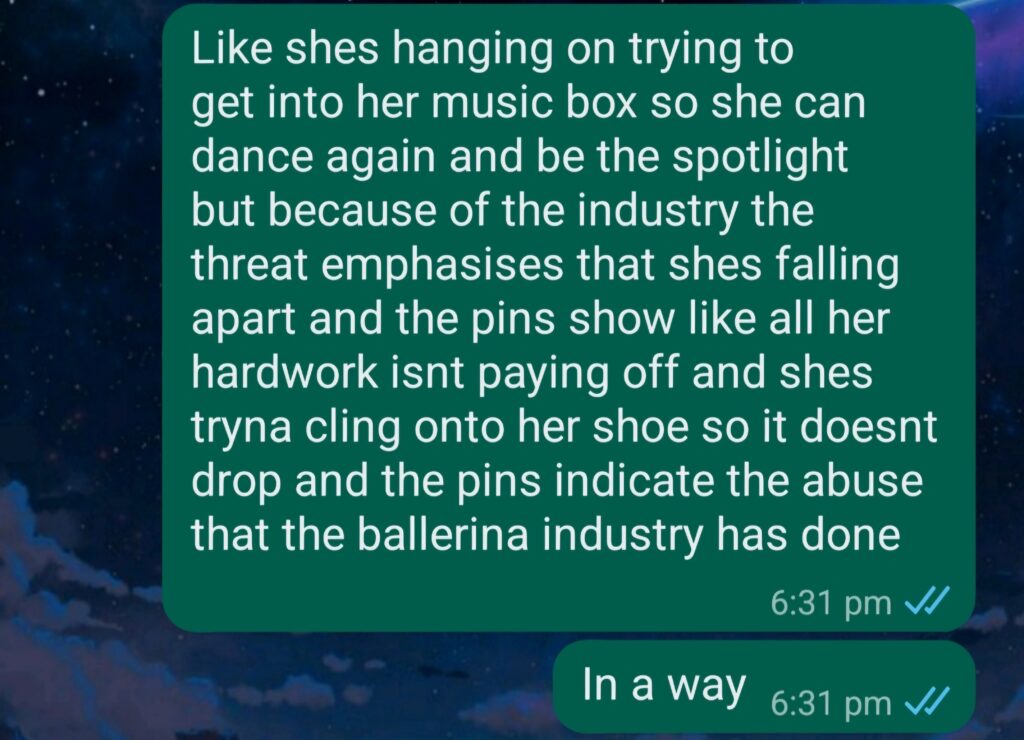
After discussing with my peer, I decided I wanted to make a ballerina hanging from a big spool with the music box on top. I’ve already explained most of my ideas in the screenshots above but I am still going to make the ballerina out of clay and still have pins but they will be coming out from the bottom of the spool. It’s not a solid idea however I’ll be making sketches of my final piece and planning out what materials I’ll be using.
Week 11 Overview
Week 12: New concept
Developing clay shoe
After having trouble with my new concept and having other tasks in the way, like visiting the sculpture park, I had to wait till next Thursday rolled around to began adding onto the clay shoe. Here are the pictures I took to show if anything had changed while I waited to develop the ballet shoe further. I can see the cracks are more prominent and I can see the newspaper and wire sticking out a bit showing that I need to cover the shoe in clay more.
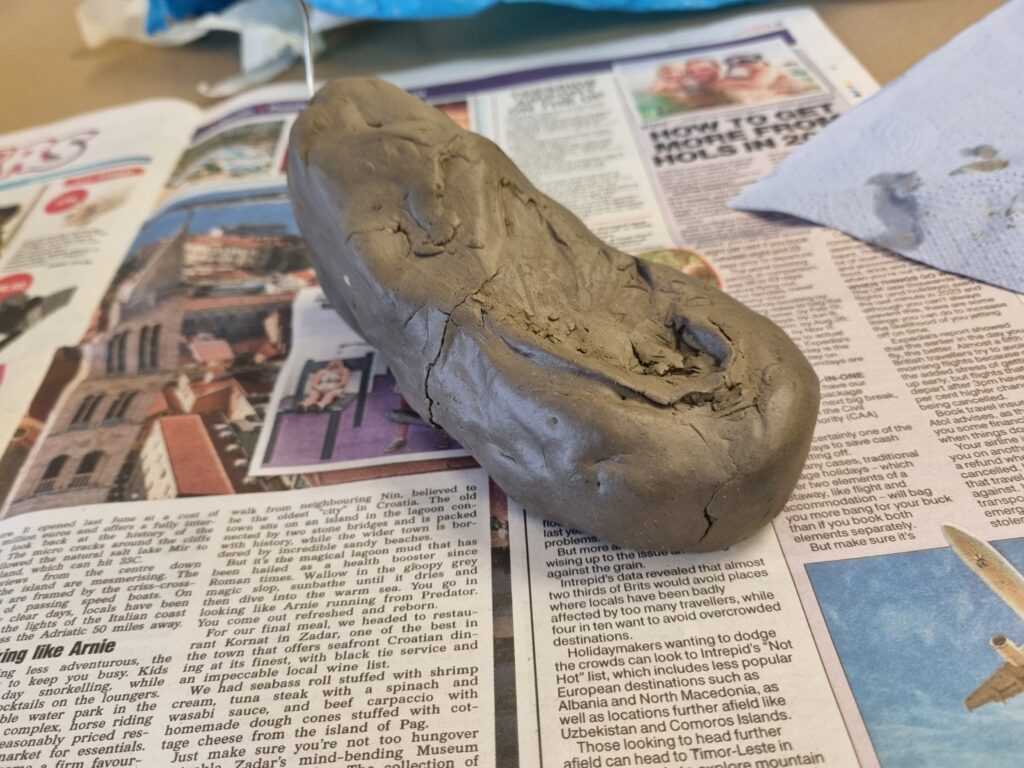
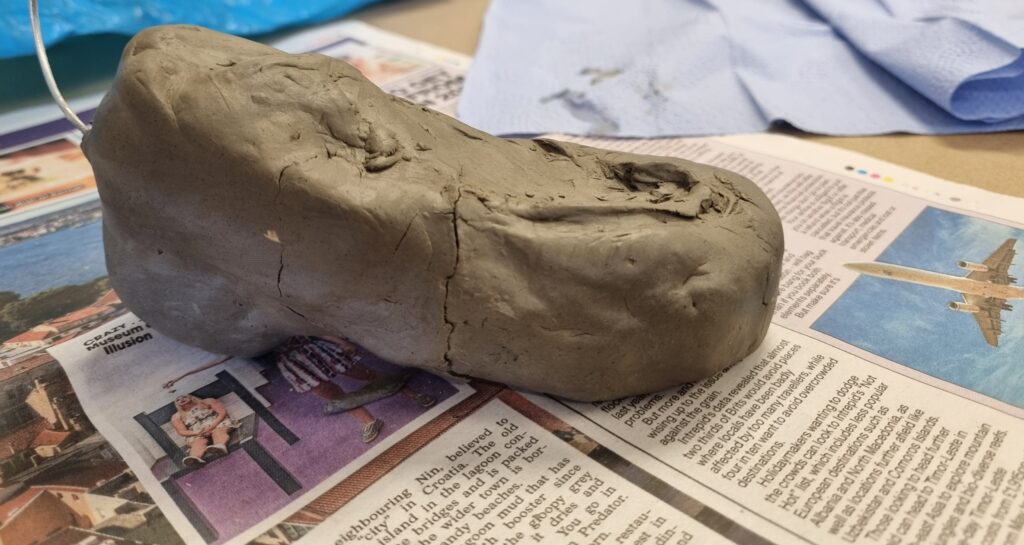
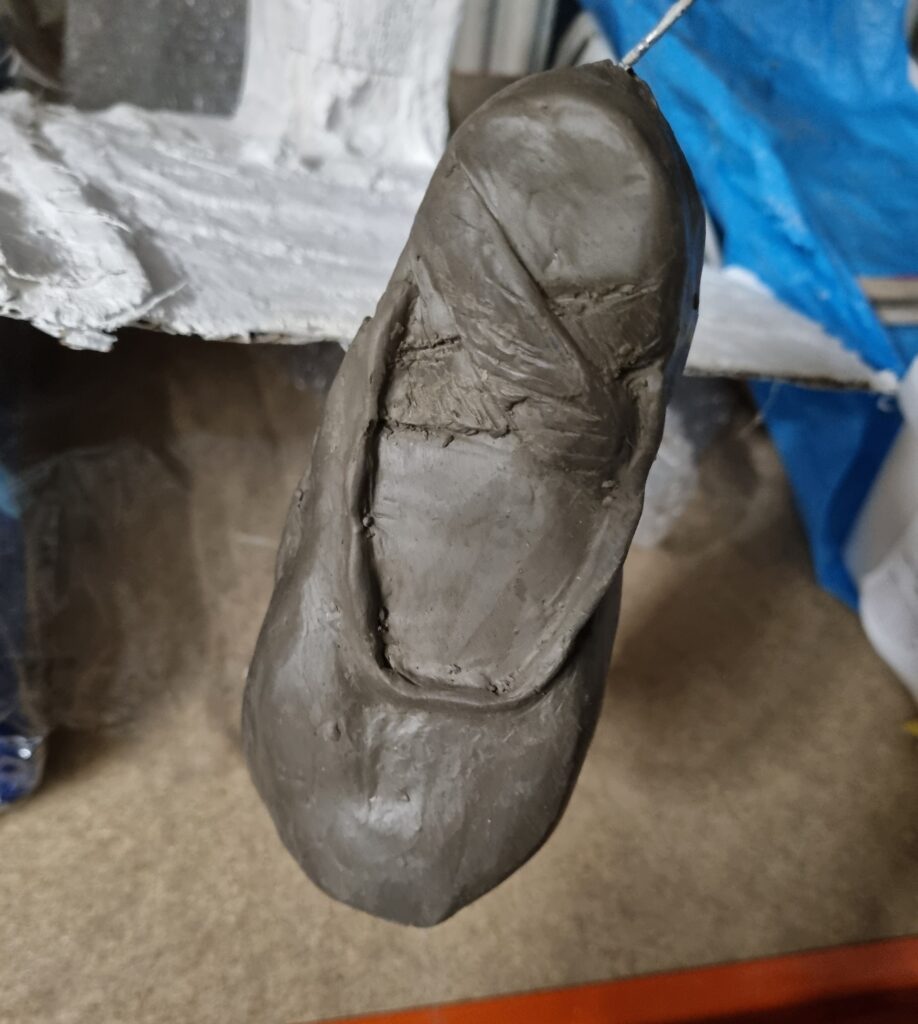
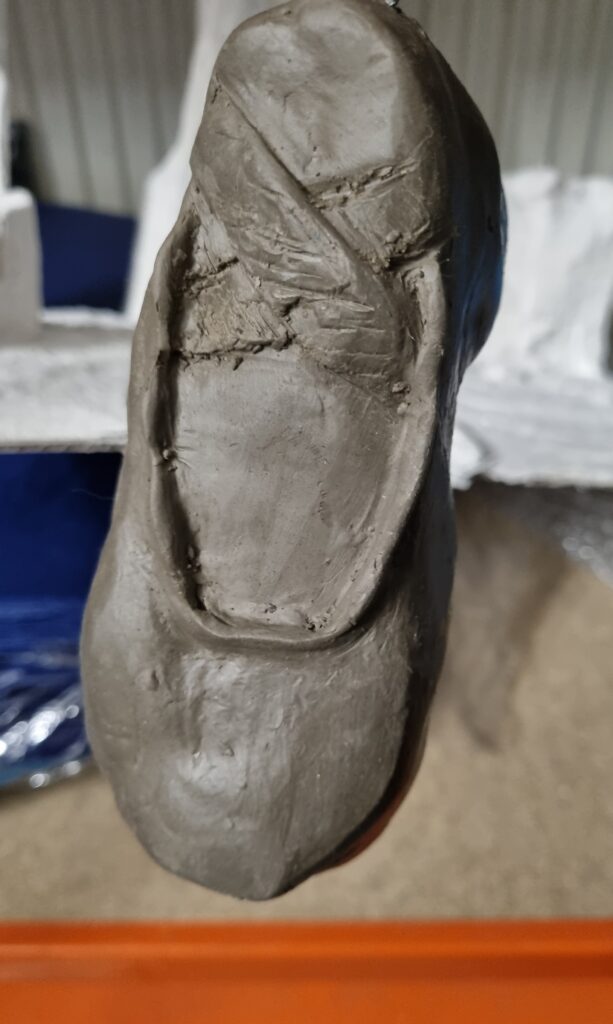
Unfortunately, I didn’t take any pictures or videos of the process of the clay as my hands had clay stuck to them and I didn’t have any peers around me to take pictures either. However, this is the final product of the shoe. I added more clay to it building up the layers so the newspaper and wires don’t show up underneath. On the front side, I created a crisis cross pattern which is supposed to replicate the ribbon that would be attached to the shoe. I also made the end of the shoe more square as the pointe shoes don’t have the end of it round but rather flat to balance upon however, from the front, you can’t tell if it’s more flat at the ends as it looks more round from the top.
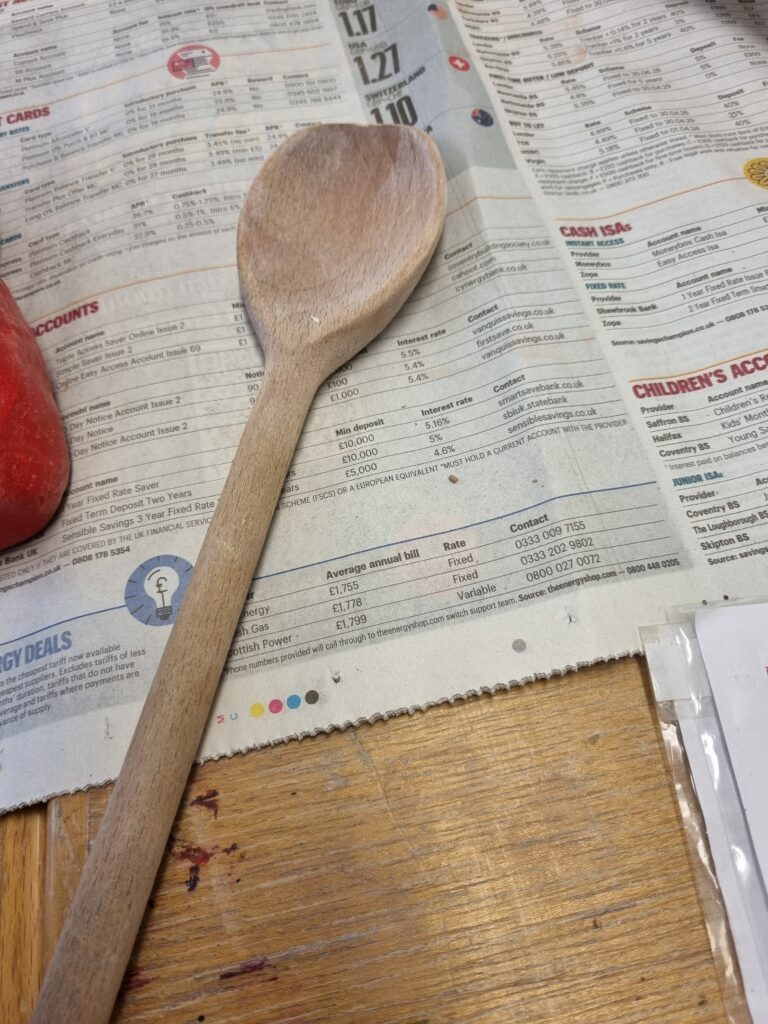
Here are the pictures I took from the side. In the left image, I decided to add a cracking effect to see how it would hold up and if the paint would look ok on the clay. I wanted to make my ballerina crack because she is fragile and slowly falling apart which fits in well with having the cracking effect whereas in the right image, I didn’t add any cracks but I did use the clay tools and made little scratches to show the creasing of the shoe just like in the references. I wanted to see as well if little details will be covered up by paint or by other mediums I’ll be using. I used 2 types of clay sculpting tools which I didn’t photograph but it resembled the 2 tools below. For the wooden one I typically used it to smooth out edges like for the line that goes across the front of the ballet shoes as using my hands wasn’t enough. For the pink tool, I used the bottom end part for the sharp edges that needed to be smoothed down or just generally smoothing the clay out if needed too.


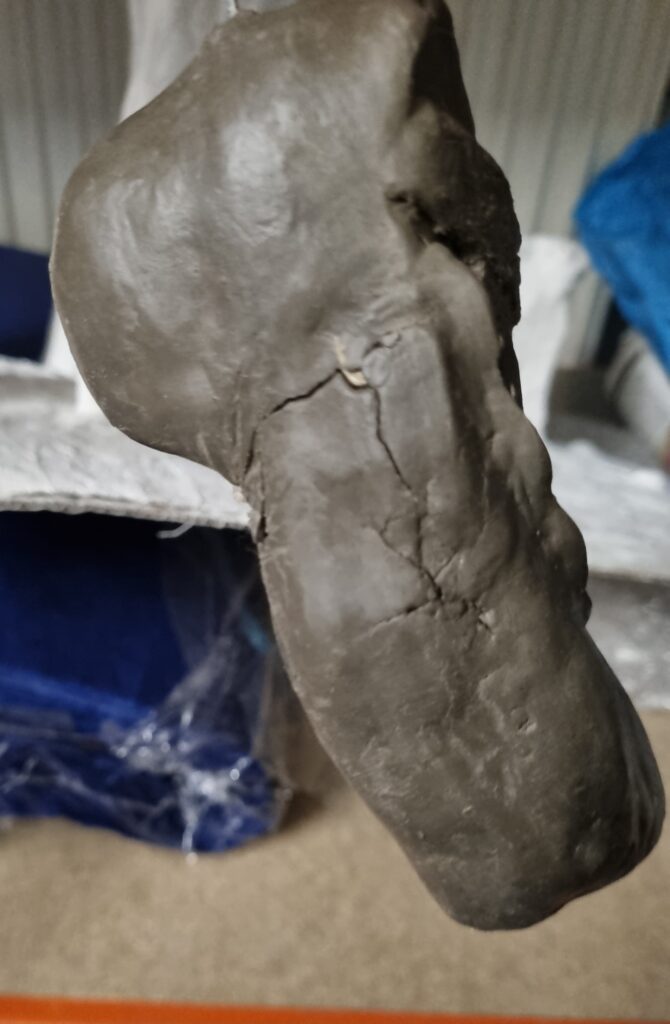
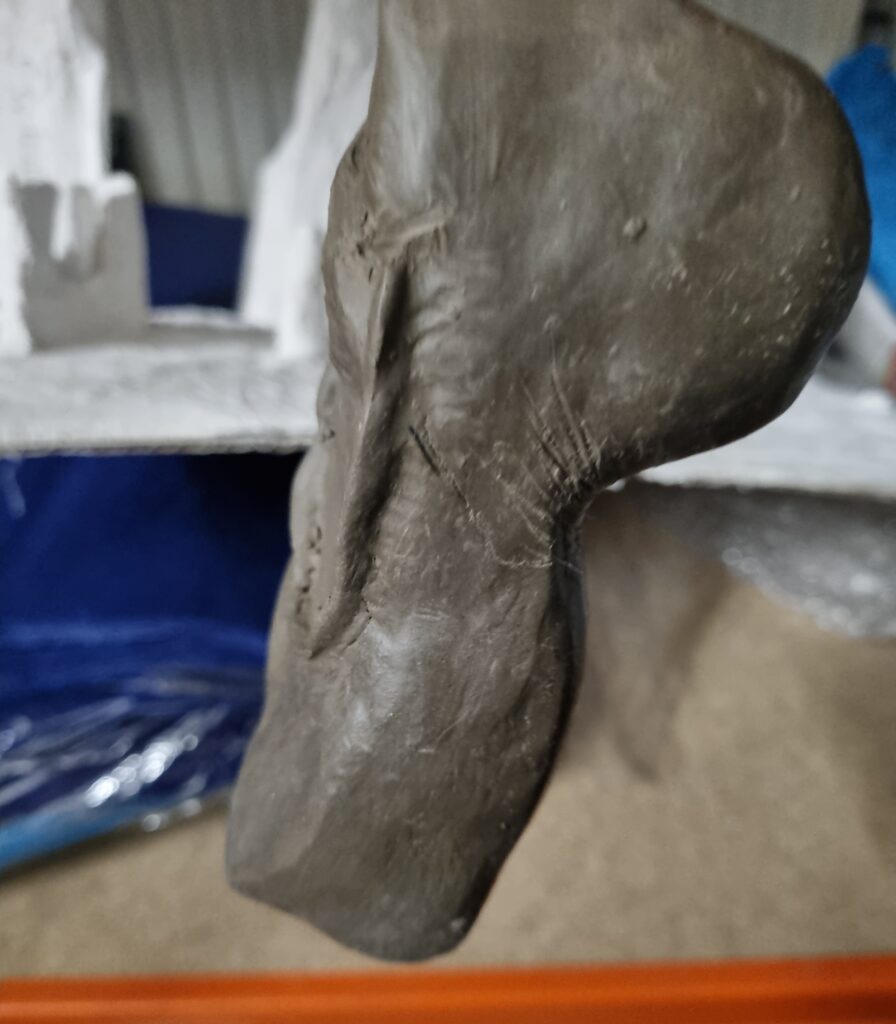
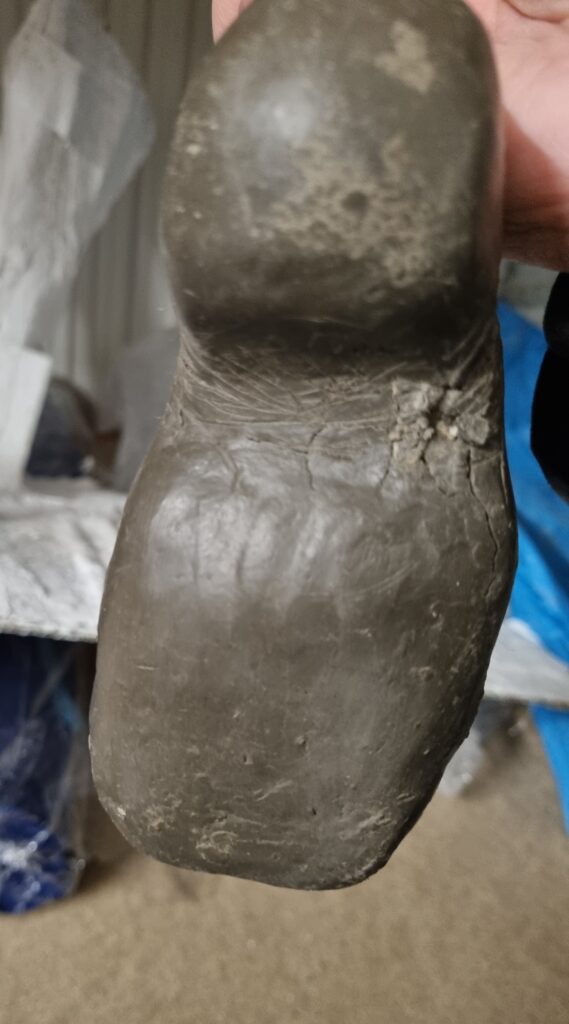
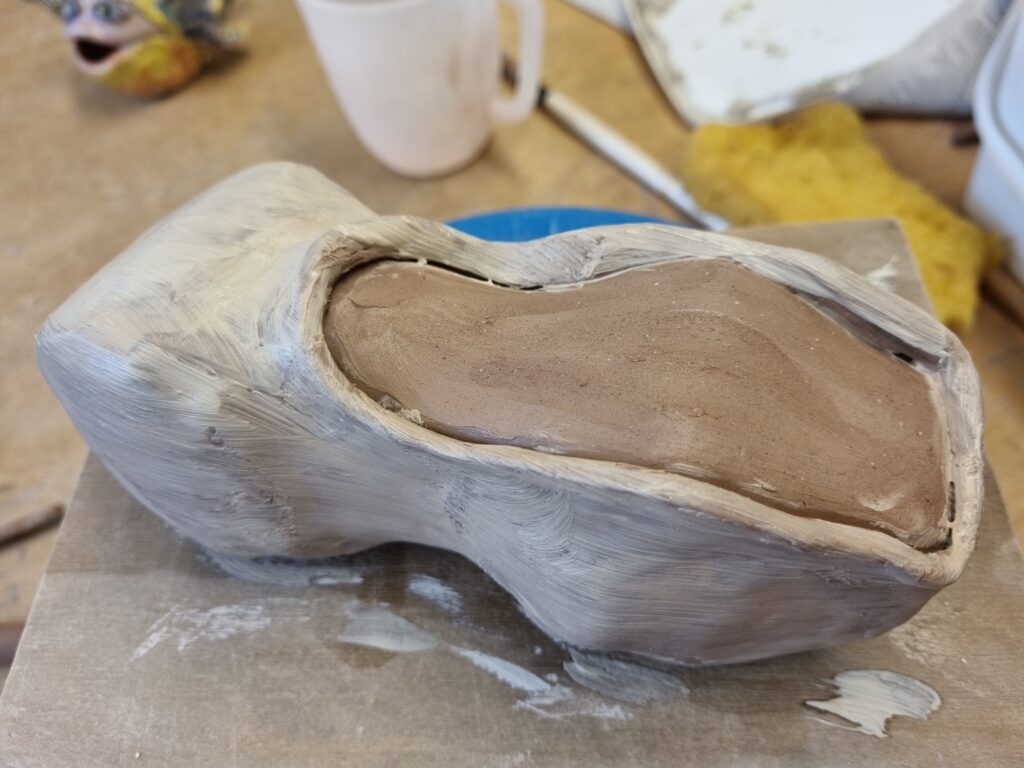
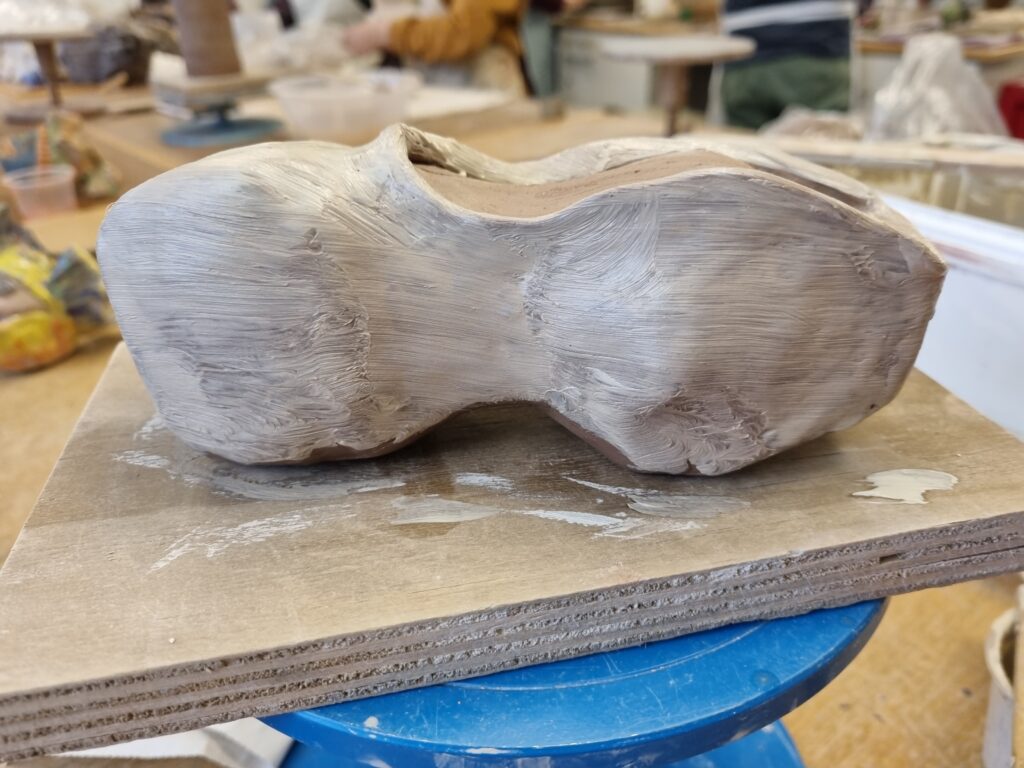
Here is the back part of the clay pointe shoe. It’s not smoothed out well and the little bend in the foot kept cracking a lot. I decided to leave it like that just to test how the endurance is when I paint it and how it will hold up when it dries. In the end, there’s lots to improve and build upon. How would I deal with the cracking if it’s severe? What other equipment could I use instead of newspaper especially if I can’t bend it to the shape I want? What other types of clay can I use if I run out? How long will it take for me to make the clay ballerina? I had a lot of questions that I need to figure out the answer to and will do when I finish painting this shoe as I want to see the end result and see if using clay is right for me. What I liked about this process, was how buildable the clay was and no matter how many layers I add to it, it didn’t budge. I like how shapeable it is too and how it easily dries without having to put it in the blast machine like the pottery type of clay. Next week I plan to paint it and finally decide if I want to use this type of clay or not. However, I am on a time limit so if I’m to change up what medium I’ll be using to make my ballerina, I need to decide quickly. I also will be linking my clay work to one of the artists I have researched named Alberto Giacometti so I’ll be focusing on how to make the physical appearance resemble his artwork.
Finding Plinths
Due to changing up my final piece, My new idea revolved around creating a big spool. The reason for this is because of how I want the spool to represent the ballerina’s life unraveling away. The facade that she puts on is slowly slipping away as if she’s hanging on to the thread of life. She’s slowly losing her soul as she dances because of how abused she was in the industry. When she dances she feels nothing as the thread that ties her body to her humanity slowly unravels itself and becomes nothing. The big spool has a deep meaning but on the surface, to the viewers, it might convey something entirely different as the big spool might be the fashion aspect of the piece with how the thread might link into how her tutu was made or it could represent a large building shes clinging onto but in the shape of a spool. The viewers may not understand the meaning behind it at full glance but that’s the illusion I’m going for. When you look at it you’re captivated by its big presence and how beautifully adorned it will be with the jewelry and music box but if you look closely at the girl, you can see she’s clinging on for dear life which shows some of the negative sides of what the art piece truly wishes to convey to the viewers.
My tutors helped me with this as I didn’t know what to use for the base of the spool. They told me that there would be loads of unused plinths I could borrow so I went in and looked for the perfect plinth but instead I decided on these 3. None of them were initially perfect as 1 was too short, 1 was too long and the other one was too large however, I would decide which one to choose once I asked one of the technicians to make me 2 round cylinders which a tutor discussed with me on how I would go about this.
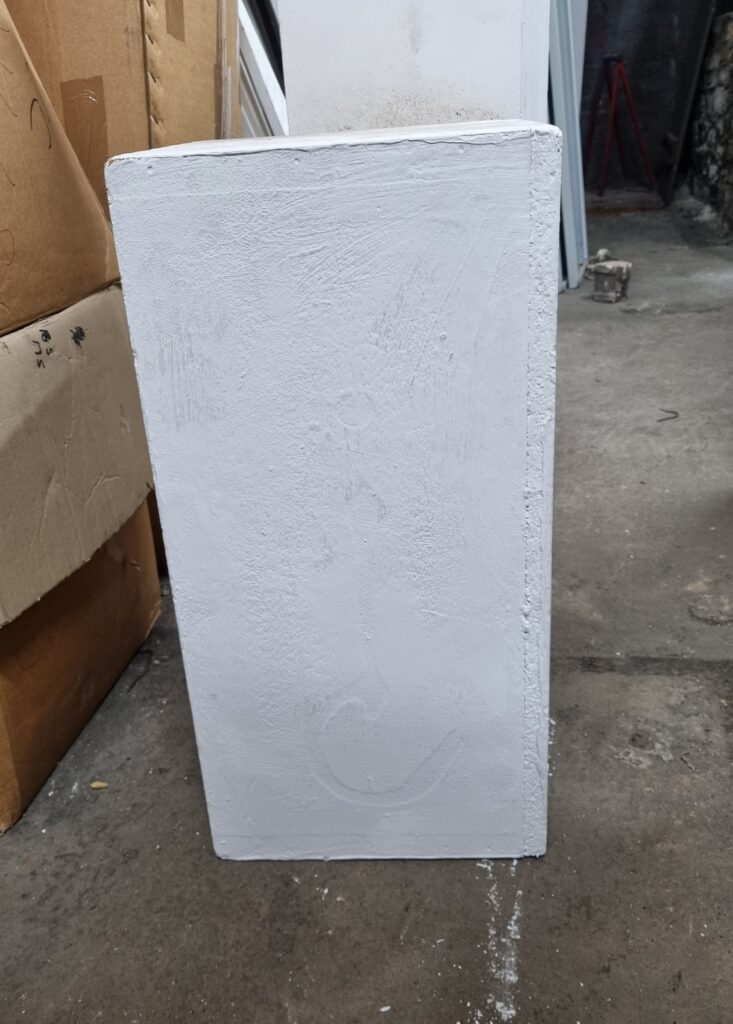
Too small.
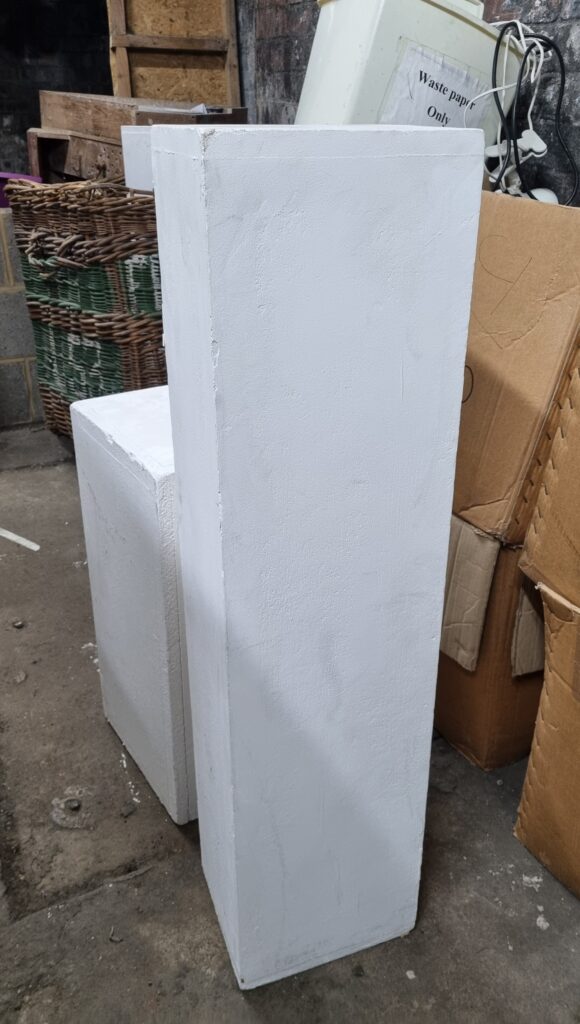
Too tall.
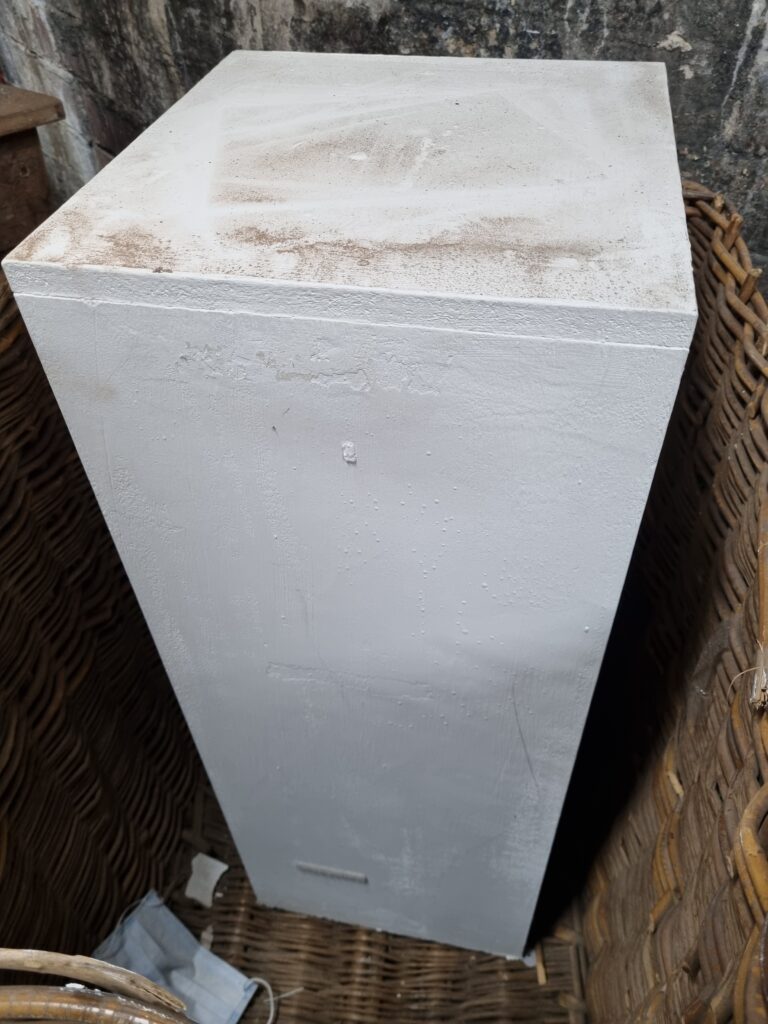
Too large.
Cylinder boards
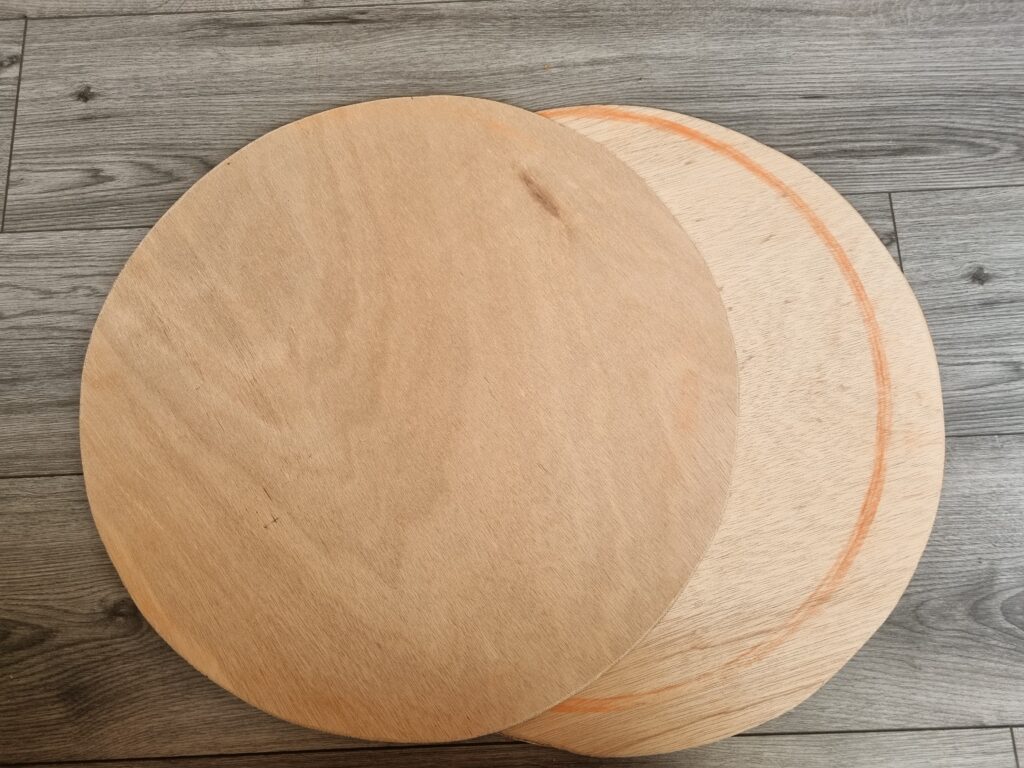
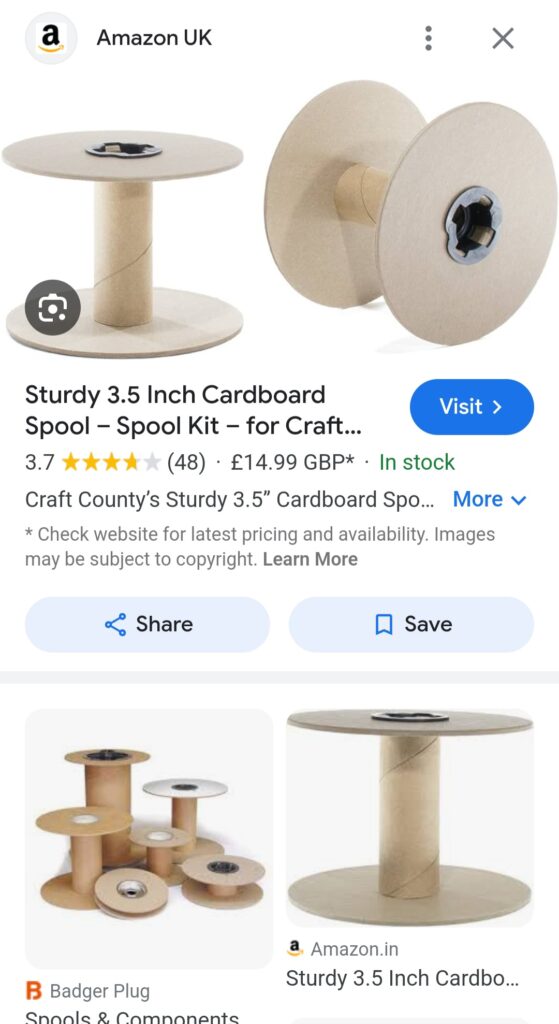
Here are the 2 cylinders the technician had given me for my project. The measurements I gave him were around 21.5cm length-wise and width-wise it would be 9cm. I have a reference photo below of how I want the spool to look and why I needed these cylinders in the first place. I am now going to sand the edges down and then apply wood varnish over it as I want it to become the colour of mahogany which in my opinion contrasts well with the pink as I didn’t want to keep this same dull wooden colour which in a way washes the pink out when I will wrap the thread around the plinth.
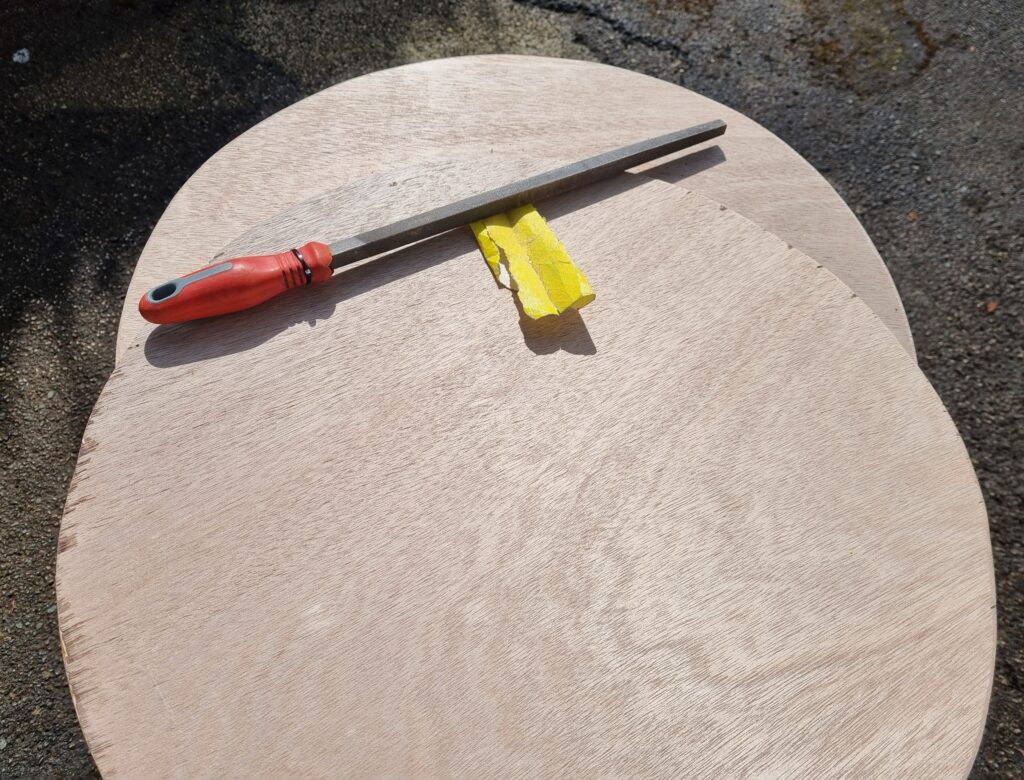
Here is when I began smoothing down the edges with sandpaper and this other tool my dad had given me. The reason I was sanding down the edges was because it was rough and I wanted it to be smooth so if anyone were to touch or move it, no one would get splinters. It would have fit in with my theme better if some parts were cracked off, however, to the viewers it would be dangerous and safety comes first. I also sanded the flat surfaces of the cylinders so the wood varnish would stick on better. I decided to record 2 videos of me sanding down the edges for more proof and to show the steps of my process.
Here I began coating the wood in wood varnish. I recorded a video of me starting it off. I quite enjoyed the process and was told to make sure I spread the varnish out evenly so it doesn’t leave marks.
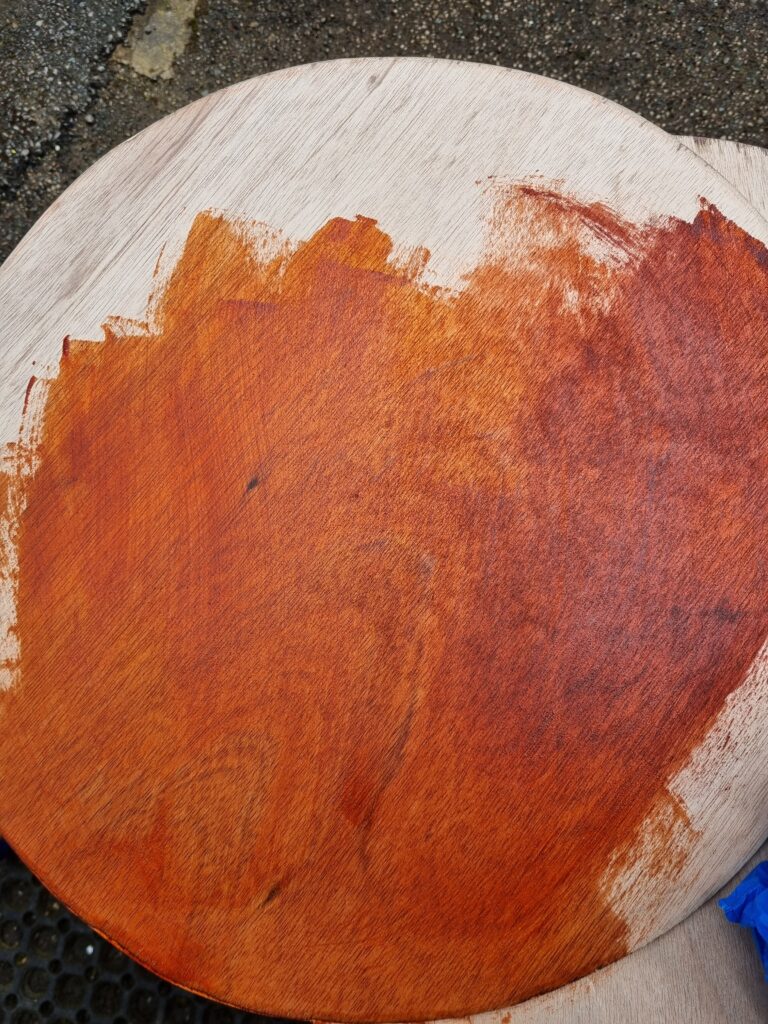
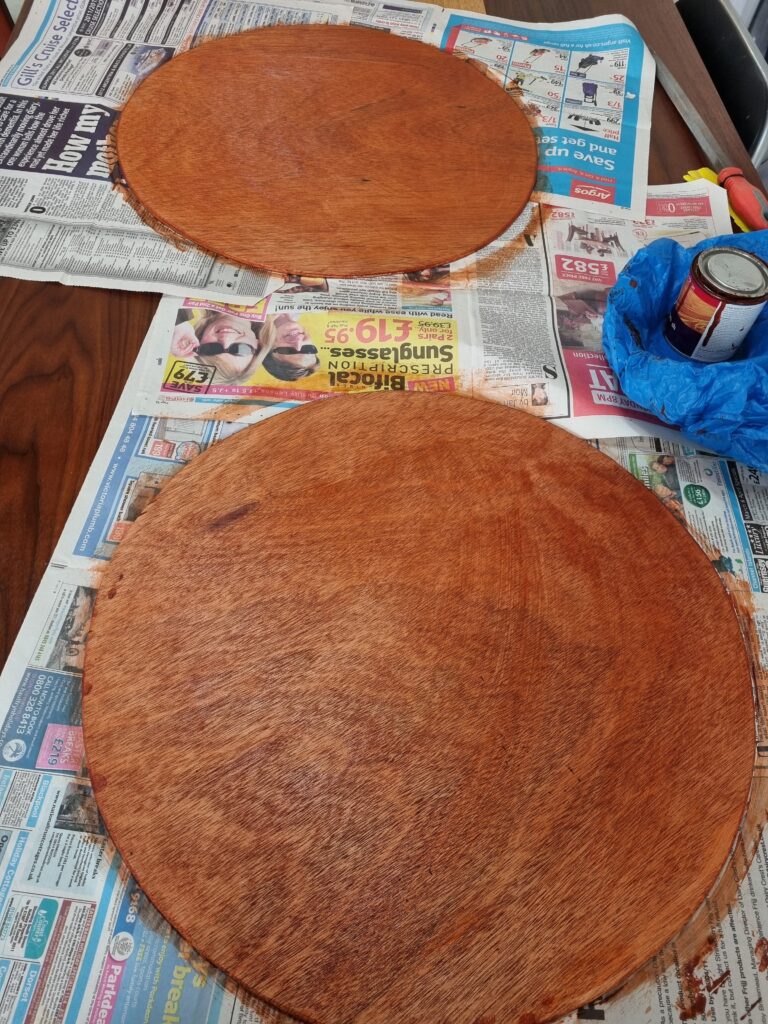
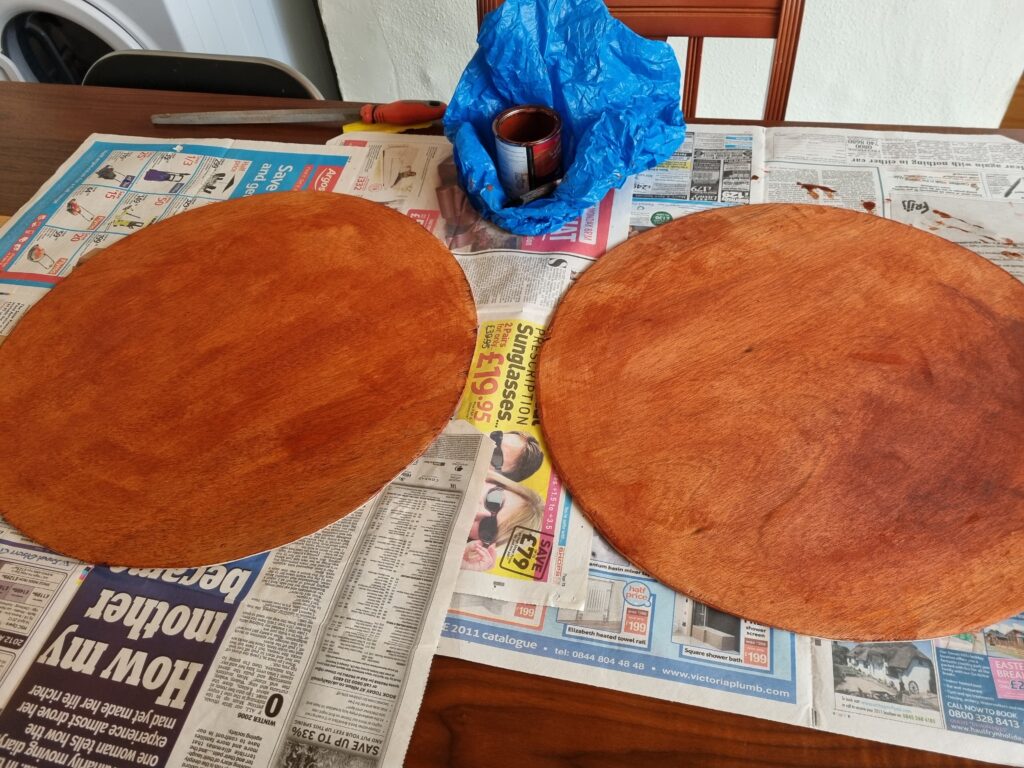
Here is the finished product. It’s quite streaky so I don’t know how to feel about it however I’ll talk to my tutor and see if there’s anything I can do with this. I might have to apply extra layers to it however I am content with the shape and still conflicted on the streaks and the coating.
Week 12 Overview
Although I didn’t do much for this week I feel like I progressed with the base of my final piece and developing my clay work even though I have been told there isn’t enough clay. Next week I hope to finish the clay shoe and to decide if I want to continue with using the remaining air-dry clay and somehow make it work. I also hope to assemble these pieces together and finally get the base done.
Week 13: Figuring the pieces out
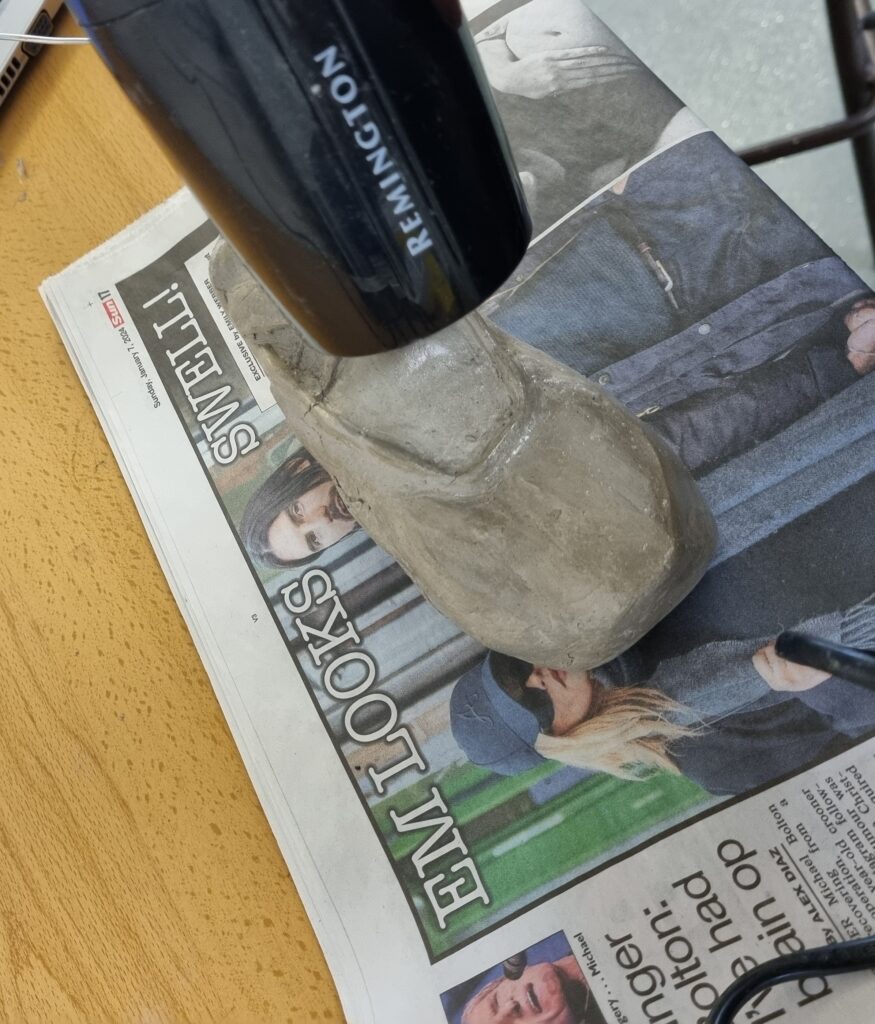
The clay shoe finally dried up and I could start painting it. My tutor told me to first mix a bit of water with PVA glue to make it more watery which I didn’t understand but she explained to me that applying a thin layer of PVA glue over the clay would stop the paint from seeping in and would make the paint show up on the surface more. After I applied the coat of PVA glue, I used a hairdryer to speed up the process.
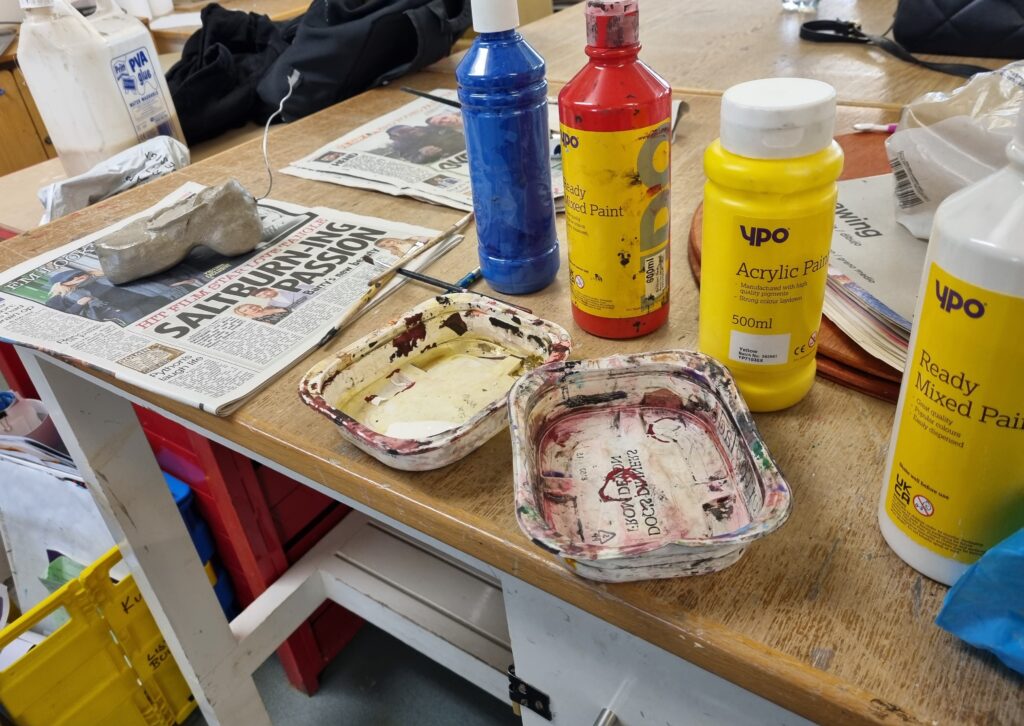
Here is where I began setting up the paints. I realised I got the wrong paints as it had to be acrylic because it works well with clay so I scrounged around for blue, red, and white acrylic paints however I couldn’t find any white acrylic which was a bummer so I had to just not use white. However in the end this was a test piece so it didn’t really matter on the colours I was going for.
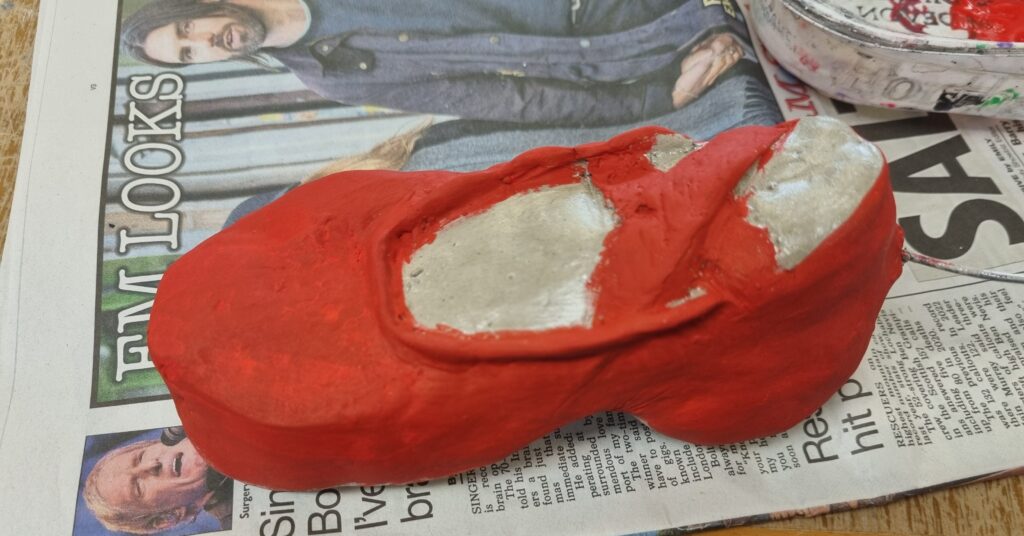
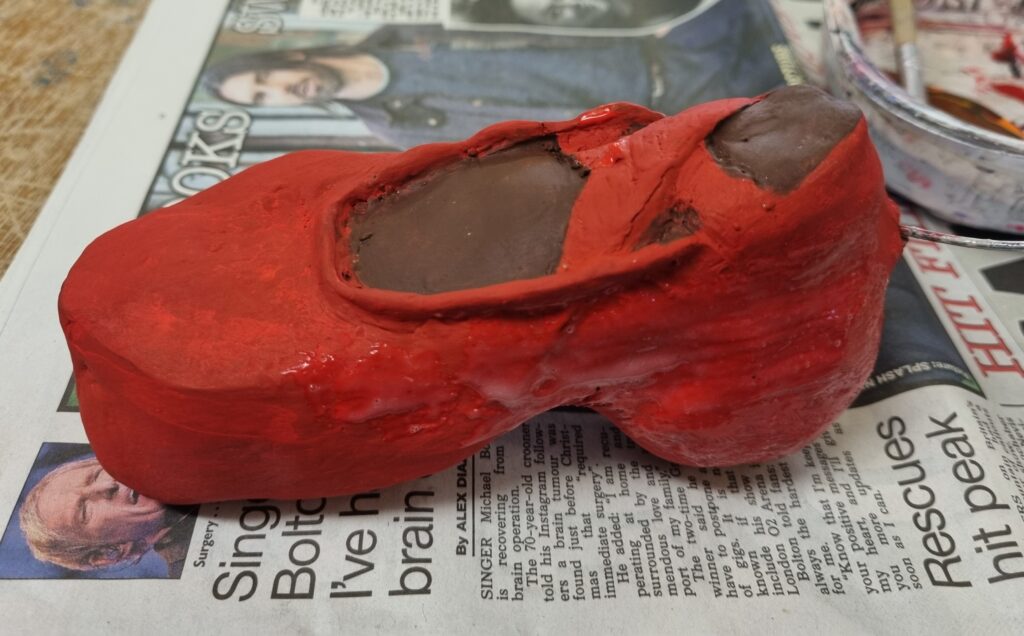
Here is where I began painting the shoe. Originally I was going to paint it pink like the traditional colour ballerinas would wear but due to not having any white, I just stuck to red. When painting it I realised it would dry up really quickly and I didn’t need to use a hairdryer or wait extra days for it to dry. The red was very bold but it looked quite dull but I think it’s because I had to make do with darker colours than the original light pink colour I wanted for the shoes.
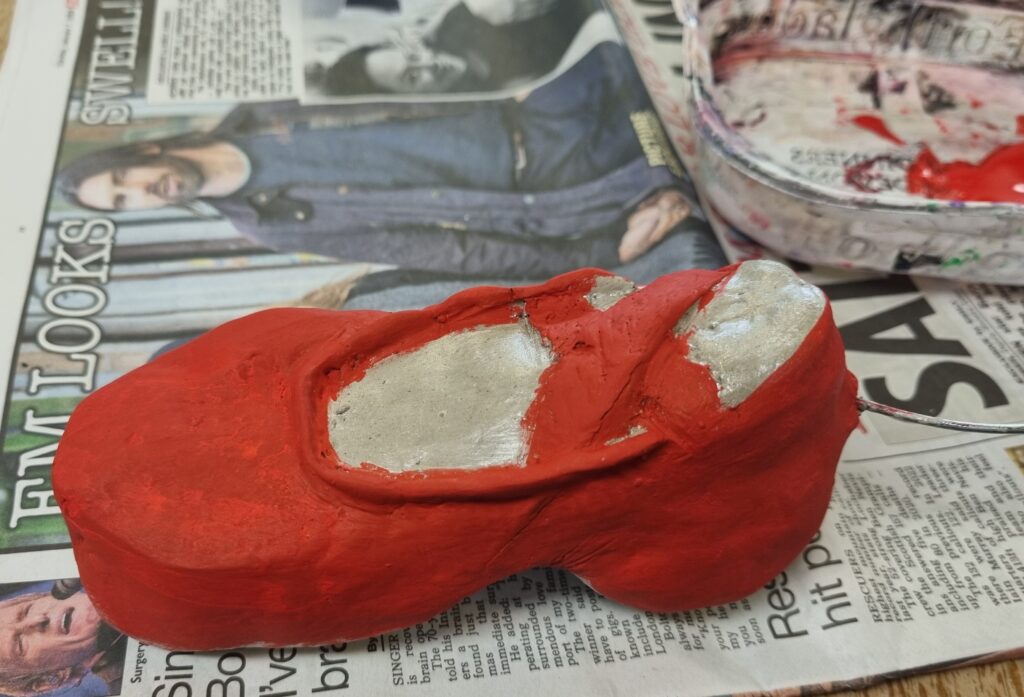
Here is where I painted the skin a dark brown as I didn’t have any white so I mixed red, blue, and yellow together to create this dark brown colour and It effectively soaked in the clay. After painting, it became clear that I’m sticking to using air-dry clay which inevitably means I’ll have to make do with the small amount of clay or I can ask another tutor for help on this issue or HIVE (a group that is renting the clay art studio) and get some air-dry clay. I am pleased with the outcome however I wanted to take it a step further and see if I can use some type of varnish to make the shoe look glossy as the ballerina in the music box kind of has a glossy shine to it just like the antiques did in the Shipley antique store I had gone too.
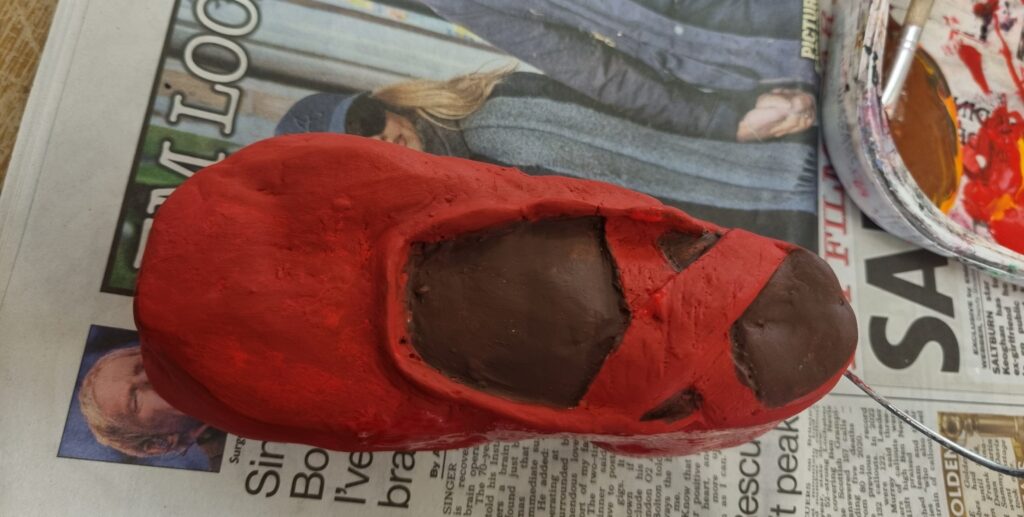
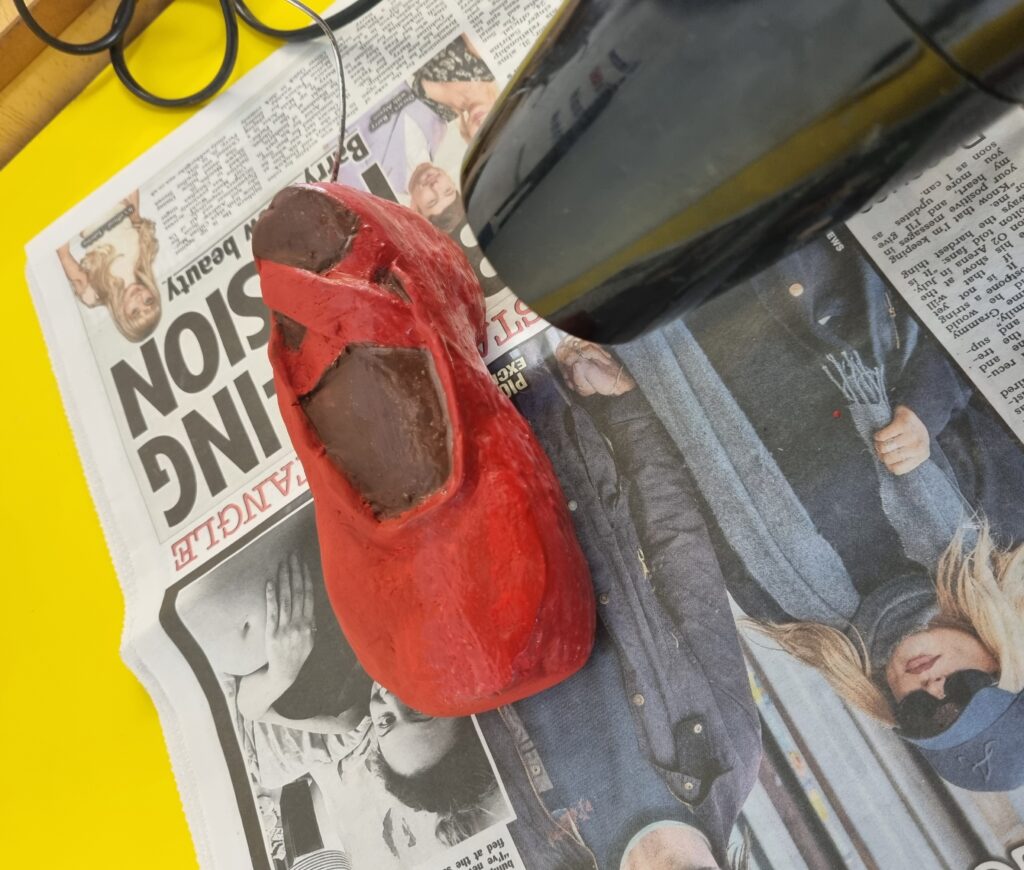
Here is where I put the PVA glue on one half of the clay shoe as I wanted to compare which side would look better in the end. I made sure to apply a thin layer on top, smoothing out the big clumps.
I decided to speed up the process and use the hairdryer for this job. In the end, I thought that the PVA glue was a good backup varnish and not something I wanted to use to make my ballerina shine.
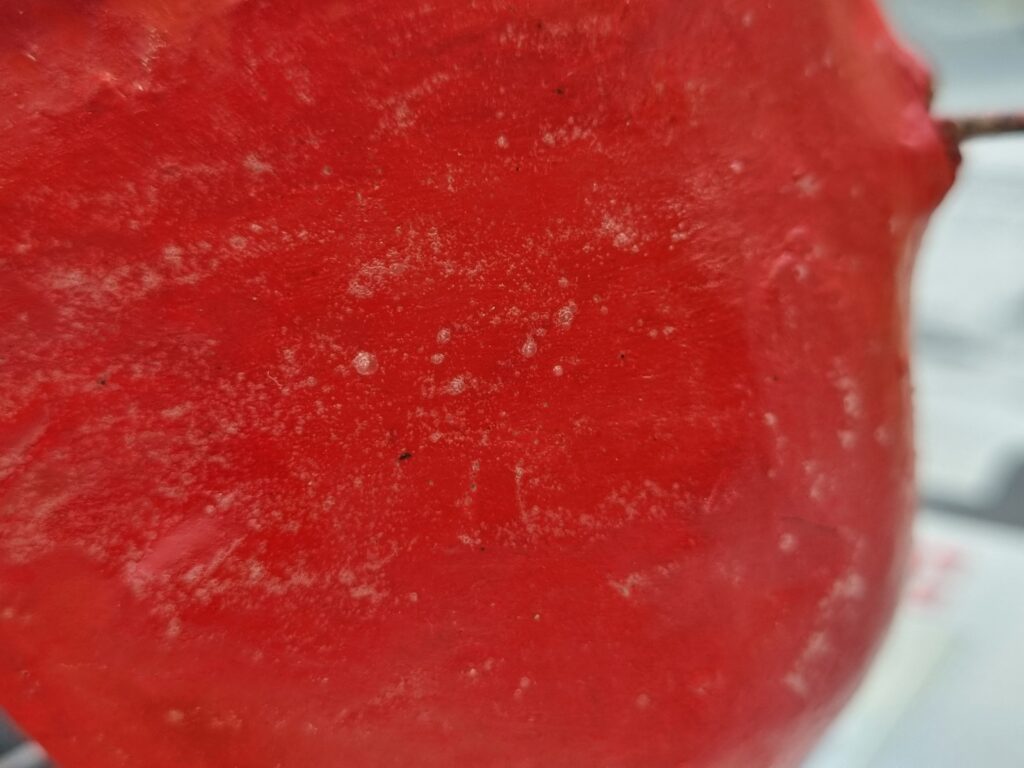
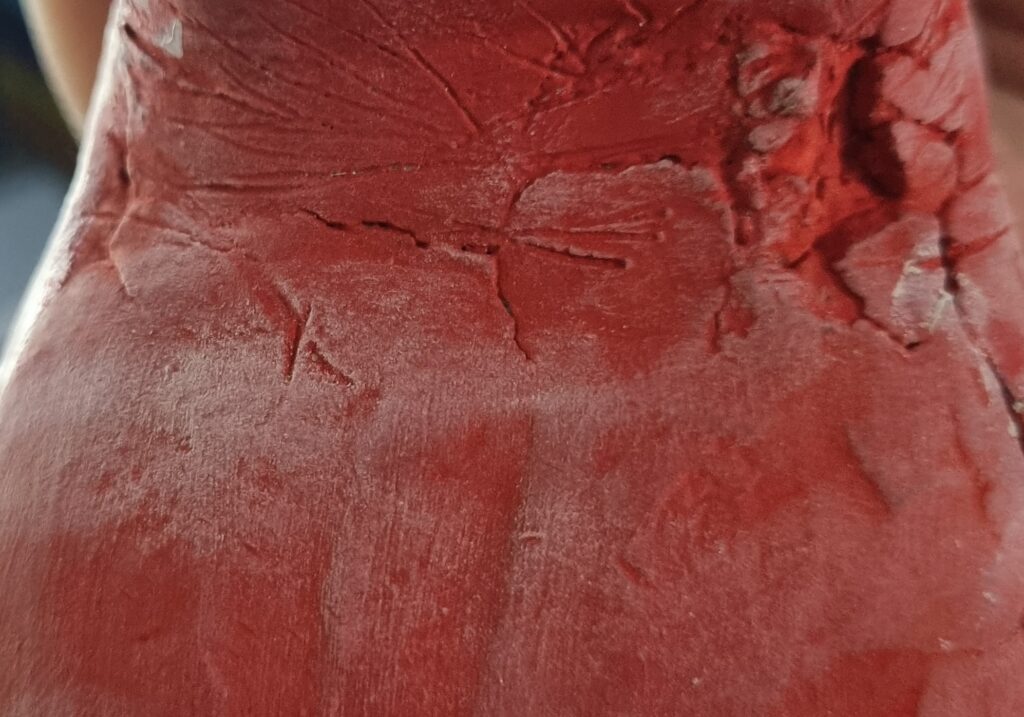
The reason why I didn’t want to choose PVA glue for a varnish is because of the little air bubbles it leaves behind. I zoomed in closely to show what I meant by that and how it also leaves this streaky effect behind which I didn’t like as well. I don’t think I’ll be using PVA glue for a varnish so I’ll have to go buy my own acrylic varnish for when I make the ballerina. What I liked about this process of using air dry clay is that it’s easy to work with and the paints soak in well. I also like how I can create cracks and the paint won’t wear it out nor will the clay break. I tested the cracking and it held up really well. Next time I need to test out foil and wiring as the videos I have watched about air-dry clay mention that they use that for the structure and how the foil can be mended into anything you want with the wire holding it up pretty good.
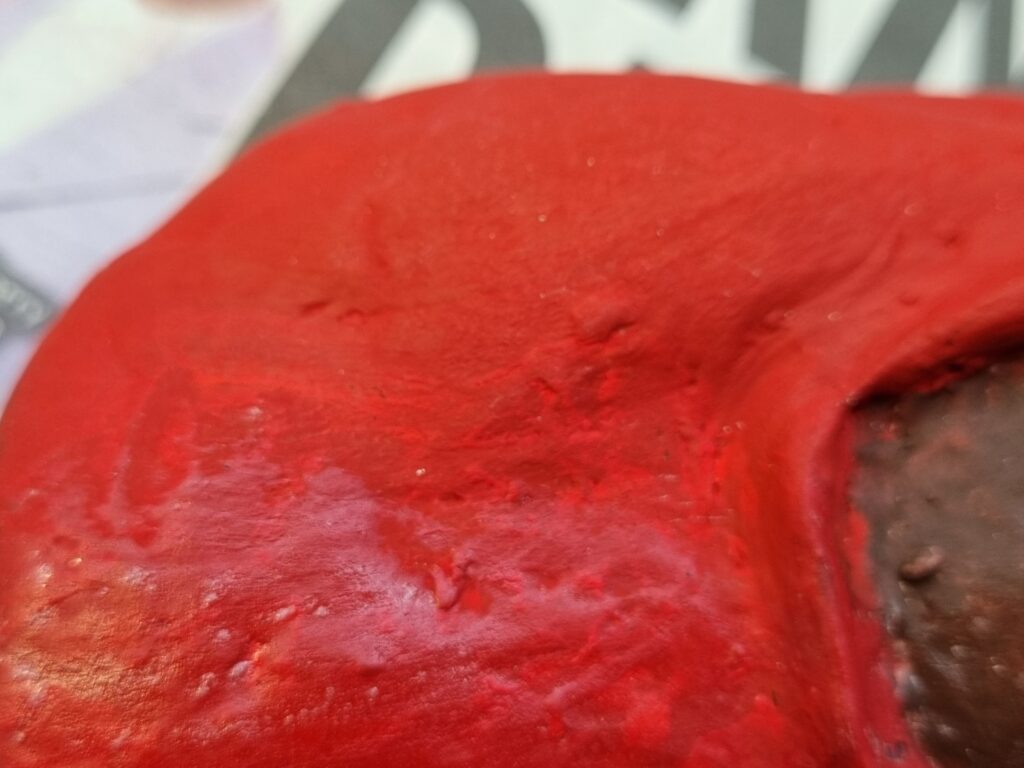
Here is the back part of the cracking and how it held up well despite being painted on, etc. It got dirty in this picture which I hope for the ballerina (as it won’t be touching the floor) that it doesn’t accumulate dirt.
Changing to a cardboard base
After bringing back the 2 cylinders I had painted, I went with my tutor to go see which plinth it would work with. The large plinth was too large. The small one was too small however I thought the long one was good but it just was too tall and skinny so my tutor made this cardboard version instead just as a test.
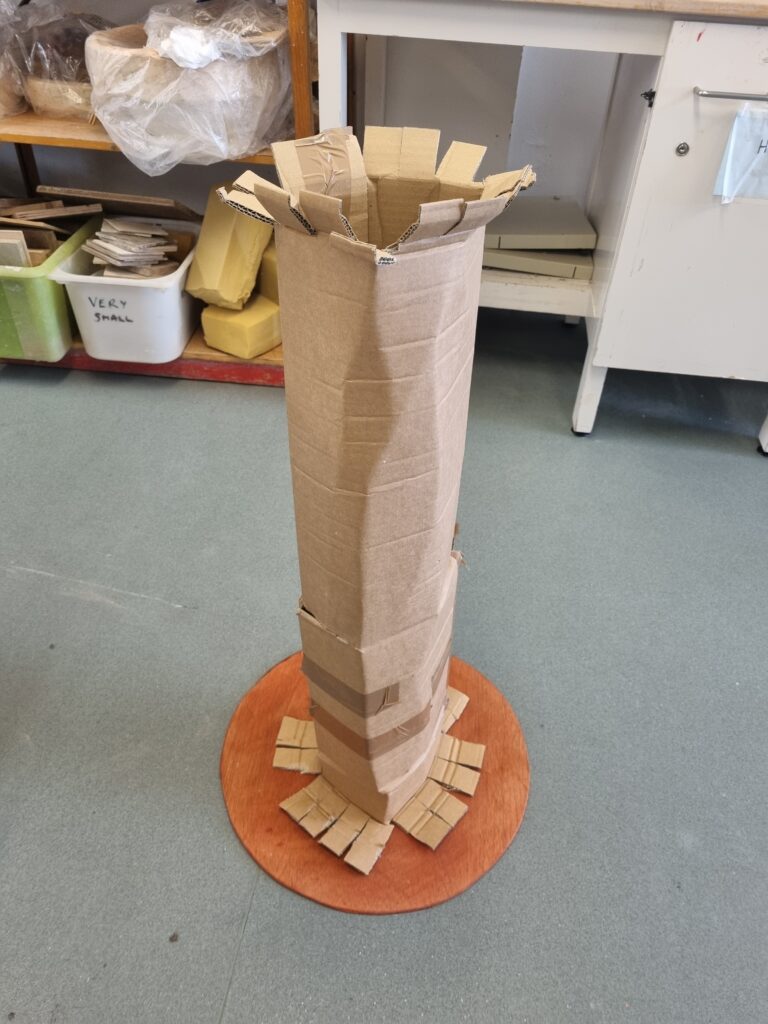
She made it so the cardboard was more rounder than the plinth and the reason she cut up the little squares at each end was so it could stick to the cylinders well. She even stuffed the inside of the cardboard with loads of cardboard pieces so it would be more studier, however, I had my doubts. Due to the ballerina being on top, I thought it would crush the cardboard especially how the ballerina would be made out of clay, which makes it heavy, making the cardboard topple over and become unbalanced. However, this was just a mock-up So I went along with it and decided to test it out but I felt like the plinth would be the perfect bet as it’s really sturdy and not flimsy like the cardboard.
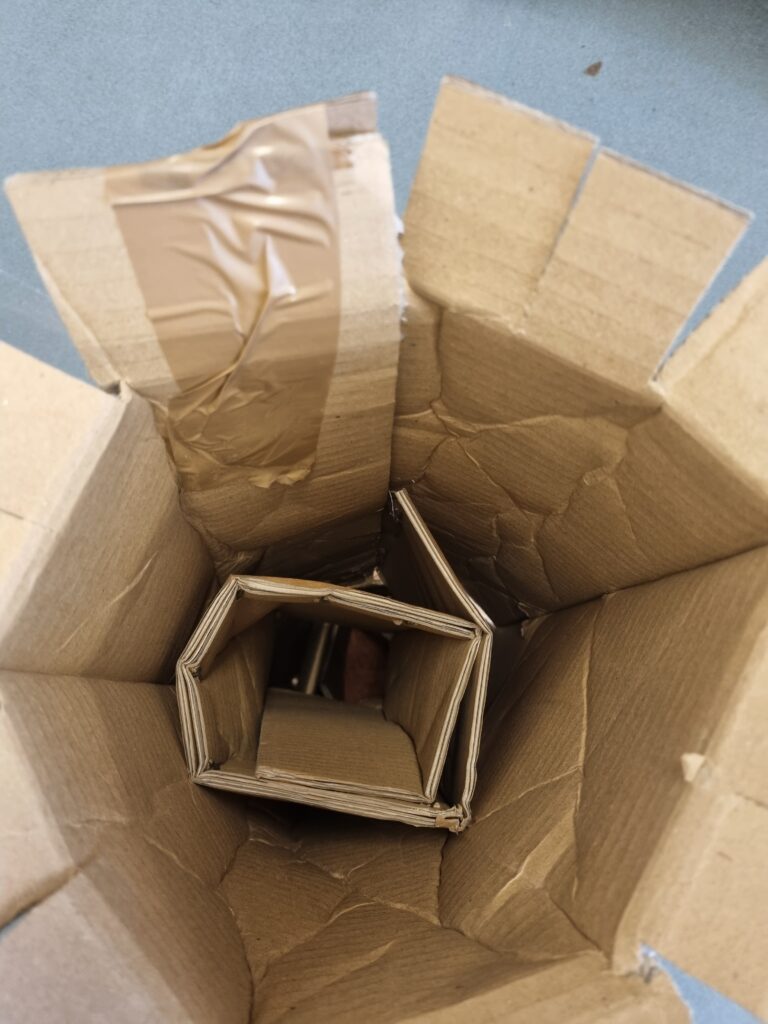
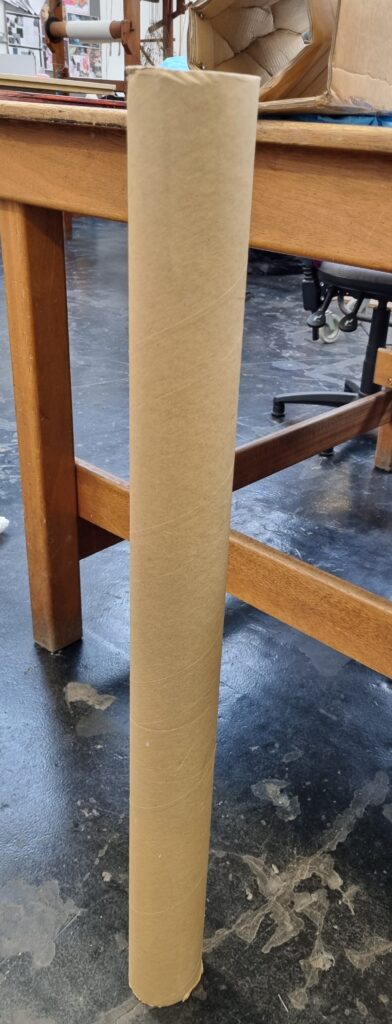
To really add structure to the cardboard and to make sure it won’t topple over, I decided to go back to the technician who made the cylinders for me and ask for a study stick for the middle of it. He gave me this sturdy pole instead and it fit perfectly in the cardboard boxes however, when assembling it together without actually attaching them, It didn’t feel sturdy enough so I’ll be talking to my tutor tomorrow about which structure I should choose. The cardboard structure or the plinth.
Re-painting the cylinder boards
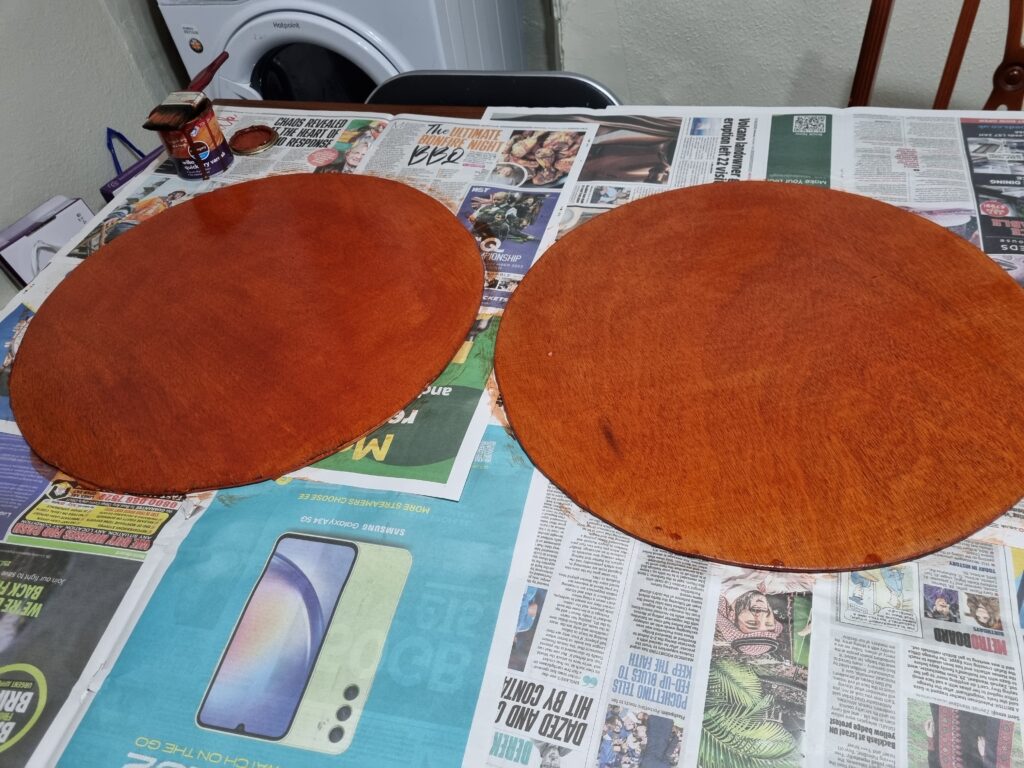
After I made the structure of the cardboard, I got an opinion from my tutor about what I should do. she told me to keep painting it until there were no streaks left. So I did about 3-4 coats and this was the drying process.

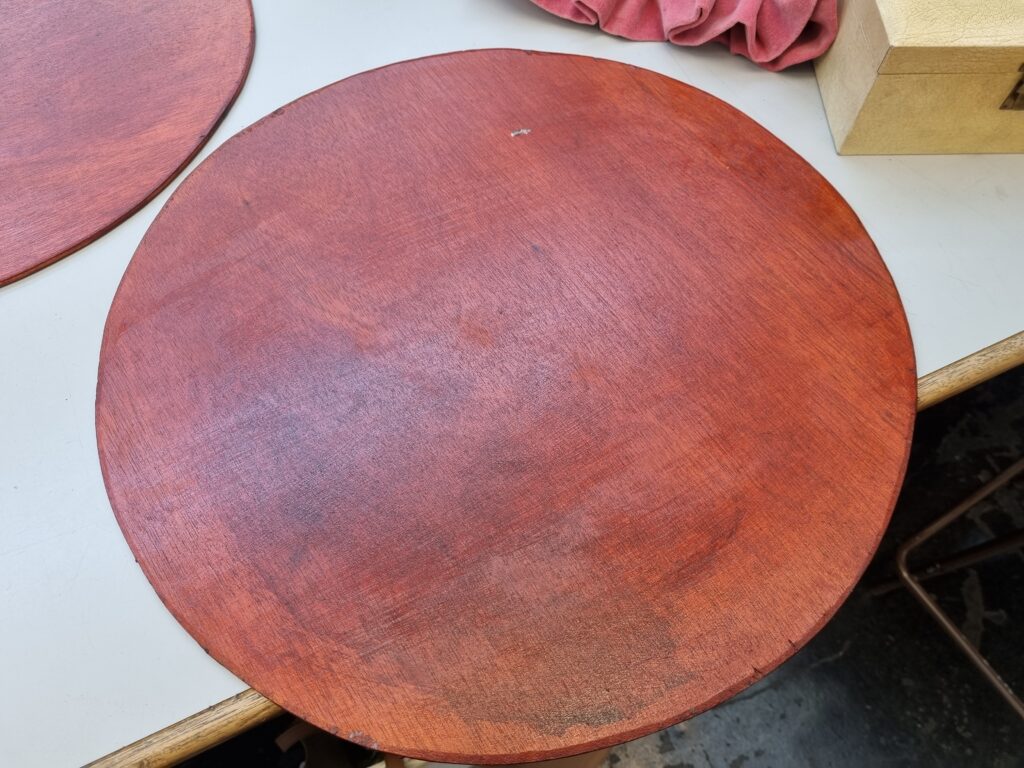
Here is what it looked like after the 3-4 coats of wood varnish. It came out more like the mahogany colour and initially was less streaky and looked better. I’m glad I added more layers of varnish to it as it came out looking like how I wanted it to.
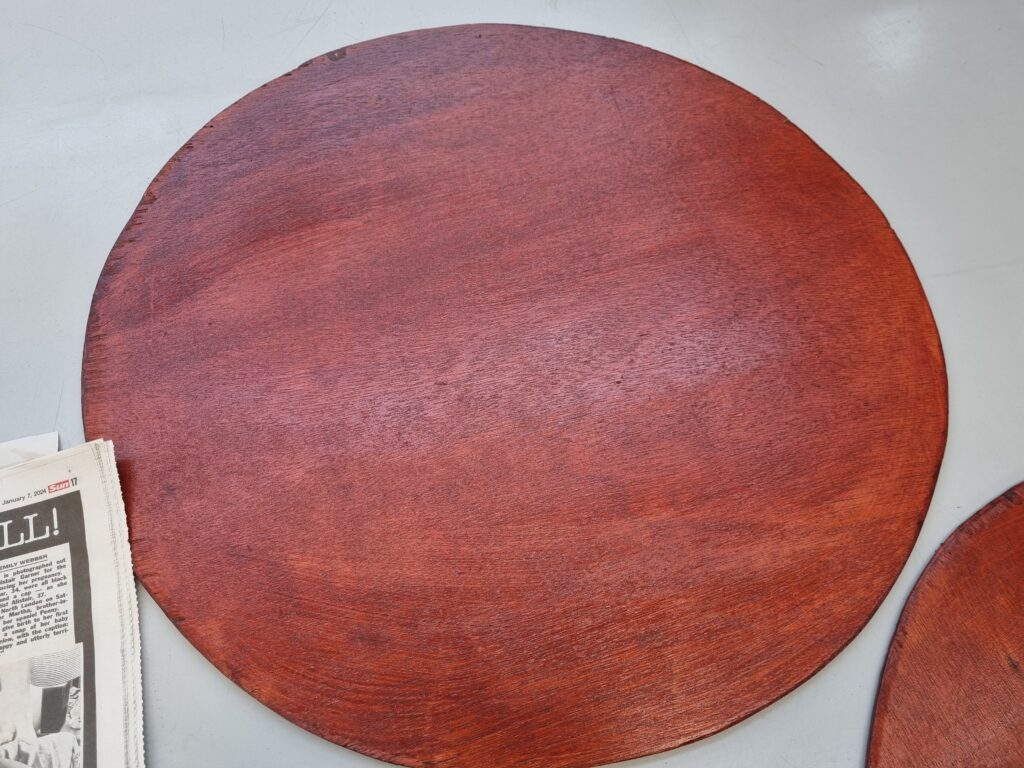
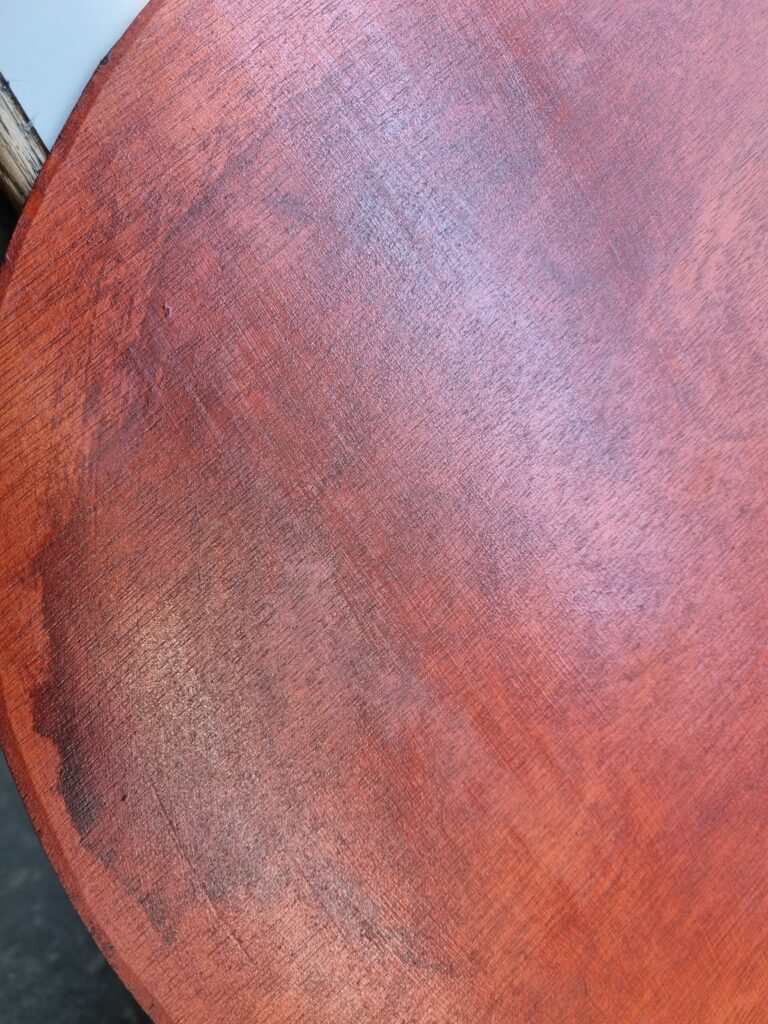
When I first began varnishing the wood, I accidentally put too much on the wood and it left this mark on it which was quite visible unfortunately. There wasn’t anything I could do to remove it and no matter how many layers of varnish I put on top, it’s still there. I decided when I assemble this with the plinth/cardboard I would have it at the bottom of the spool so it’s hidden underneath.
Deciding on using the plinth
I discussed with another tutor about what to use and she said to use the plinth as it was a good enough size and even if it was too tall it was way more sturdier for the music box and the clay ballerina to hold onto. I took images of how I wanted the music box to look on the spool. The reason I had it tilted was because I wanted to make it interactive so the viewers could wind the bottom part of the box up and it will play a tune that has been distorted over the years as it is antique and has been used a lot of times. In my opinion, the plinth would have been better anyways for my final piece so I disregarded the cardboard and put it to the side.
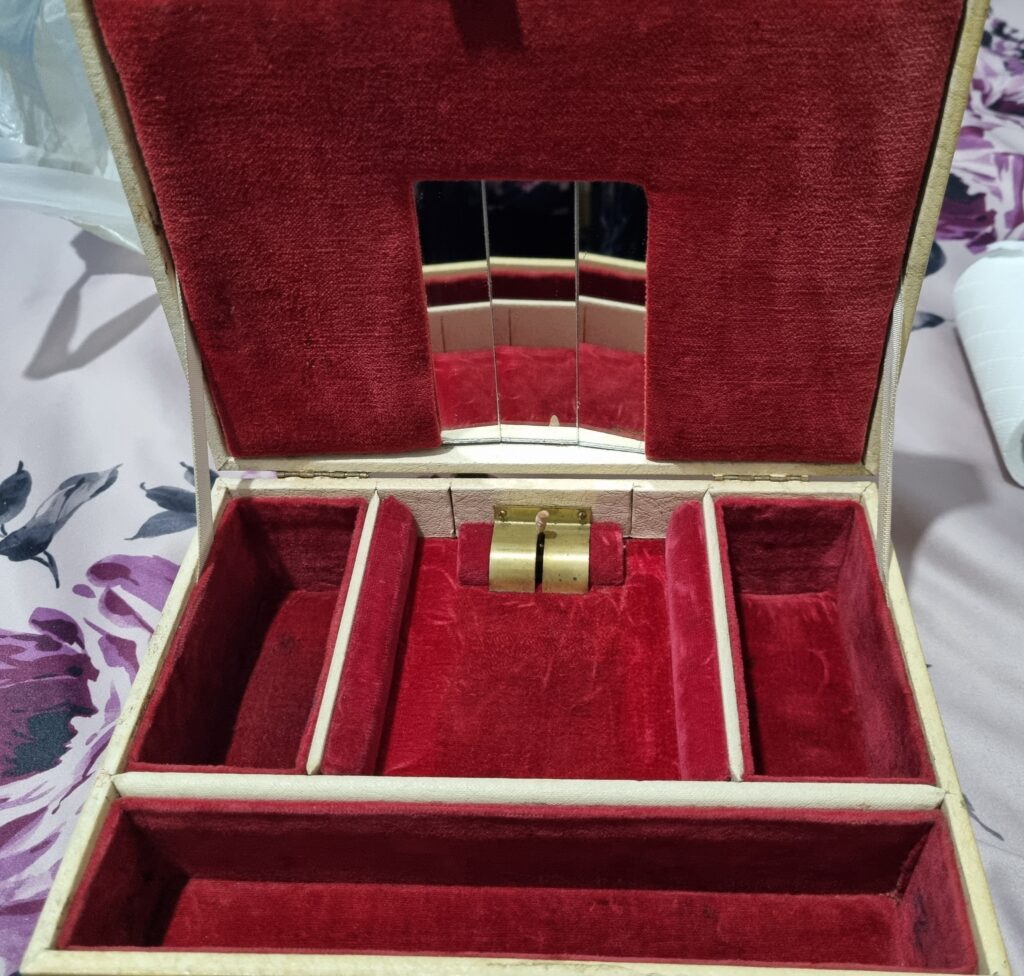
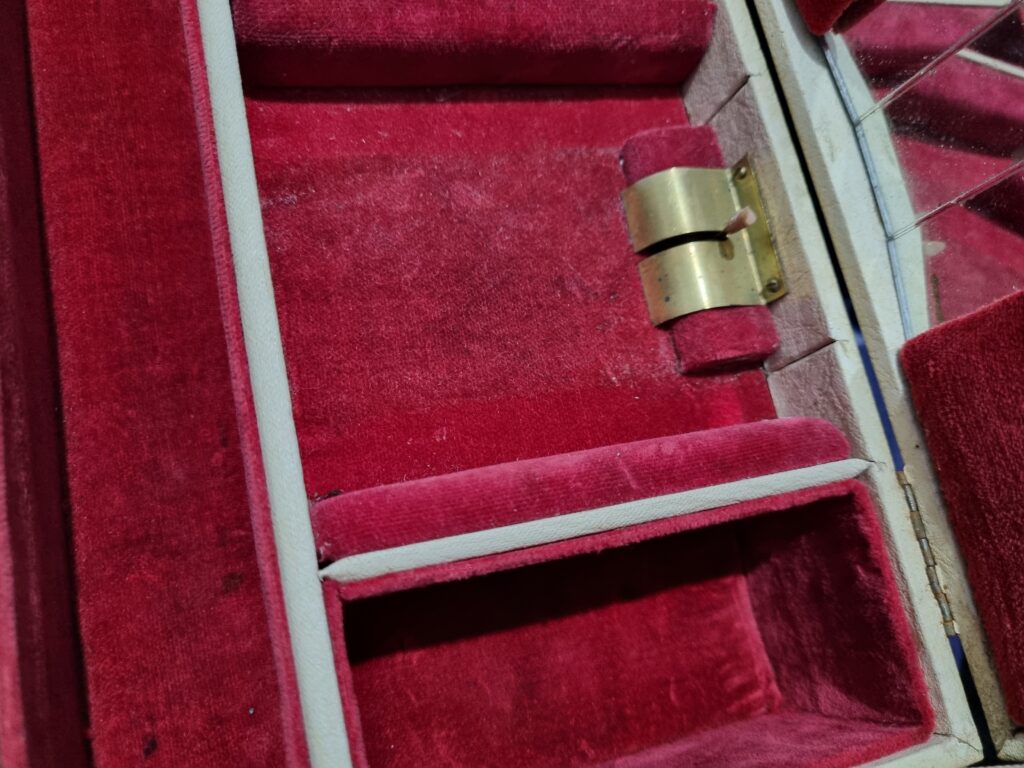
Here are the pictures I took before I cleaned it.

This is the picture I took after I cleaned it.
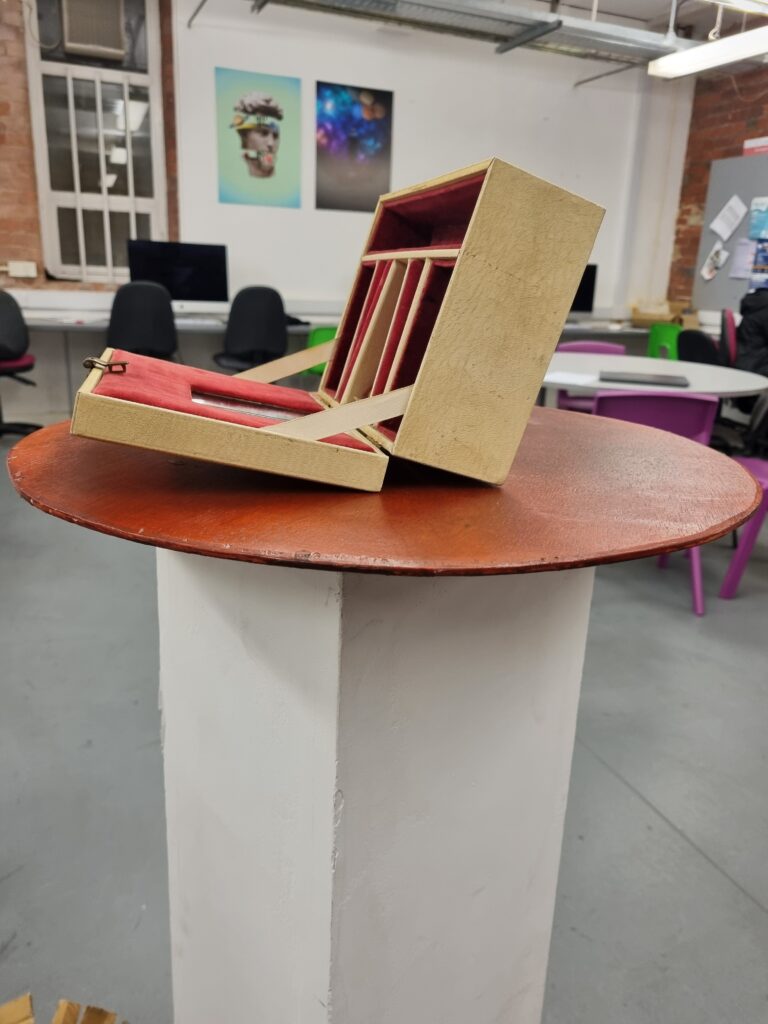
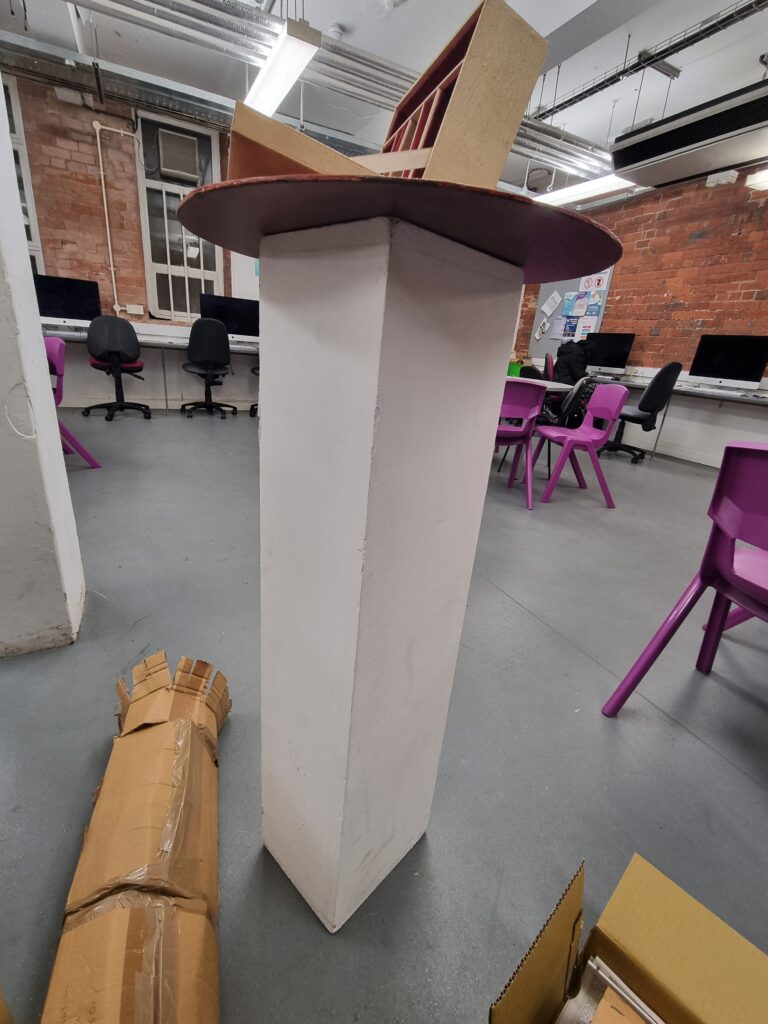
I talked to my tutor about how I would wrap the thread around the plinth and how I wanted to also make it more rounder than square on the edges so she told me how I could wrap the fabric around it to make sure it fully covered and I won’t use loads of thread to cover the entire thing. She told me to fold the fabric in the corner and sew it together so it becomes more rounder and does not have a sharp edge to it. I thought it was a great idea so I decided I’ll take this home and sew it together wrapping it around the plinth.
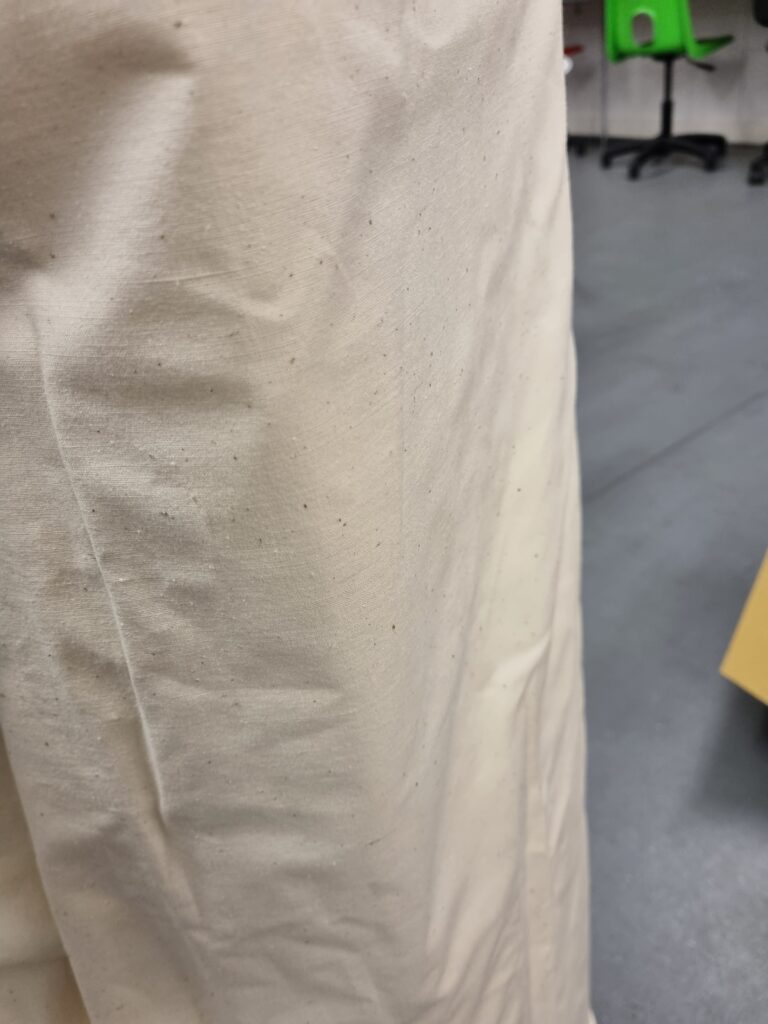
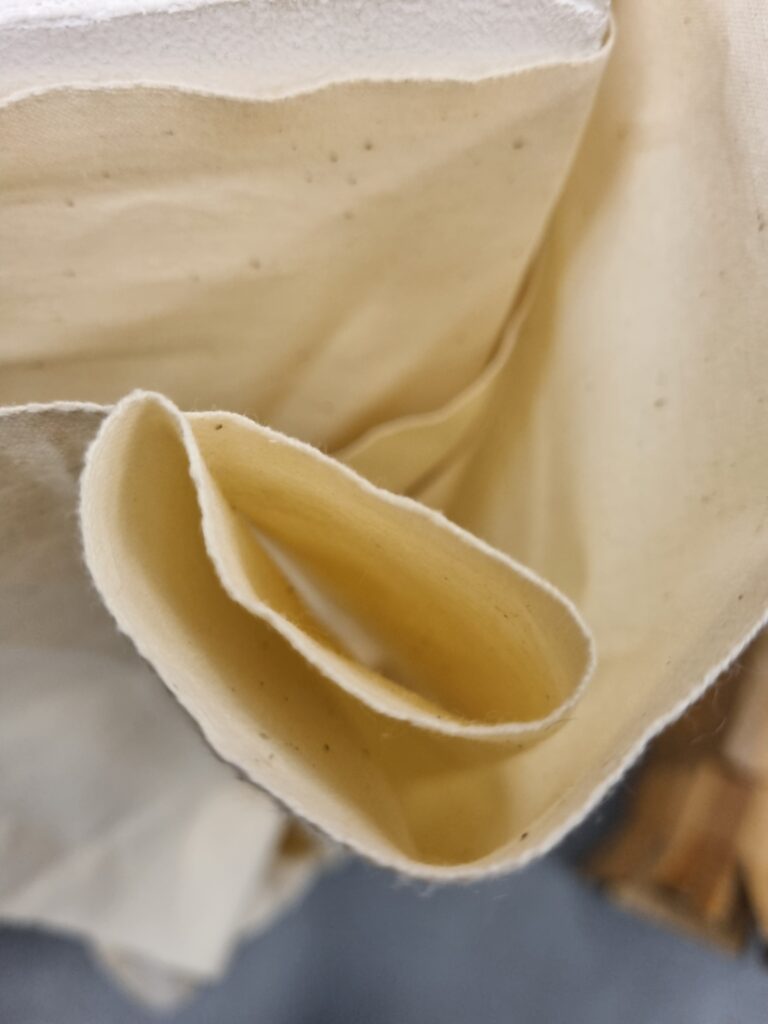
When showing the music box to my teacher she noticed the 3 mirrors on the inside of it and told me how I should photograph my final piece just in case Accu can not take my final piece to their site and how they would at least have the photographed version of it. But she also said that I should take 3 pictures from 3 different angles and have them together as a piece to reflect the music boxes mirror so it cleverly links to each other. I was grateful for this idea as I hadn’t thought about it myself and will be using it for my final piece.
Finding fabric
I decided to ask my fashion tutor if she had any spare pink fabric lying around before I would go out and buy the fabric myself. They were all mostly hot pink which I didn’t want but I took pictures for evidence anyway.
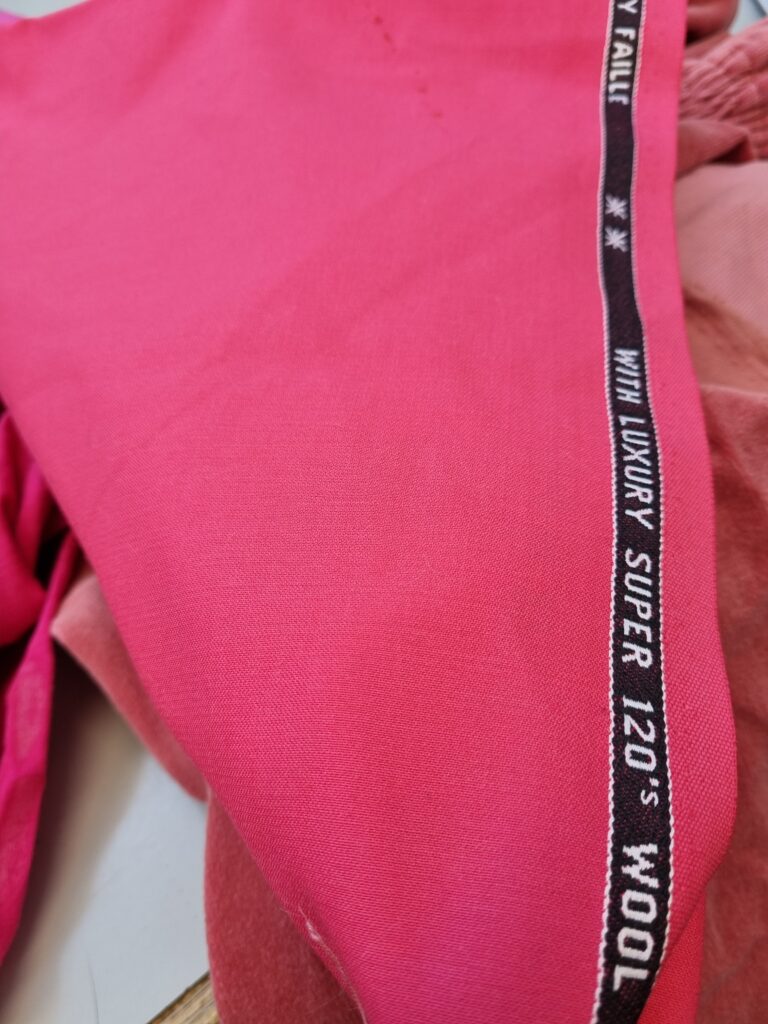
These 2 were the only baby pink fabric lying around. The texture was quite good too as it had a thread-like texture. However, there wasn’t enough fabric to wrap it around the plinth. The reason I’m finding fabric in the first place is because of how thread is normally small so it would take hundreds of threads to fully cover the plinth so I discussed with my tutor on what to do and she suggested having fabric underneath and wrapping thread around the plinth so I wouldn’t have to fully cover it all in thread.
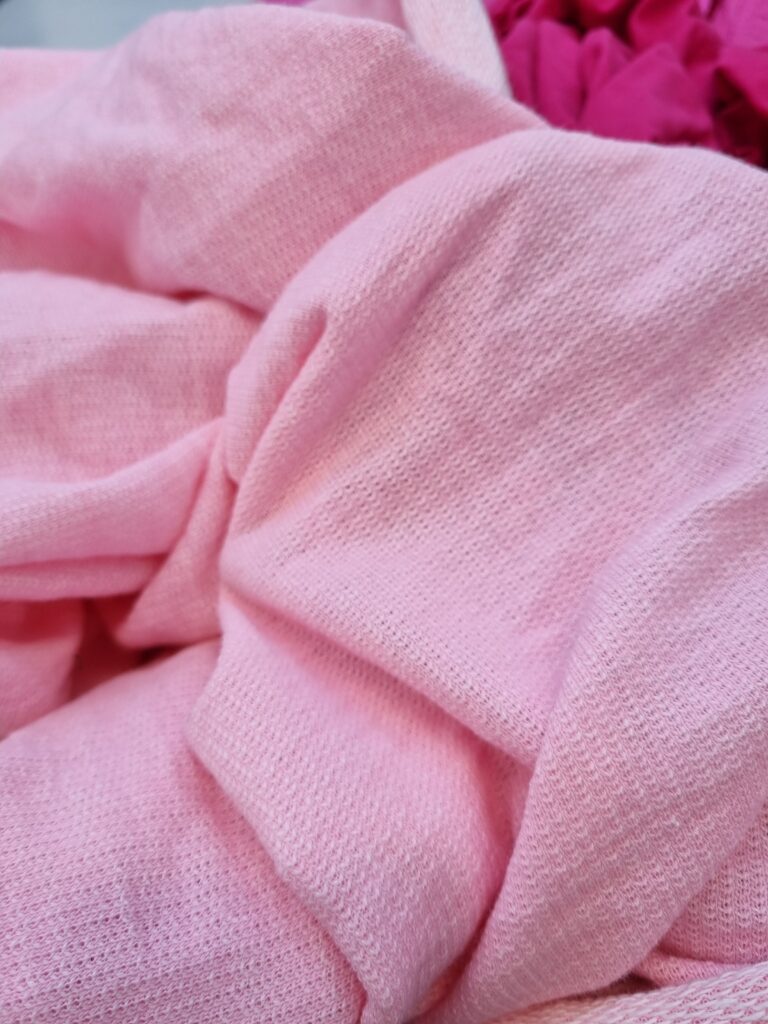
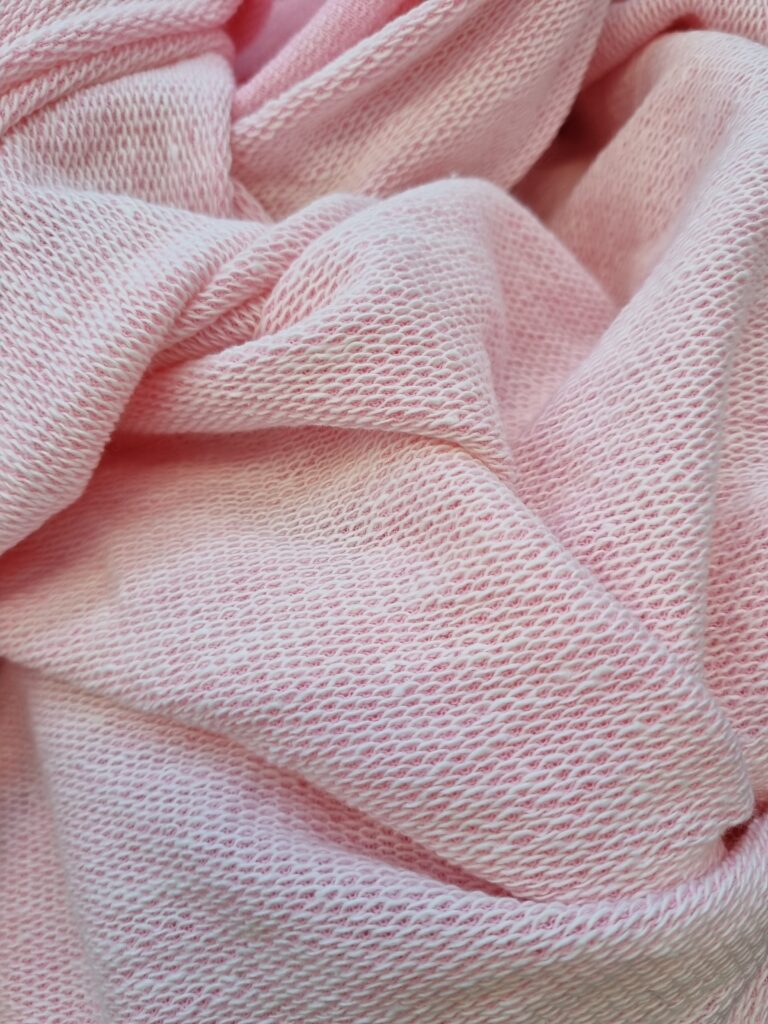
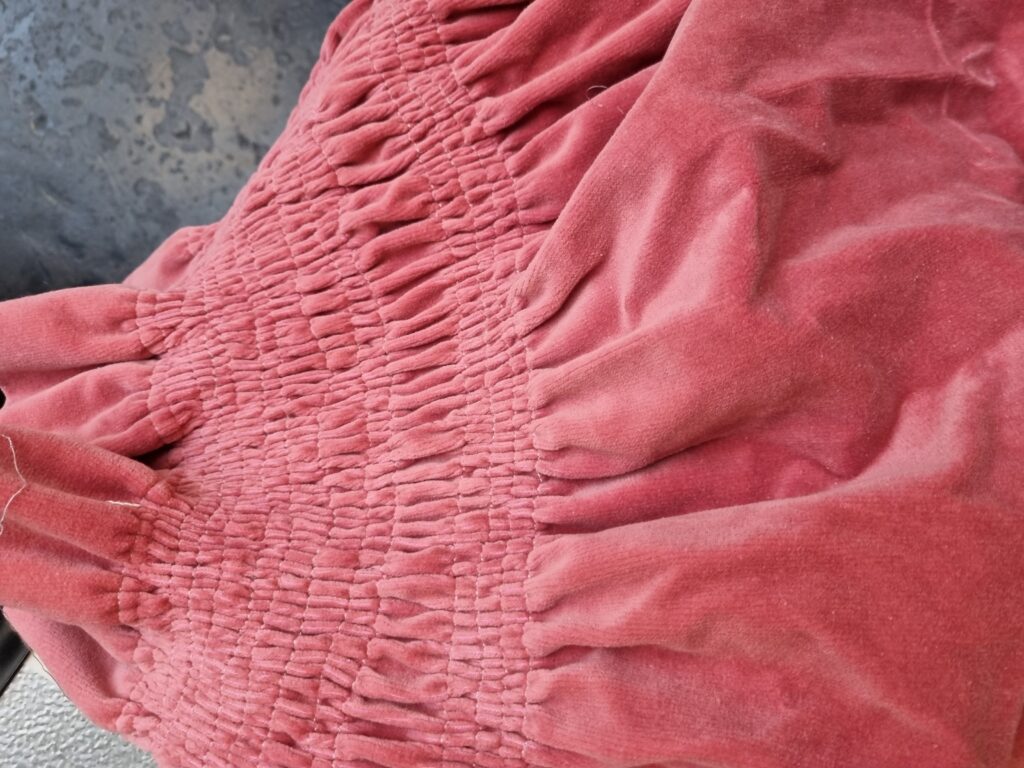
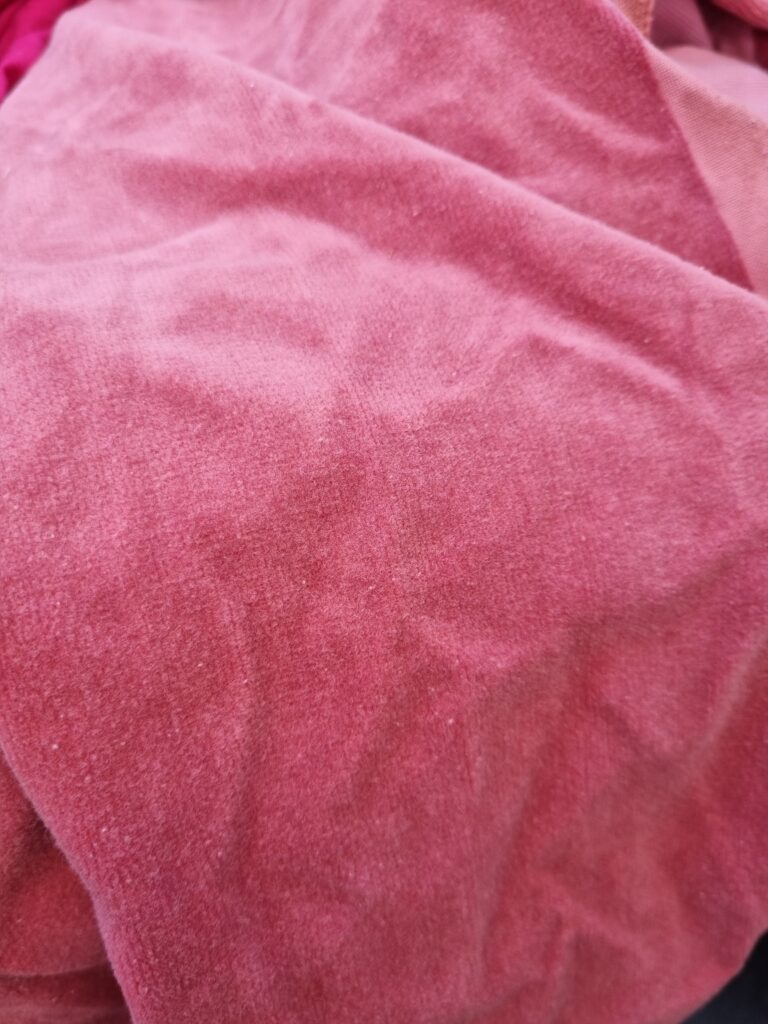
I liked the velvet material however it just wouldn’t look good underneath the thread plus I need a baby pink colour to go with my theme.
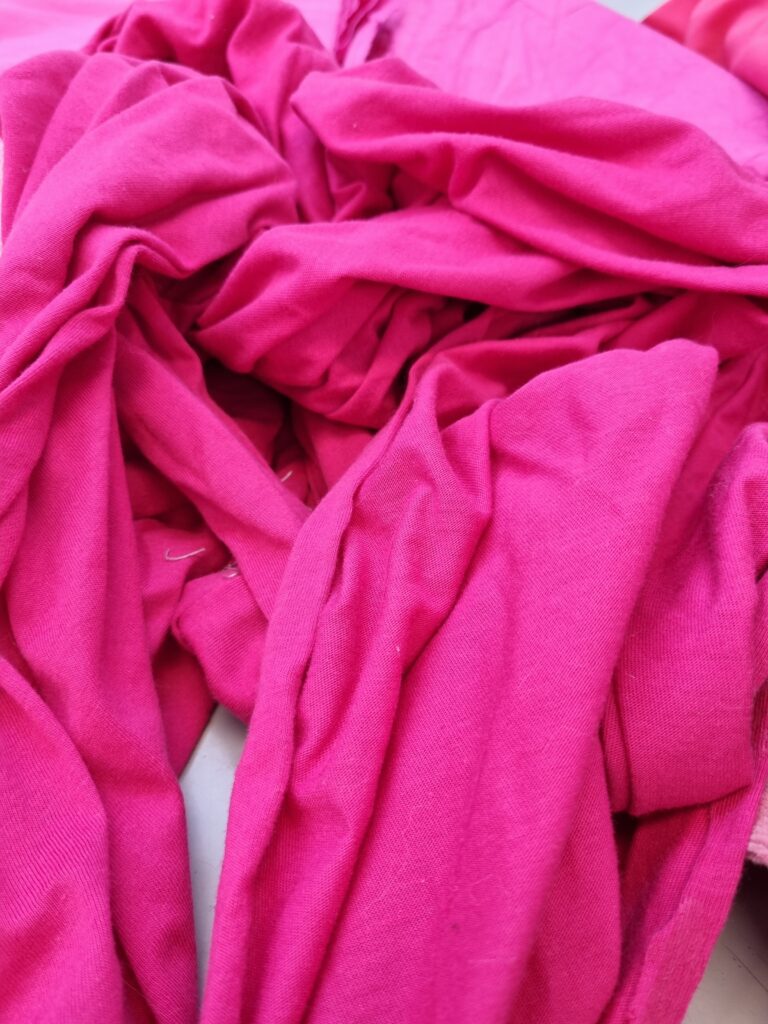
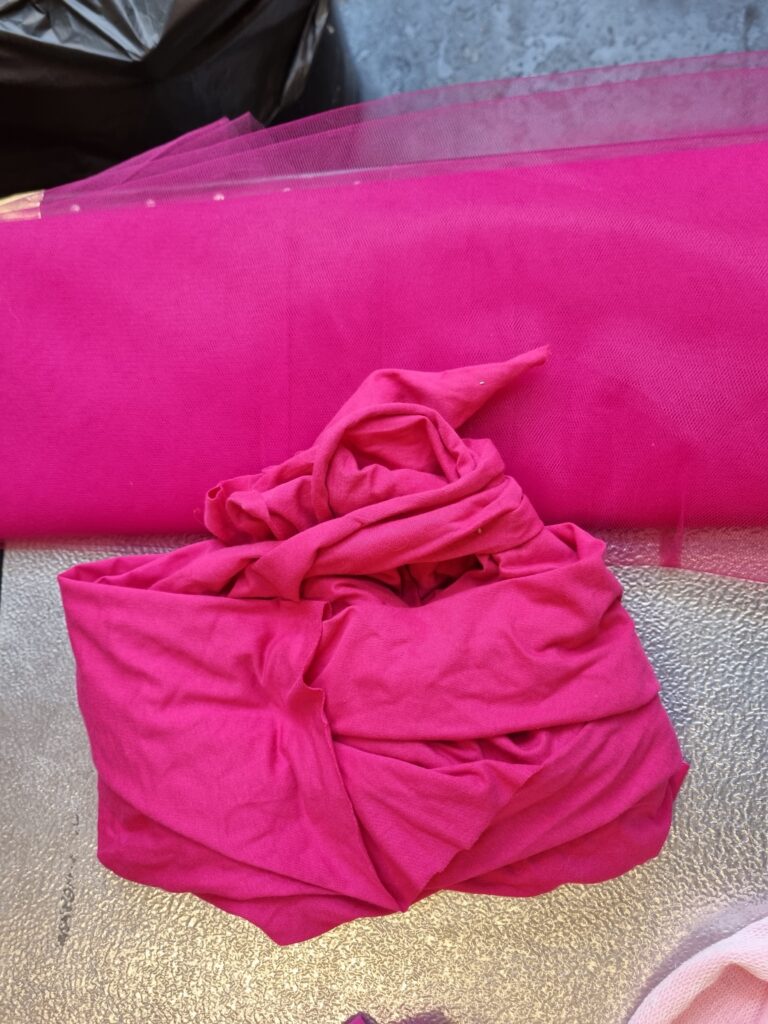
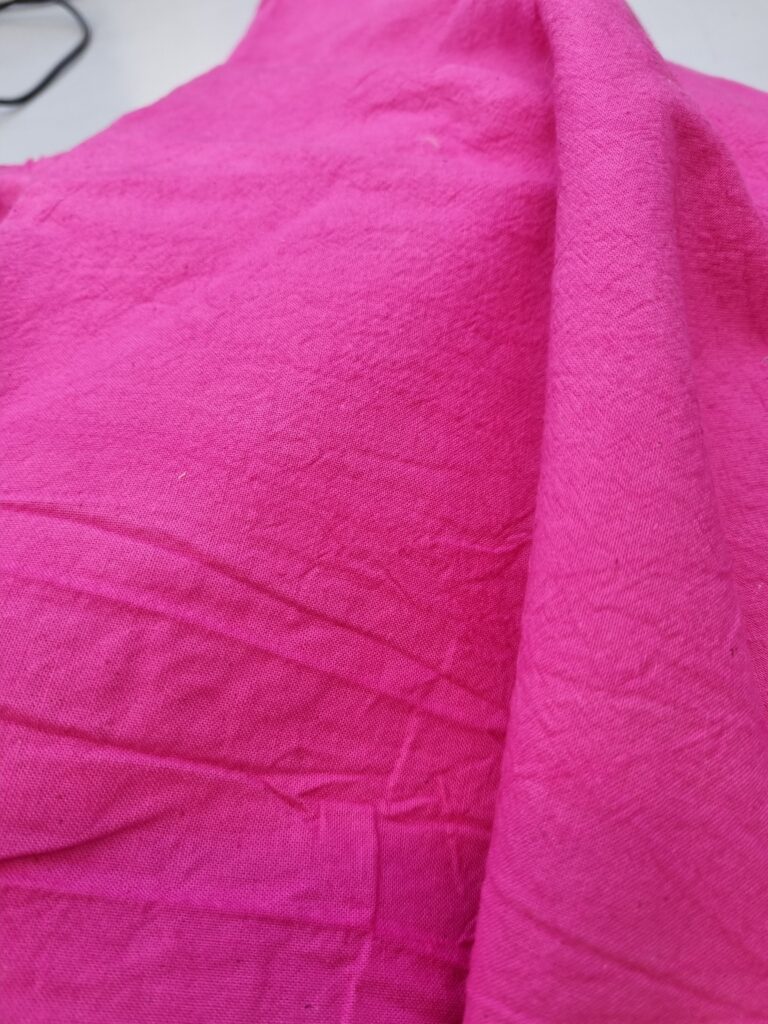
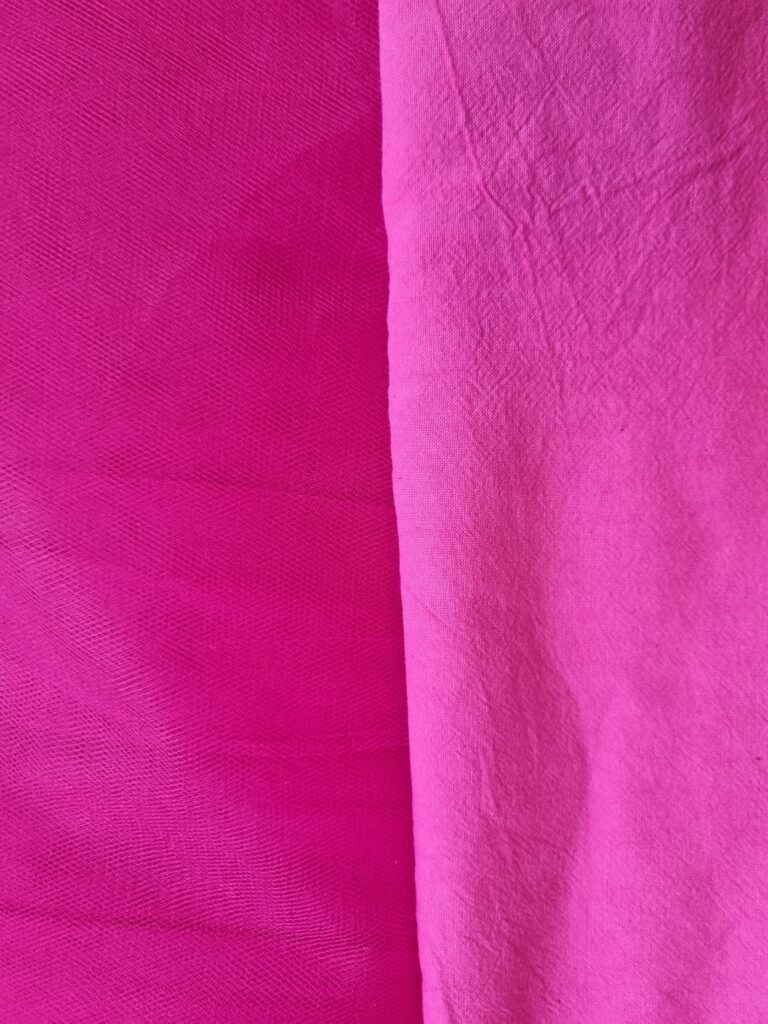
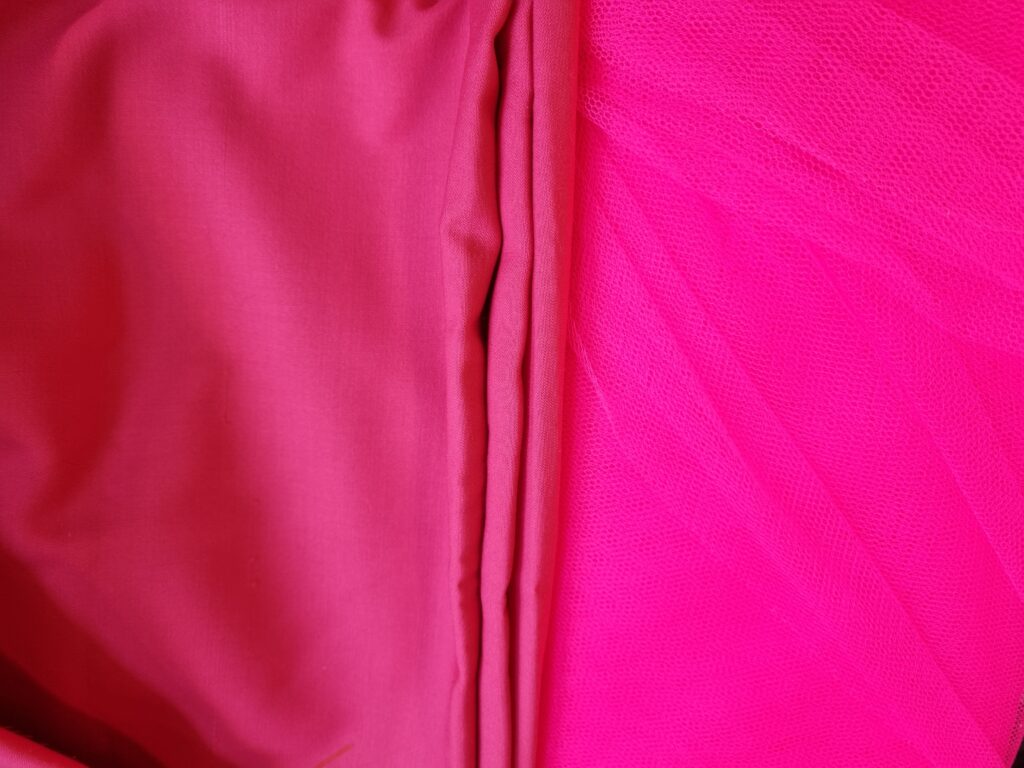
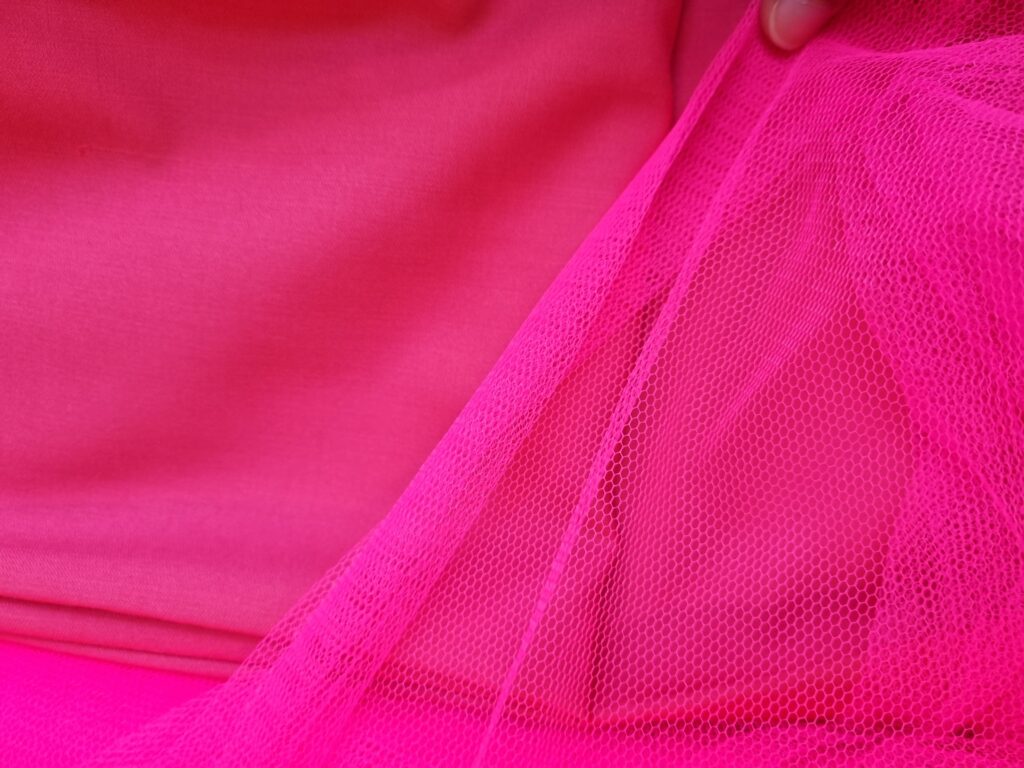
For the last 3 rows, I tried comparing the fabric to the mesh that I will be using for the ballerina tutu just to see what would pair nicely together however, Like I’ve stated before, I am looking for a baby pink fabric so I’ll have to go buy it myself. In the end, I’m glad I checked if they had any baby pink fabric and mesh in stock but they didn’t so I’ll have to find them myself.
Trying out different clay
After discussing with my tutor about how I was told there was no clay and if I could somehow get any, she directed me to go talk to HIVE (a group that works with clay who have moved to our college for a while as their building gets renovated) and to ask them if they would have any spare air-dry clay. When I went to talk to the woman who was in charge, she asked me if I wanted to join in on the lesson so I agreed. They gave me this very soft type of clay and told me to begin kneading and rolling it until I made a circle. After I made it into a circle, I was told to use my thumbs and make a hole in the middle. I didn’t make the hole too deep as the clay would become too thin then. After I successfully had done that, I bent it into the shape I wanted it to be using a spoon to tap down the clay and to make the shape I wanted. The shape that I was going for was the end of the pointe shoe which is flat so the ballerinas can stand on their tippy toes.
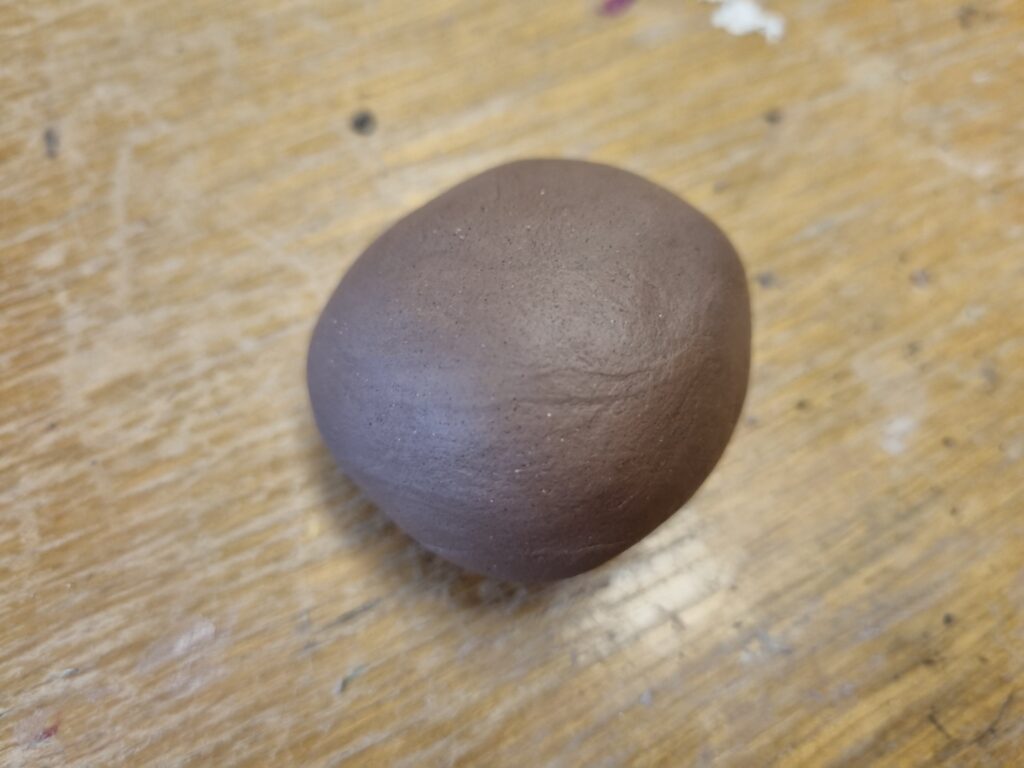
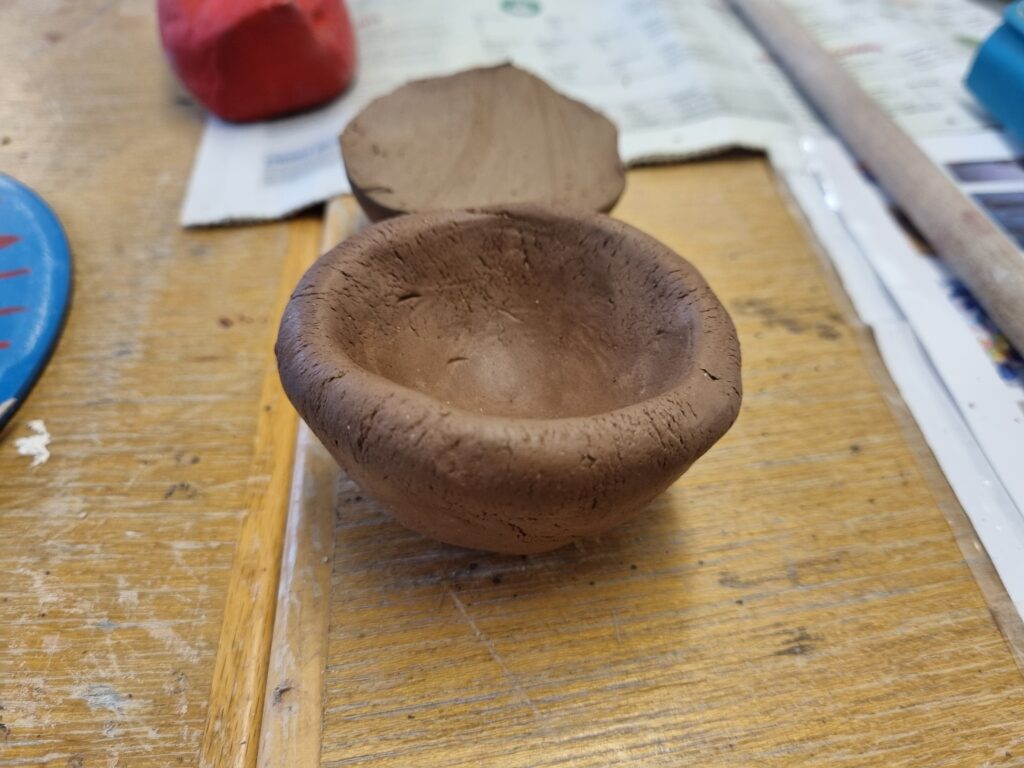
After creating the bottom part of the pointe shoe, I then began scoring the top of the piece which is just cross-hatching so the clay sticks to it better. After I had done that, I rolled out a thin piece of clay by rolling and pulling it from the top then switching sides and doing the same process to the bottom so it becomes thin and long. After that, I placed it on top of the clay piece and kept adding more on top of it after I kept smoothing it out. When coiling the piece of clay to the top, I would move it a little more to the inside instead so it builds up the shape I want it to.
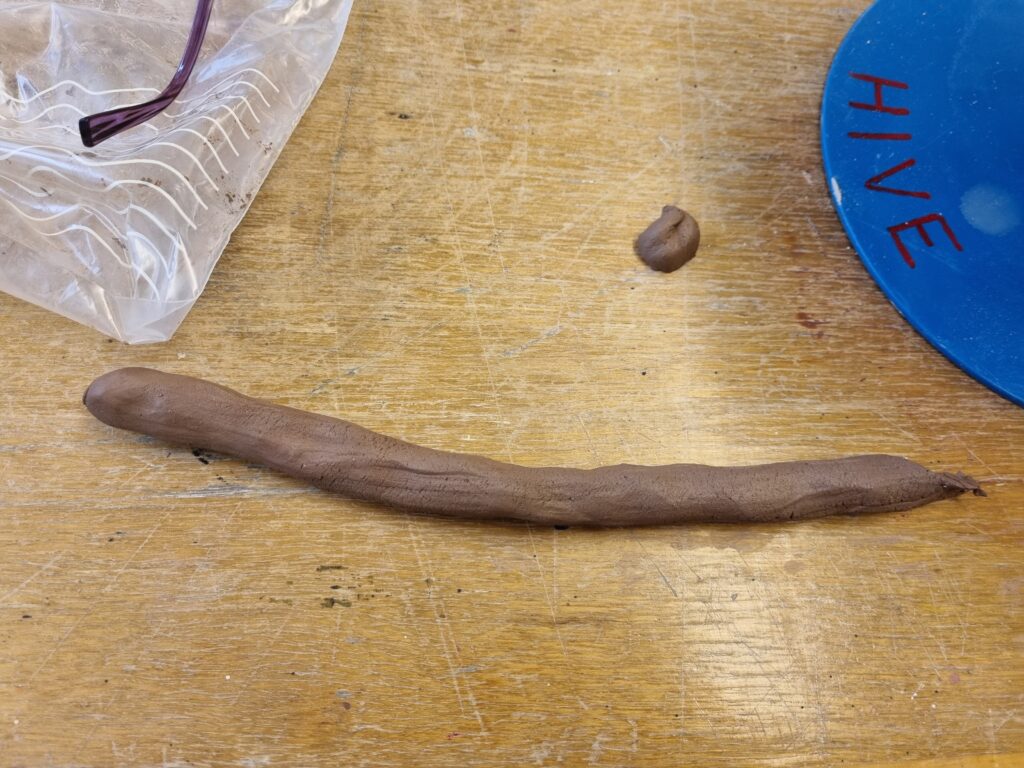
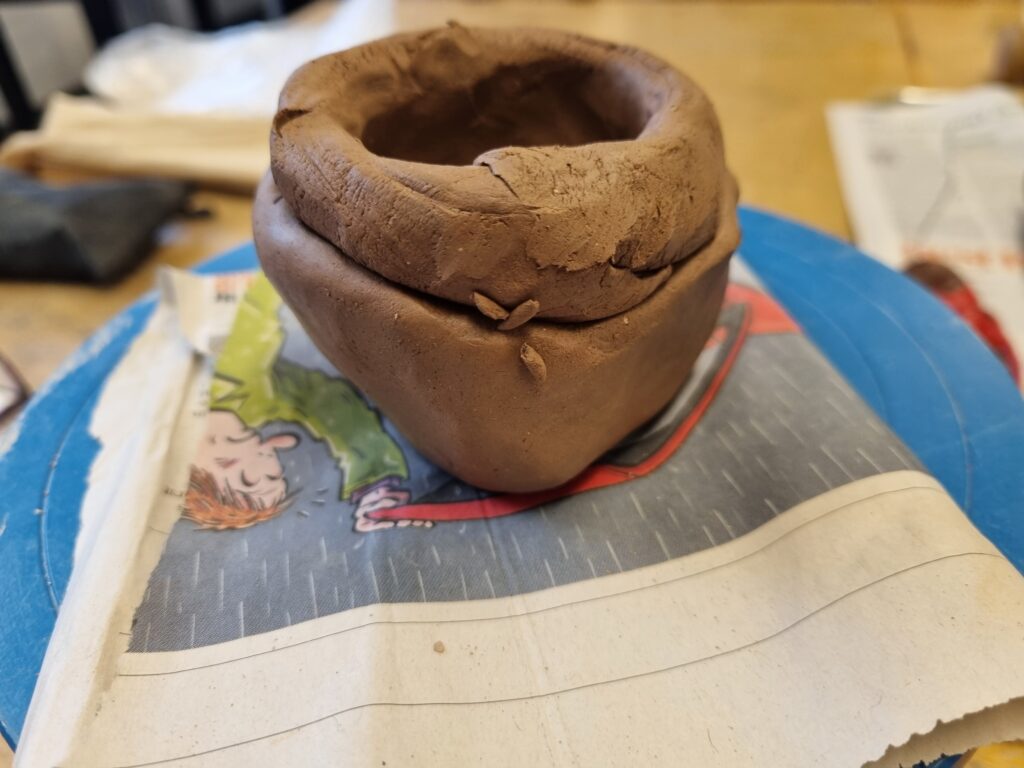
After placing the coil on top, I would smooth down the edges in 1 direction to make sure it joins up with the clay and sticks to it. I recorded a video of me doing so.
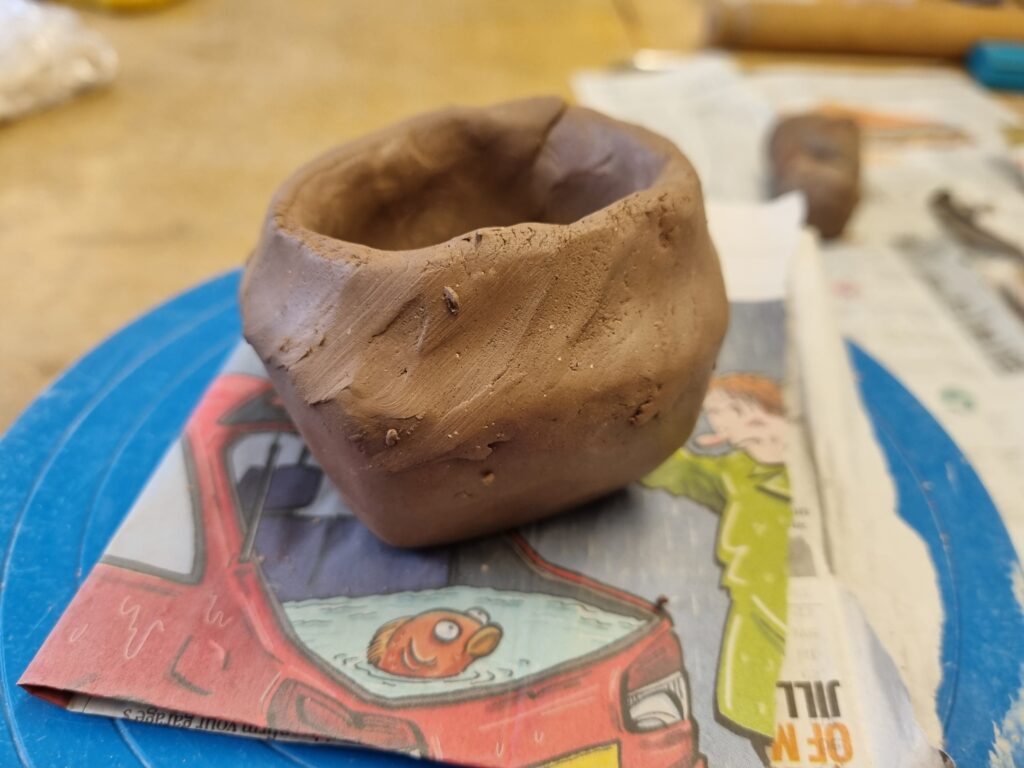
After making 1 piece, I was told to make another one that looked exactly like that for the top part of the pointe shoe. This way I will join it up at the end and have the pointe shoe made.
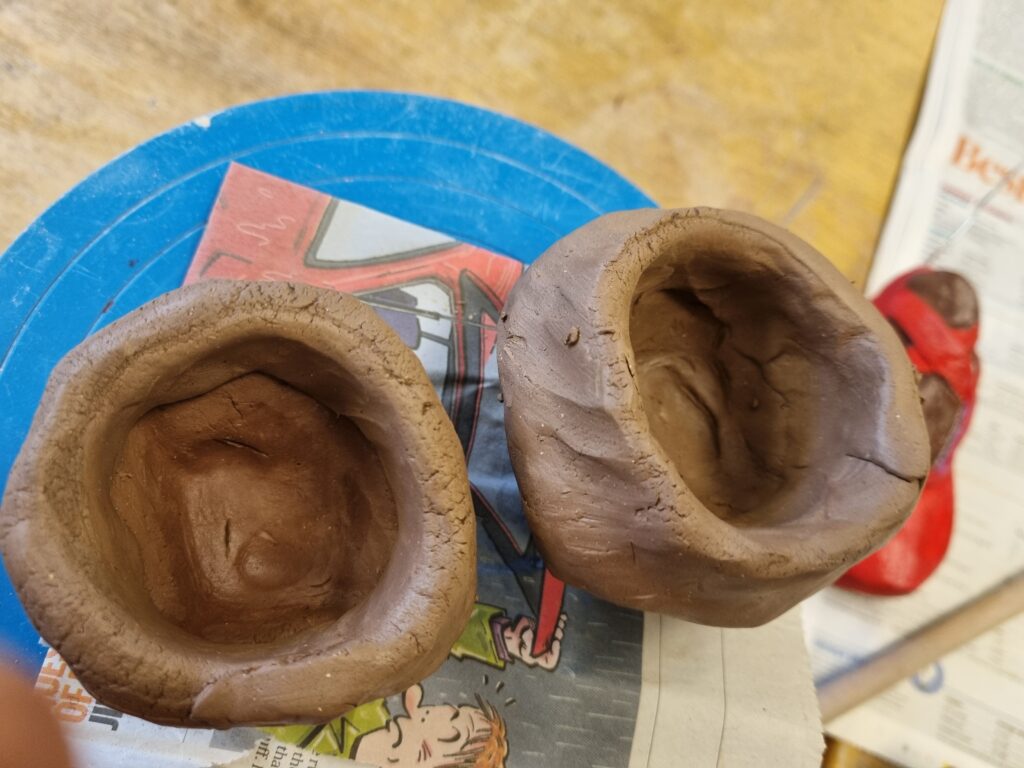
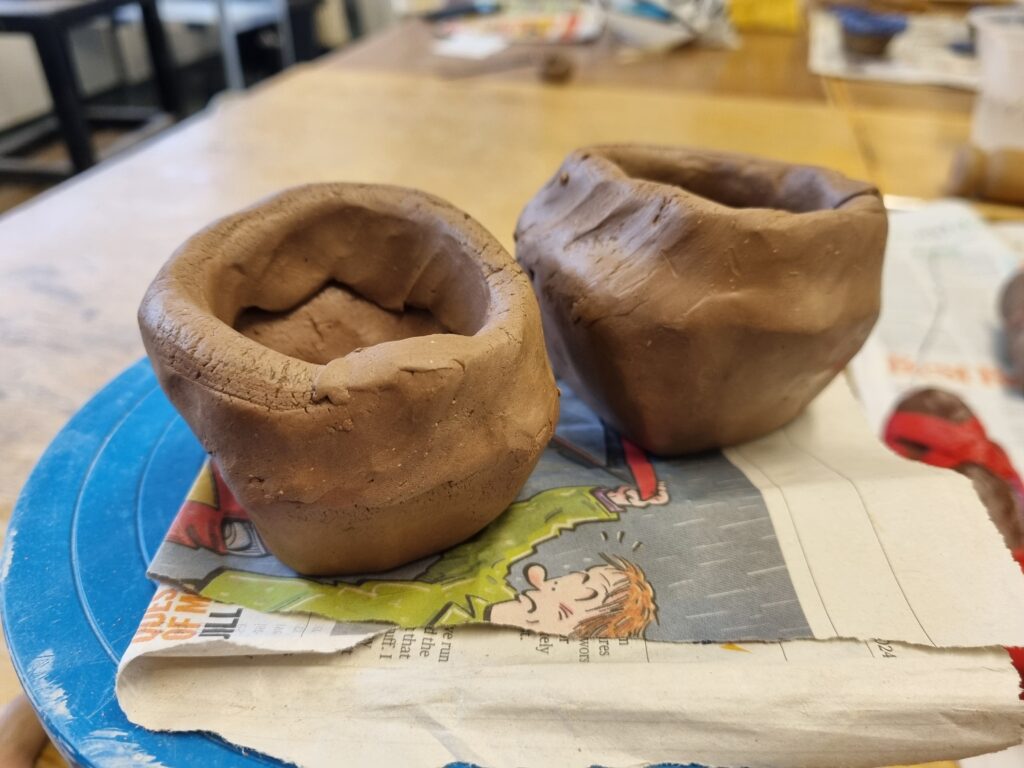
Here is where I began gradually adding more clay on top to make the pointe shoe. You can see that the more I add on top of it the further it goes inwards.
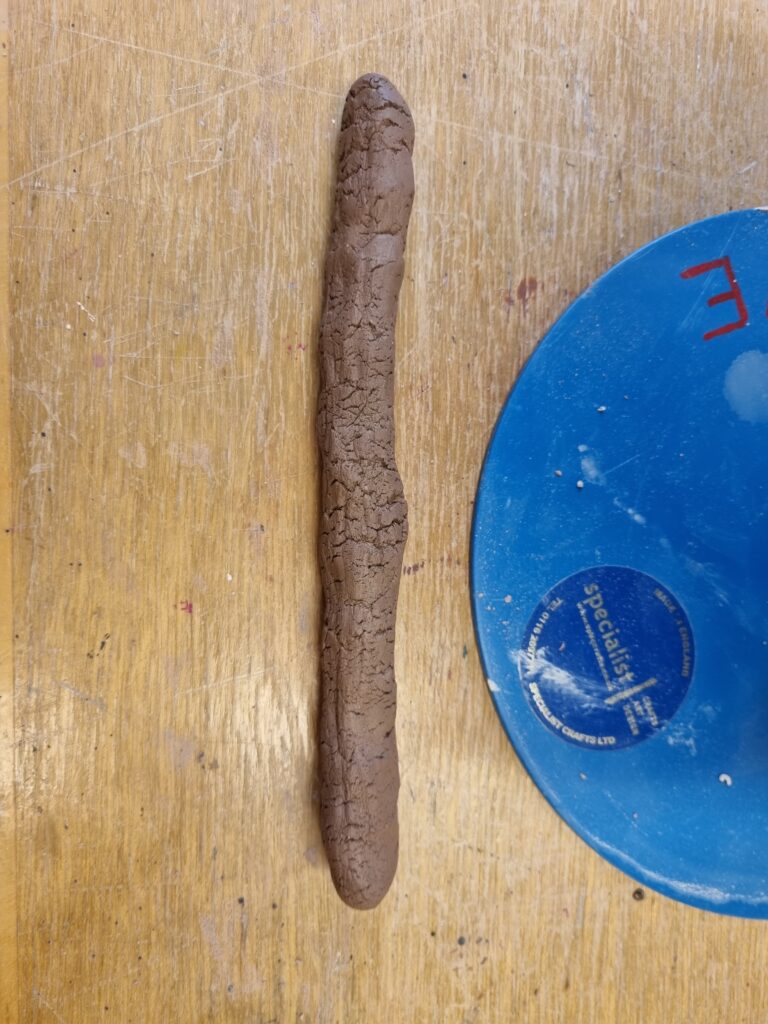
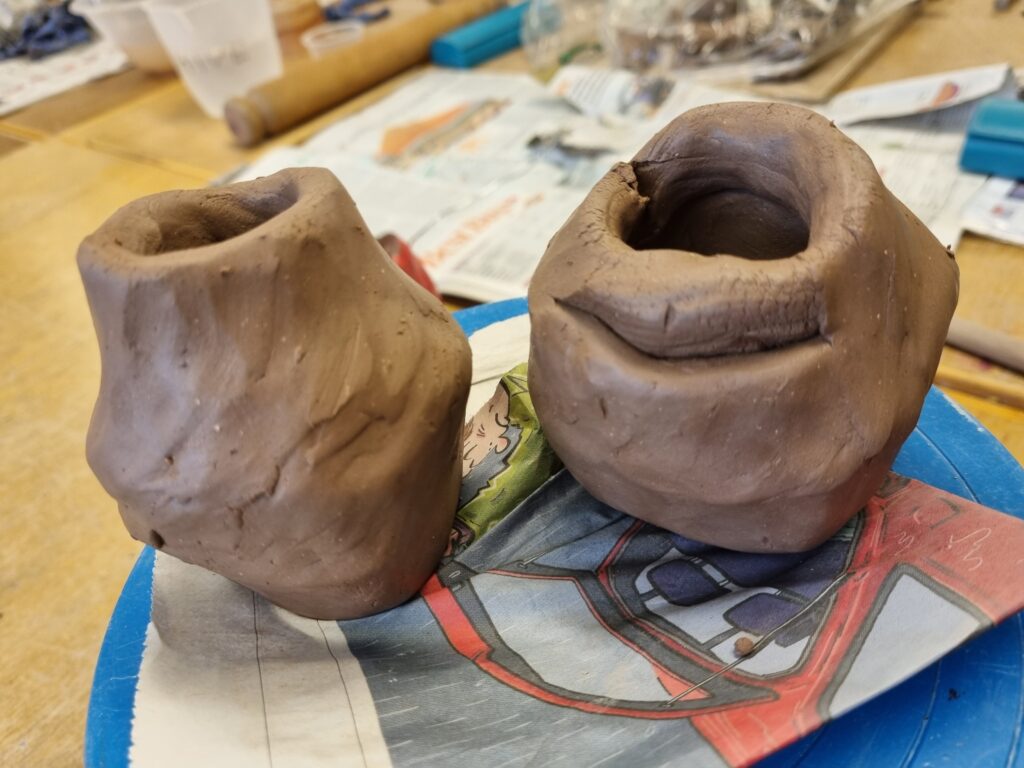
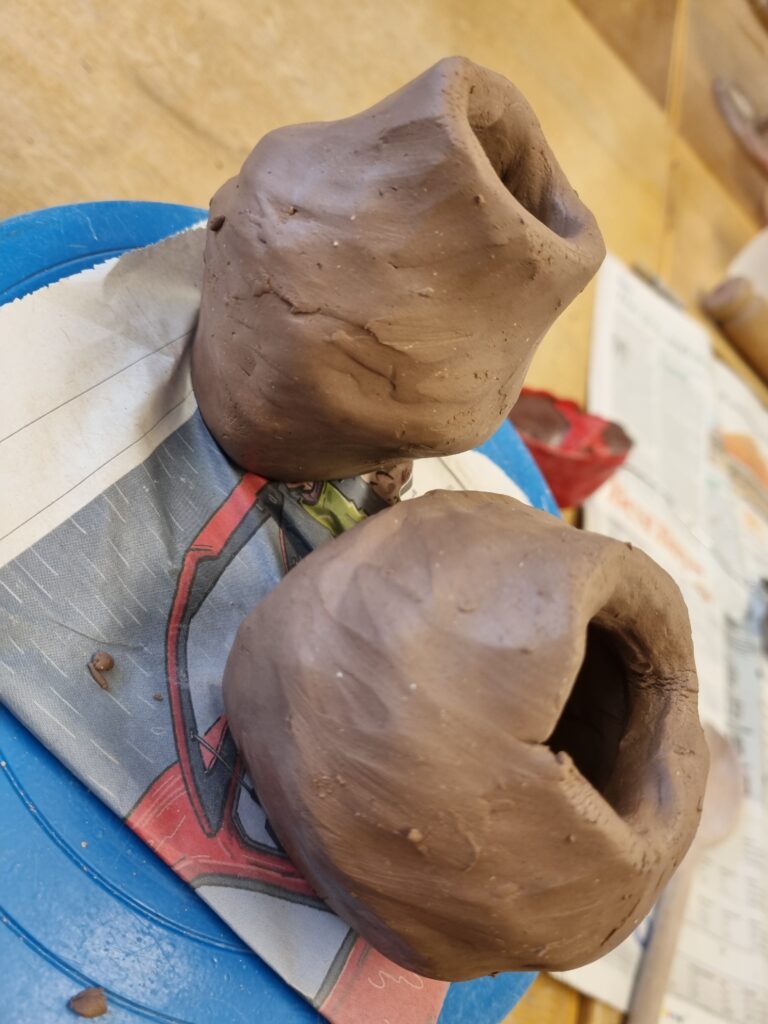
Here I finally finished the 2 parts of the pointe shoe and how I began scoring the top of it so I could attach them together.
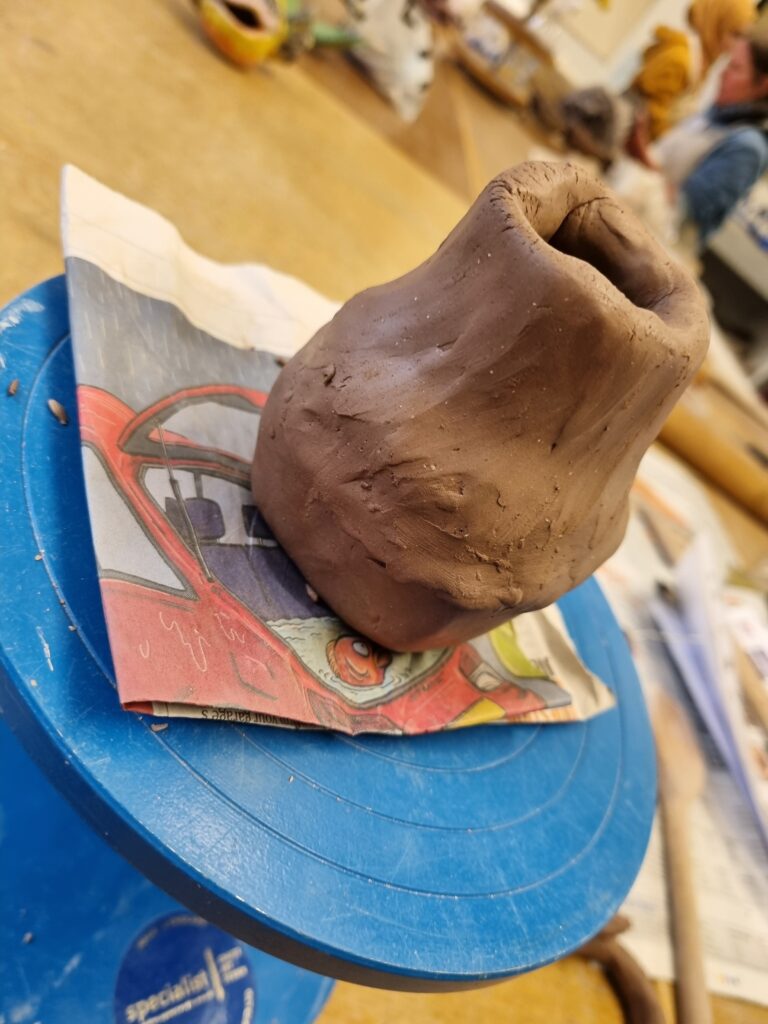
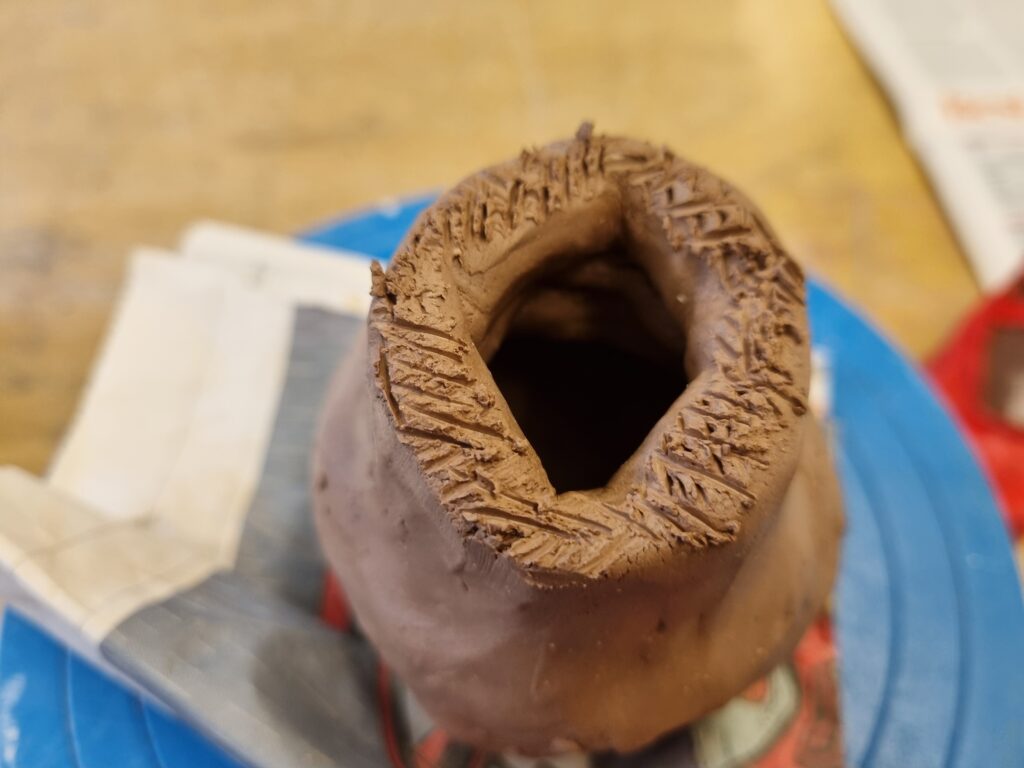
This is when I finally attached them together. After attaching them I used the spoon to tap it down into shape and make it more smoother.
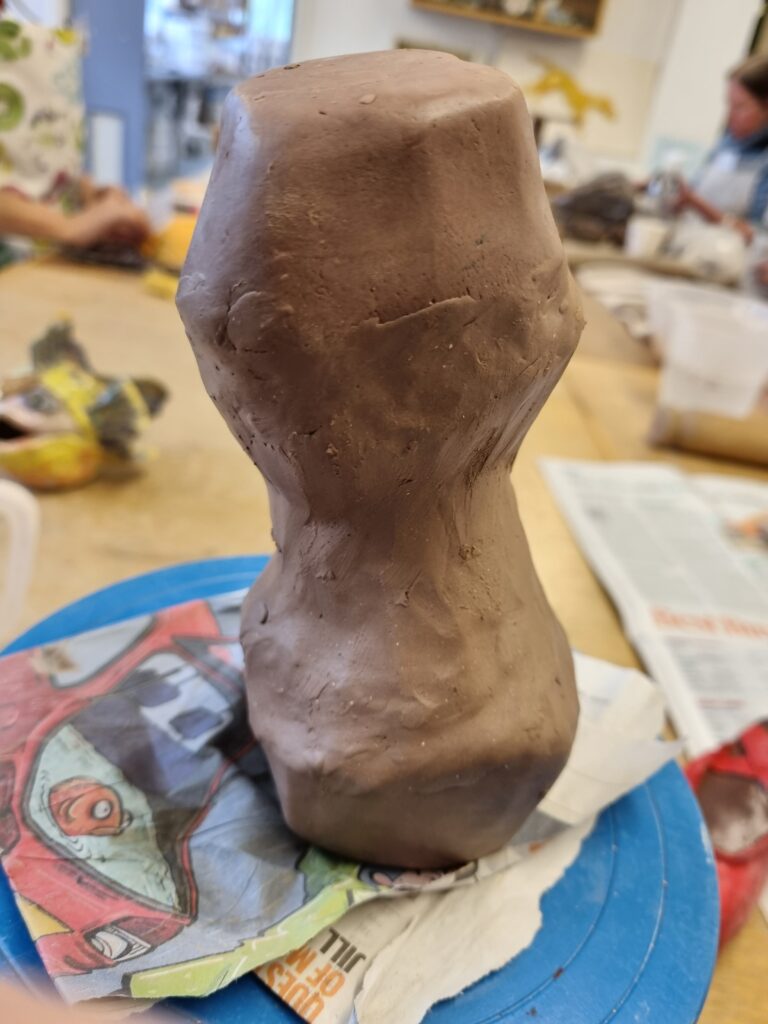
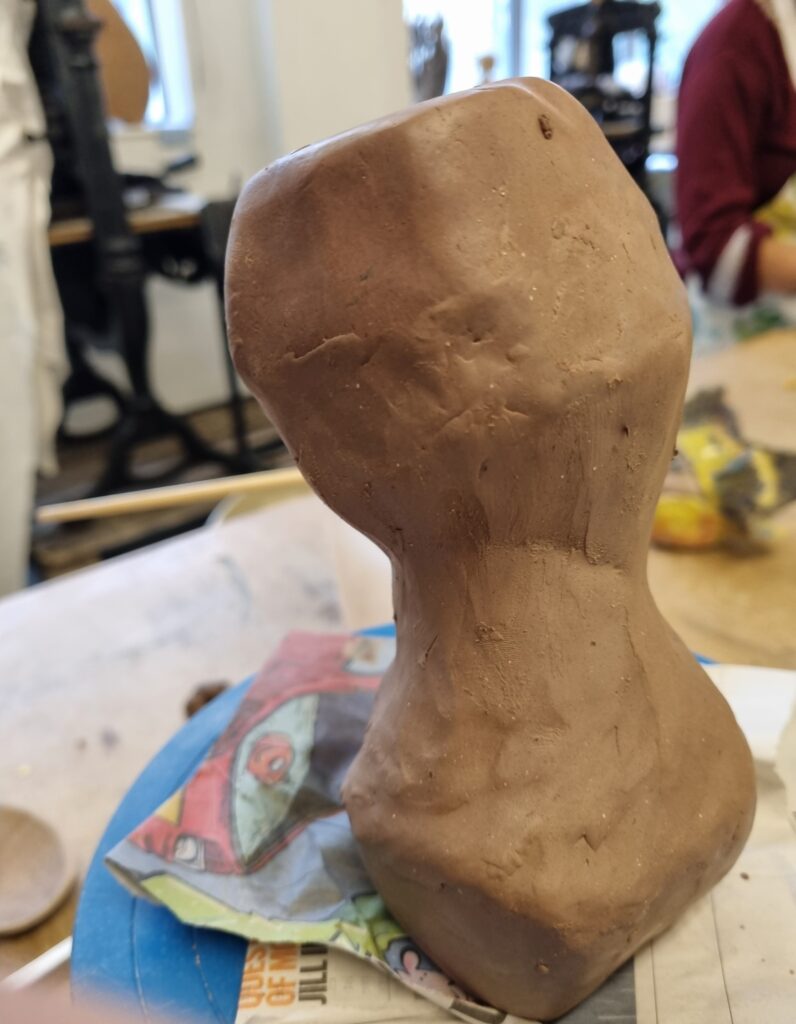
Here is where the ballet shoe started taking shape. I then added the coil for the front of the pointe shoe. I recorded a video of me smoothing it down in 1 direction.
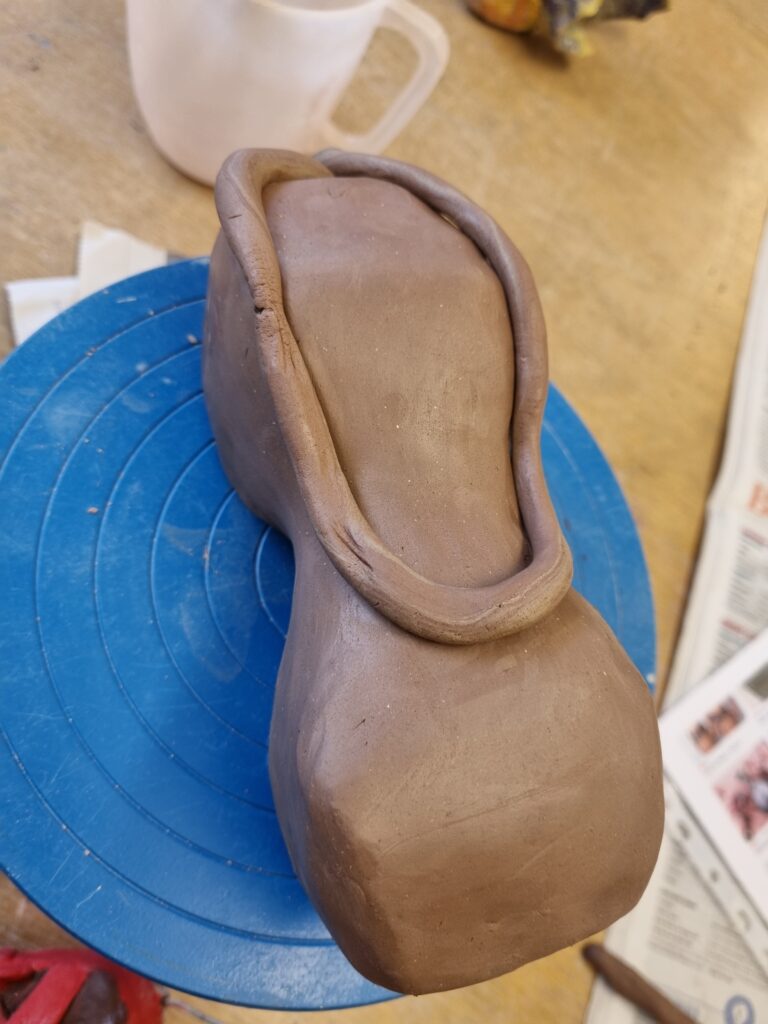
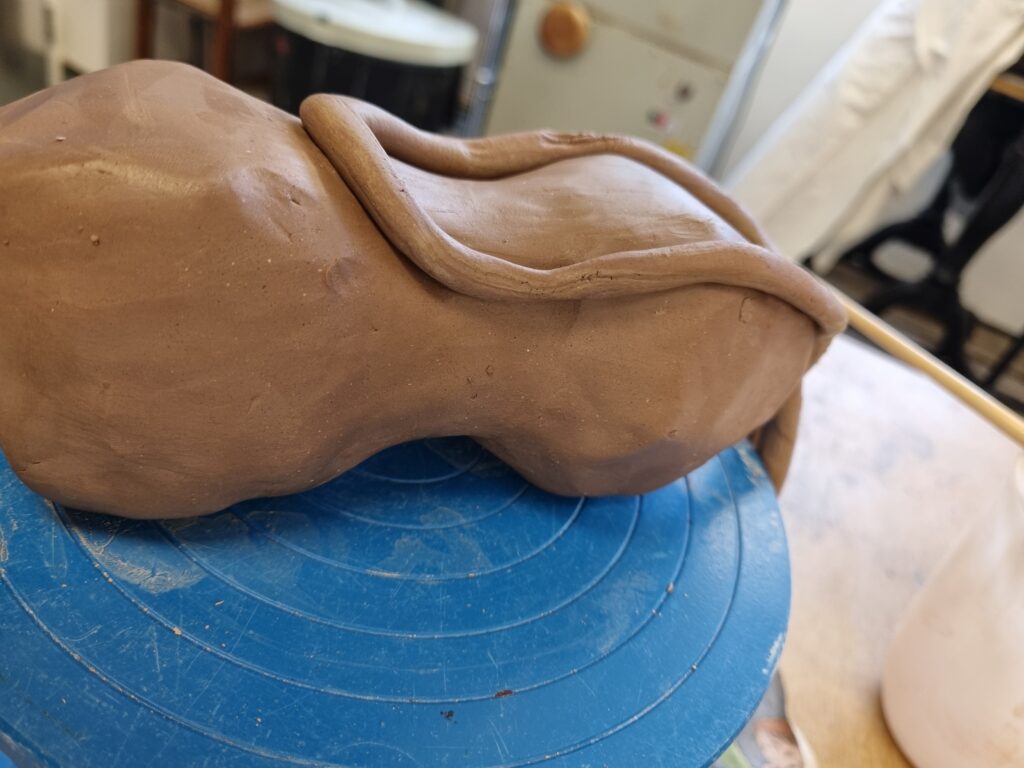
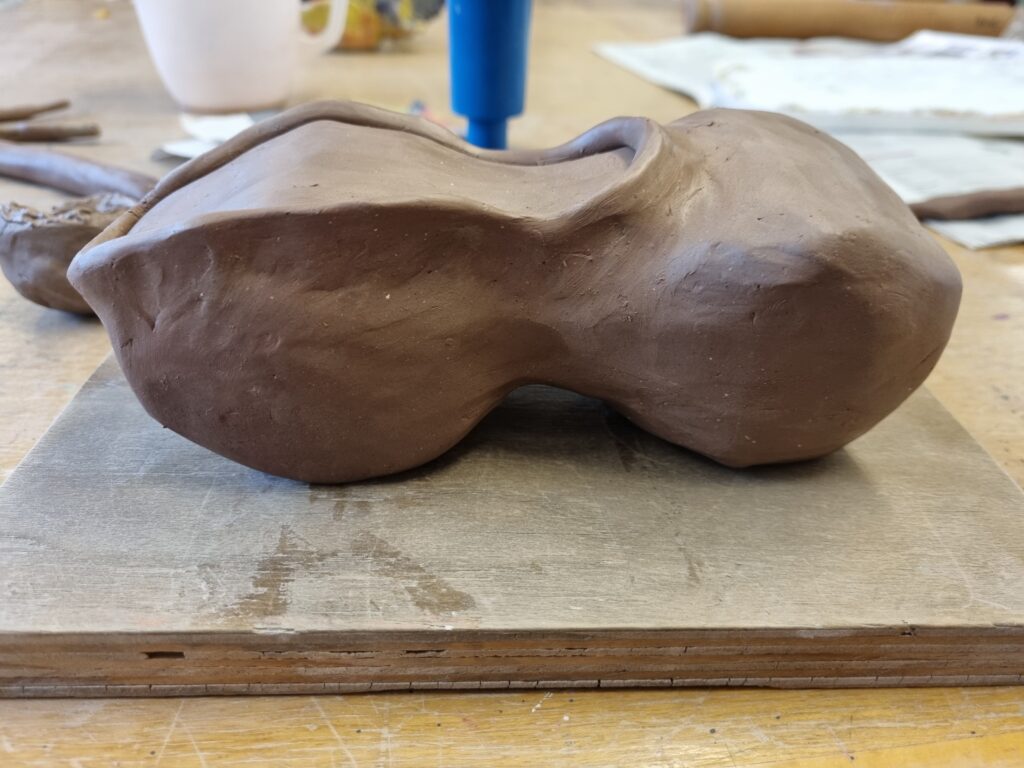
Here is where it started looking like an actual pointe shoe, especially with the smoothed-down line at the front.
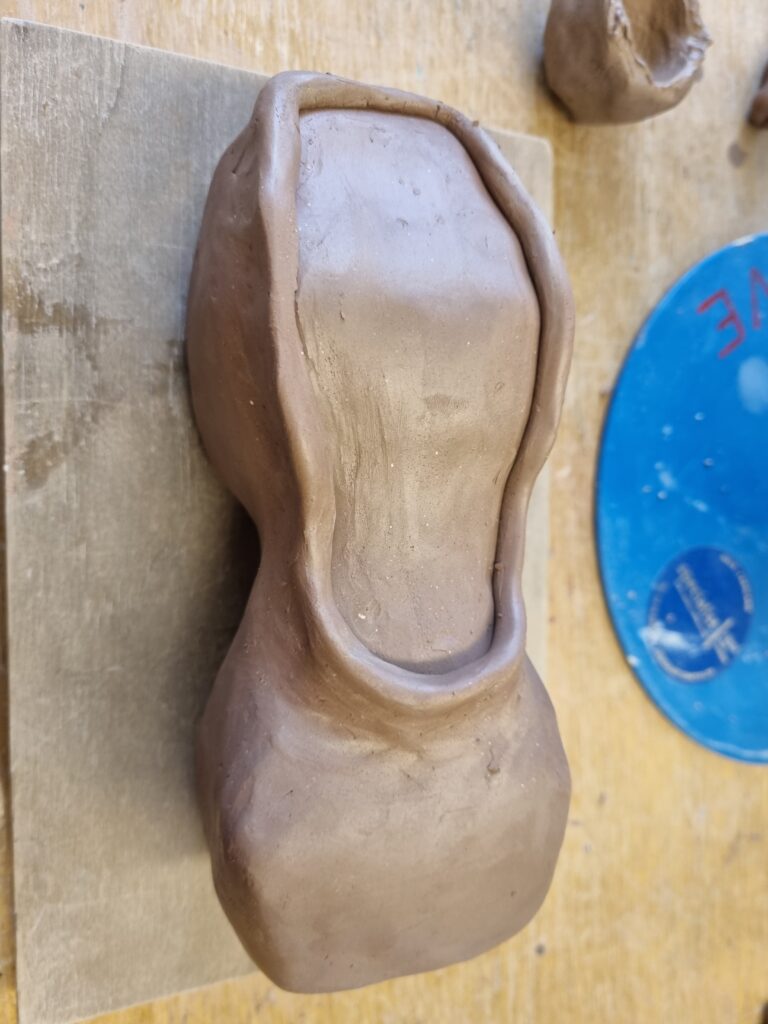
Here is the white slip. You had to mix it well and then you would apply it over the parts you wanted white. I didn’t get to fully grasp a lot of the information as the lesson was going quickly anor did I understand most of the terminology.
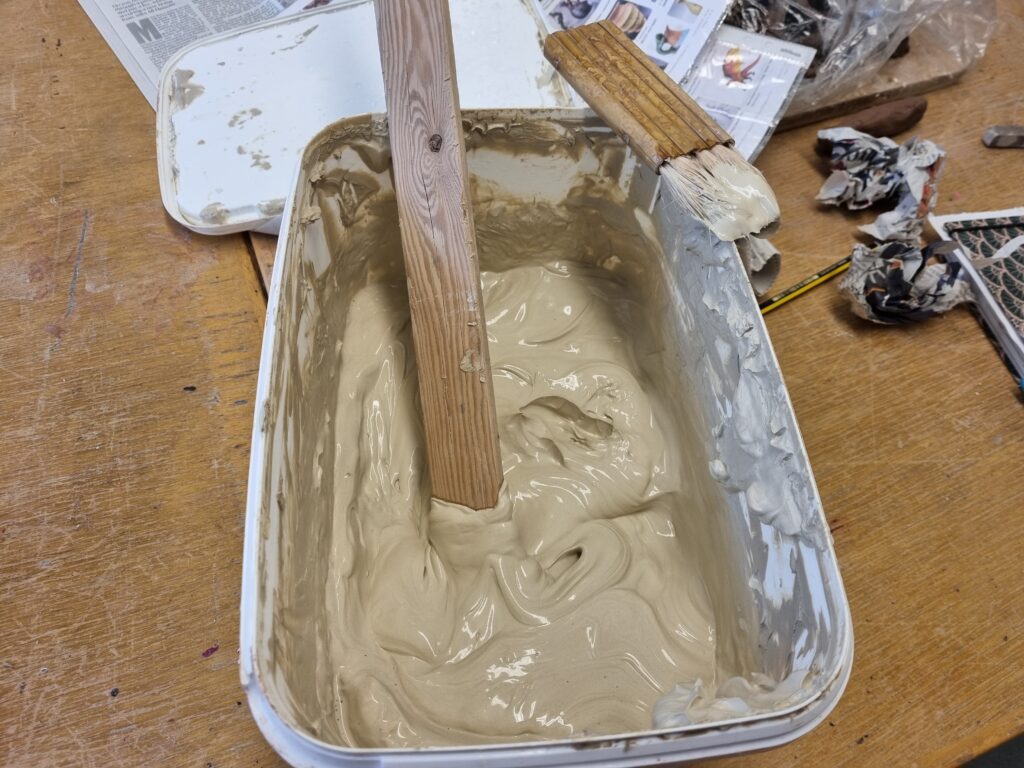
Here is the video below of the teacher helping me start off the white slip.
When I was putting the white slip on, I had made a mistake and put it on the inside of the shoe where the skin was so I quickly grabbed a paper towel wiped it off, and carried on applying the white slip.
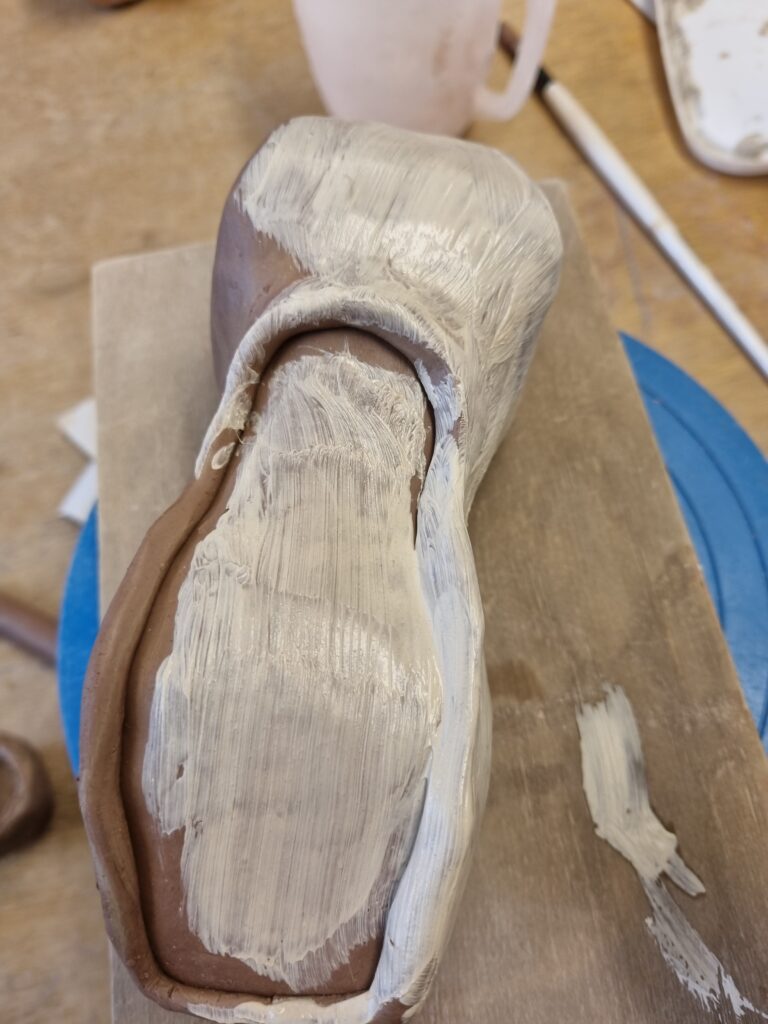
Here is the finished product of the Pointe shoe. I quite enjoyed the process and having the clay being soft really helped as well. I like how it turned out and I added a hole at the bottom of the shoe so when it is being fired up the heat will make sure the shoe becomes rock solid. However, I wasn’t told that it would take 2 weeks for this to dry and be ready to be heated up. I didn’t have enough time to make the clay ballerina to heat up and to paint it so unfortunately I couldn’t use this process. Although I have another medium I have experimented with, I felt like I had wasted my time as I only had 2 weeks left to complete this project. I liked experimenting with this other type of clay but I realised it would be too hard to work with so I’ll stick to air-dry clay. After talking to another tutor of mine, he told me there was plenty of clay, so next week I’ll begin making the ballerina.
Week 13 Overview
I feel like I did a lot this week assembling my pieces together and initially going back and forth on ideas. I even got to try a different type of clay with HIVE which got me experimenting more. I did a lot of researching that has led me up to this point and hopefully next week I’ll finally be assembling my final pieces. Even though I am grateful for the extra clay lesson and experimentation, I feel like it has limited my time more especially as in 2 weeks we finish with our final piece. I believe it was the wrong week to be experimenting however there is nothing I can do so next week I’ll start assembling my work together.