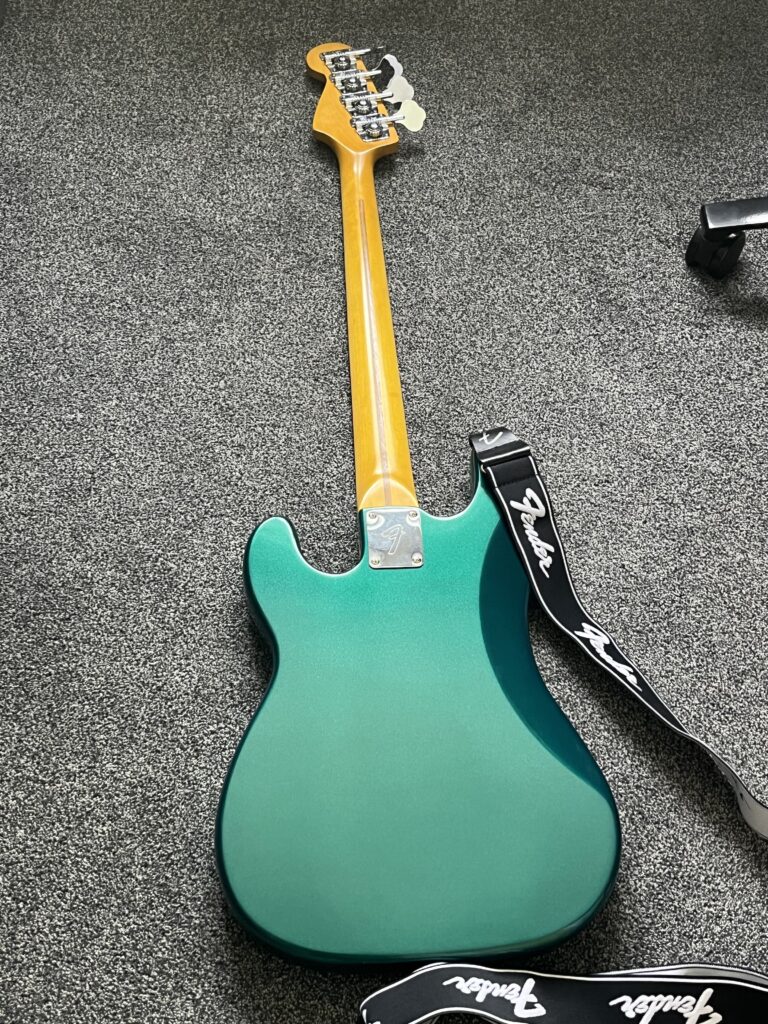
The photo above is the only photo that I have of the complete bass, this was taken the same night that I bought it, as you can see my girlfriend looks delighted that I made her come on an hours drive with me and my dad to collect this. I bought the bass for £45 only to later identify that it used to be a 1996 made in Mexico fender precision bass. I am so glad that I ended up purchasing this because it would make a great restoration and it was such a bargain for the price.
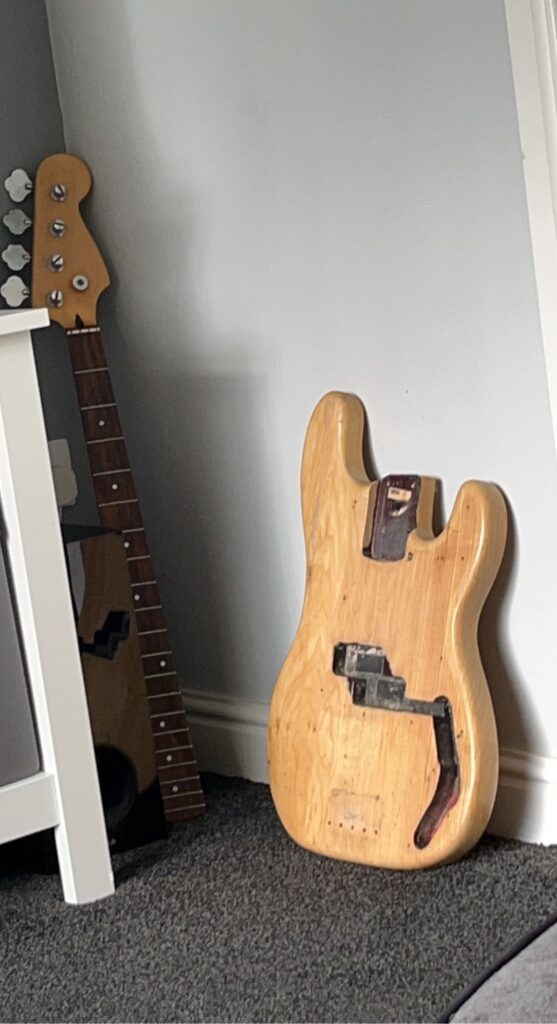
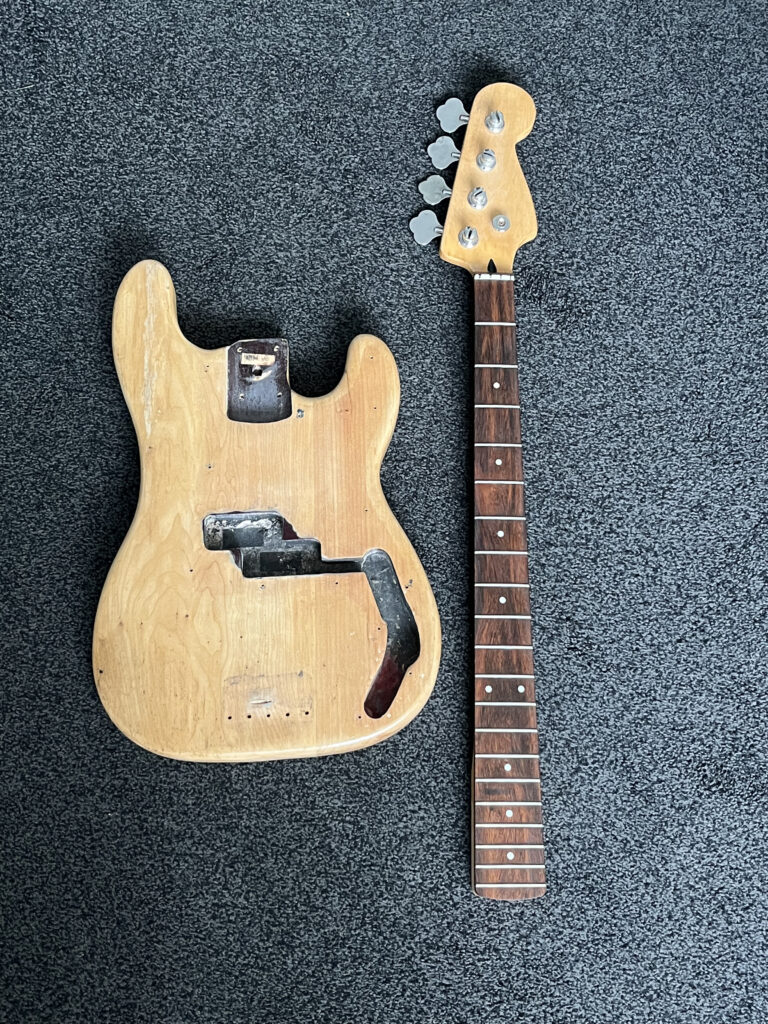
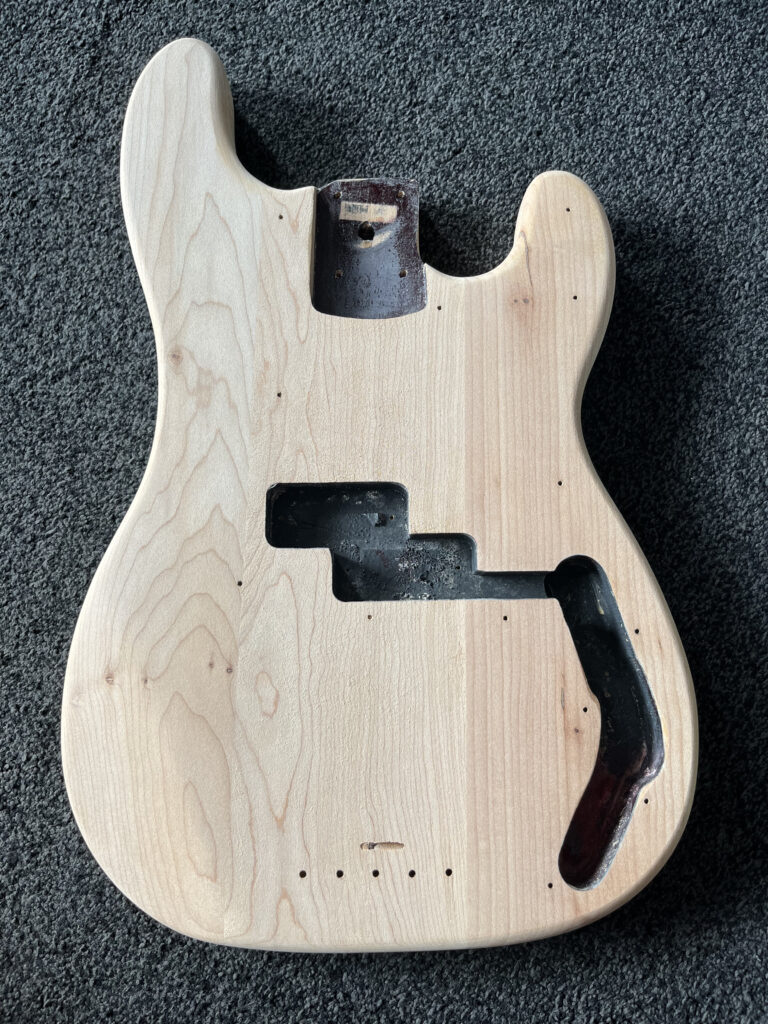
In the image shown above is the first picture I took of the project when I had dissembled it. The bass was in terrible condition with dints, dirt and grime everywhere, it has basically not been treat well for 27 years which will make a great restoration project. As you can see where the pickup goes their are two red marks, I later discovered that this was the old colour of the bass and that it had been sanded down and had this horrible wax coat put over the top. The body had been sanded down terribly because no surface was smooth or flat. The old fender colour is called ‘Wine red’ and the guitars body even had patterns engraved into it which would need filling and sanding out. There are also a few other problems with the bass that will need fixing just like, that the neck pocket has been sanded down too much and will need some filler to re build it, There is a visible hole when the pick guard is on so you can see inside the pickup cavity, I will fix most of these problems by building them out with wood filler. I have also bought all brand new components for this bass but I am still debating either to use the old pickup or to buy a brand new one.
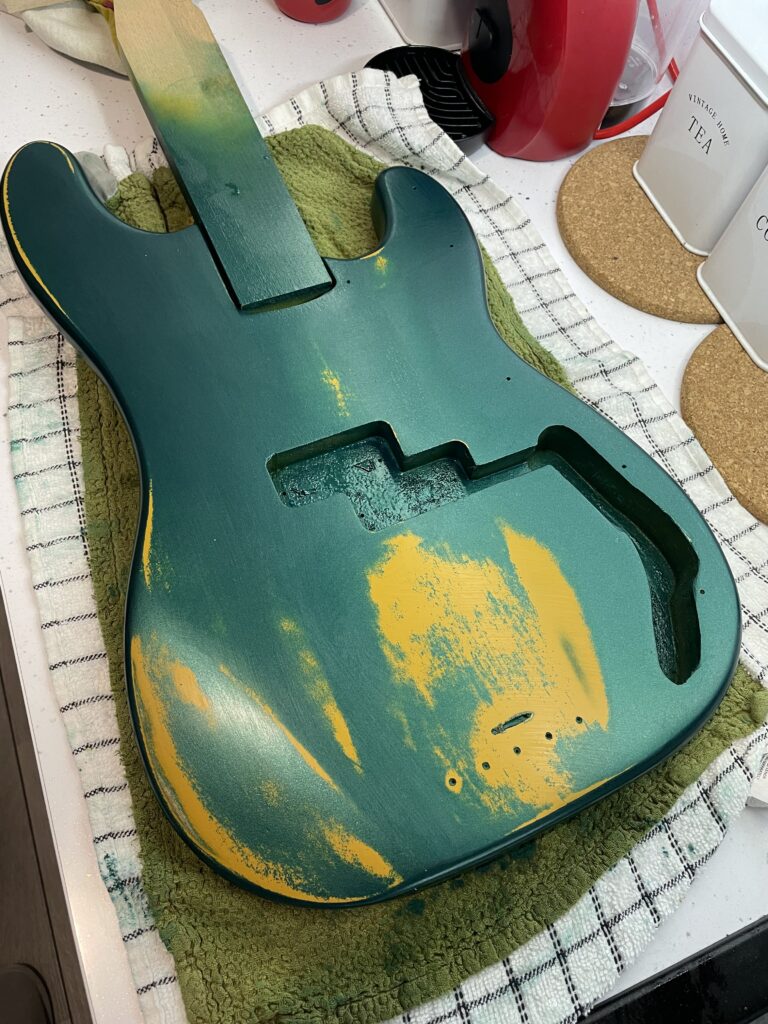
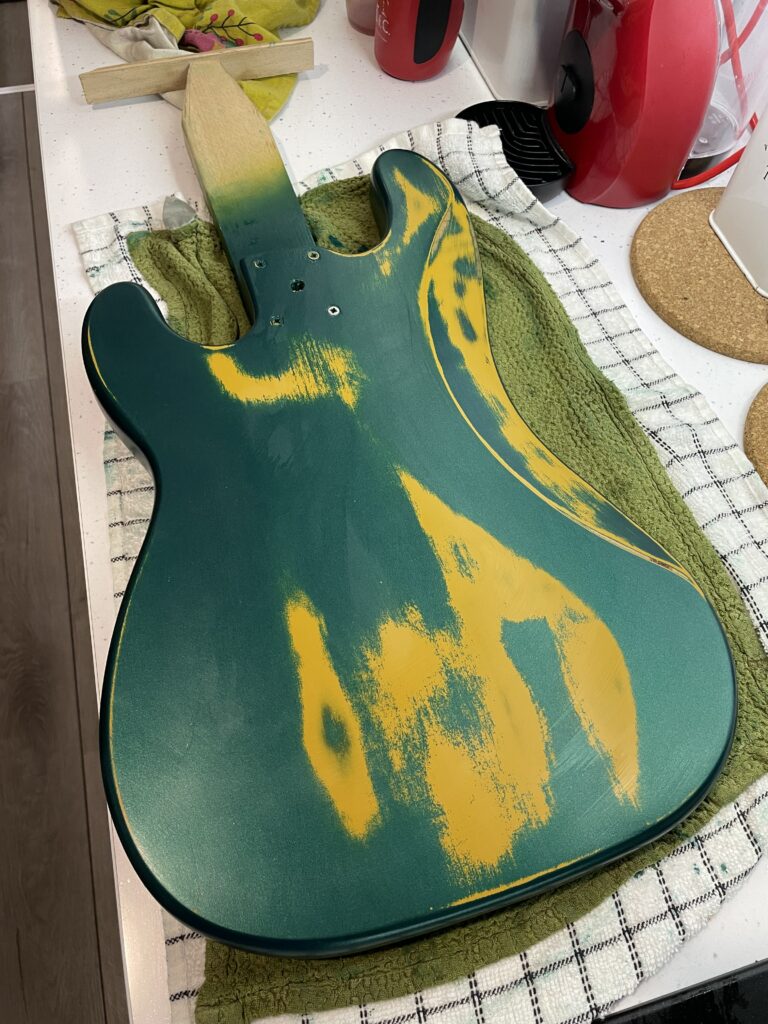
To start this project, the first thing I will do is sand the body and neck down, I started with 50 grit and worked my way up to 200 using a disc sander. it is important that I sand the body down before anything else because if I sprayed over the grime it would be dimply and look awful. it is important that I sand the body with 1500+ before spraying it because this will minimise the wood grain showing through, as much as possible.
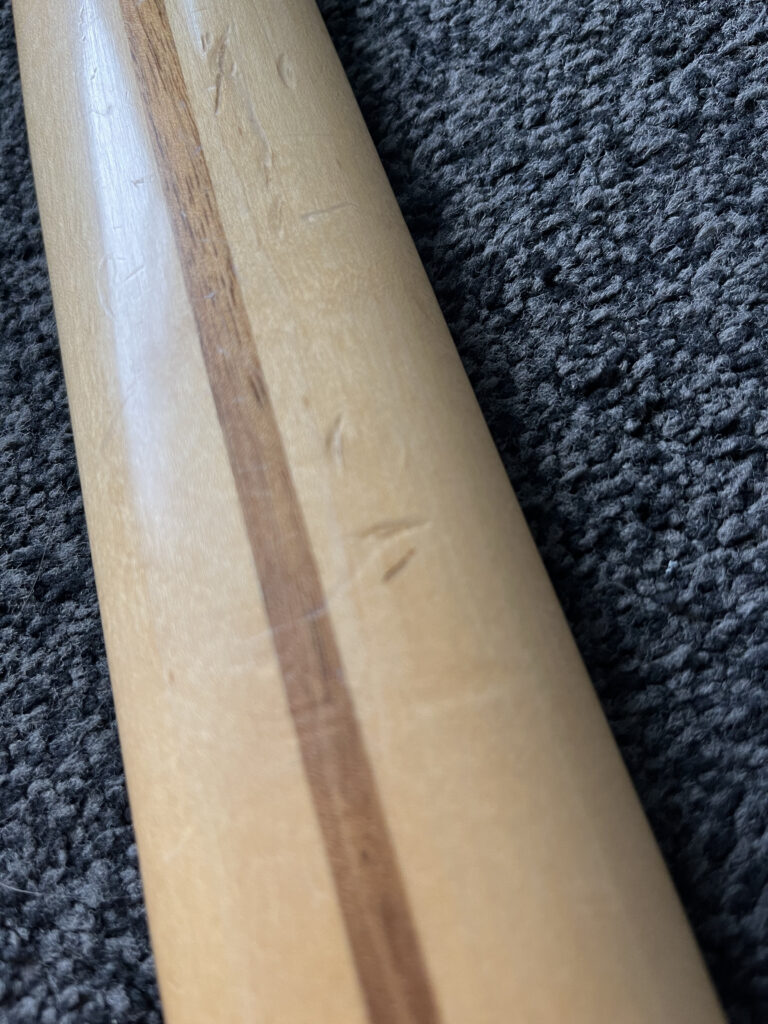
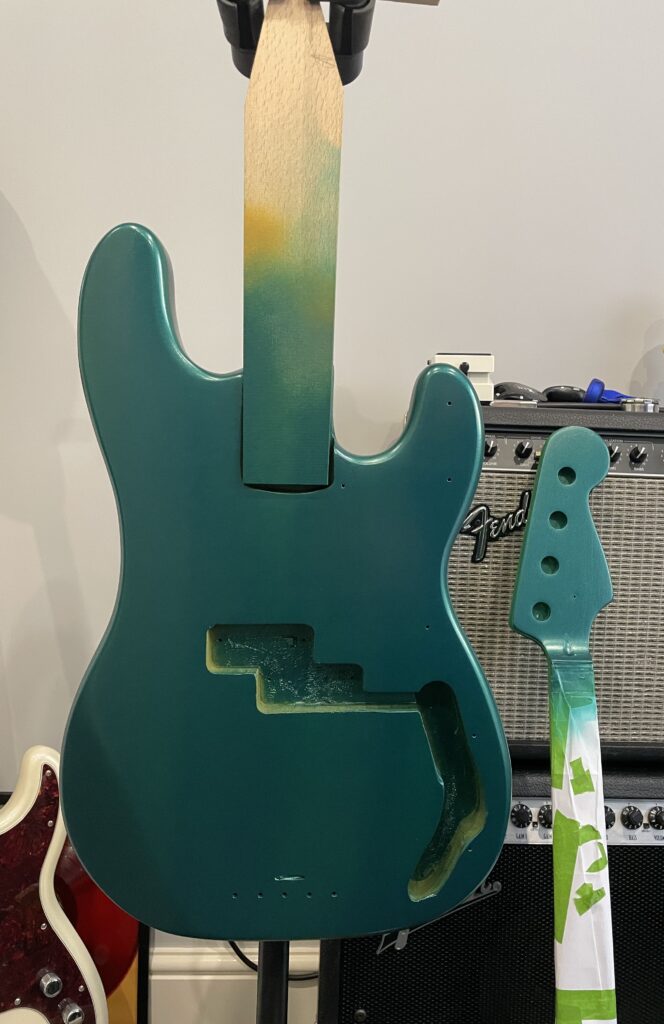
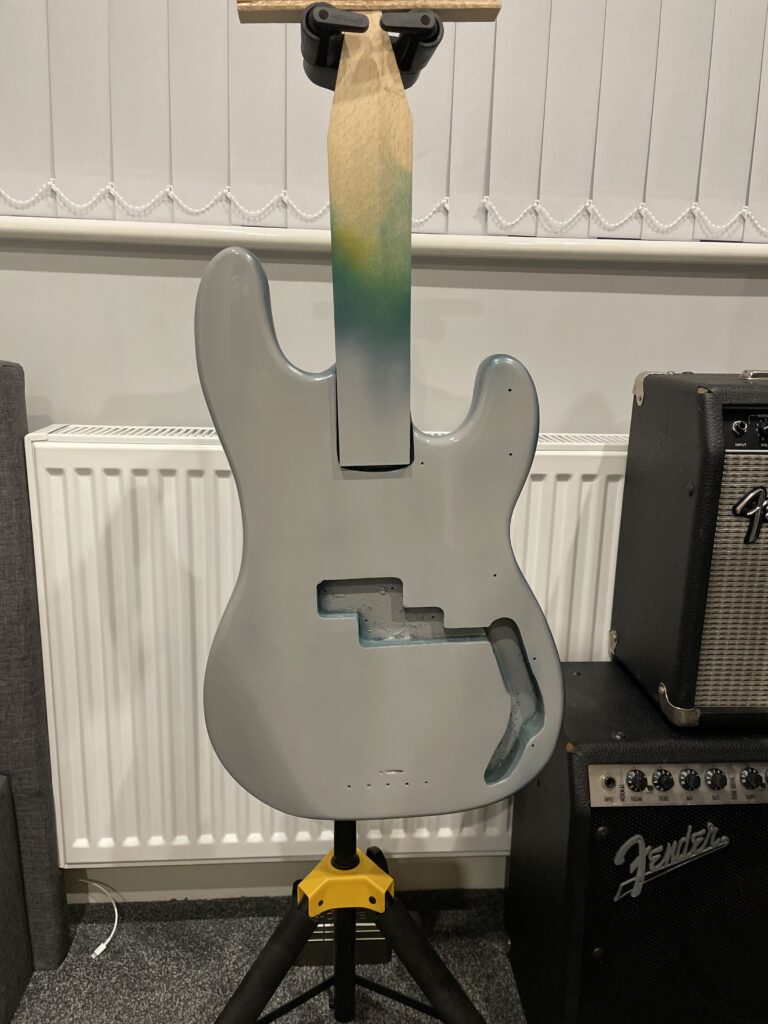
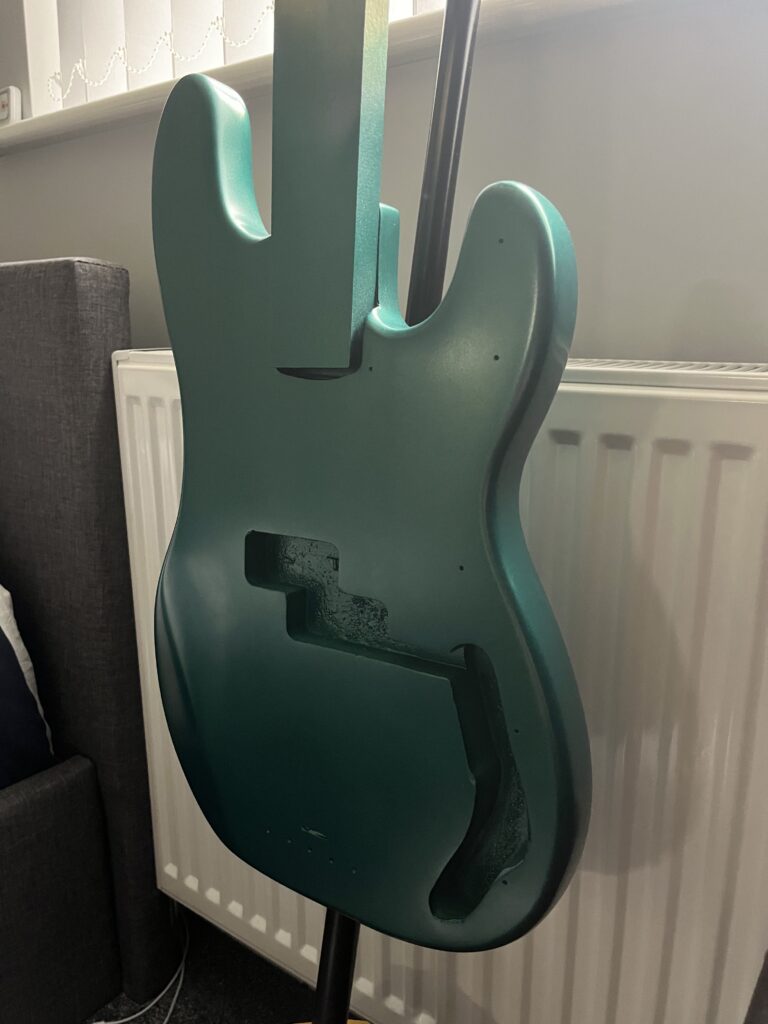
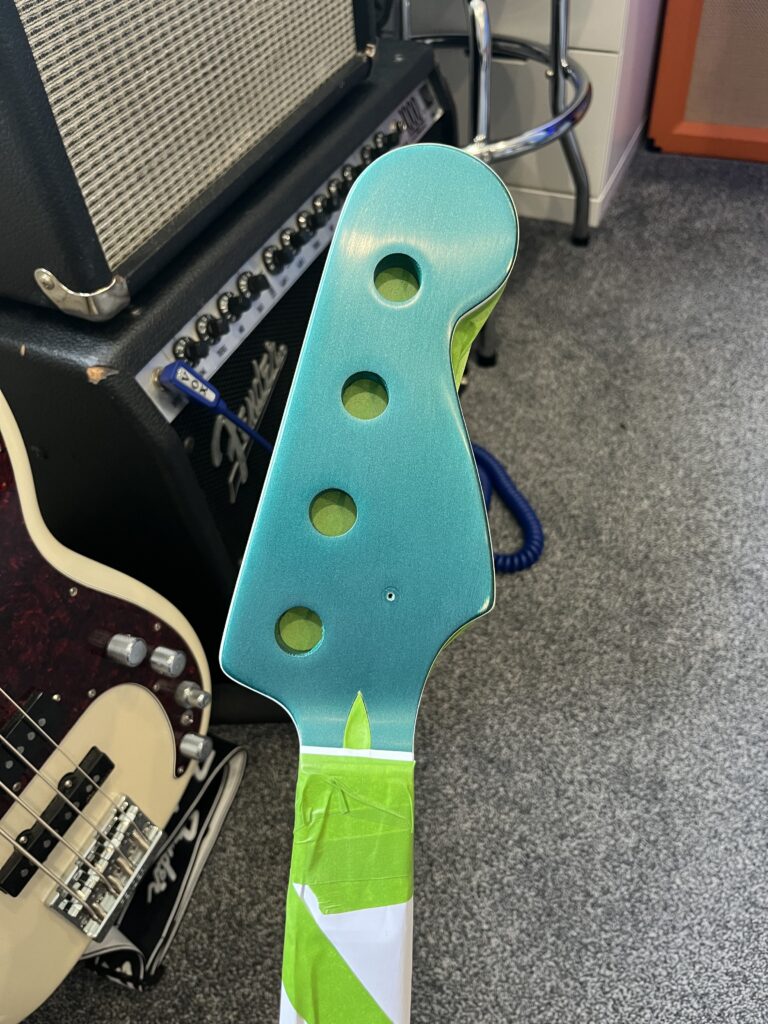
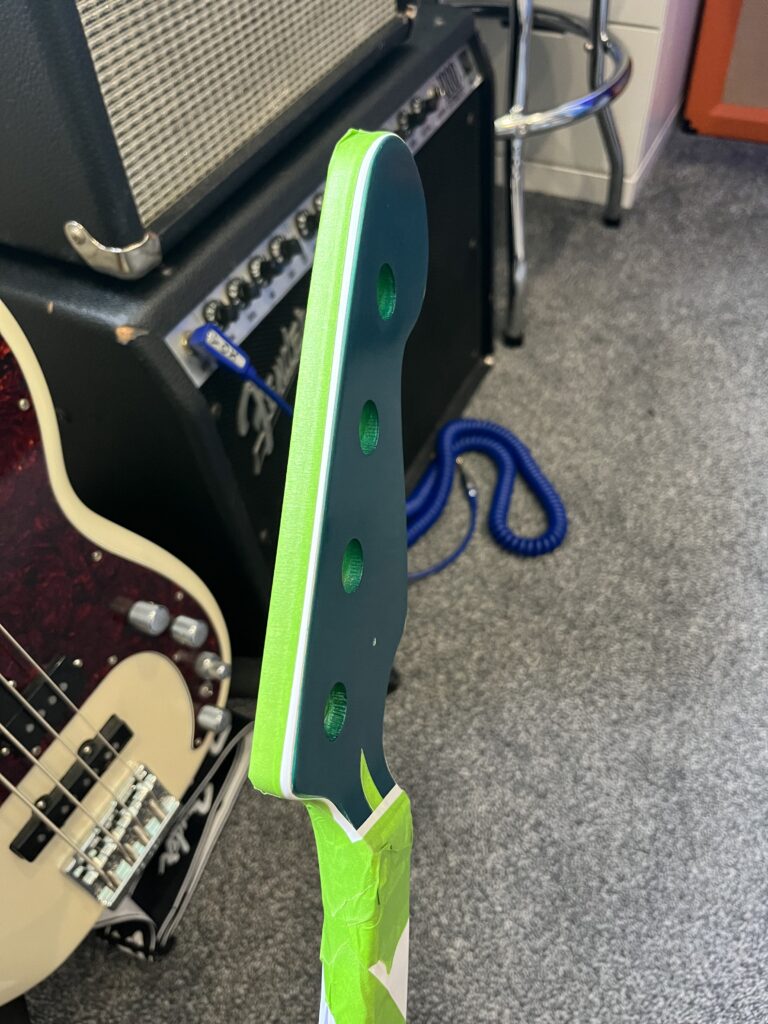
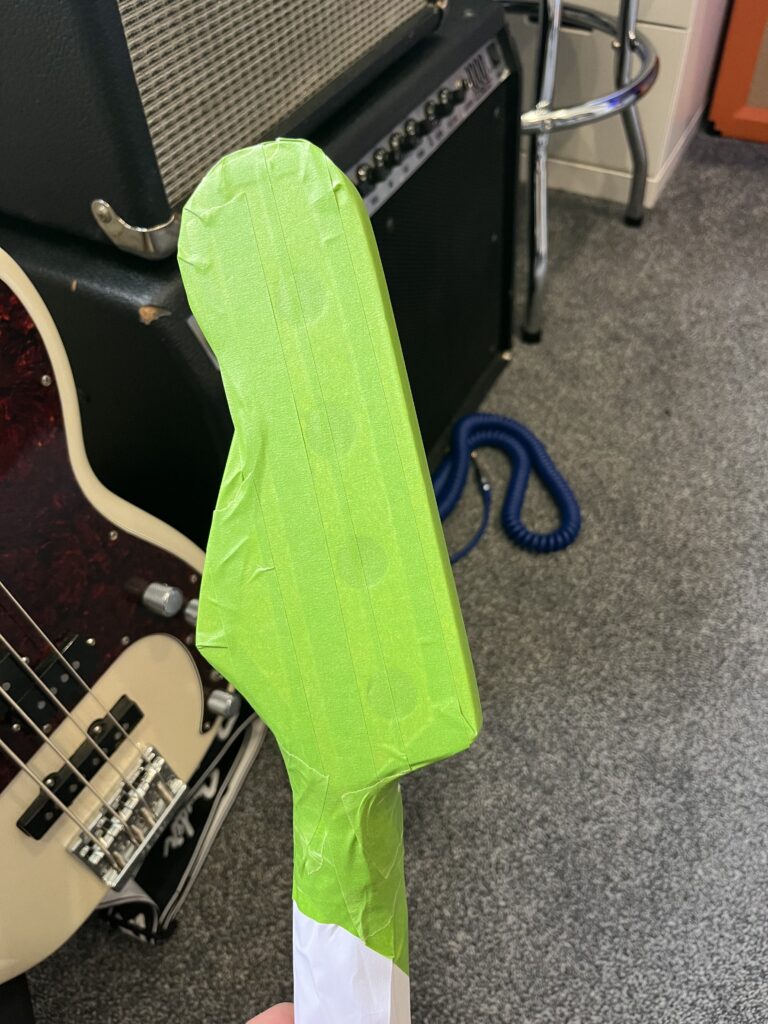
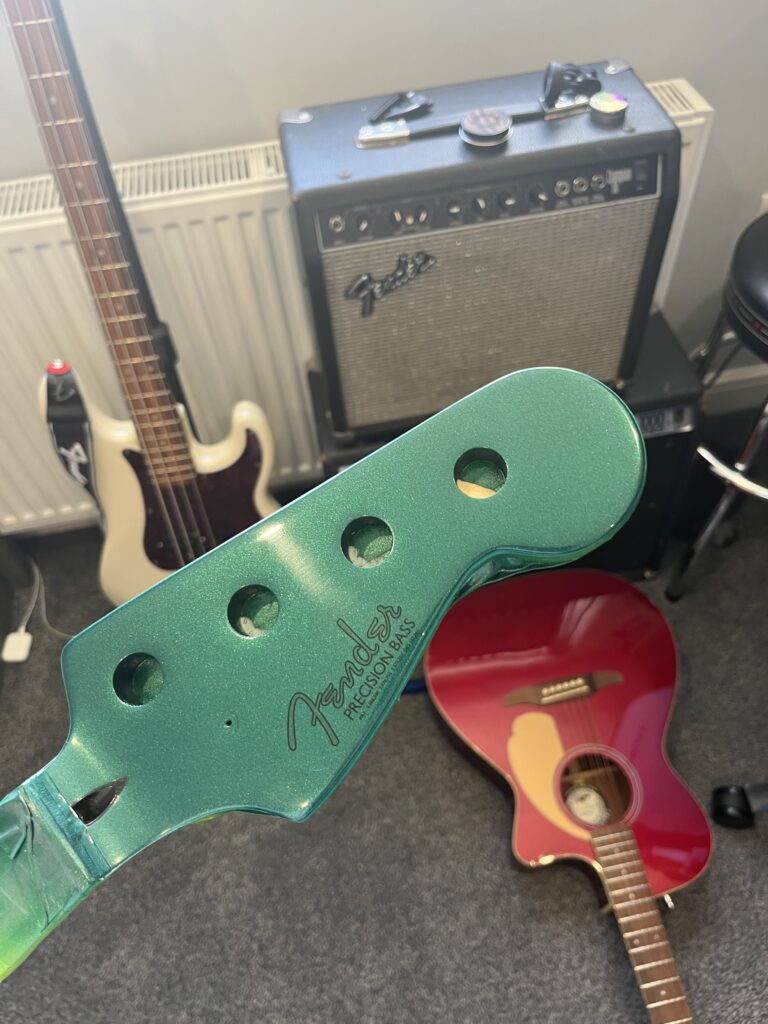
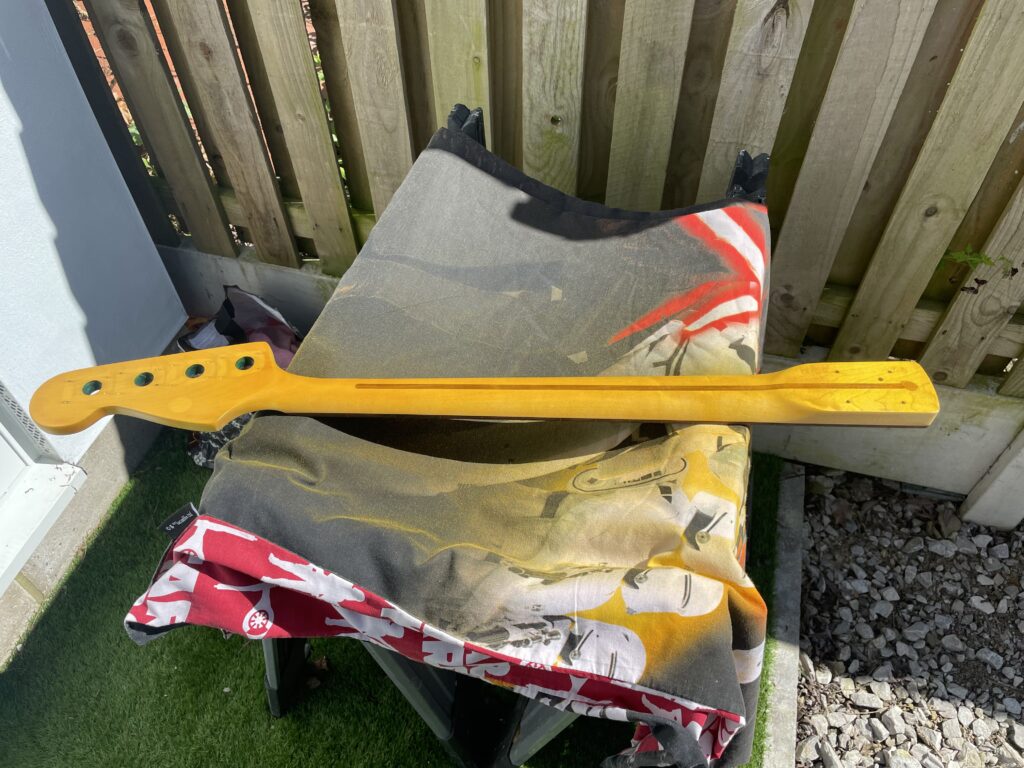
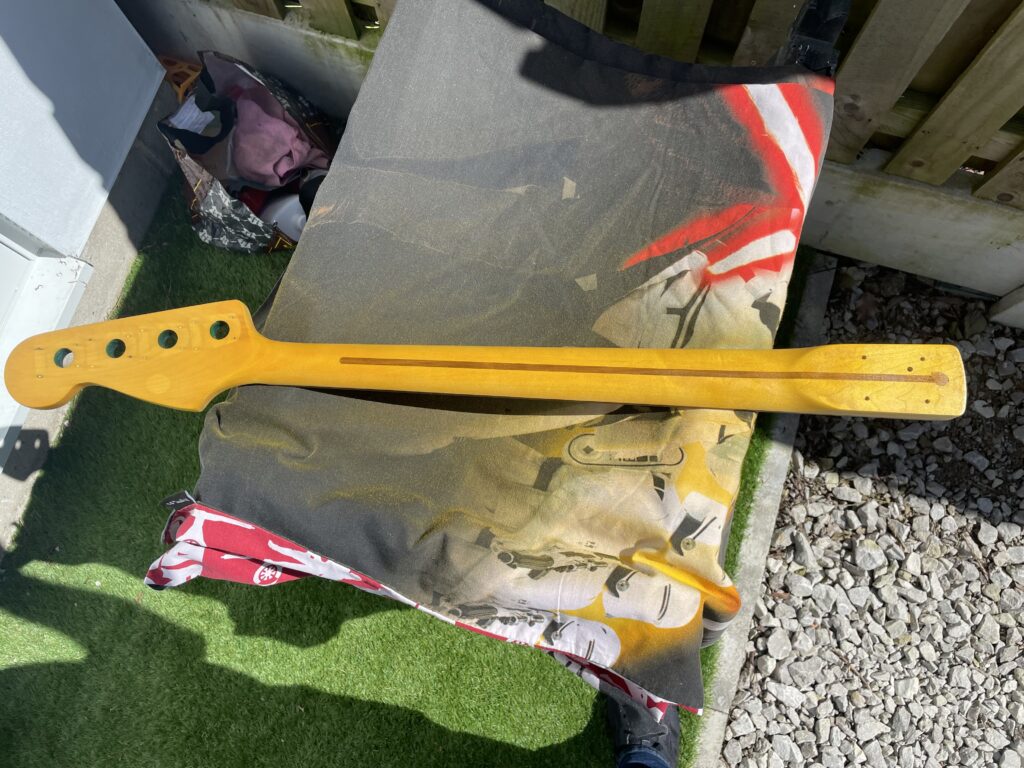
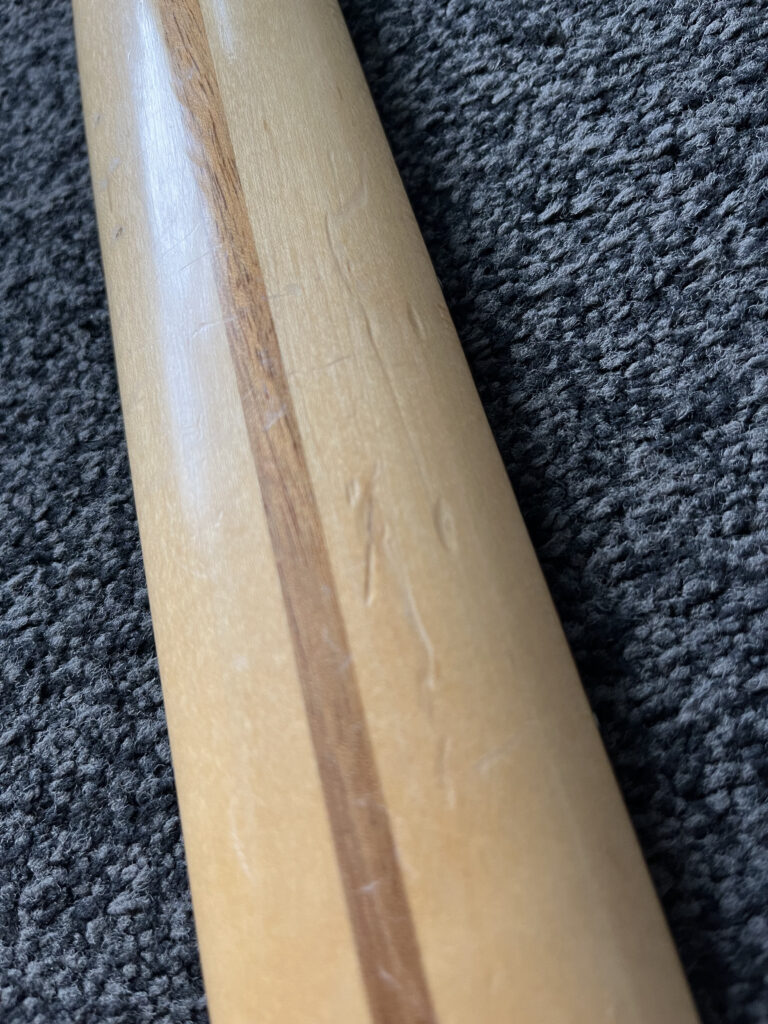
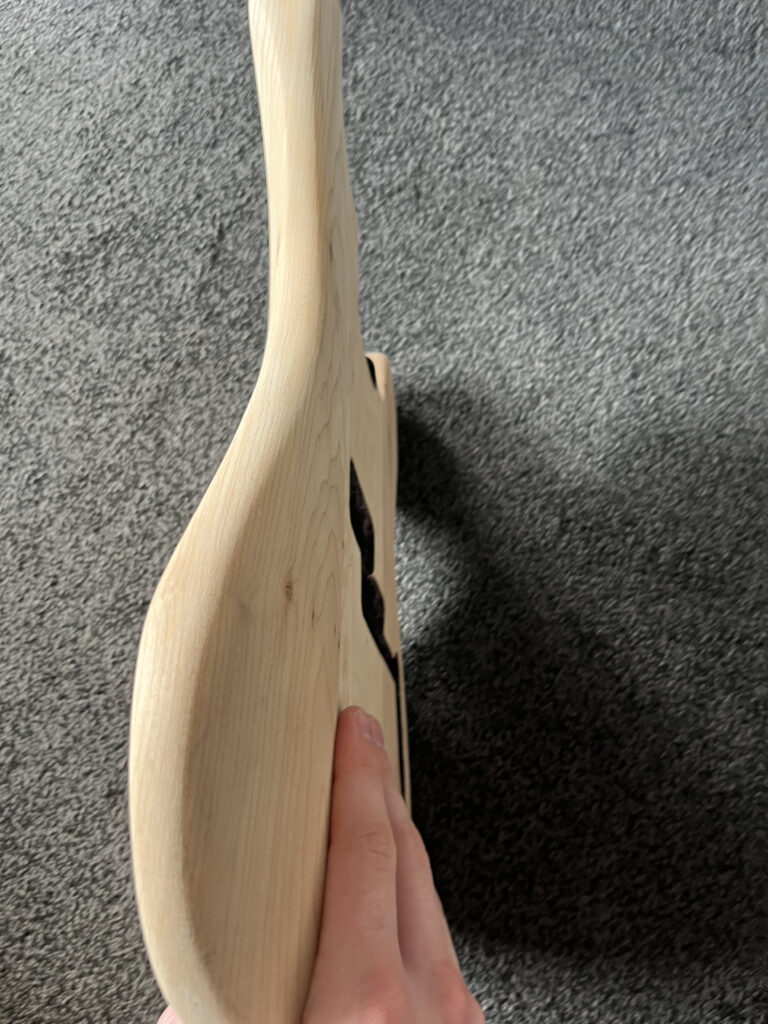
As you can see the neck is full of dents and nail marks so this will need a good sand down, I will have to sand this by hand because of the curved shape of the neck. so that the profile/feel of the neck will stay the same. I have sanded the neck down I will spray the headstock in sherwood green so that its a matching headstock the body, after that I will buy a fender waterslide decal that I will use for the headstock then finally I will lacquer over the neck to finish it off.
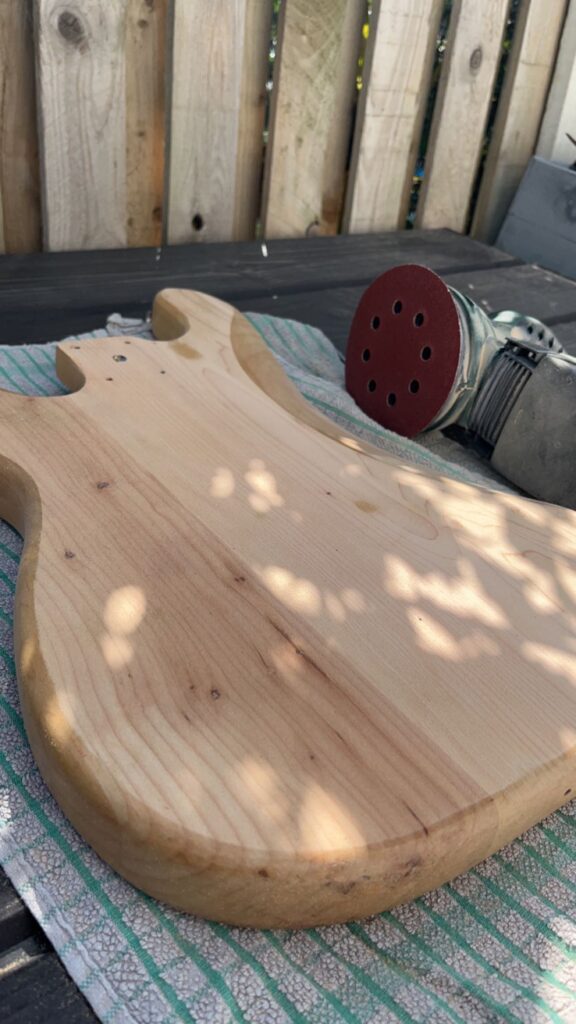
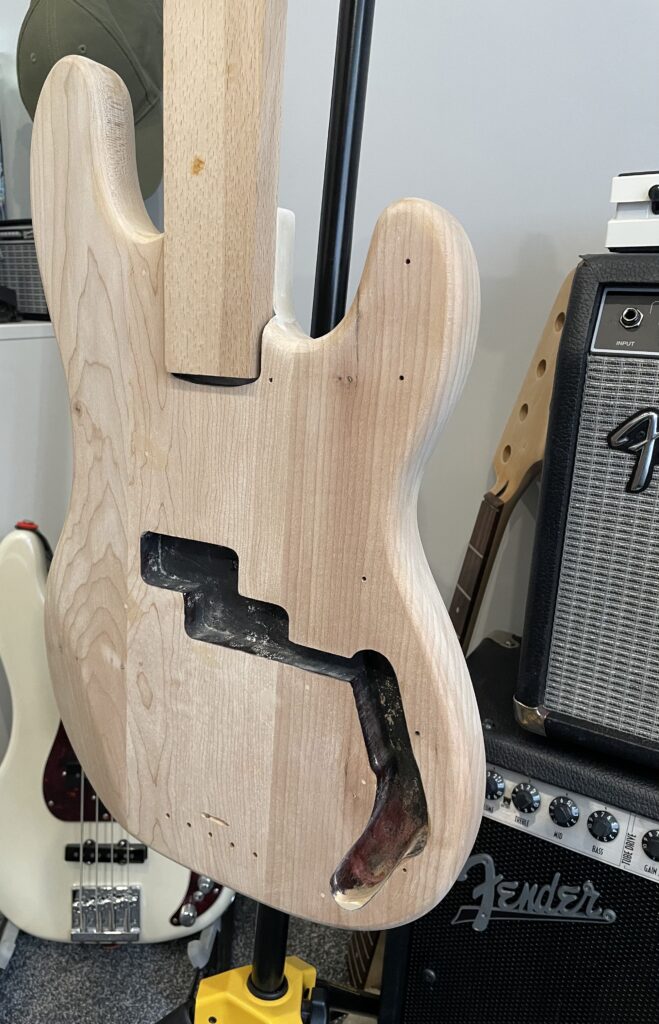
As you can see, in the image above this is the process of me sanding the back of the body down, this is the easy part of sanding the body down but unfortunately I will have to hand sand the corners down so they are nice and rounded. One other thing that I had to do here was to try make the body all as level as possible because the last person that sanded this down probably years ago didn’t do a good job because there’s bumps all over the place.
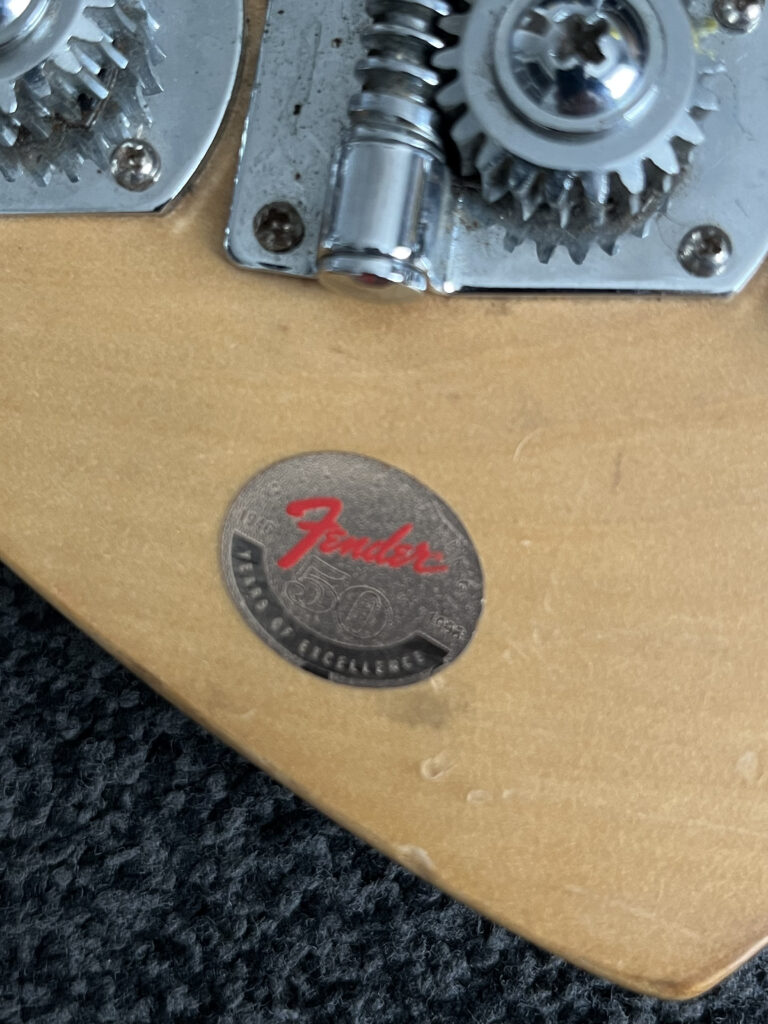
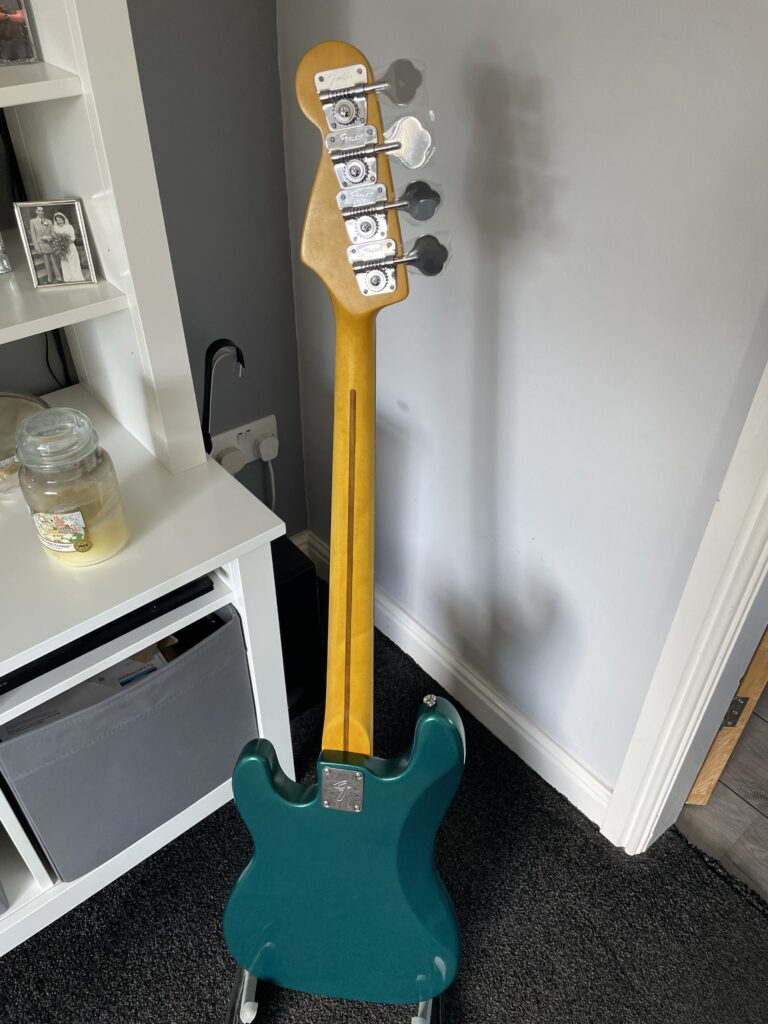
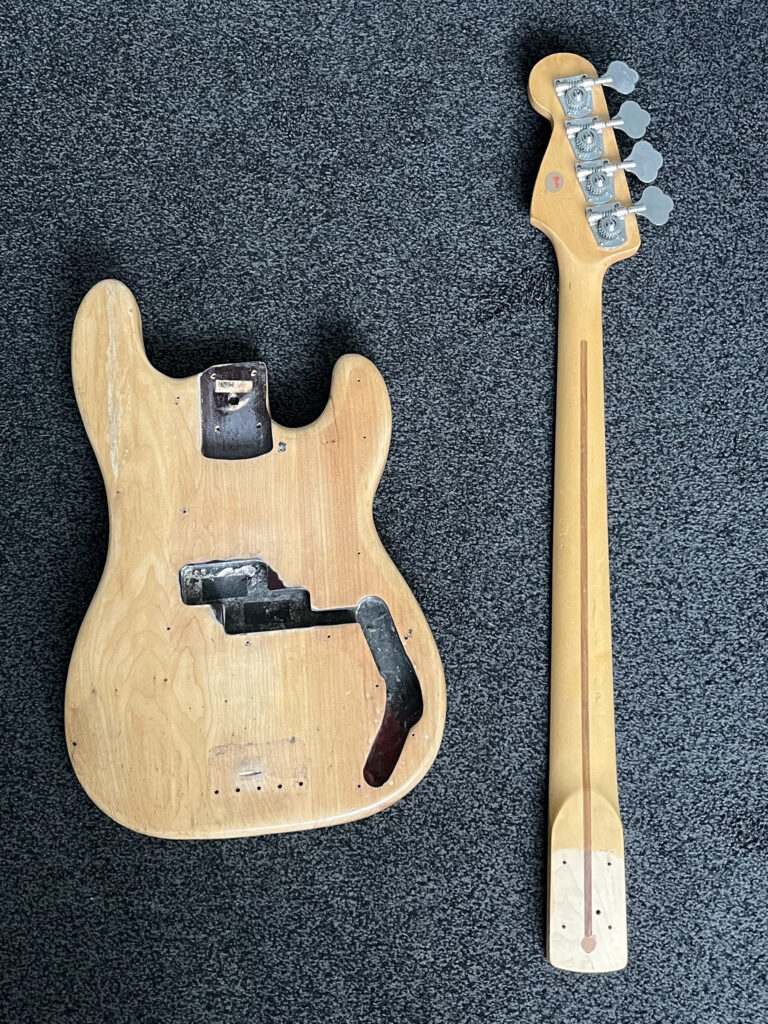
The image shown above is on the back of the headstock, I could identify that this is a fender made in Mexico bass from 1996 because that’s when Fenders 50th anniversary was, to get this sticker/badge off I will either have to scrape it or use a heat gun, I will have to take this off so that I can sand down the back of the neck and spay it.
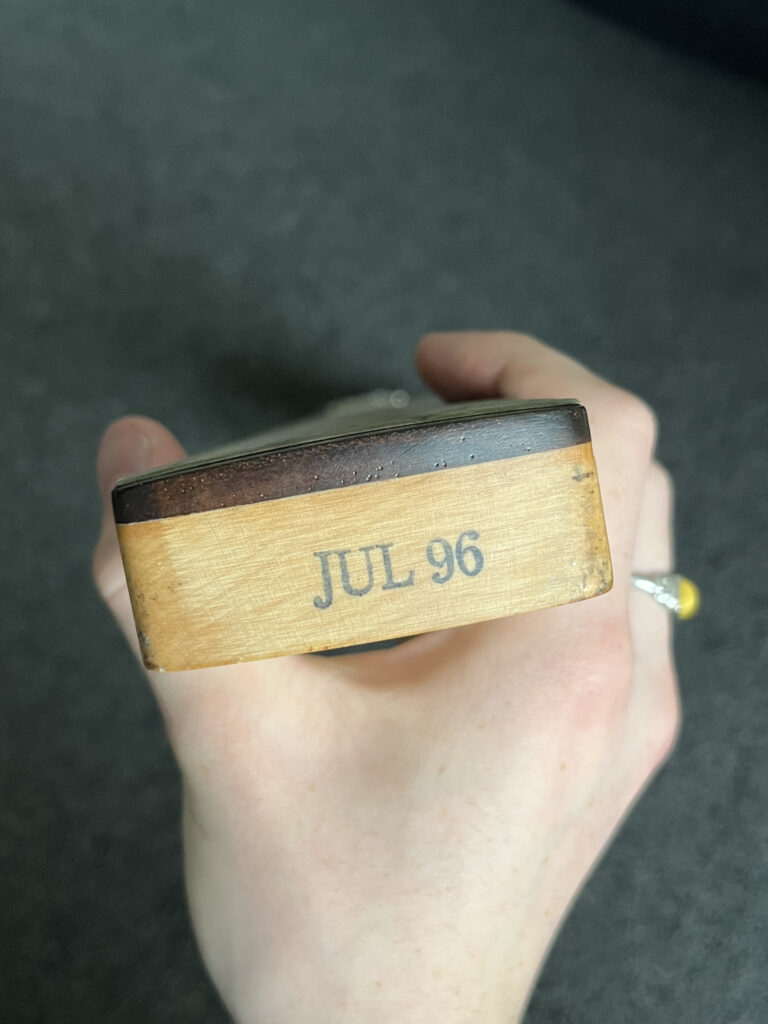
I could also identify the year of this bass because it was stamped on the back of the headstock where it fits in the neck pocket. This is quite a common thin that fender do to their instruments.
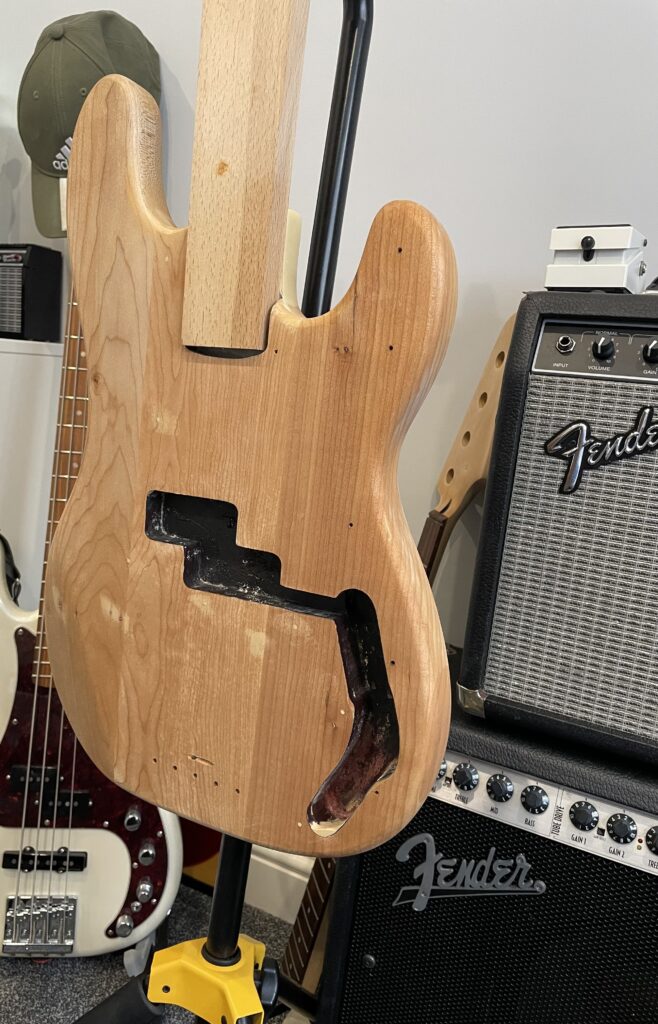
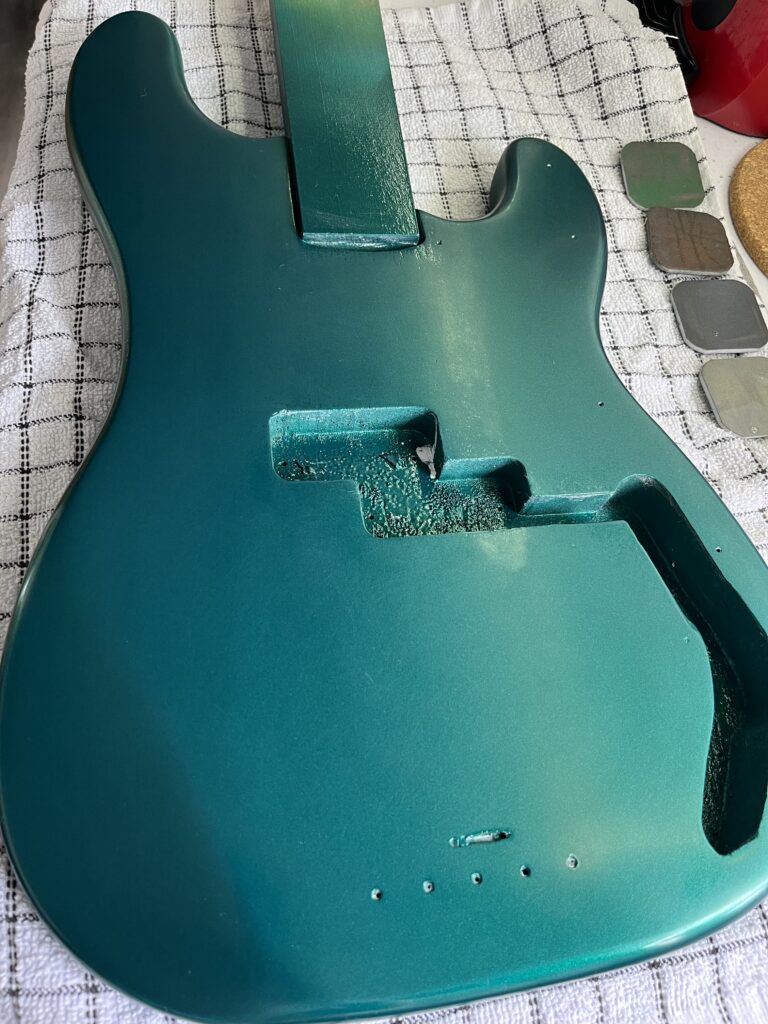
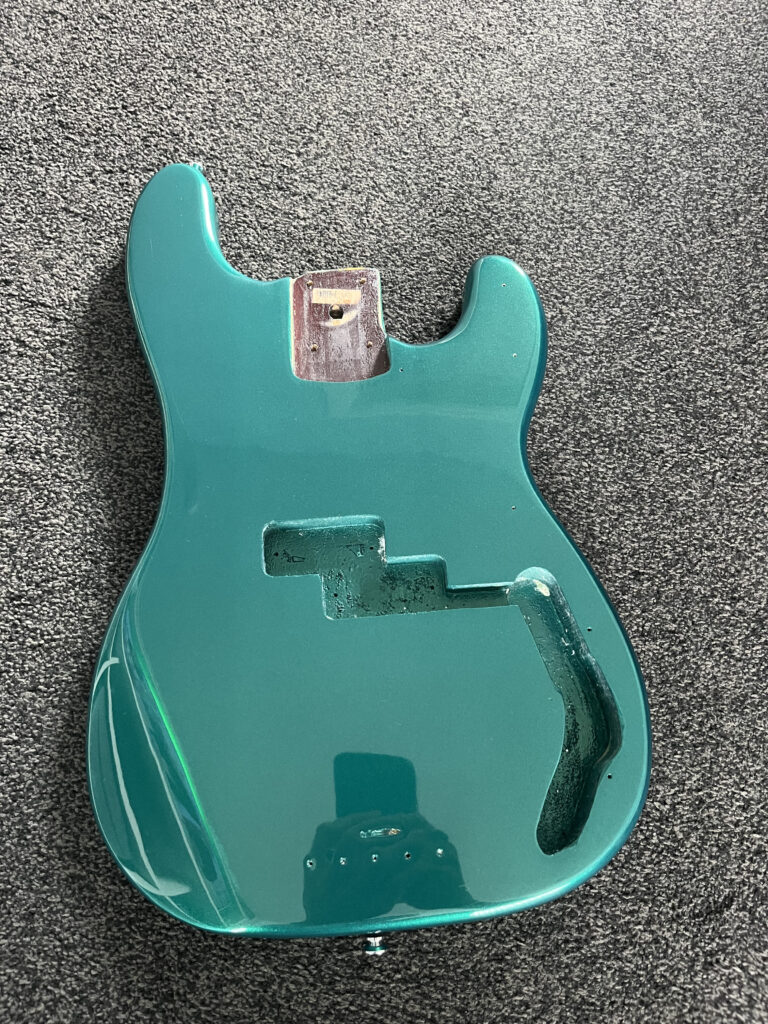
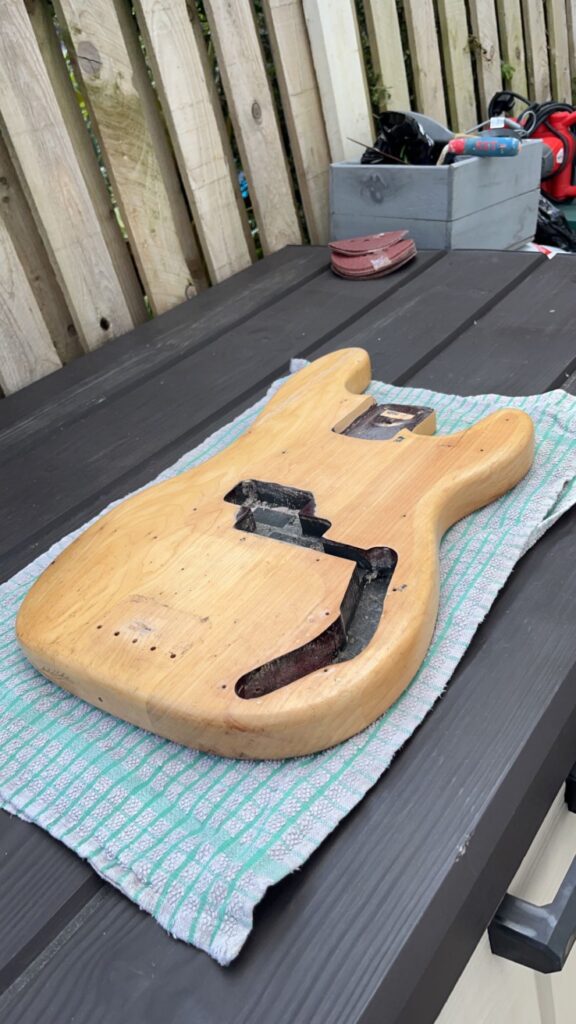
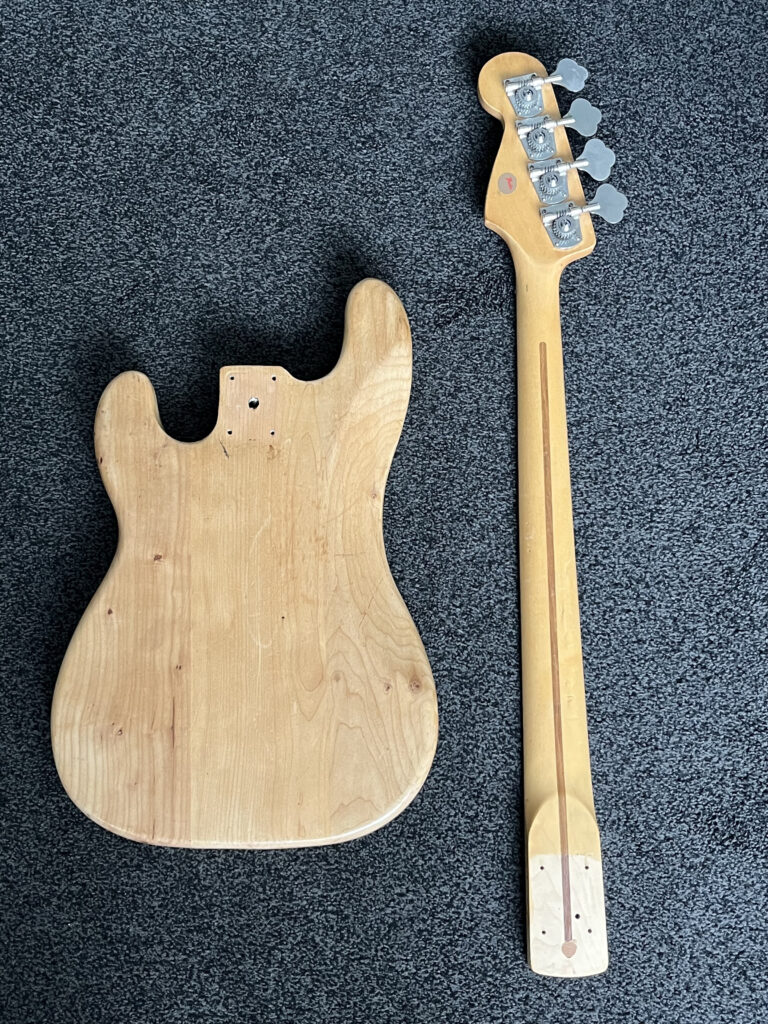
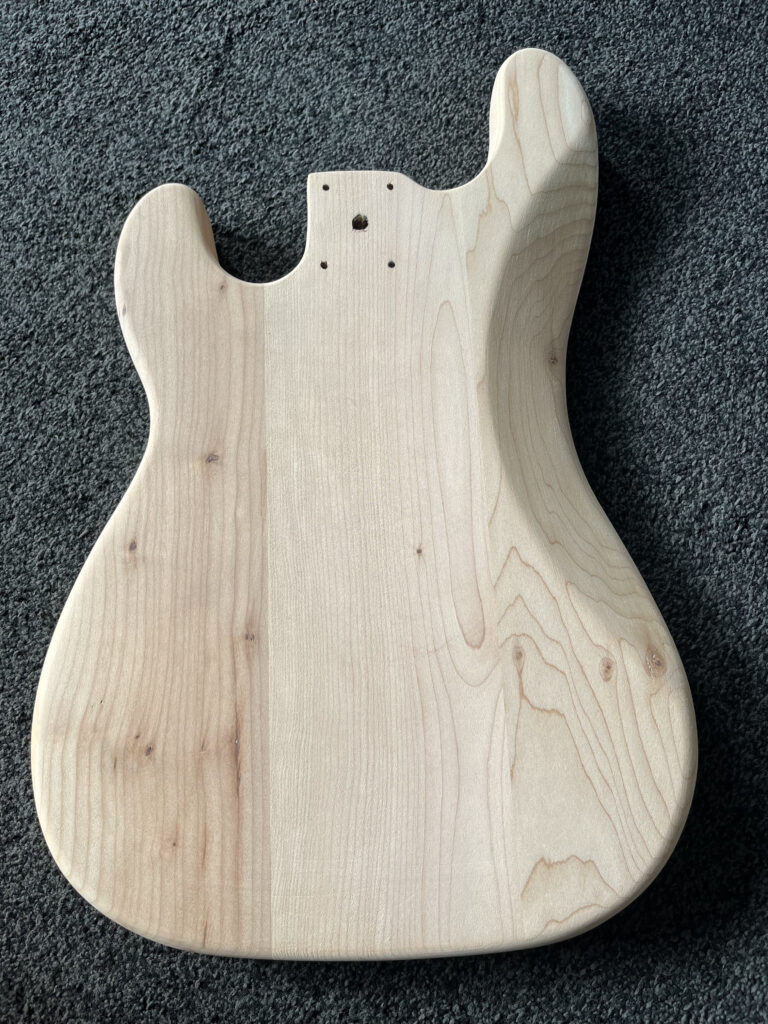
This is the body after it has been sanded down with the disc sander and the corners which have been sanded by hand, I will next fill in some holes and imperfections in the body and build the neck pocket out with wood filler and the hole in the pick guard.
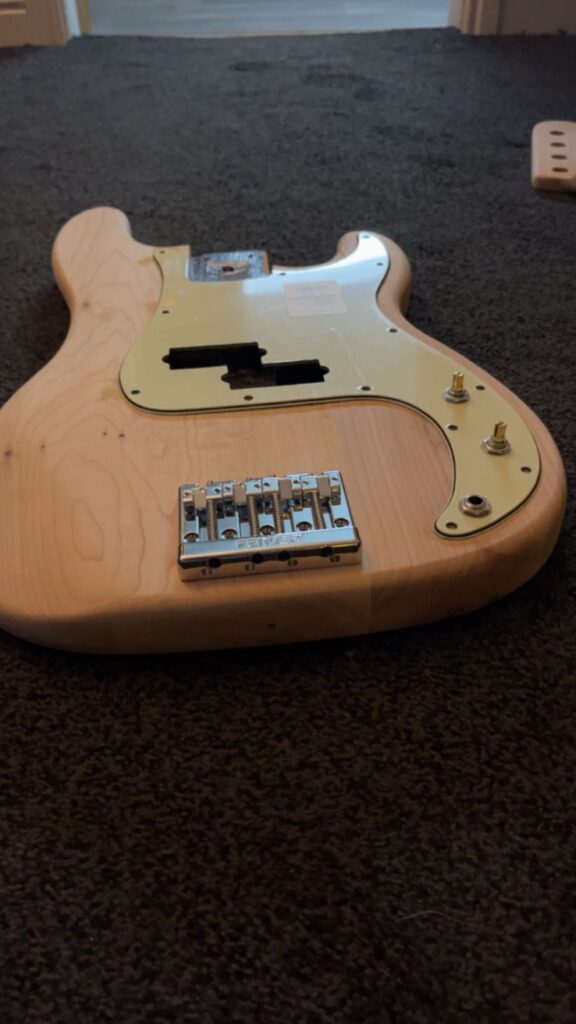
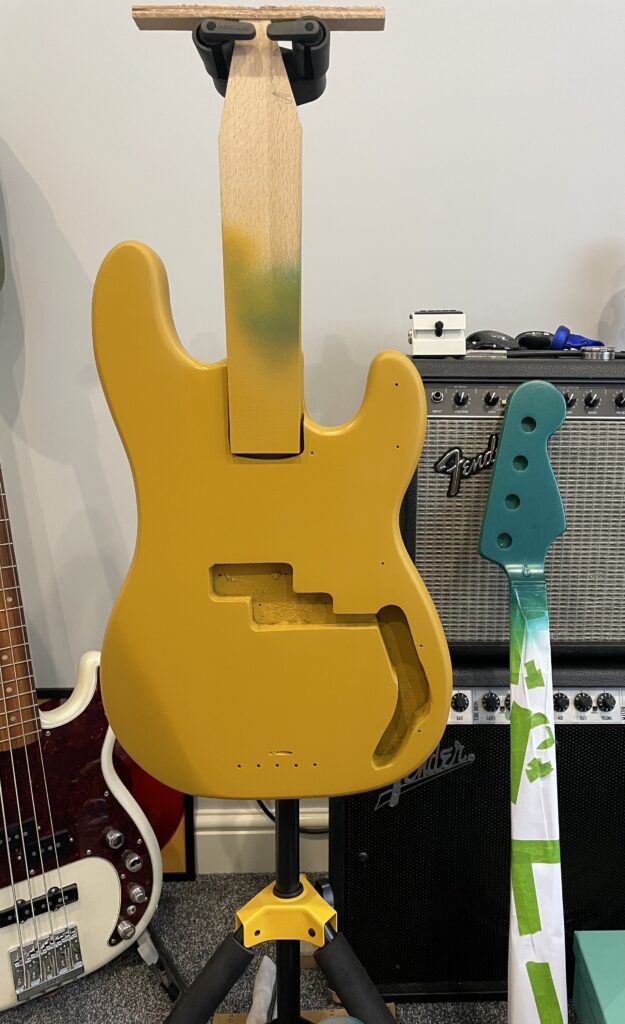
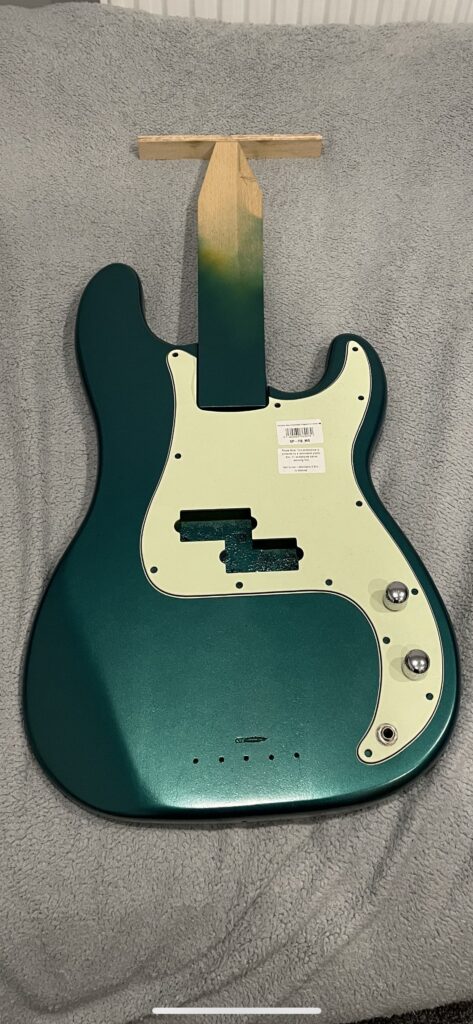
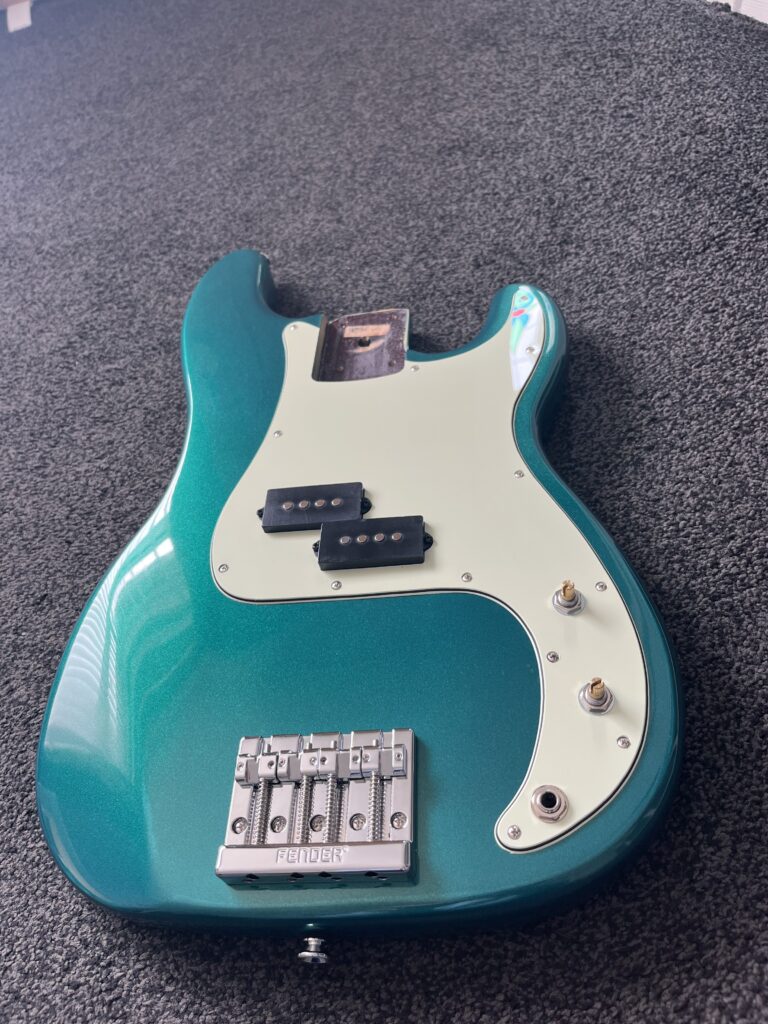
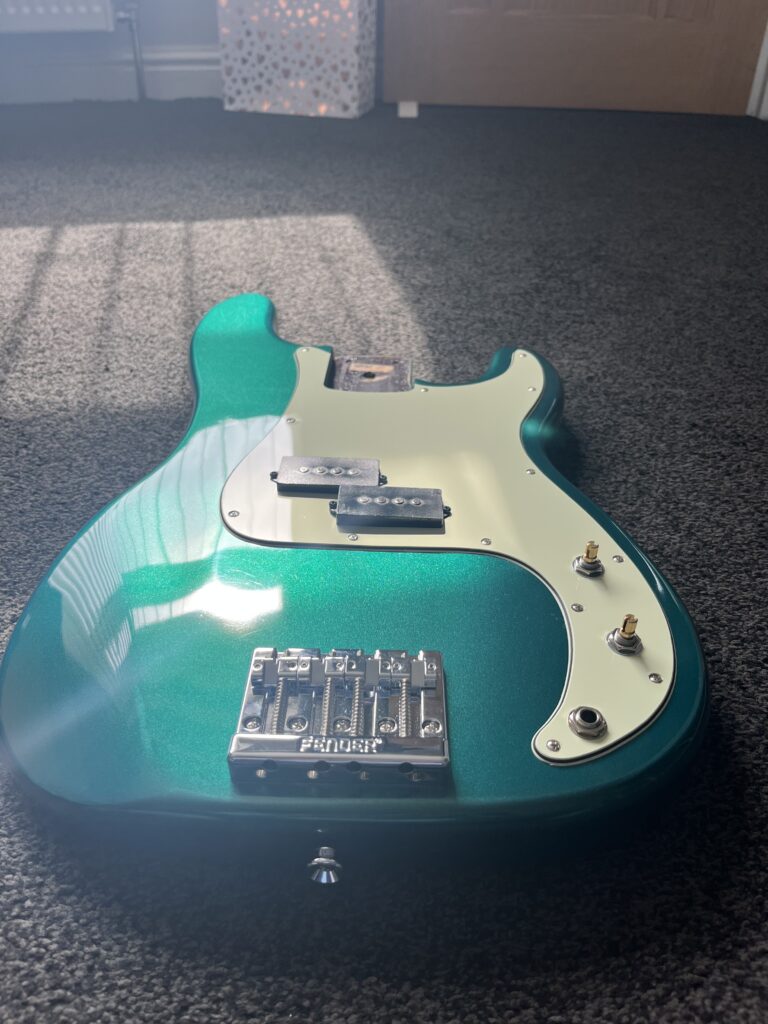
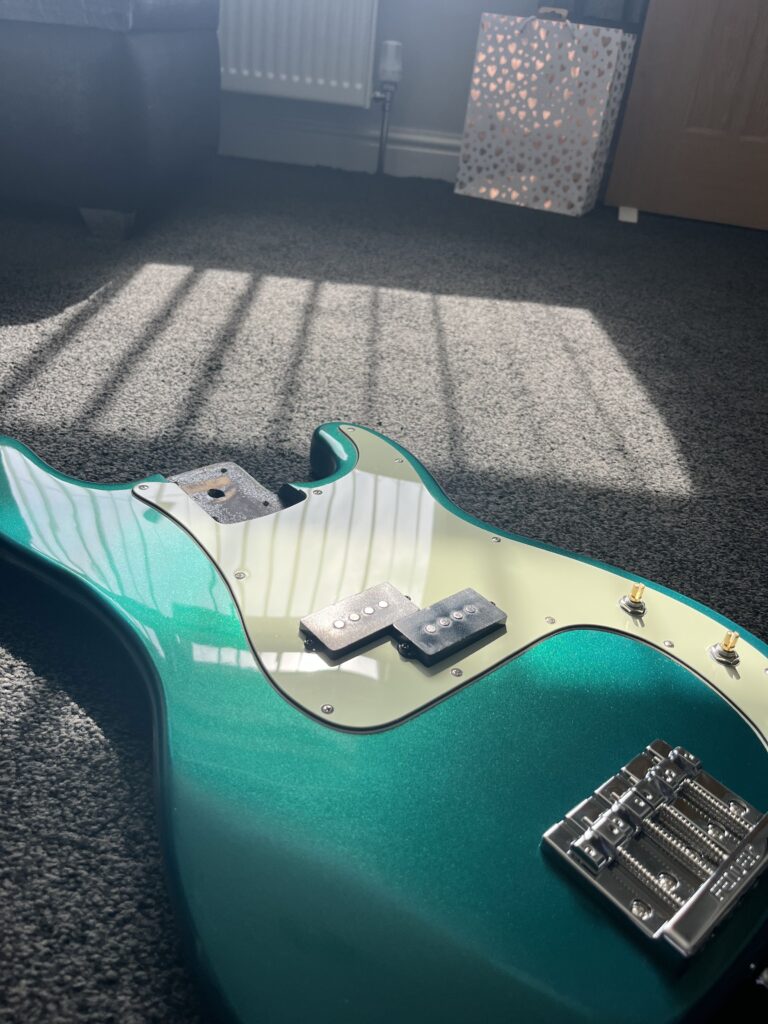
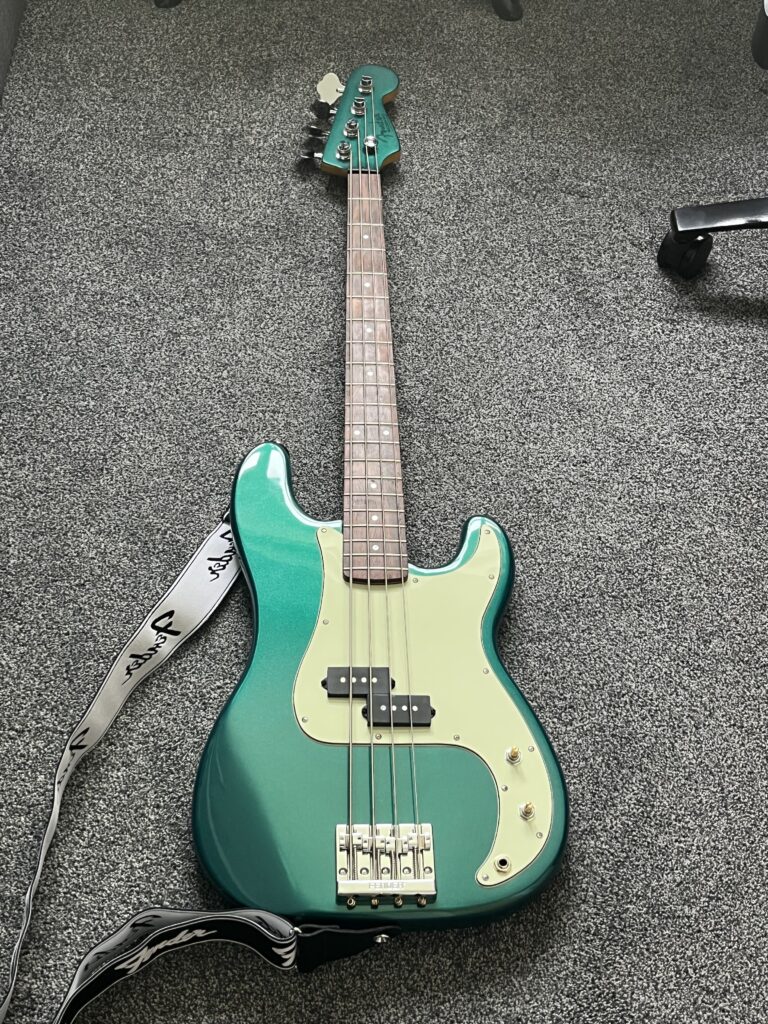
As you can see this is a photo from when some of the components arrived, this is what the mint green pick guard and Fender hi mass bridge look like on the body, in this image I still need to round the corners of the body more and give it a fine sand with 1000 grit sand paper.