I am going to paint this p bass body and matching headstock in sherwood green, this is a fender colour that you don’t see that often and one that I think is quite unique. over the top of the Sherwood green I am going to use a nitrocellulose clear coat just like fender did in the 60s, I have chosen nitrocellulose over a poly finish because the wood is more breathable which gives you a different tone because nitrocellulose never sets whereas poly does. Also, nitrocellulose will age as you play it by discolouring, checking and wearing down which will give you a more vintage/real look rather than a poly guitar which just chips overtime. When painting this guitar I am gonna make sure the body and neck are prepped by filling and fine sanding them, then I will spray a couple coats of sanding sealer which should seal the wood grain, after that I will wet and dry sand the body so that is is nice and smooth for the Sherwood green colour to go on top of and finally after the colour, I will give it a few thin coats of nitro just like fender did back in the 60s. After the final coat of nitro is on, I will leave the body to harden for three weeks then buff and polish the nitro. If all goes well their should be no orange peel after I spray the green on the body but if there is, I can just fix this by wet and dry sanding the colour. I am also spraying this body and neck with, sanding sealer, colour and nitro that all come from northwest guitars. Also need to make sure that the cans Are the right temperature to spray, you can change this by either soaking them in hot or cold water so that they reach the optimal temperature.
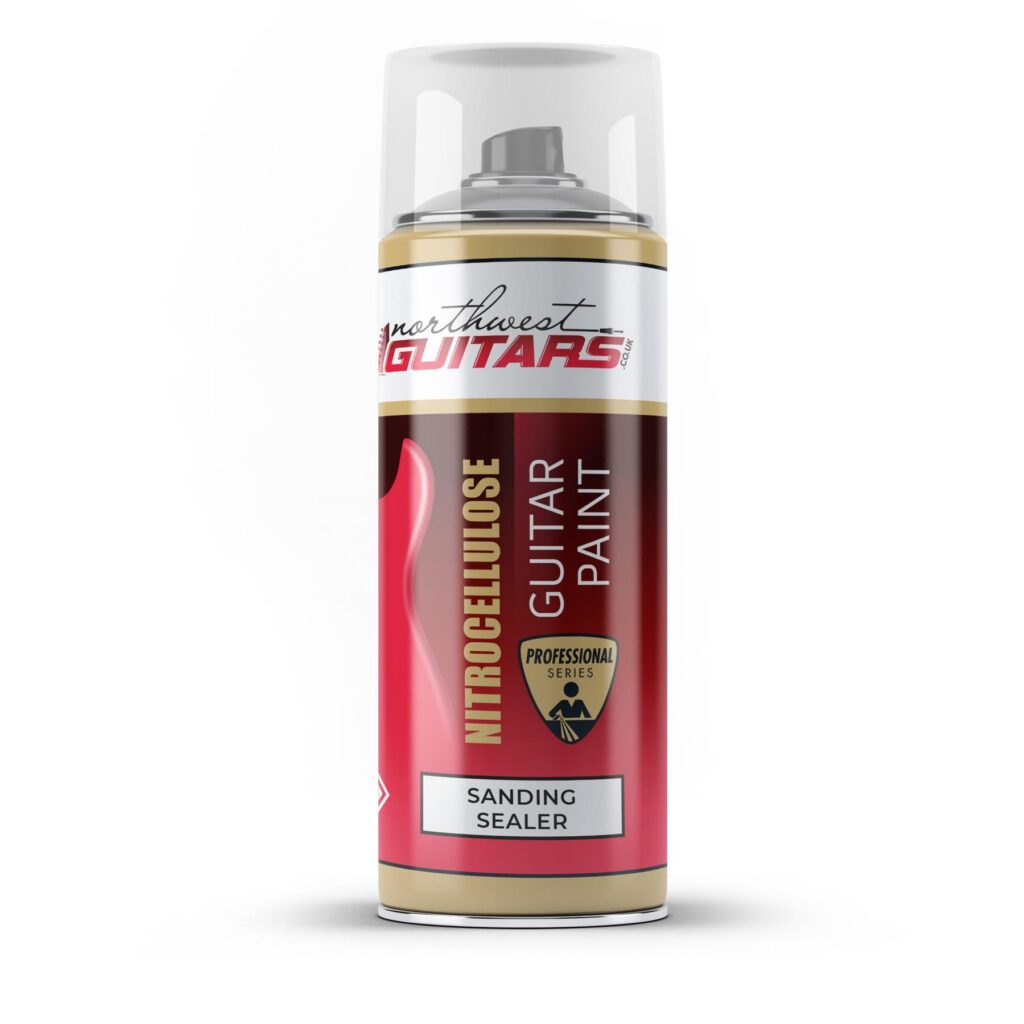
I will first spray the fine sanded body with sanding sealer to try reduce the wood grain showing through the green colour as much as possible. I am using All of the following sprays through a can because I don’t have a compressor or a spray gun. I have also ordered most of these cans from northwest guitars because they are meant for spraying guitars.
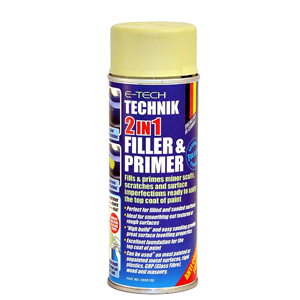
After I spray the green over the first coat of sanding sealer to see how it looks, if the woodgrain is still showing I will use this 2 in 1 filler primer, this is good because this will definitely make sure that I have absolutely no wood grain showing through the green because this is like a barrier coat in-between and it even helps fill the surface of the body which will make it smoother.
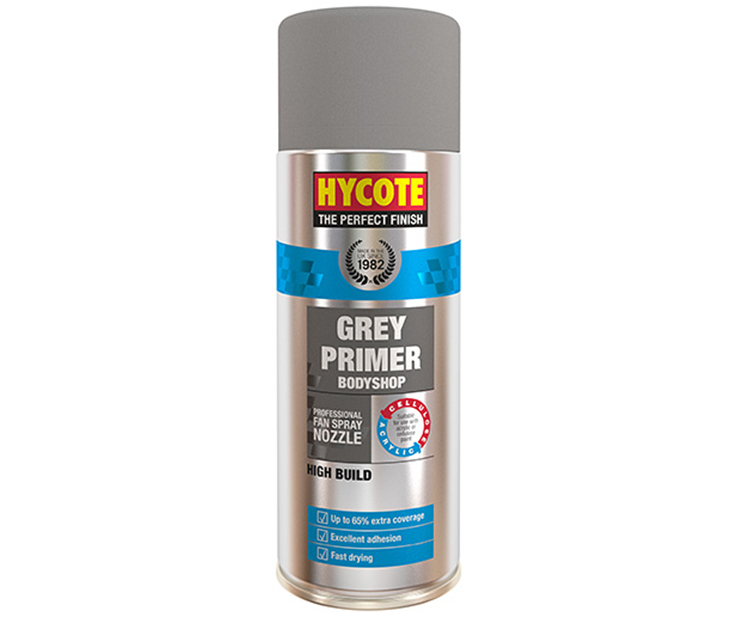
After the filler primer, I will apply one or two coats of standard high quality primer just to defiantly make sure that I have a smooth surface to work on with zero wood grain showing through, I also believe that it would be better to spray the green colour over a shiny silver rather than a yellow filler.
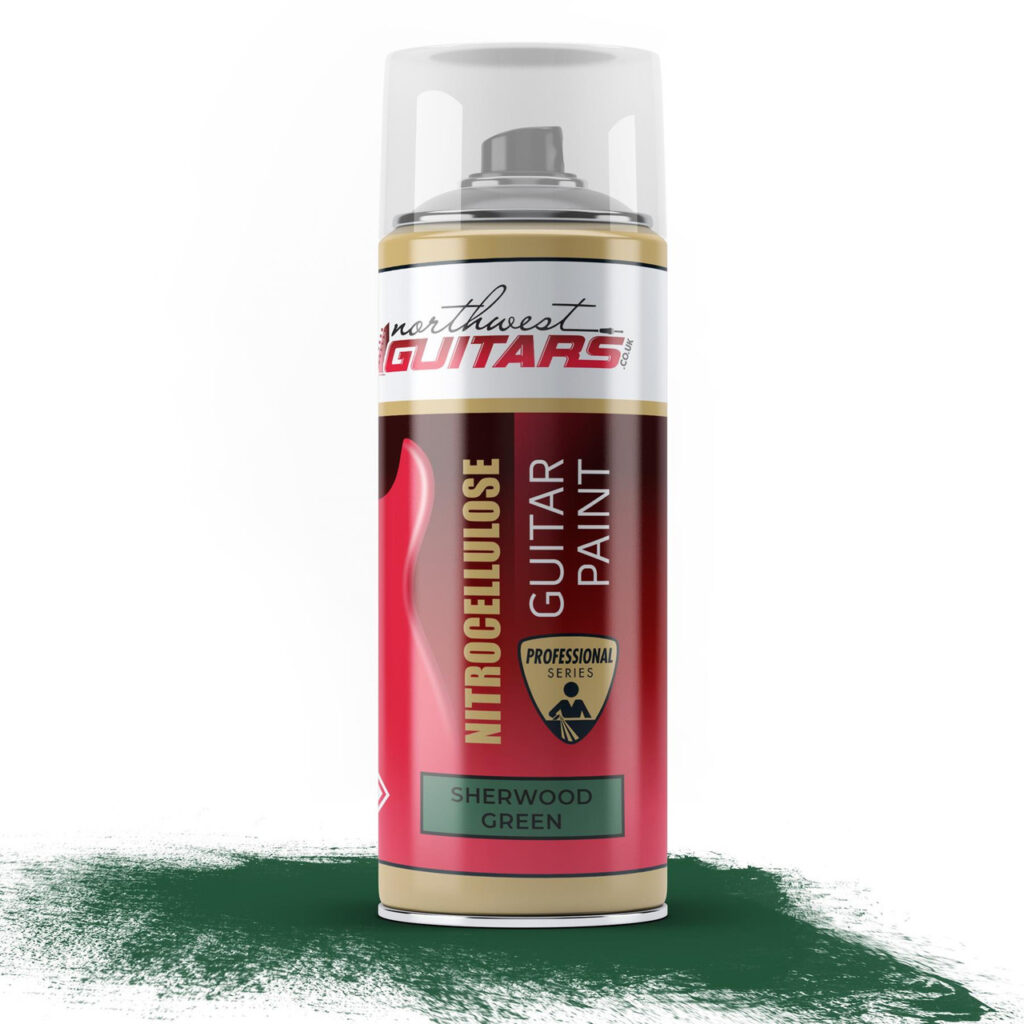
I have chosen to restore this fender precision bass with a sherwood green colour because this colour was first used by fender on precision basses in the 60s and is not used as much today so this is an all time classic of fenders colours.
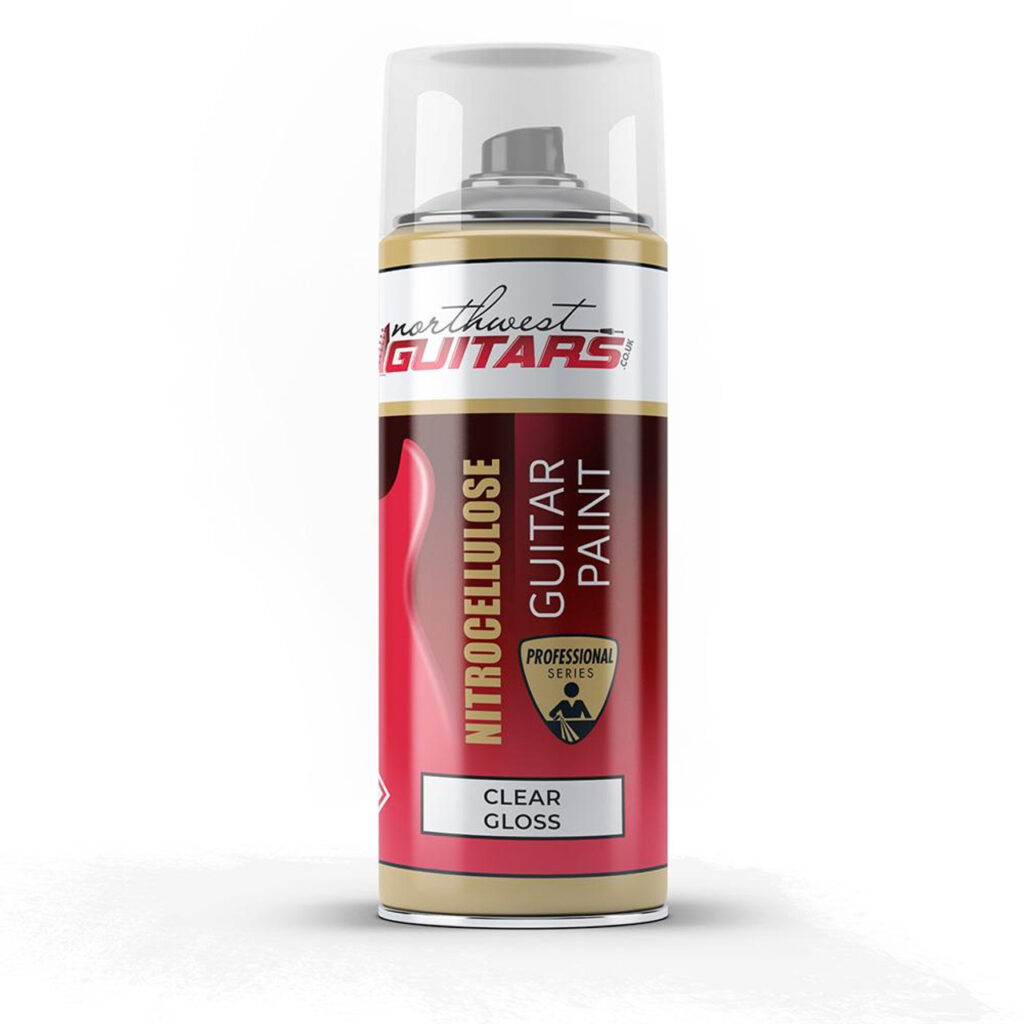
Finally, I will spray a nitrocellulose clear gloss over the top of the green colour to protect the paint and give the body a smoother finish that will appear more glossy when it has been wet and dry sanded and polished.
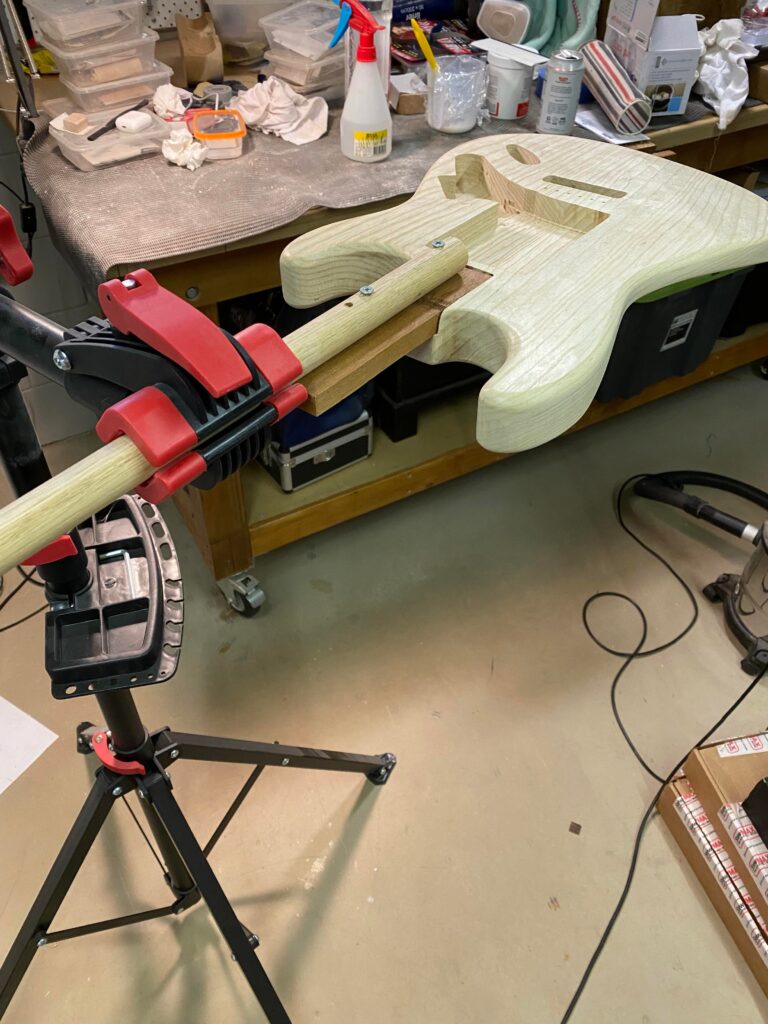
I will also have to make a spraying mount probably from a spare block of wood laying around so that I can hold the guitar up when I spray it, this is good because it will give me extra mobility and control over the body when I spray it, this should help me get a nice and even coat and also make sure that I don’t accidentally touch the body, I also should be able to hang the body up to dry from this mount.
I have done most of my research from YouTube, I like using YouTube because you get a good visual on what the persons demonstrating/talking about, especially with such a practical task like this. from YouTube videos I have learnt how to handle a spray can and give the body a nice even coat as well as weather I should use certain finishes like primer or not. YouTube has also taught me quite a few handy tricks such as, after you finish spraying you spray the can upside down for a second to clean the nozzle so that it doesn’t get blocked next time you go to spray.
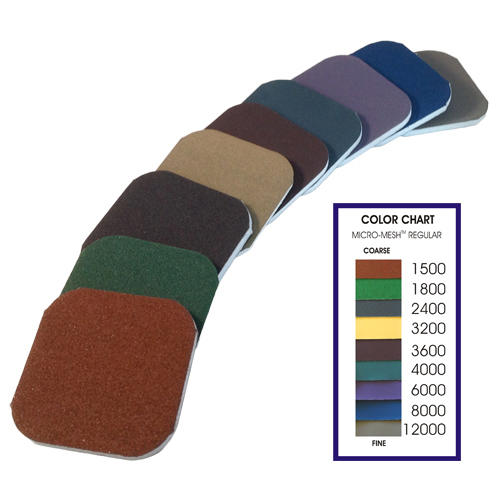
After the guitar body has been sprayed with nitrocellulose lacquer their may be some ruff areas that have the same texture and look as orange peel on the surface of the body, I will get rid of these ruff spots by wet and dry sanding them out with micro mesh. Micro mesh is basically a very fine sandpaper that you use for wet and dry sanding paintwork, or even just to sand scratches out of paintwork. The only downside of micro mesh is that it ruffs up the surface that you are sanding which creates thousands of tint scratches but this can easily be polished up with a good high quality resin polish.
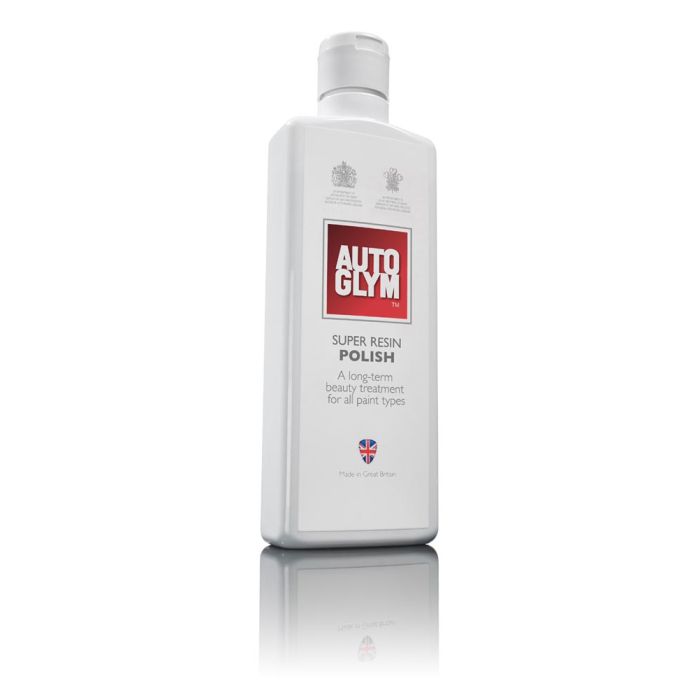
This is the resin polish that I will be using to buff out all of the scratches, At home we usually use this polish for the car which means that it should definitely work on the guitar body. his will also amplify the gloss finish of the lacquer so it will be nice and shiny.
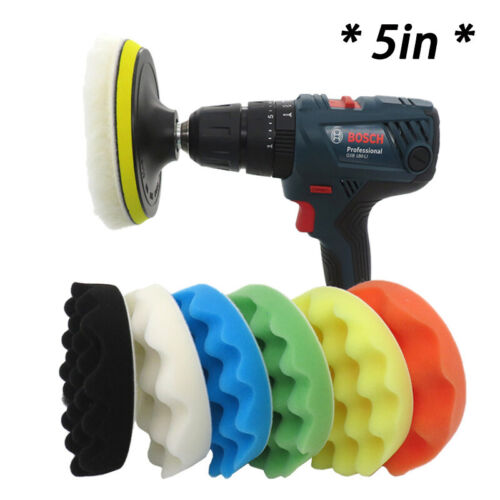
I have also bought a set of these polishing pads which attach to a drill not long ago because I wanted to get all of the scratches out of this other guitar which was quite old and it worked well when combined with that resin polish, these will basically just speed up the process rather than me polishing all of the scratches out by hand.