These are some video rushes we took at night. They are unedited, it has it’s original audio and no clips were cut down.
However, because we filmed at night, these scenes are very dark. I wanted it to be dark, but not so dark you cant see anything! So when I’m editing I’ll need to increase the contrast of these clips on premiere pro so you can see the scene.
We walked around Leeds at night to looks at things that would look eerie or just fit into an apocalyptic film and these clips were the best from that day.
When filming a zombie movie I feel like it’s important to keep it thrilling for the audience and create good effects to to bring a zombie to life. Zombie films are part of a horror genre and this genre has evolved over time and have become more complex. Directors have filmed zombie films but instead of just the horror, they have added in comedy, for example, ‘Shaun of the dead’. There are also shows like ‘The walking dead’ which I drew some inspiration from for my film. Looking at this show and the movie ‘World war z’ helped me figure out how I want my movie to be filmed and how to accurately portray a zombie.
Zombies in film are usually shown as gory and violent which can be thrilling for audiences. To make a zombie come to life in film, special effects makeup, prosthetics and CGI are all common things filmmakers use to create a realistic Zombie. Of course for my film, CGI and prosthetics are too complex to have and would be very difficult to acquire. So what I opted for was a simple zombie mask and a good actor who can mimic a zombie.
Next I looked into the portrayal of the zombies themselves. Some films show zombies as slow and brainless monsters, others show them as fast and intelligent. I had to choose what kind of zombies to portray that fit my movie. Since it’s a serious film that is tense, I wanted to add a real horror feeling, so I went with fast zombies.
I also looked into weapons that are usually used in horror. In zombie video games, ‘The last of us’, for example, there is a pocket knife that is used throughout and, because it’s the zombie apocalypse, it makes sense that guns or big weapons aren’t used as much because they would run out eventually. Using inspiration from this I bought a fake slide in knife from a joke shop to mimic a knife.
Zombie films have been around for years and are one of my favorite genres. Special effects, CGI, comedy and horror have all been used and these films are all diverse that can offer something for everyone.
SOUND EFFECTS
I am using Pixa bay for all of my sound effects. They have good horror sounds, like a zombie snarling and high pitched ringing. Below are two I have chosen so far that fit well for two scenes. When the film ends I will give credit to the person who has made the sound effect. For example, below ‘sound reality’ has made these two sounds and I will include them when the credits roll.
Sound Effect by SoundReality from Pixabay (Heartbeat sound effect)
Sound Effect by SoundReality from Pixabay (Wrong place tension music)
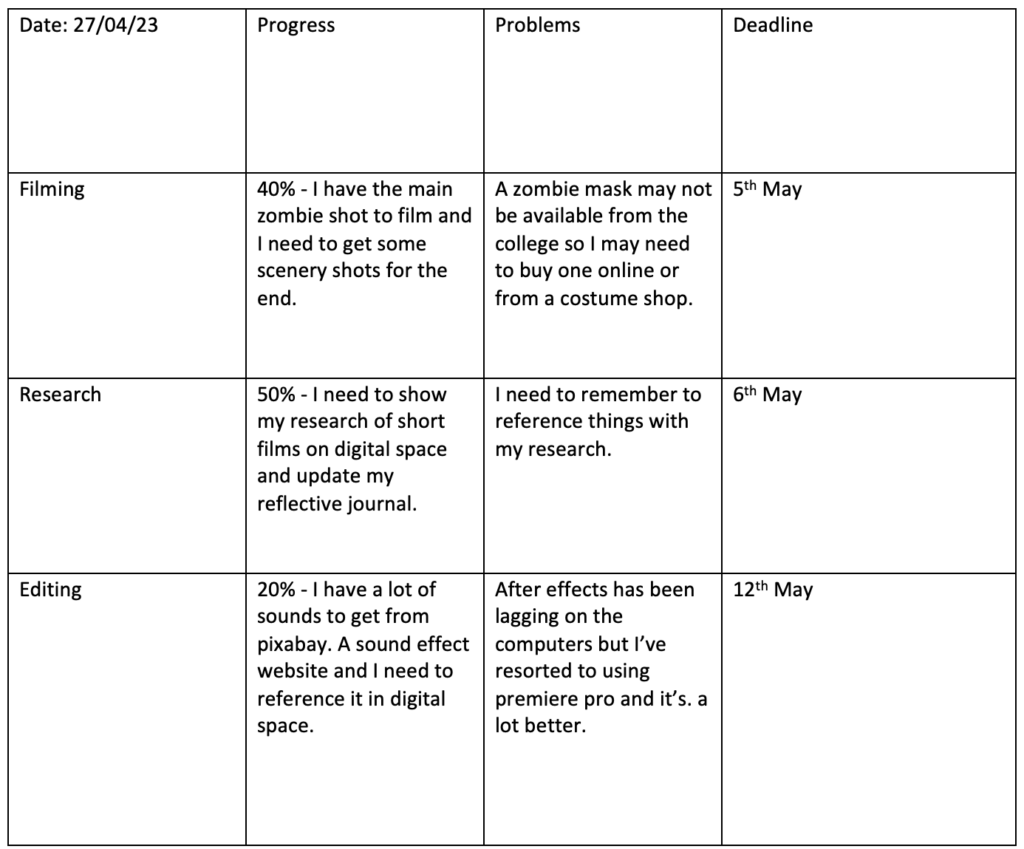
I have made a target sheet that I will be updating every week to make sure I am on track and not falling behind, I also have to keep up so I don’t go over the deadline.
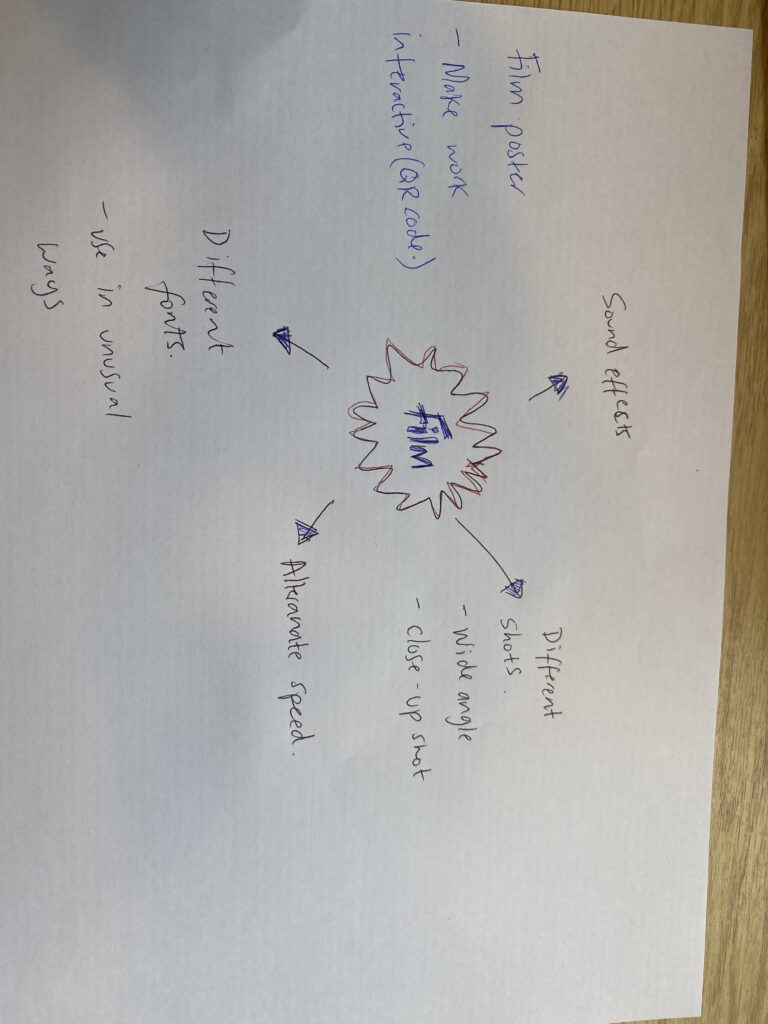
For my film I want to have different shots such as wide angle and closeup shots to keep the audience captivated. During the film, I will alternate with the speed and horror sound effects will be used.
For marketing I’d like to make a poster. I need to research different fonts to use for a horror film posters, and I need o make the poster interactive. To do this I will use a QR code that will be a link to my film.
Today is the 3rd of May and I will be filming the zombie attack tomorrow. I want to film in the day light so it can show up on camera more clearly.
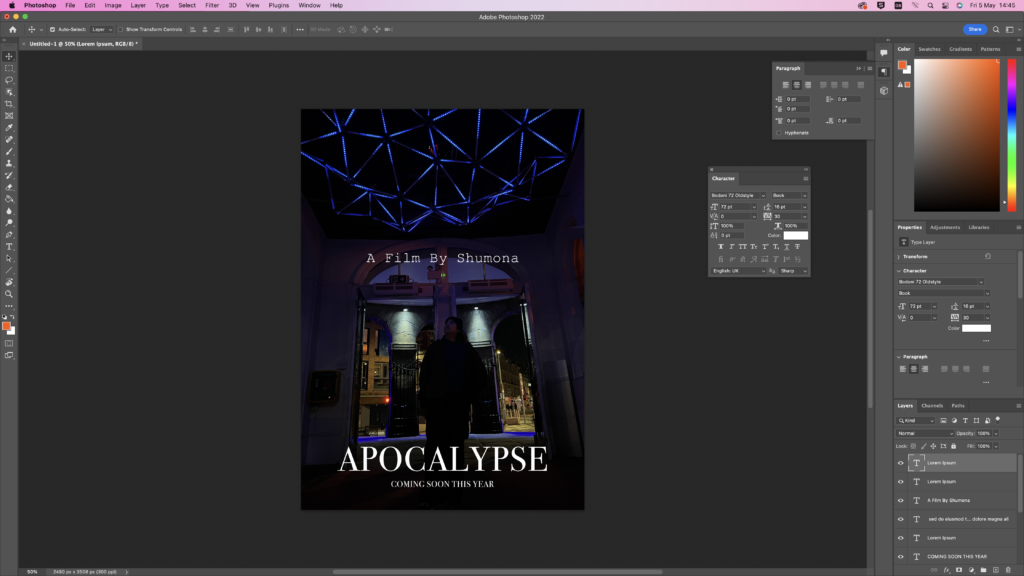
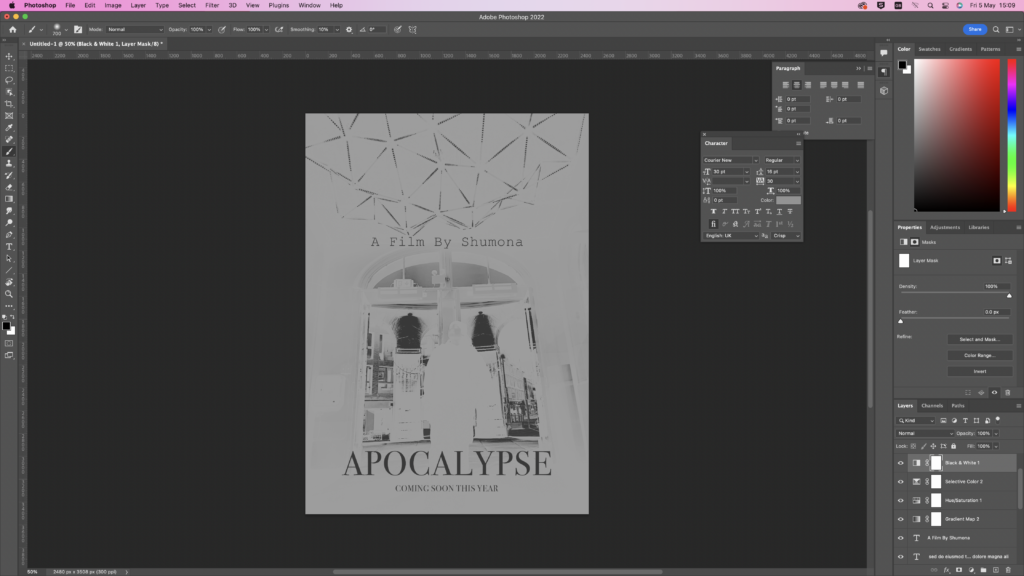
This is a rough idea of what I’d like my film poster to look like. I made this on Adobe photoshop with my own picture that is a still from the film. I will have a better shot from the film that I’d like to make for the poster which is why this is just one of my first posters.
Next to the poster you can see a little tab that I used to change the font and the size of my text to match the picture and not look odd.
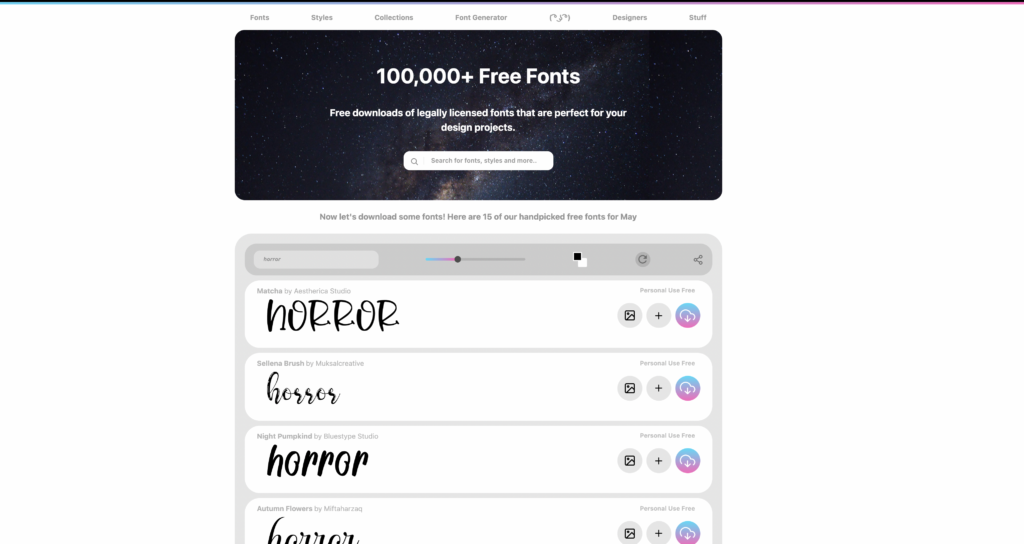
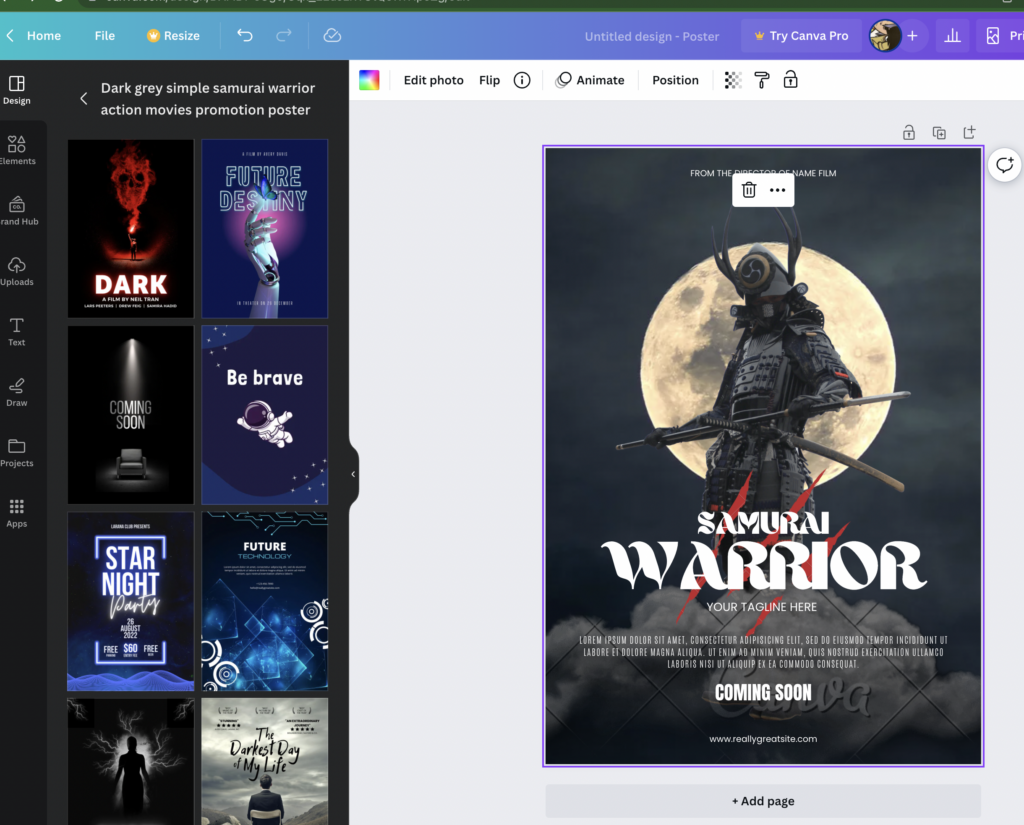
I went through different fonts online to ones that match a film poster. I looked into different film poster templates online as well. Below is a screenshot from the website Canva that gives me different ideas for fonts, what details to add on the poster and how to make a poster look better. With inspiration from this will be able to make my own poster on Adobe photoshop.
These are some different variations of a poster for my film. I used a random clip from my film to make a poster. These are just random ideas as I’d like to use a better looking picture for the poster.
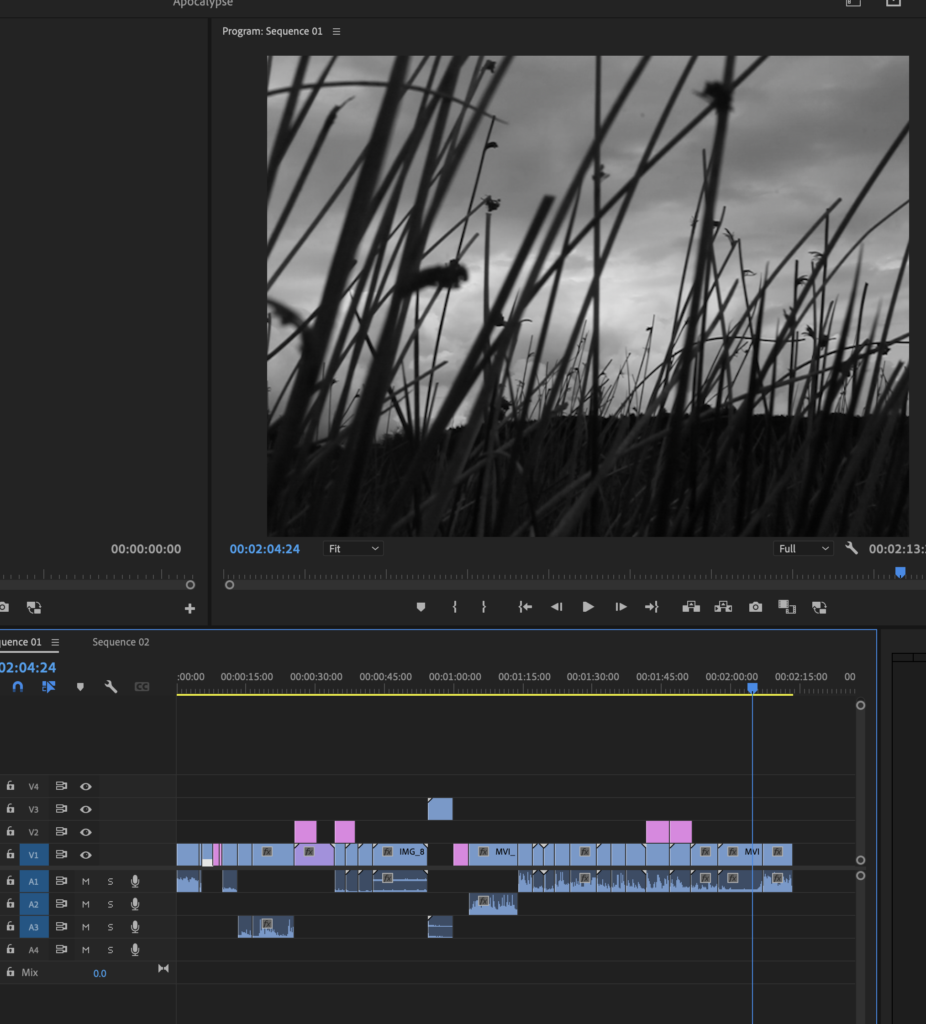
During editing I made sure to clip most of my shots so they match the scene and don’t drag on for to long. When I was filming I made sure it was in the right quality and right filter so I didn’t have to change the clips while editing.
I am editing in Premiere Pro and all of my scenes are in my SD card which can be put into my computer and easily edited on the app.
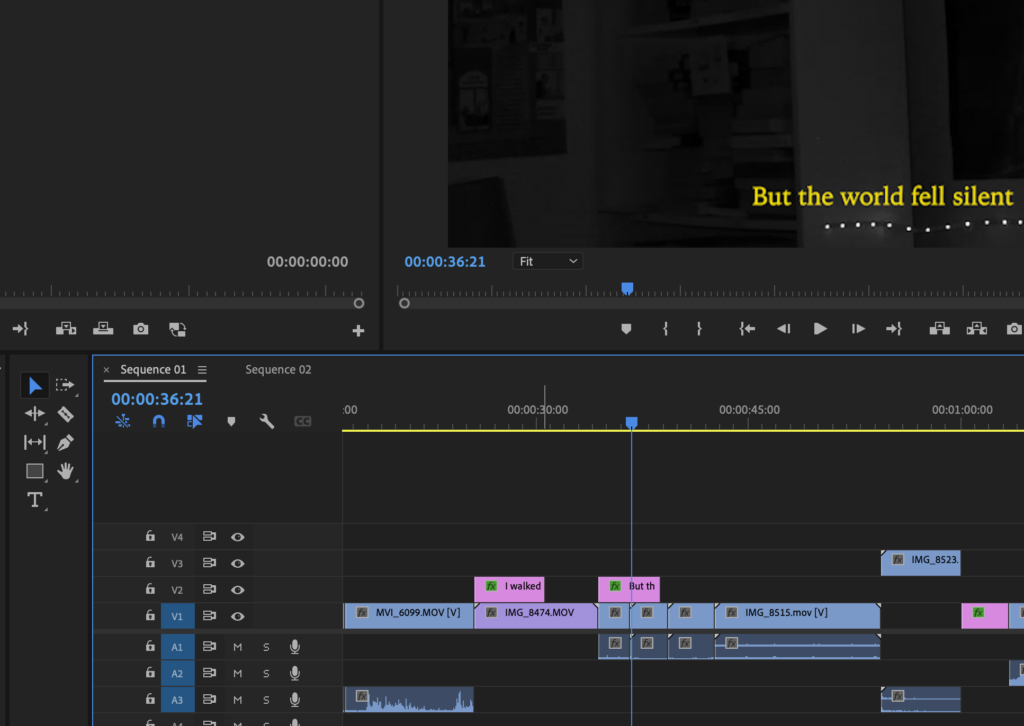
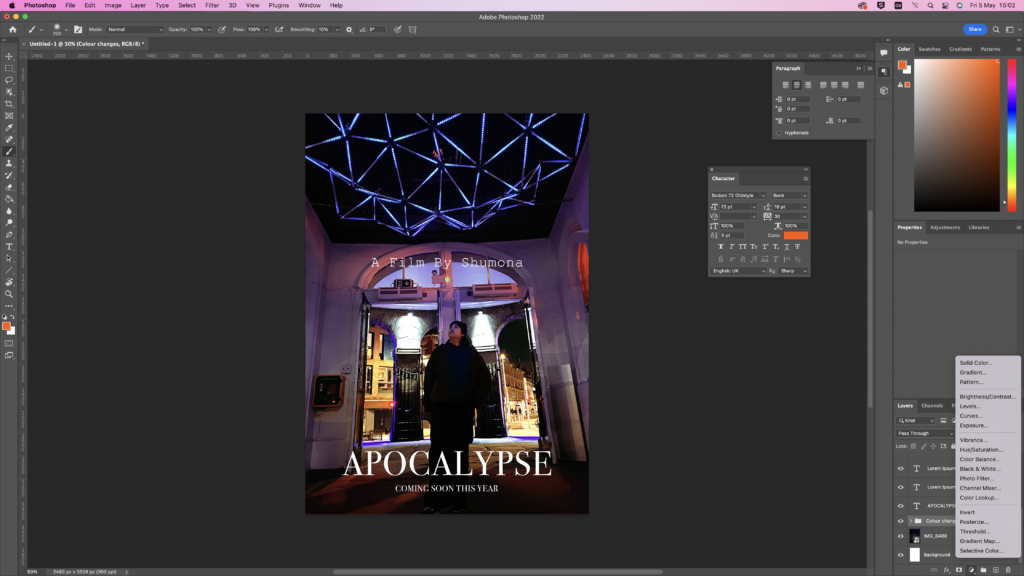
There’s no dialogue or speaking in my film because of the audio quality from my DSLR. To overcome this problem I opted for adding subtitles and it also adds to the film, making it more bleak and atmospheric. The silence matches the films aesthetic and what I’d like the audience to feel.
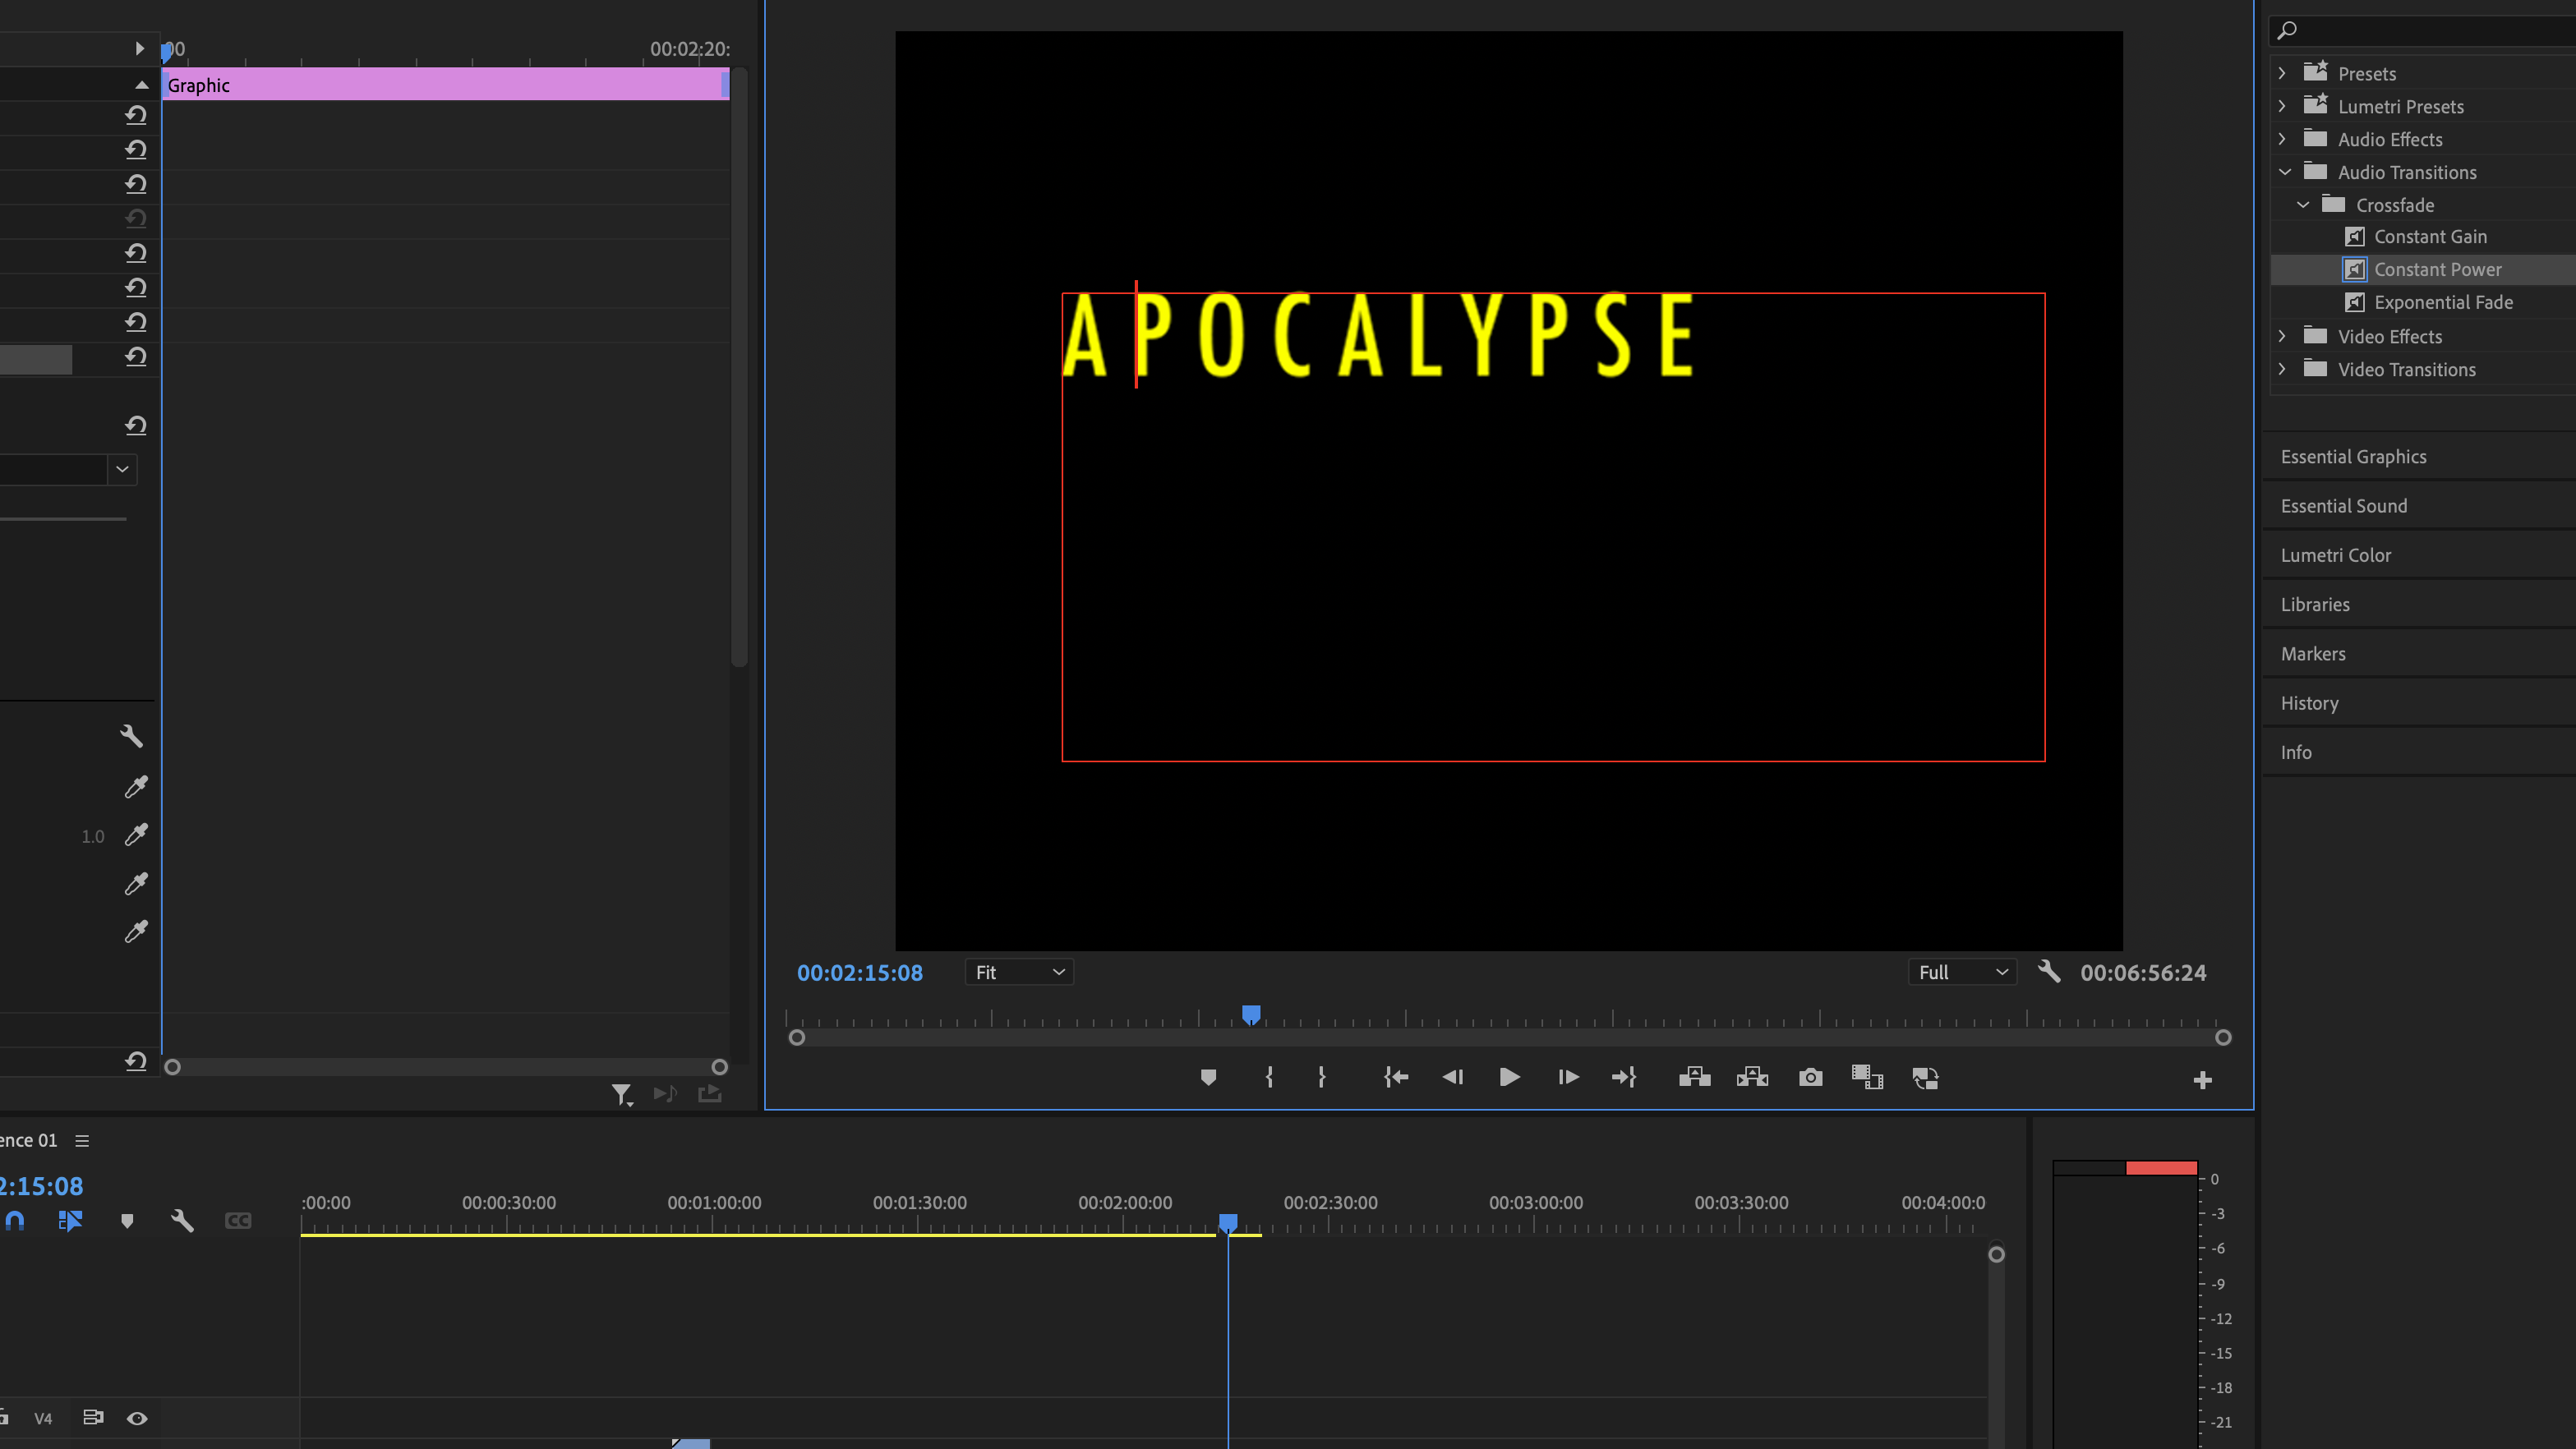
The subtitles can be easily added from the text button on Premiere Pro. I changed the colour to yellow to stand out, and because I have got inspiration from Wes Anderson’s style of Films. His films have all got the same style, Symmetry.
Location : Ogden Waters
For my last two scenes I wanted to have good scenery. So I went somewhere that would be quiet, to match the atmosphere. So I went to Ogden waters, a place with less people, fields of grass and something to end my film well.
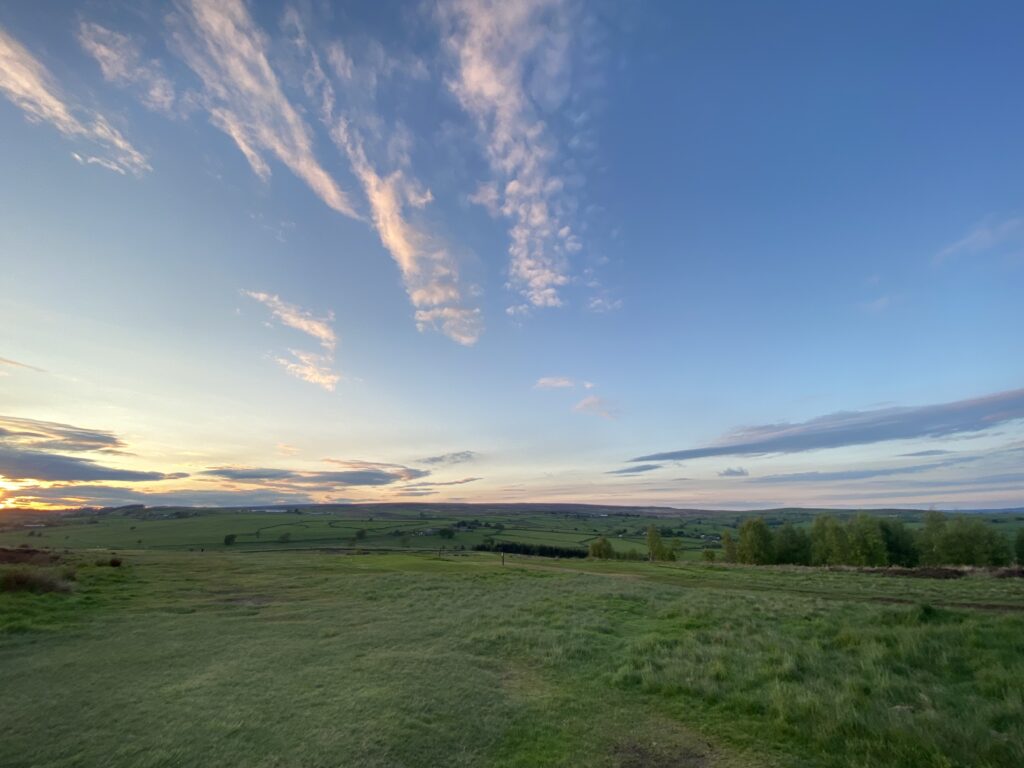
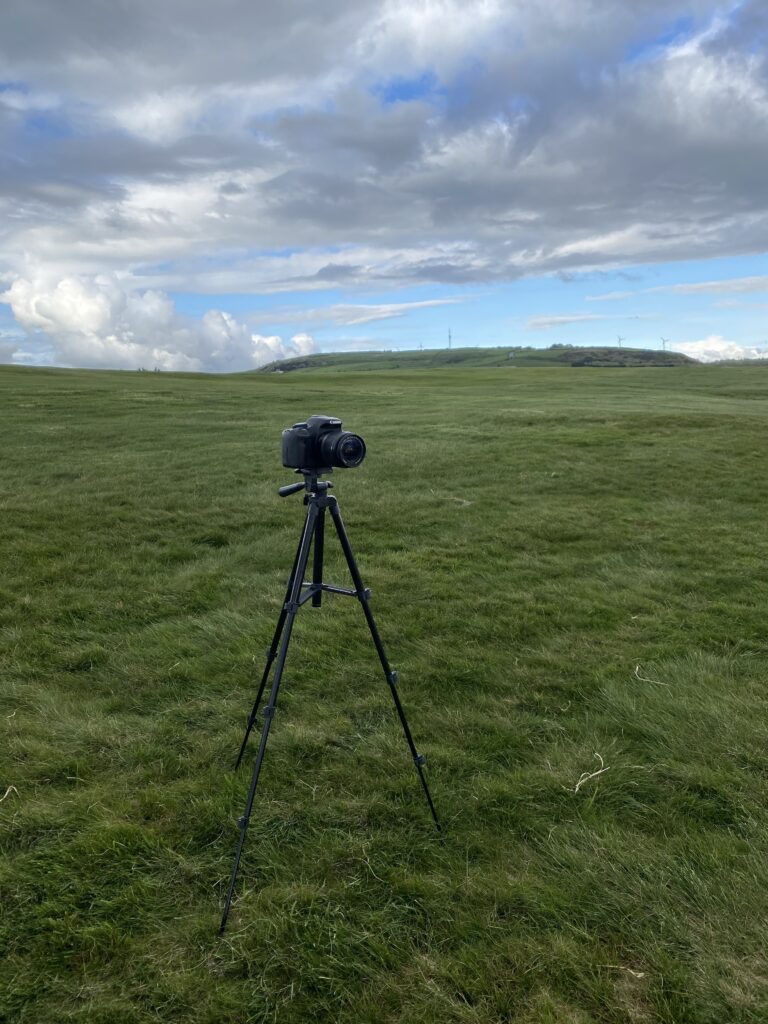
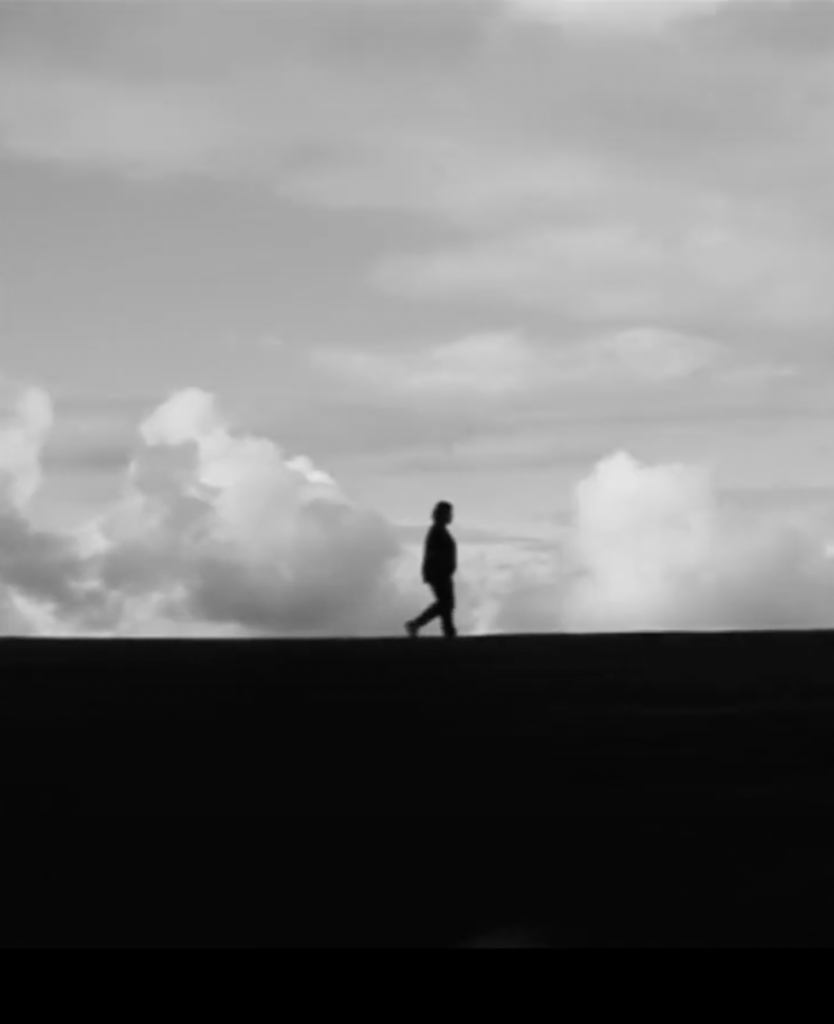
I went there just before sunset and found a landscape that looked nice and straight and kept my camera in line on my tripod. I did a couple of test shots to make sure I was in frame and I got the final shot. I did it in Black and White took a couple of recordings and the end scene was complete!
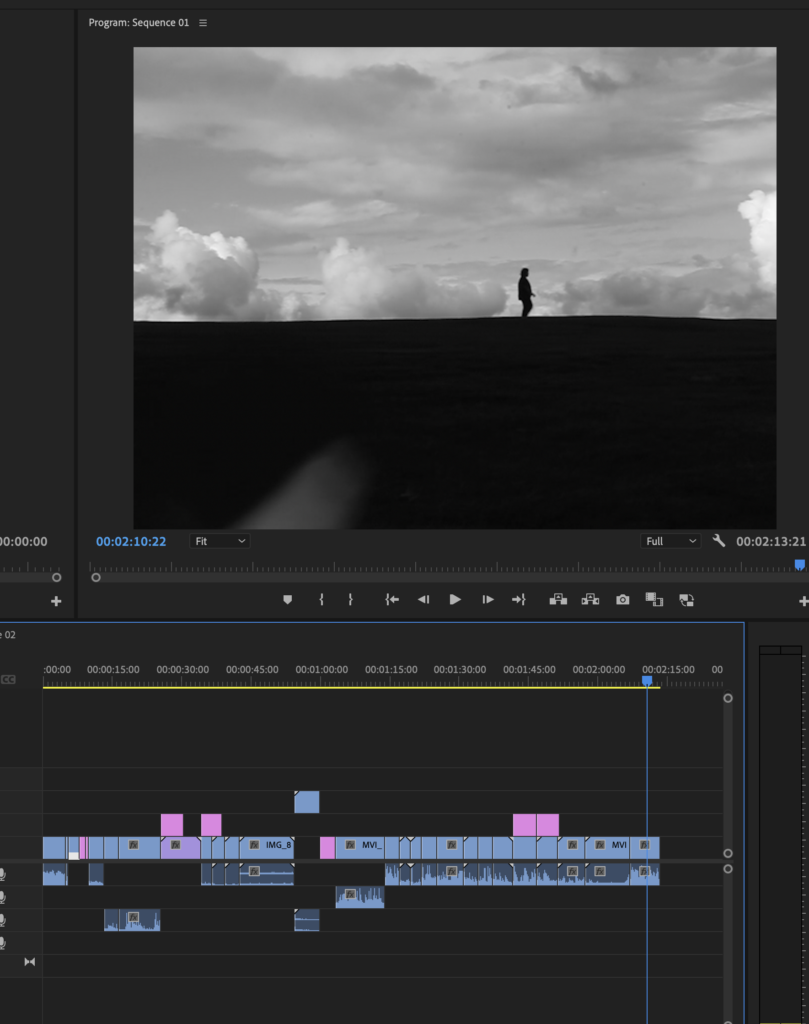
This is what the final shot looks like and I am very happy with how it turned out. I feel like it is the best shot out of my movie and I’m glad I managed to film it.
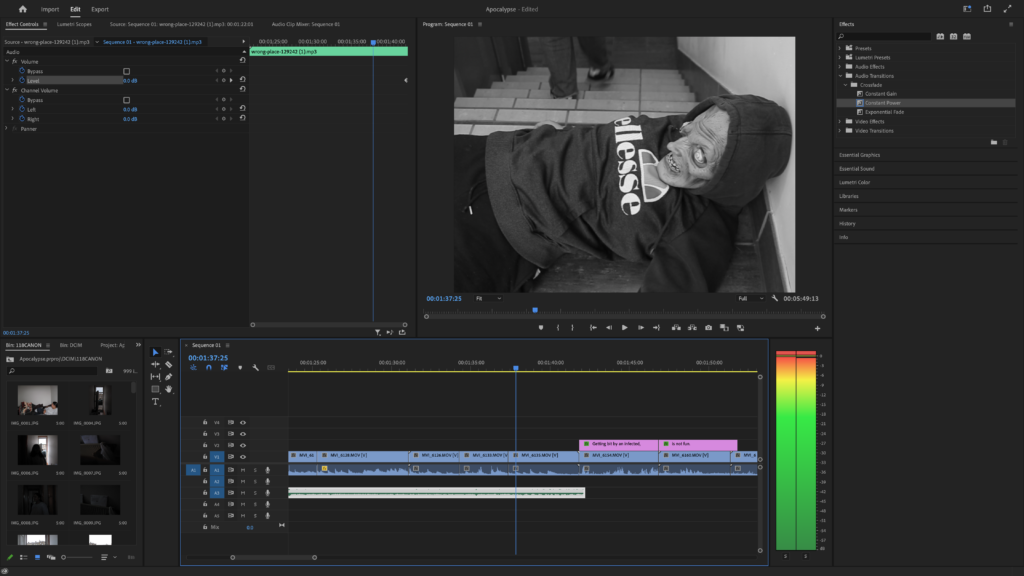
Using the level option on volume I made sure the audio was not high and kept under the red bar. When it got too high i simply put the Db down.
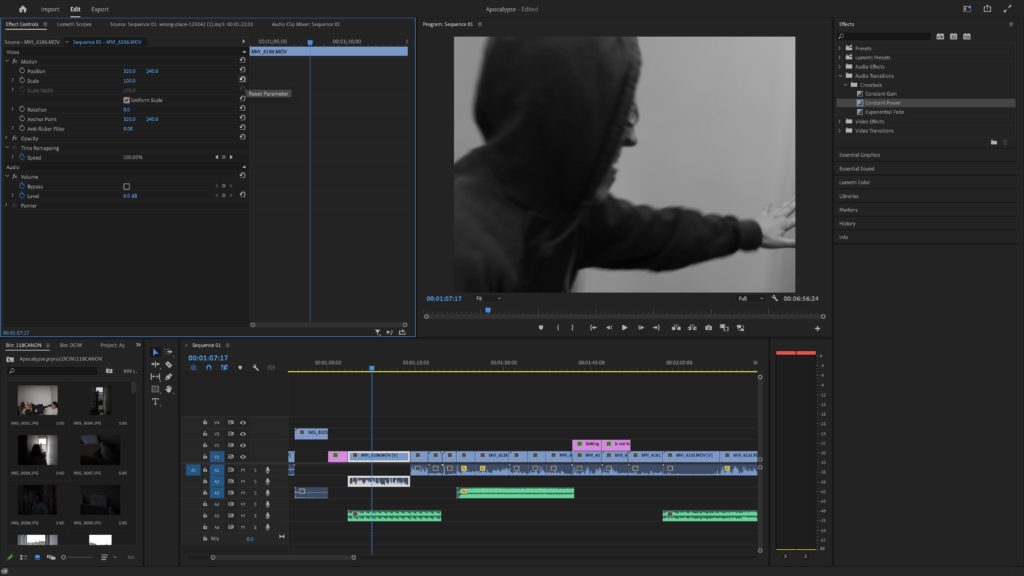
I had to shorten a lot of clips because a lot of them started with ‘action’, or ended with laughter. After I cut all the clips and put them together and made it easier to know where to put the sound effects.

I kept the film in full and didn’t change the ratio because I had filmed in the size I wanted.

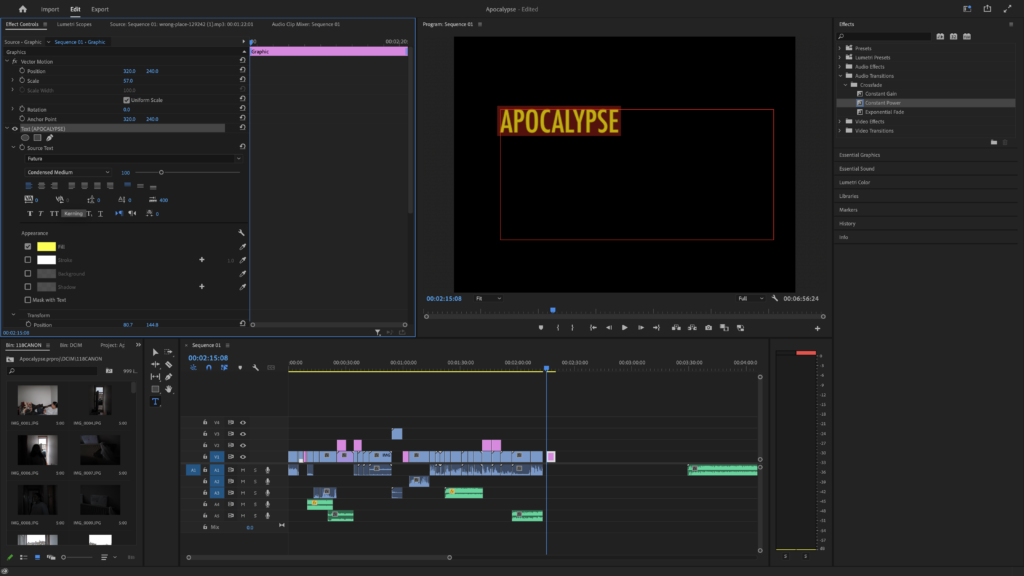
When making my end title I went with the yellow font again that I’ve used throughout the film.
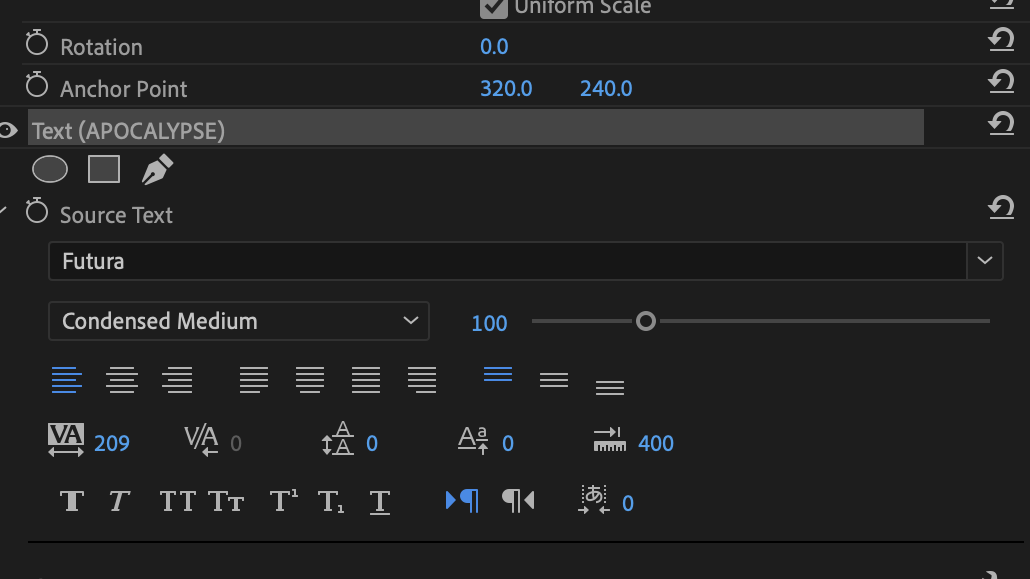
With my inspiration from Wes Anderson’s style of directing, and with the research I’ve done, I’ve learnt how to do tracking. This makes the words have spaces in between them and is a style Wes Anderson uses in his films and with his film titles.
I like this style and the difference between this and the first pcture is very different.
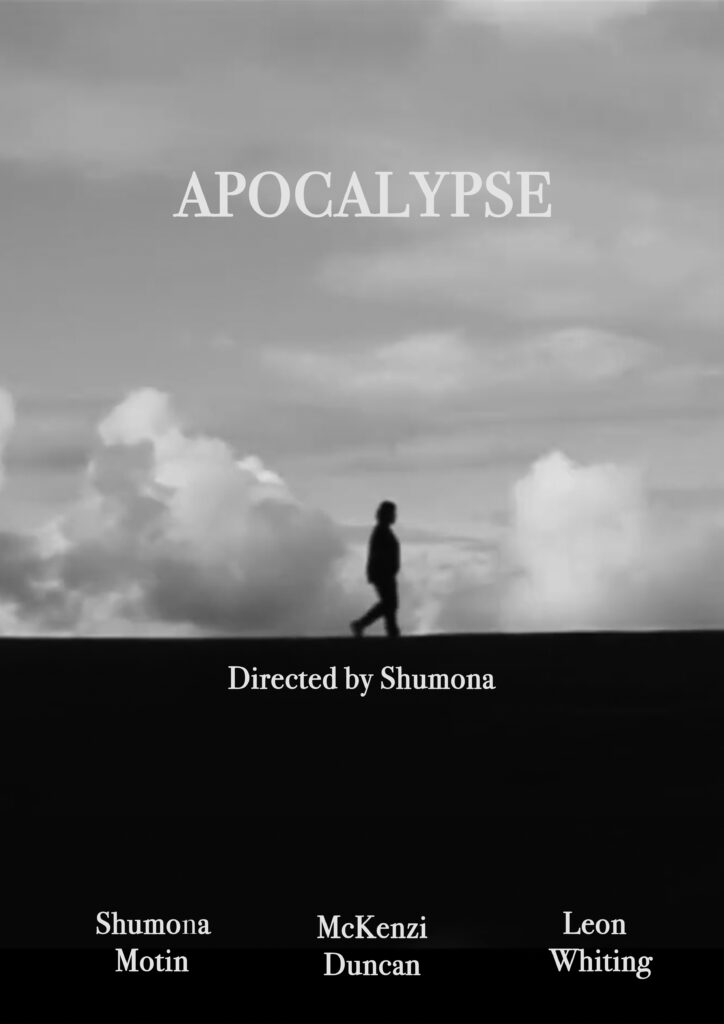
This is a clip from my film and I kept the poster nice and simple and kept it black and white. I kept it black and white because I think it matches my film aesthetic.

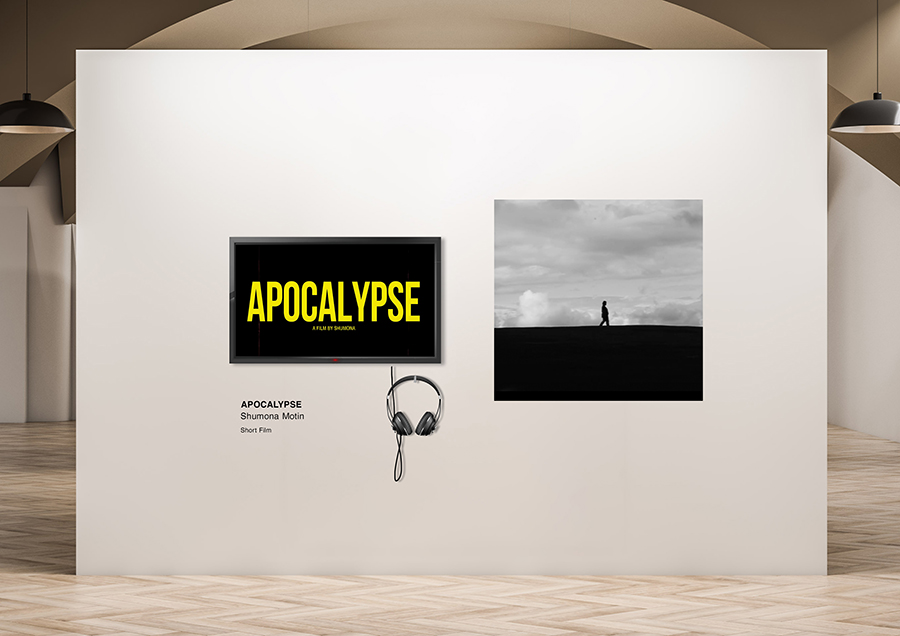
We used a template to see what our films would look like if it were presented in the Dye house gallery. I put my end title scene into the television template, and put a still from the end scene on the right.
I posted my film on YouTube because digital space has a limited file type and my film on Premiere Pro exceeds that. So it has been uploaded to youtube so I can add it here.