
Below is my mixed version of the king of leons “sex on fire”
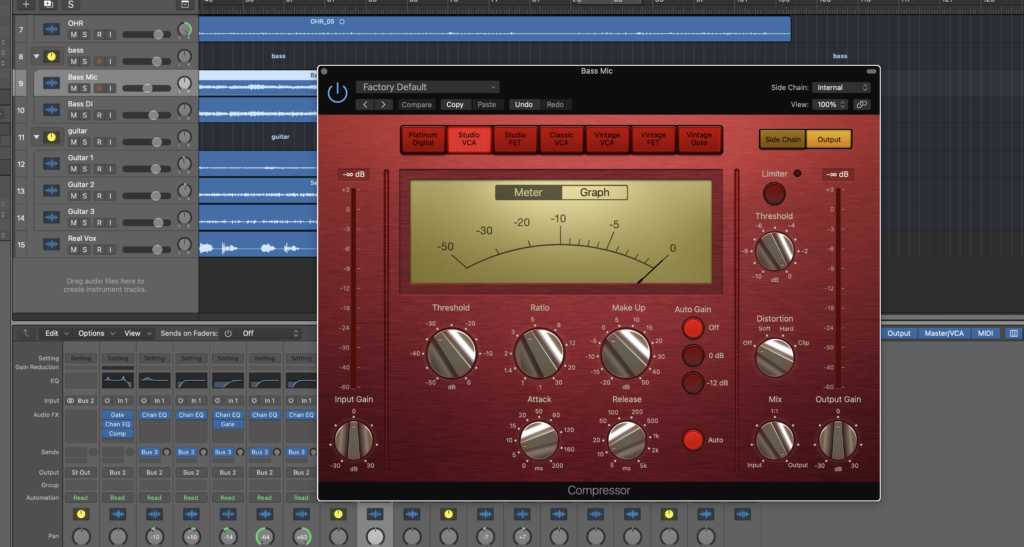
Below is a compressor which works by making the highs quieter and the lows louder thus compressing the sound. The threshold is where the compressor starts to activate in the signal, Reduction curves that reduction and makes it smoother so you can fine tune it better. Attack is how quick the compressor starts to move/react, hold is how long it takes until it starts to go down, release is how slow it takes to go down.
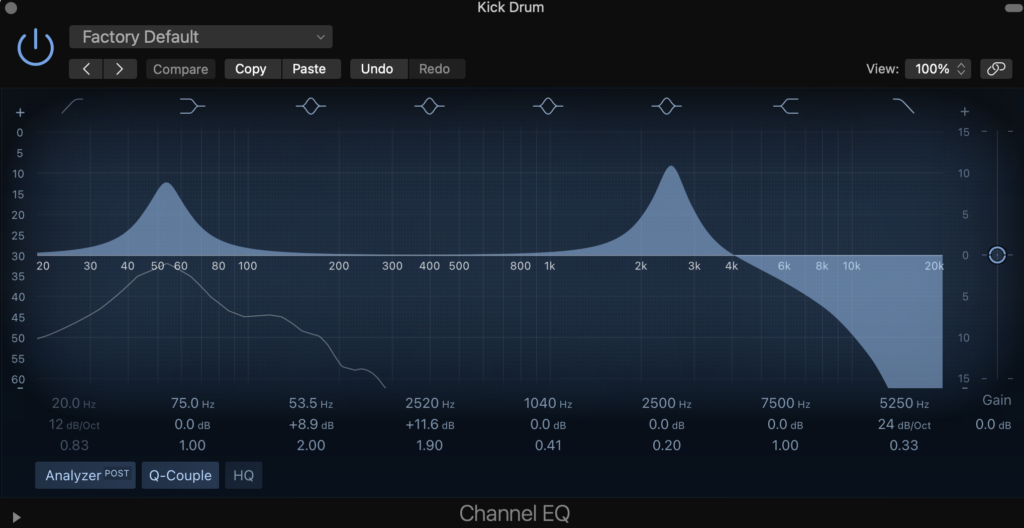
Below is an equaliser, this is used to boost or lower frequencies or to get rid of un wanted frequencies. This helps with getting rid of hissing from amps or dirty signals and unwanted noise. I used this in my song to boost the kick as it wasn’t cutting through the mix well enough.
Below is panning. This pans the signal left or right and is used to give your instruments/track space, and not make everything feel clumped together, and can be used for cool effects like before the solo in “Whole lotta love”. For drums this is very important as you want the listener to feel the kit as if it’s spread out and not all in one place.

Below is a mixer. You can use this for muting tracks which will turn the track off, you can solo tracks which mutes everything else accept the tracks that are soloed, also used for adjusting volumes and panning and recording tracks. And also putting things in busses to makes things neater and give you quick access to only the guitar track recording or drum recordings.

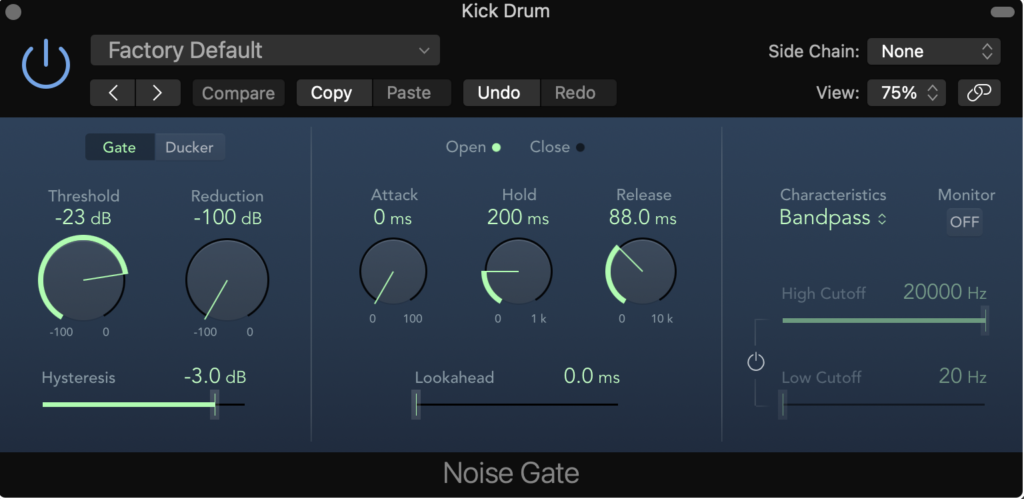
Below is a noise gate, you can use a noise gate to cut out noise from a high gain guitar or an instrument that’s not being played until it needs too. I used this a lot for my drums as there is a lot of bleed when recording drum kits (hearing other recorded instruments instead of the 1) if I couldn’t eq out the bleed then I set the noise gate to only turn on for the exact instrument I wanted.
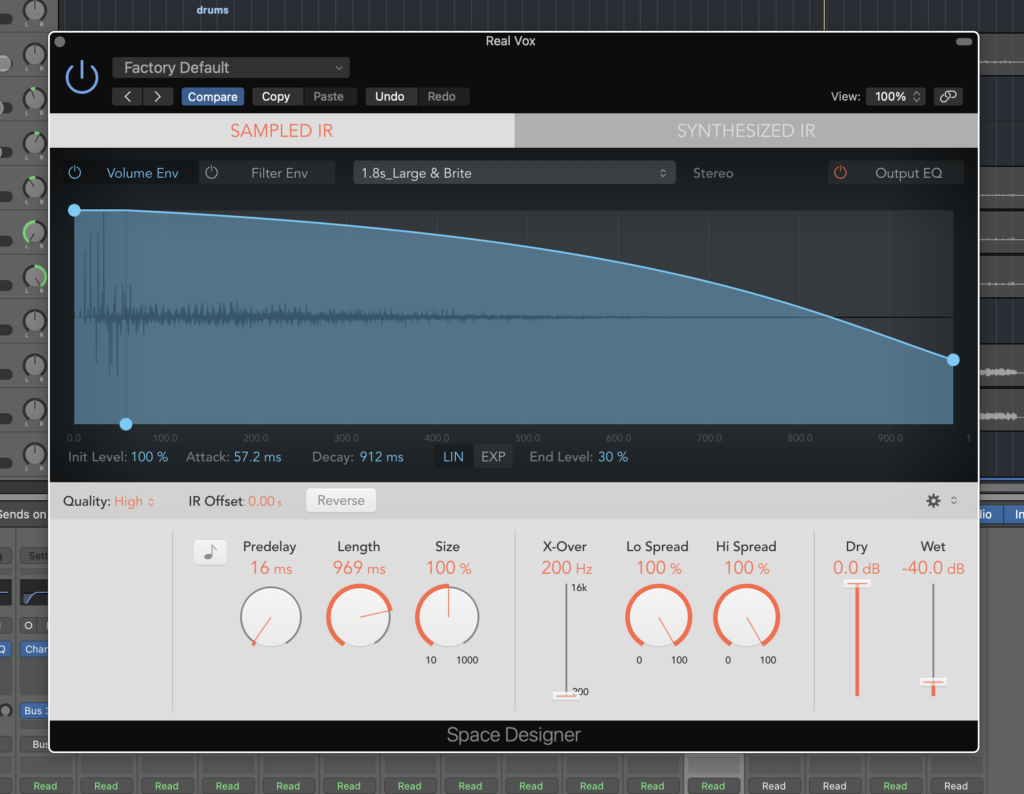
Below is the reverb designer. Adding this can blend sound together and make them feel more pleasant and natural or make the sound a lot more spacious.
Here is my 1st bounce of my song. Its fully recorded accept the vocals because I wanted to practice them and change the lyrics. The only mixing I did was fading the to recording sections together as we had to record the bit after the solo separately as the tempo change is quite drastic.
Below i’ve used the automation feature to set my volume levels, as you can see i’ve spiked it up in a certain are which is my 1st chorus as i wanted it to be a bit louder to add dynamics. To create an automation point you just double click
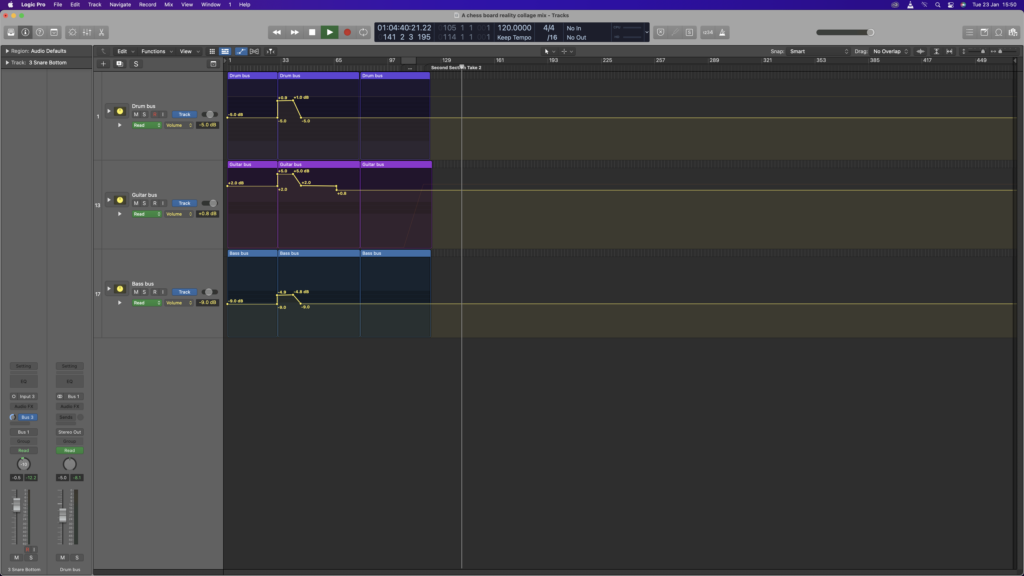
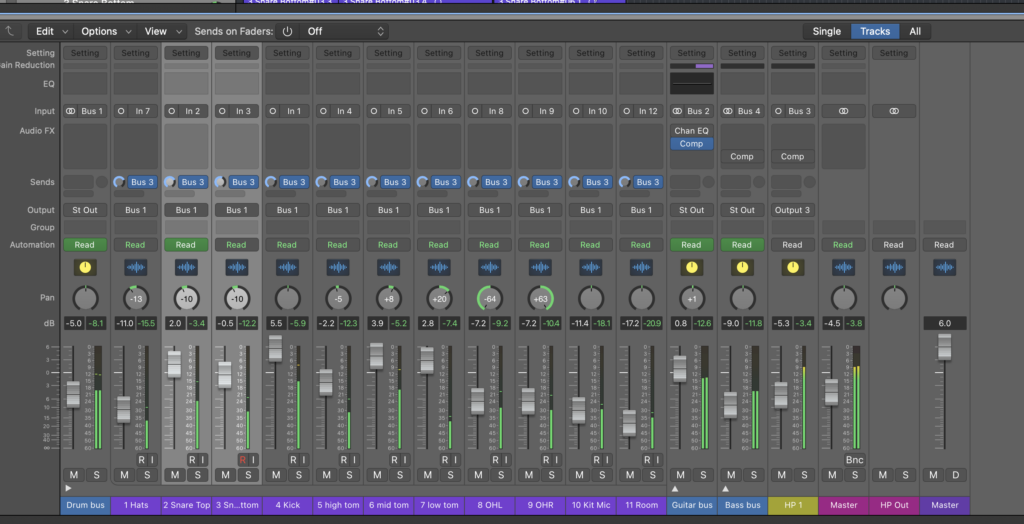
Below I’ve used the mixer to add 3 busses and added compression on my guitar as it was very sharp to hear at times or too loud. I added busses because you can then pick what part of recordings you want to mix and makes things easier and look better on the eye
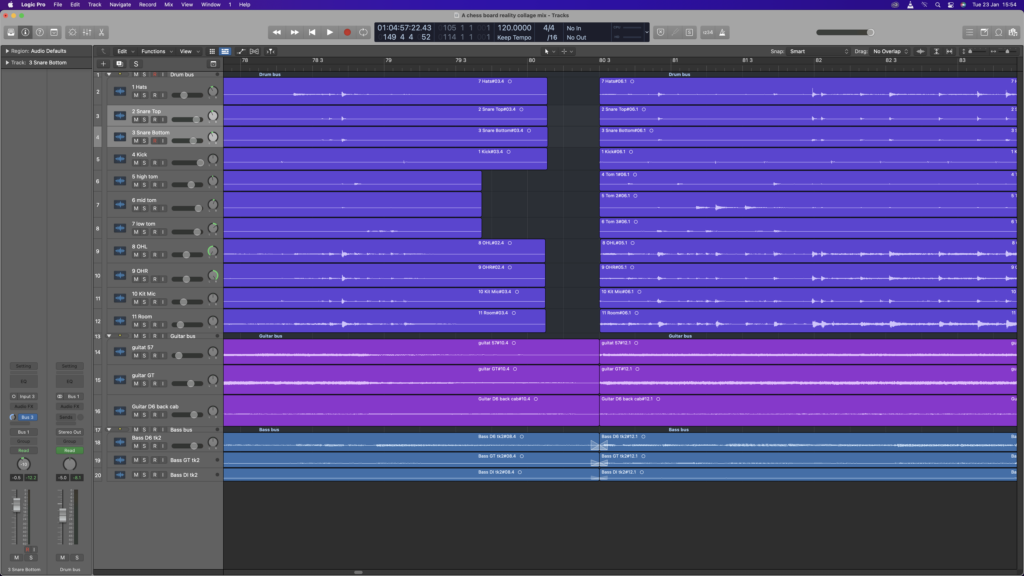
As you can see a massive gap between the 2 tracks, this has been meticulously separated apart as it gives a false ending after my guitar solo, then it jumps into a heavy rock chorus and then chromatic ending.
Here I’ve experimented with the automation panning feature. The 2 dots at the bottom is were the the panning starts and ends, the dot at the top of the triangle is how far the panning goes ( like left or right) and if I was to move the top dot to the left more then it would move to the left side faster and take longer to move right.

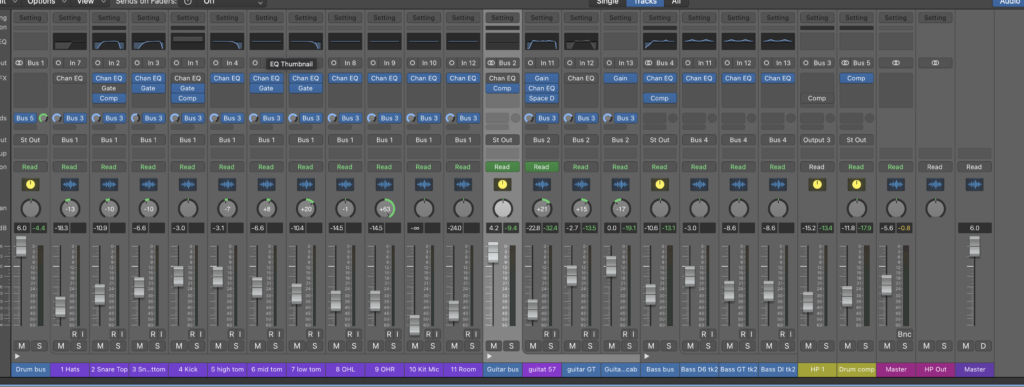
You can see loads of blue boxes below saying channel EQ,, gate, I’ve used this all to my best ability to make the overall quality of my track better. I used the Channel eq commonly for removing unwanted high or low muddy frequencies and also boosting (my kick was really weak so I increased the gain). The noise gate was used for things like my low tomb drum so it didn’t pick up the rest of the kit and same with my kick.
My 3rd mix of the track below. The 2nd mix I forgot to bounce and is now forever gone.