Artist research
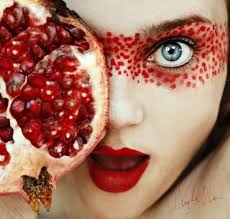
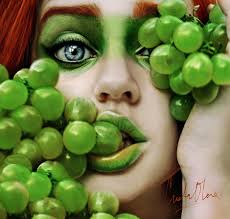
Cristina Otero
Cristina otero graduated from Universidad Autonoma de Madrid in Art history. She is a visual artist who uses photography as a means to represent and reflect about human paradigms and experiences though the practice of self portrait. Inspired by American’s Next Top Model, Otero became fascinated with the endless possibilities photography offers.
I think that I could uses her style of work in my project but instead of using different types of fruits, I could use flowers and nature on top of a self portrait.
These 3 pictures are probably my favourite images of her work. This is because I like how vibrant and eye catching they are as well as looking a bit weird especially the green grapes one .
I also like how her work has inspired and influenced me to create work that is done in a similar fashion to hers as she is one of my favourite artists.

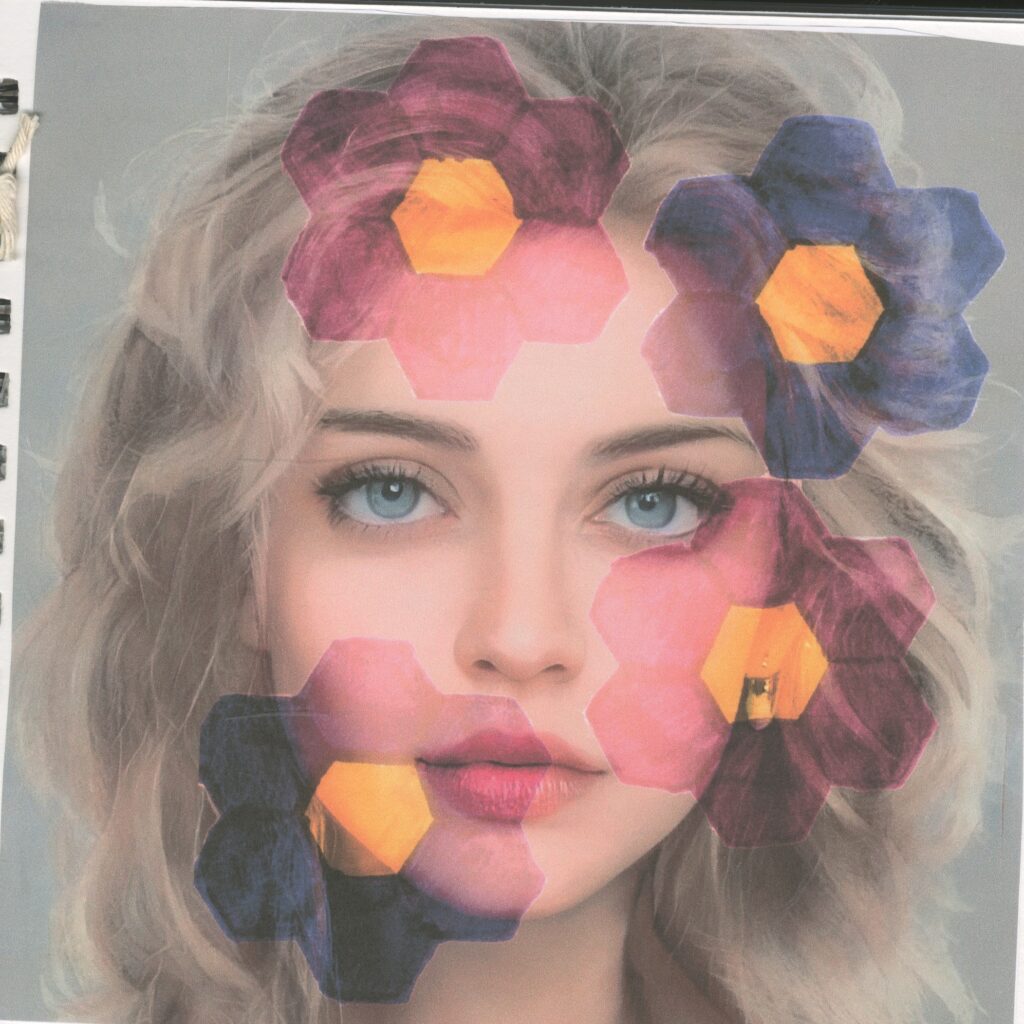
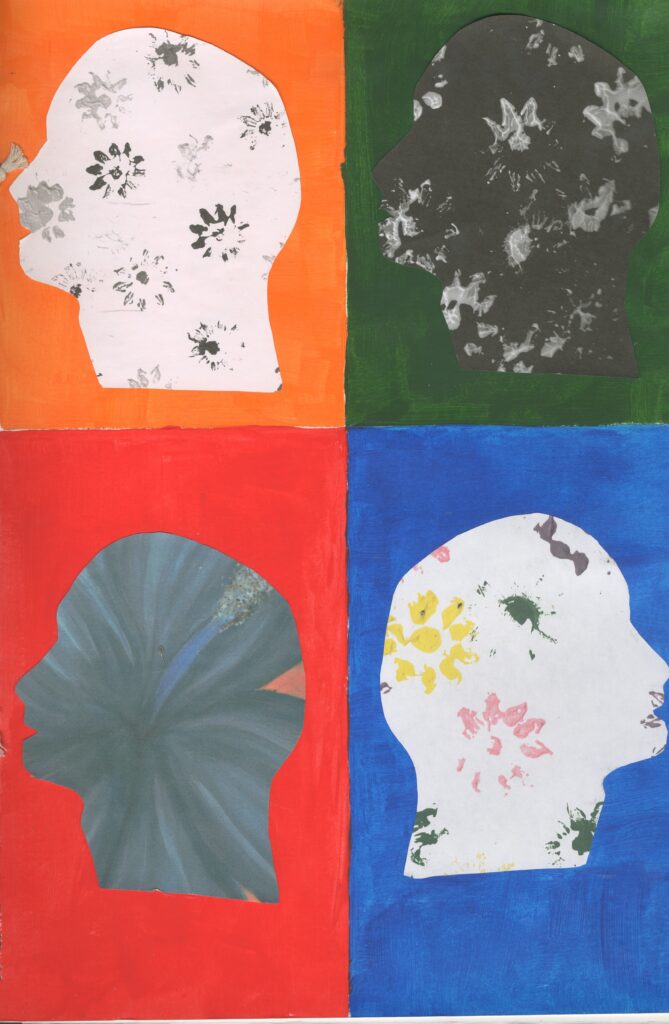
Art inspired by Cristina Otero
I think that this relates to Cristina Otero’s style of art because it involves elements of photography and photo manipulation which I achieved on photoshop. I also used an image of a portrait which I found on the internet which I can clearly see that Otero does the same however these tend to be self portraits. I can also clearly see that uses bright intense colours in her work whilst remaining very realistic as well as using fruits on faces.
Instead of using fruits I decided to layer some hand drawn flowers which I used a nut to do so .
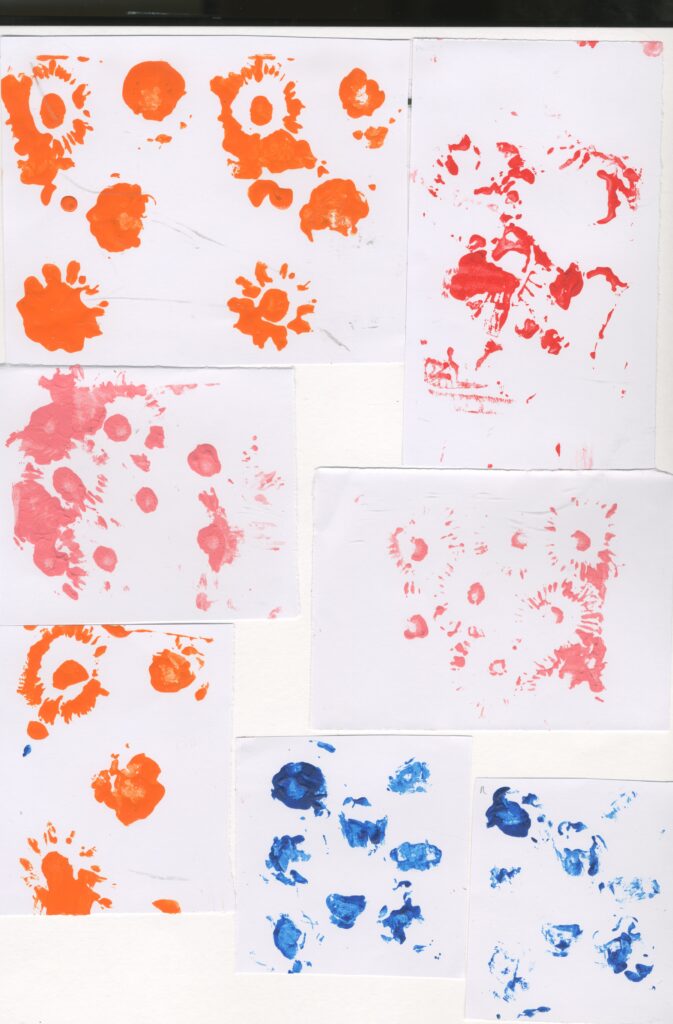
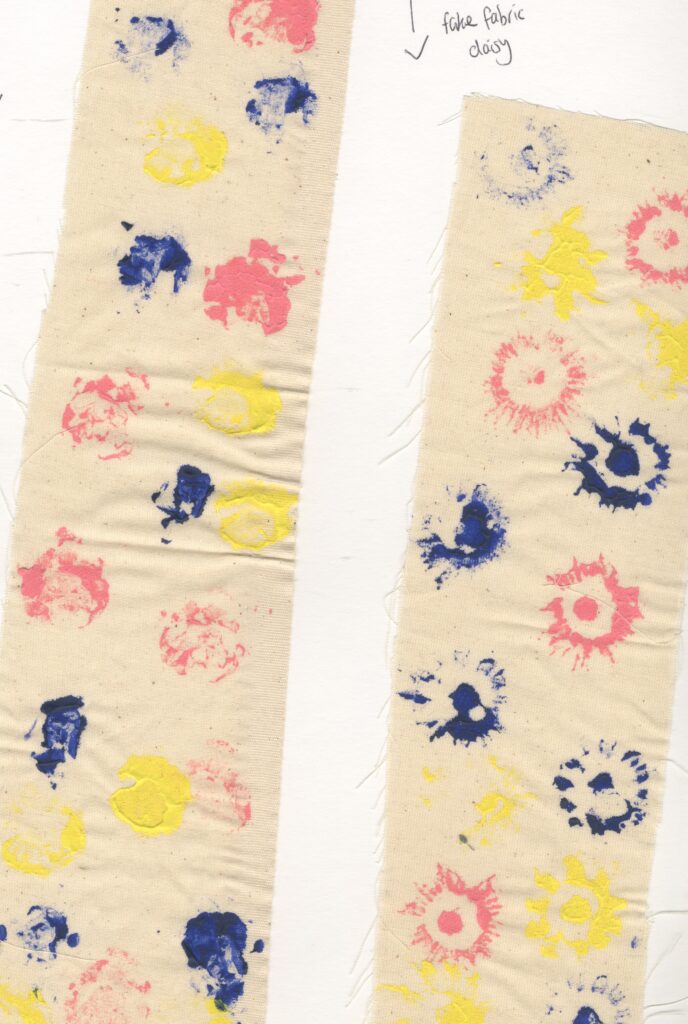
primary Research Printing
materials
Acrylic paint: pink , purple, yellow, green , white and black.
Fake flowers: Daisy flowers.
Step by Step
Step 1: First I painted one side of my page black and left the other one blank.
Step 2: I took a fake Daisy and used it to stamp the flower shape on to the paper by dipping it in different acrylic paint.
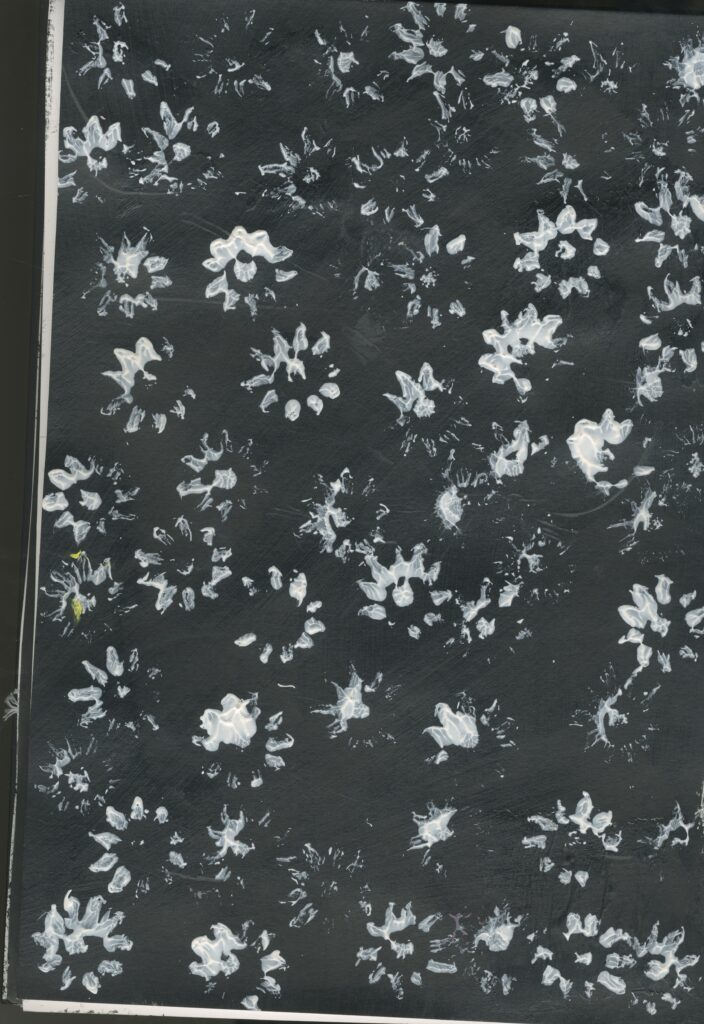
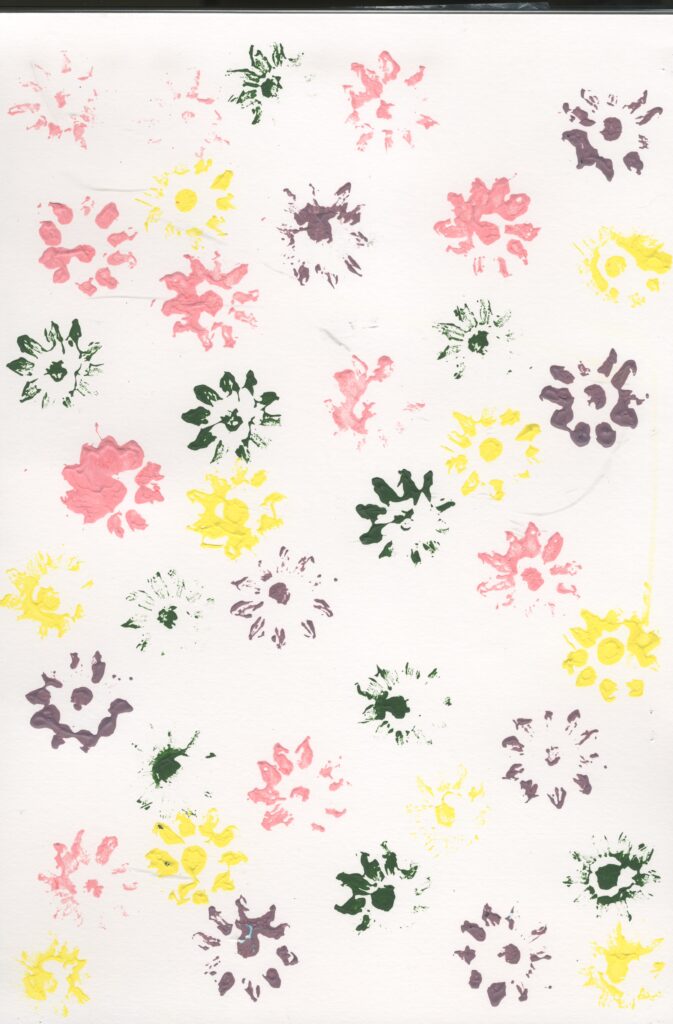
I painted the background black and only used white paint to print the flowers. I did this to show contrast and the less colourful side changes my perspective about nature. Even-though I printed them in a informal fashion the black and white side looks formal and the black and white are to colours that I would associate with nature however the side with the colourful flowers are more appropriate for my project, because it is bright and reminds me of springand summer.
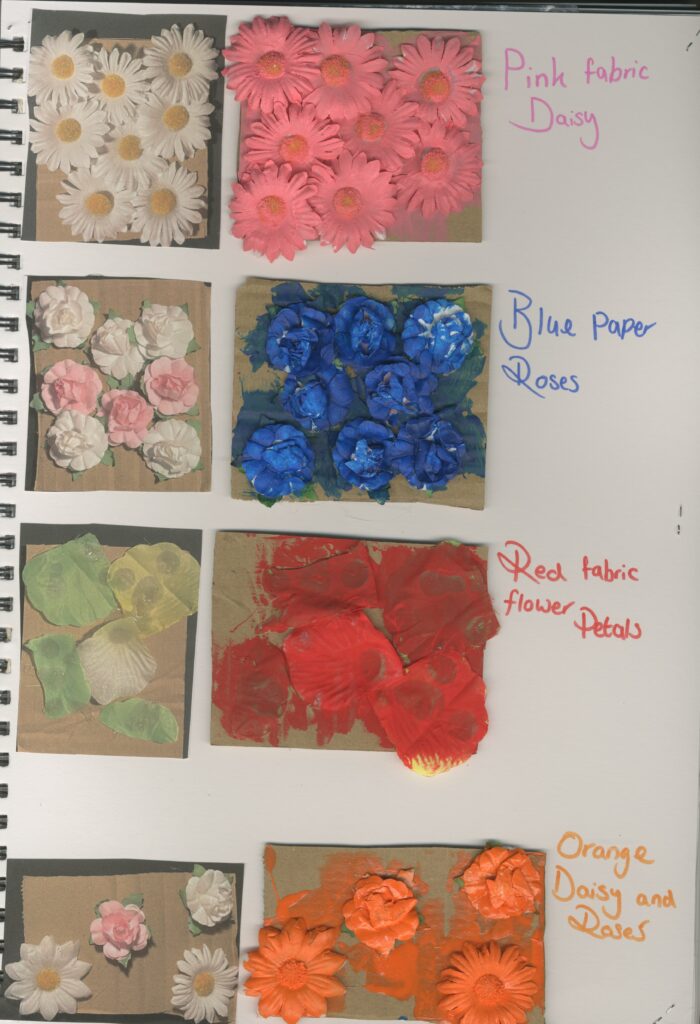
Primary Research Collograph prints
Materials:
acrylic paint: pink, blue, red, orange
cardboard
fake flowers/petals: daisies, roses
glue gun
paint brush
Step by step:
step 1:use hot glue gun and stick the flowers on a piece of cardboard
step 2:use a paint brush to apply the paint to each
step 3:immediately press the card on a piece of paper to record the print
Reminds me of mark making. This technique didn’t print the shapes of the flowers very well which I would have liked to see them as it would have been more relevant to my project. The orange worked the best because the paint was thinner so it captured the shape of the flowers better than the thicker paints. Not successful however I did enjoy creating these.
I also had to consider health and safety whilst doing this because of the hot glue gun so I kept it on a cutting mat so it would ruin my desk and I was very careful not to touch the hot glue by holding the glue gun with caution and holding the card by the edges so my fingers would be far away from the glue.
(Primary research ) Flower prints
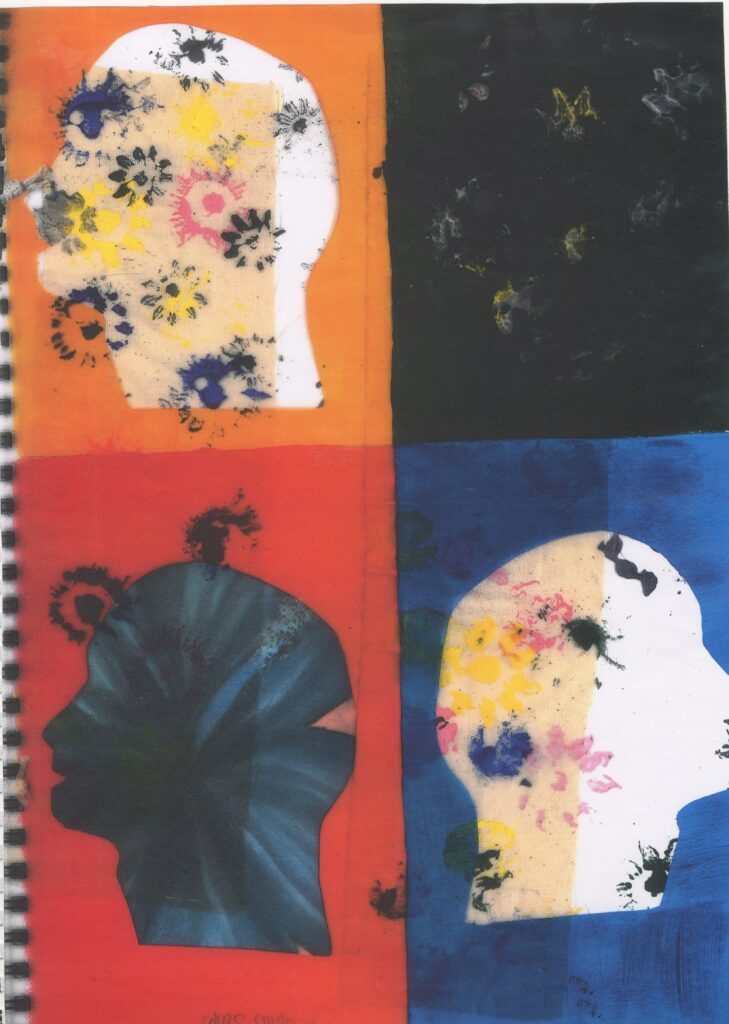
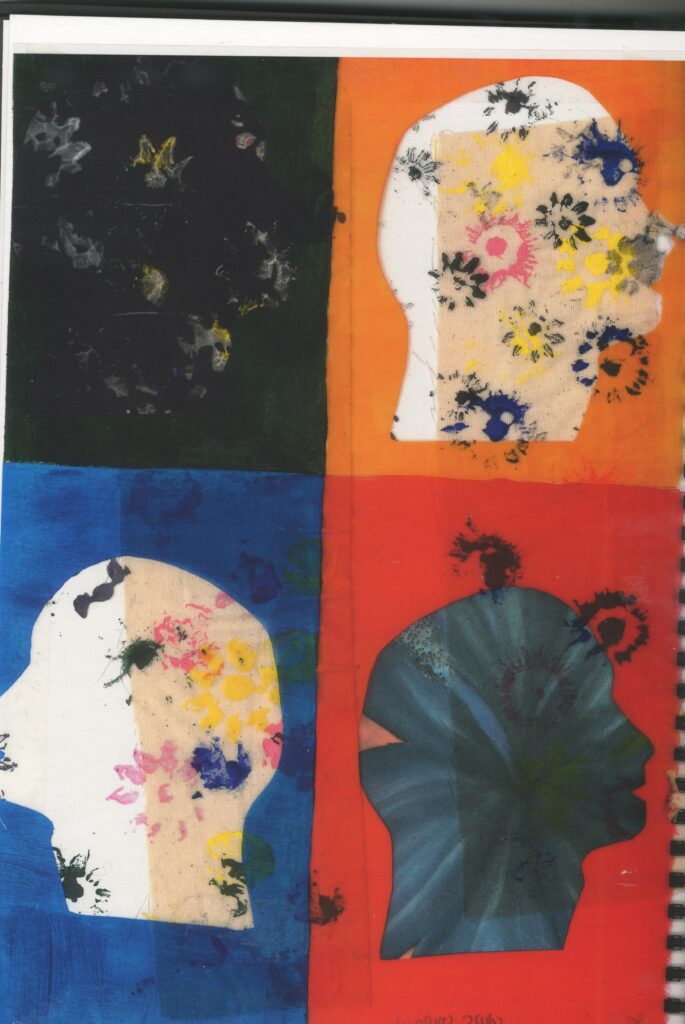
I decided to use my Andy Warhol inspired negative art, flower digital prints and Mobius strips to create these. I did this by first scanning my original artwork into the printer and printed it out on acetate then I tested out the flower prints and Mobius strips. I found that the flowers were too dark on top of the negative artwork so instead I decided to use the Mobius strip instead to layer on top as this was more successful.

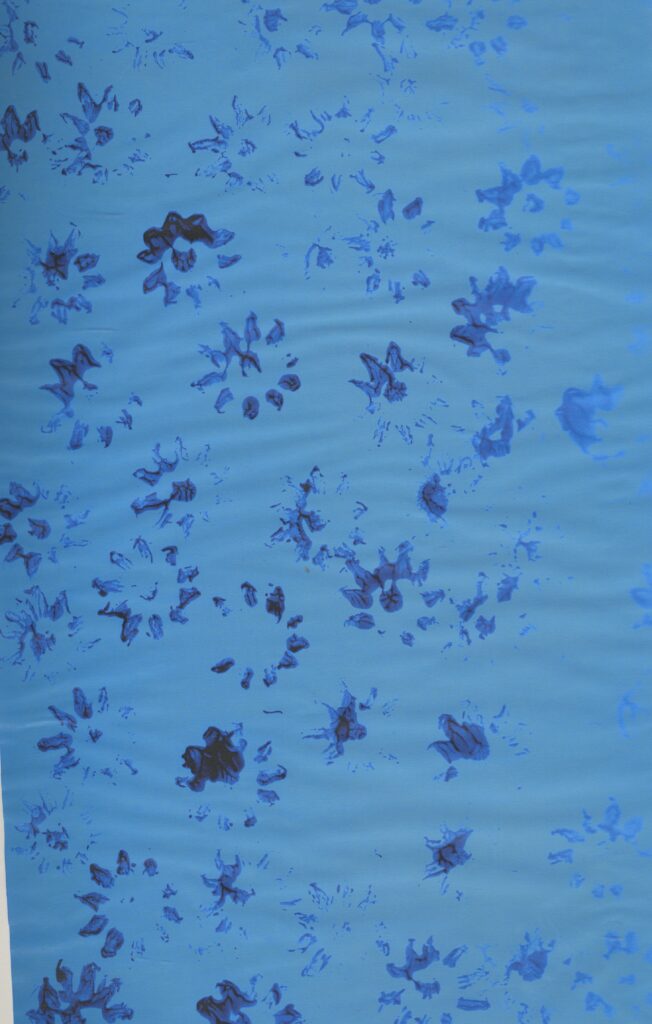
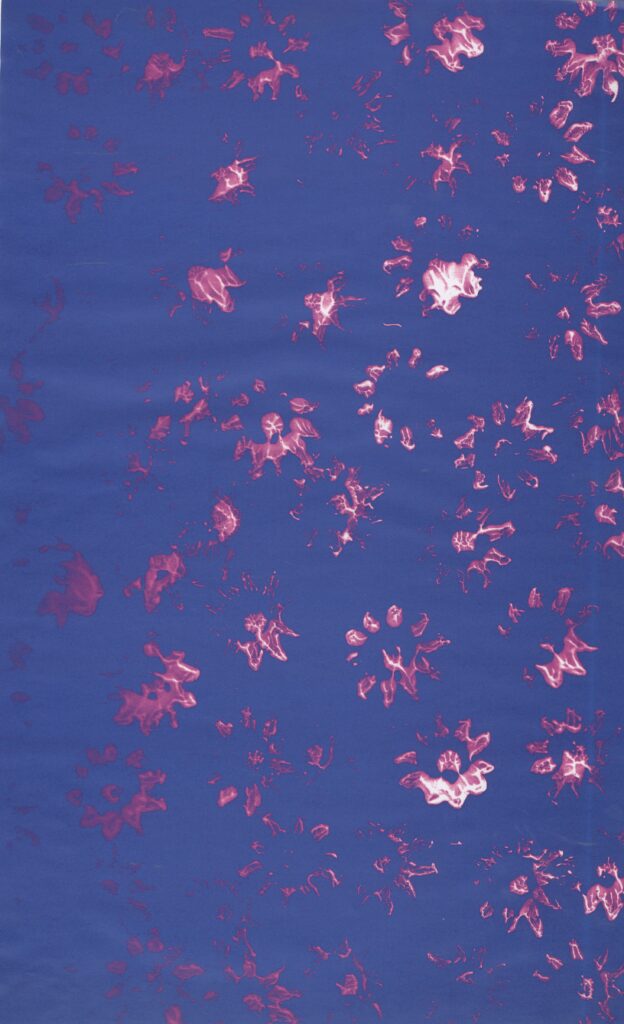
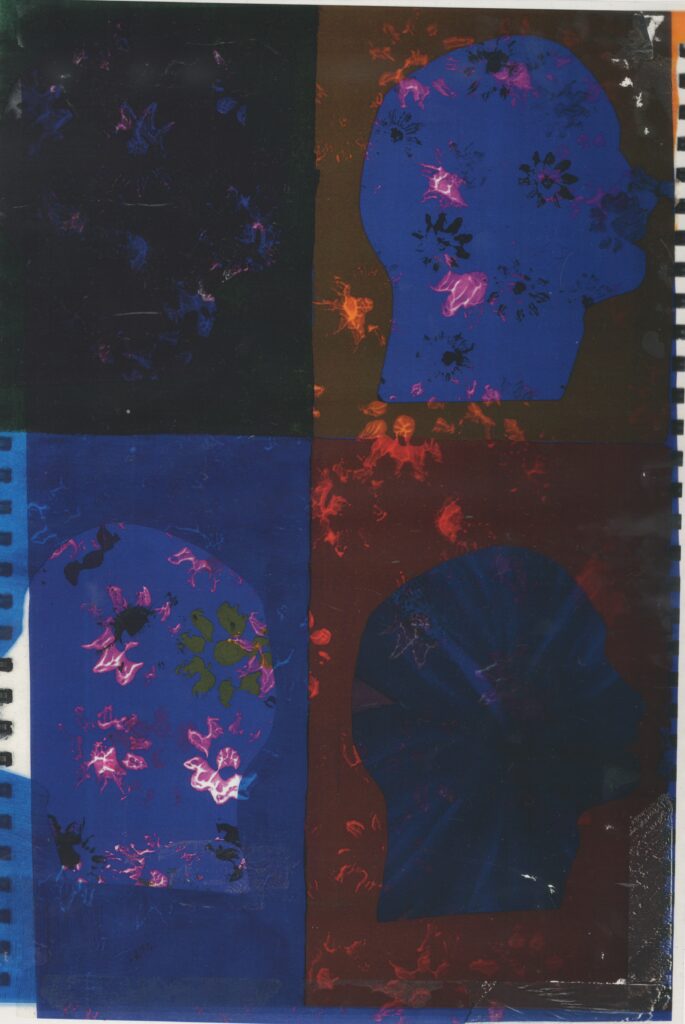
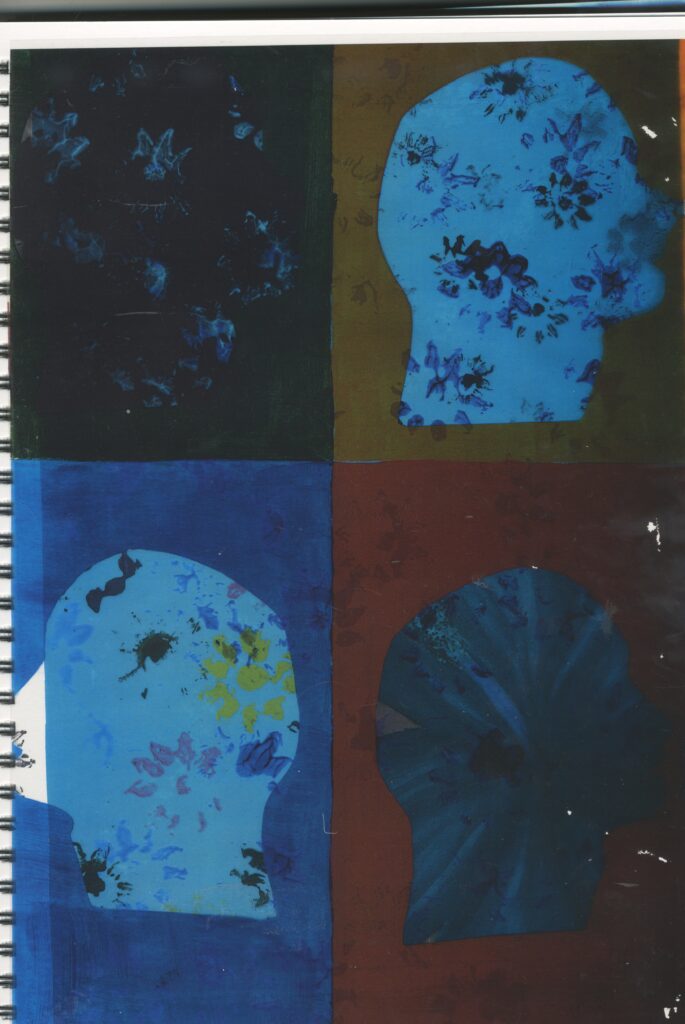
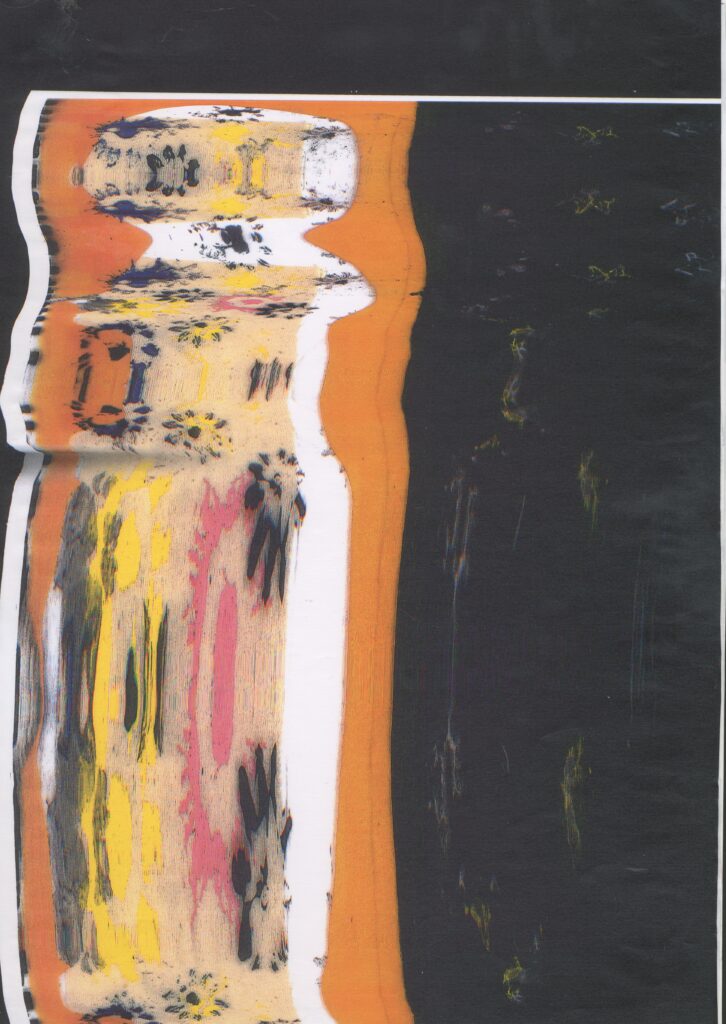
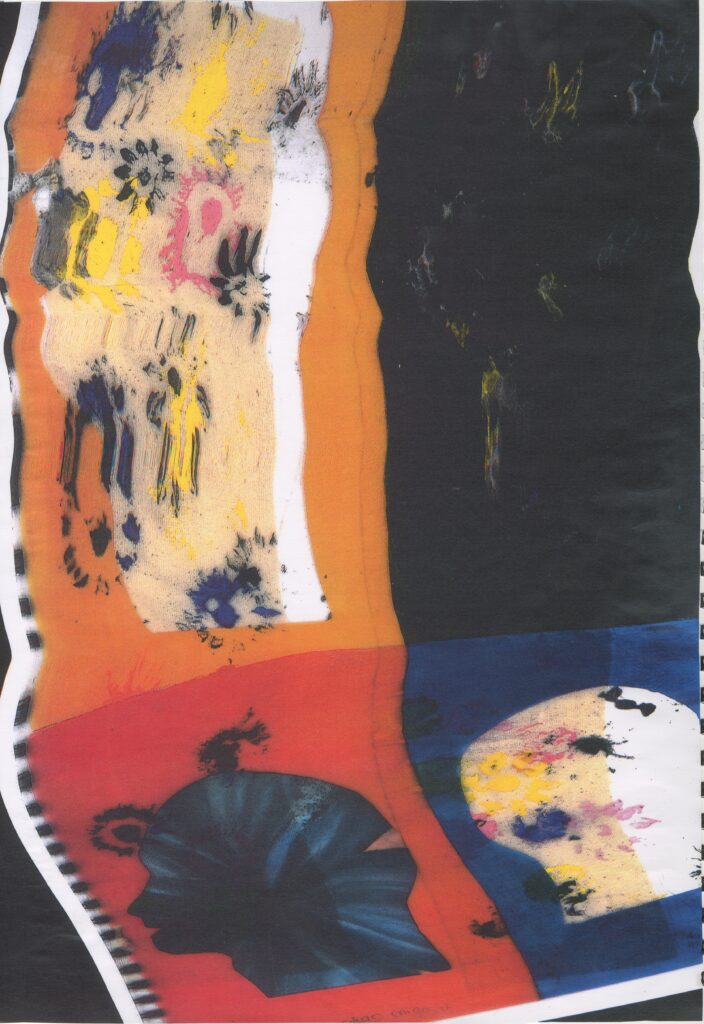
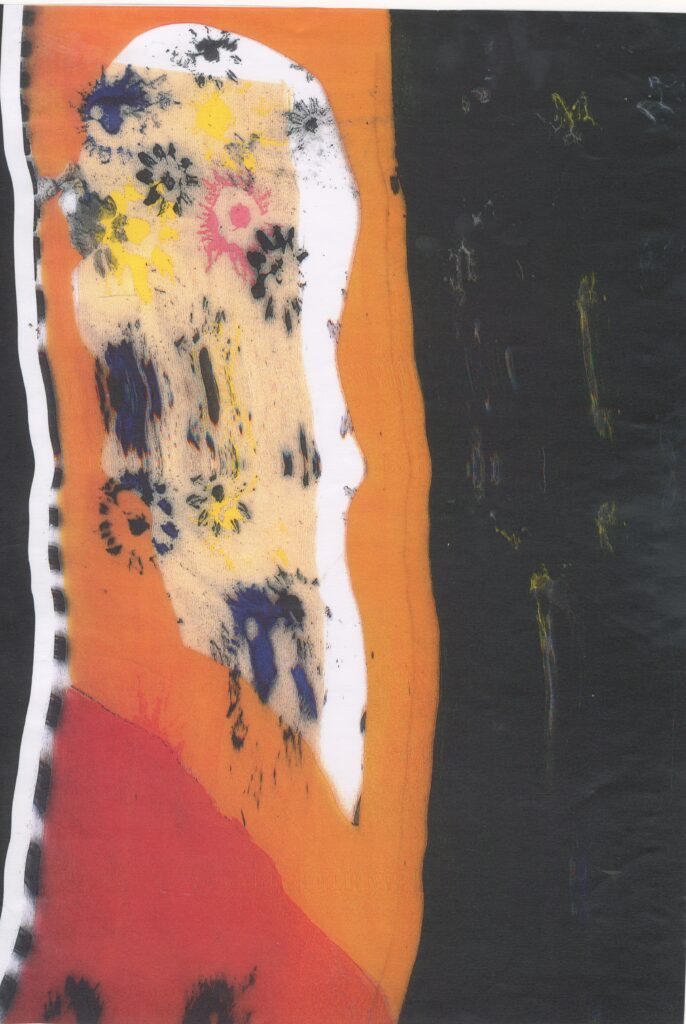
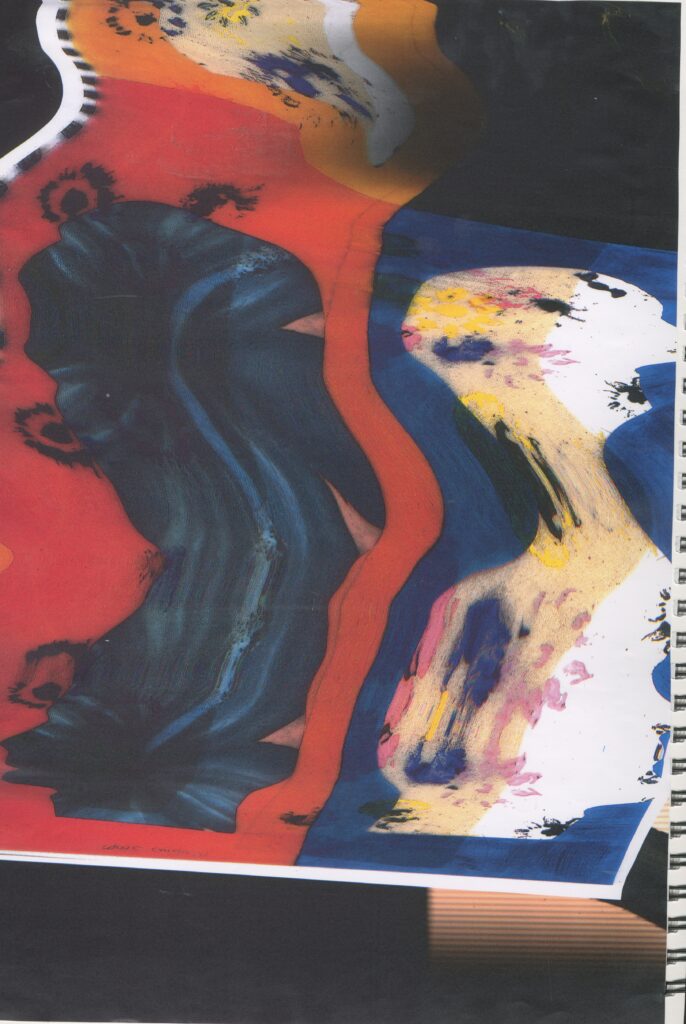
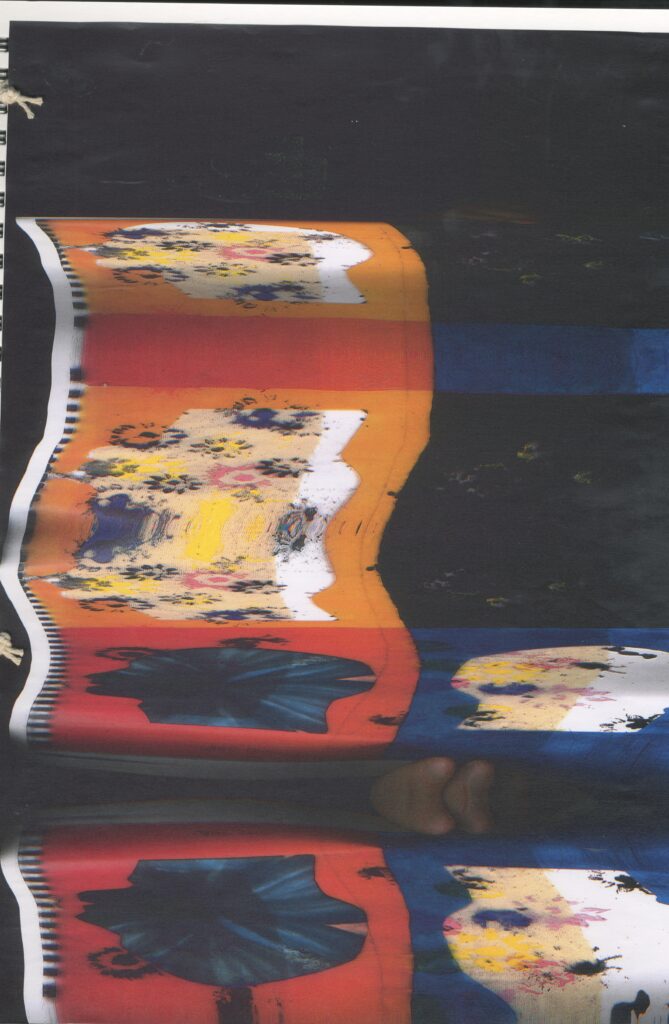
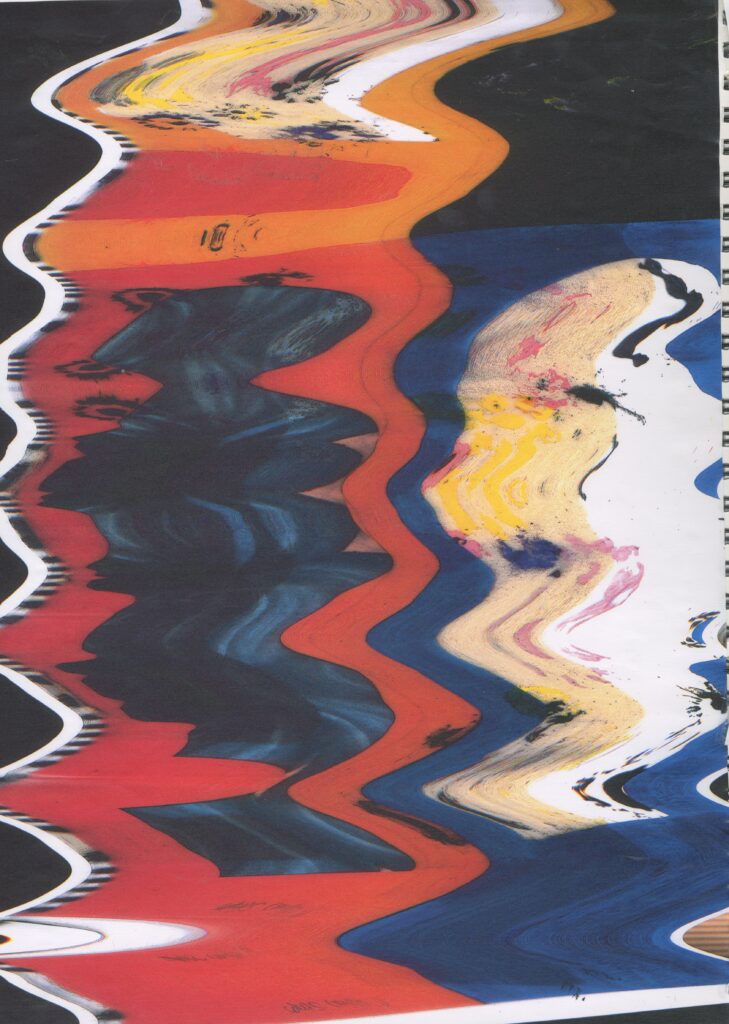
I decided to print this out again on paper I think this made the colours more pronounced because originally, I printed them on acetate which is a thin sheet of plastic which weakens the colour and makes it almost translucent. Then I chose to move the paper as it was scanning to get a distorted image. I also tried to do this more aggressively and more gently to get different results.
This is my favorite image. I can tell that I did this quite aggressively because the patterns look like they have been quickly pushed back and forth to get a zig-zag kind of a pattern. I can also see that the others have been done in a more careful fashion because they look more loose and some of them look more elongated which I don’t find as interesting. However, I like how abstract these are and how strange they are. I also like how they portray concealment because of the way they are distorted they look like they are being manipulated by nature.
Batik
Equipment
Calico
Pencil
Batik tools
Batik pot and wax
Ink
Iron
Step by step
Step1: draw design on fabric
Step2: use test swatch to test different marks and tools
Step3: put heated wax on design in places that don’t want to be coloured with ink.
Step4: add ink
Step6: iron to remove the wax
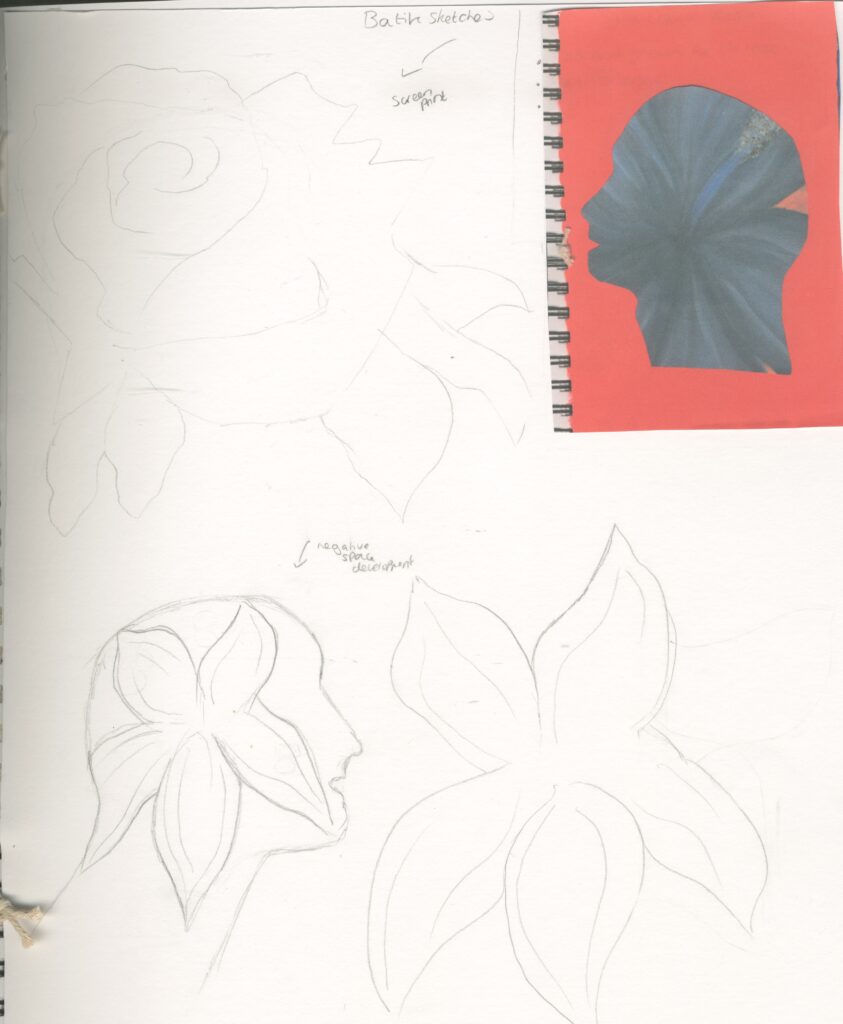
To help me prepare for this I drew some designs to plan my batik design.I decided to go for the future drawings and a Hydrangea. I decided to combine the flower and figure drawing however this was unsuccessful so I decided to try it again and did a single Hydrangea.
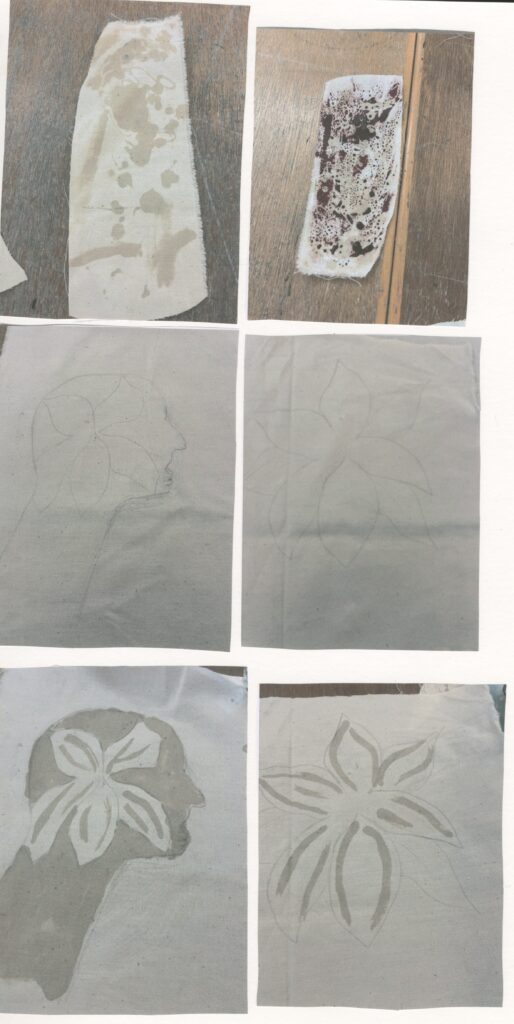
Then I drew these ideas on some calico, applied my wax, applied my ink and ironed it. The wax acts as a wax resist.
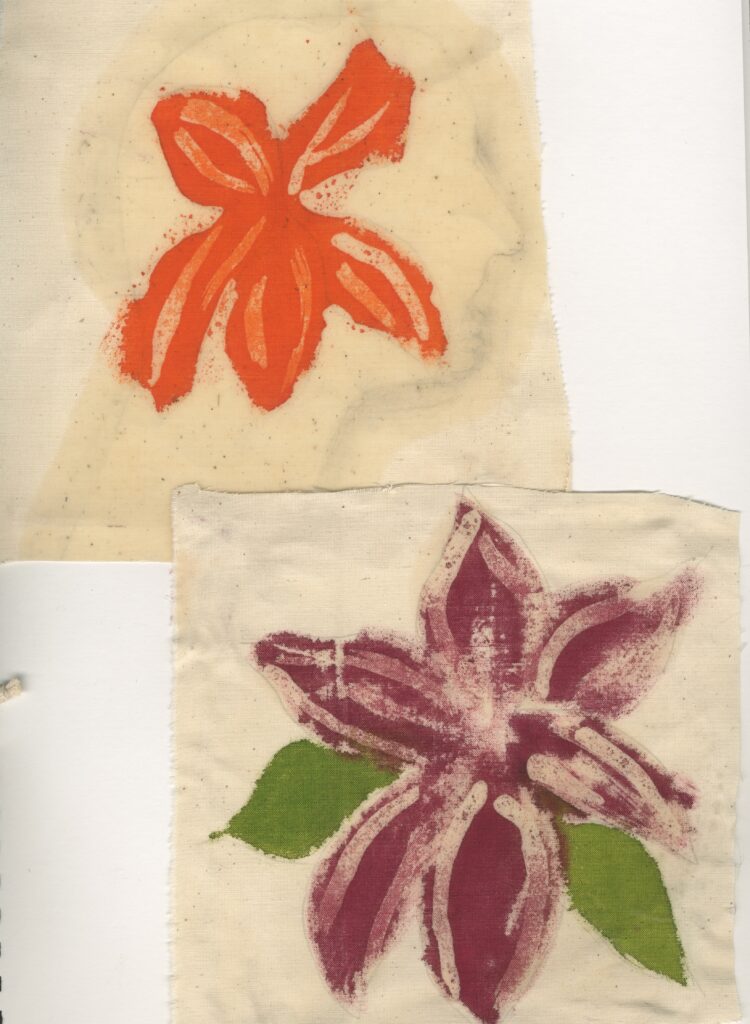
Before I created these, I made a test sample testing out different marks and tools. This reminds me of Mary Quant because this links into fashion. My least favourite was the figure image because I blocked out the figure so that the only thing that is visible is the flower which I think defeats the whole purpose of having the figure there.
My most successful image was the purple flower. I think this is because I used fewer ink, however it is patchy in some areas where I ironed it to remove the wax and the ink has faded. This might of happened when I ironed it to remove the wax.
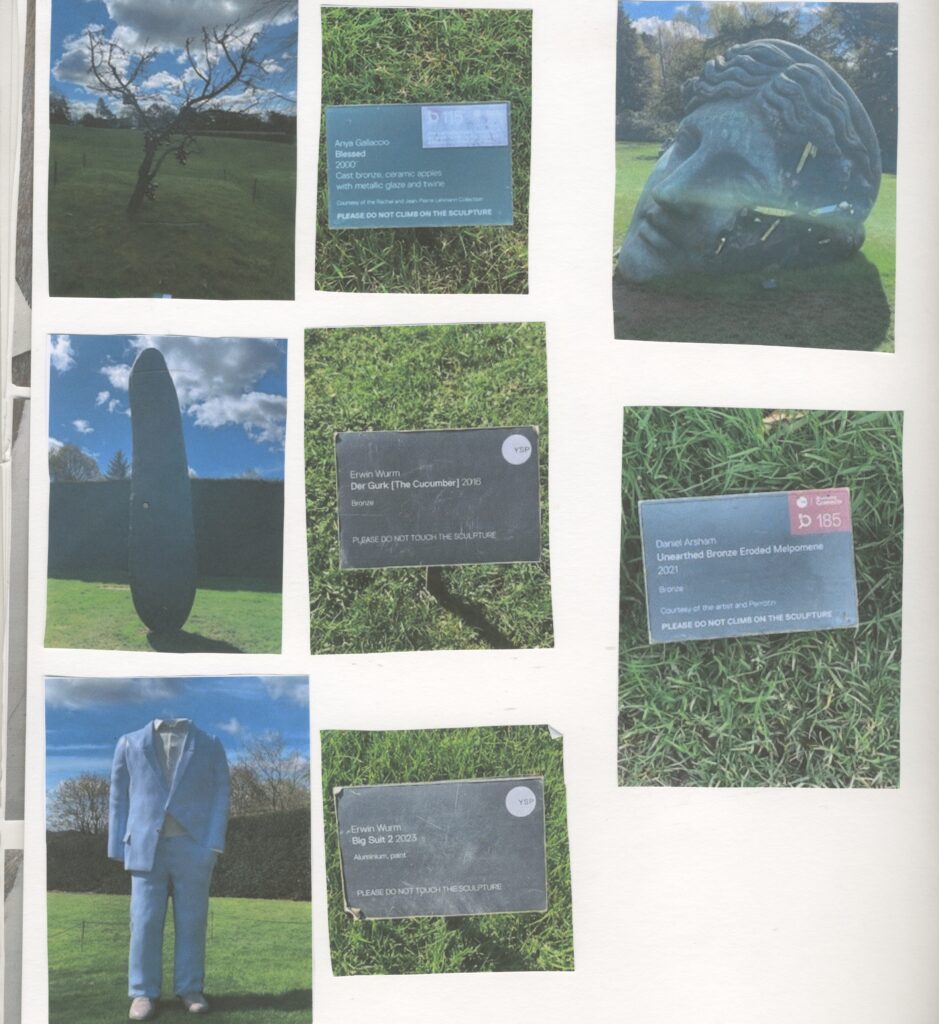
Yorkshire Sculpture Park
Yorkshire Sculpture Park is the leading international centre for modern and contemporary sculpture, set within the 500-acre, 18th century Bretton Hall estate in West Yorkshire.
Founded in 1977, YSP was the first sculpture park in the UK, and is the largest of its kind in Europe, providing the only place in Europe to see Barbara Hepworth’s . The Family of Man in its entirety alongside a significant collection of sculpture , including bronzes by Henry Moore and site- specific works by Andy Goldswothy, David Nash and James Turrell.
I went on a trip to the YSP and took some pictures of some sculptures. I thought that this was helpful for me in learning how other artists exhibit their work.
https://yorkshire-sculpture.org/venues/yorkshire-sculpture-park
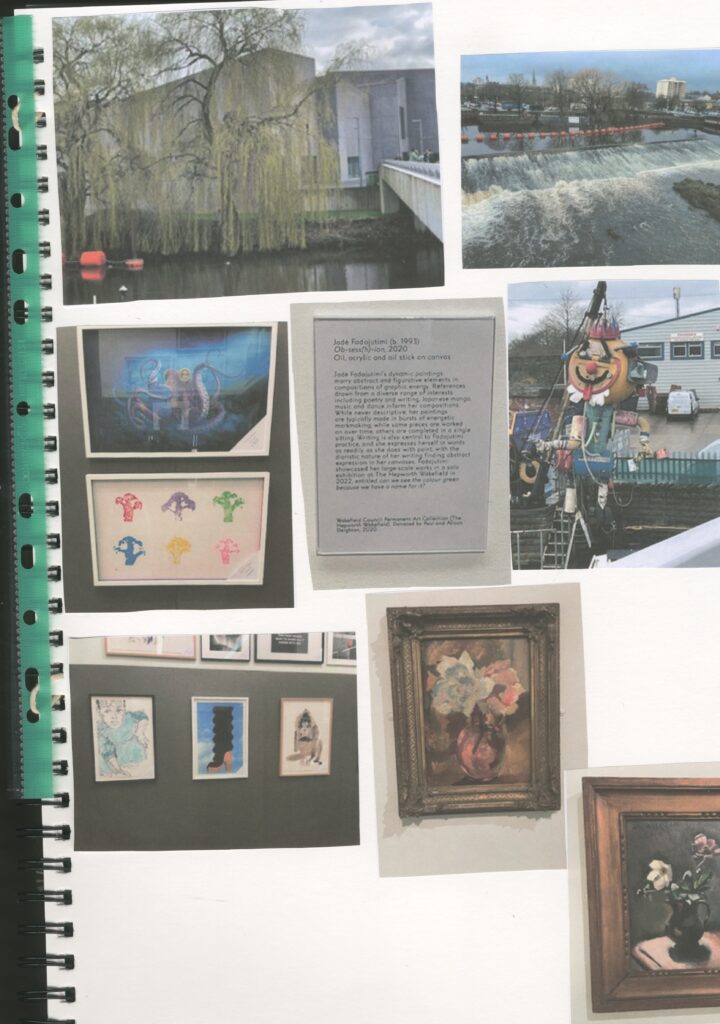
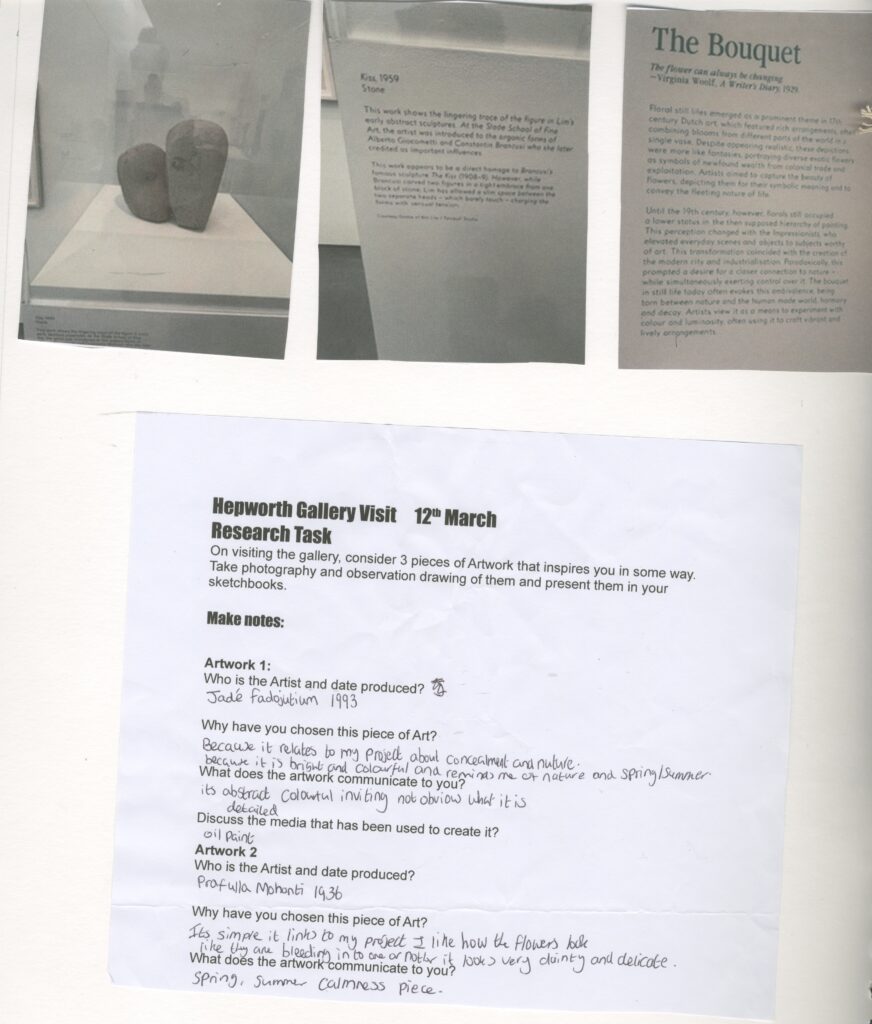
Hepworth Gallery Visit
The Hepworth Wakefield is an art museum in Wakefield, West Yorkshire, England, which opened on 21 May 2011. The gallery is situated on the south side of the River Calder and takes its name from artist and sculptor Barbra Hepworth who was born and educated in the city. The gallery was designed by British architect David Chipperfield, who won an architectural design competition.
The gallery cost £35 million to build.
Five weeks after opening it received 100,000 visitors.
I went on a trip to the Hepworth gallery to help me get an idea of how other artist exhibit their art. I found this to be useful and helpful because it also showed me how I can show off my work.
https://en.wikipedia.org/wiki/The_Hepworth_Wakefield