
Outline
My production will not and simply cannot contain any physical elements as my proposed idea is too big and too expensive, however we can get around this by creating conceptual illustrations. I will be putting together a brand, series of renders, media roster and showcase before the interview date.
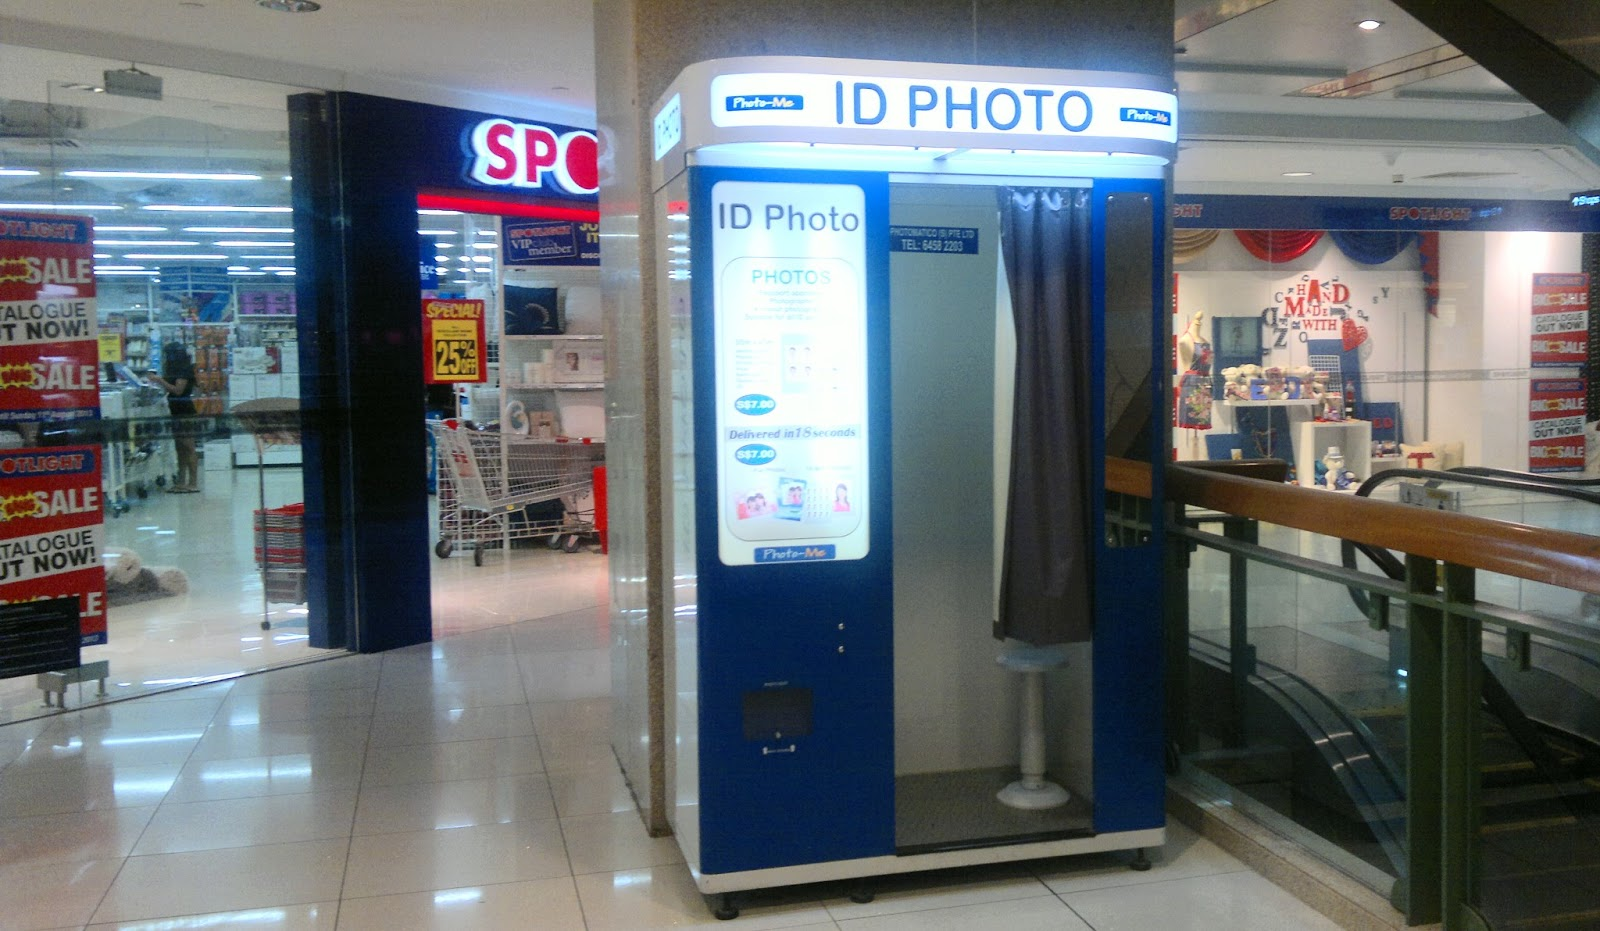
My primary inspiration for the brand and the design of the whole exhibiton were photobooths, especially the inside of a typical modern photobooth.
Brand
As mentioned before, we need to create a logo to serve as the brand’s foundation. A brand’s font depends on the shape language of the brand’s logo, all elements should follow this rule. The logo needs to be appropriately visable even when small or, used on a number of different backgrounds. To start creating the brand, I will be using Adobe Illustrator and Adobe Photoshop.
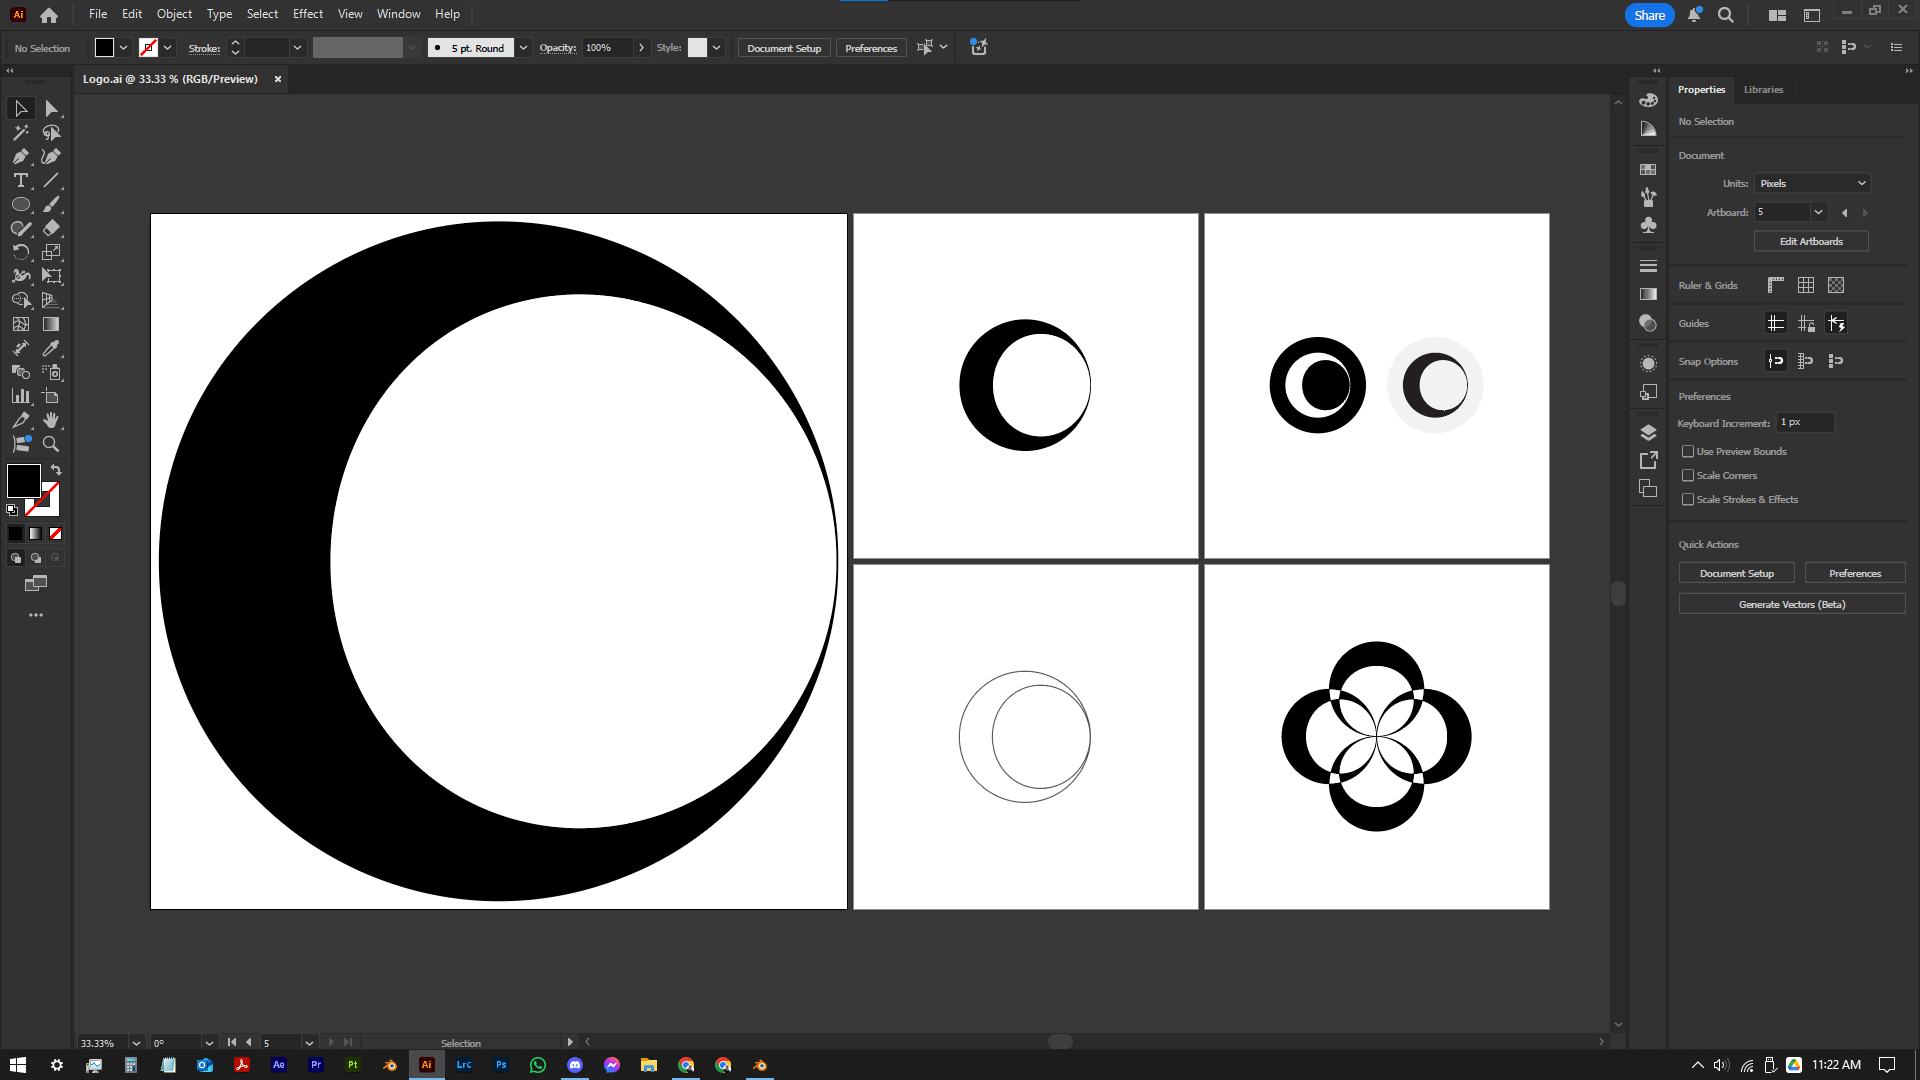
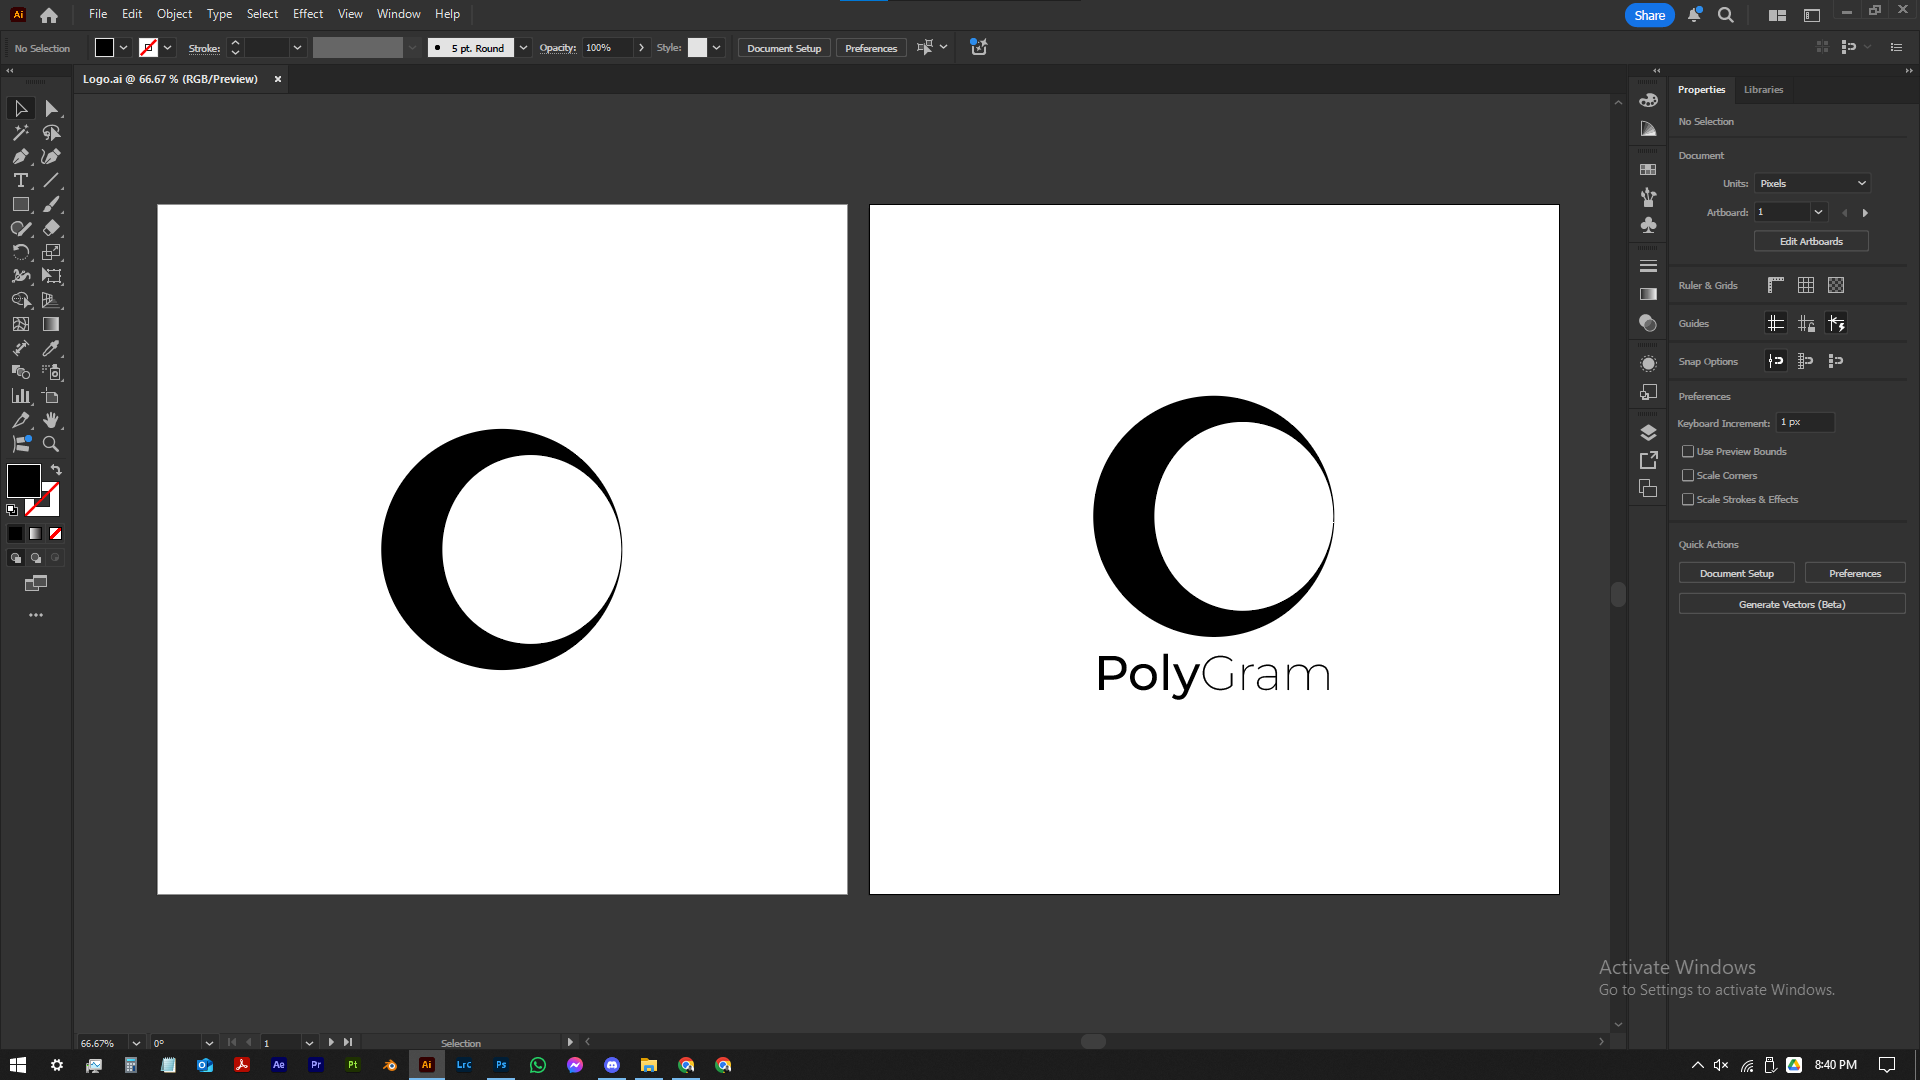


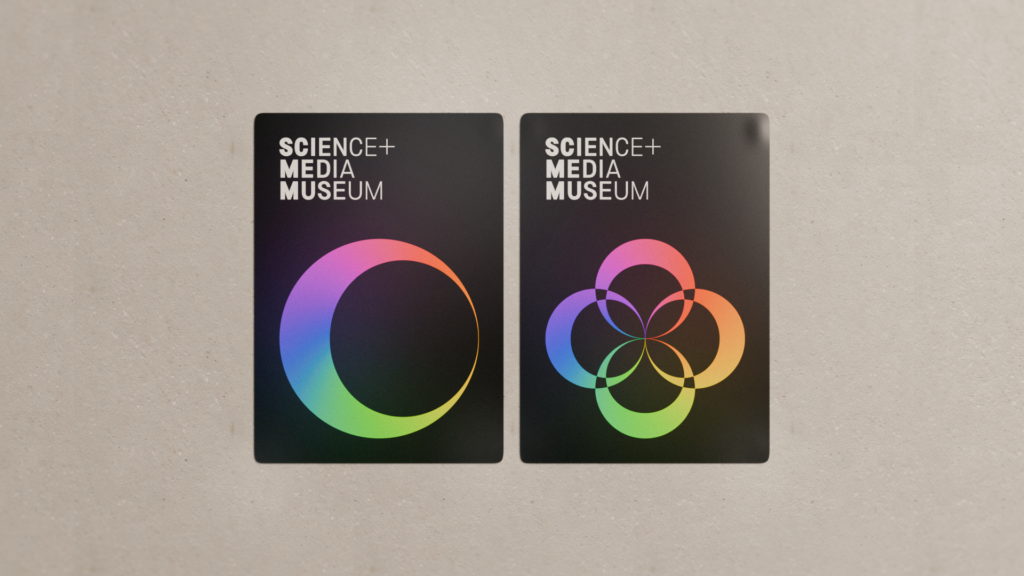
The logo is obviously quite simple, it is based on the shape of the exhibition’s photogrammetry rig aka “Photogrammetry Chamber” aswel as the windows within the chamber for the concealed cameras. The tapered width of the logo appears 3D in a way, emphasizing it’s relationship to 3D space within the exhibition. The color pallate will be kept to be a minimal using black and white for conceptual purposes, although further editions of this exhibition may include color to stand out. The National Science & Media Museum is quite colorful in it’s own brand.
A healthy ratio / balance is maintained with the simplicity of the logo, following a perfectly circular shape. The logo will fit frame you contain it within. I did not want to use shading to emphasize depth, as this introduces complexity to the implementation of said logo.
The name “PolyGram” was chosen for the name of the exhibit. “PolyCam” was used as inspiration as it is a name given to the software / app that is capable of using an Iphone’s camera and LIDAR to produce 3D geometry, however the word “Cam” only seems fitting for a smaller device. PhotoGRAMmetry seemed more fitting for this bigger scaled device, therefor PolyGram was chosen. The word “Poly” was used in the name as it connotates “geometry” in a broader yet more compact way. Photogrammetry als0 uses polygons to build 3D models, so it seemed the most suitable.
3D Renders
Renders are computer generated images used to accurately show how the exhibition may look in real-life. Some elements of these renders may be sourced, all sources will be credited. I will have to take measurements, lighting, wayfinding, ergonomics and materials into account. To start producing these renders, I will be using Blender and Adobe Substance Painter. Blender will be used for the modeling and layout process, whilst Substance Painter will be used to allowcate the materials and textures to each object.
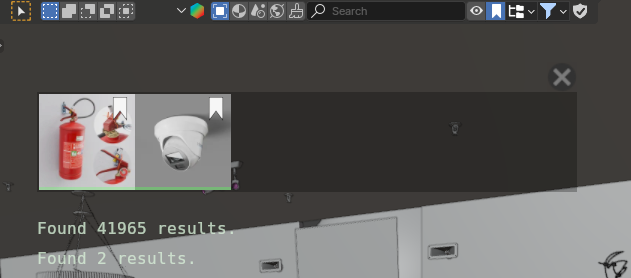
To start piecing together my exhibition in 3D space, it felt appropriate to use a source of assets. I used BlenderKit to attain all the necessary assets for my render. The overall geometry of the chamber and exhibiton was done by myself, aswel as the design and placement choices. It was important that the render looked realistic, not from an image point of view, but from an architectural point of view – by including signs, bins, tables, fire extinquishers and ceiling elements to create an immersive illustration of a real place somewhere in a building. Without these simple objects, the scene would more than lack the means to come across as real or possible.
Although the scene may subjectively look unrealistic, it is still good enough for immersiveness and “conceptualness”.
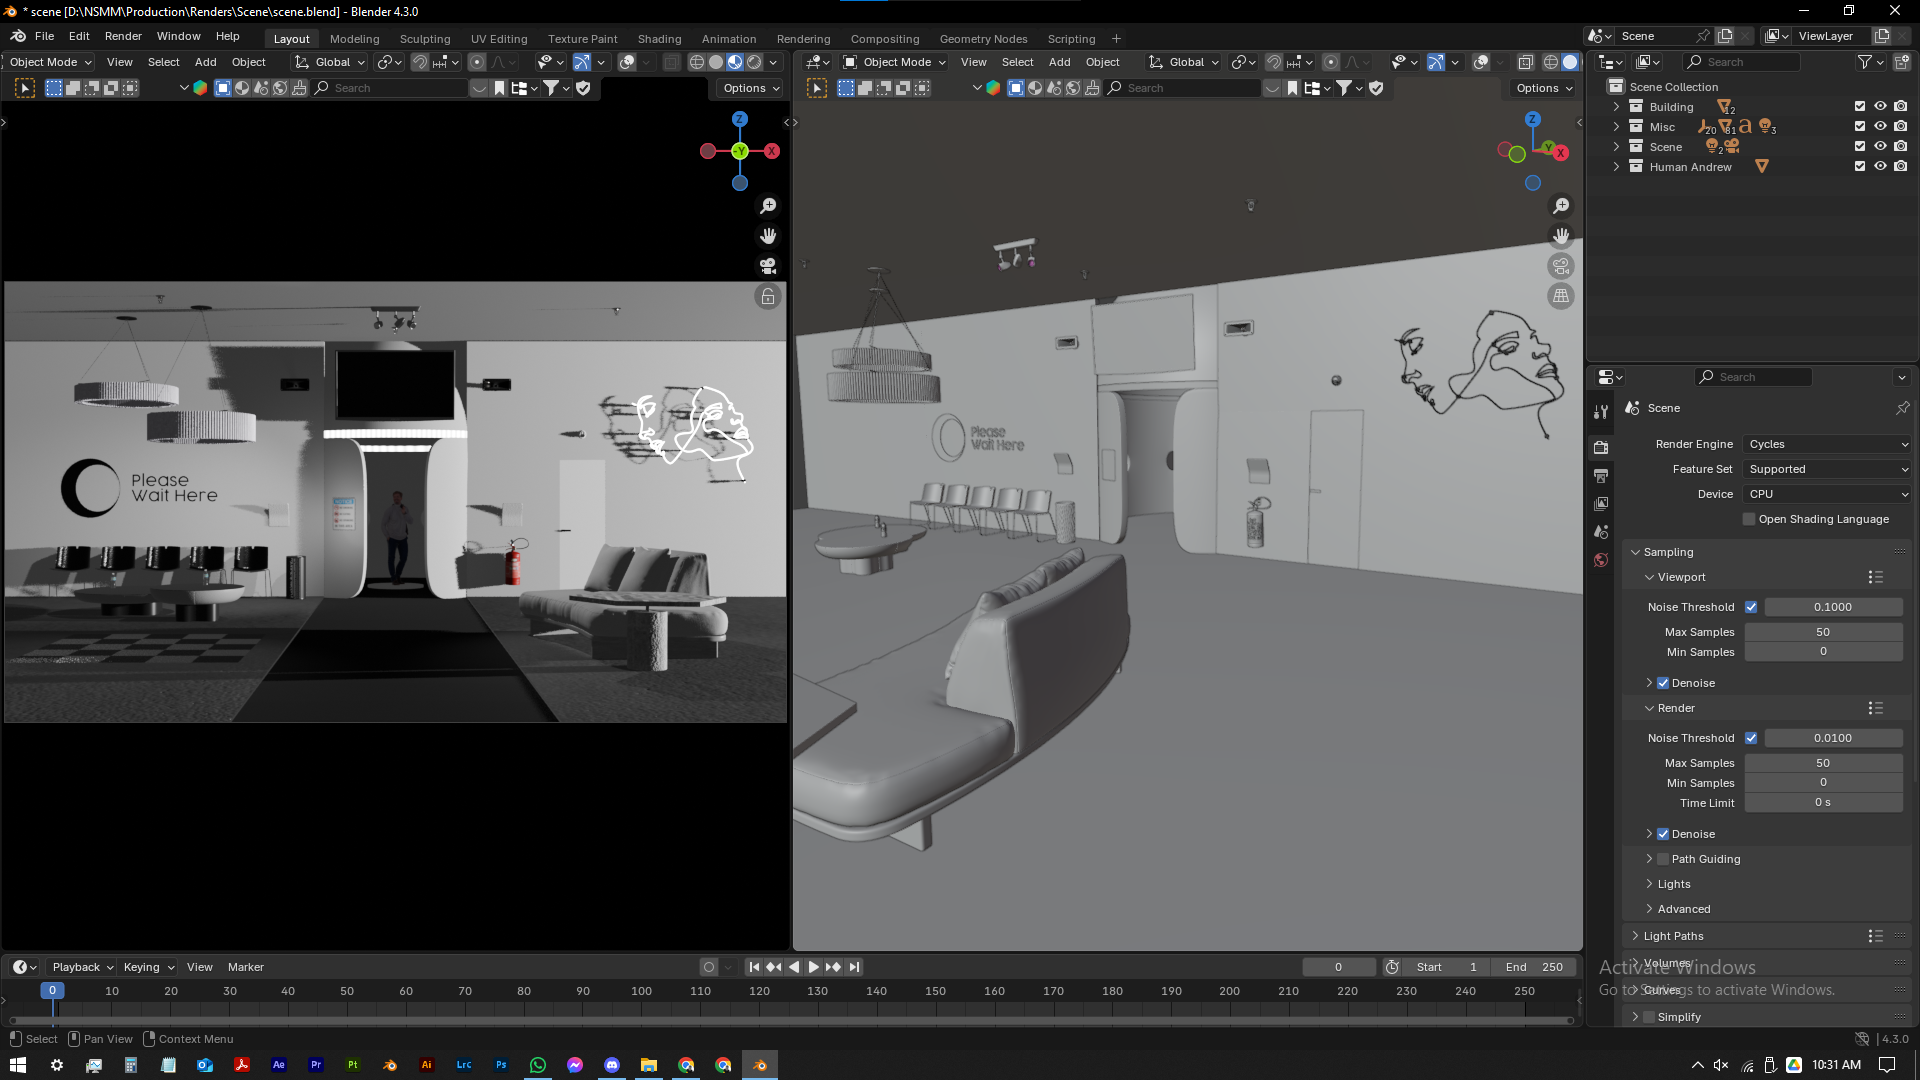
The final render with all intentions to look neat and sleek are shown above. This is 1 of a few 3D renders for my exhibition. There are 4 main parts to this render: A waiting area, the chamber, a TV / monitor with speakers and an accompany area. The waiting area is self explanatory, the chamber is also quite self explanatory, the accompany offers a place for people to sit if they are waiting for someone they know to be finished using the chamber, I decided to name it the “accompany area” as anyone who was using it would be accompanying someone who was still using the exhibit. The TV / monitor with speakers helps to educate visitors of the process behind photogrammetry with the use of animations, also providing information of the status of the chamber when necessary. Unfortunately I was unable to create the graphics and animations for the monitor due to lack of time.
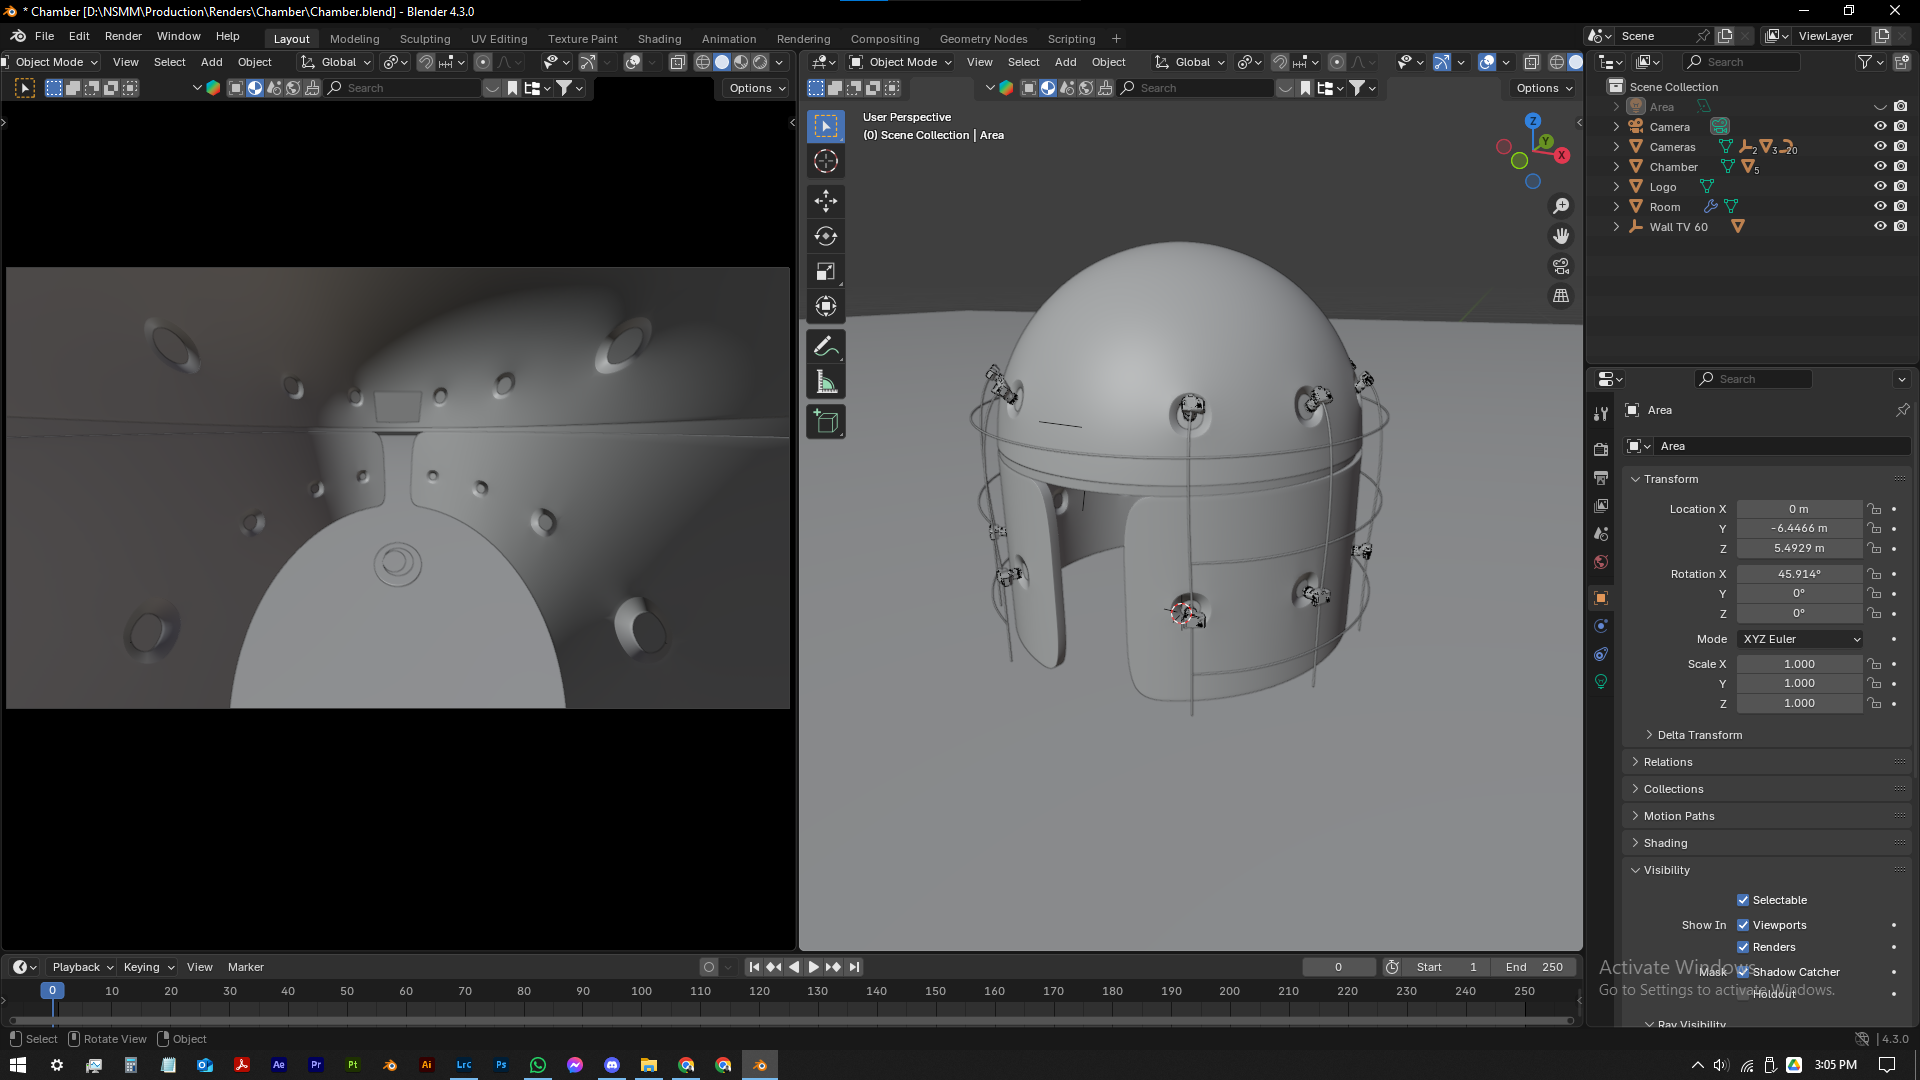

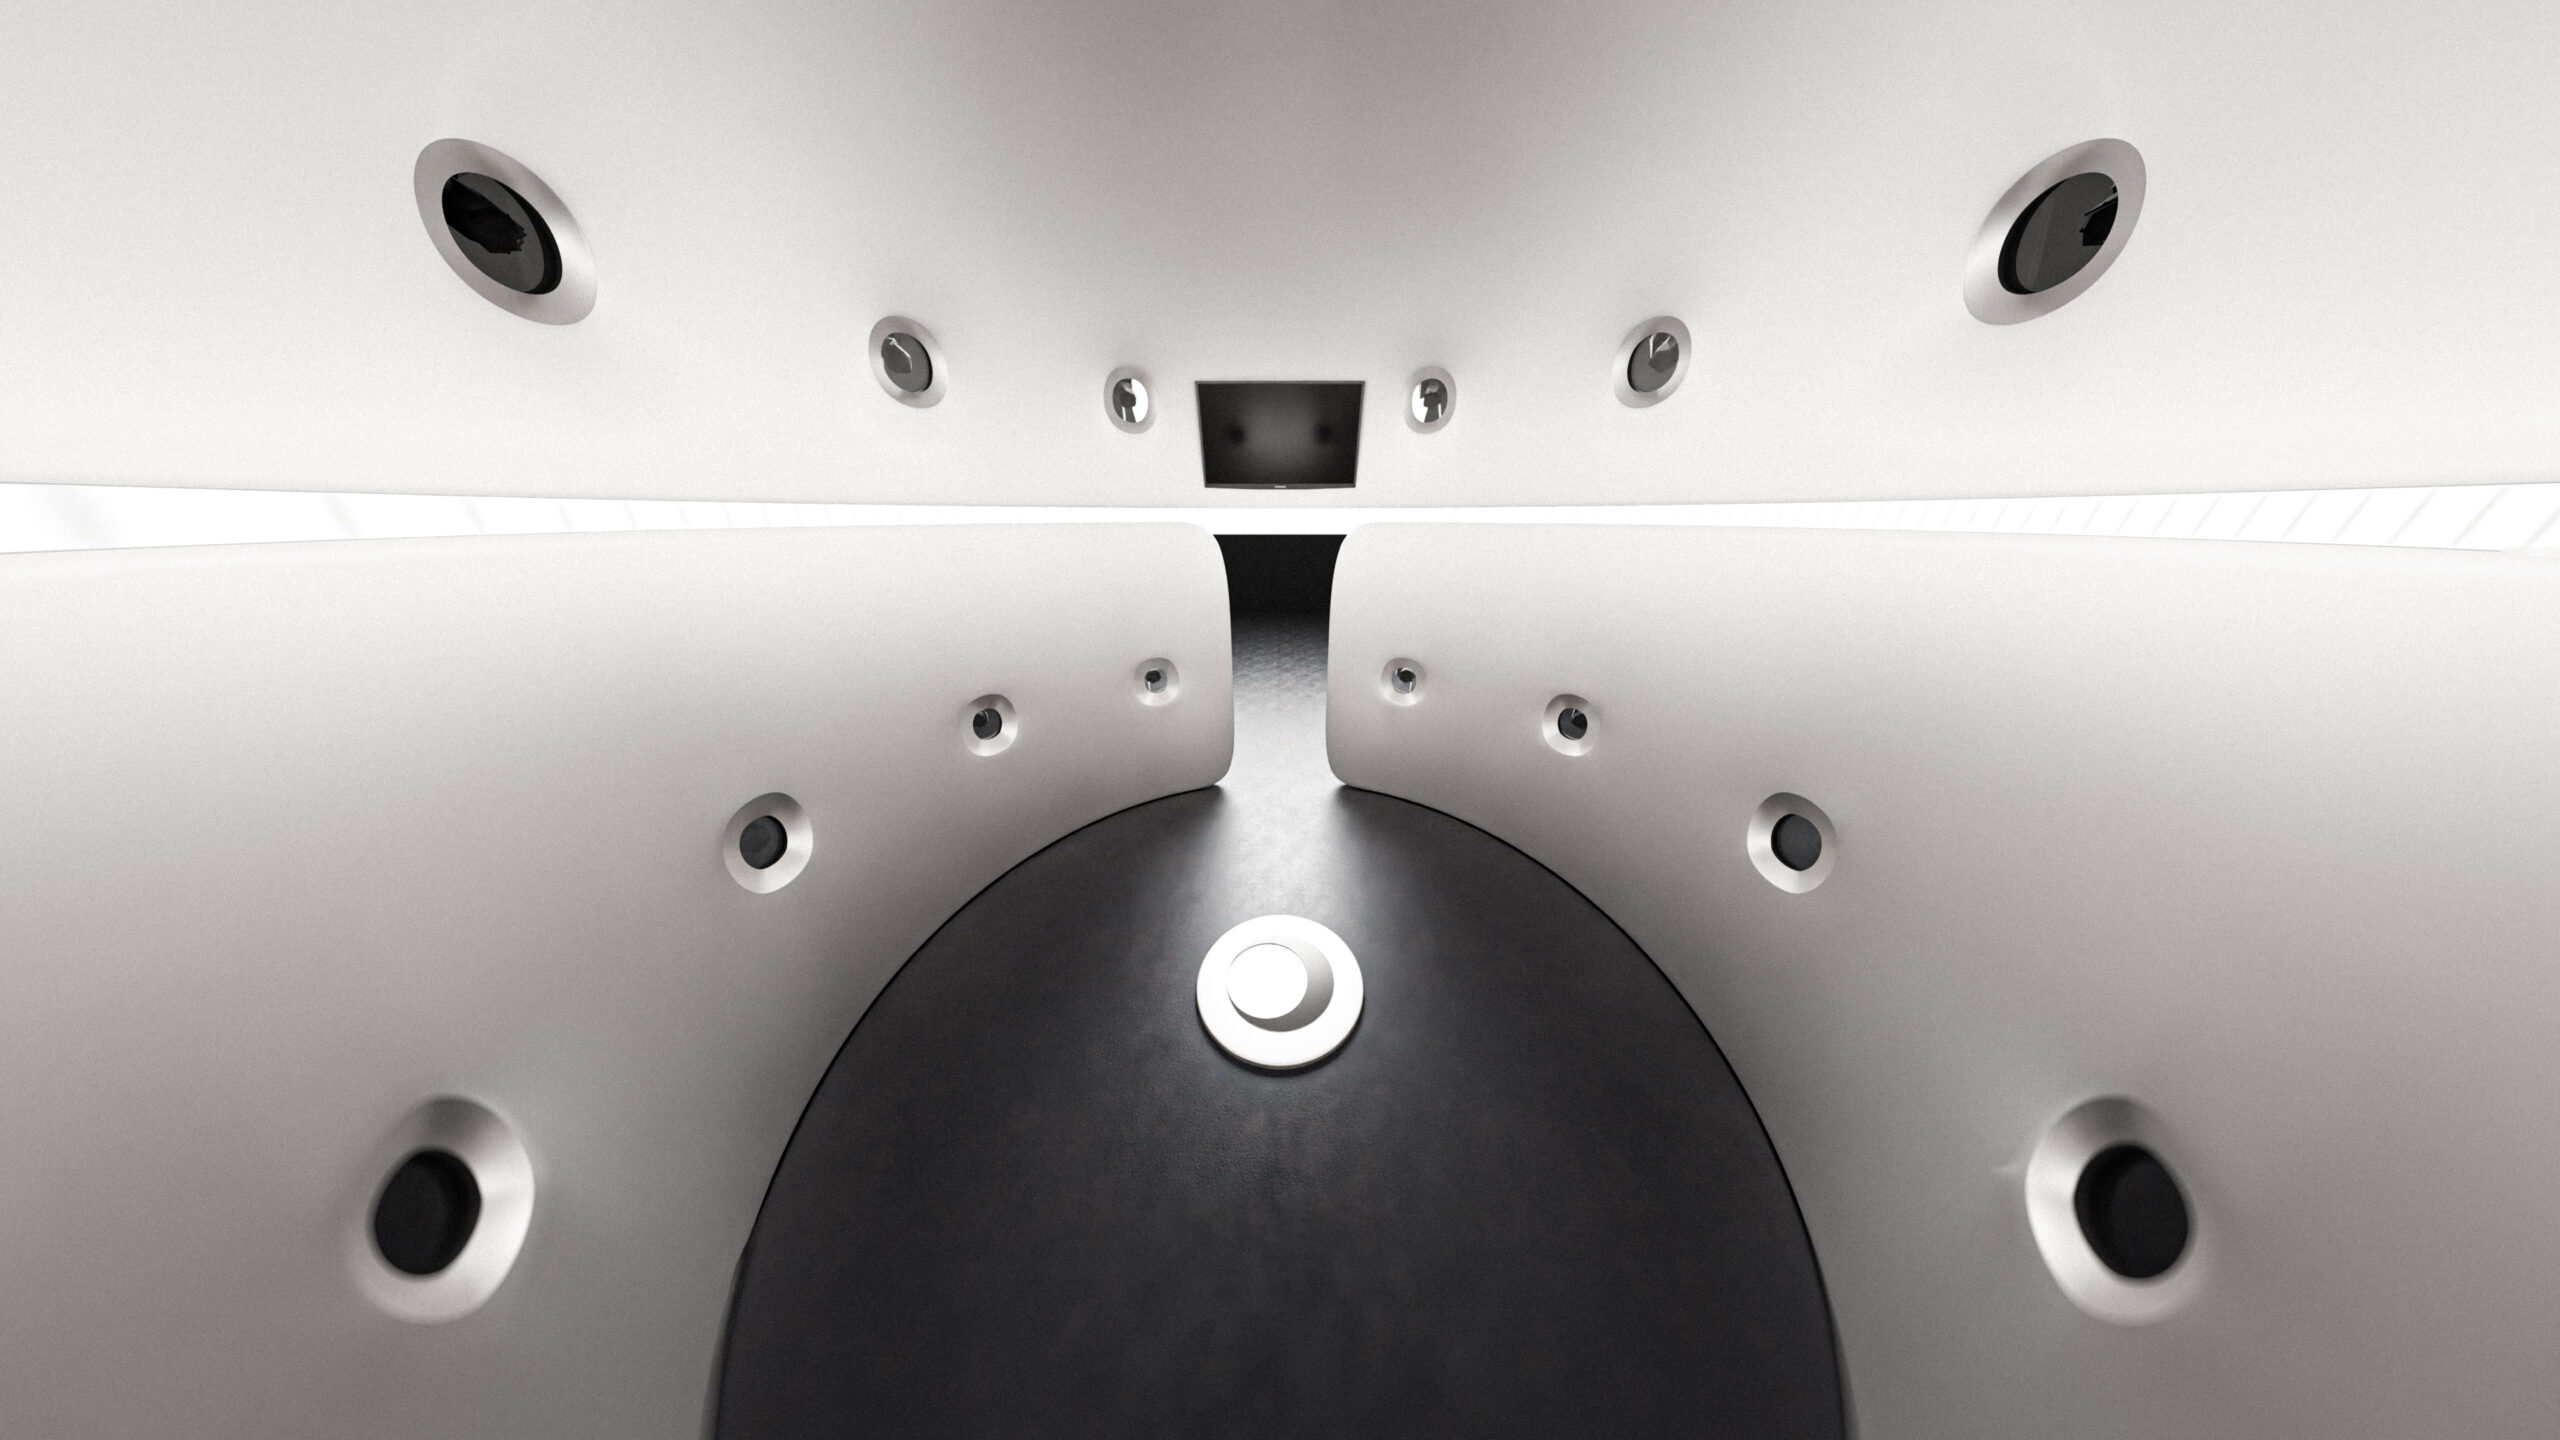
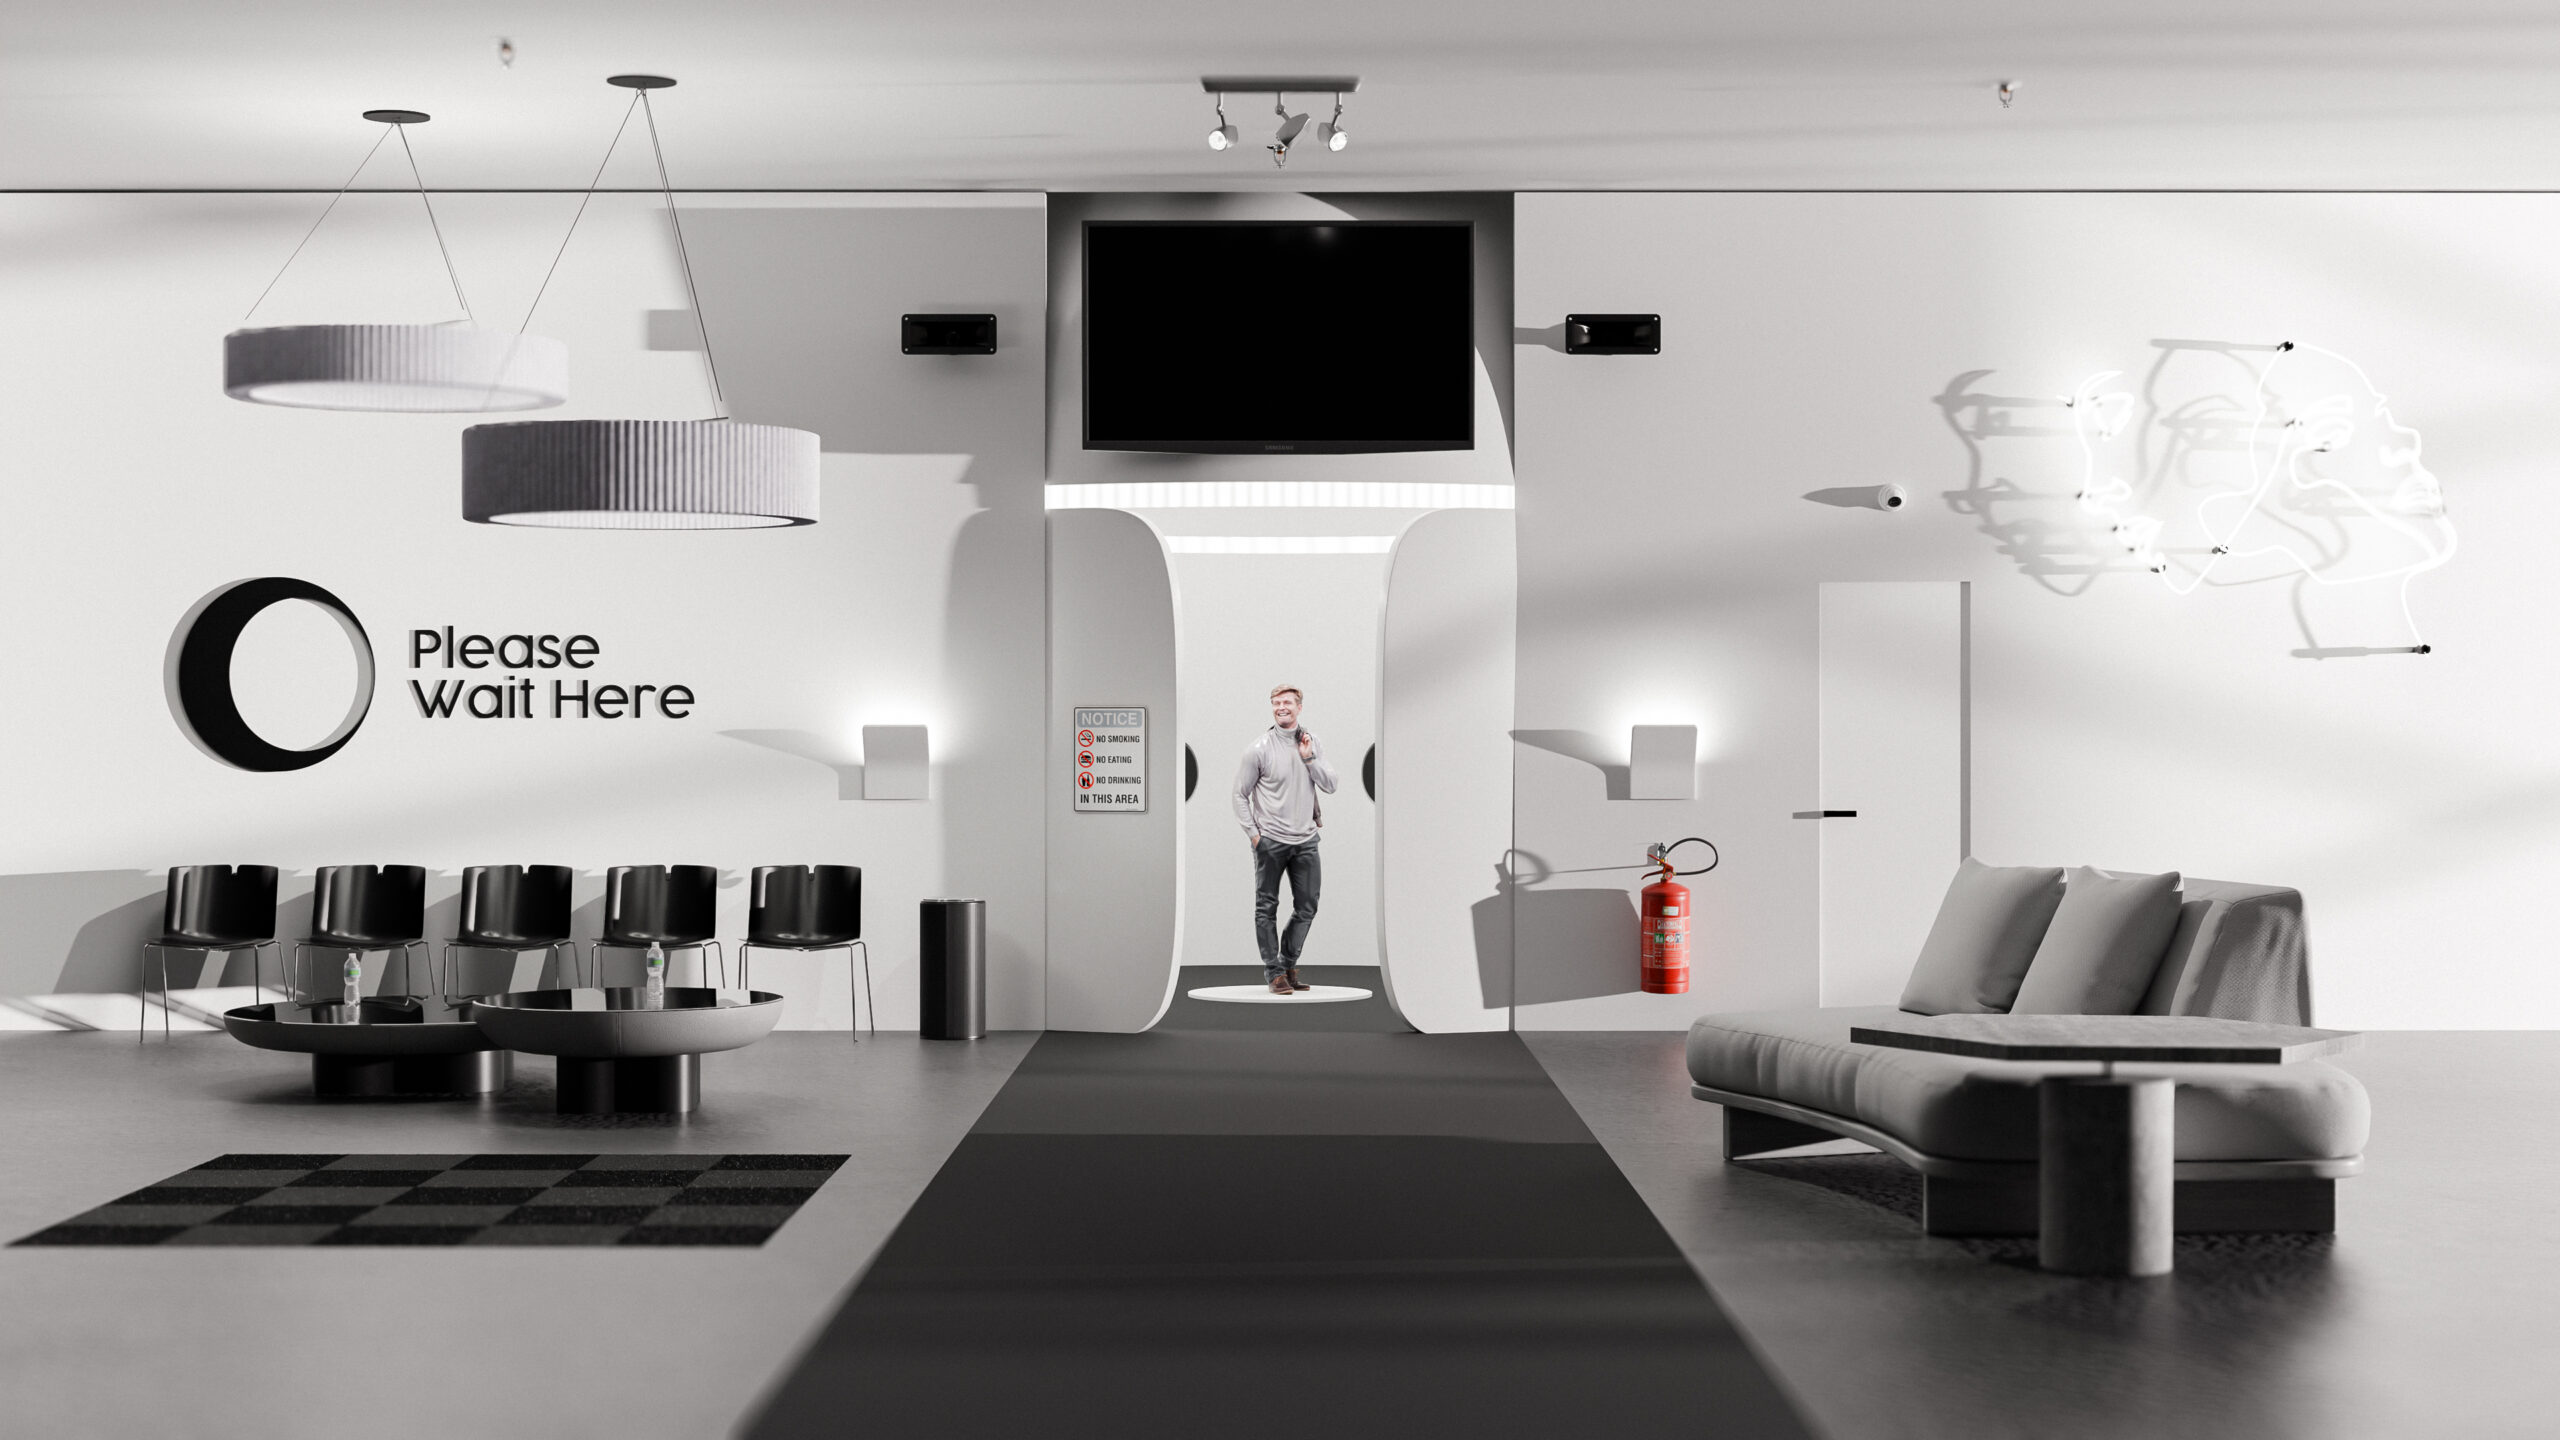
The chamber was already half complete from the previous render but a couple changes were made, glass was added to the windows, the windows themselves were now bevelled to add more detail, a TV / monitor was added to the inside and the light ring was adjusted to better suit the render. The previous render’s outside waiting area was removed to clear distractions. A plate / stage / platform / logo was added to the centre of the chamber to highlight where a person should stand for when the camera’s shutter were to release. The inside monitor would display graphics to help indicate to the user when the shutter was to be released and when to leave the chamber.
Outside the chamber is a simple metal frame / rig to hold the cameras, I did attempt to add wires, etc to help make the render feel more realistic but my computer proved to be unable to handle all the verticies required to show each individual wire going upto and from each individual camera.
Media
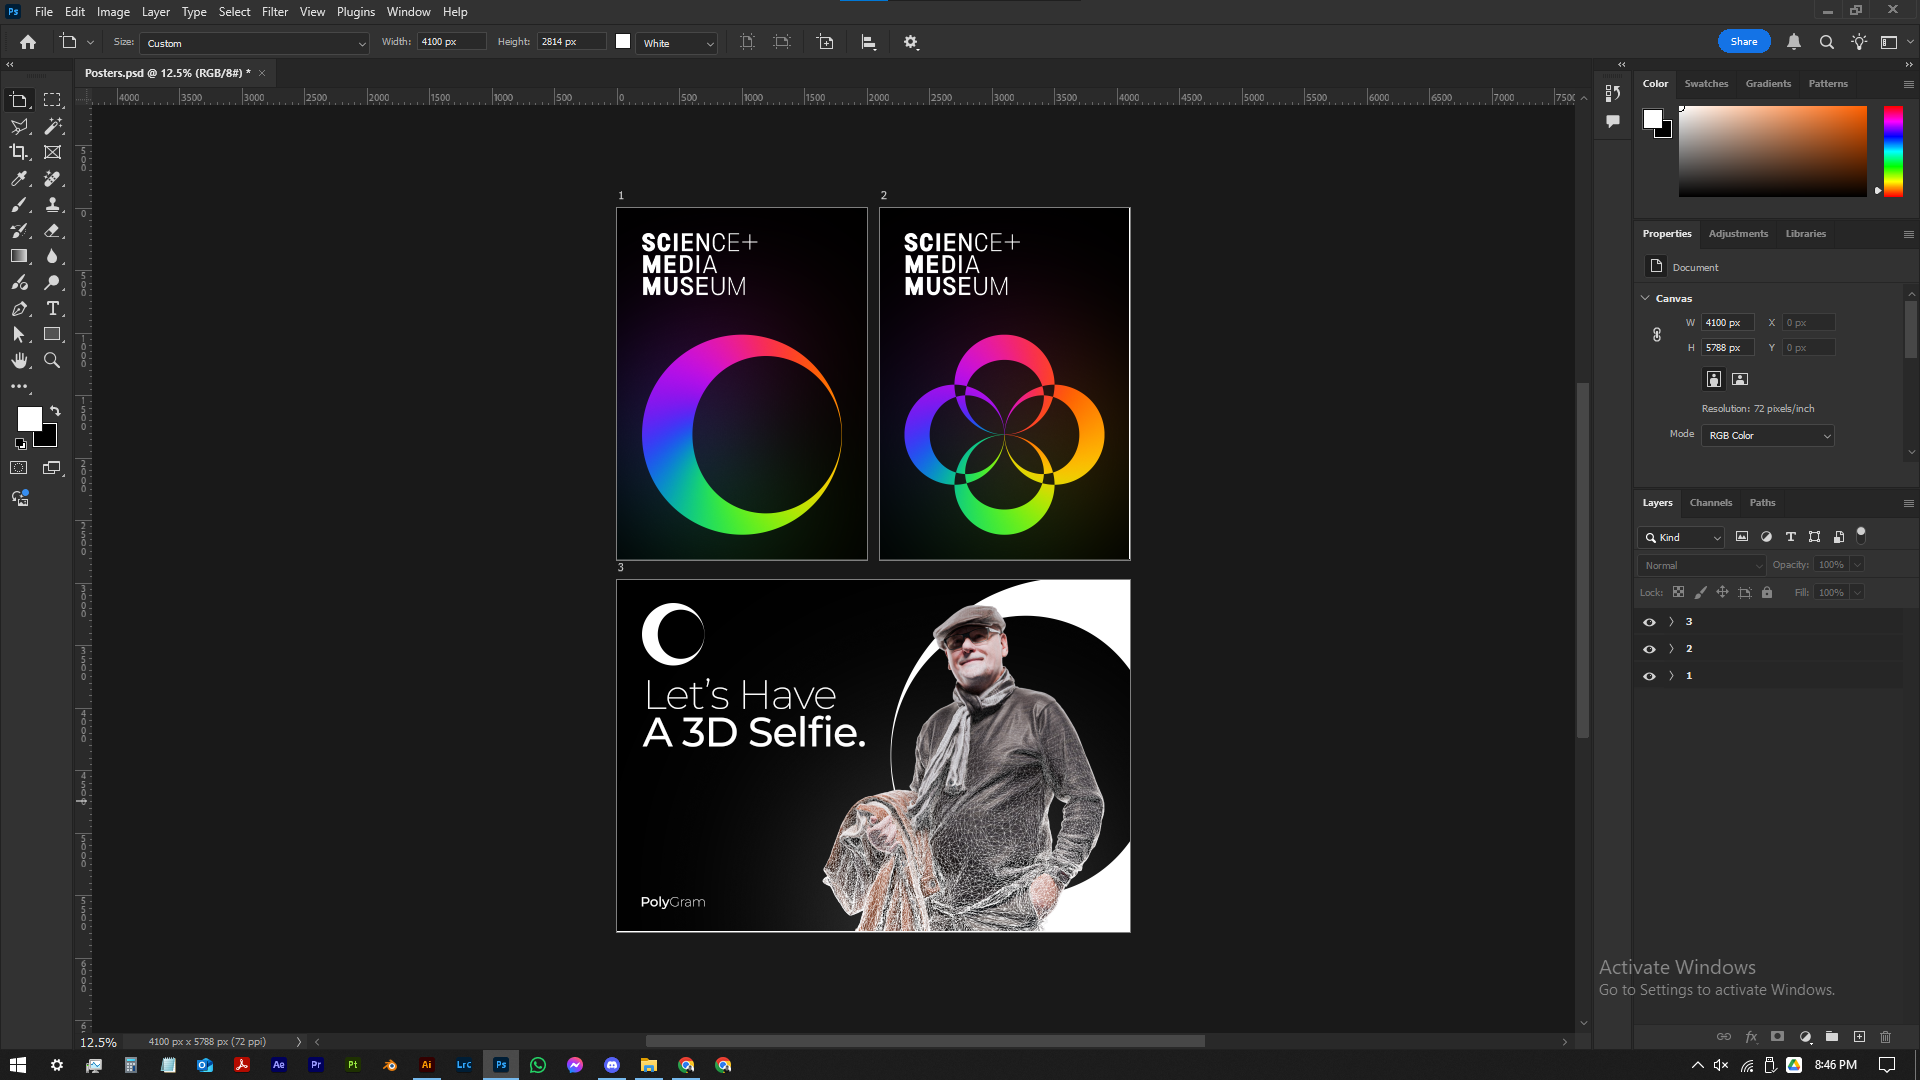


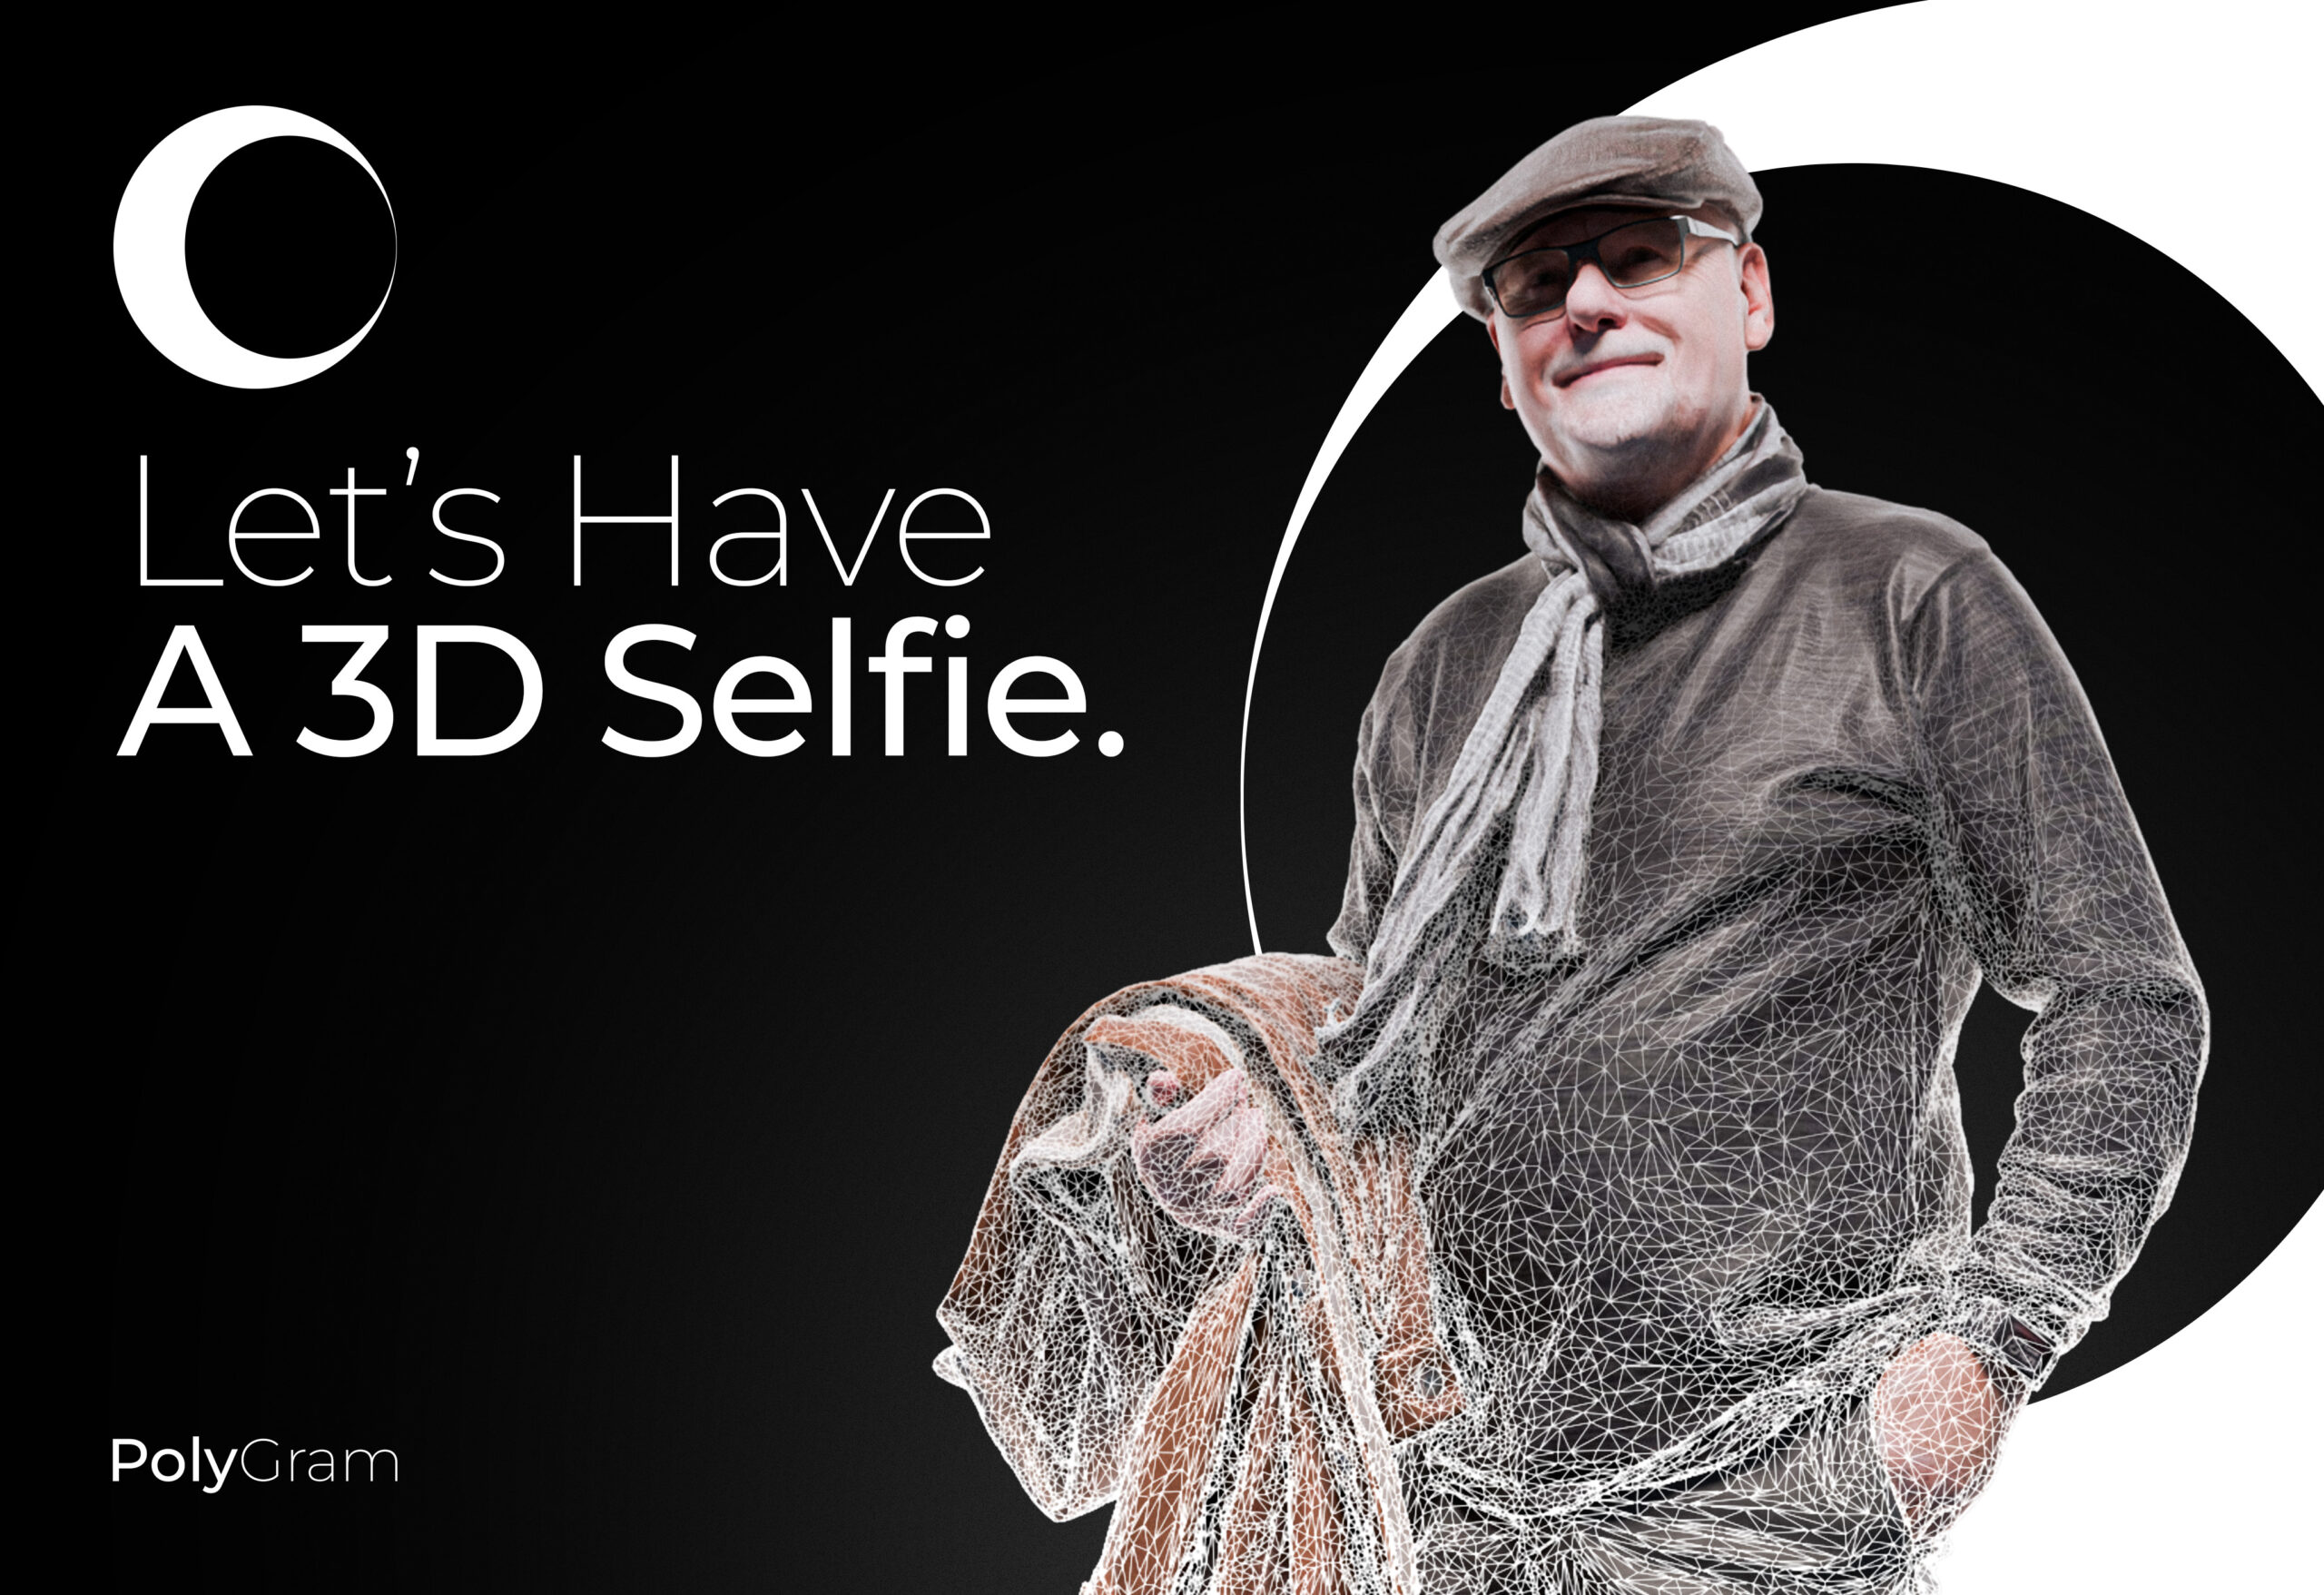
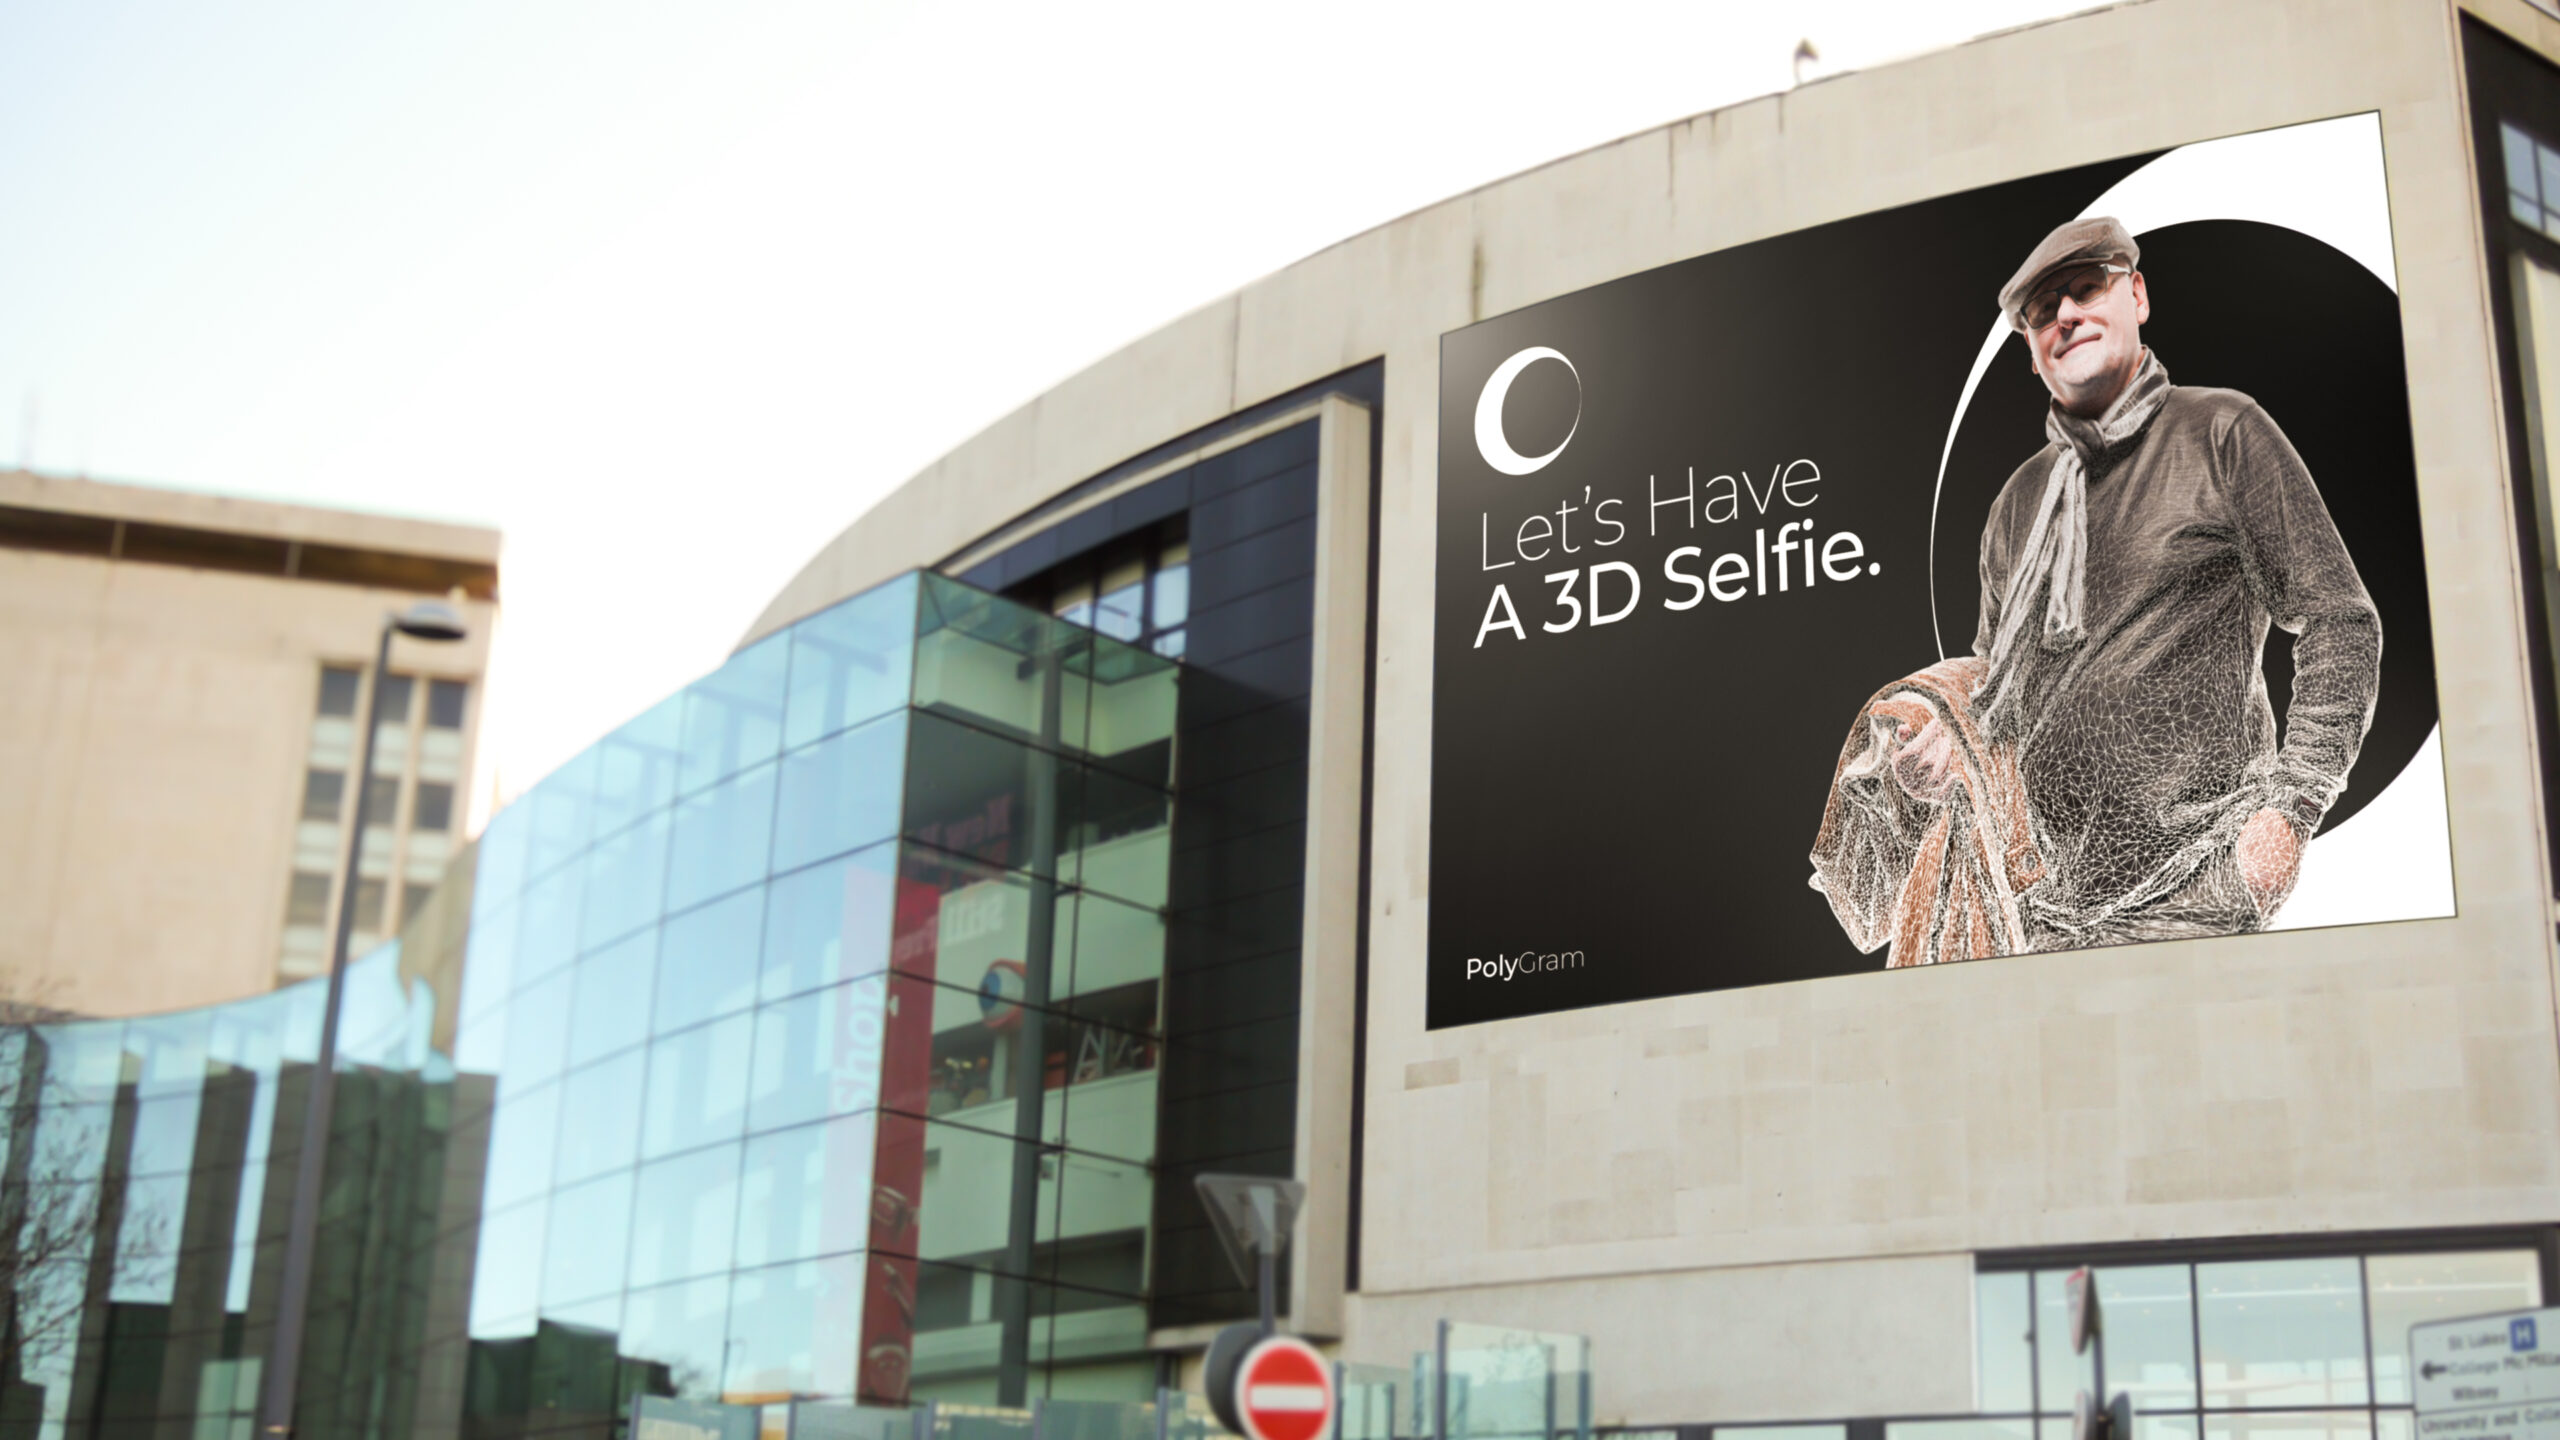
There are 2 abstract posters that were created more as decorations than communication. The third poster is a little more explicit with it’s communication showing us a person supposedly in 3D data (vertices) telling viewers that the person on the right is computer generated, not a real person taken from a single photograph. The text on the left invites viewers to “have a 3D selfie” foreshadowing the public availability of a full body photogrammetry scan inside the museum. The text on the bottom left shows the exhibit’s name “PolyGram” with the logo on the top margin of the poster.
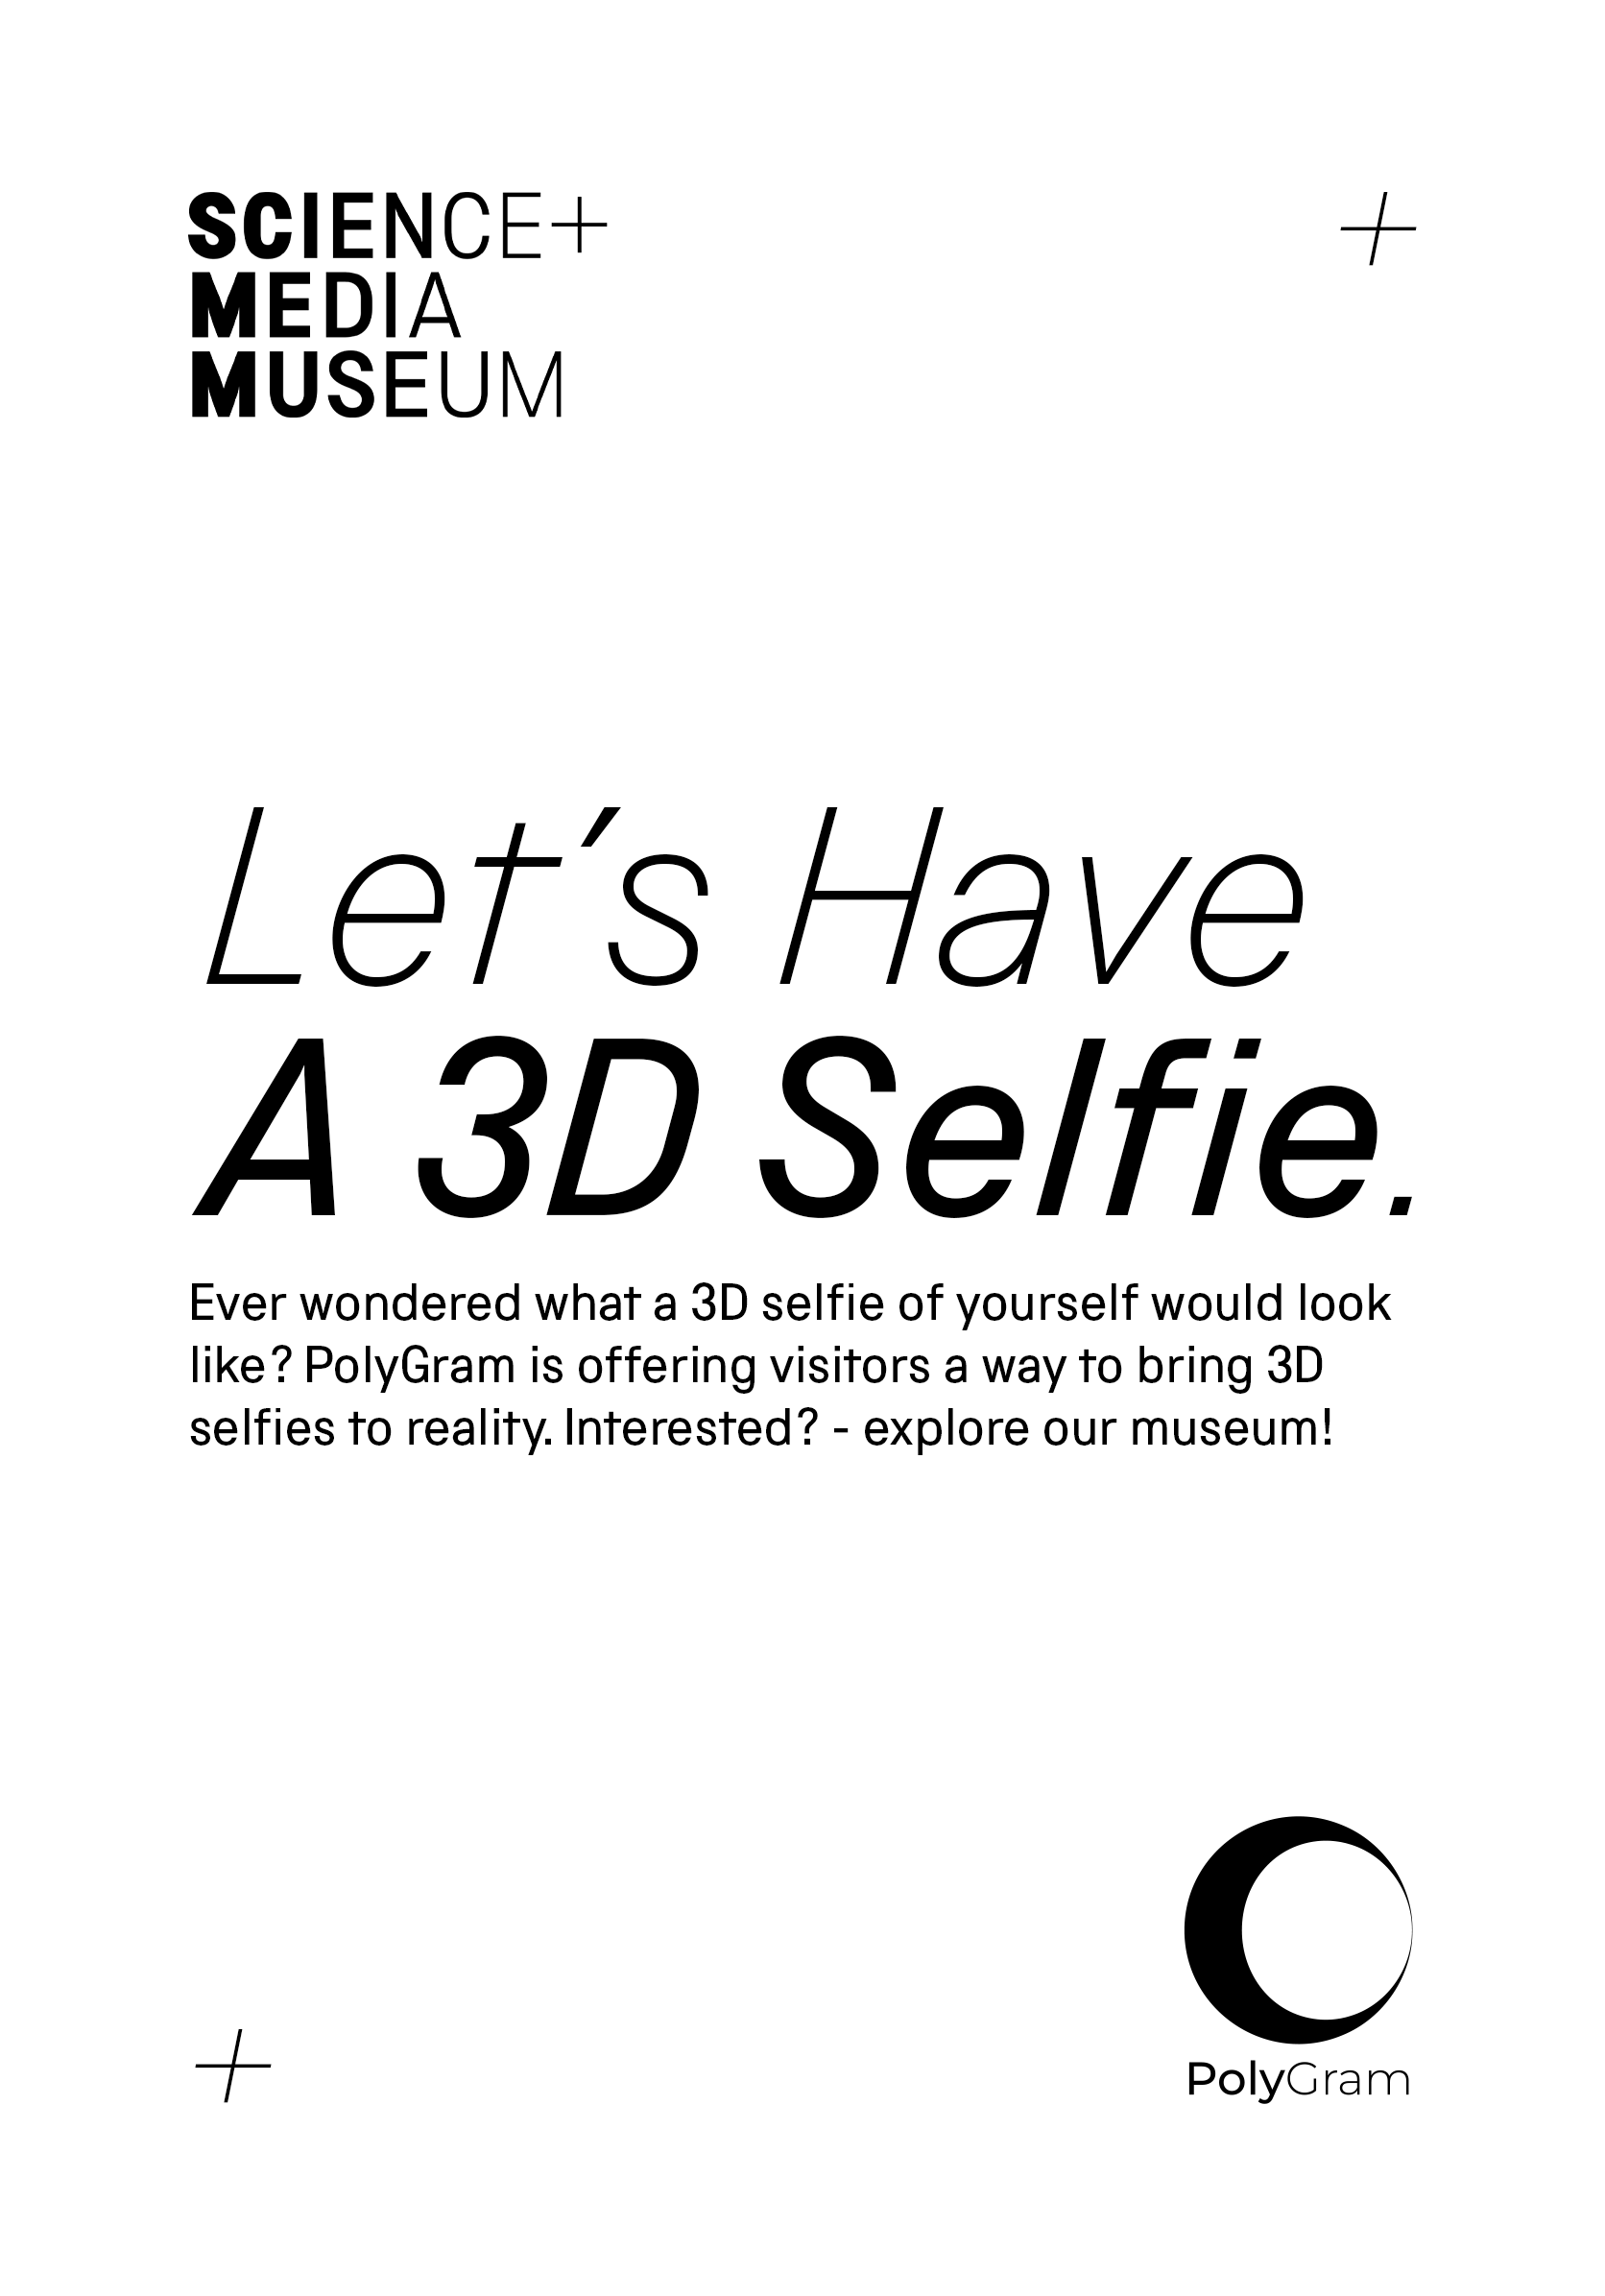
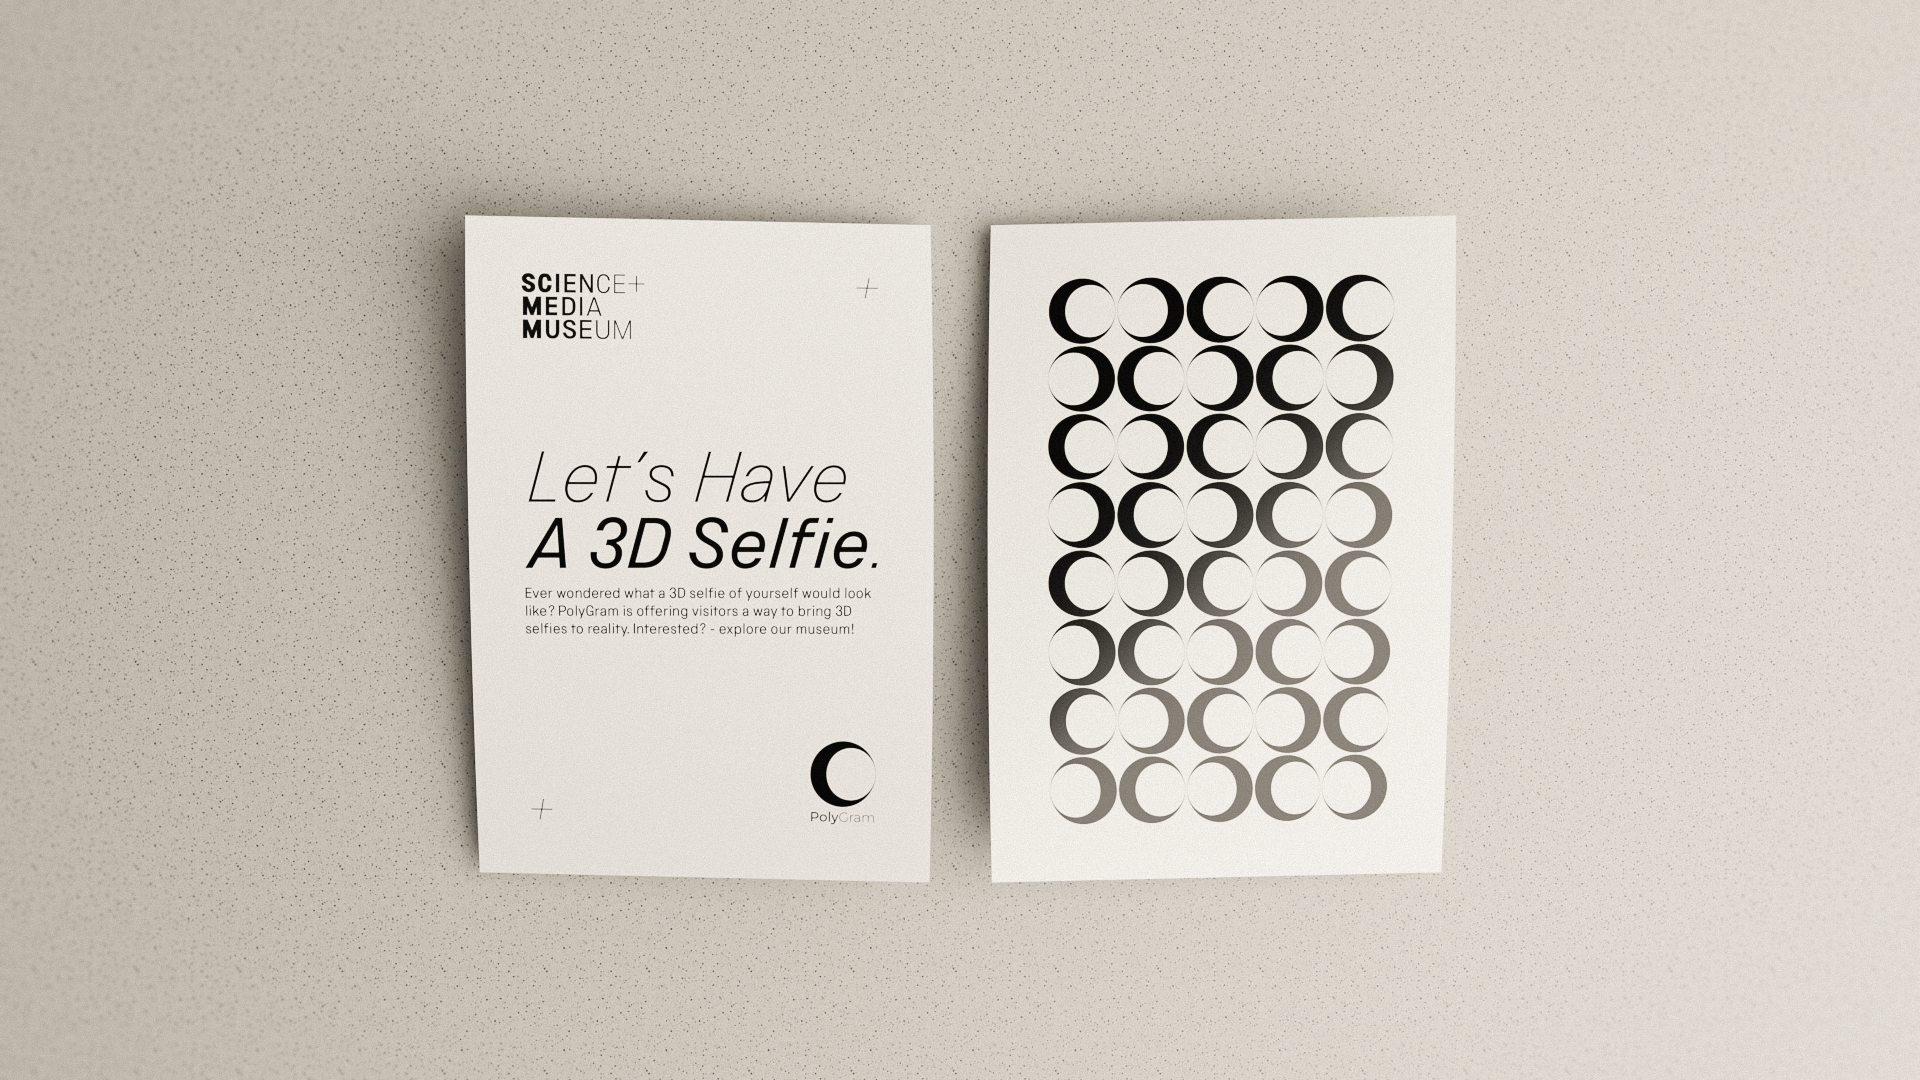
The flyer was created using similar ideas from the previous design. The front featuring a big inviting header “Let’s Have A 3D Selfie” with a brief paragraph underneath, giving the reader a few more details.
The back was filler, using the logo in a pattern.
Showcase
Evaluation
I will bring up a few worthy points from the PDF attached above. I will give a brief explanation to each point from my perspective.
‘ Arrived ready to present. with a professional tone.
Harley ran us through some updates to the photogrammetry 3d scanning concept ‘
The interviewers seemed to like my idea and expressed their appeal of my presentation. I am grateful for this praise and recognition. They also agree with the possible benefits for the Trend-Aware audience.
‘ Harley seemed a bit confused about the job title and hadn’t taken much time to consider the job description ‘
I do not believe I set myself up for the interview as I avoided the job description. For future reference, I will have to study the job description to ensure confidence in myself as a candidate. This is important because it tells the employer that you took time and care to revise their needs and requirements.
‘ Social media. Harley cited that in our visitor insight report younger people didn’t see traditional marketing before they came to the museum – it was really good to base the answer on evidence ‘
I tried to link some research to my answer on what could be the most influential platform in the next 5 years to exaggerate the current and future importance of social media, not just in general but for the museum’s marketing. Their report indicated that less than average of young people remember seeing marketing before their visit. Although this isn’t strictly about online marketing, we can assume that’s what most of that audience is surfaced on – therefor their marketing could improve in that area.
Summary
Throughout this project I have successfully analyised a marketing report, determined a plan based on my findings, presented and proposed this idea to the representatives from The National Science & Media Museum, created conceptual imagery to showcase my idea and I have taken part in a mock job interview for a place in the museum’s marketing sector.
I am well aware that graphic design is essentially marketing through visual communication and mediums, so I also understood the purpose of the project and each of it’s elements. We were tasked to create concepts and marketing materials for an exhibition idea suited to engage the Trend-Aware audience. Serving as an exercise for what our Creative Media Production course is about – Media. We were also introduced to some of the more technical operations behind marketing and we learnt the values of this as we began to research.
With this, the project definitely touched upon a very broad range of subjects and ideas whilst staying within our realm of capability. I feel like I have a better understanding of marketing as a whole and the data behind it. It was interesting to see how the museum catagorised each audience into groups to make those groups more approachable.
I hope to visit the museum to see their approach, considering the awareness of their marketing.
Thank You For Viewing.