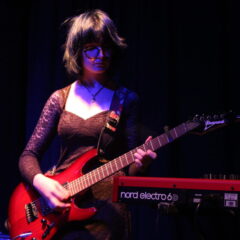
Practice
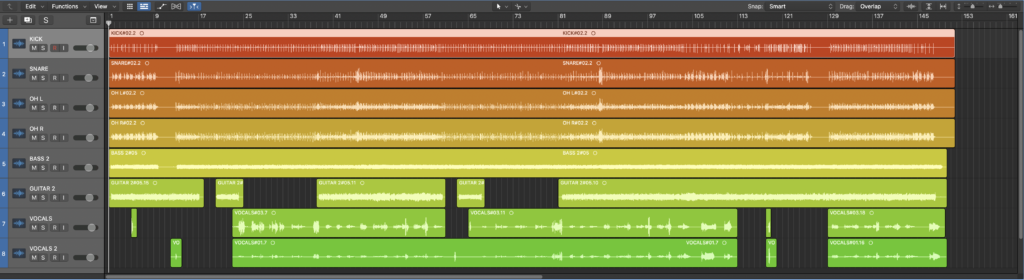


First, we listened through the song and used the snipping tool to cut out any parts that instrument weren’t playing as you could hear the other instruments playing in the background (mostly in the vocals). After that, we coloured the tracks differently by pressing alt C on the keyboard, this way it’s clear which track is what. After that we made all of the drums into a drum bus so that it is easier to control just the drums without having the control each one separately. After we added a noise gate to the kick and snare so it sounded cleaner and there was less background noise. Then we mixed it by changing the dynamics and panning the instruments different ways to make it sound better. Once we did that, we changed the frequencies of the different instruments by using the equaliser which meant we could make it sound how we want it to and to give it more depth. Finally we compressed the instruments so that there isn’t big jumps in the dynamics.
Final song mixing process
After we recorded the different parts into logic, I started working on mixing the song. I started by cleaning up any mistakes, the biggest one being the end and so i faded the end out so you couldn’t hear the mistake.
After that, as i had planned earlier, i started working on a string arrangement using the software instruments and by also deleting the vocals that had been recorded in before hand.
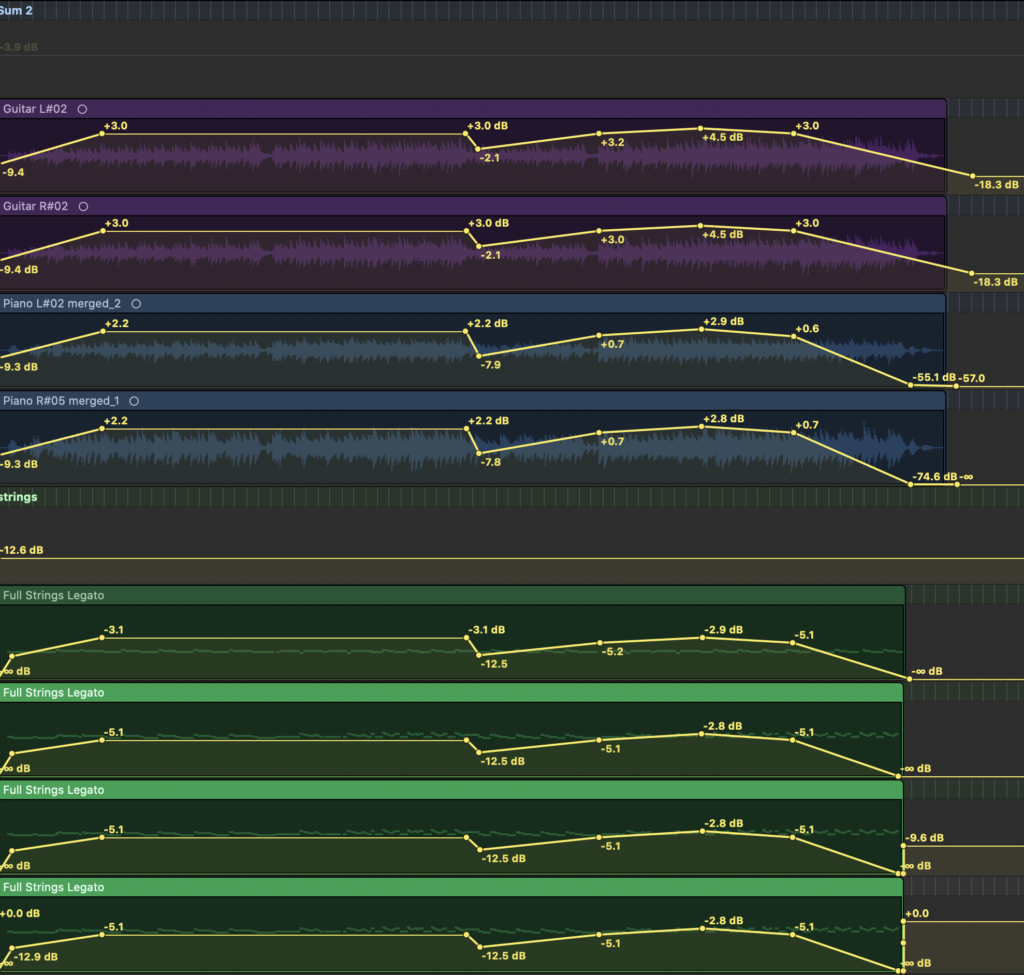
Here are the string arrangements:
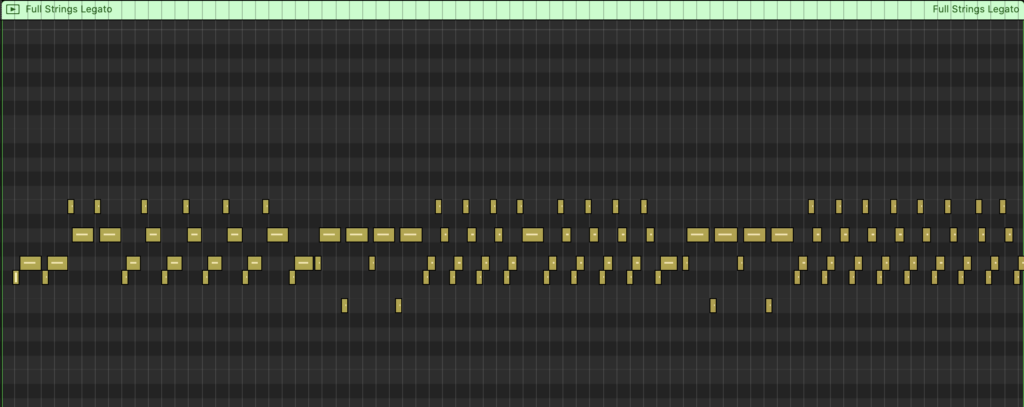
By adding the string arrangement it meant i could form a melody and baseline over the top of the piano and guitar to make it sound nicer and more full, I did this because i personally like to listen to music with strings in.
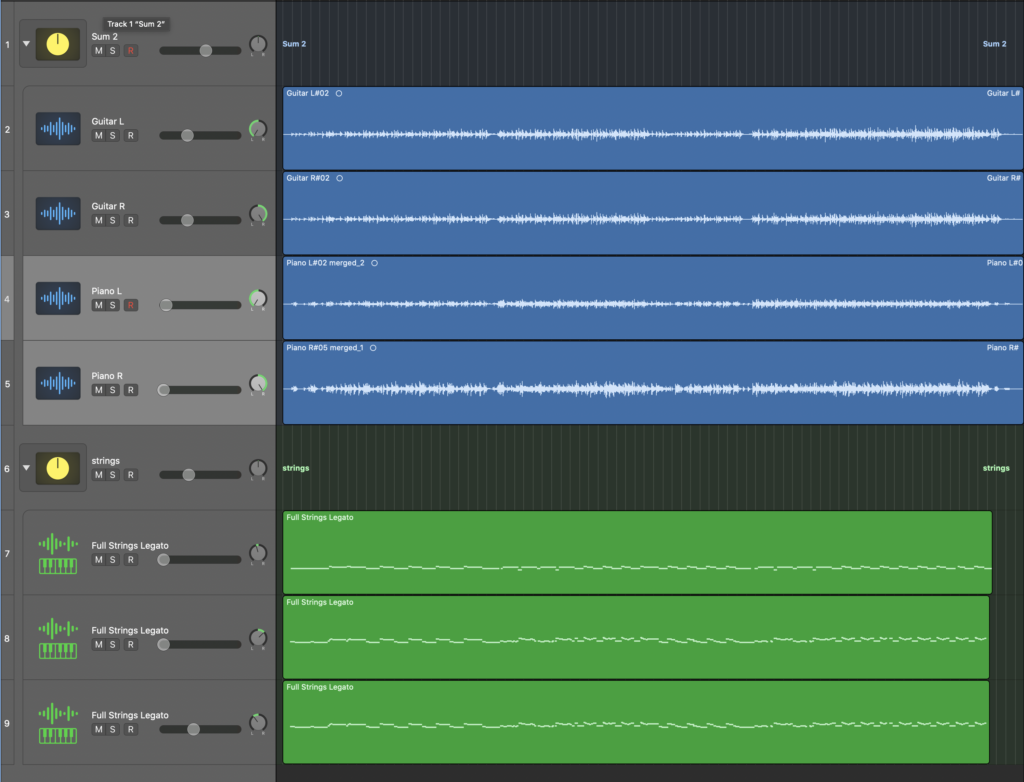
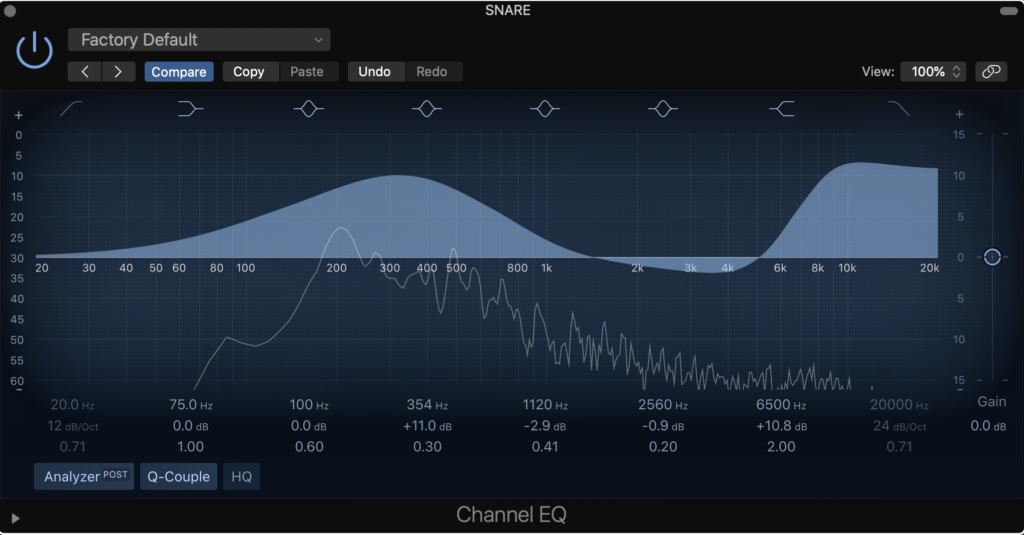
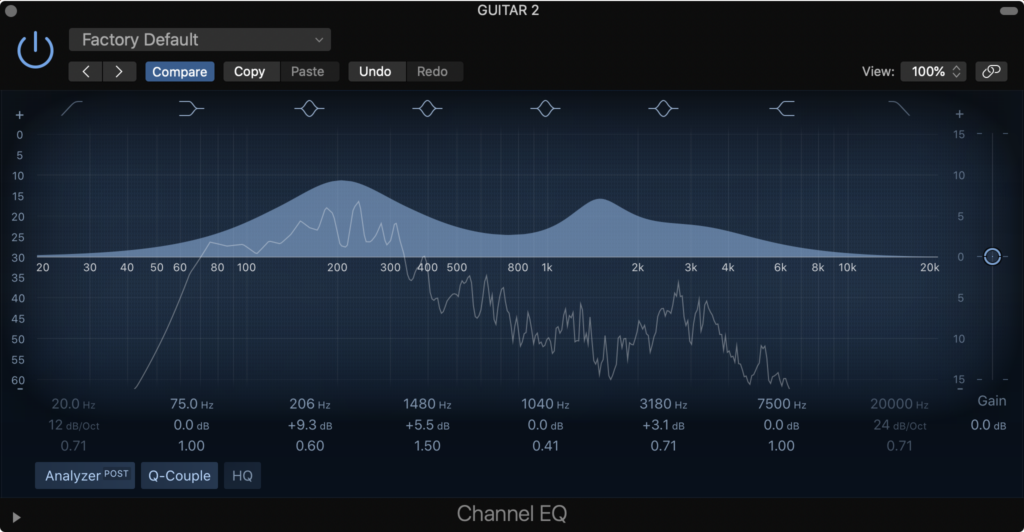
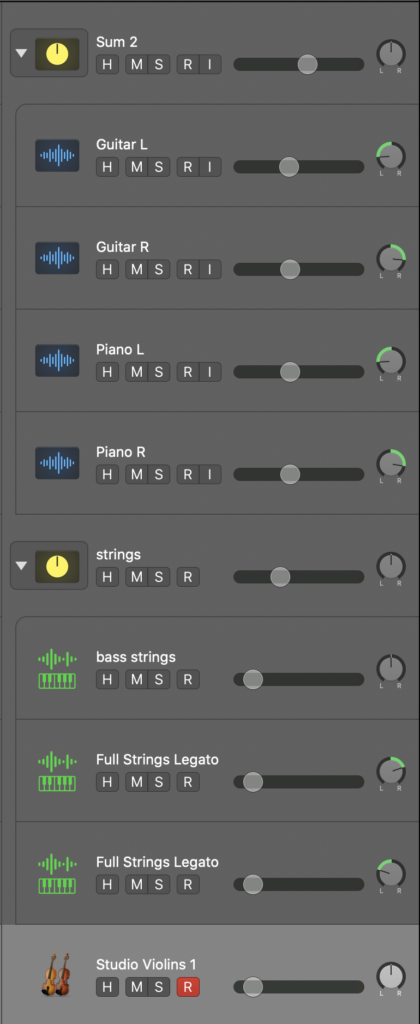
Here i stacked the piano and guitar tracks and then stacked the strings tracks so that i could control the volume for each one more easily. I then added Equaliser to each of the instruments.
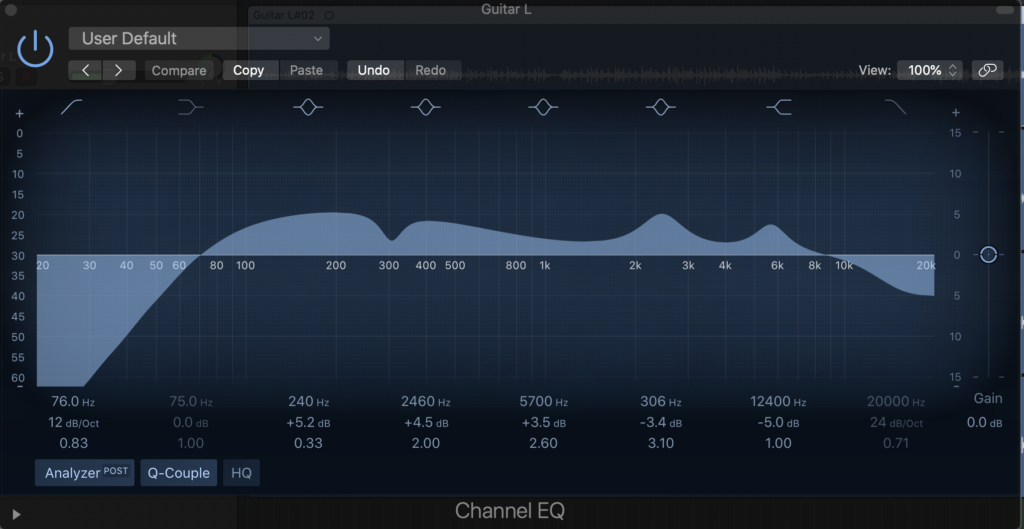
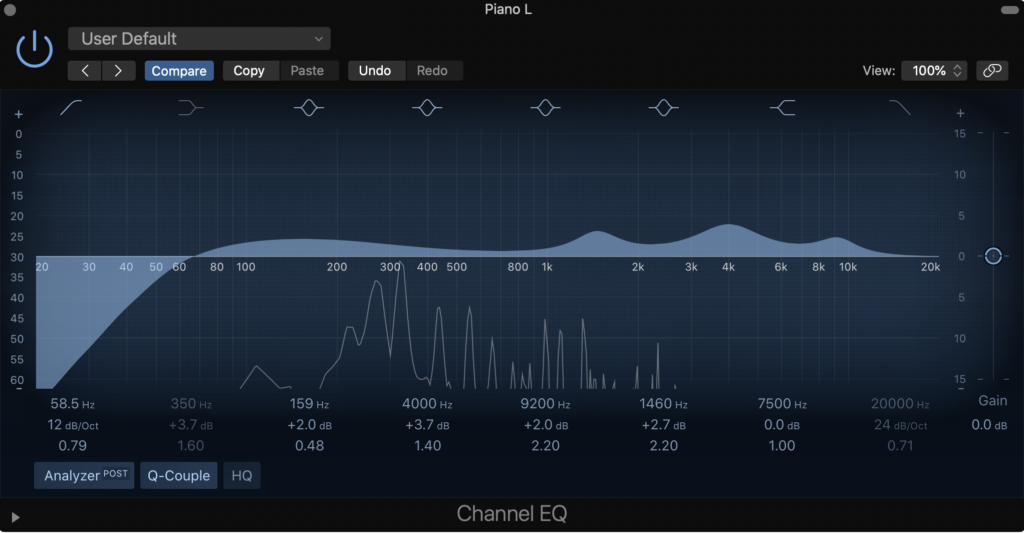
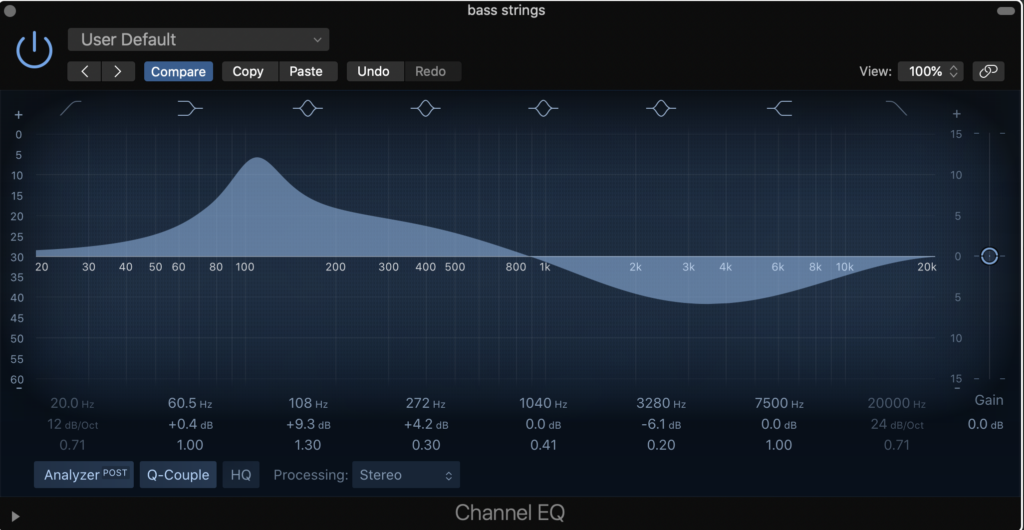
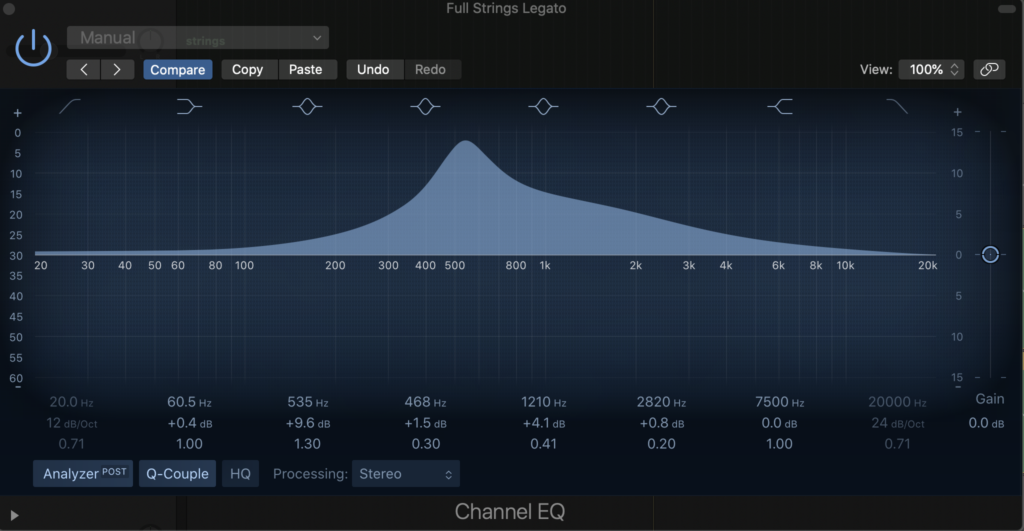
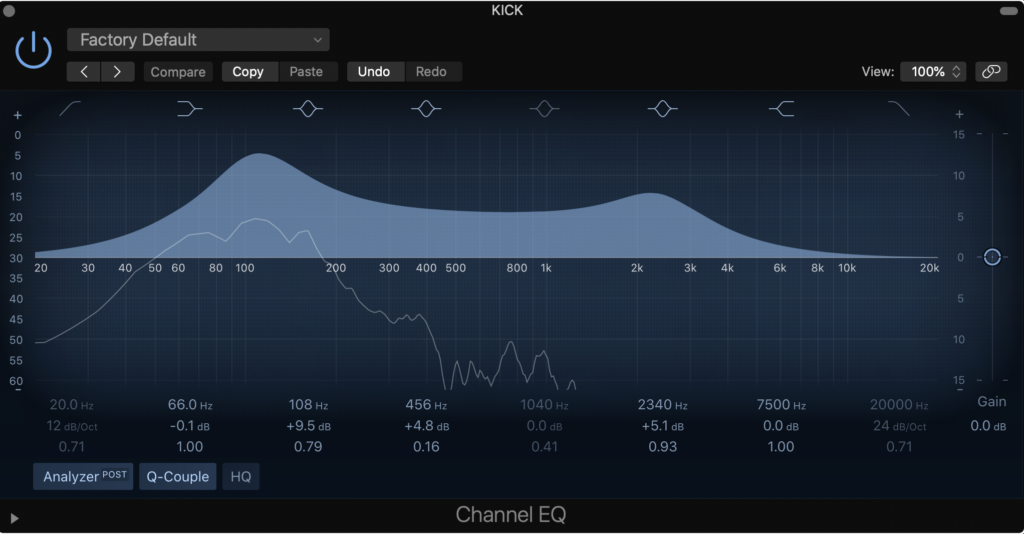
Using the equalisers means the sounds of the instruments feel more full and can make the sound your own. I looked and experimented with the frequencies to find the right sound for the instruments.
After i added reverb onto the guitar and piano.
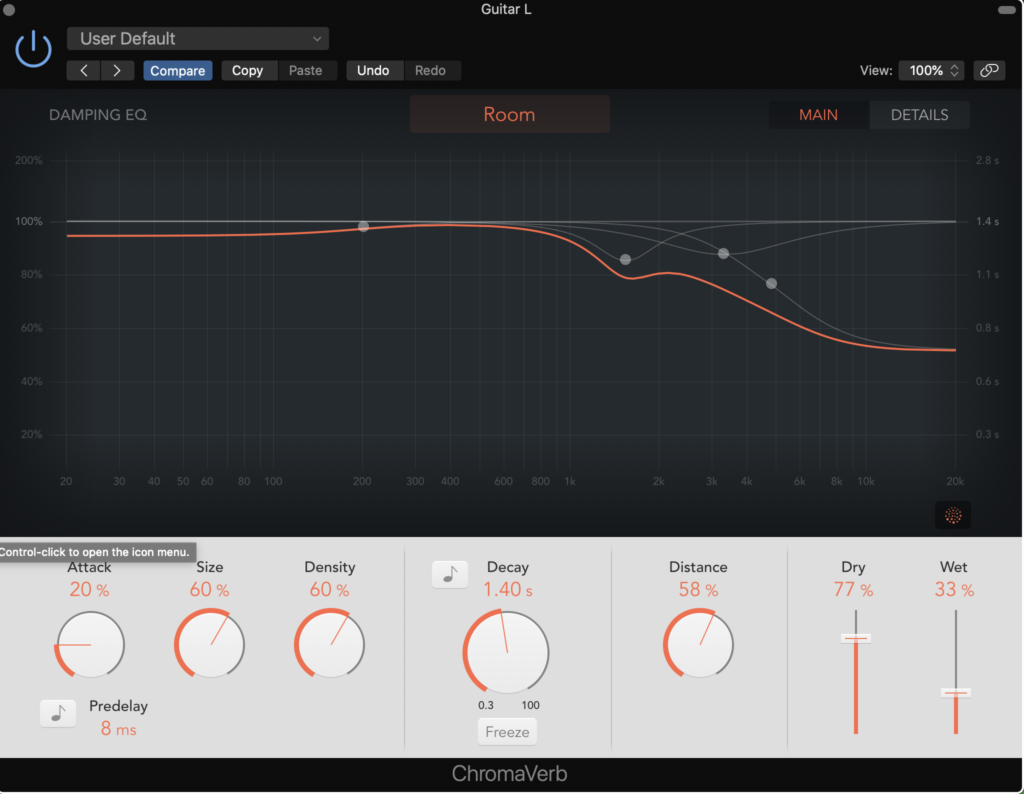
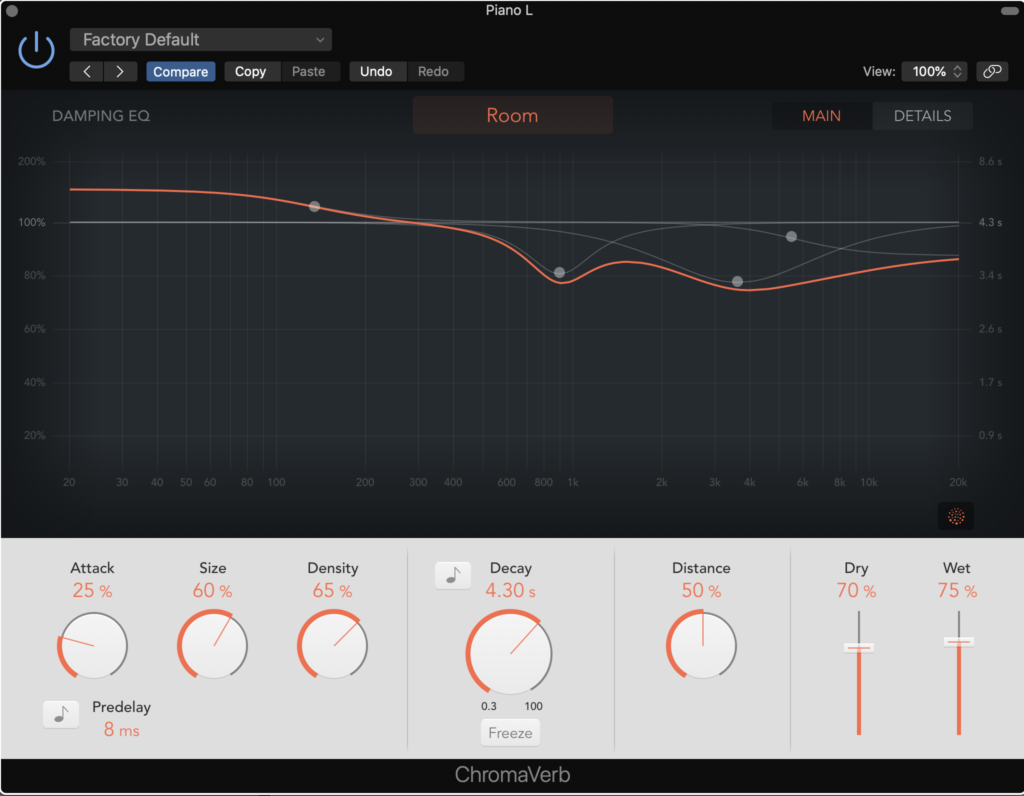
I added the reverb so that the sounds of the piano and guitar sounded bigger and more full as before they were quiet and dull.
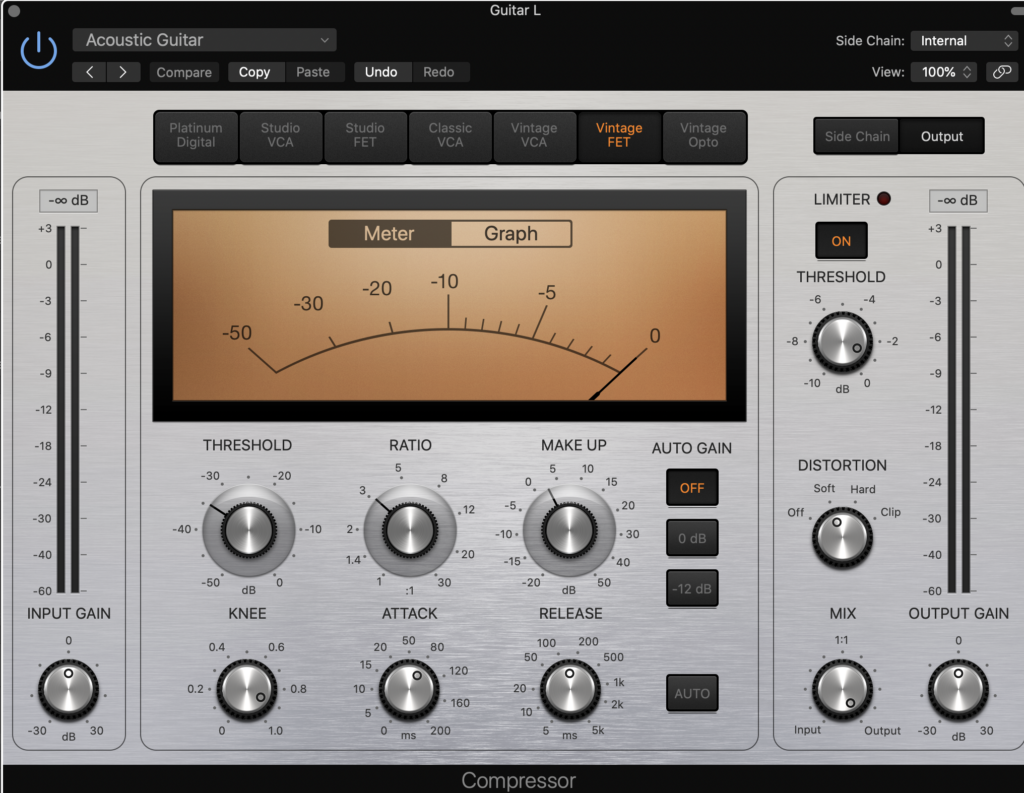
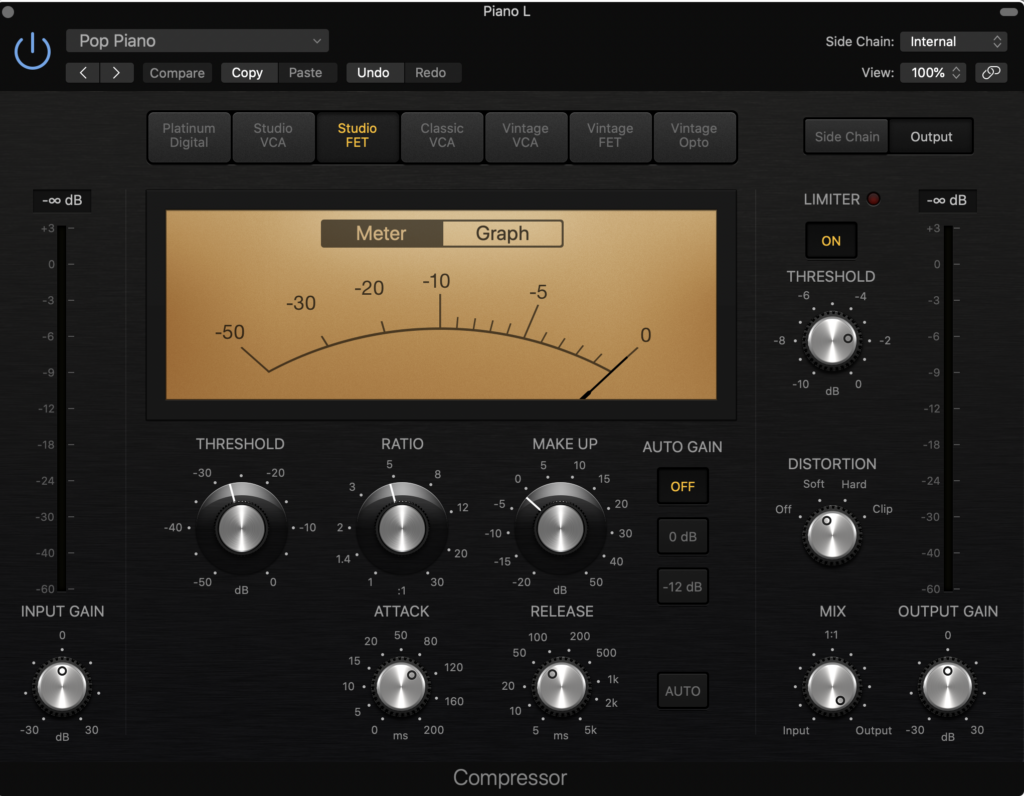
I then added a compressor to also brighten the sound of the guitar and piano.
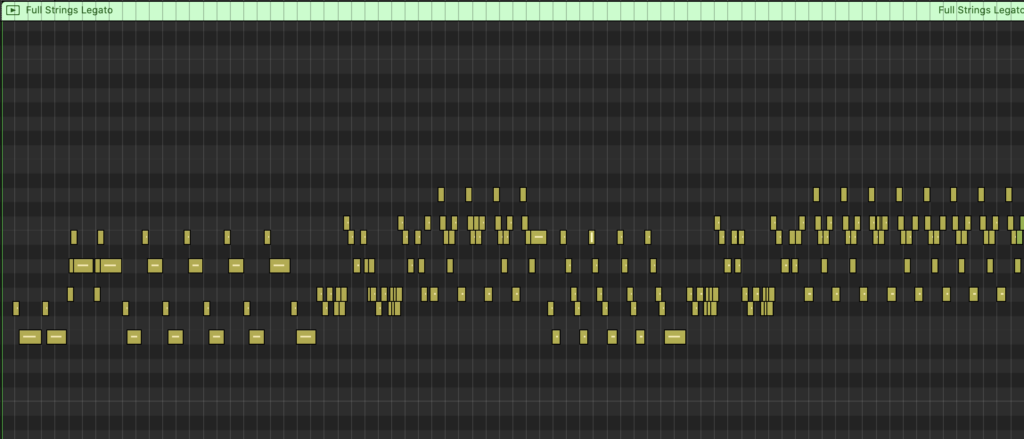
After this i added a string string staccato so that the shorter notes of the string melody are more pronounced, these also focus the melody to the middle making it louder and better.

I then went back after a week and changed a few parts. For example:
Here i changed the panning to be less spread out as if this were to have been played through a phone speaker it would have sounded bad, changing that means it will sound good through any types of speakers.
I also finalised the dynamics.
I used crescendo and diminuendo a lot throughout as i like how it builds up to the chorus, i also did a quick fade in and a long fade out, having the guitar be the only instrument to hear right at the end which i think sound really nice.
I also changed the EQ of the piano as it still sounded very dull and quiet.
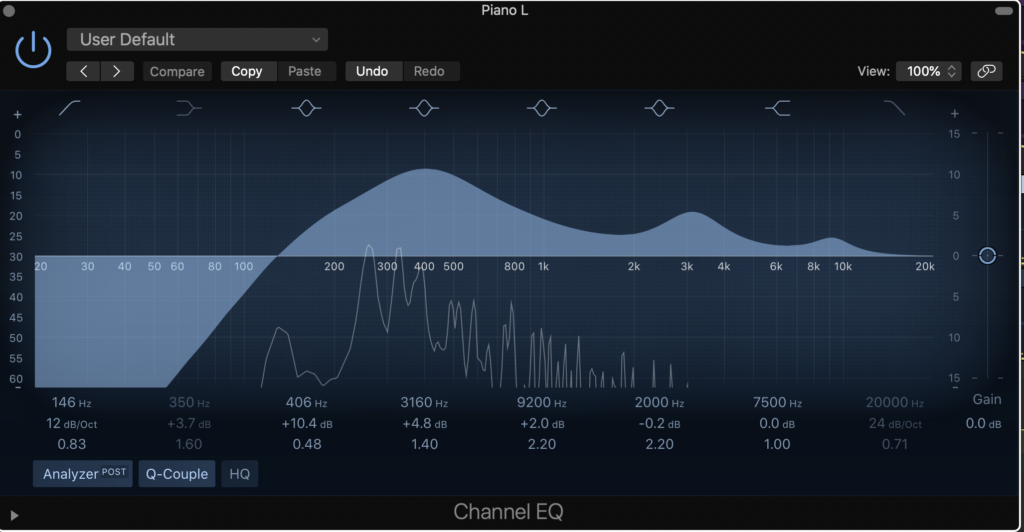
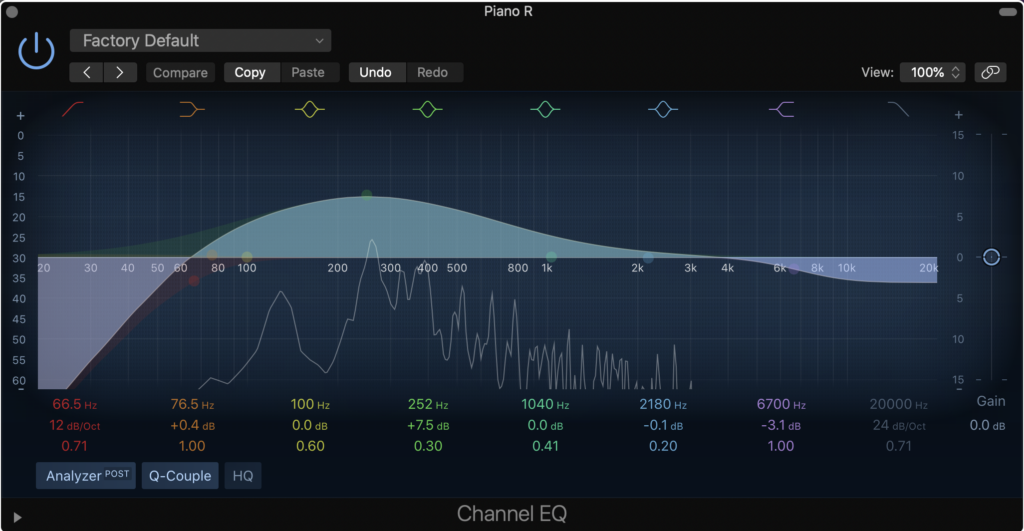
Doing this made it sound more pronounced and also a lot less dull and now the piano can actually be heard in the song.
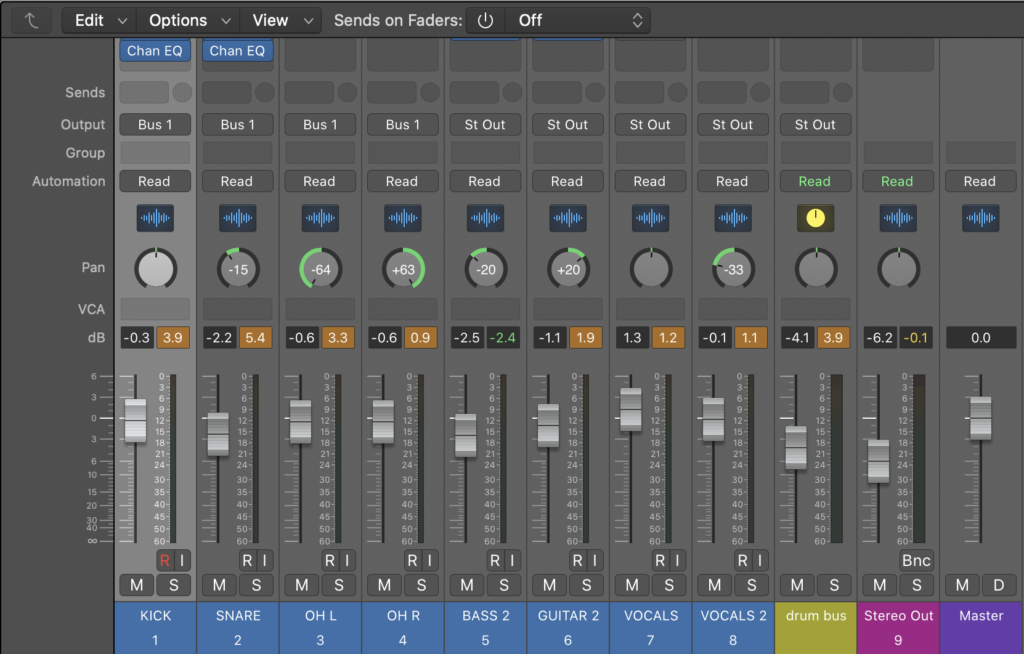
Finally this is the mixing desk.
