Entry 1: I started with getting together ideas of what I want the storyline of the film to be like. I went through different stages of alien invasions and nukes from russia but I felt like I wanted something to affect the way people act. I finally decided on using a new “type of radio waves” that bring you new shows have gone horribly wrong and started sending people into a feral state. After this was established, I could begin drafting out how I wanted the film to look.
Entry 2: I know I wanted the film to be based on early 2000s BBC, so I started researching the shows that were on at that time and the style and brand of the organisation at that time. I watched a lot of content about Martin Lambie-Nairn, the man who was behind the BBC rebrand of 1997. Through watching content about him and how all the different branches and brands of the BBC now followed a very simple and similar style I was ready to start creating my graphics.
Entry 3: I began creating my graphics on Adobe Express, which I find the most efficient and effective ways to create graphics. I started finding different assets, like photos of Bradford, that I could use within my graphics to give them some depth. I then created my script of what I wanted the emergency alerts to say, within Adobe Express as it was easier than creating a script in a different app and then importing the text. Unfortunately, there was an issue with saving, which meant I lost all the script I had written and my progress was all lost. This helped me realise the importance of saving my work and also saving the script or text to another source instead of having it all in one place. In the long run, I believe this set back was a blessing as the script that was produced the second time round was more impressive and seemed a lot more “government issued” than the one that was lost.
Entry 4: After I finished all of my emergency alert assets, I began editing the more video focused sections like the BBC XTRA announcement and the indents. For the BBC Bradford indent, I added arial footage of Bradford city centre slowly panning around the landscape, which added an effect which I feel was very similar to its inspiration being the BBC One Balloon indents. Then for the BBC XTRA introduction section, I didn’t have any voiceovers yet as I planned them for after and when I realised my mistake the schedule was already in motion. To get around this, I recorded the lines I needed quickly from my bedroom, as placeholders. This helped me see when editing where the cues to edit were with the script. I added in clips of different characters from various BBC TV shows saying “XTRA” among other things which turned out to be quite a difficult task. I would first search popular shows at the time and would then start searching up the transcripts of them shows. I would then within the transcript use the Command + F feature to find certain words within in the script. Then once I knew the episode with the word I wanted, I would find the episode on BBC iPlayer and screen record the part I needed. It was quite a difficult task to get all the clips I needed as finding specific phrases in shows I don’t really know other than the odd episode was a completely new concept to me. However, when paired with the final project I was extremely proud of how that scene turned out as I thought it was immensely accurate to the BBC branding of that time and I feel it could pass as an official piece of the BBC.
Entry 5: I then began the recording section of production. This involved recording of lines for indents, the XTRA introduction, the song and the Pop Pulse section. The song and the XTRA introduction were recorded at the same time as I had Jacob with me and it was more efficient use of our time. We first got the song out the way which we recorded on Logic Pro. We used the technique of layering our vocals to make our vocals sound much richer and give it a sort of choir effect. My biggest issue with the song is that it doesn’t really seem like a song of that era, which is something I tried very hard to follow. After researching music of that time I think it’s not so far off to the point where it’s noticeable, however to the standard I hold my work I believe it could’ve been far more accurate. Recording the lines for the XTRA introduction went incredibly well. I was expecting issues with Jacob recording as it was his first time, we still had a slight “teething” stage where he couldn’t read the words and speak at the same time, however I thought in the end it got to a level where it was an extremely good voice over. The only issue I had with this voice over, is that I overlooked that Jacob was both the musical guest on the show and the voice over for the XTRA introduction and there was a slight issue with continuity. However, I feel like this isn’t too big of an issue as he has a very energetic voice during the XTRA introduction than he does with the interview where he is much more laidback. Then we recorded the Pop Pulse section with Leon as Vision Mixer, Harley as camera operator and Jacob helping me read my script for the section where my character reads out the charts. We created the first part of the set, for the introduction, by simply having the lectern in the front of the set and one camera for a front face on angle and then one camera to the side for when my character reads out the charts. We then removed the lectern and brought in 2 couches for my character and Jacob’s character to sit on during the interview. I thought this had a very talk show sort of vibe to it which was what I wanted from this scene. With the cameras we had one overlooking the both of us and then one each dedicated to both characters. We then removed the couches and brought round the green screen in the backdrop. This is how we filmed the music video section with me behind the camera giving both Harley and Jacob directions of what to do. Then once home, I recorded the idents and the first break announcement with my dad. This was easy to record given his history in voice over and radio.
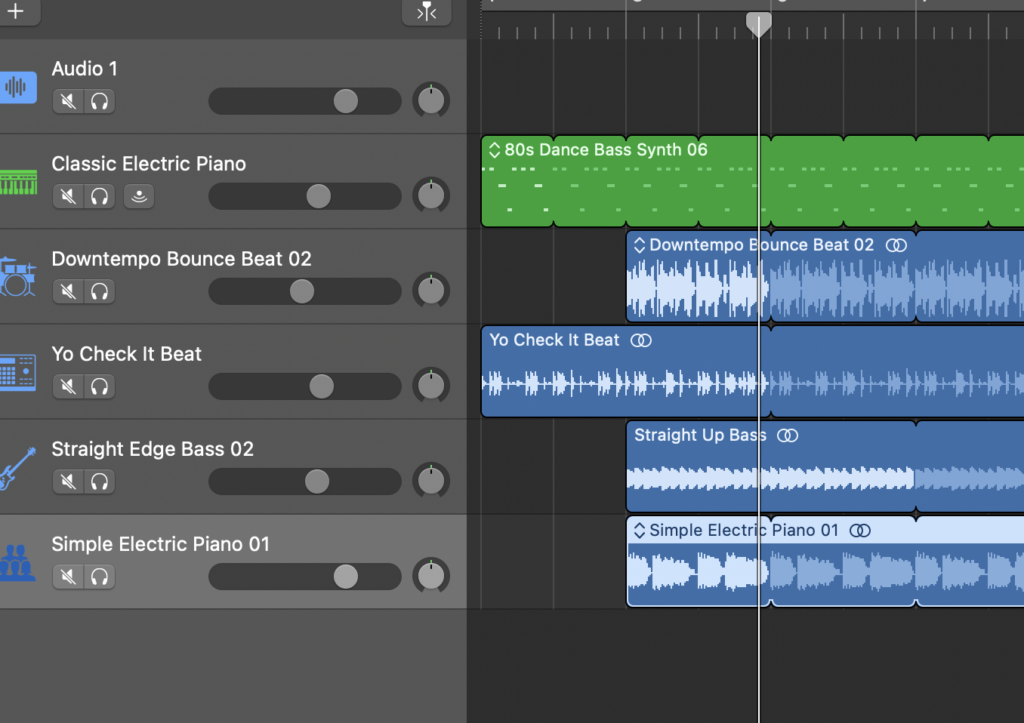
Entry 6: I then began the final stage of the editing process. I started by adding in all the voice over clips I had recorded prior, and replacing the placeholders I had in place before. This was quite a simple process, other than some clips that just needed to be adjusted due to the new voice overs being either too long or too short, however nothing that was a major issue. I then began to edit the Pop Pulse section. I created graphics for the chart countdown using Adobe Express. I first had created the bottom graphic saying the number and the title and then in Premiere Pro added in the music video, however this proved to be really difficult to get them to move at the same time using key frames, so I instead uploaded the music videos to Adobe Express and created it so they were all in one as graphics.
This proved to be a lot easier as it all moved together nicely and had a really nice effect layering on top of the previous entry. With the Pop Pulse section edited it was time to add the finishing touches with the emergency alert section. I first wanted the emergency alert scene to be fully voice overed, however when I did this with the placeholders I felt it had too much of a relaxing vibe to it, so I instead opted for a more robotic text to speech voice. I felt this was way more creepy and inserted more of sense of urgency which you would want with an alert like this. I also feel like it is more accurate as in an emergency like this you would prioritise getting the information out over the production it takes to voice over it. With this done, it was just adding in the smaller steps like adding in any other music in around the film and sorting out the credits. I did however make my own theme for the Pop Pulse scene using loops on garageband.