There may be times when recording physical instrumentation isn’t required, but for the vast majority of music out there, it is one of the most crucial processes in the creation of music and a case can certainly be made for recording being the most important. It is the point where your musical ideas begin to come to life in a DAW, where you can arrange them how you like, and it is the precursor to the mixing process – record well and your mixing will go along much more smoothly.
Typically in the process you will record drums first, bass second, other instrumentation third and finally vocals.
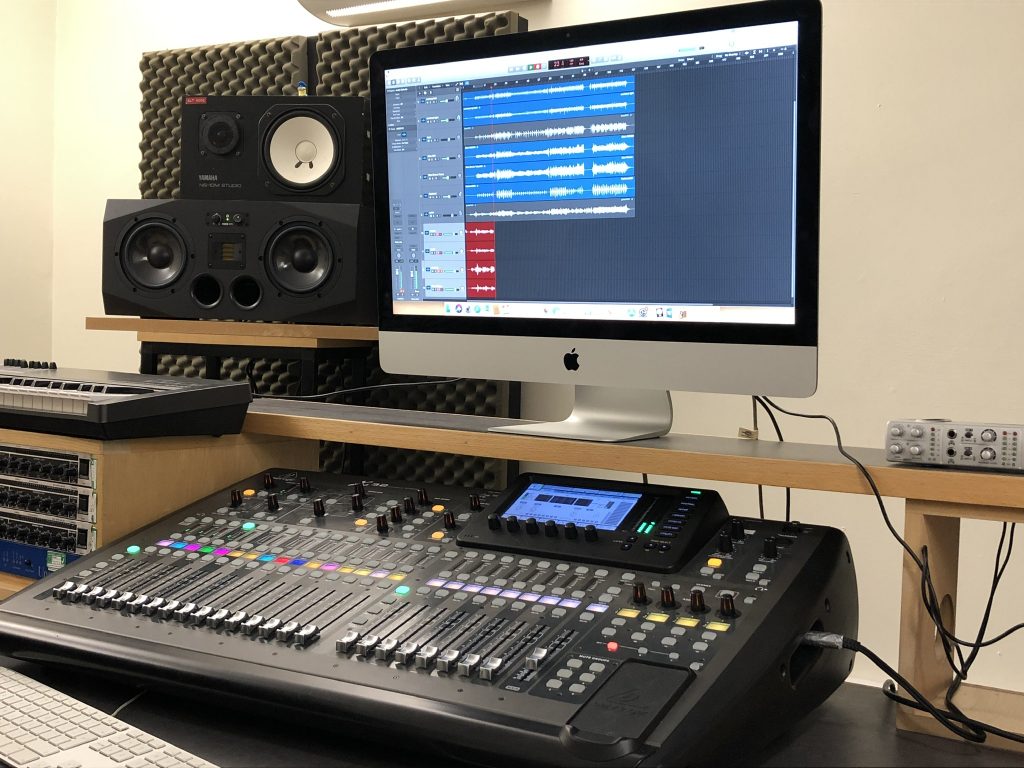
The mixing desk is the hub of the recording process. From this station you have control over volume levels of every channel you are recording, as well as functionality for communication via a headset into the studio, allowing a smoother dialogue between recording engineer and recording artist.
A lot of preparation goes into setting this part up; of course you have the physical set up of the instruments and recording equipment (microphones, jack leads, XLRs, etc.) but you also need to set up your DAW of choice correctly with efficiency in mind. Here we are using Logic Pro X. The setup for this involves creating a new project/opening an existing project, creating new tracks to record within and selecting the required channels which the instruments/vocals are coming through, and then setting the levels using the faders. To set the levels, we had whoever was about to record do a run through of what they wanted to play, and whilst they do that the person manning the mixing desk slides the necessary fader up/down based on the lights on said desk. The channel will have a set of lights and numbers next to a knob which is used to adjust the gain, what we aimed for was the channel maxing out at between 3-6 on the numerical scale, this gives us a lot of sound to work with when mixing but not too much to the point where it distorts the sound, which is what you would find were the red lights at the top to activate. During all this, someone in the control room will be communicating with the recording artist(s) to keep them updated, direct them, and understand what it is that they’re aiming to do.
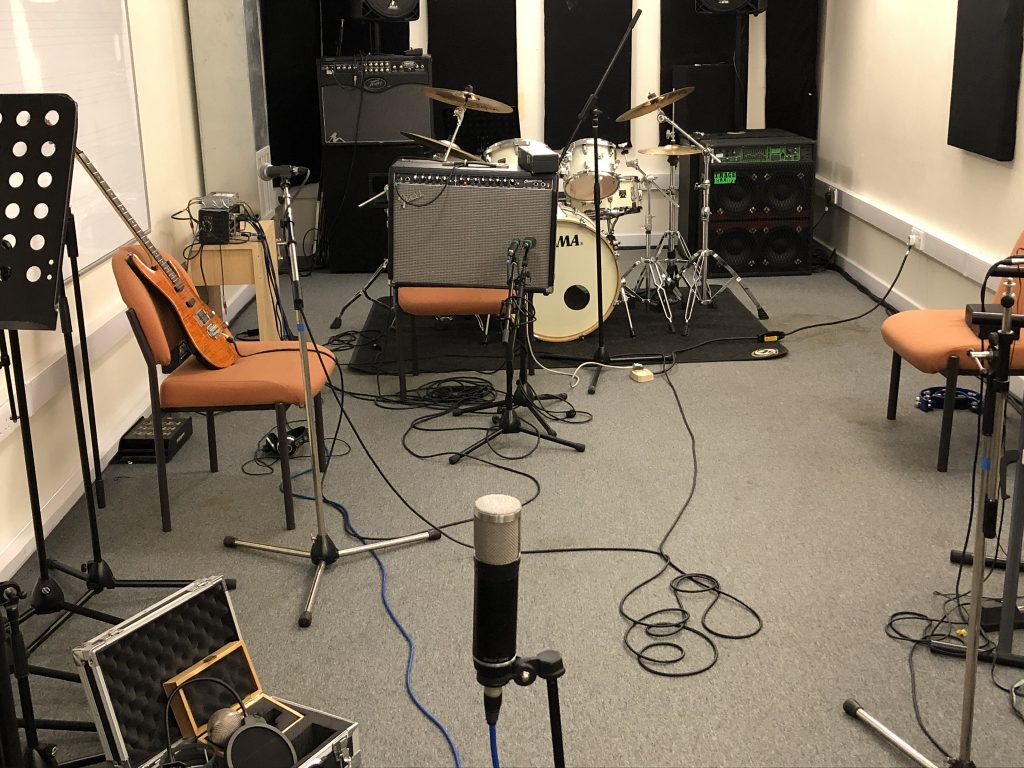
At this point we were recording electric guitar for Harry to record his part for our band’s original song, and for a full sound we miked up the front of the amp with two microphones and the back of the amp with another. A jack lead connects the guitar to the amp and from there we went ahead and recorded.
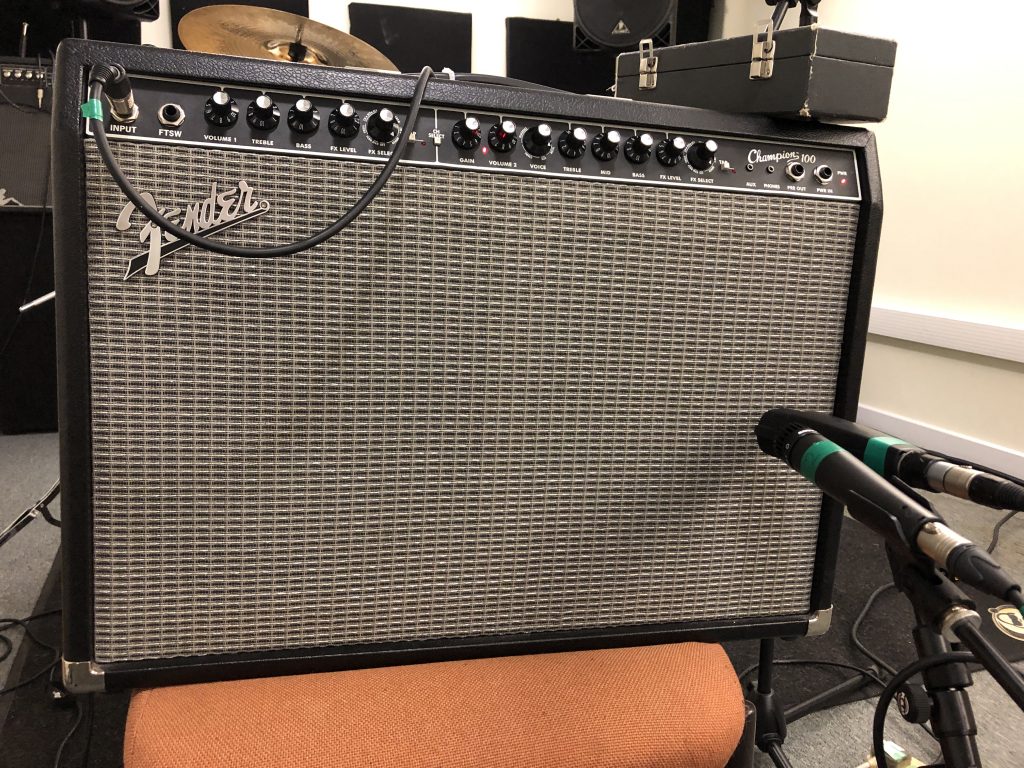
The two microphones at the front were placed at a midpoint in relation to one of the cones of the amp. They were placed at approximately the same distance away from the sound source to minimise the likelihood of stumbling across any phase issues.
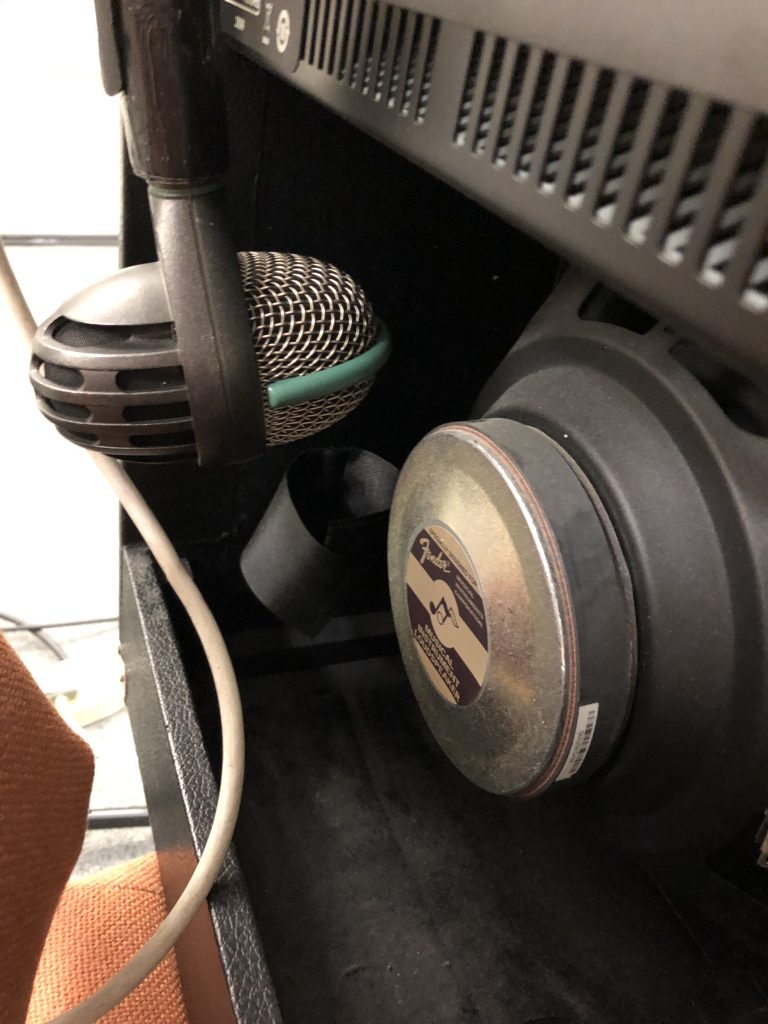
The sound coming from the back of the amp is more reminiscent to the sound that one would hear were they stood in the room, it’s a bit more natural and adds to the body of the soundscape.
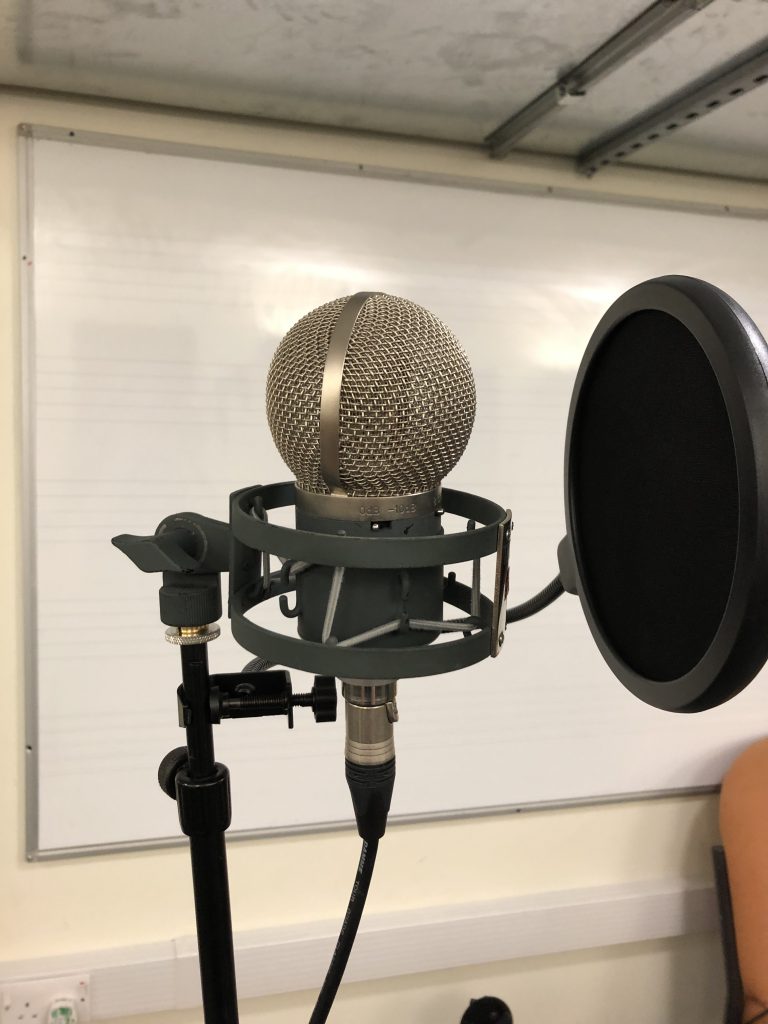
Microphone setup isn’t particularly technical, with a condenser microphone connecting to an XLR, and a pop filter in between the mic and the vocalist. This filter is to reduce the likelihood of popping/peaking when plosive sounds are picked up by the microphone, as these are unhelpful and unpleasant to listen to.
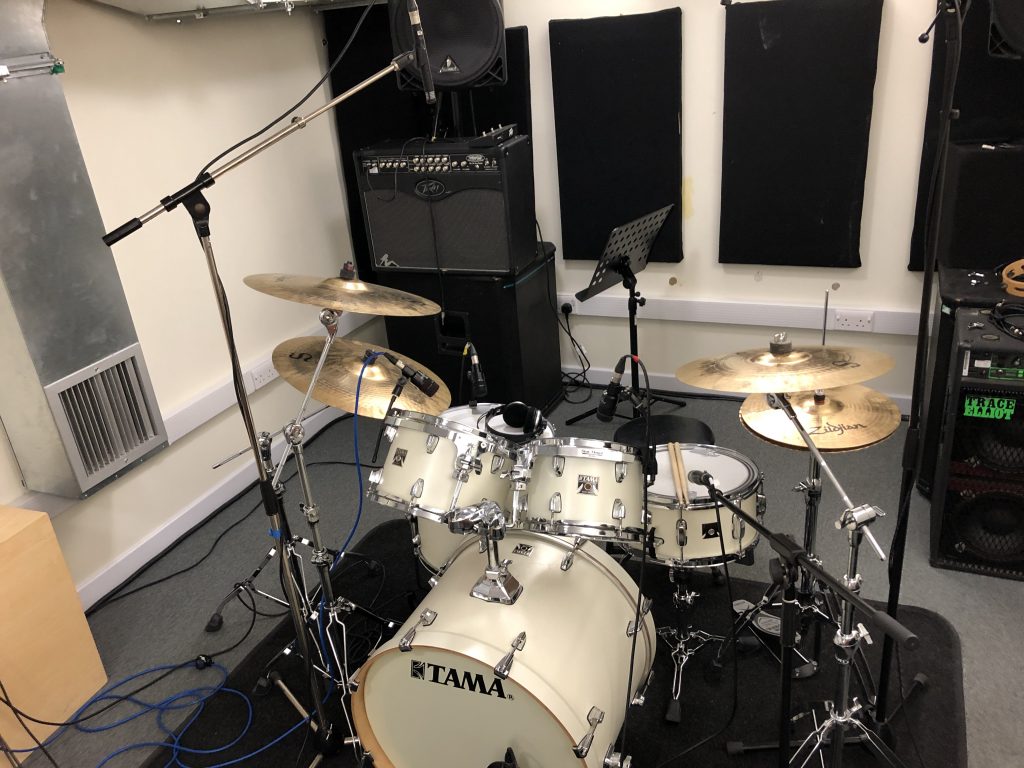
For recording a drum kit, you require an array of microphones, and for this kit we needed seven. One for each of the following: Overhead Left, Overhead Right, kick, snare, high tom, middle tom, floor tom. Other larger kits may require more for a clearer sound.
As I was absent the first day we recorded, I missed a fair bit of groundwork and it was tough to catch up on whilst also learning in time with everyone else. Regrettably, I didn’t do everything I could to get back on course, in future I can absolutely do more individual research to take ownership of my learning so I’m not as far behind, going through lessons not aware of everything that’s going on. On the bright side however I feel I excelled when it came to being in charge of the mixing desk; I communicated clearly and effectively whilst also being able to have a laugh and keep spirits high despite the frustration that comes about from poor/unfortunate takes in the recording studio. I finished this project with much more knowledge of how to monitor the recording, as opposed to how to setup the recording. Both parts are equally important so I’ll need to practice the setup more, especially if I plan on utilising these skills for my final project or to help others with theirs.