Using MadMapper, a video mapping and projection software, we are going to explore the potential for creating interesting installations and displays in a future project. The equipment used involves a MacBook, a projector, and even some “moving head” beam lights.

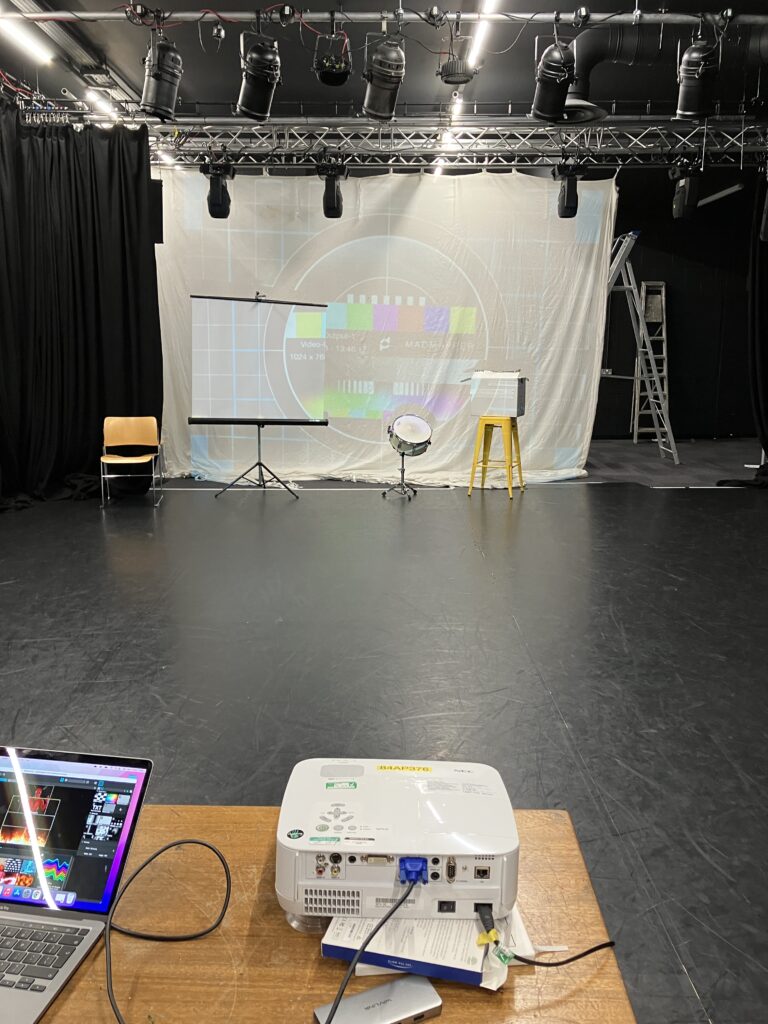
To start, we have our basic set-up consisting of a projector connected to a MacBook running the MadMapper application. The first task is to ensure our projector covers the area we would like to cover, rather than only displaying an image on most of our set which would look very unprofessional.

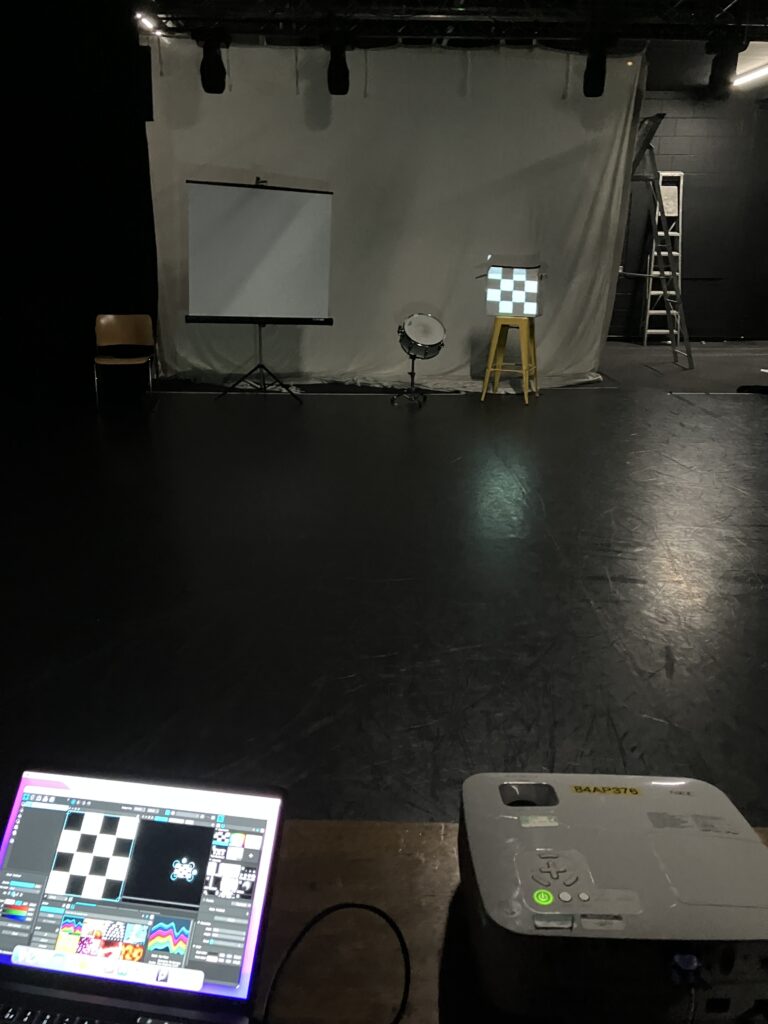
The next stage was to introduce blank shapes onto which we can project image and video. These blanks are shaped to fit the object we are projecting onto using the right side of the screen, where we are able to adjust many different factors, such as size, orientation, and opacity. On our set we see a box, a snare, and a presentation board, all placed in front of the large draped curtain in the back. The reason our objects are all white is that it is the easiest colour to project onto. From here, we can input whatever visuals we would like.

After experimenting with positioning the different assets, we have the best we can get with the situation. Unfortunately, our projector could only be placed on a table and it wasn’t as stable as one would’ve liked, meaning movements around it nudged the display, changing the angle. If we were to use this technology for more professional purposes, this would be unacceptable and we would ensure that the rig would not be moving at all.

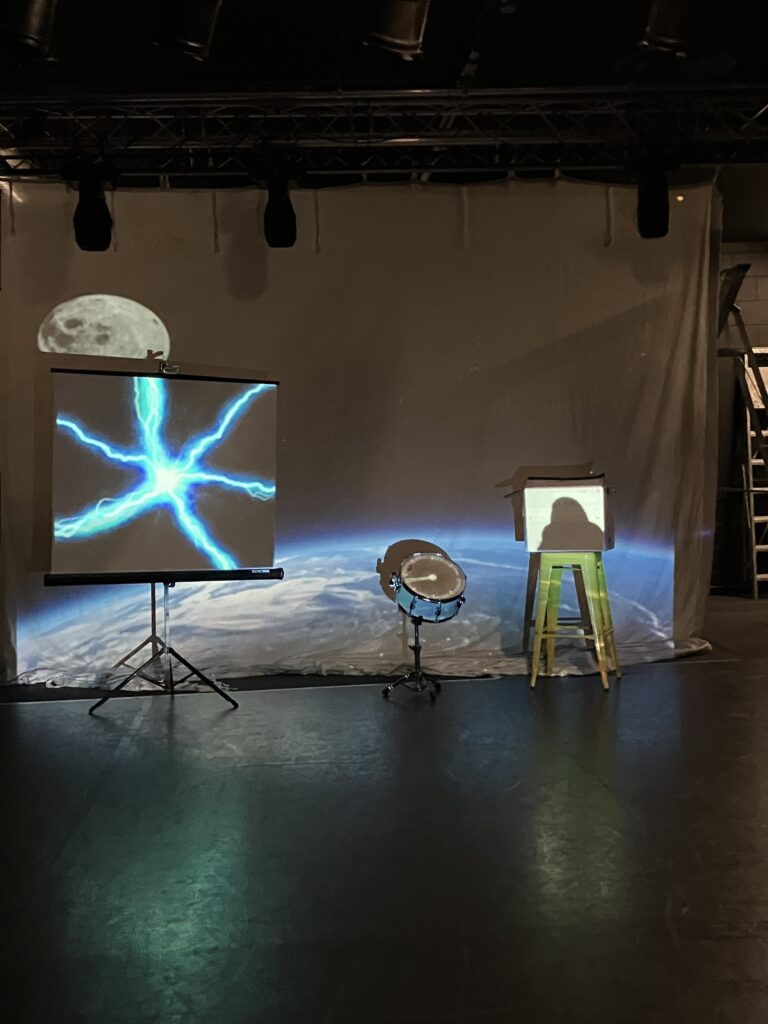
To add actual interest to our set, rather than simply showing images, we could now add video to each layer. For my set, I was thinking big, I looked for natural scenes with the Earth, the Moon, some lightning, a crow, and a clockface to represent time in this space scene. To be truthful, I didn’t have a concrete idea in mind so this was mostly experimental, as well as giving me the chance to get to grips with the new technology. One of the challenges I faced with my video selection was finding appropriate visuals to fit the various set pieces. With the snare drum, I knew I wanted something that would work well inside a circular asset so, of course, I opted for a clock face.
After gaining some familiarity with the MadMapper application, we moved on to add lighting effects. As opposed to projecting imagery or video, we instead used a beam projector with a moving head – meaning we have full range of movement, 360 degrees of movement to direct light effects at whatever target we choose. We then had a combination of one standard projector and two moving head projectors, allowing for greater depth in visual effects.
In the above video, I projected a simple video as a backdrop, tinting the white in this video to a more pink/purple hue to suit the other lighting effects. Overlaid above the video, two peers of mine had chosen their effects. Although this projector doesn’t display images or video like the previous one, it offers plenty of options and, arguably, greater chance to showcase the operator’s creativity. One can adjust the intensity of the light, the movement, the colours, and switch between the various preset shapes and light arrangements.