Throughout the design stage of my electric guitar, I am going to keep aesthetics as a high priority. I appreciate the utility of excellent sounding guitars, and I will make sure to consider aspects such as playability and tone, but I see custom guitars – such as the one I plan to build – as art pieces. When you have full creative freedom over the look of a guitar, you can create something beautiful. I aim to create a guitar that people can look at and be amazed by.
A huge inspiration of mine is Prince and this instrument will be heavily influenced by his visual identity, his penchant for regal hues, his unique shapes, and his grandiose presentation. I will be taking attributes of his instruments and incorporating them into my design, as well as putting my own stamp on it.
Brainstorm
Right out of the gate, I began to look for a unique shape, as Prince was fond of these and I figured that this made the most sense. Why would I opt for a traditional shape when I could just purchase such a body blank for a similar amount, or even less? I have the chance to create a unique guitar, and that is what I will do. These unique shapes
Prince was a huge fan of paisley print, going so far as to name his grounds and estate “Paisley Park”, after his song of the same name. This gave me the idea to use paisley print as a base for my guitar. I looked for paisley print images and used the shape of the main motif as the shape for the body; it has the flowing curves that one can expect from a Prince guitar, as well as giving me that unique shape that I am after.

This image, courtesy of dreamstime.com, is what I used when creating my design.
Blueprint


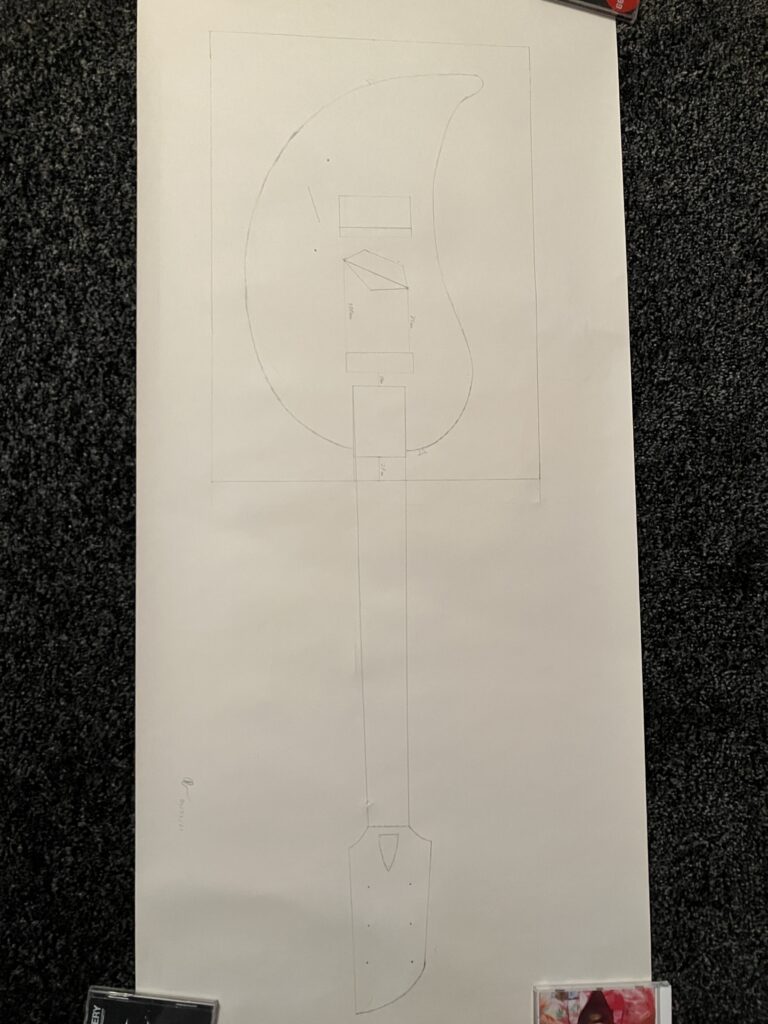
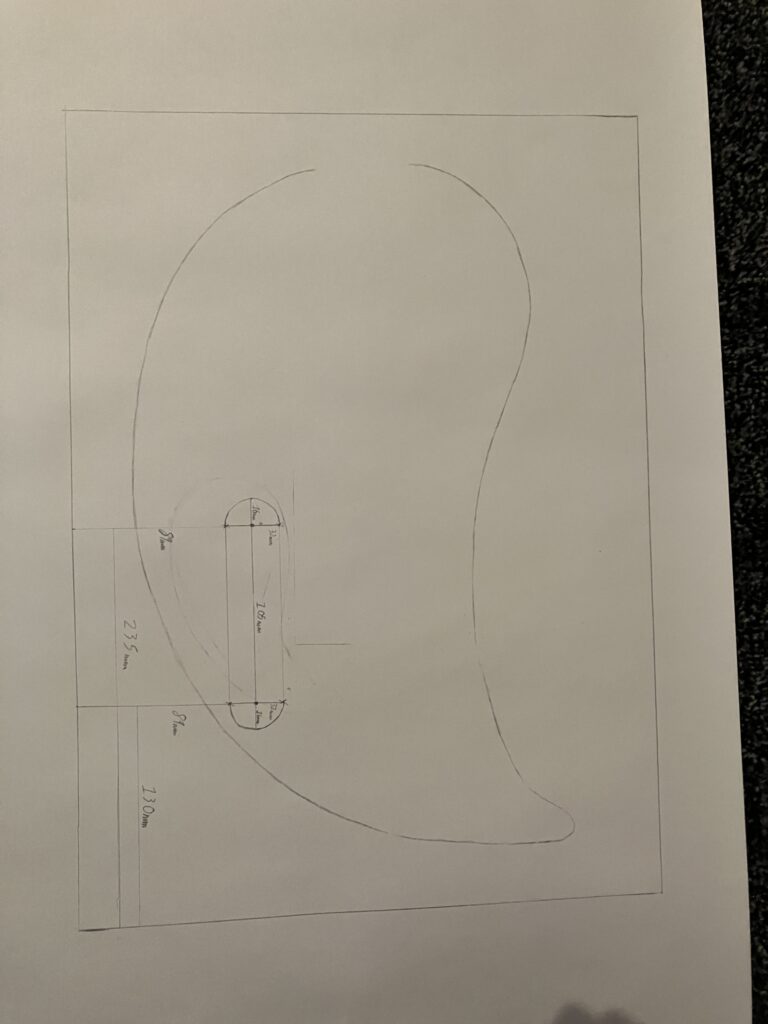
Before starting out on the construction, I created front and rear blueprints in order to keep the central idea in my mind and give myself a design to work to during the project. This design did change, however, due to ability and time constraints. For example, the headstock received a redesign due to not having time to fully shape it, instead opting for a more traditional curve. Of course, this being before I decided to move on from my own neck and work using a pre-built one. In addition to this, I decided to remove the slit for the control switch and add a hole for another pot, this would save time as it is a simple process on the pillar drill, rather than whatever method I would’ve had to use to create a small gap like the original plan.