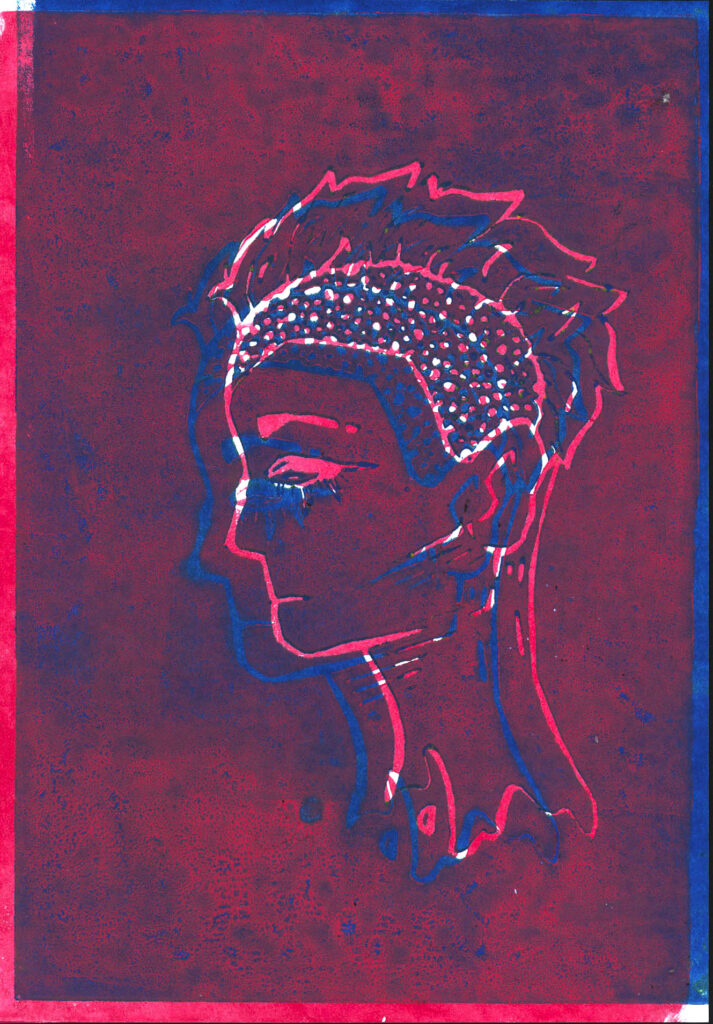
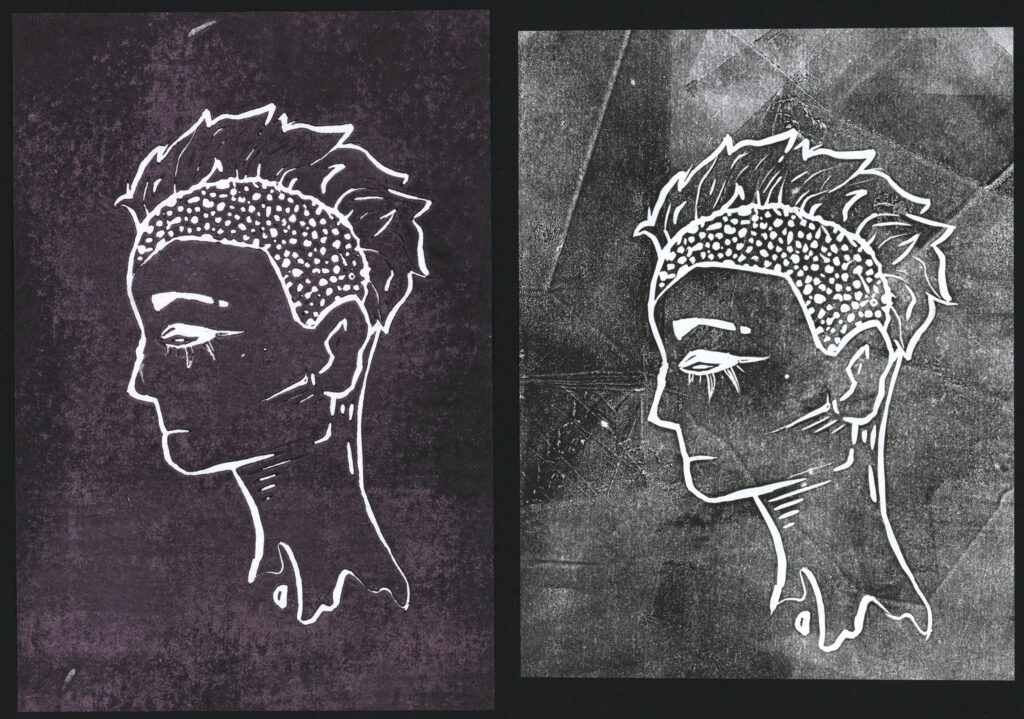
I decided to experiment with lino since I thought that it would be possible to use it when creating a jacket design since I’ve seen people use lino to create art on clothes, mainly shirts. I decided to test it out on paper first and I like how it turned out. my favourite piece is the red and blue one since the layering looks nice and the colours blend well.
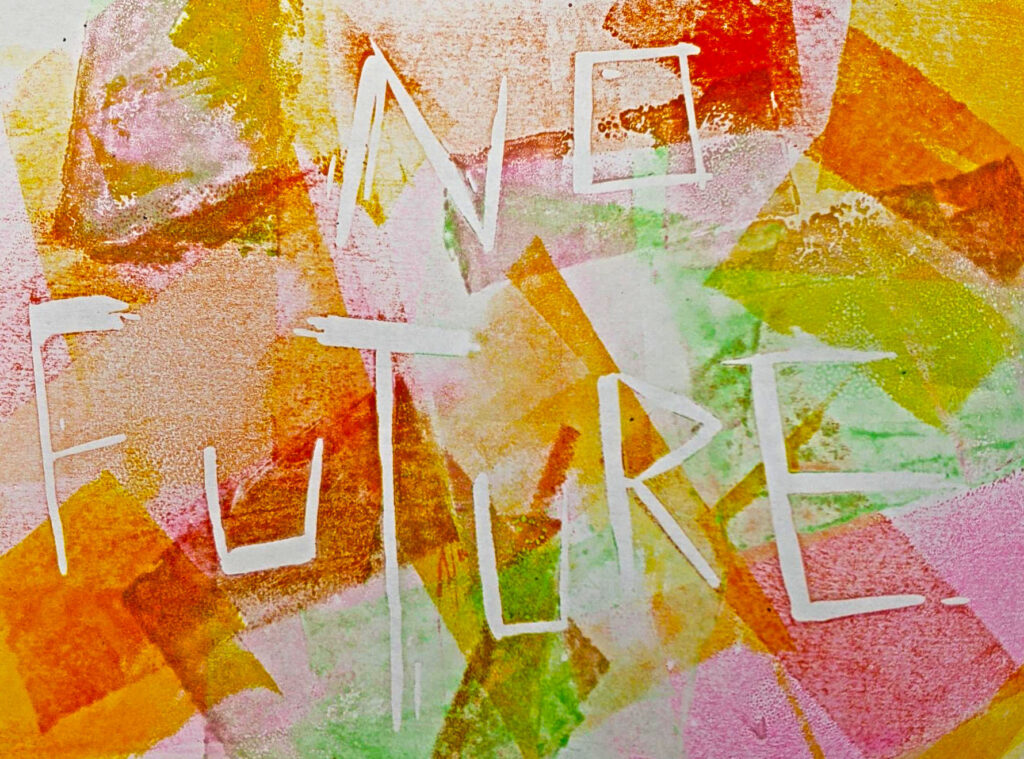
Unfortunately, when I was creating the ‘no future’ lino design, I accidentally carved the letters backwards so I used photoshop to flip the design so it looks how it was supposed to. If I use lino for lettering again I’ll keep that in mind.
To do the lino prints, I used a sheet of lino and a tool to carve the design out. I first sketched the design out on the lino sheet and then carved it out. Then after I rolled the ink over the design, I used a press to press the ink onto the paper, leaving the carved area white since the ink only goes onto the section that isn’t carved. I had to make sure I was carving deep enough on the person with a mohawk since if the lines are too thin when carving they will fill with ink and won’t show up white on the final print. I think I did a good job with that since you can see the person’s eyelashes on the black print, but when I was printing the purple one I put too much ink on it so the eyelashes aren’t as visible.
I think I’ll keep this in mind when generating ideas for my final piece designs.