In this workshop I created my own matchbox as well as decorated one I bought. The cartoon like style I used in this workshop is inspired by Raquel.
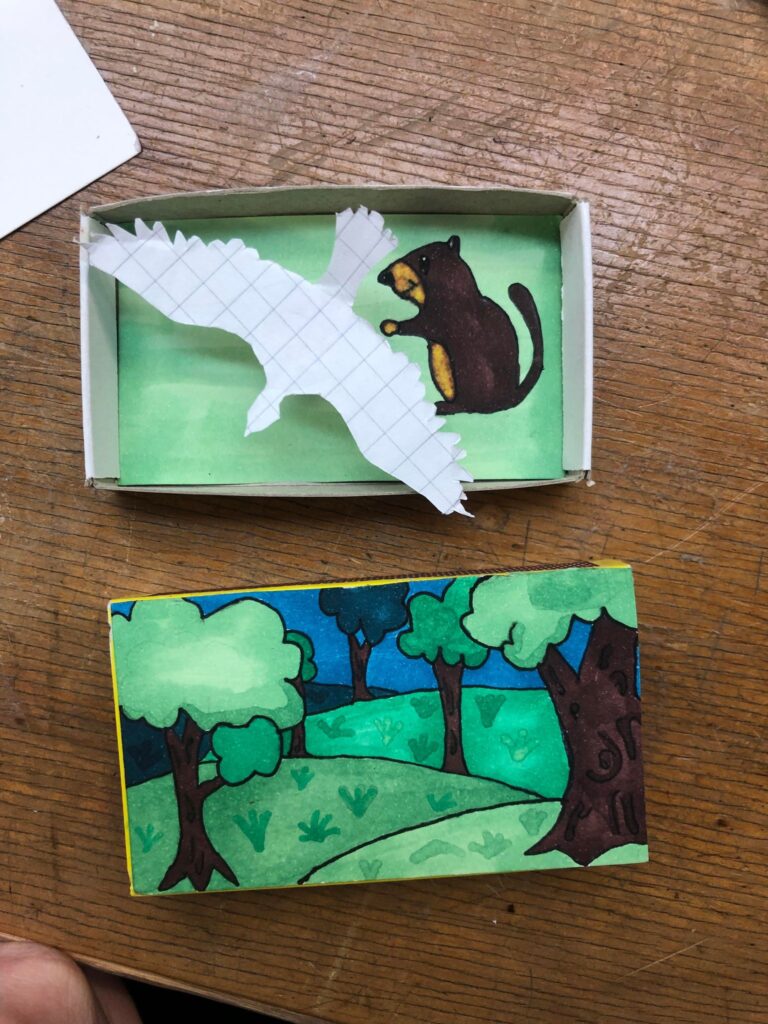
These row of images is of the matchbox I bought and decorated by cutting up some plain paper I had measured to fit and drawing my images on them before I then glued them onto the matchbox. I then created the spring by cutting two strips of paper and gluing the end of the strips together at 90o then I alternatively folding the strips over each other gluing it when I got to the end of the strip. Then I simply glued the string in the box and glued the bird I had drawn and cut out on top.

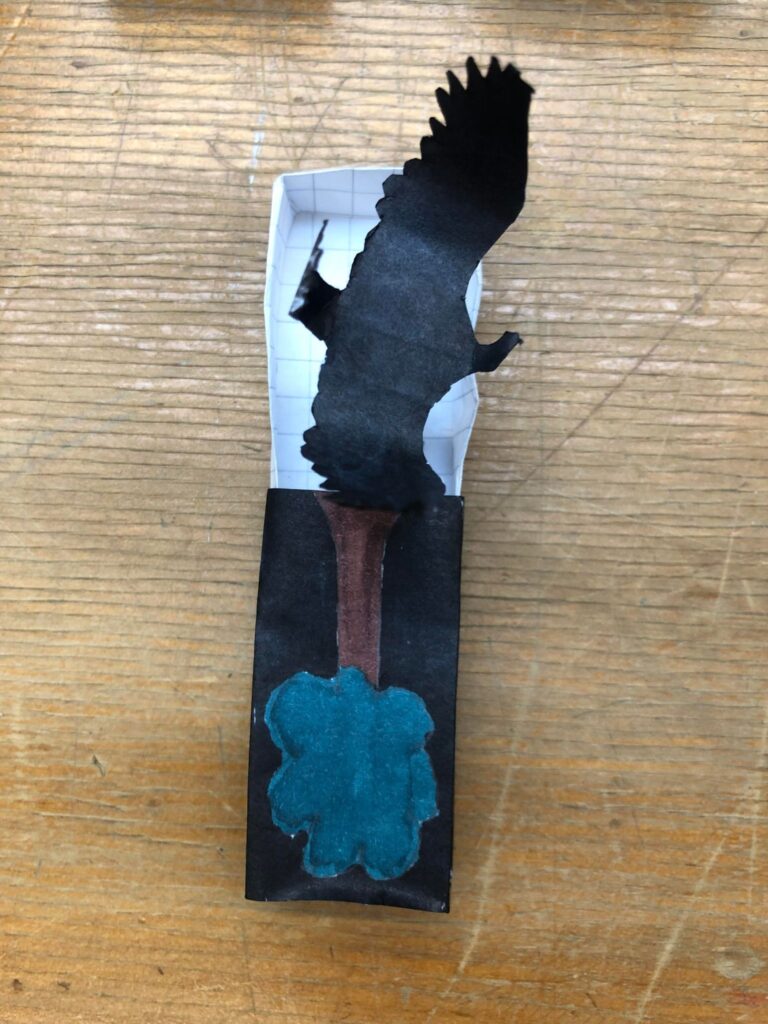
I worked out the net needed to make the matchbox by looking at the one I bought. Then I drew the net to the size I wanted making sure to double the length of the wall to hide the tabs that join the box together. I then cut the net out and glued the tabs to the bottom half of the wall the glueing the top half to the bottom half so it appears seamless. Then I carefully drew the designs on to the matchbox and created the spring bird the same way as in the above paragraph.