
+ Notes and Updates
23/03/2023
I have purchased the props. A monster mask and monster hand gloves. I plan to to return the mask as the quality is very poor, which expected as the product is a knock-off of an extremely expensive mask, as well as this I also plan to paint the monster glove a shiny, semi reflective black. As the original colour is pretty bland looking and makes the gloves look even cheaper than they actual cost.
29/03/2023
Sounds collected
There are quite a few positives to capturing the sounds in an environment that is familiar to me. It is a somewhat controlled environment the downside being the occasional noises of my family walking through the house. However even when the audio is messed up I can mix and match the best takes of the sounds as I’m editing.
15/04/2023
I have started filming my FMP, I have a name for the Short. Don’t Look. As said previously it takes heavy inspiration from David. F Sandberg’s Horror Short ‘Lights Out’. I am still working, changing and fixing parts of the short and some parts do require reshoots. I stuck to the storyboards to an extent accidentally missing a few scenes. So I need to add those in, as without them the tension and horror is greatly reduced. I also need to add some ADR = breathe noises, clicking, typing noises.
The main reason that I didn’t start the short is due to my health issues, which was the main set back. I plan to finish off the short off either today 17th or the 18th.
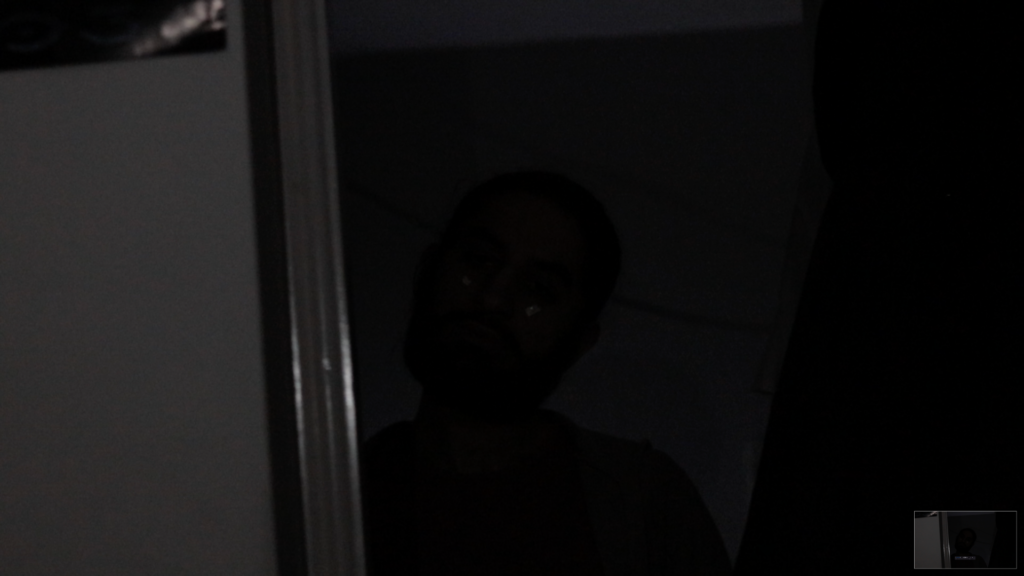
I used minimal lighting, the ambient and only using enough light for both me and the door.
18/04/2023
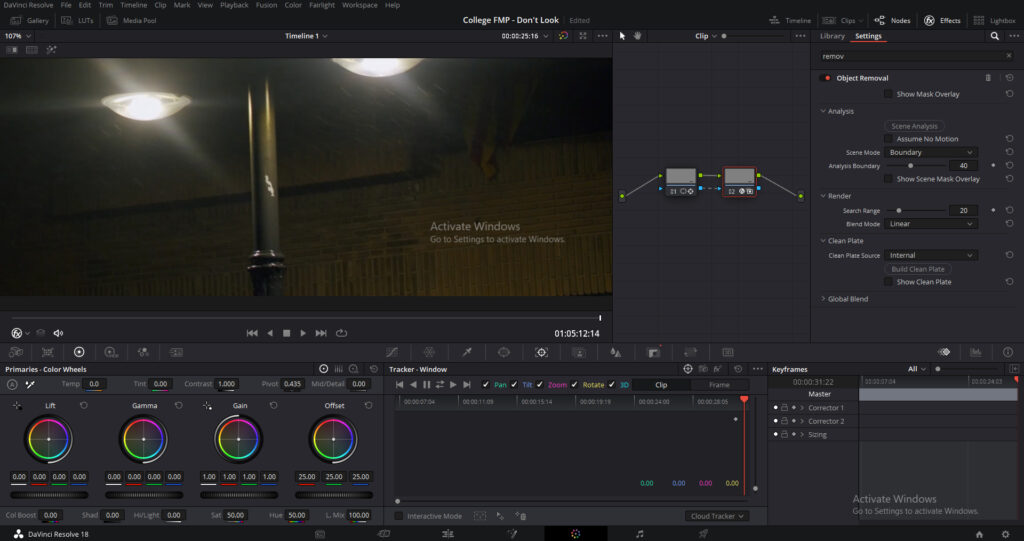
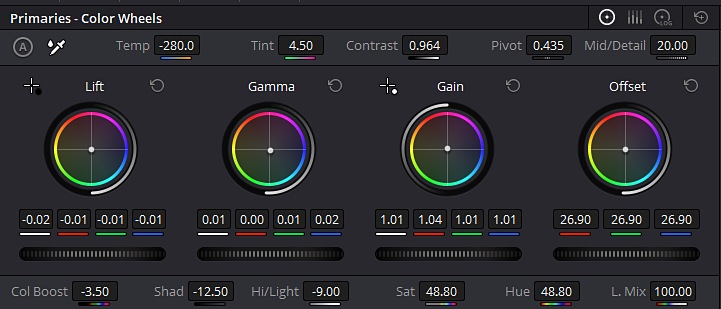
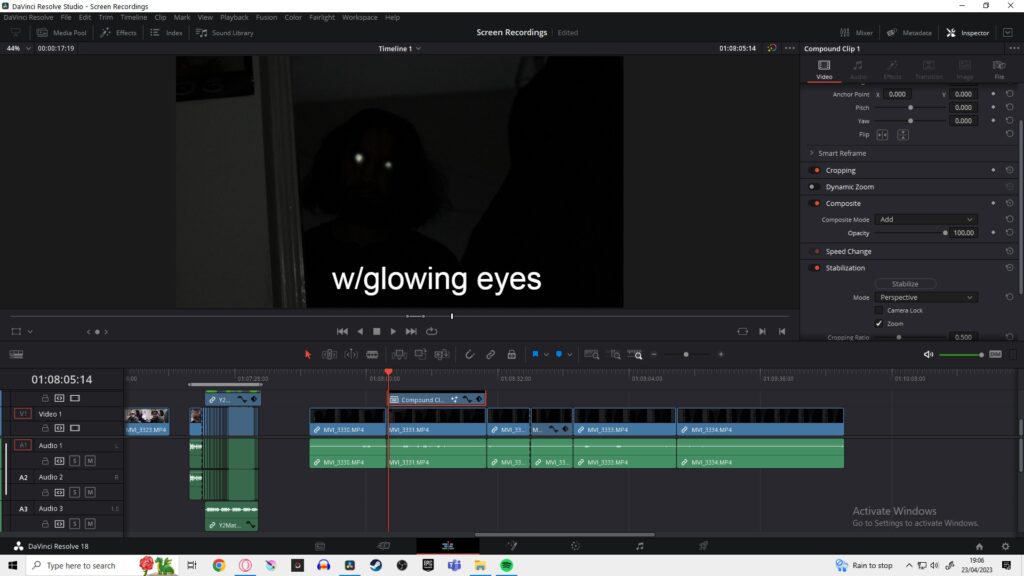
What I did – I Colour Graded and masked out a watermark in the bottom right corner. I added a grain effect to the video clips to make the noise not as noticeable. This also helps with the Short, giving it a slight grunge.
I used a mix of shots. Hero shot, Side profile, and silhouette shots. I give it all a slight punch with some light colour grading.
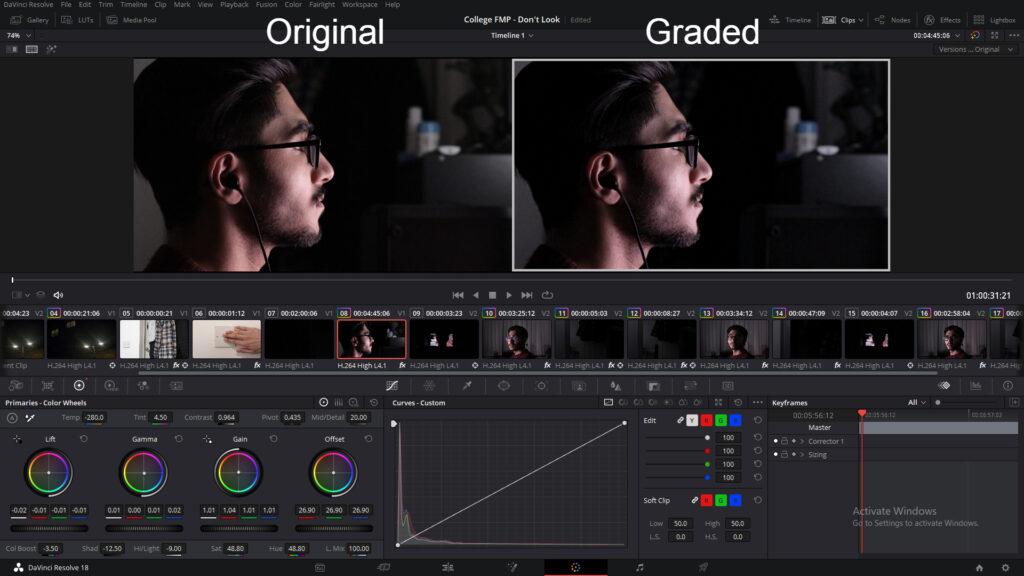
I have colour graded most of the short giving the ambient lighting a slight pop. Giving the highlights a harsh, overbearing coldness and bringing the shadows down to a drowning darkness. Only leaving enough light for the audience to see the door.
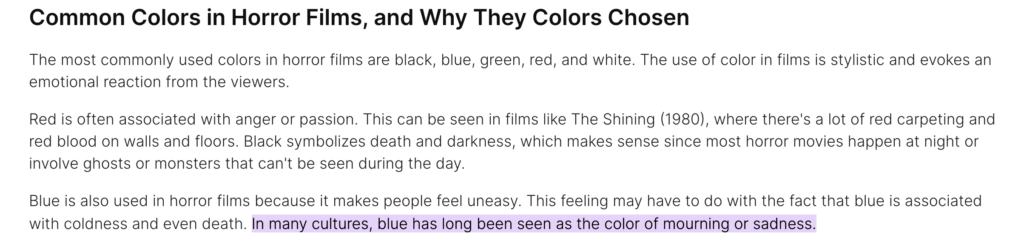
For the colour grading I lowered the mids, increasing the shadows, adding a slight blue too the shadows making the scene a little more eerie. As colder colours are seen as slightly off putting. This is because some groups of people see blue as a sad colour or a colour of mourning and death.
Especially in what should be a very comfortable, calming setting, a bedroom, having it be filled with a colder colour puts the audience a little on edge. I boosted the highlights quite aggressively as I felt it would be some reprieve from the dark. This also makes use of my ring light as well as setting my computer to 100% brightness. I couldn’t keep it that bright for too long due to my epilepsy. It could be a seizure risk.
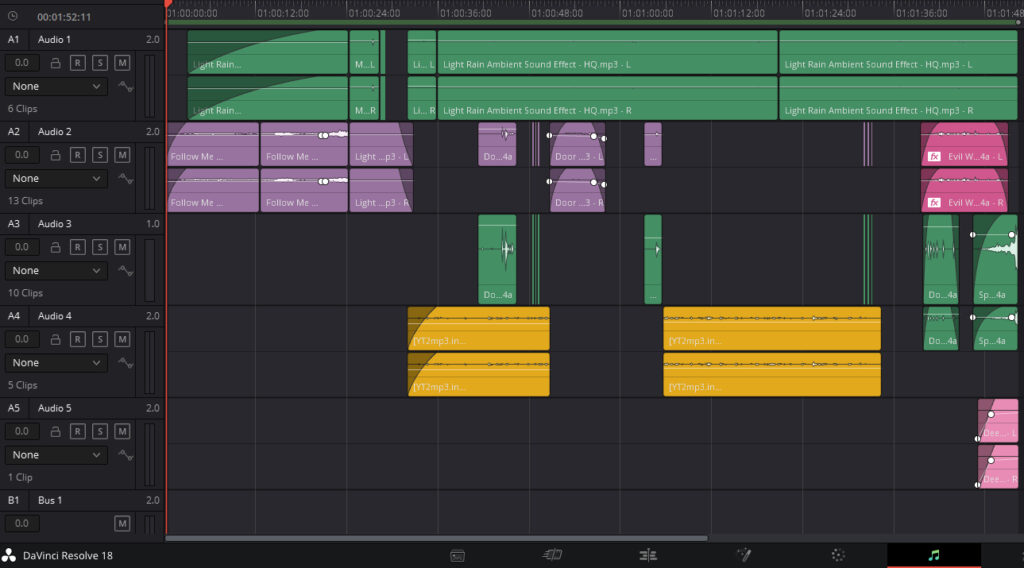
I did a great deal of audio work. Adding and manipulating the sounds to better fit the scale and space. In total there is about 9 sound effects that help bring the short to life. I have the sounds listed above. The video above IS NOT THE FINAL PRODUCT just a rough cut, showing you what I have done so far. I am still working, adding and changing scenes.
I did quite a lot of fade-ins. I also added some audio effects
The Bad
The disadvantage to capturing the lighting I want is that I have to stay up a lot later than I had previously expected. Since it’s later in Spring I have to stay up to about 10pm. Staying up to this time is doable but it can be a challenge for me as my epilepsy causes me to have seizures at random times and staying up too long messes with my sleeping schedule also causing me to have seizures. This is another reason to why I haven’t followed the storyboard and shot list.
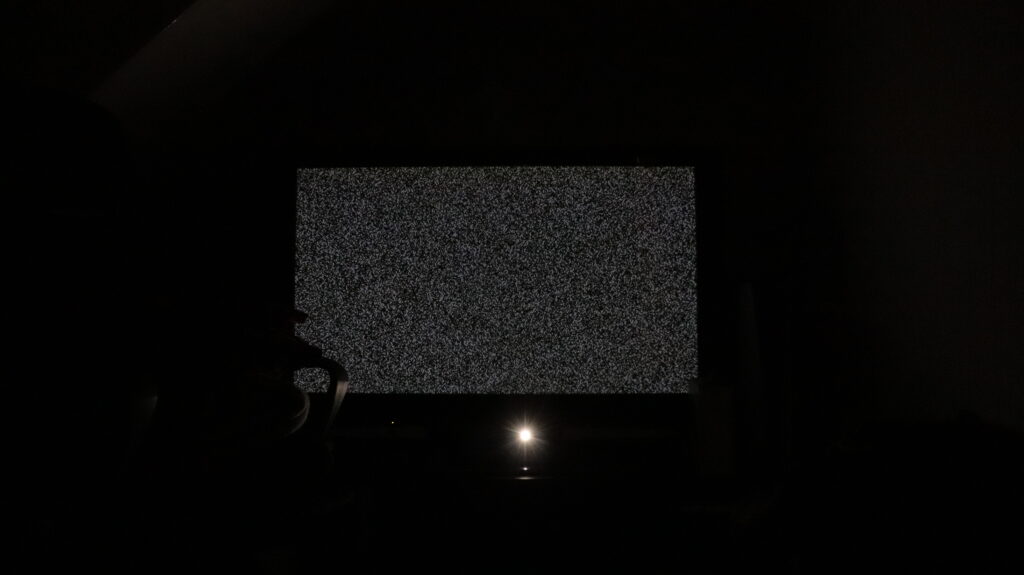
Also setting up the lighting eats up some time. About 5 – 10 minutes and getting the TV static isn’t always guaranteed, so instead I used mine and my brothers phone lights to gave the same lighting.
Camera Shots
- Establishing shot
- Hero Shot
- Wide
- Medium close up
- Extreme Close up
- Shot reverse shot
I’m not using any fancy camera moves. I’m making it rather simple, sticking to cuts rather than pans or any physical camera moves. I’m doing this because my room is pretty small and space is limited. I also feel that using long extended shots will help build suspense.
19/04/2023
Reflection – I’m still working on the final video, in the video above you can see that I have swapped the still image, in the opening, with an establishing shot of an apartment. I didn’t want to use a video of my actual house because I don’t want to dox myself. Some scenes go on for far too long so I need to edit them down. As well as needing to lower and change the volume
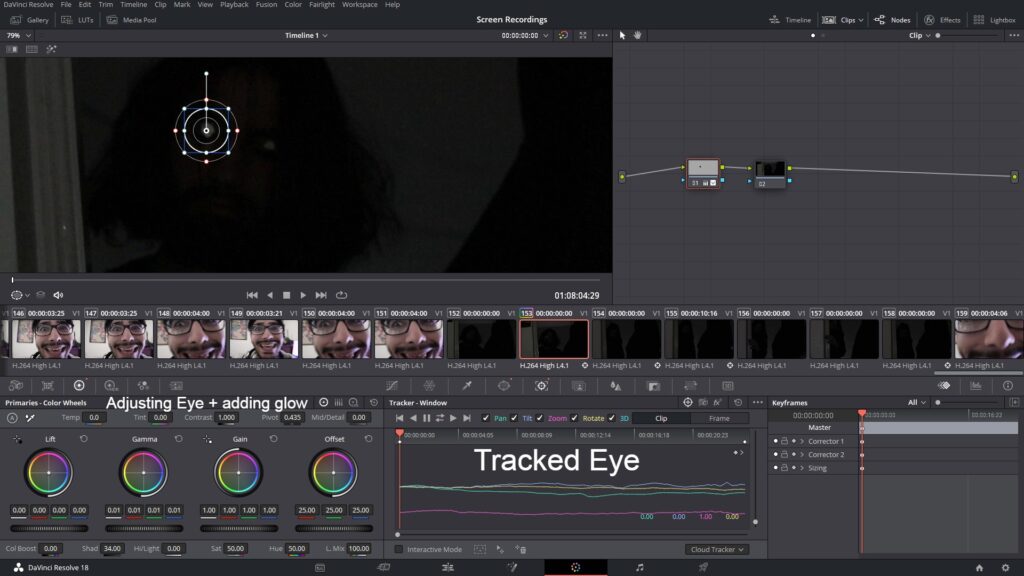
I used the reflective tape as tracking points since the light reflection allowed for a much high contrast in the picture. I cut out and tracked the eyes. adding a soft glow effect as well as light bloom\light streaks effect. I decided that using the light streaks was a little too much. So I used it to add a slight perspective light trail. It’s very minimal so you can’t really notice it.
With the glowing eyes I wanted to give the effect of a cat when you shine a light in their eyes. I did achieve this just by using the practical reflective tape. But I thought that the added digital effect will help add to the horror. And it might make the production value seem higher than it actually is. (This is a no budget horror short film)
I test out different poses and effects. Mixing the Practical with digital effects. I intended for any viewers to watch this in a very dark and quiet room. If there is even a slight bit of light it does get a little bit difficult to see the monster. You can still see the glowing eyes but it’s not as effective as it could be.
Problems
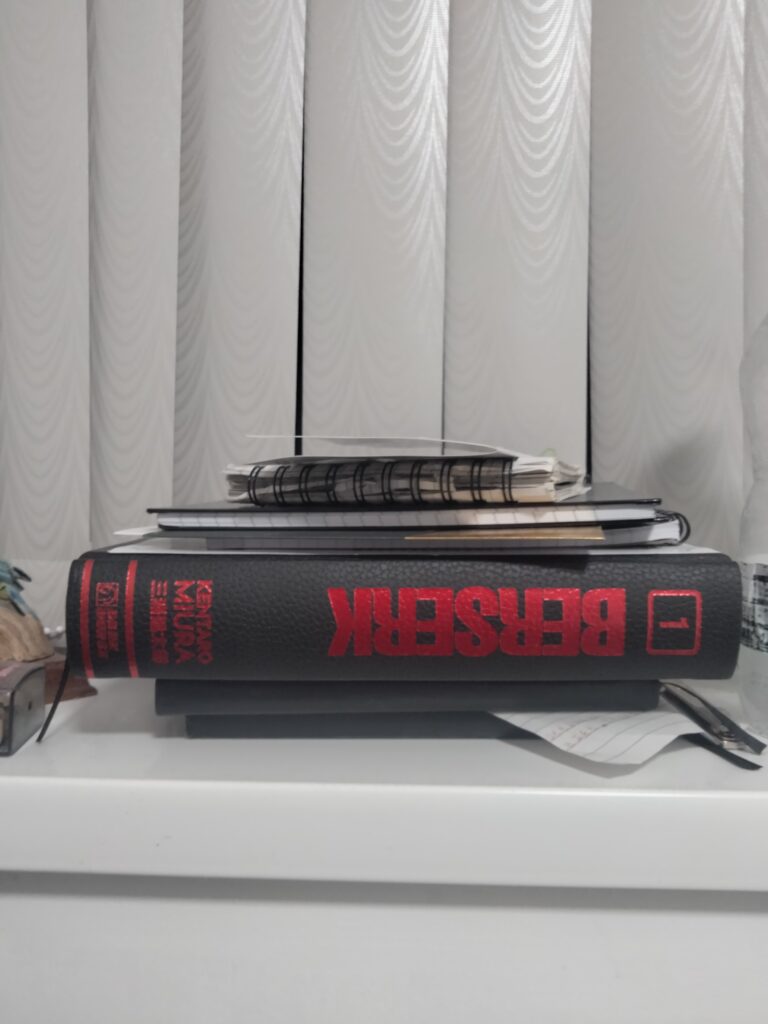
Due to the space of the room being so limited I wanted to make the most of it. I planned on utilising the window sill to help get a certain angle but this was a bit tricky. The window sill was too low and I don’t have a mini tripod to fix the issue. What I did instead was stack any books I had on top of each other, getting me in frame and giving the camera good height.
09/05/2023
As I was setting up for shooting my tripod broke, the arm fell off. This removed some of the functionality of the tripod by with some careful manoeuvring I could do my best to replicate the smooth pans and tilts that were once doable. When reshooting one scene in particular my brother struggled to replicate the smooth pan, it was very subtle so hopefully you can’t tell that it’s not that smooth.
LIGHTING AND SETUP
To achieve the lightning for the side profile shot I cranked up the brightness of the monitor to 100% and turned on my ring light to brightness level 3. Making extremely harsh shadows and leaving a really nice looking shot. Doing this also helped accentuate the ambient lighting. And leaving the shadows as this dark void.
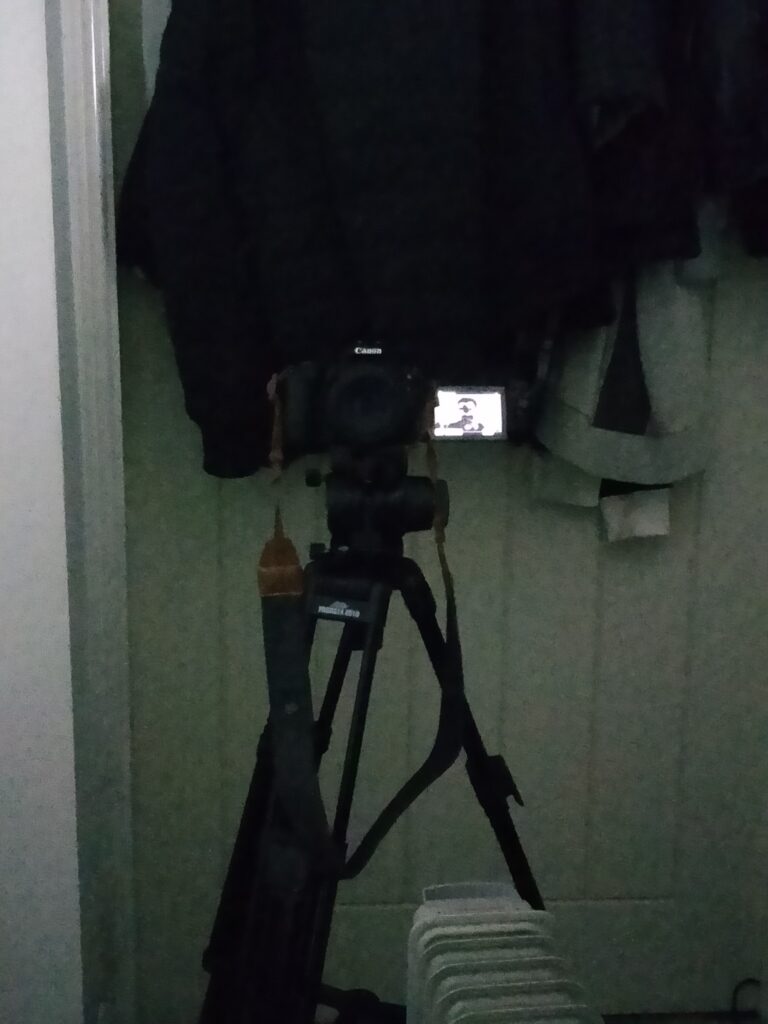
I set up my camera and tripod at a slightly lower angle than face height as it makes looking at the door more natural.
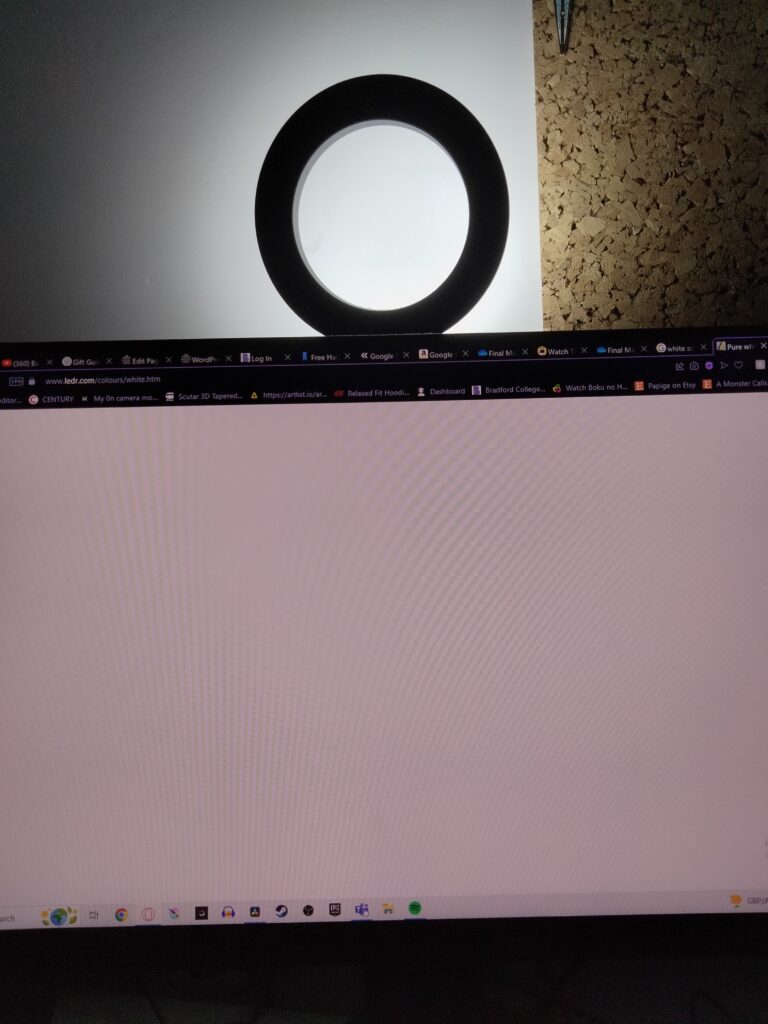
To achieve the desired lighting I cranked up my monitor brightness to 100% and put my ring light to level 3 to help add some intensity to the side profile shot.
For the hallway shot I turned off all the lights outside the filming space, only turning on the TV and using my phone torch to help add some intensity.
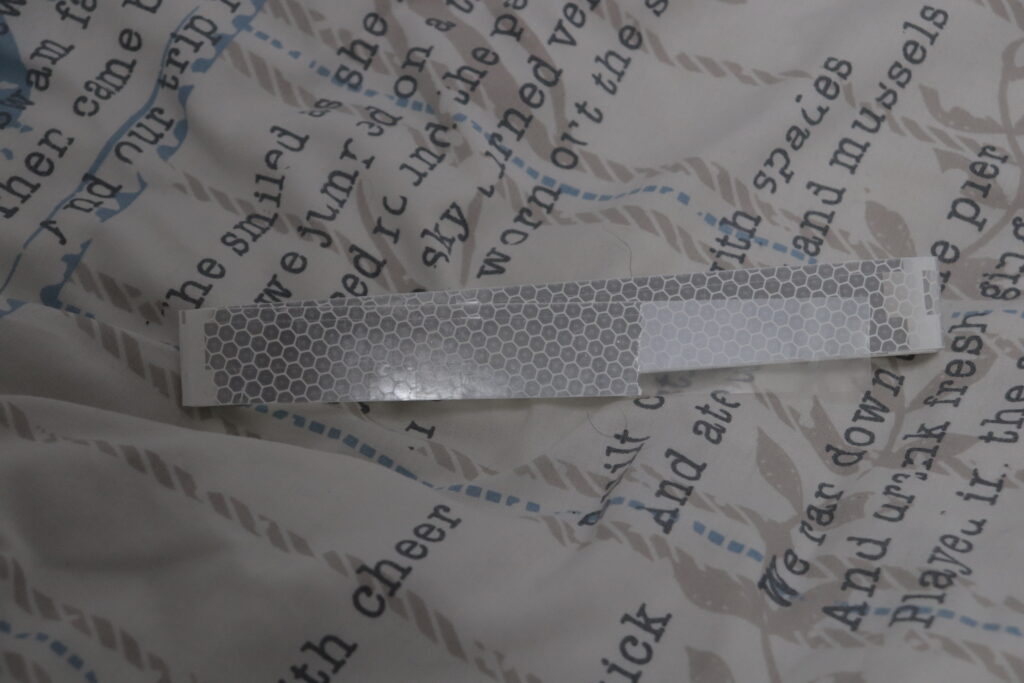
To achieve the glowing eye effect I used high visibility reflective tape, cut them out and stuck them onto my brother’s eyes (The monster)
This is the video that showed me the glowing eye trick. And quite few more techniques on how to plan out a short film. 0:37 – 02:37
05/05/2023 + UPDATE
Instead of reshooting, which would’ve take up too much time, I decided on refining the short. Focusing on scenes that needed shooting but hadn’t gotten around to film yet. When shooting I focused on trying to be as consistent as possible, trying to match the previous or older shots in: Lighting, Camera placement, acting and the jumper I was wearing. I even recored at almost the exact same time to try to match the time of day.
I have regularly been uploading my rough cuts, doing this to show off my progression and the evolution of my work. I’m continuously changing the pacing, adding effects and sounds all to a degree and standard that I believe is near professional. As I want to show my capabilities to prove and show myself that I am better than I think.
15/05/2023
This is the final completed work. I added the reshot scenes. I used one as a post credit scene or as a final scare. With the last scene I cut out, tracked and blacked my eyes, and changed the saturation of my skin, making myself look a little more dead. Just to let the audience know that my character is dead. With the help of my younger brother we reshot the silhouette shot.
I have made 2 digital Poster with a QR Code that when scanned send you to the Short film on YouTube. 1 is for vertical apps, tiktok or snapchat. The other is for horizontal apps such as YouTube. And will be used as the main poster. The vertical one will act more as an add rather than a piece of art that showcases the film.
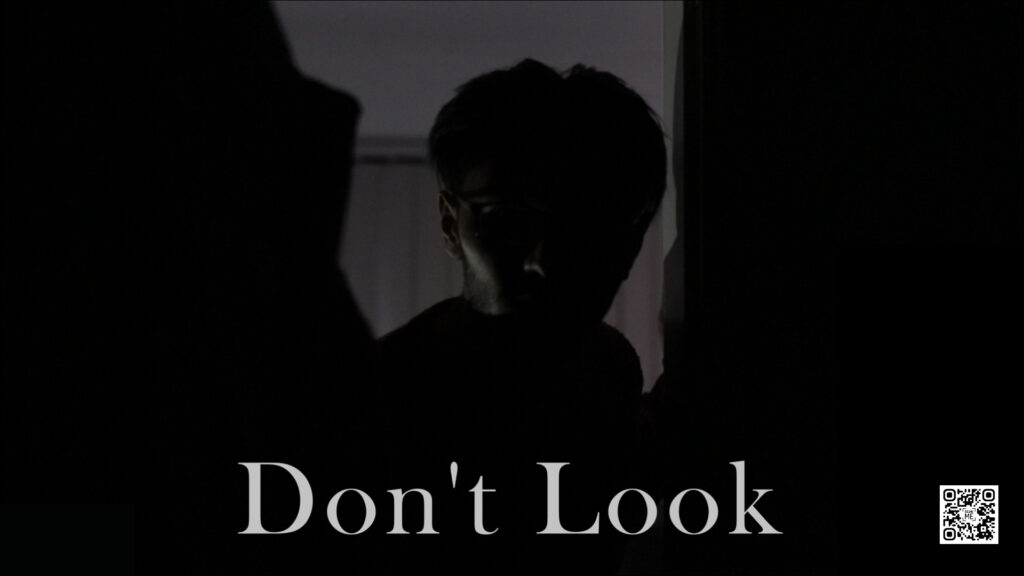
This poster is the main one that I’ll be using for the Short Film. When it’s printed out you can scan the QR code to watch the Short on YouTube. I’ve also used this poster as the Thumbnail for it on YouTube but without the QR code.