Recording Process:
Mixing & Mastering:

First Bounce:
Final Bounce:
Evaluation:
Overview
An in-depth knowledge of the musical subtleties of the R&B genre, appropriate equipment, and meticulous planning are all necessary for the complex process of recording an R&B song. I’ll go over how to record an R&B song with Logic Pro in this examination, including how to use a keyboard, guitar, sound card, microphones, and drum kit. The planning, the recording procedure, and the post-production methods used to produce a polished end result.
- Creating the Song Structure
Initially, the structure of the song had to be established. Soulful melodies, mellow chord progressions, and a solid rhythmic foundation are frequently combined in R&B songs. I started by outlining the key, pace, and chord progressions of the song to make sure they complemented the melody and lyrics’ emotional tone.
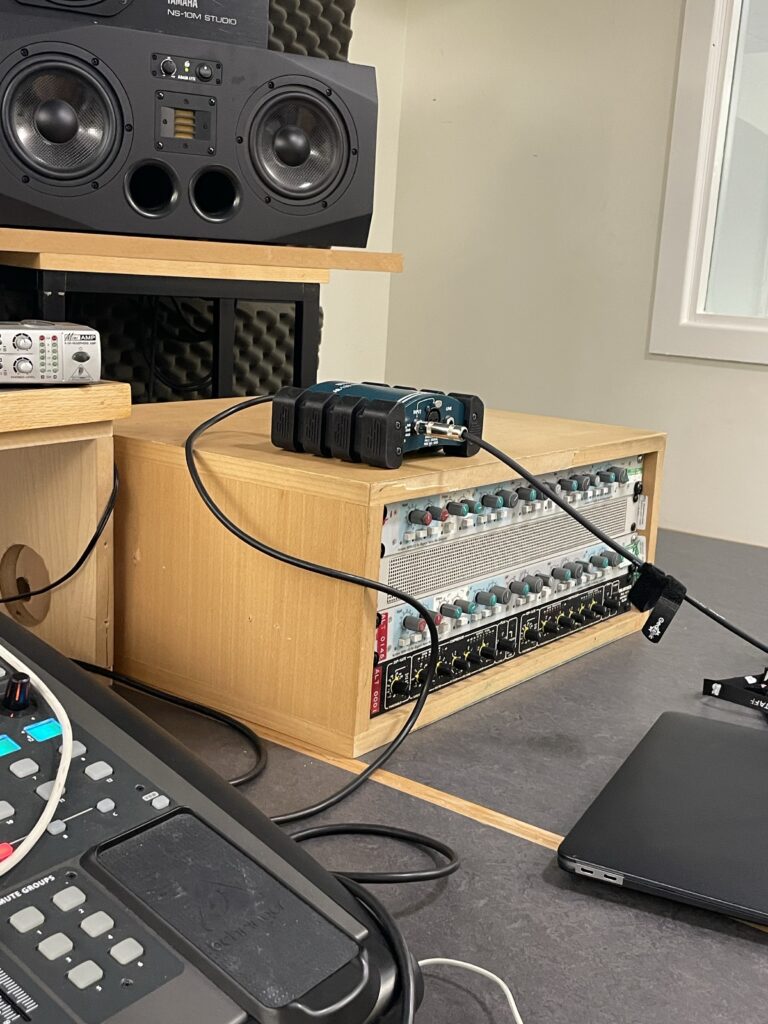
- Configuring the apparatus
It was essential to set up the recording equipment in order to get high-quality audio. An explanation of the apparatus and its configuration is provided below:
- Guitars: an electric guitar for lead and rhythm portions. To guarantee clarity, It was connected via direct input (DI).
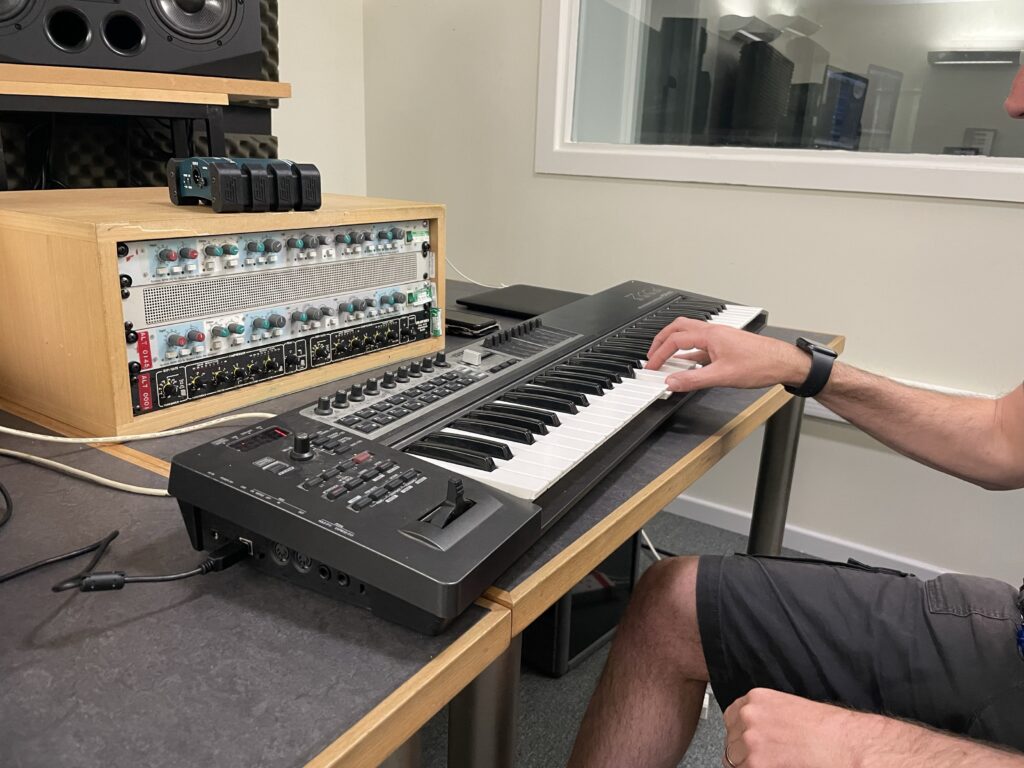
- Keyboard: Logic Pro’s virtual instruments and synthesisers were input using a MIDI keyboard.
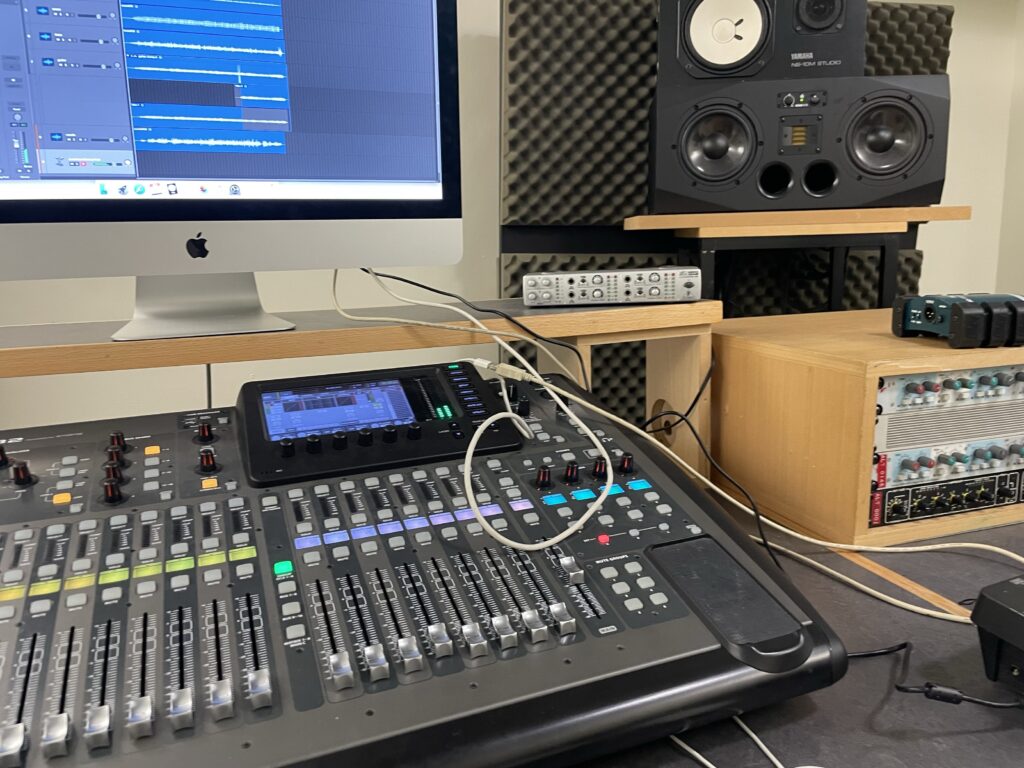
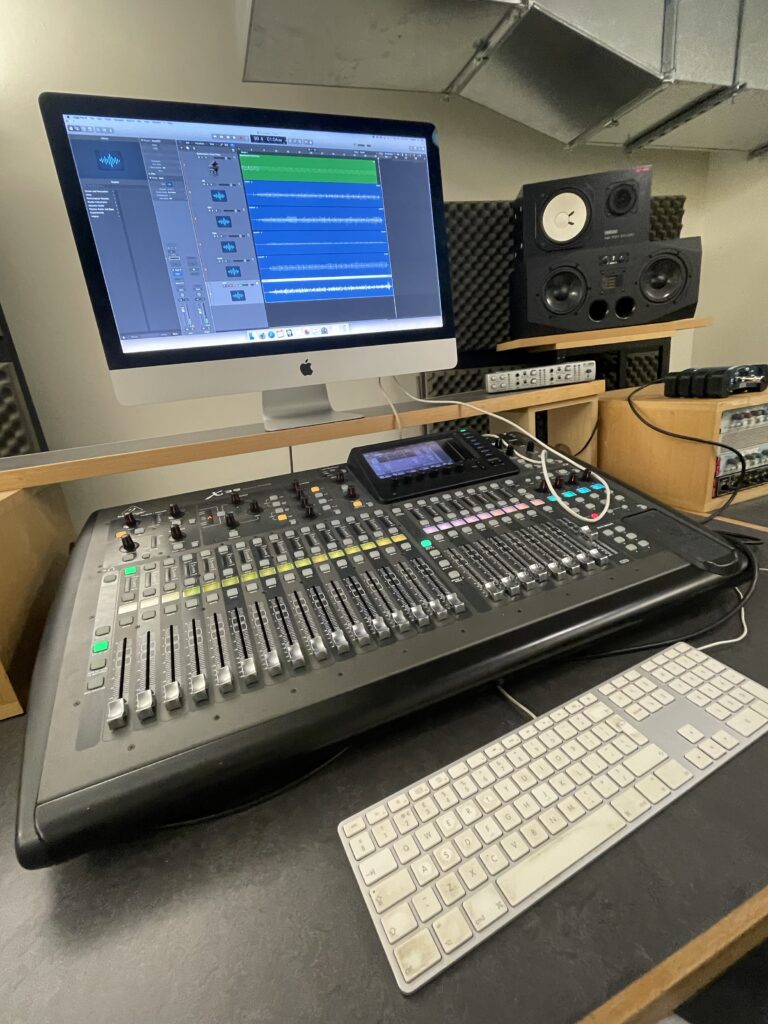
- Soundcard: To manage the simultaneous recording of many instruments, an extra soundcard (audio interface) with numerous inputs was necessary.
- Microphones: Dynamic microphones were positioned for the snare and kick drum, while condenser microphones were employed for voices and overhead drum mics.
- Drum Set: To guarantee isolated and clear recordings, a typical five-piece drum set was mic’d separately for each component.
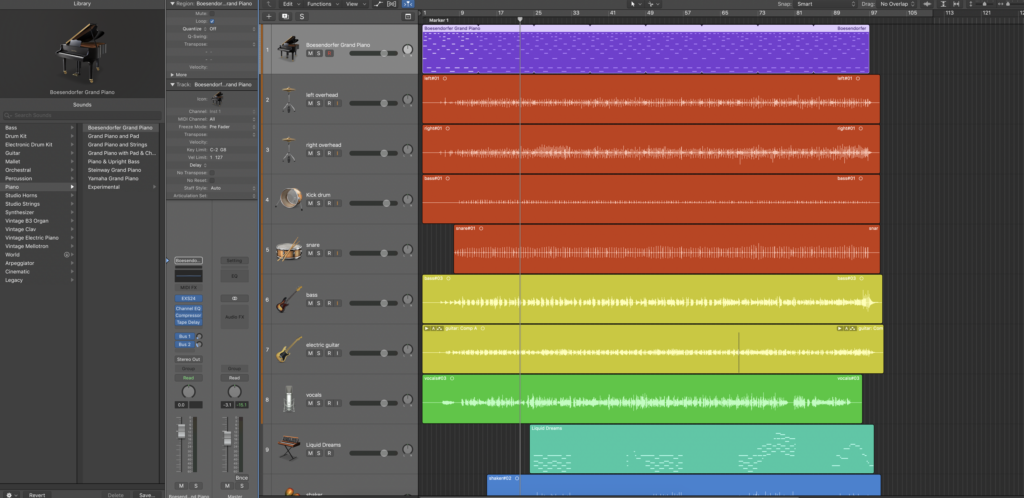
Procedure for Recording
- Recording with a drum kit
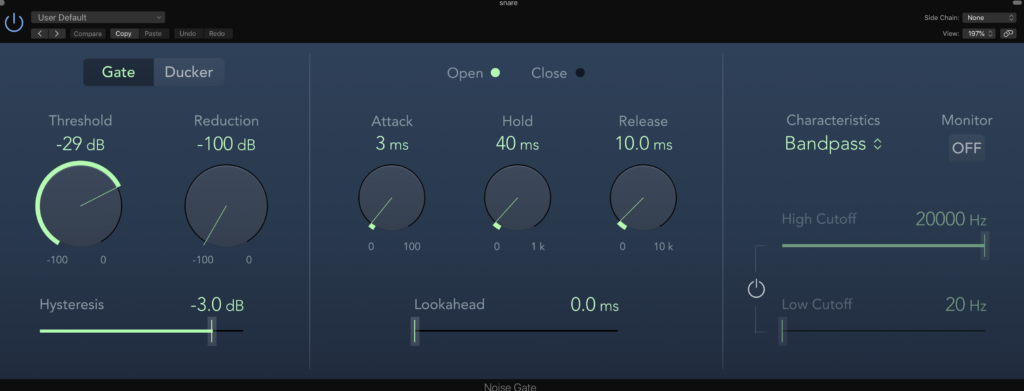
Since the drums are the foundation of an R&B song, recording the drum set was the first important step. To reduce sound reflections, the drum set was positioned in a room with enough insulation. This is how the procedure went down:
- Creating a Drum Set:
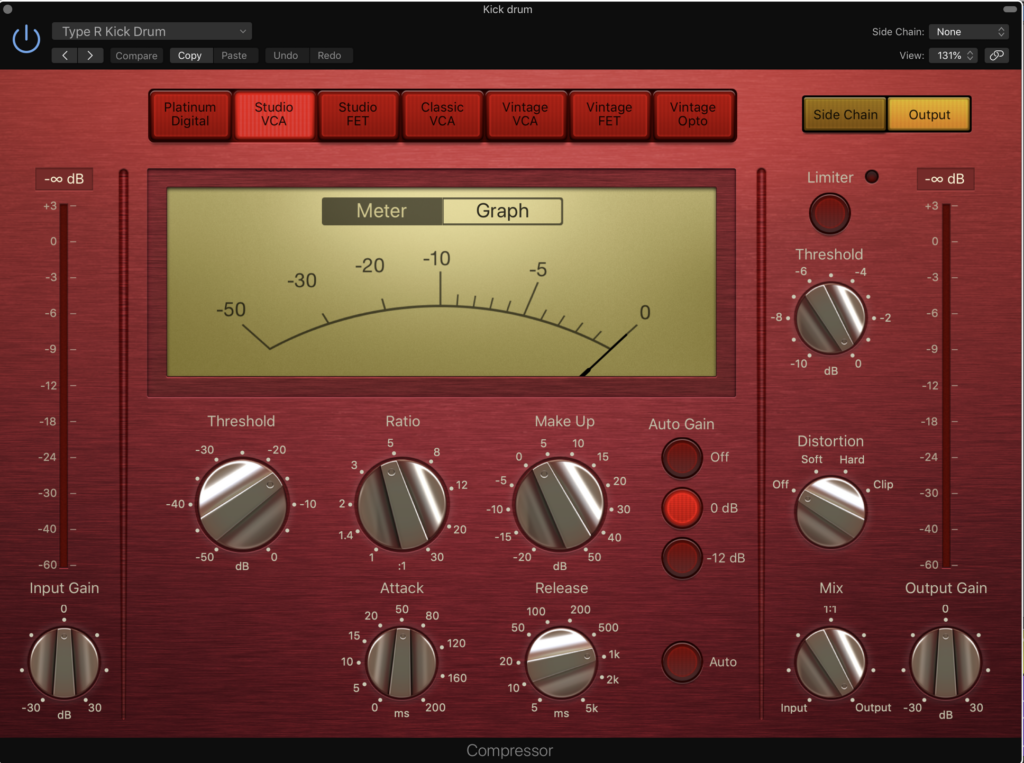
Kick Drum: To produce a powerful sound, a dynamic microphone was positioned within the kick drum and directed towards the beater.
Snare Drum: To record the snap as well as the body of the snare, a dynamic microphone was tilted slightly and placed directly above the top head.
Toms: Next to the drumhead, each tom has a dedicated dynamic microphone.
Overheads: To record the cymbals and provide a stereo image, two condenser mics were positioned in an X/Y arrangement above the kit.
Hi-Hat: To catch the clear sound of the hi-hat, a tiny diaphragm condenser microphone was positioned a few inches above it.
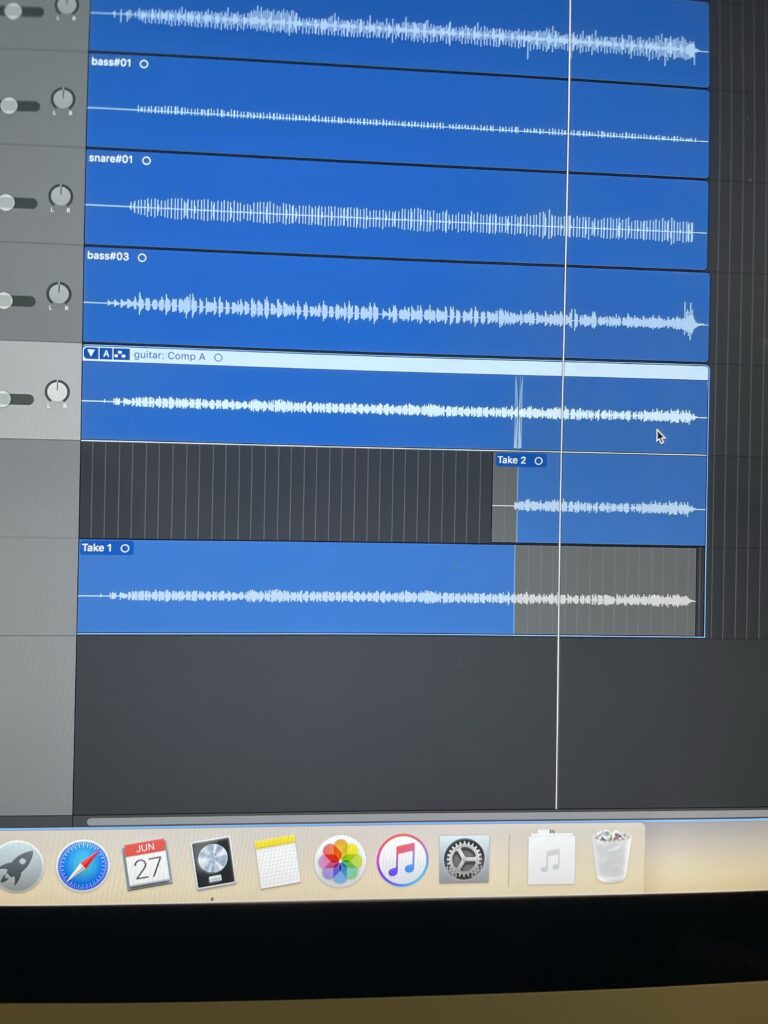
- Recording: In order to have a clean, dependable performance, I recorded several takes. Then, using Logic Pro, the best takes were combined.
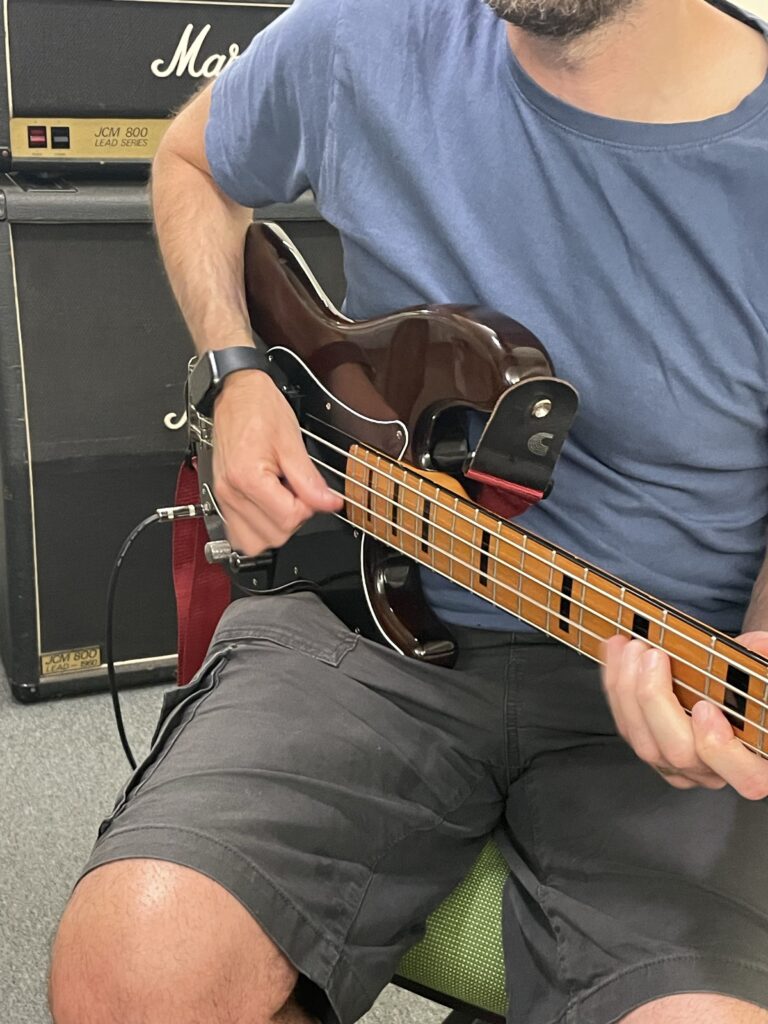
- Recording Bass Guitar
The second instrument recorded was the bass guitar, which was done using an amp and DI. The amp was miked to capture the ambience of the space and the distinct tonal qualities of the amp, while the DI signal supplied a clear, direct sound.
The second instrument recorded was the bass guitar, which was done using an amp and DI. The amp was miked to capture the ambience of the space and the distinct tonal qualities of the amp, while the DI signal supplied a clear, direct sound.
Synthesisers and Keyboards:
To put down the chords, melody, and other atmospheric aspects, a MIDI keyboard was utilised. The large virtual instrument collection in Logic Pro was quite helpful in this situation. I used an assortment of electric piano, opulent pads, and delicate synths to get the distinct, velvety feel of R&B.
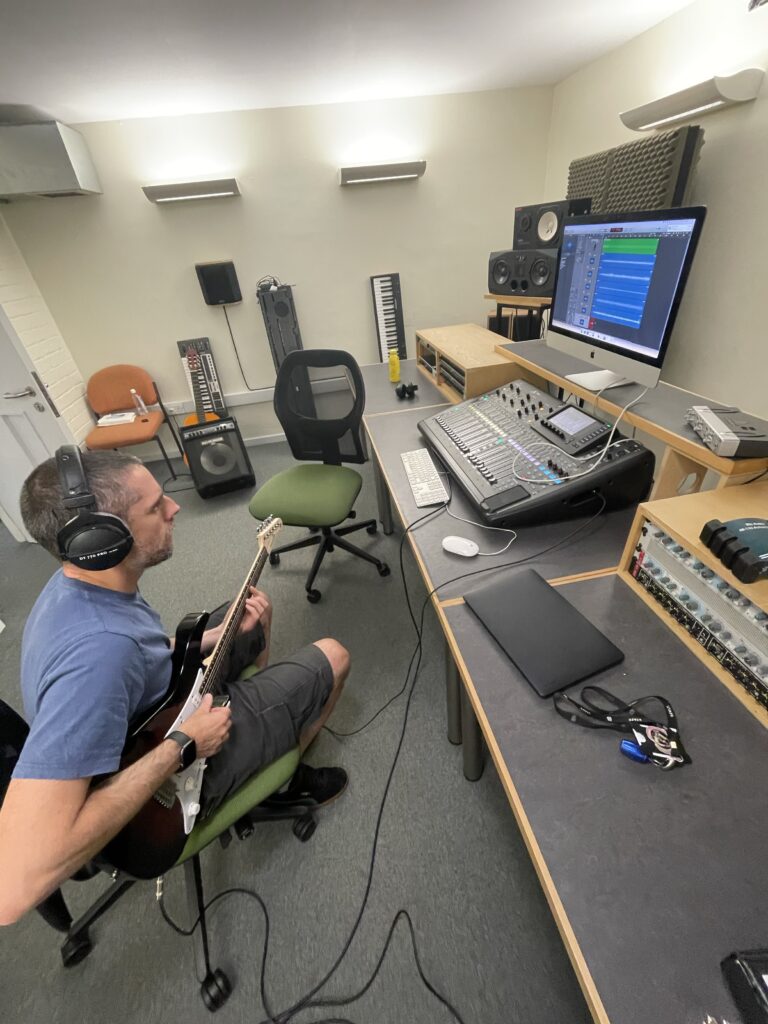
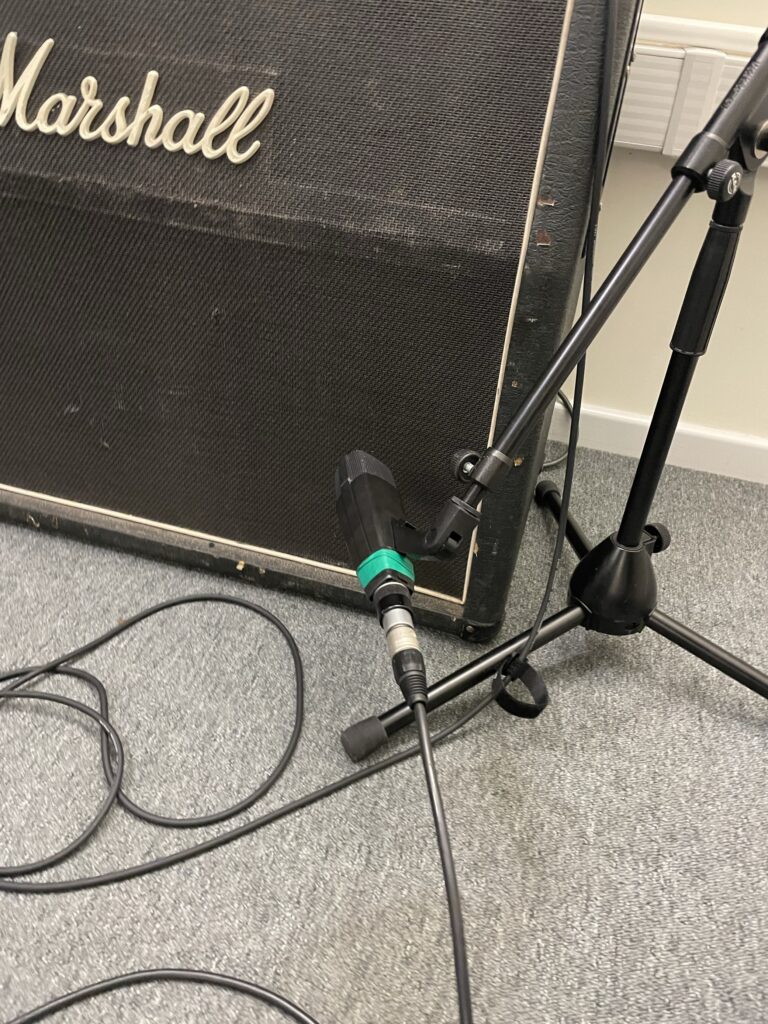
Recording Guitar:
Two recording methods were used for the electric guitar: a miked amp and DI. This dual method allowed us flexibility in mixing, combining the warmth of the amp with the purity of the direct signal. Clean tones with a hint of reverb and chorus effects were used for the rhythm sections. A small overdrive was added to the lead portions to enhance expressiveness.
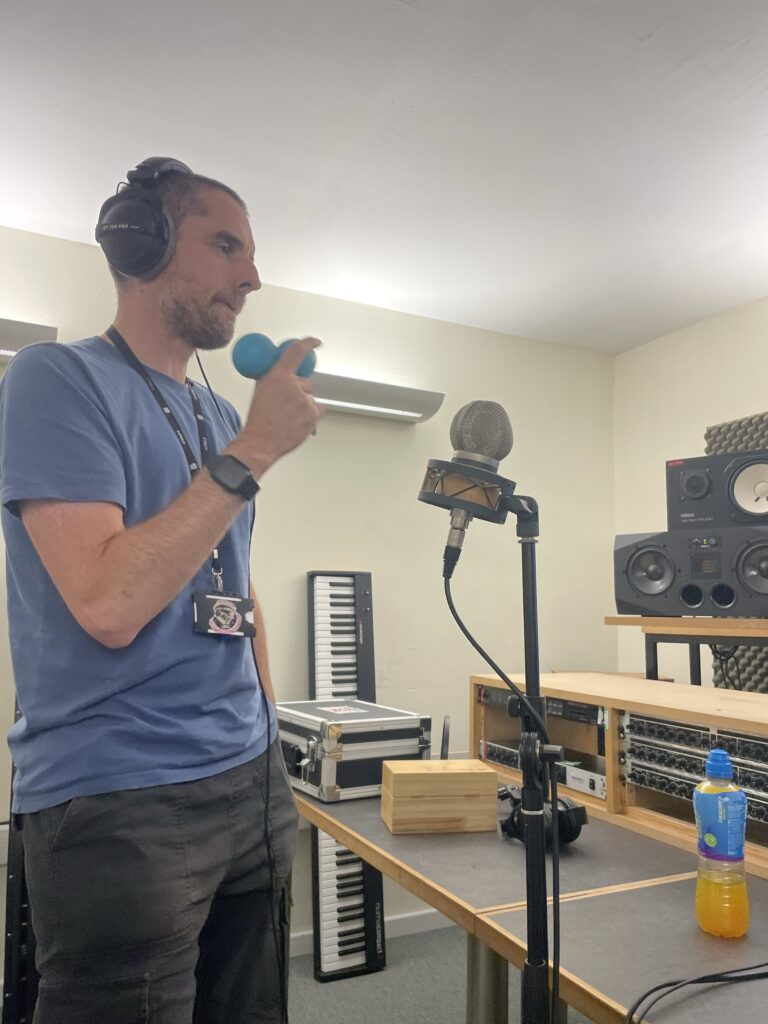
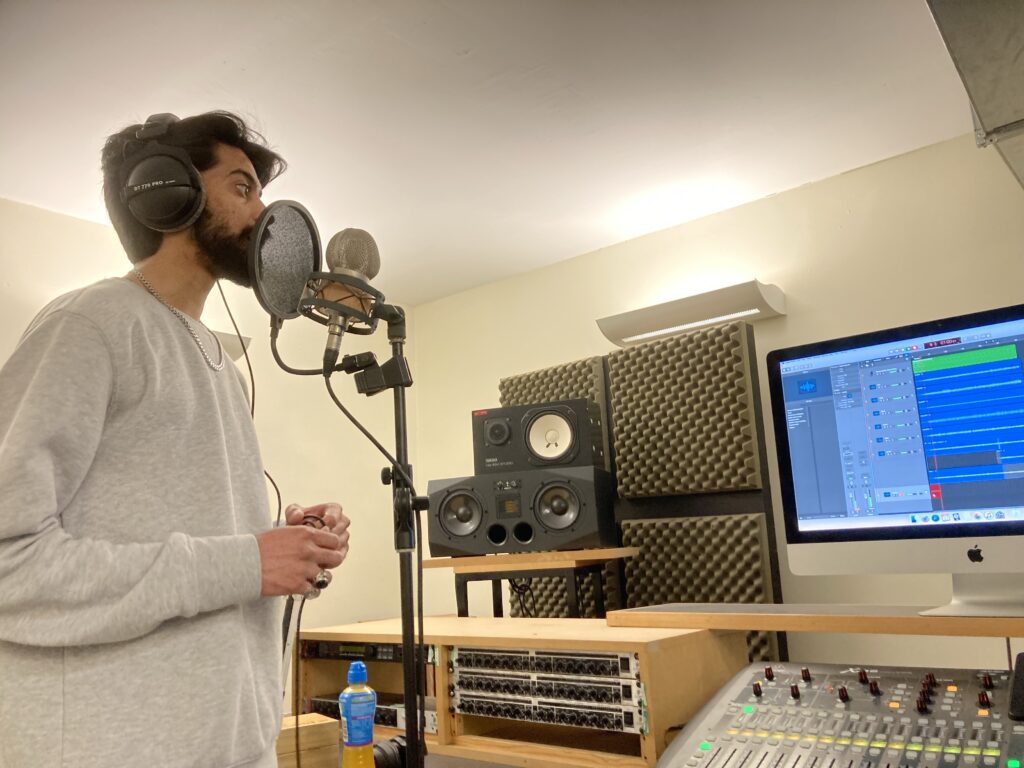
Recording of Voices:
The focal point of any R&B song is the vocals. The lead vocal was recorded with a top-notch condenser microphone. To cut down on reflections and extraneous noise, the recording space underwent acoustical treatment. To get the best performance, several takes were recorded, then layers of harmonies were added for depth.
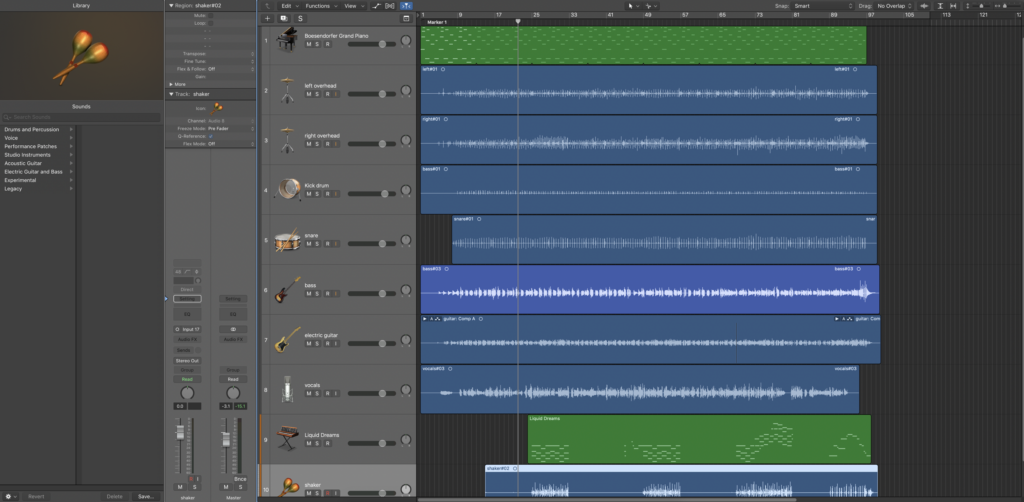
After Production:
After recording every track, I went ahead and edited. This included:
- Comparing each instrument’s finest performances.
- Tightening timing problems to guarantee a tight rhythm, particularly in the bass and drums.
- Eliminating extraneous sounds or artefacts.
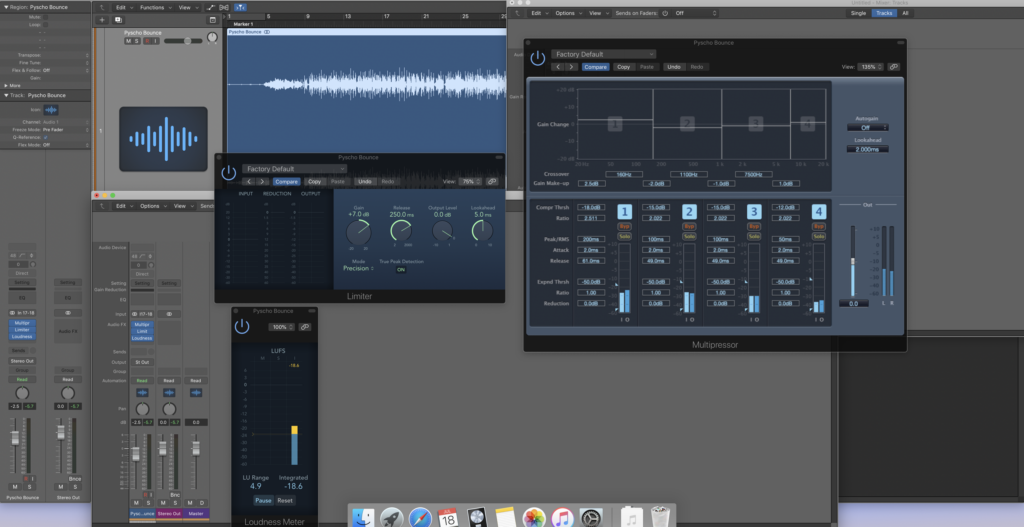
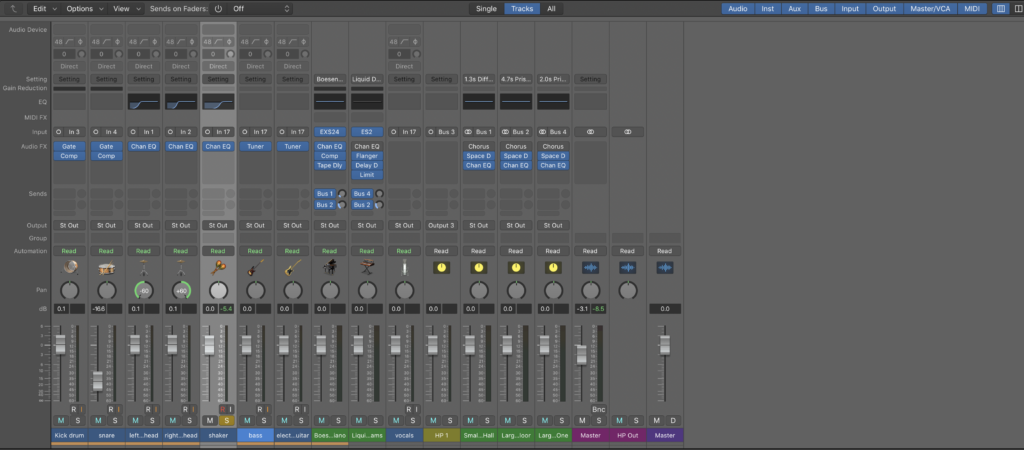
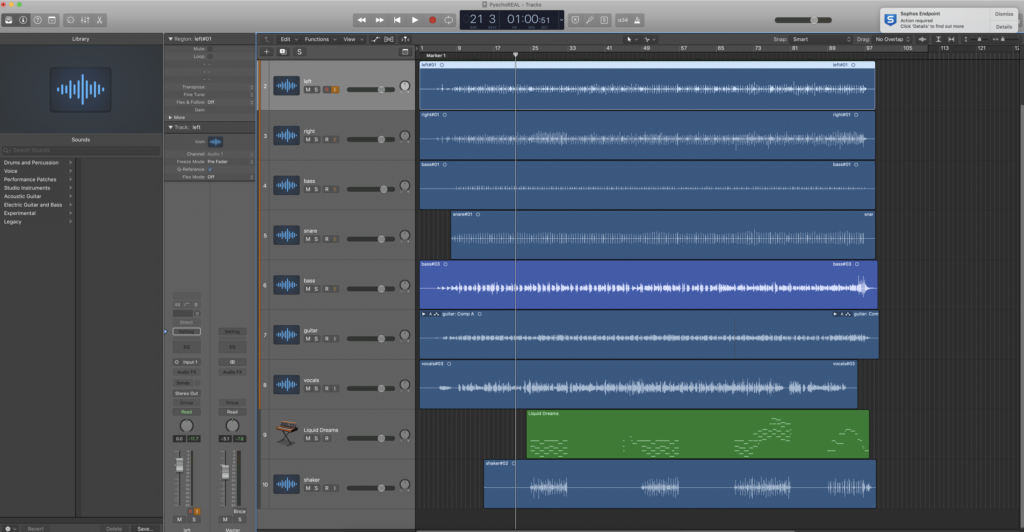
Blending
The process of mixing involves balancing and processing the recorded materials to produce a coherent sound. This is an explanation of the mixing procedure:
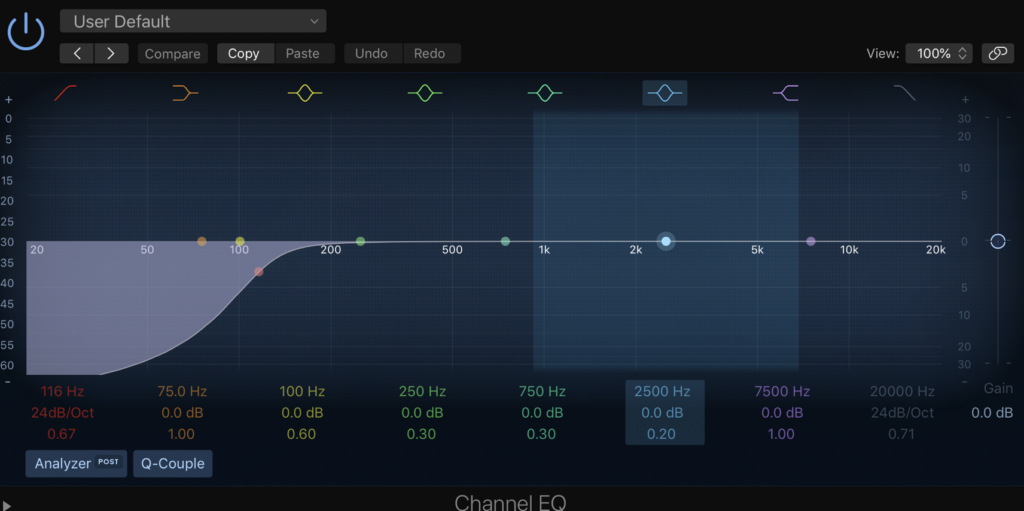
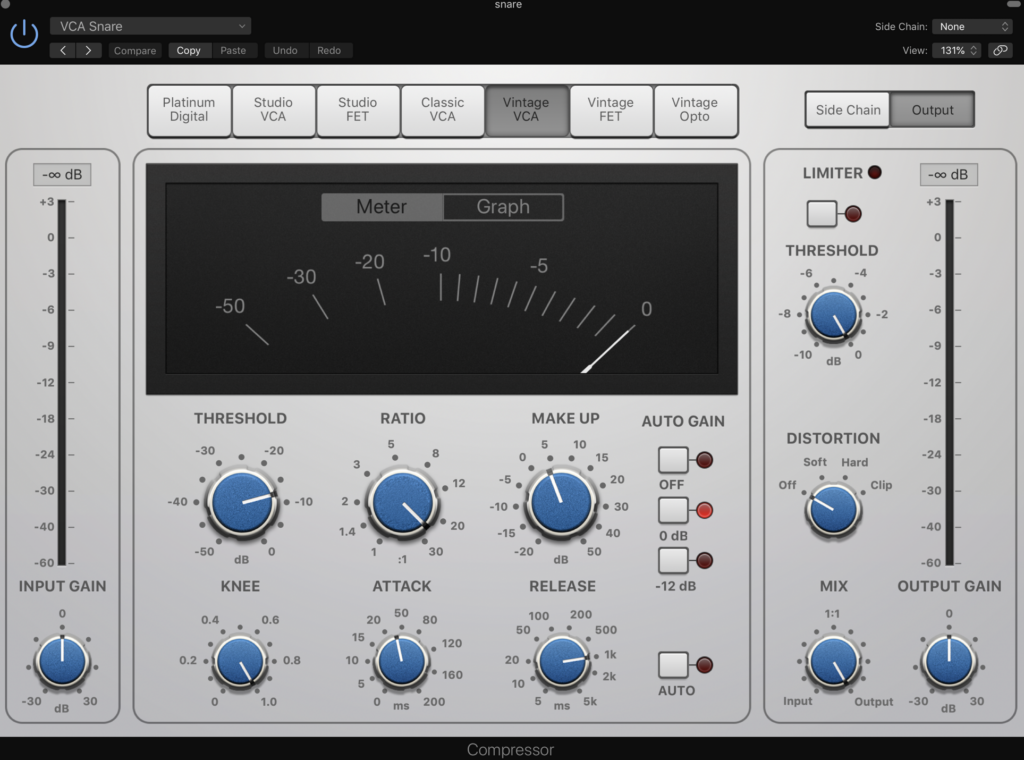
- Drums: Different frequencies were assigned to each drum using EQ. Punch was added to the kick and snare by applying compression, and depth was created to the snare by adding a light reverb.
- Bass: Using a compressor to keep levels constant, the bass was EQed to blend nicely with the kick drum.
- Guitars: To create a wide stereo impression, the electric guitar files were panned left and right. To make sure they didn’t interfere with other instruments, EQ and reverb were employed.
- Keyboard and synths: These components frequently served as the track’s binding agent, completing the auditory landscape. They employed delay and reverb to produce a roomy tone.
- Vocals: To preserve presence and clarity, the lead vocal was subjected to EQ, compression, and a de-esser. The background voices were panned and mixed to complement the lead without overpowering it, and reverb and delay were added to give a sense of space.
Acquiring Mastery
The last phase was mastering, which is getting the mix ready for distribution by making sure it sounds good and is loud enough. Among them were:
- Using a last EQ to even out the frequency spectrum.
The use of a multiband compressor for dynamics control. - Including a limiter to make sure the music was loud enough to compete without clipping.
In summary
Careful preparation, exact execution, and rigorous post-production were necessary for recording an R&B song with Logic Pro and multiple instruments. To achieve the intended sound, every stage—from assembling the equipment to finishing the master—was vital. A well-produced and genuine R&B track was produced with the use of contemporary recording techniques in conjunction with a blend of virtual and live instrumentation. I gained an understanding of the value of paying close attention to details and how each component affects the finished result through this process.