In this project we were given the task of mixing three different songs within a logic project.
Being quite inexperienced with logic and the idea of mixing a track recorded in a studio, at first I had a bit of trouble getting my head around what everything did and how to even start mixing a track.
After some guidance from my teacher, I started with the basics of laying out my logic project and organising the base which would then allow me to add layers and slowly build upon my mix.
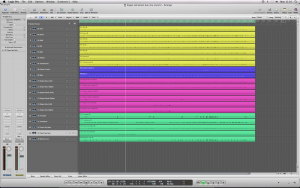
Firstly, I opened a Logic file and dragged in the audio files with which I would be mixing. I then renamed these files and colour coded them into sections of instruments, this would give me a huge amount of clarity when I was mixing further down the line and generally made the process run much smoother.
The idea of mixing as I understand it is too receive a rough sound file and do the best to polish the sound, whilst still retaining the bands individual sound and style. Sometimes you can even further emphasise the sound that the artist was trying to create, for example if a reggae band sent me a file of their sound, an important characteristic would be to emphasise the off beat, therefore by using EQ and different techniques, you could create a much brighter and upbeat sound by adjusting the bass drum or the sound of a guitar.
Secondly, I listened through the song a few times as well as sometimes soloing individual parts to try and understand which parts would need polishing. I then opened the mixing window and began to set the levels of volume for each instrument in order to try and create a balanced sound. I also panned some of the sound in different directions ( either right or left ear) to achieve this goal. For example with the left overhead, i panned it completely to the left whereas with the right overhead, i panned it completely to the right. This started to change up the dynamic of the sound. I firstly began adjusting the levels of the drumkit starting with the bass drum and working my way across.
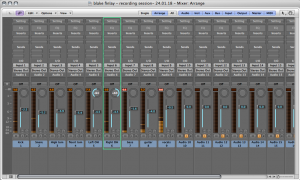
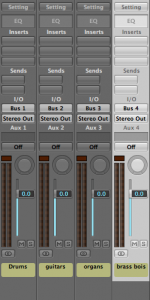
Thirdly, when I was happy with the individual levels of each track I began to organise them into buses. Once again like the colours, each group was a different instrument section. This would make it much easier at the end of my mix to change the overall volume of each section in order to finish off the track, instead of having to tinker with each individual level. For example if the drums were drowning out the horns section, I would be able to turn all of the microphones down at once. I did this by clicking on each channel, hovering over send and then assigning each track to a particular bus which I had renamed. The end result looked like this.
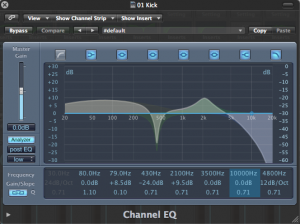
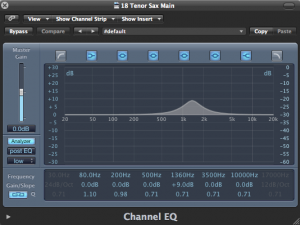
My fourth step was to begin to add EQ to each of the tracks. As I mentioned previously, before this project I was very new to Logic and sound engineering techniques and therefore had little clue of what EQ did. However, after working with my teacher and being shown a few examples of the power of EQ, I began to learn that EQ was a tool that allowed you to remove, minimise or emphasise different sections of sound. For example, with the bass drum I could cut out what high frequency’s existed in the recording and emphasise the bassy sound which would give the piece a much stronger drum beat and therefore make it sound much stronger. As you can see below the shapes and levels of EQ for every instrument was different and some instruments such as the organs which were inputed with midi didn’t need any tweaking whatsoever.
Step 5 , When I was happy with how each individual instrument sounded on their own and together in the band, my next challenge was to create a much better atmosphere than that of a studio. Therefore I set out to add reverb onto the new mix. This would hopefully give the band a fuller, more together sound, to achieve this I created a new bus channel which I labelled reverb and sent the channels I thought would sound best with reverb to this bus. With the recording double up double down which was one of the songs that i mixed, I only sent the brass section as it alright sounded like a very quality and filling sound. However with the mgmt cover that I mixed, I sent all 3 buses ( Drums, guitars and vocals) to the reverb channel as it would help mould the recording together.
Overall I didn’t go to extreme with the reverb and just added a bit to compliment the overall sound but not change the style of the recording. For example with the skins recording the band created quite a rough recording which when lots of reverb was added to it was taken away. Therefore I decided to try and preserve this rough edge and keep it in the finished recording.
Step 6 , This final step included me generally polishing the mix by slightly adjusting levels and effects until I was happy with the final product. I then exported the songs as MP3 files before uploading them to sound cloud and then onto my portfolio which can be seen in the next tab along.
